wadkin MJ restoration

UKworkshop.co.uk

Help Support UKworkshop.co.uk:

This site may earn a commission from merchant affiliate links, including eBay, Amazon, and others.

wallace

Established Member
Joined
13 Feb 2011
Messages
2,130
Reaction score
251
Location
county durham
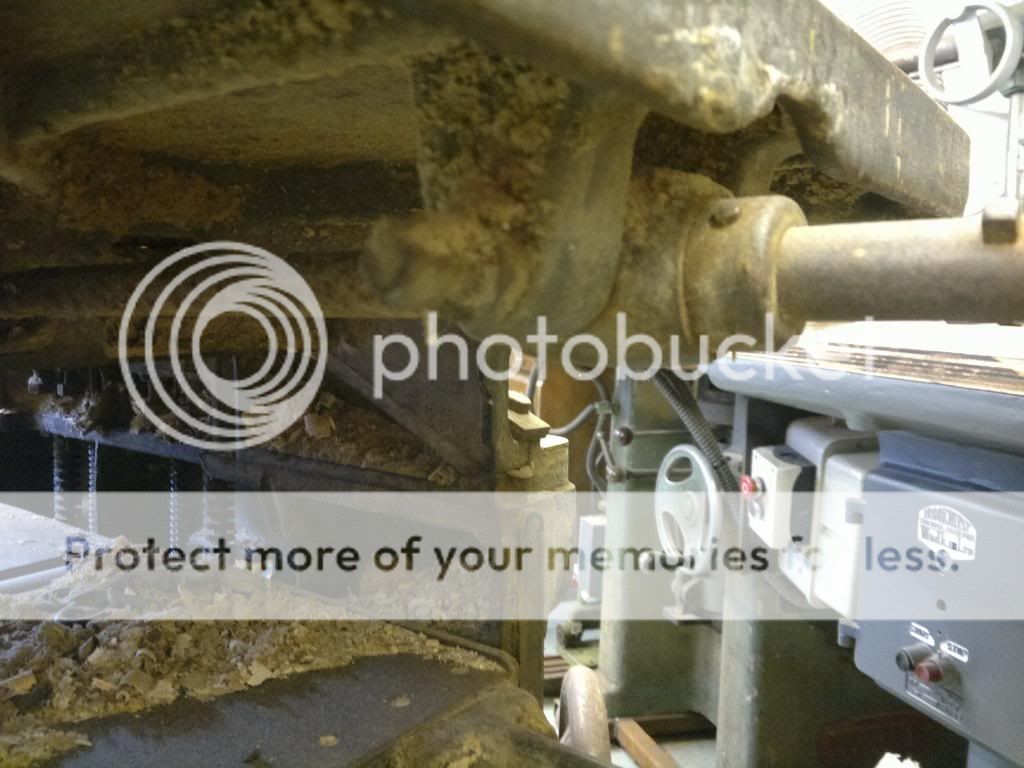
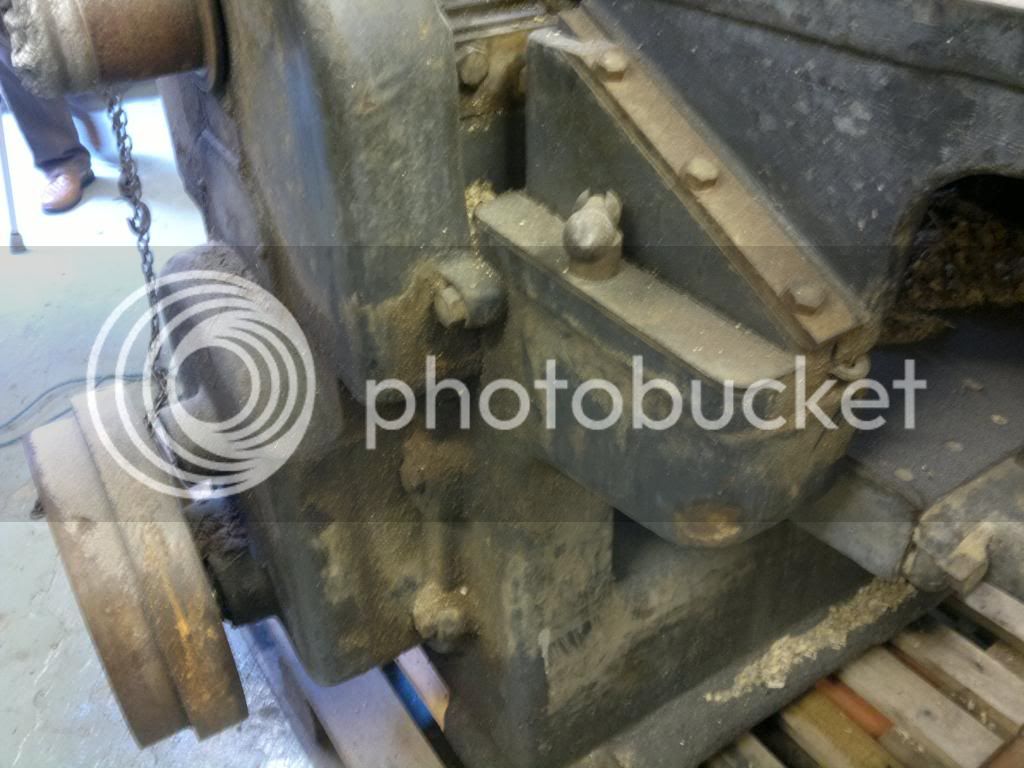
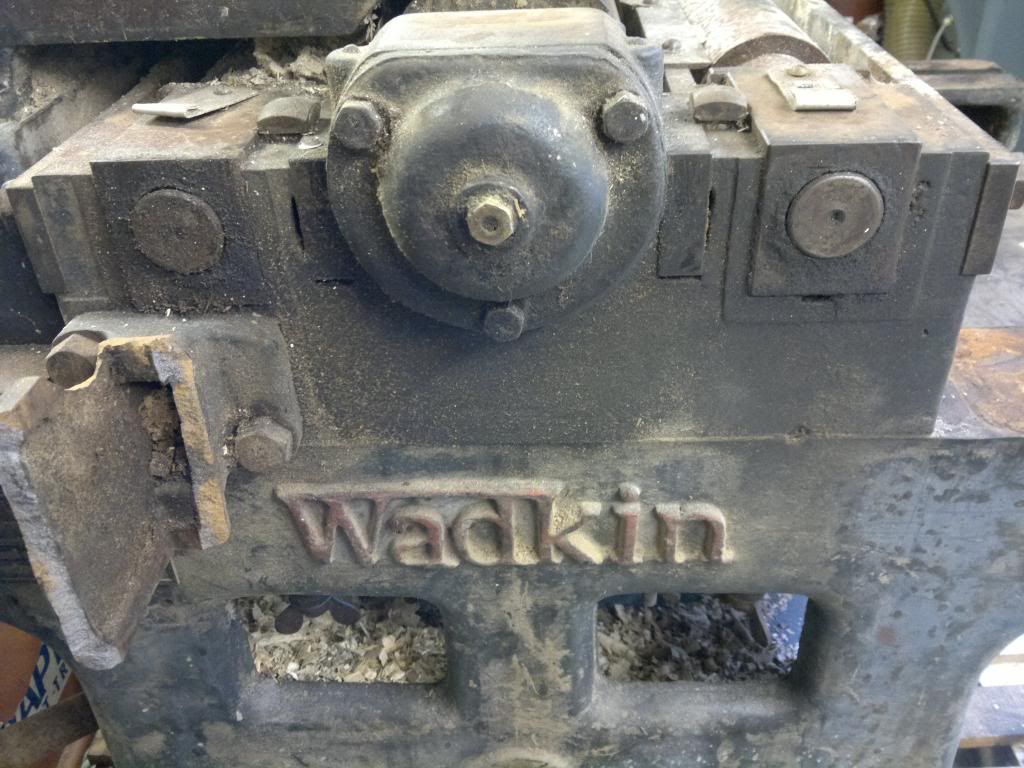
Its been 10 minutes since my last restoration so I think its time to start another one. This one was originally a line shaft machine dating from 1920's but a motor was added in the 40's 50's judging by the type of motor. I got this delivered a little while ago but because it ended up falling off the pallets it came on, and then I hurt my back. Its been sat outside. I managed to get it in the workshop and began work. I was thinking of trying a different approach with this one, instead of stripping it down completely and then starting to refurb. I thought I'd try takeing a piece of at a time and doing it.


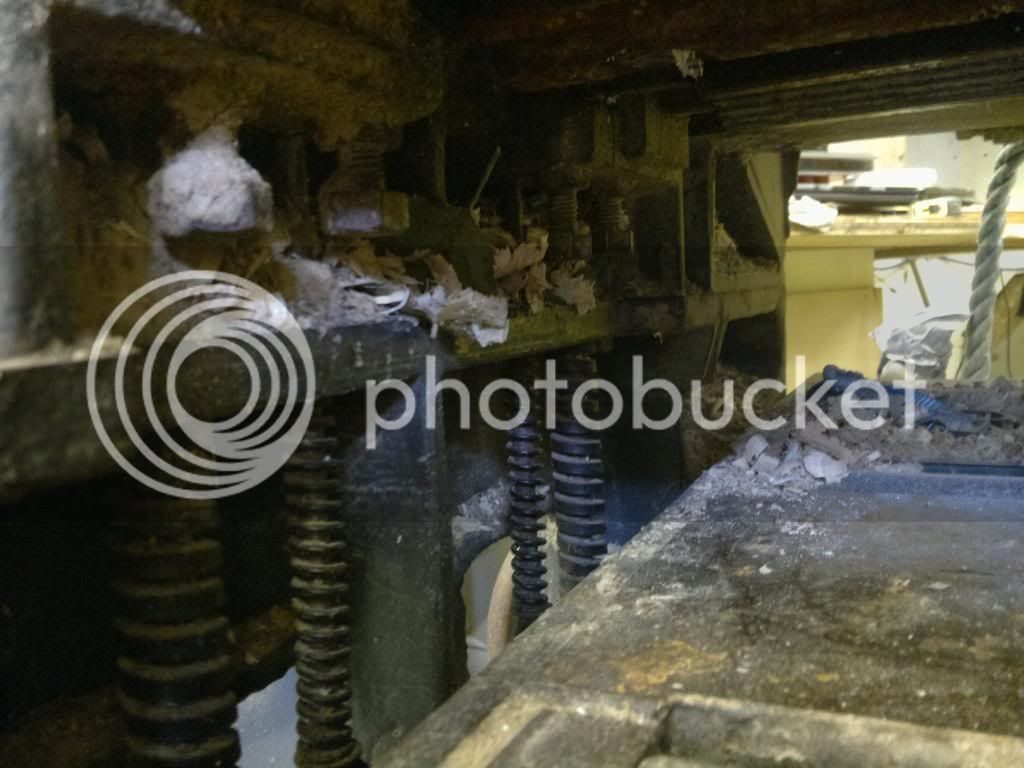
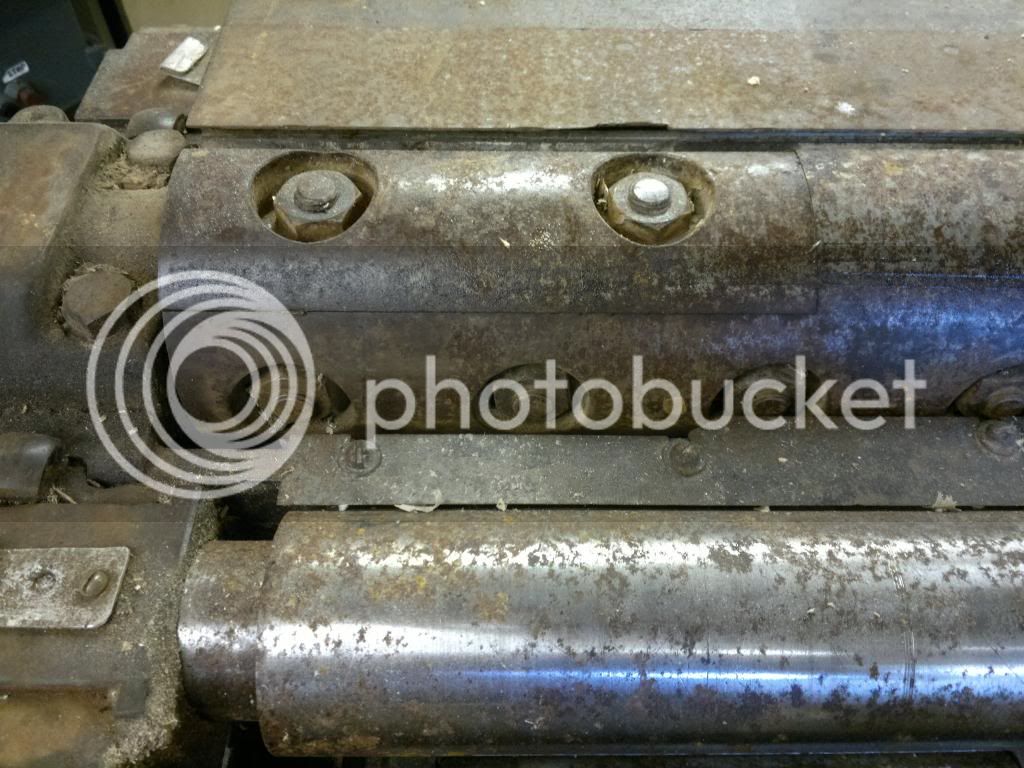
I think this might of hindered its performance the last time it was used, a knot well and truly wedged


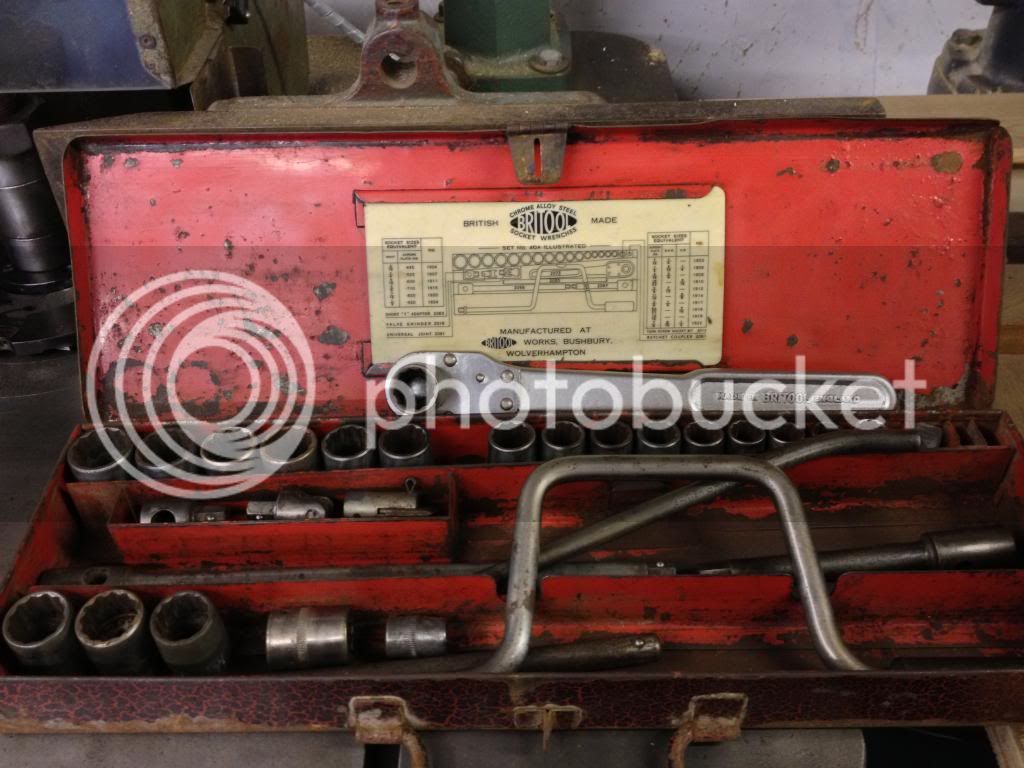
I got this nice whitworth brittool socket set from a car boot recently, well pleased £5. It should help with my old iron

 
Hi Flynwood, sorry I don't have any, I only have 3 phase ones. That is one lovely little saw, It wouldn't take a big motor to run an 8" blade. Its nice he found the mitre and fence. Go on get it you know you want to. :D
 
I took one of the tables off and cleaned by the usual methods, Stanley blade, brass wheel in a drill, 180 sandpaper, 3M scourer things.


I then removed the steel strip, because it has some damage from a moulding cutter. Underneath there was a very slim shim.


On the underside of the strip it has a number 4 stamped at one end and little dots stamped around each threaded hole, any ideas why?


This is the damage to the strip, do you think I should grind it back or just clean it up a bit


Next was to clean all the ground surfaces, I love that you can still see the hand finishing marks


I thought I'd keep a tally on how many hours it takes, so far its 7hrs
Mark
 
Are the holes centre punched in to reduce/minimise any play between the bolt and the hole. I use a similar technique to reduce play of a mitre gauge in a table saw groove.

Also isn't this method a quick fix for clock restorers who take out the wear in the front and back brass plates that support the cog shafts although in your situation I cannot see the necessity
Just a thought
 
I got the other table all cleaned and prepped ready for some paint


And set up the magic barrel because there are some quite rusty bits to tackle


These are the guides for the table


They are quite pitted


I found out what the 4 means as well, Jack (obi wan Kenobi) said that these machines were made in batches. That is why there is the number 4 on stuff to keep it with the correct machine.


I spent some time with the belt sander and then by hand trying to get rid of the pits before I polish.


Heres a pic of my machine being made in the 1920's


Time spent so far is 14hrs
 
I put the guard in the magic barrel and this is how it came out


You wouldn't believe how long it takes to get from rusty to shiny

 
wallace":3tteud85 said:
You wouldn't believe how long it takes to get from rusty to shiny


Could I ask you to talk me through this process i.e. how do you go from so rusty to so polished and approx. how long does each one take, in addition if you use polishing compounds what grits do you use

TIA
 
No problem, Firstly I will either use the electrolysis route or a brass wire wheel. If the item is dented or pitted I will go at it with one of those powerfiles which are like a mini belt sander. Once all the dents/pits are gone I use 180 then 240 grit wrapped around one of those foam sanding blocks. It helps when doing curved items. Sometimes if I'm feeling abit obsessive I will go down to 400 grit. Then its on to the buffing wheel. I use a 8" close stitched cotton wheel on my lathe which I crank up to 2800rpm. The best polishing compound I have found is the red/brown blocks from silverline. I have tried all the black ones to start and green and then white to finish and I find its a waste of time. I have always got good results from the one block of compound. I have used it on brass, ali, steel and think it works well. I only have a few machines to do before my wadkin temple is complete and I am getting abit precise to the finish I expect. One of these takes me about 2hrs :oops:
Mark
 
Wallace, are you an engineer by training? What got you into Wadkin machinery and what's the long term plan for your collection?
 
Thanks Westy, Custard I have no training what so ever. I'm just a bloke that likes to see how things work and cant afford new decent machinery so get stuff that looks nackered but because its old wadkin it never is. I think I have got 10 pieces of machinery and all have made good machines with some elbow grease and very little money. When I've finished everything I will start to use things in earnest. I have used my eq spindle moulder a bit for small stuff but I would like some training before I go and do some big boy stuff. I think that's the only machine that makes my bum nip. Like my tag says I have plenty of gear with no real idea :D Everything I have learnt is self taught by trial and error but most things are common sense when it comes to wood work.
Mark
 
wallace":1hezq8b9 said:
I have no training what so ever. I'm just a bloke that likes to see how things work

I think you're being a bit modest, you must have a natural talent because these are major restorations you're undertaking and, more to the point, actually finishing, unlike most of the armchair dreamers who start down this road!
 
custard":1vh851mc said:
Wallace, What got you into Wadkin machinery and what's the long term plan for your collection?

He will own the largest collection of refurbished Wadkins in England, Scotland, Wales, Ireland and perhaps the EU lol.

Good luck to him.

:D =D> =D> =D>
 
I made a few more items shiny


This is the handle raising the tables, it has SS cast in the back


The components of each table are kept together so that everything goes back to where it came from

 
The tables are all painted up and put to one side, next job is to dismantle the gearbox. The pulley is pretty stuck and the pullers I have don't fit, I had to heat it up a bit and lever from opposite sides to move it alittle just to make room for the casing to come off.


This is whats underneath, somebody has greased the gears. I'm sure it should be just oil with the chain running through it and taking oil to the gears.


I like the way the chain is joined

 
Back
Top