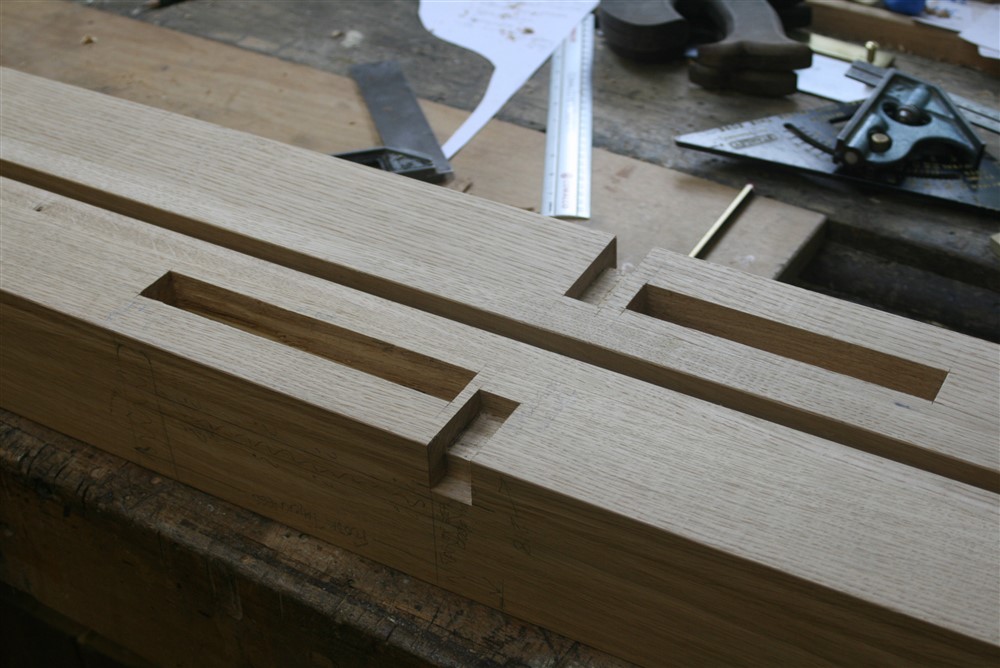
Working out the newel on the wall side:
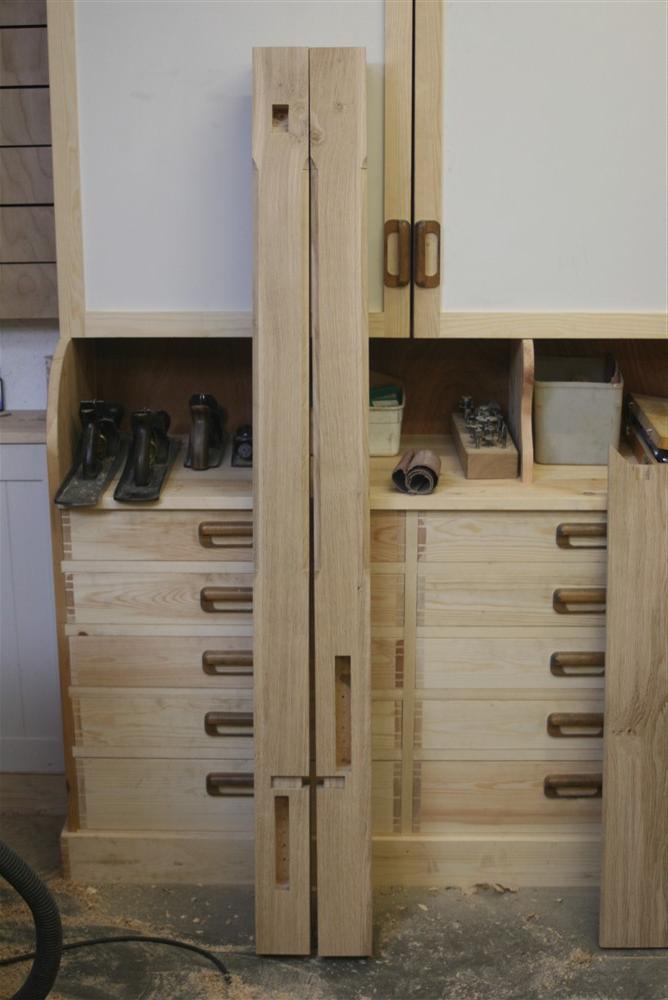
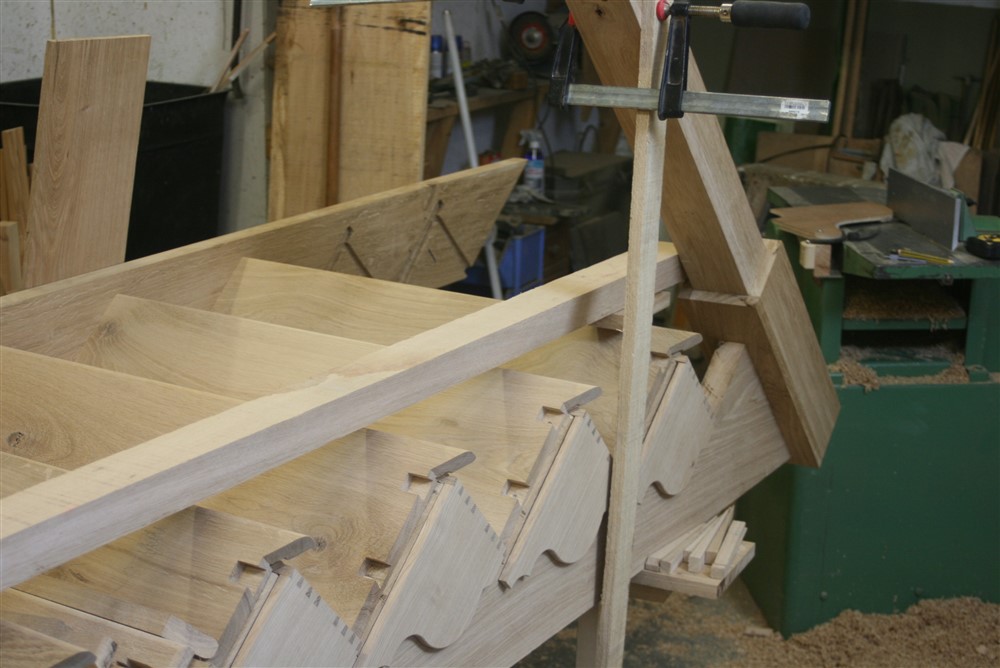
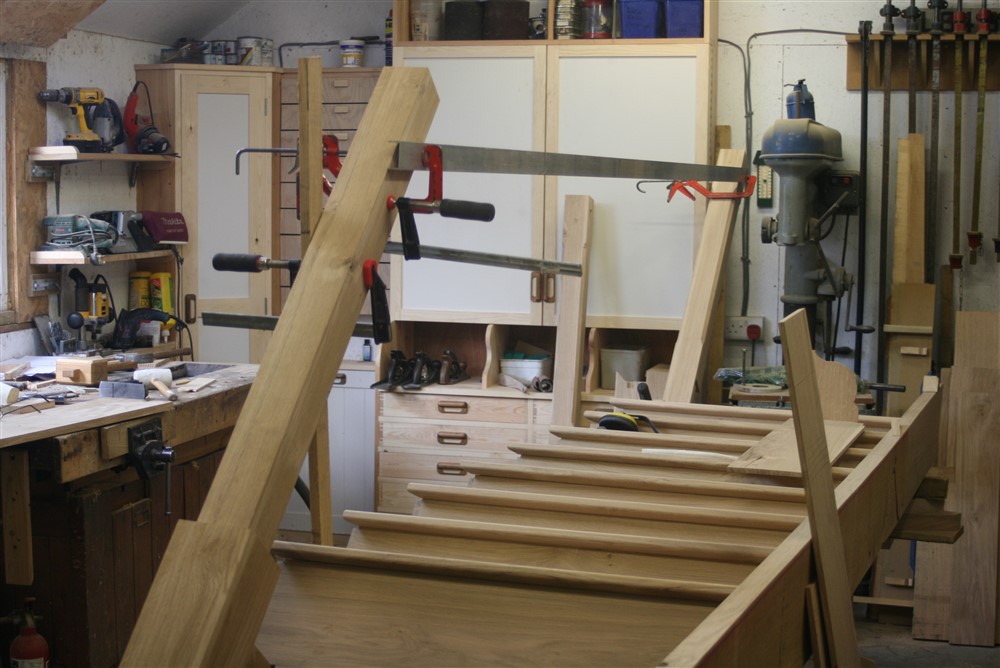
Here they both are:
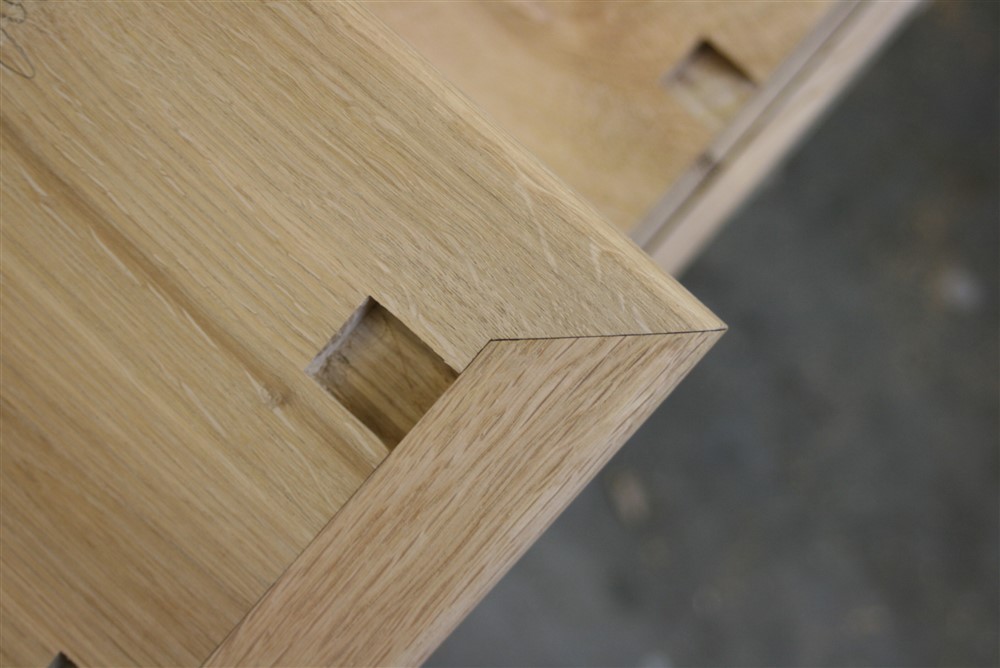
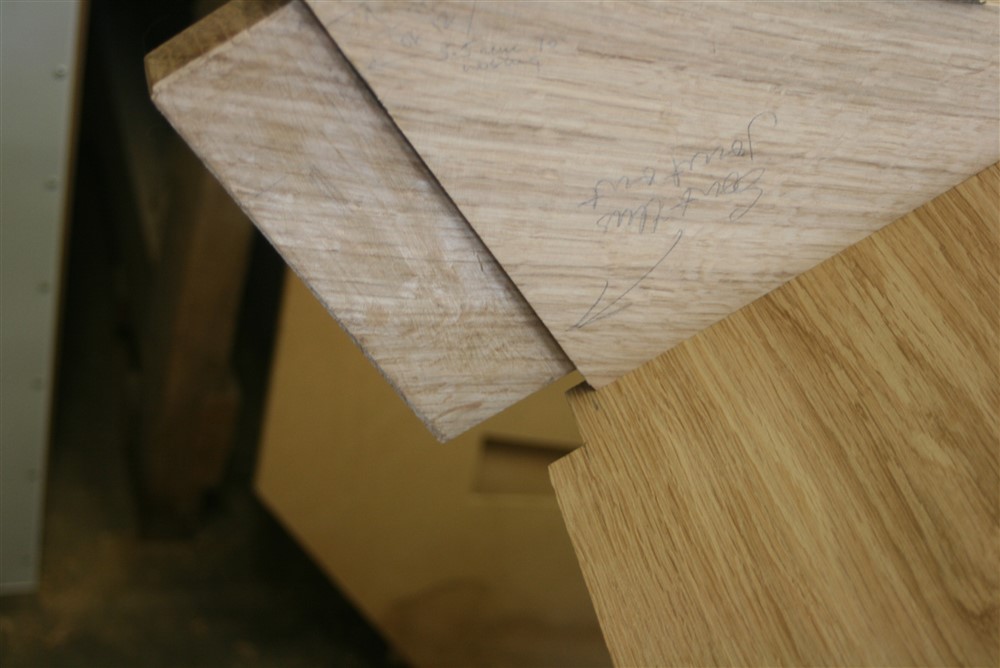
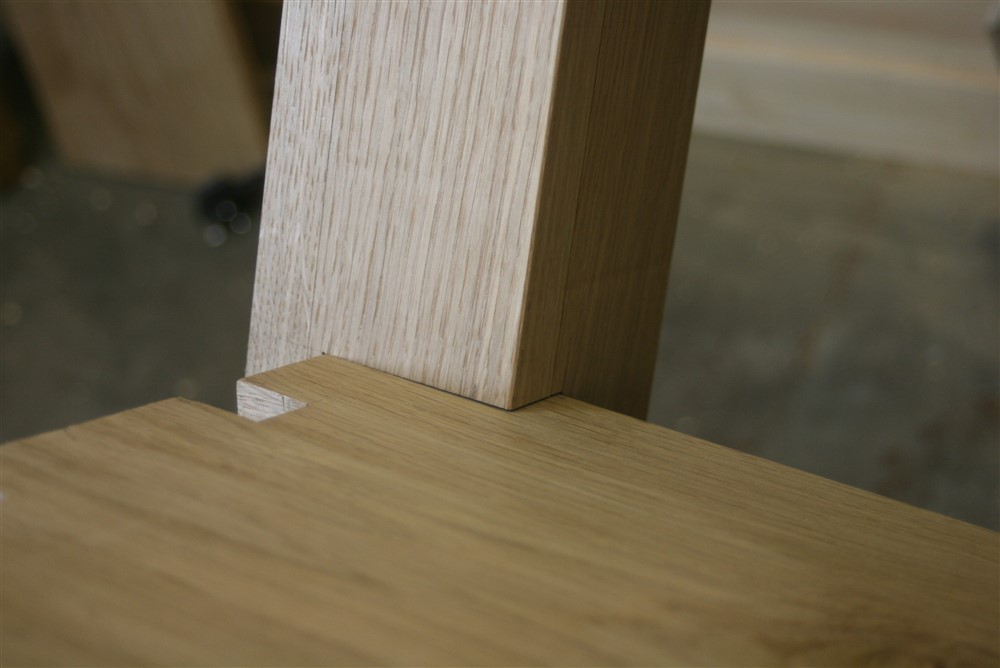
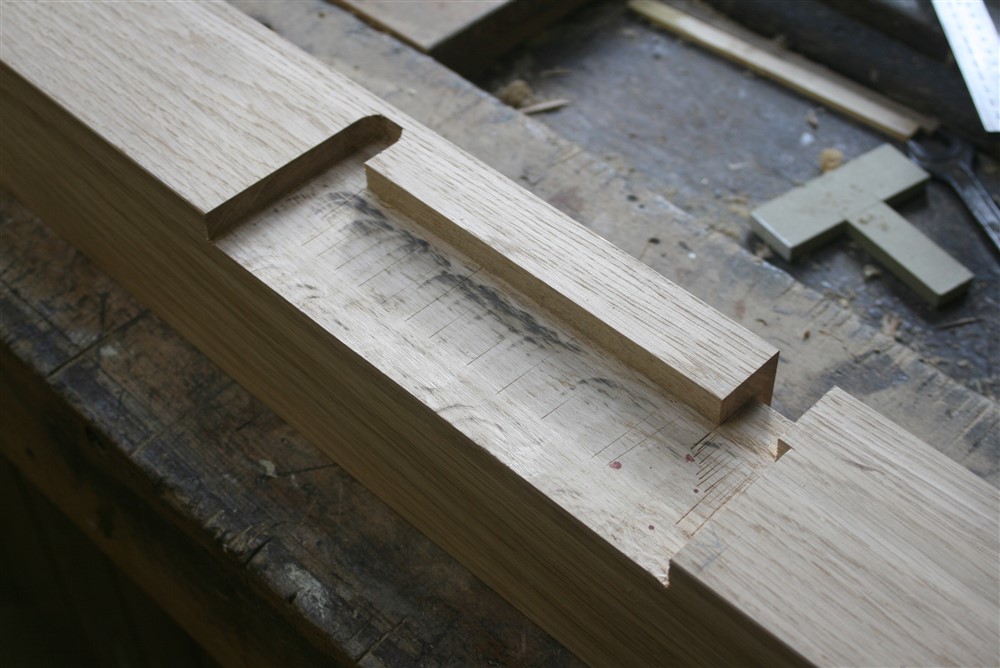
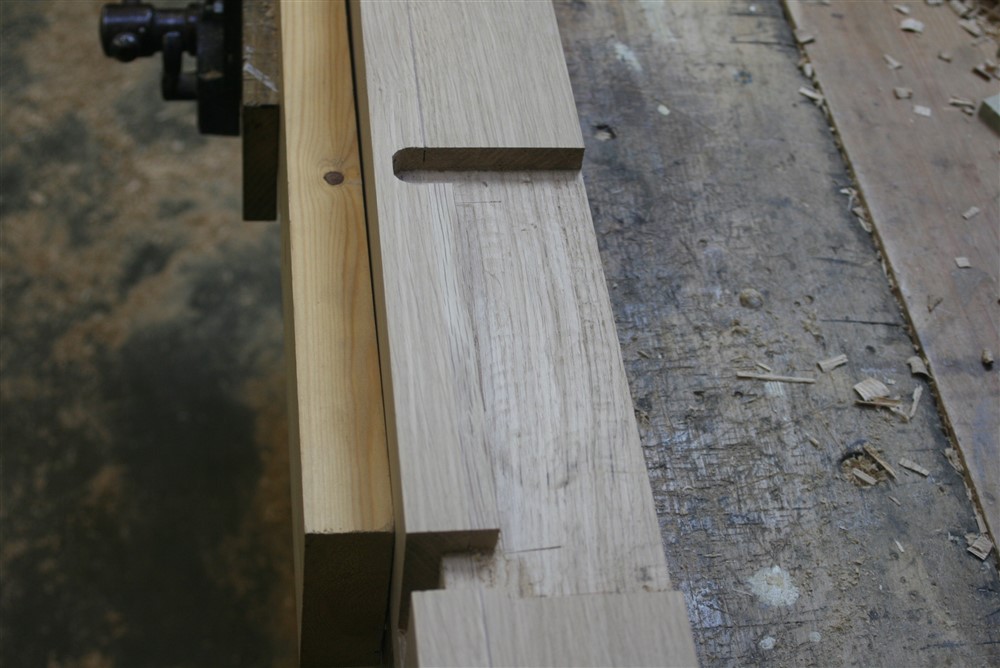
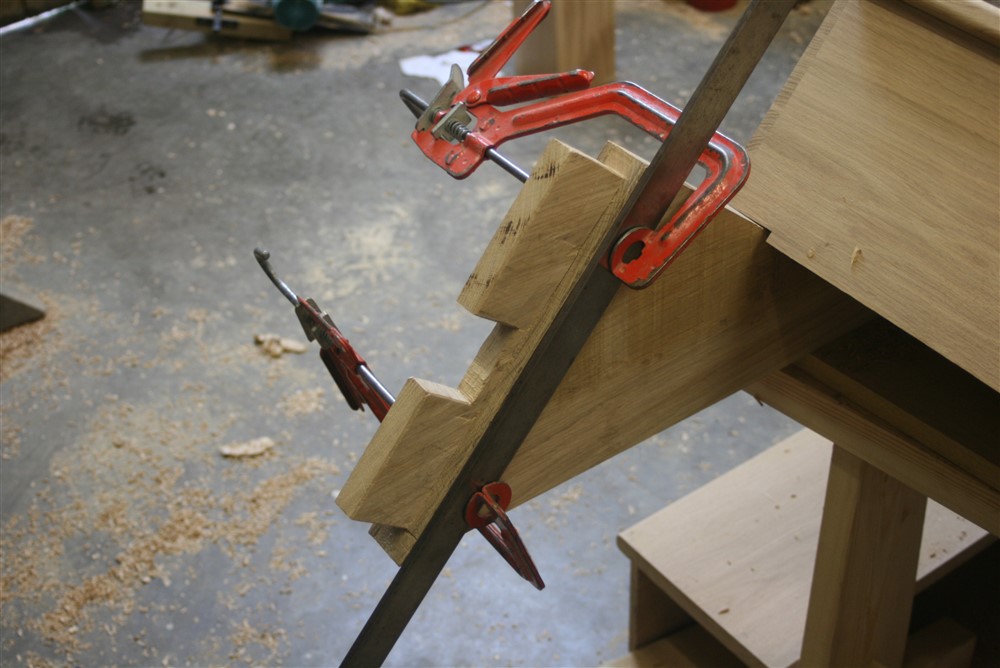
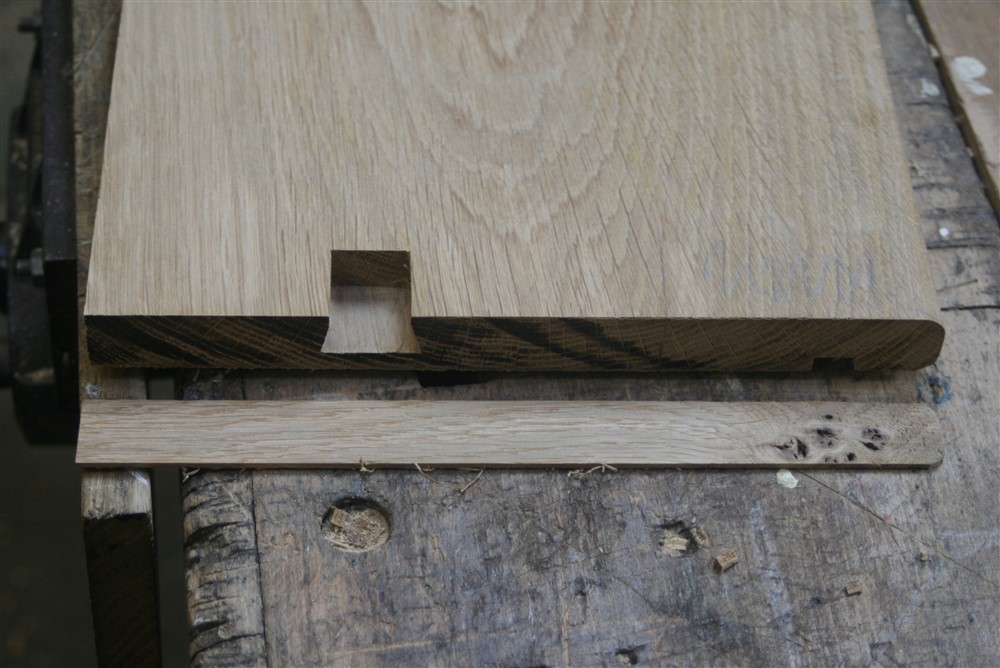
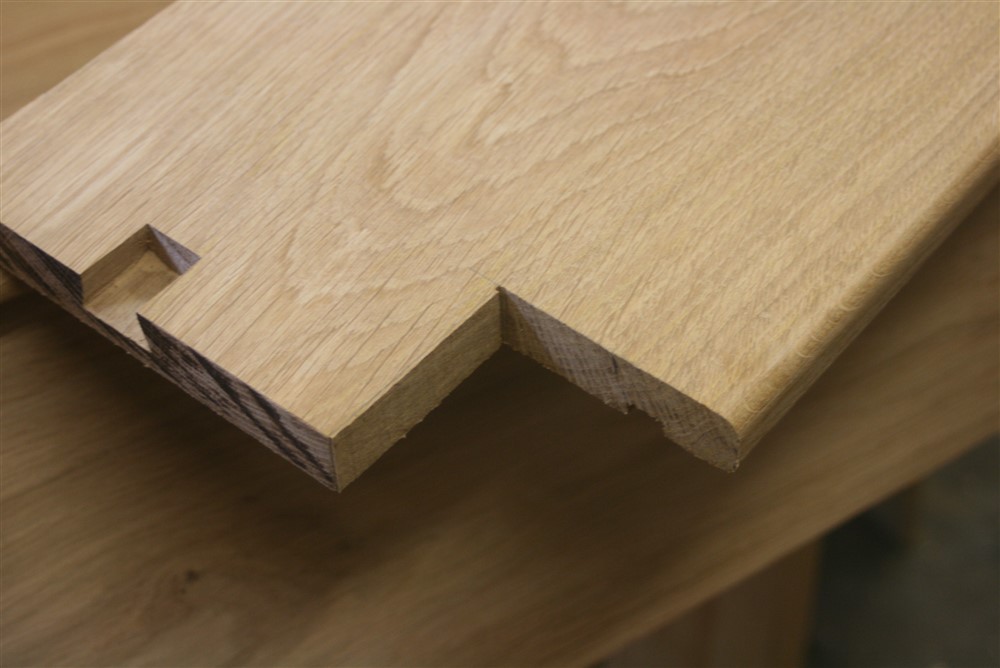
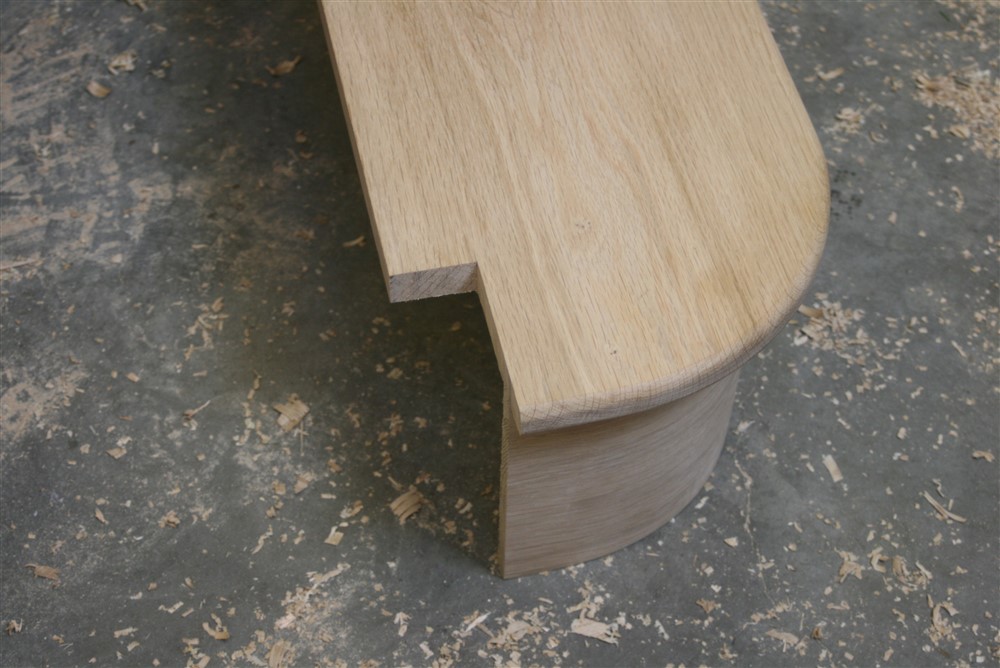
The back of the 11th tread is notched to suit:
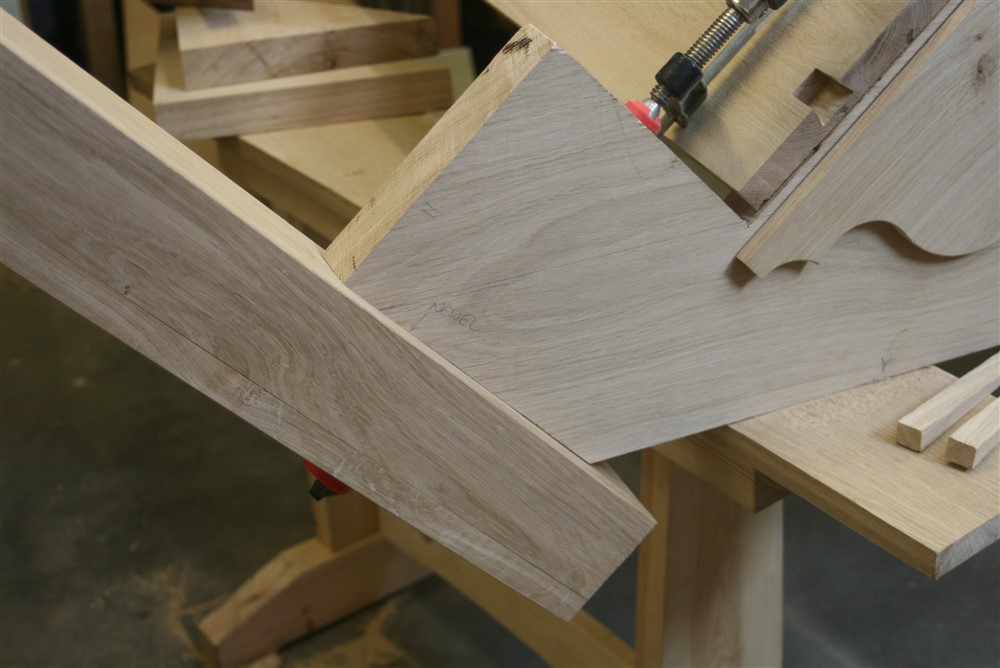
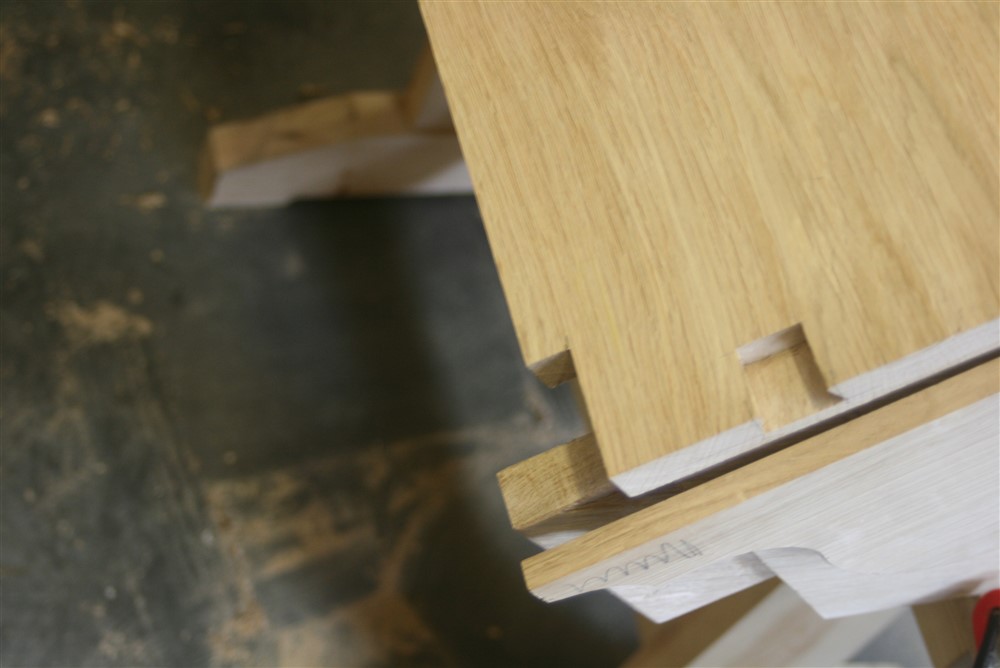
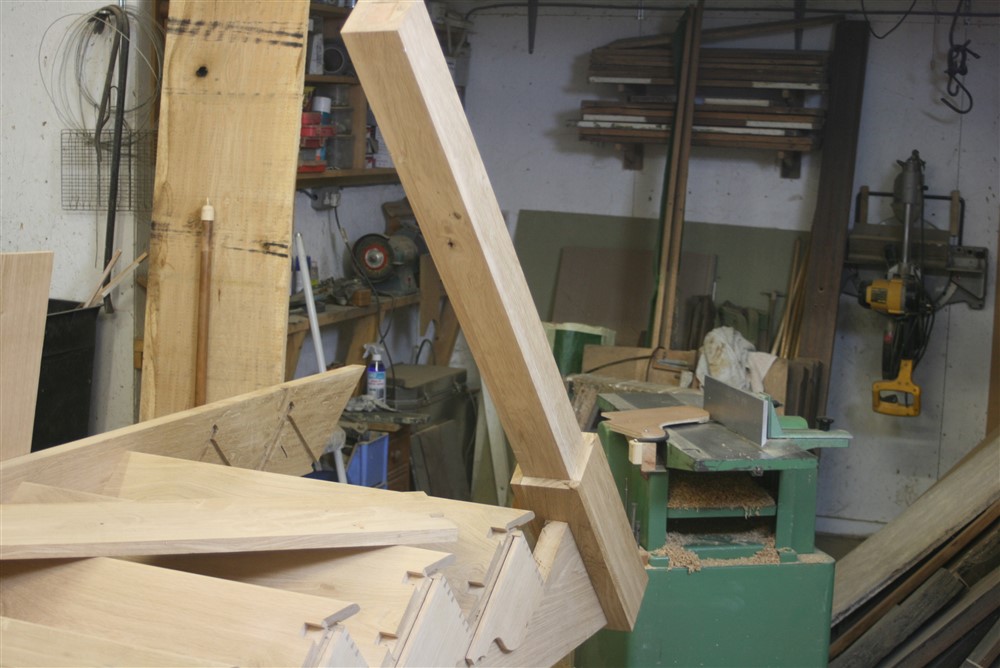
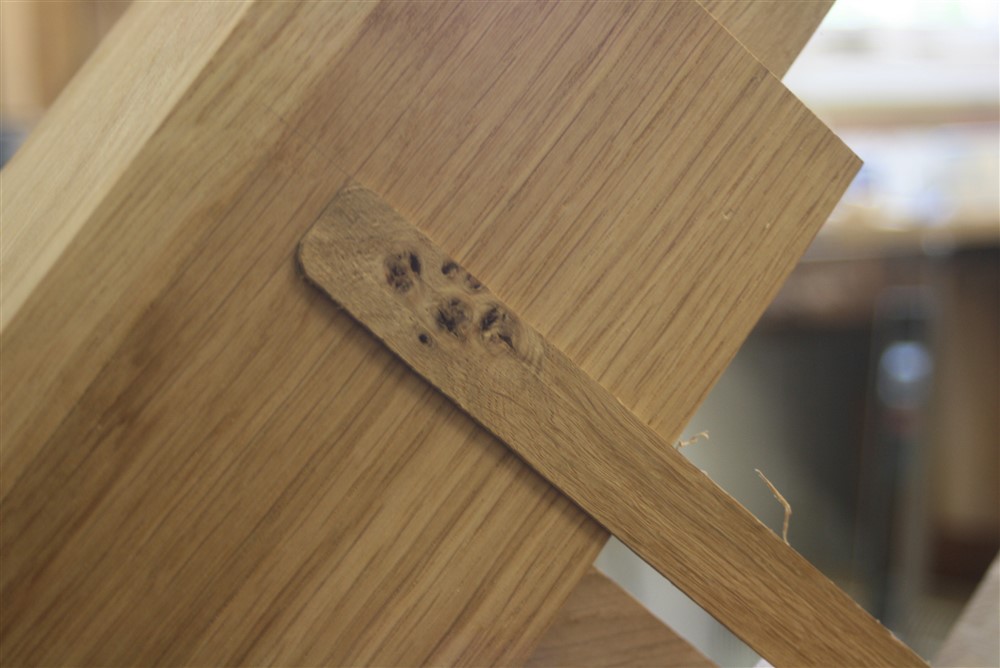
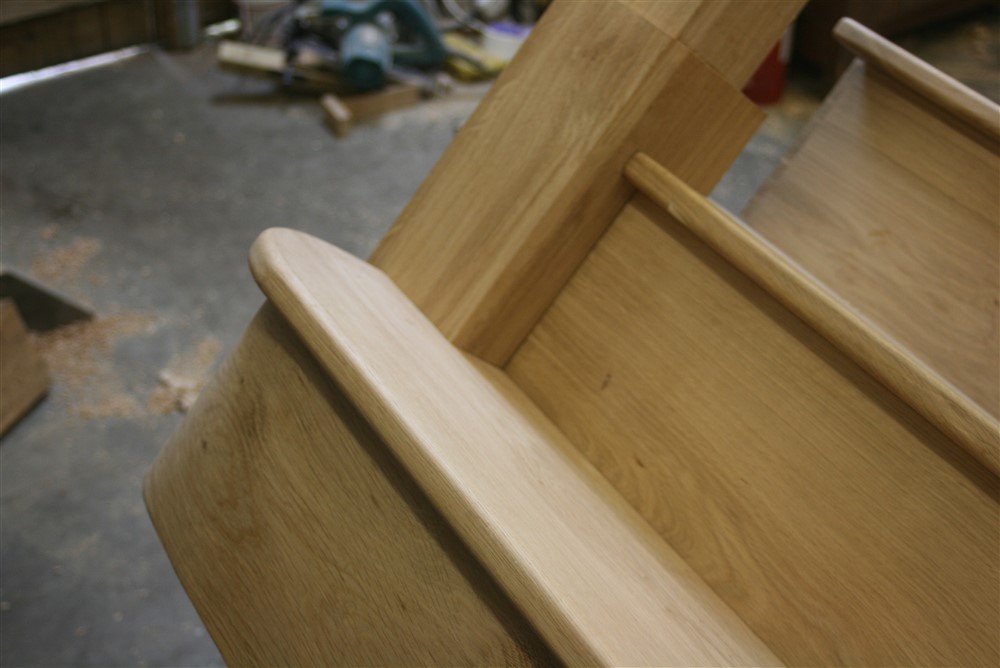
And the newels slipped in smoothly first time:
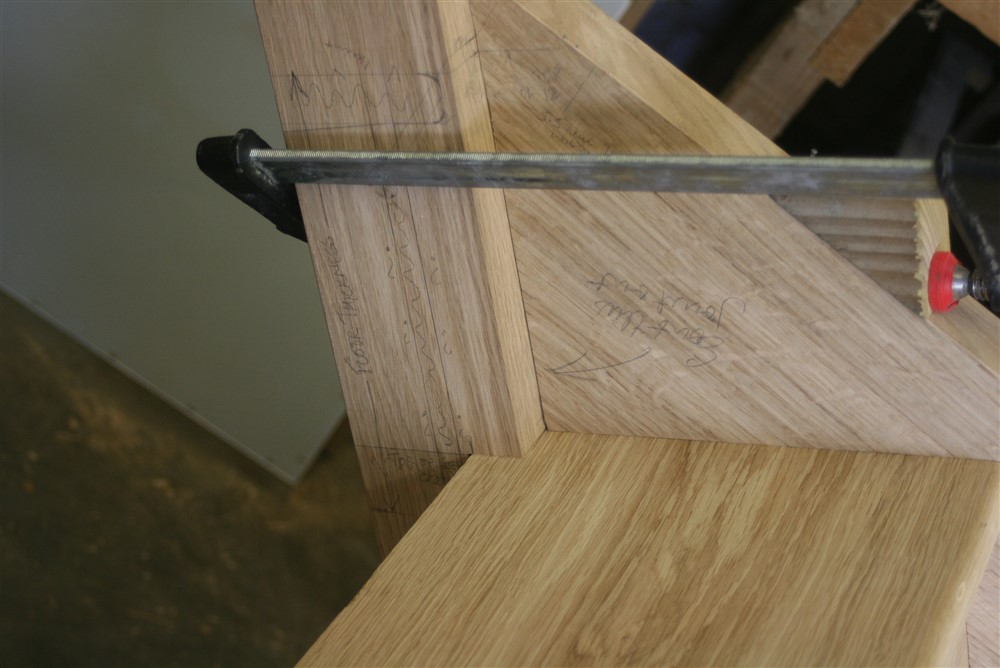
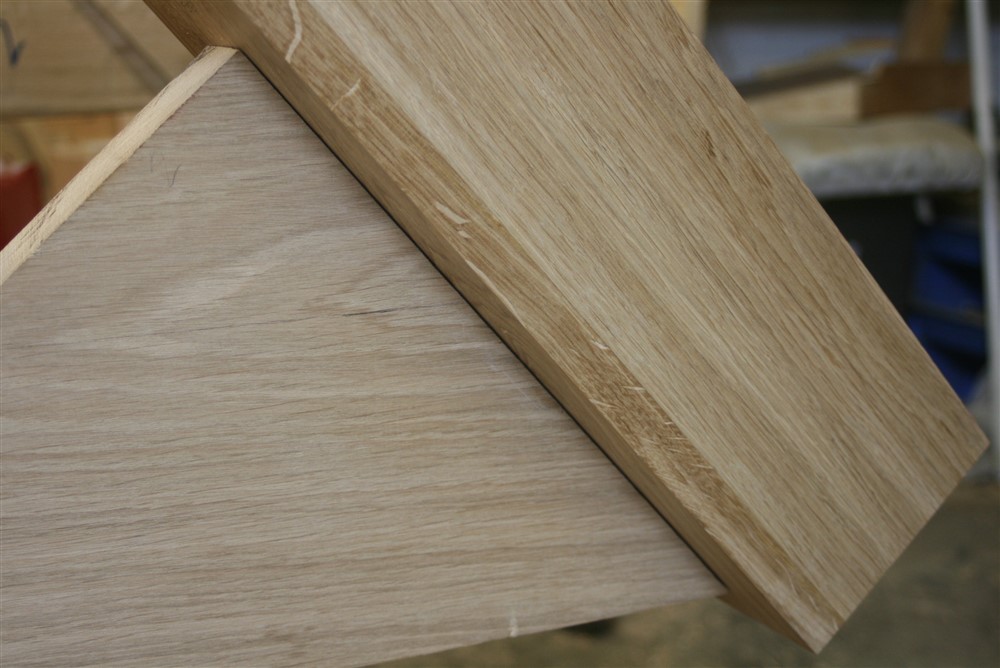
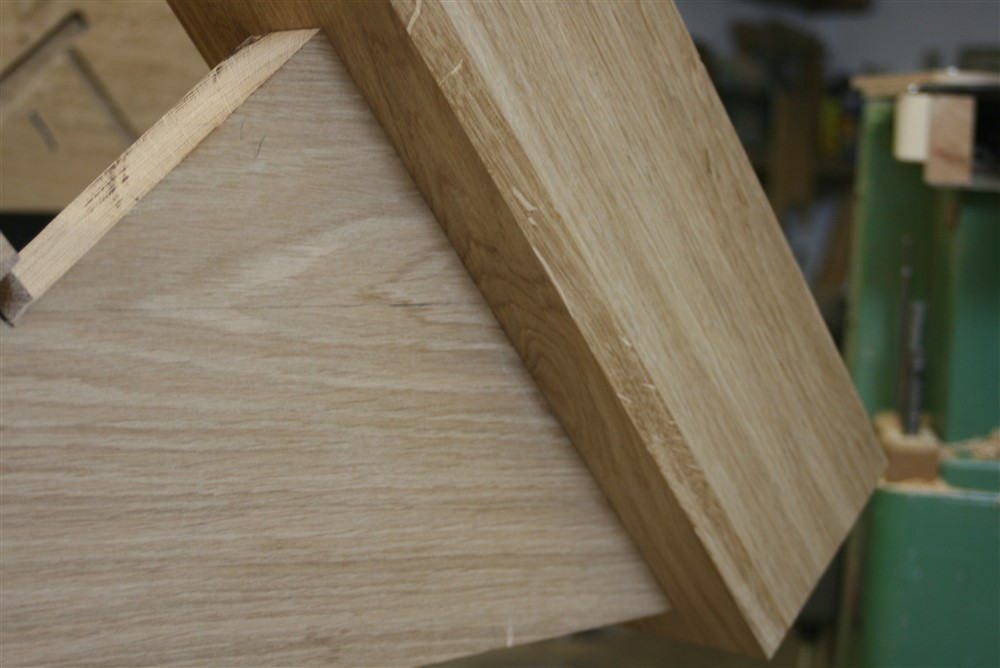
However, we have a problem, Houston:
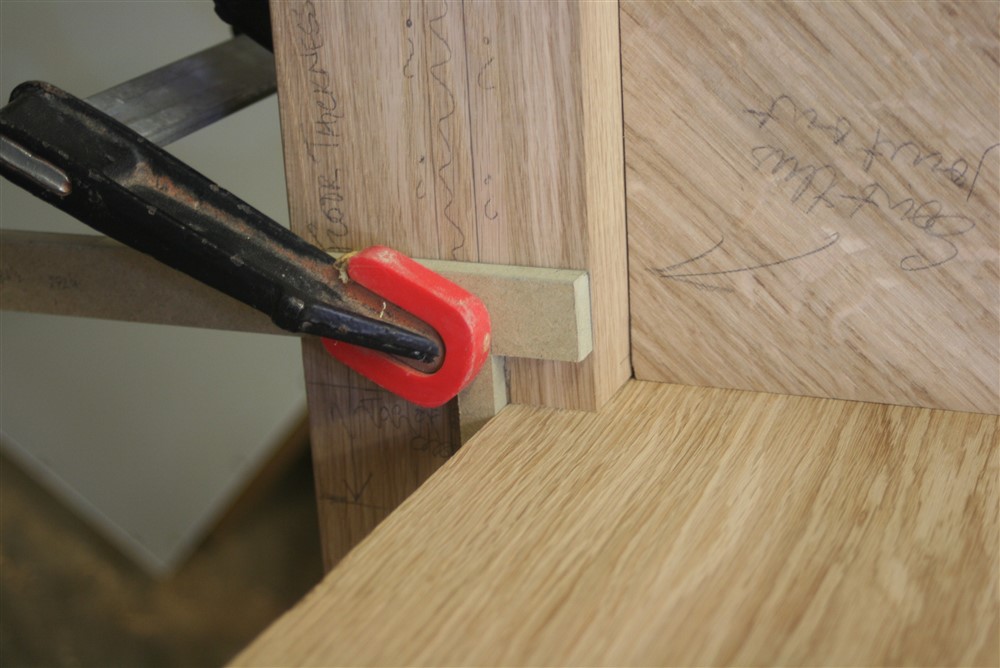
Something went wrong in the setting out, and so the newels will have to move inwards by a few mm (I settled on 6, because that was the thickness of a handy piece of MDF). I can't do this until I have the stair apart again, and the only thing it has implications for is the height of the handrail, which will go upwards by 3 or 4 mm as a result:
Whilst cogitating over that I glued up the rest of the bottom newel, which isn't the same as the others:
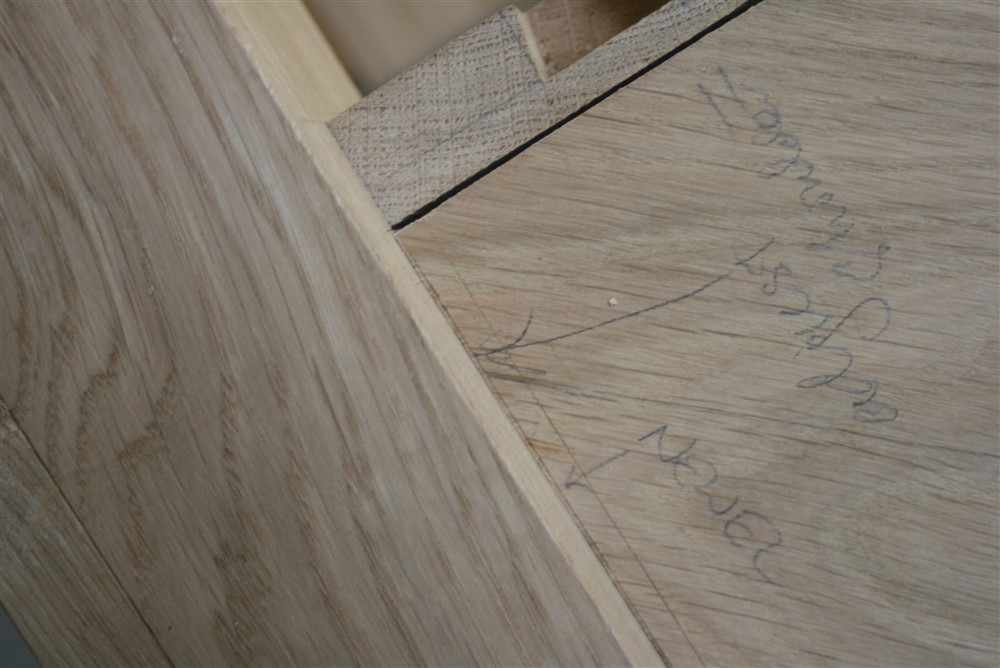
Perhaps those who make stairs regularly could comment on this. Those steps where the riser is embedded in the newel.......what do you do? If you put a slot&wedge arrangement in as per the string, I can't see how you could ever actually get the riser into place. So, I cleared out the entire area behind so that it can slip in from the back. Is this what you guys do?
Chamfers. You know how much I like a nice chamfer. Well, here's mt standard chamfer stop, before and after:
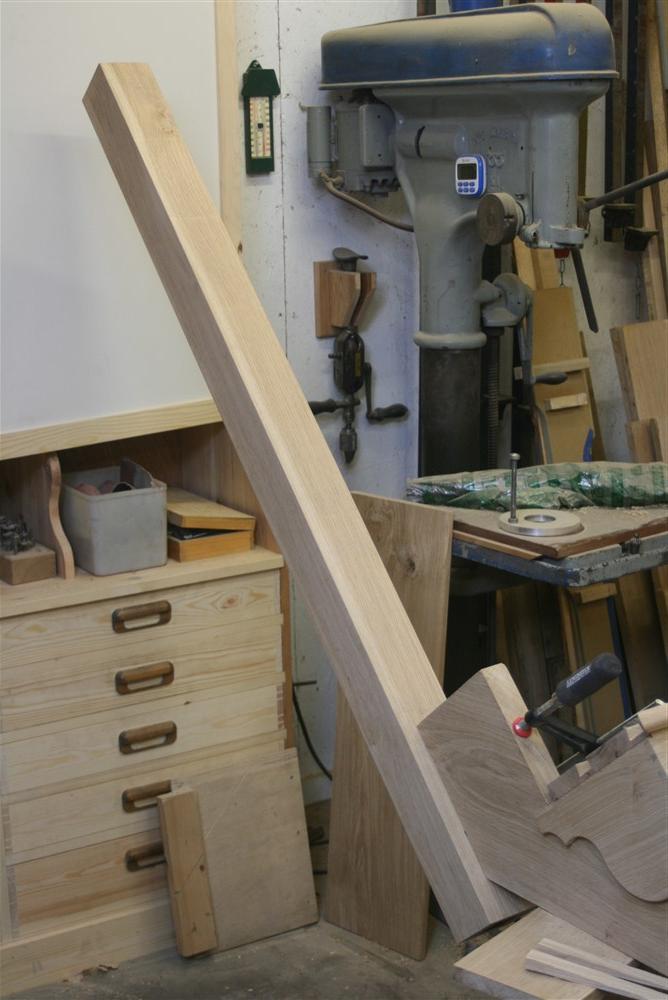
And the completed newel (without caps etc):
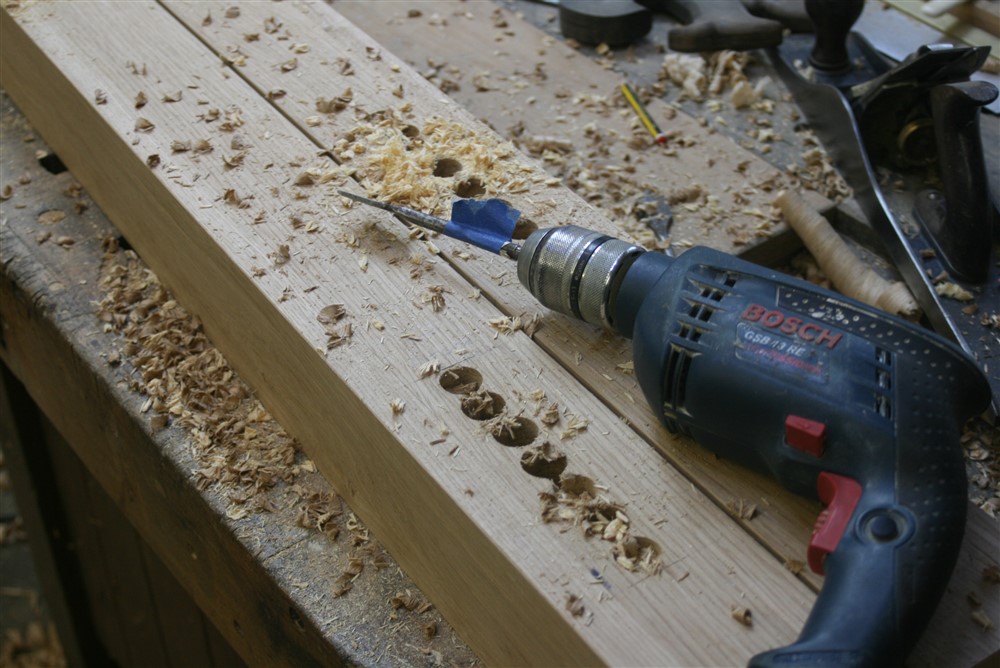
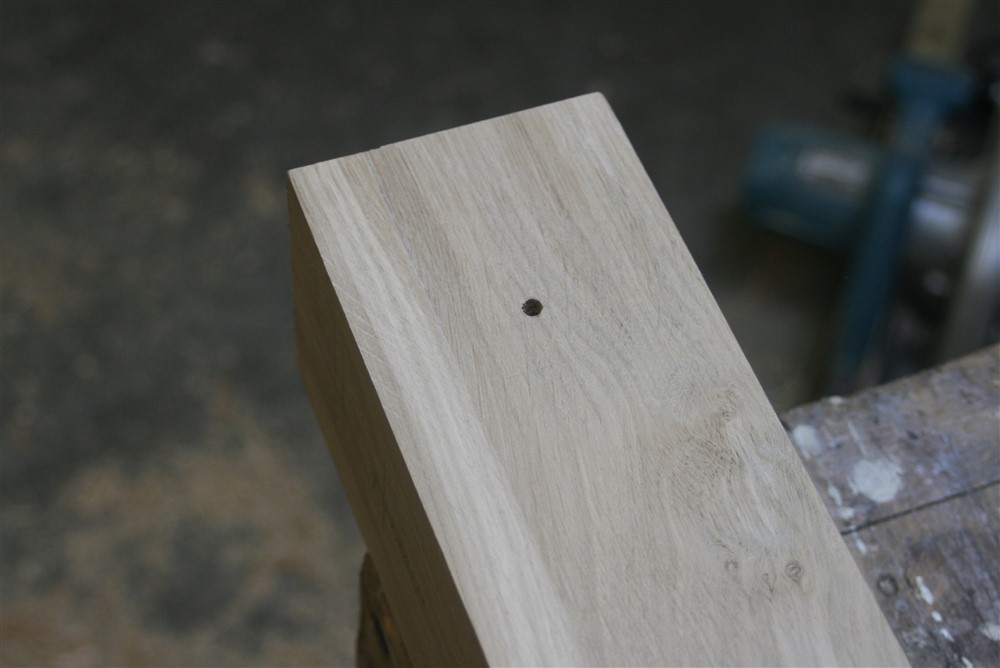
Being very precise about where you actually are on a piece of wood is critical. Here I started drilling out for a mortise for the handrail, had a second thought, checked, found out I was on the wrong face:
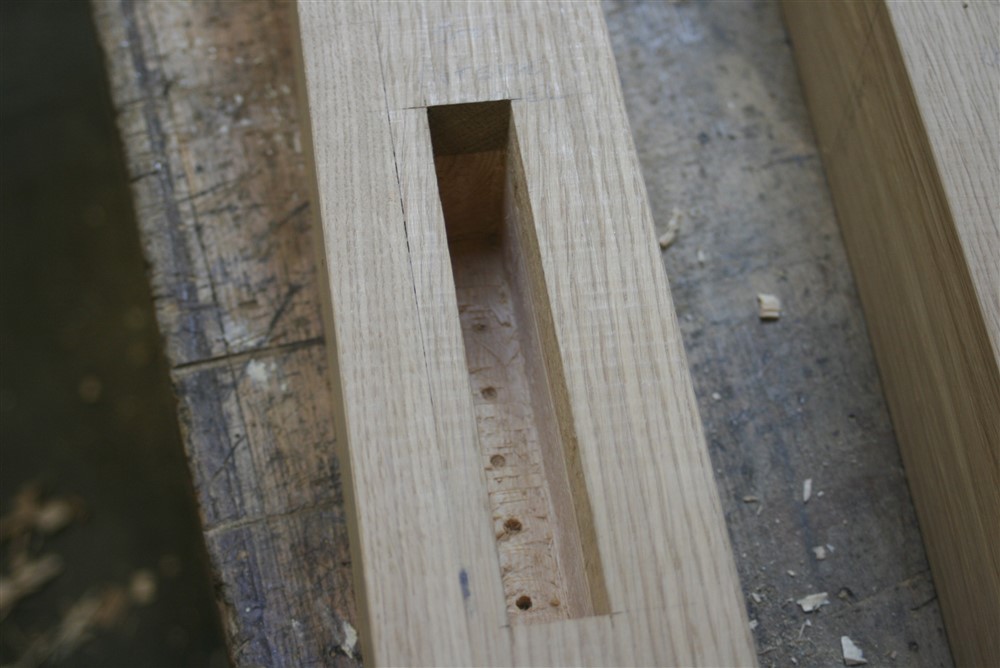
OK, that's a pity but it's only a little bit of filler, and a nice reminder every time I use the stairs that I am not perfect. Eventually I chopped out a suitable mortise on the right part of the correct newel:
The following day the bottom newel was ready to tackle. First job was to clean up the faces of the thickened bit at the bottom, and square up the base:
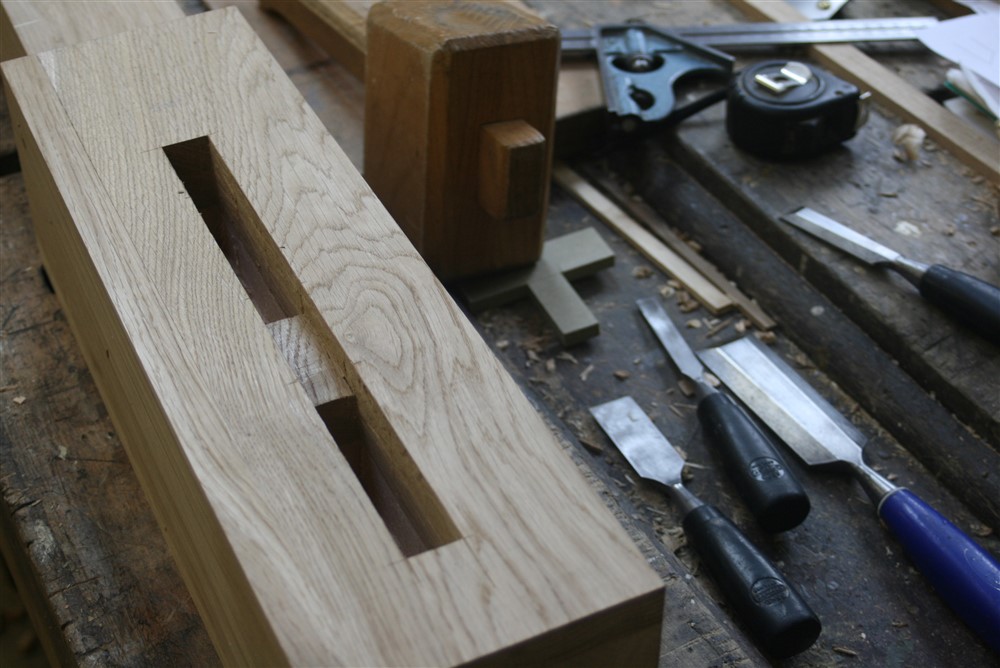
Then chop a pair of mortises in the usual way:
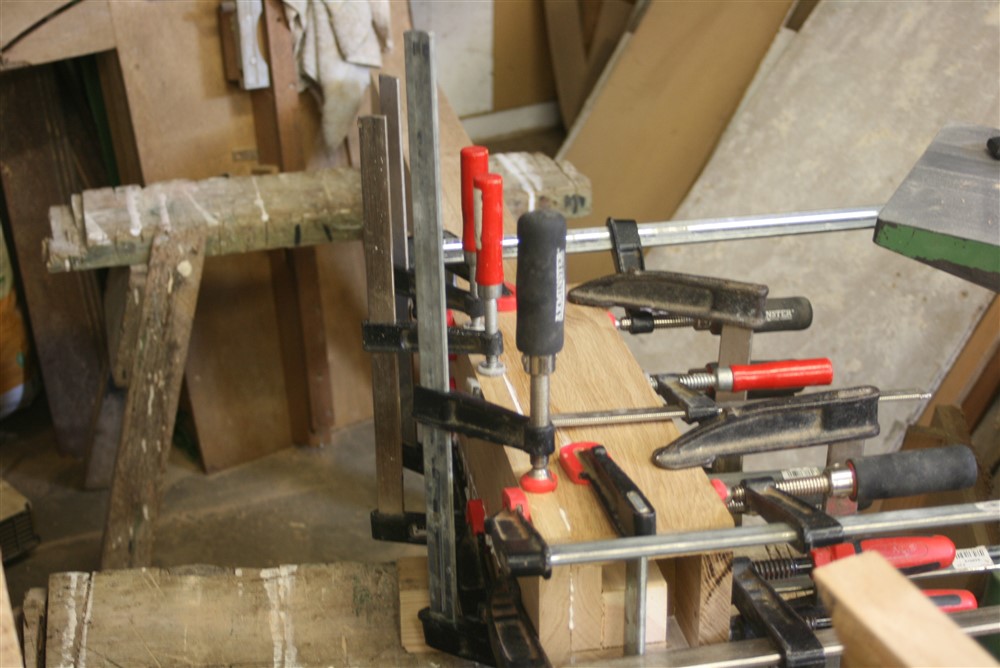
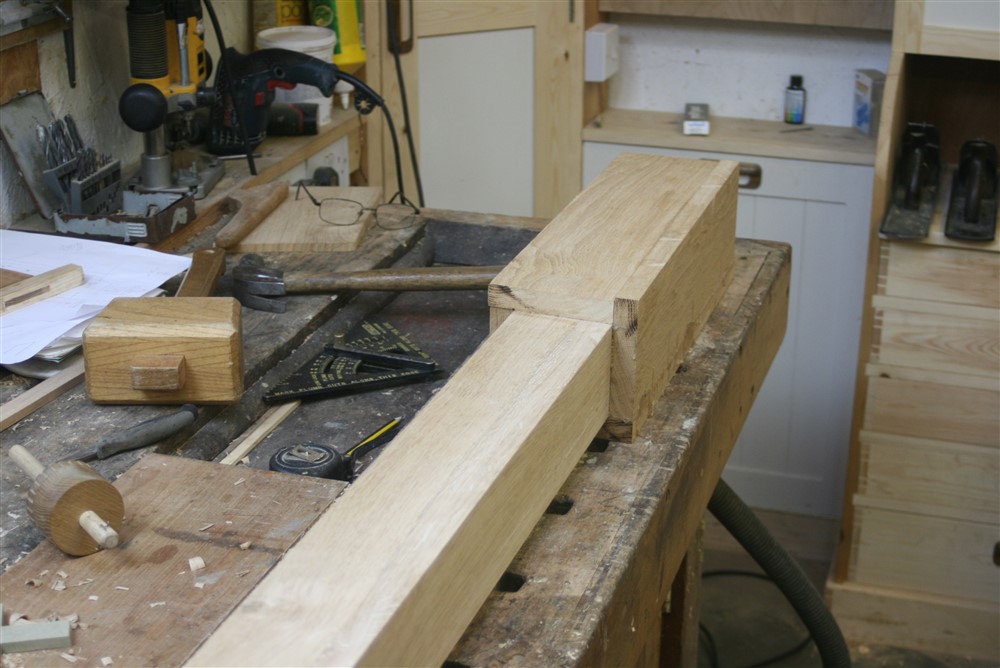
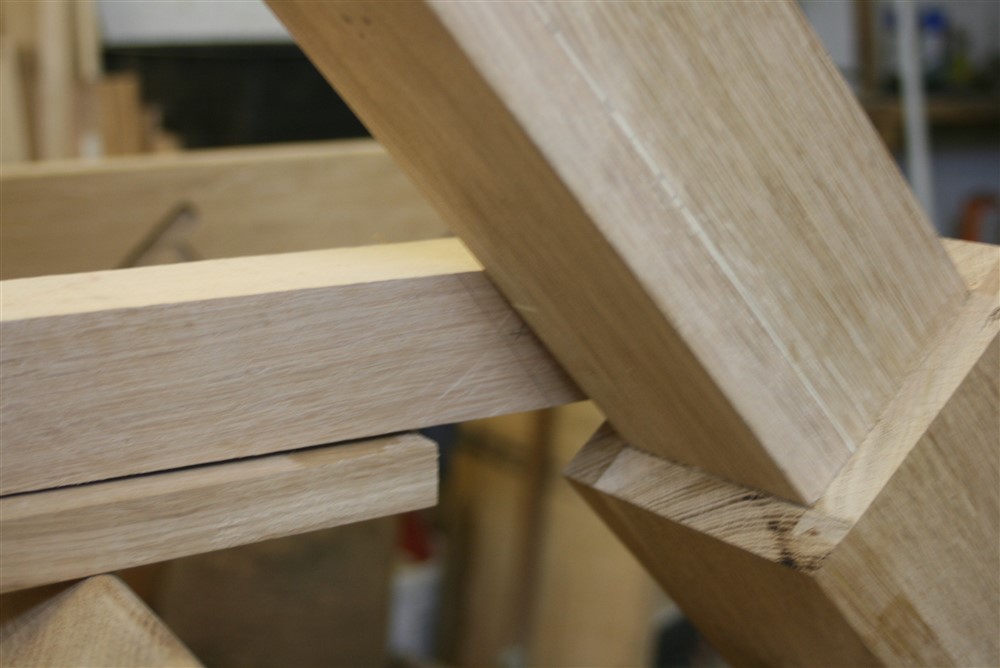
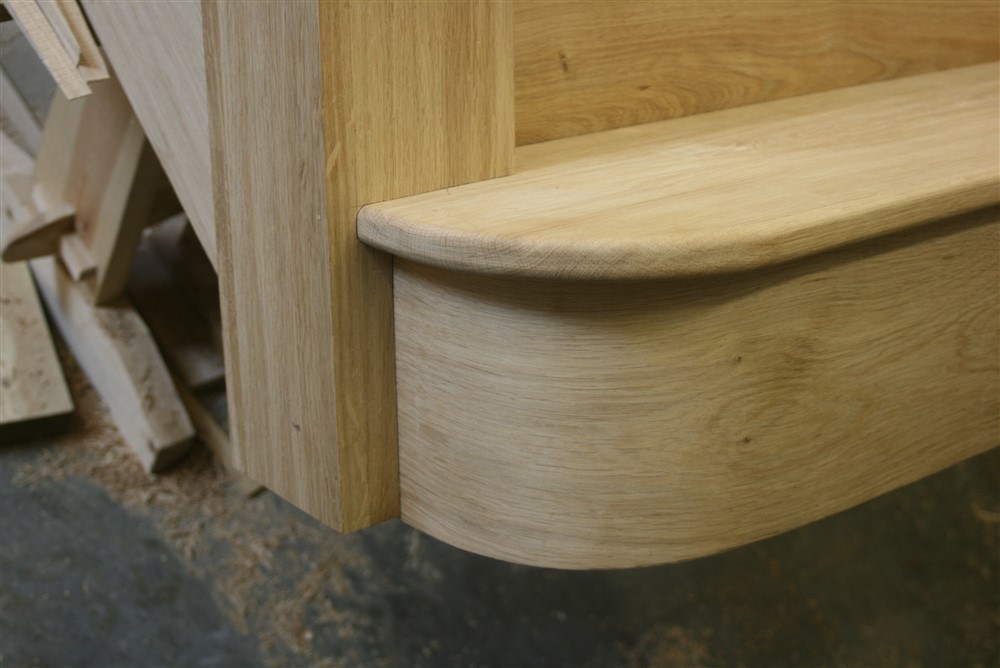
And a first trial fit:
It was absolutely perfect on the inside, where no-one will ever see it:
But poor on the outside:
If only I had a shoulder plane. But I've managed forever without......just fix a straight-edge, scribe with a knife, and chisel away:
Fixed:
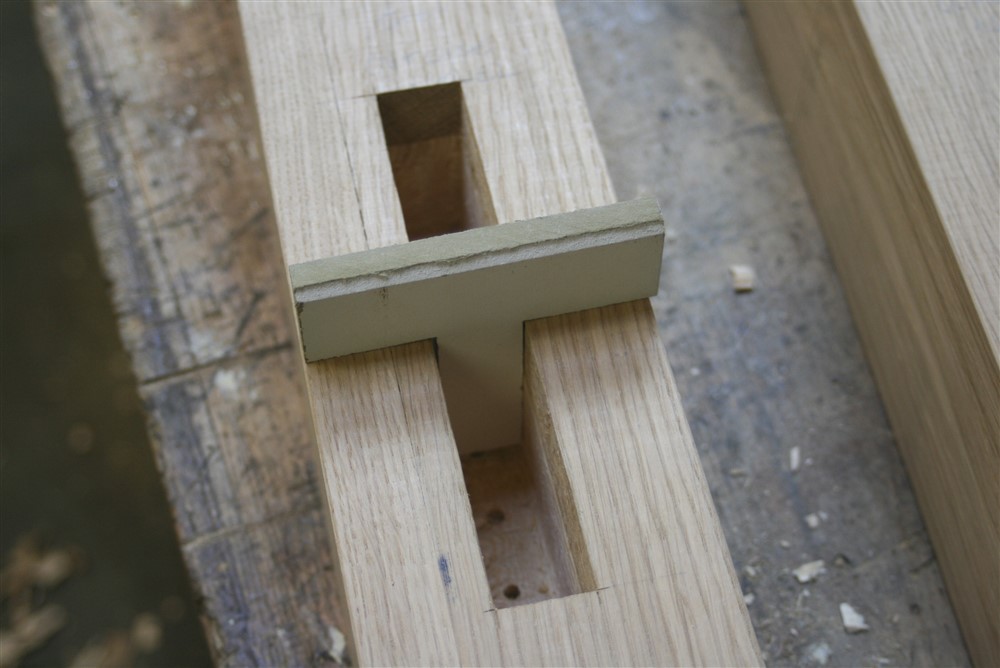
Marking out around newels is awkward because nothing is on the same plane. I found it easier to make a quick jig of the exact shape of the tread section:
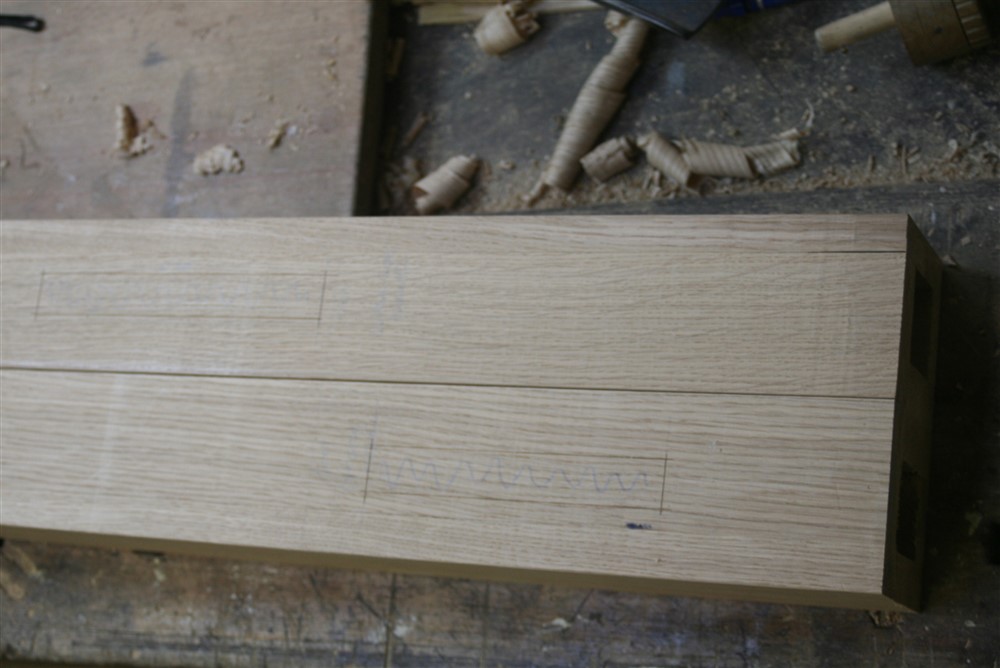
Whilst marking stuff up it seemed sensible to mark the shoulders for the handrail:
Wise to do that before shaping the rail, because transferring markings around a non-rectilinear shape with rounded corners would be some sort of mugs game.
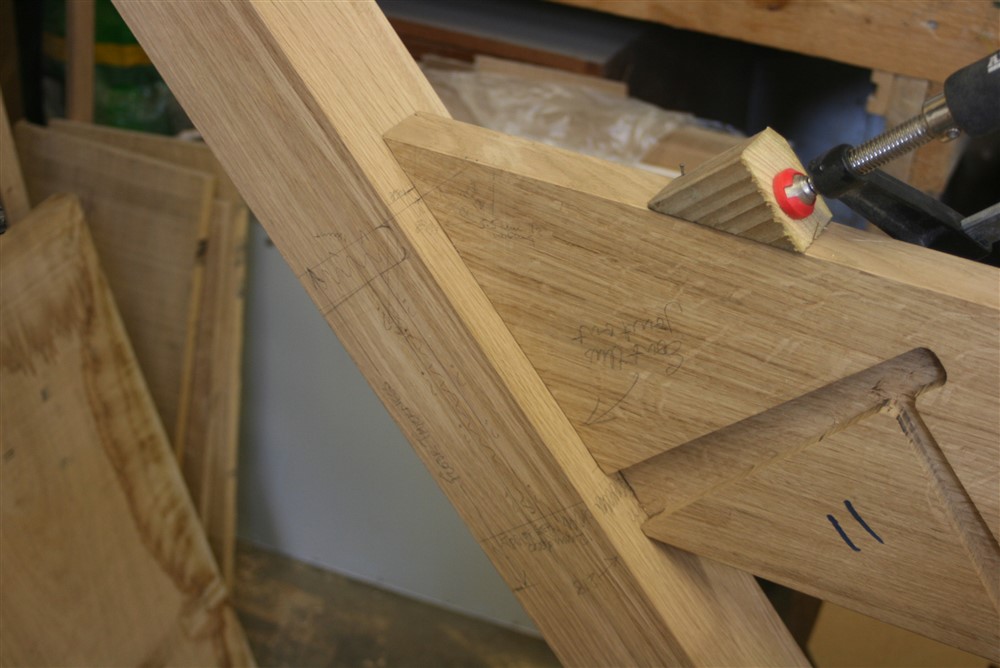
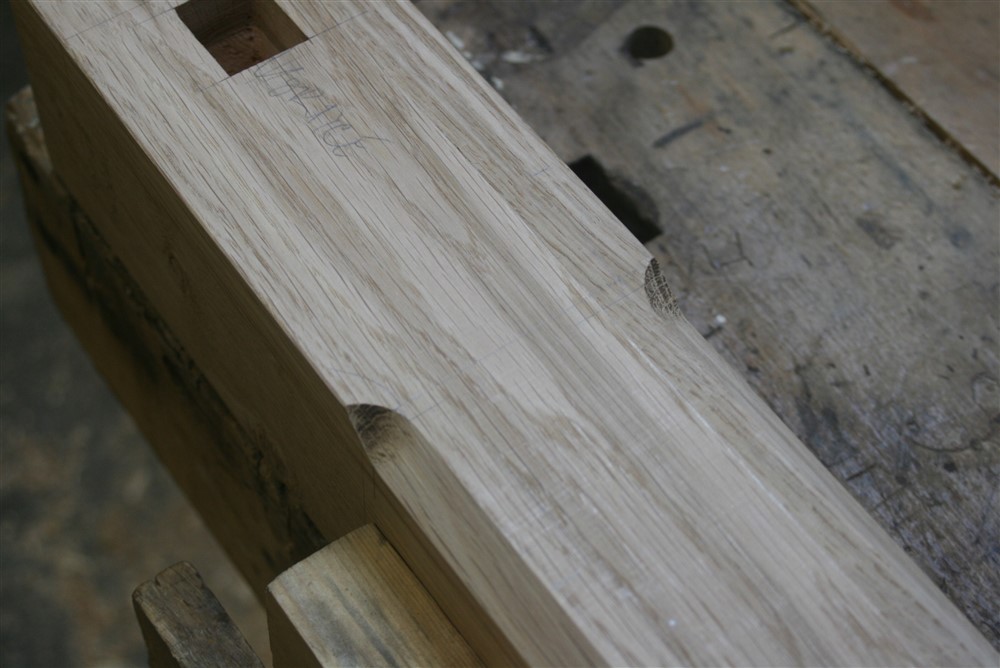
Here I am transferring the mortise position from the top newel to the bottom:
After doing all the marking up around the bottom newel, time to start chopping wood away:
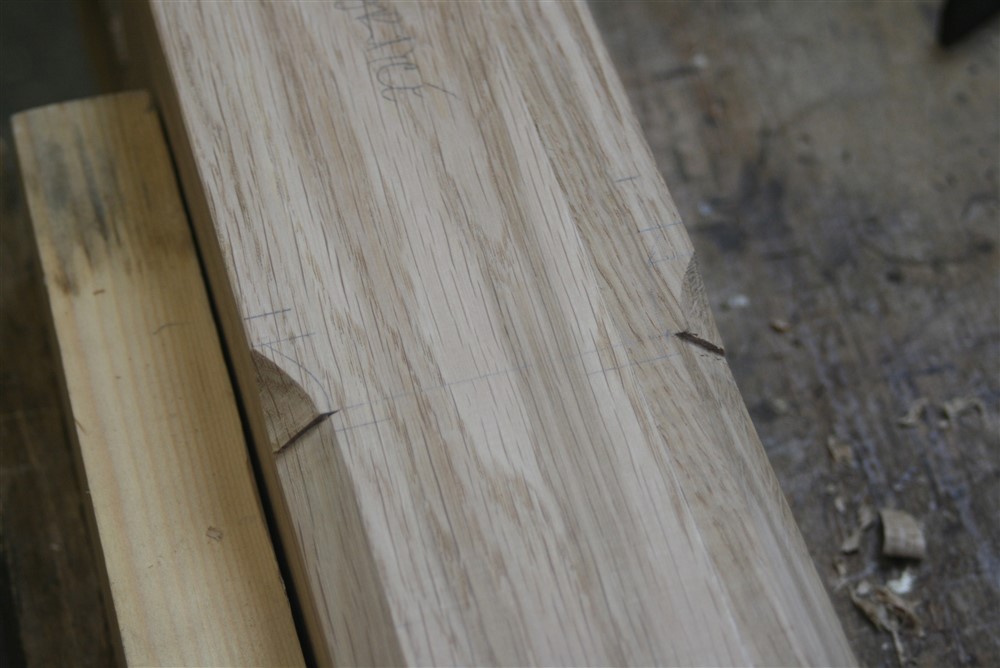
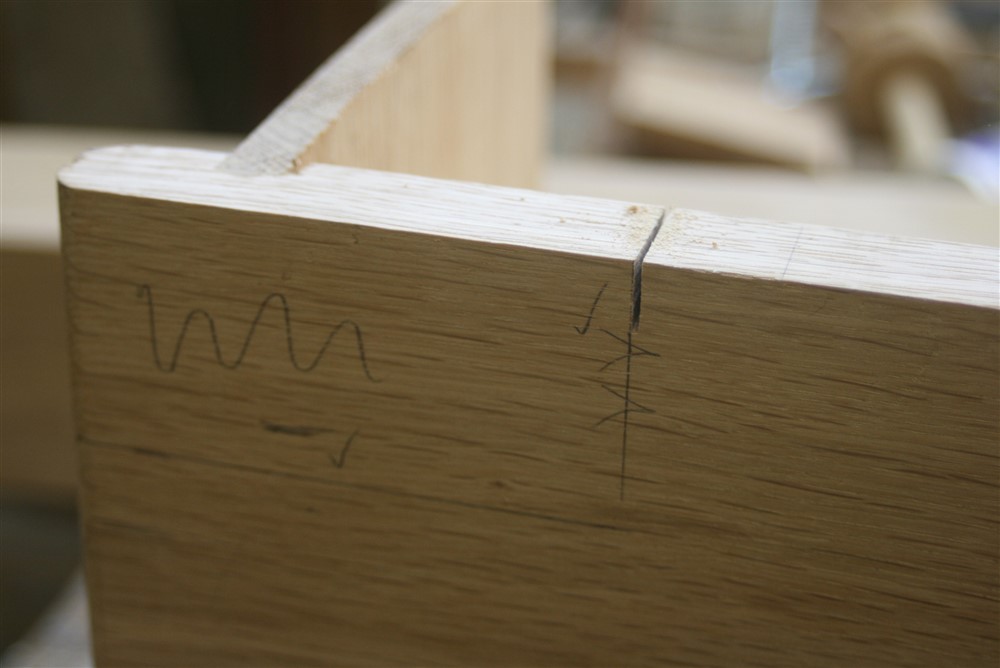
My personal method of marking involves some little symbols. Here the double arrows through a marking out line tell be to leave the line (ie cut against the far edge of the line). In other words, my first stab at the setting out hadn't been special:
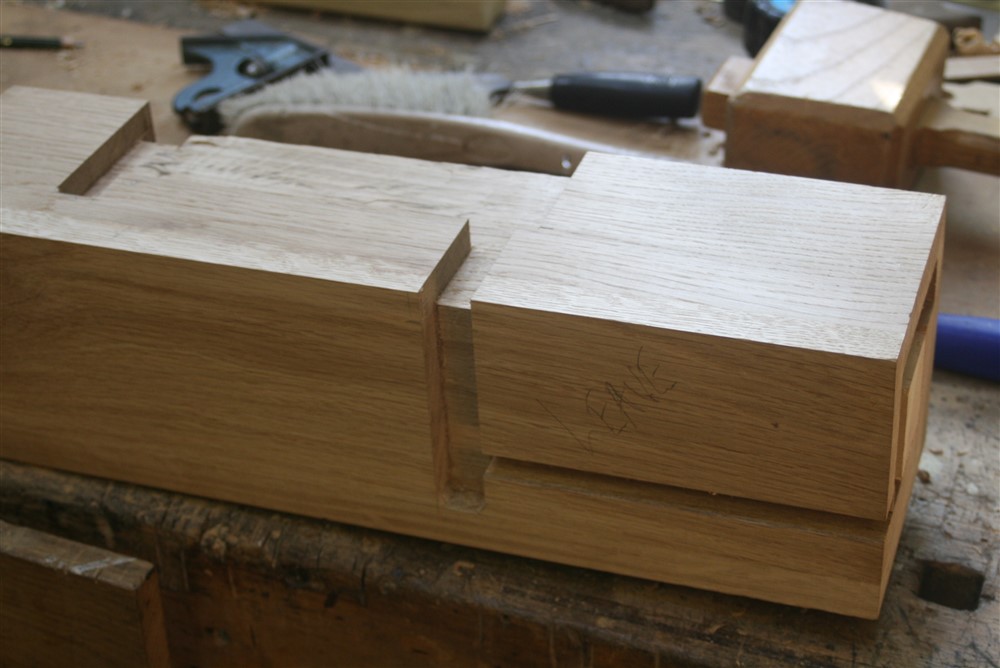
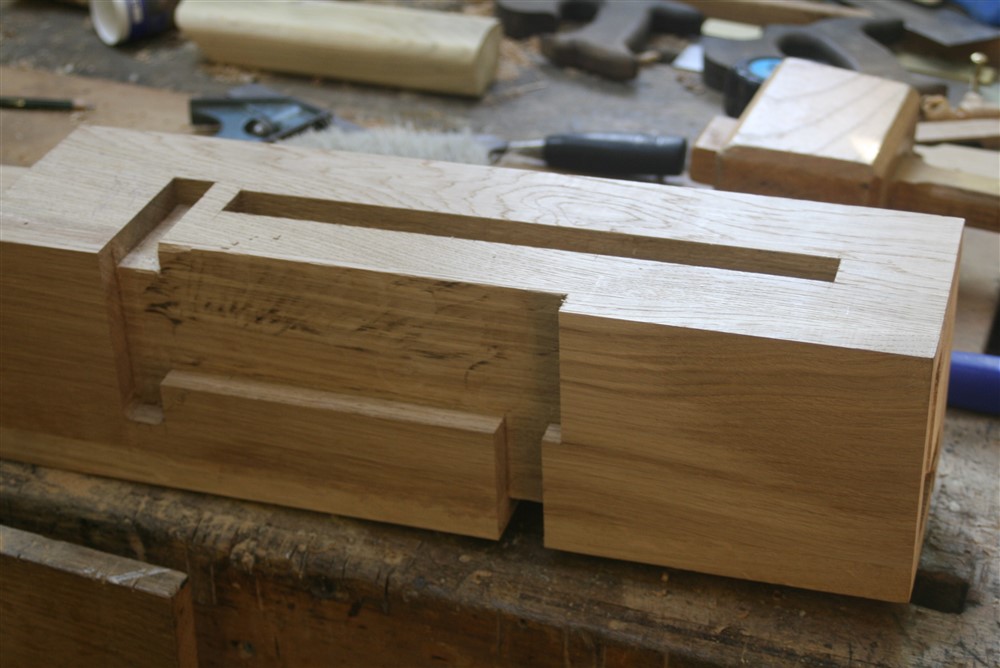
There are housing joints on 3 faces of this lower newel:
It's not complicated, but you must stop and think. It all came together OK in the end:
That's another of those risers without any backing behind it in the newel.
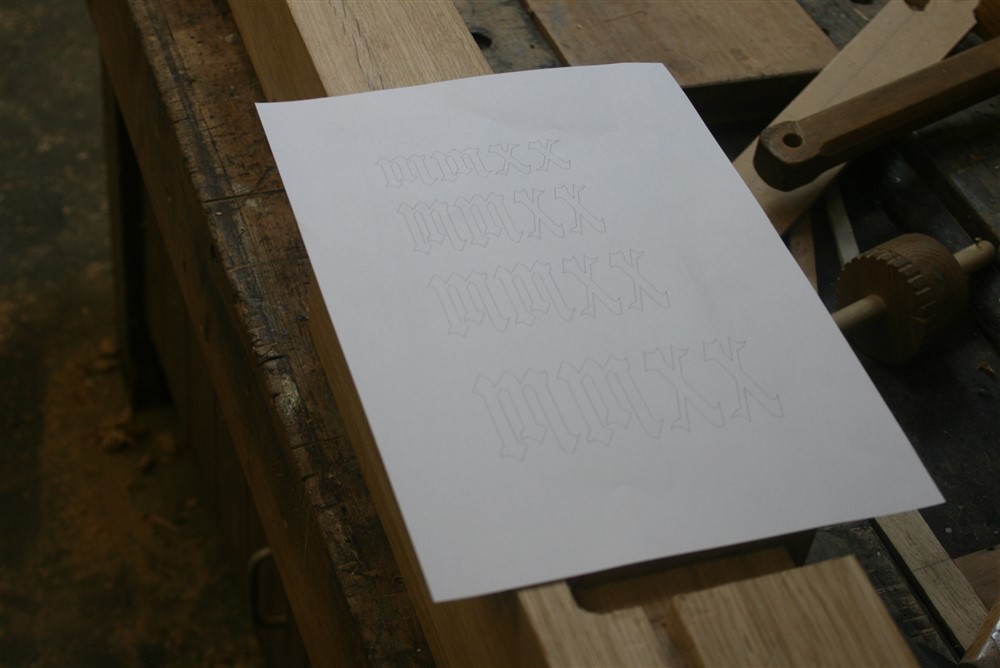
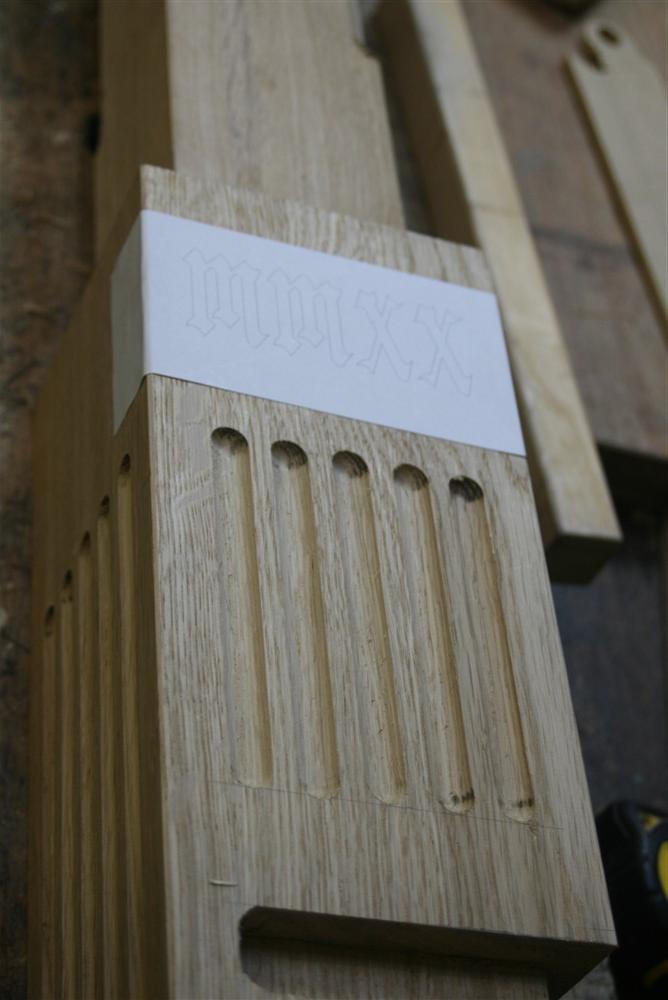
Having done all the joinery to the newel, now I can get on and do the frilly bits. First, choose, then set out, the carving (every stair has a date carved into the newel, doesn't it?):
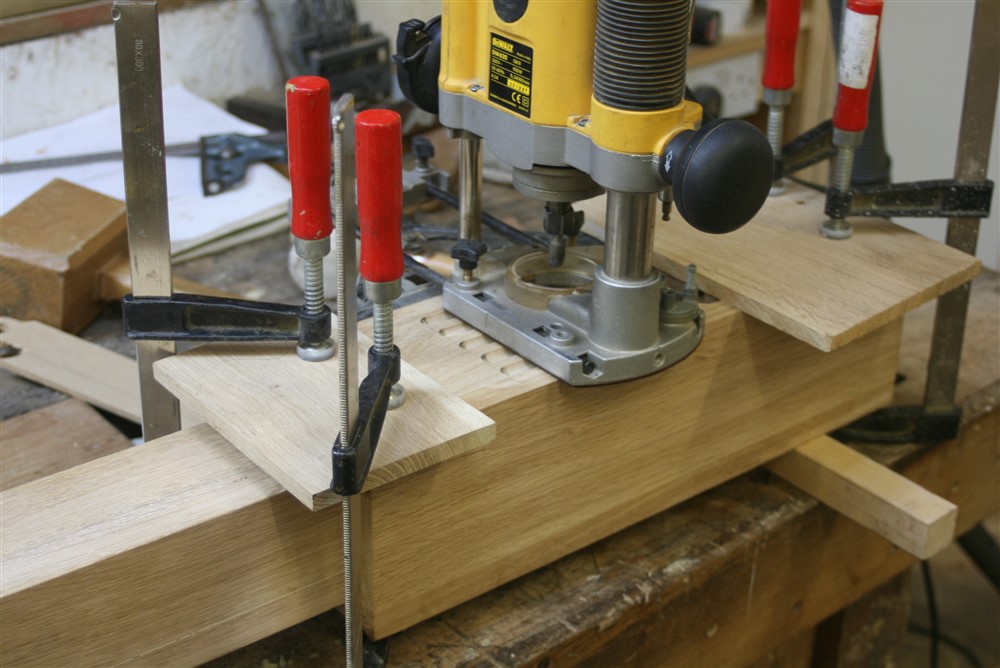
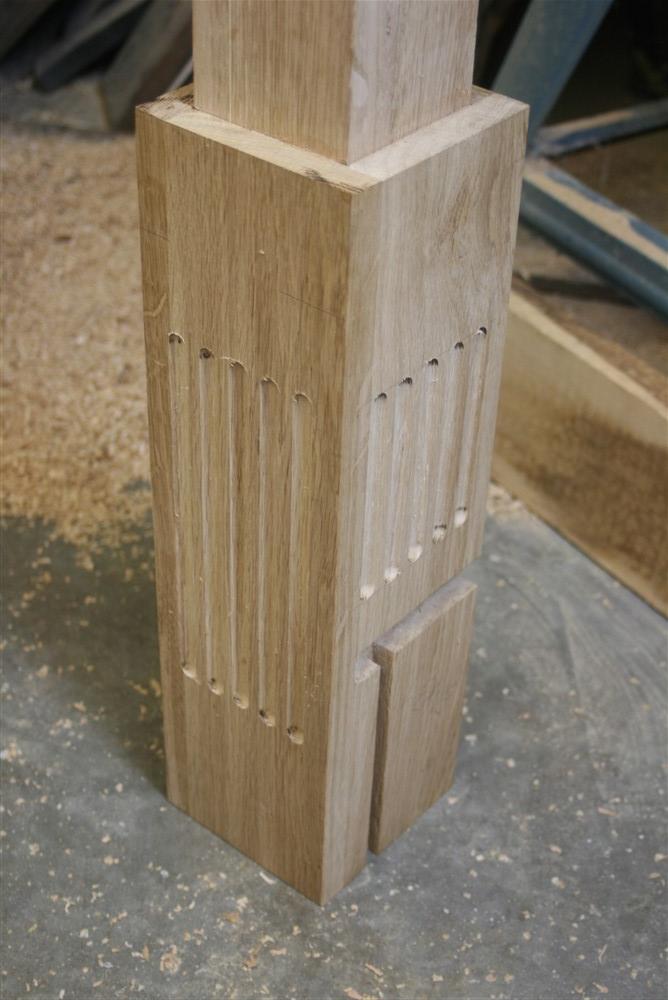
This allows the setting out of the cove cuts (not quite fluting):
I shall enjoy carving those tomorrow. The wood looks clear and blemish free, my chisels are sharp.......