


Derek Cohen (Perth Oz)
Established Member
I decided to take a short break from the chair build - it had been quite intense for a while and it was time to chill out for a couple of weeks.
The background to this bench is that each year I get invited to demonstrate something at the Perth LN Tool Event - joint making, dovetailing, tool building, whatever. And each year it is held I wind up with a bench that suits a power tool user! One small face vice that is inaccessible, and a large flat bench without dogs. I can use clamps only, and this is not really convenient when planing mouldings, rebates, grooves, sliding dovetails, and so on. I have a Moxon vise, but what I really need is a bench. So I decided to build a small bench that I could fit in the car (I have a two-seater so it has to be small).
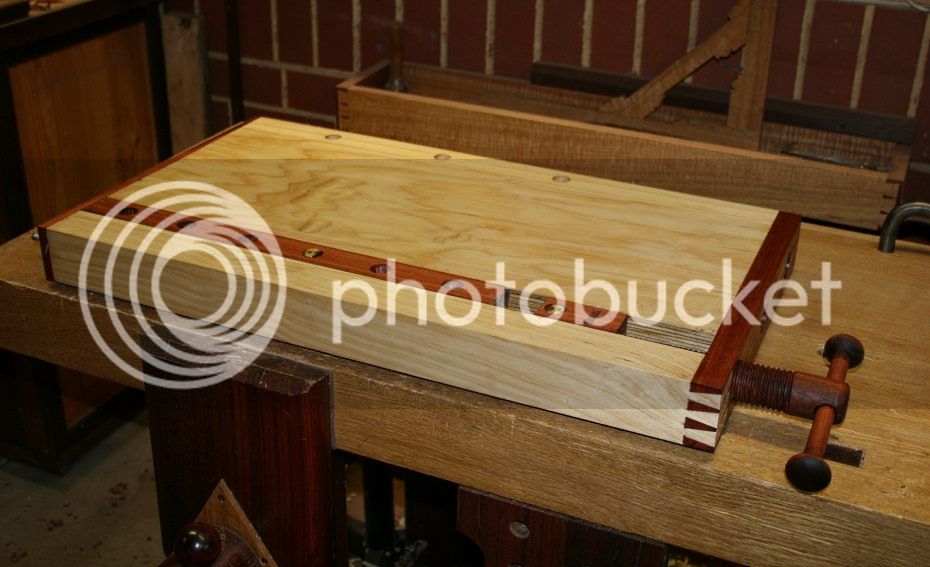
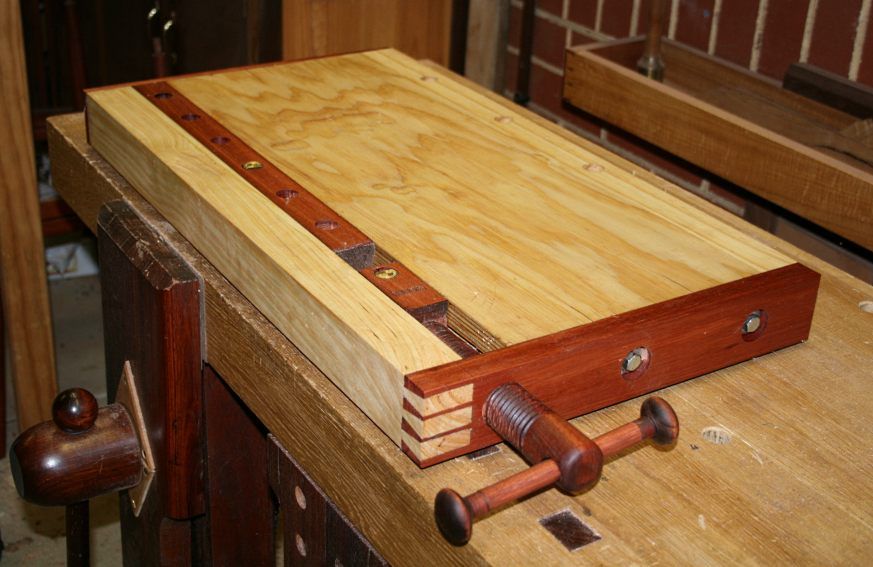
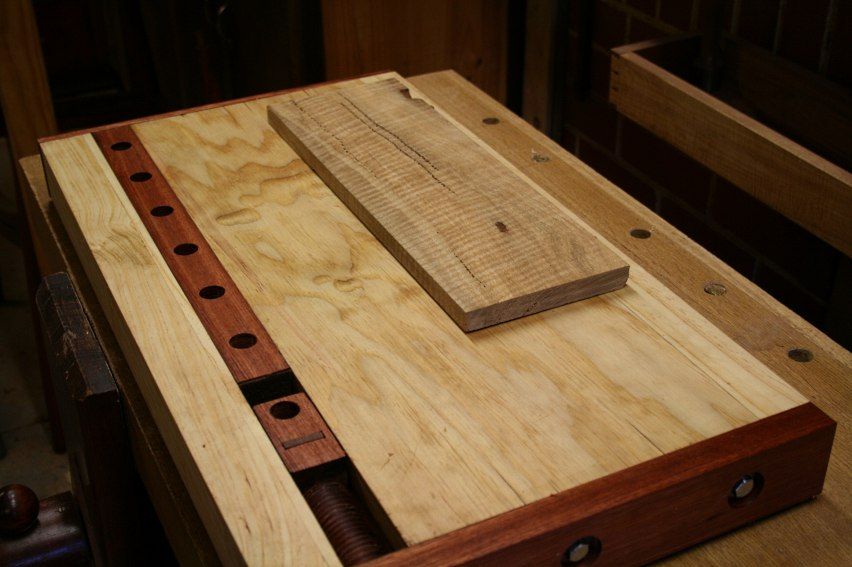
This is what I came up with with scraps on hand: 28" long, 15" wide, and 2 1/2" thick. Materials were Pine sandwiching a LVL core, and Jarrah for the central dog holes, wagon vise and screw.
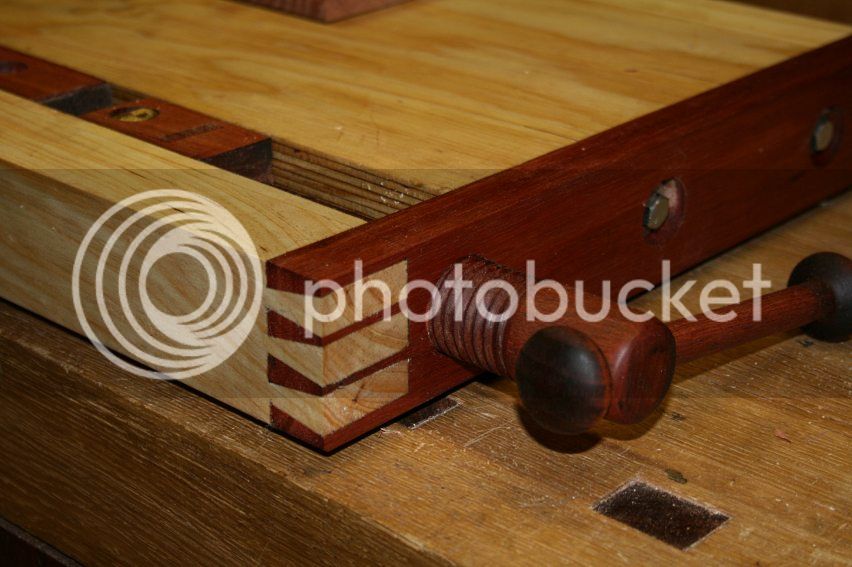
I agree with Chris Schwarz, who recently blogged on cutting full blind dovetails, and wrote that the through dovetail is the most difficult of all to get right. Particularly when the tail is 1 5/8" long.
What I love about the brass Veritas dogs is that they are spring-loaded. They compress into the dog hole, and then pop up at a touch of the finger ..
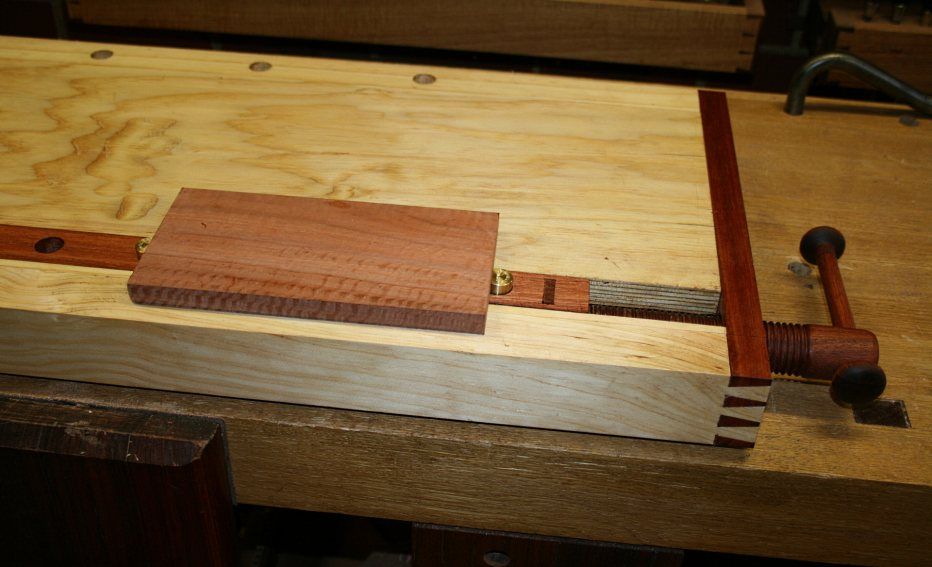
The dogs can be re-sited for traversing ...
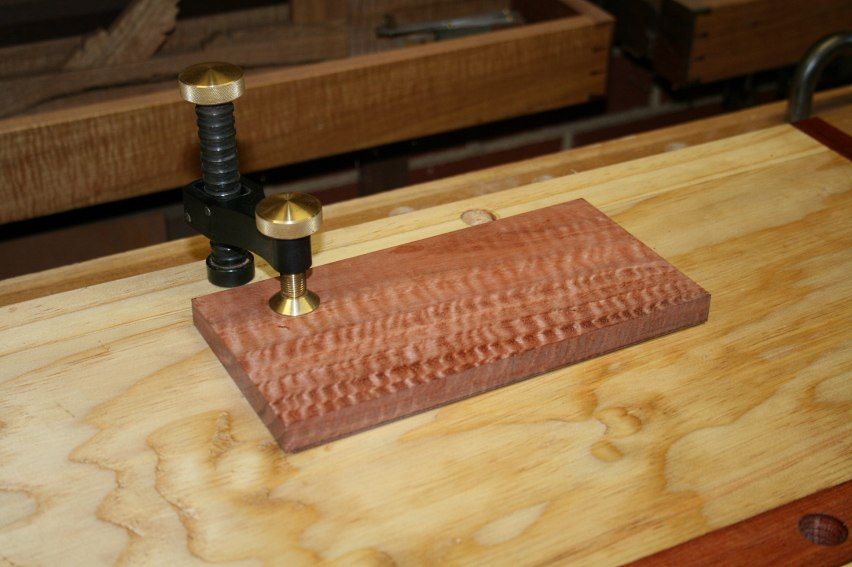
... and they may also be used with the Veritas Surface Clamp, which is the only hold down with a leg short enough for this bench ..
The end of the bench has an adjustable planing stop.
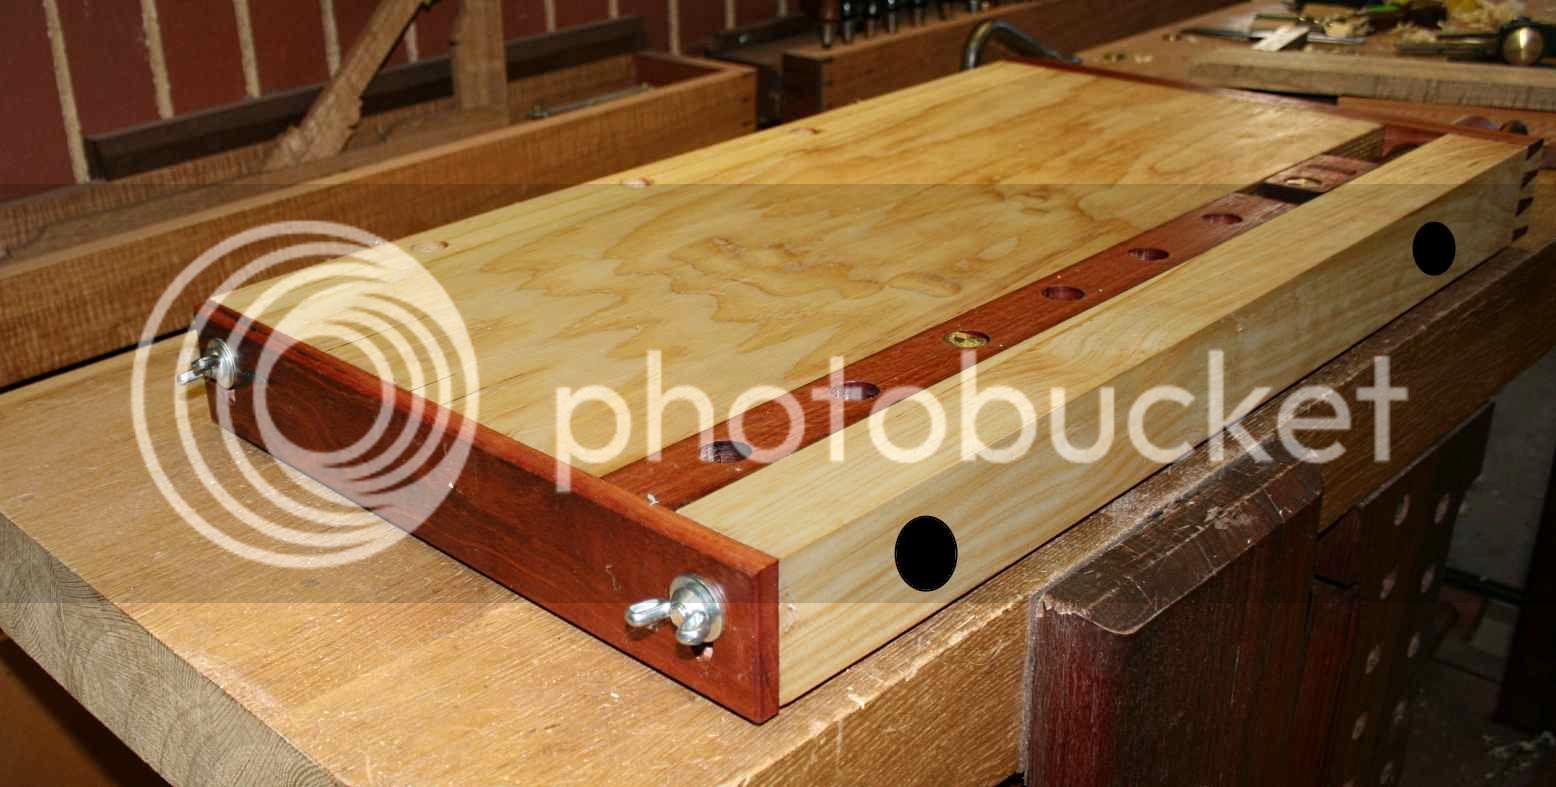
The black dots (above) are where I shall drill holes to clamp the bench down on the "table" top.
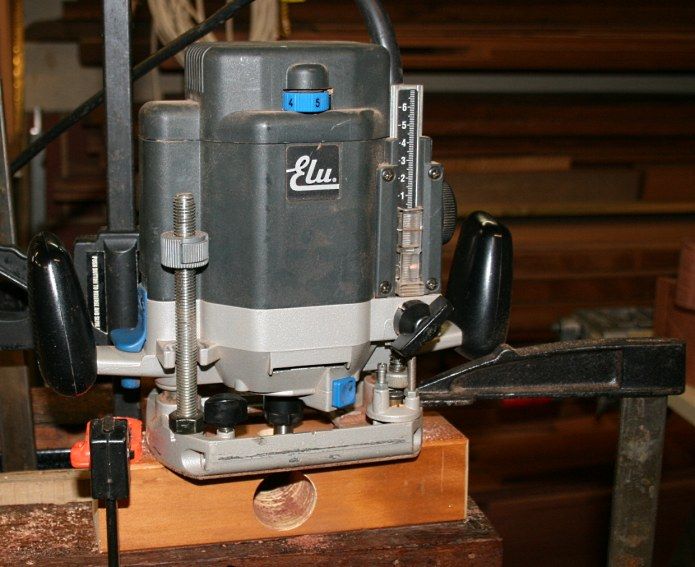
The screw for the wagon vise was intended to be made with a kit, but it did not work (blunt blade which did not work after I sharpened it), so I turned the threads on a power router and finished with a file ..
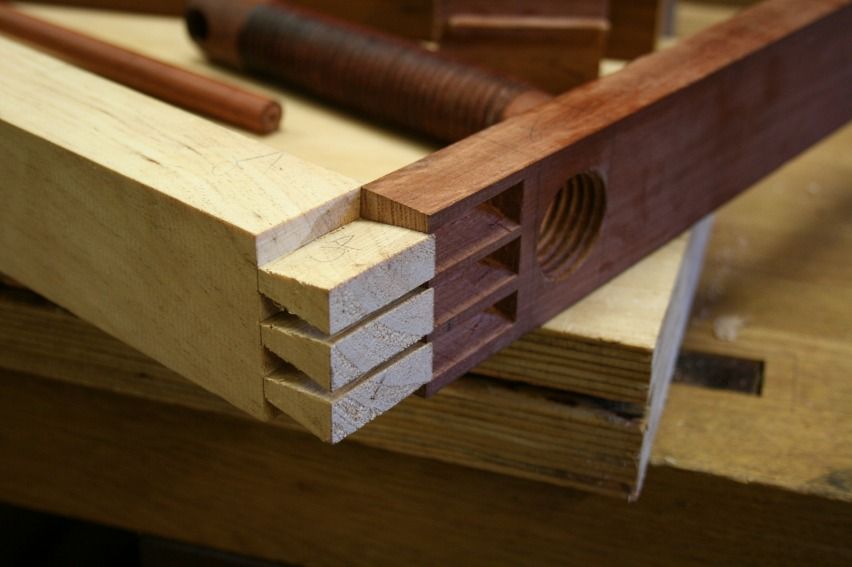
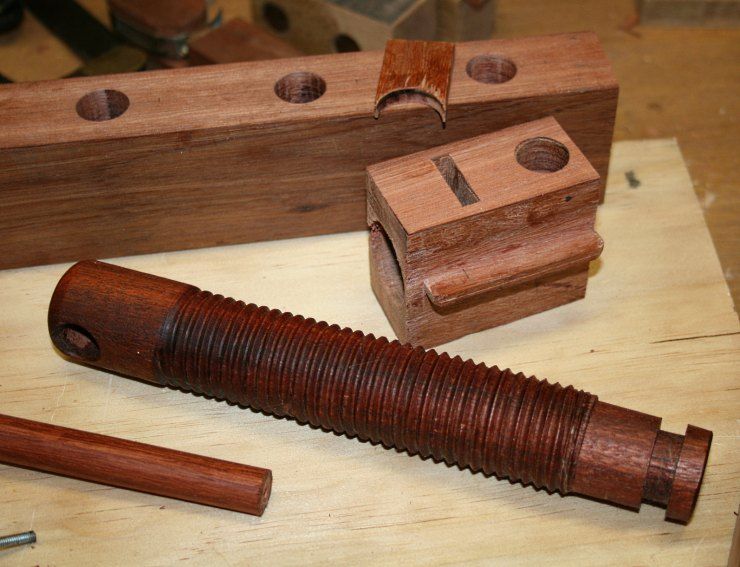
Here are the parts ..
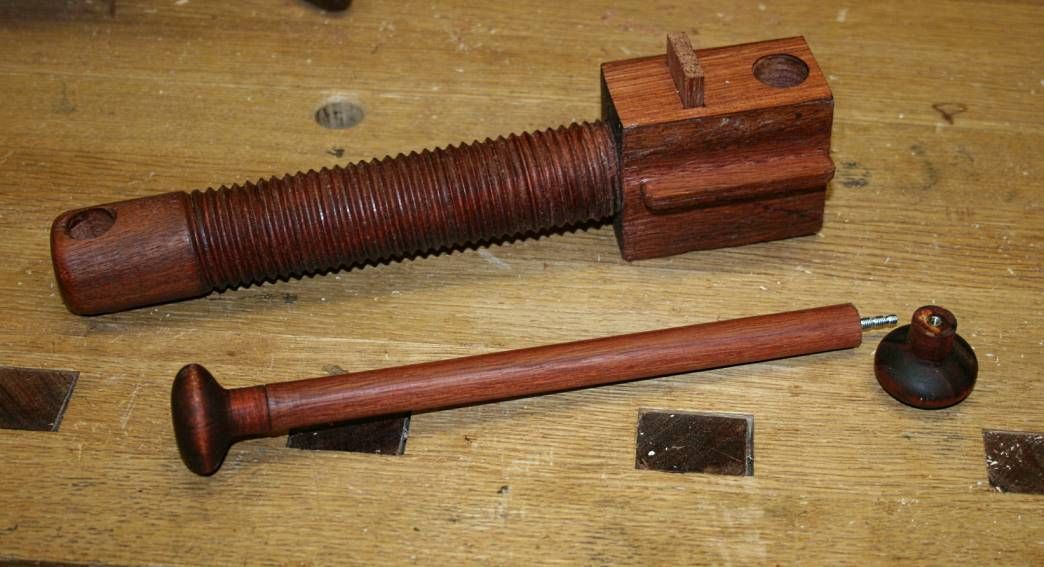
.. and together ...
Regards from Perth
Derek
The background to this bench is that each year I get invited to demonstrate something at the Perth LN Tool Event - joint making, dovetailing, tool building, whatever. And each year it is held I wind up with a bench that suits a power tool user! One small face vice that is inaccessible, and a large flat bench without dogs. I can use clamps only, and this is not really convenient when planing mouldings, rebates, grooves, sliding dovetails, and so on. I have a Moxon vise, but what I really need is a bench. So I decided to build a small bench that I could fit in the car (I have a two-seater so it has to be small).
This is what I came up with with scraps on hand: 28" long, 15" wide, and 2 1/2" thick. Materials were Pine sandwiching a LVL core, and Jarrah for the central dog holes, wagon vise and screw.
I agree with Chris Schwarz, who recently blogged on cutting full blind dovetails, and wrote that the through dovetail is the most difficult of all to get right. Particularly when the tail is 1 5/8" long.
What I love about the brass Veritas dogs is that they are spring-loaded. They compress into the dog hole, and then pop up at a touch of the finger ..
The dogs can be re-sited for traversing ...
... and they may also be used with the Veritas Surface Clamp, which is the only hold down with a leg short enough for this bench ..
The end of the bench has an adjustable planing stop.
The black dots (above) are where I shall drill holes to clamp the bench down on the "table" top.
The screw for the wagon vise was intended to be made with a kit, but it did not work (blunt blade which did not work after I sharpened it), so I turned the threads on a power router and finished with a file ..
Here are the parts ..
.. and together ...
Regards from Perth
Derek
")