Wadkin mitre saw restoration

UKworkshop.co.uk

Help Support UKworkshop.co.uk:

This site may earn a commission from merchant affiliate links, including eBay, Amazon, and others.

wallace

Established Member
Joined
13 Feb 2011
Messages
2,130
Reaction score
252
Location
county durham
Its been far too long since I did a machine so I thought I'd start with something simple to get me back into the swing of things.
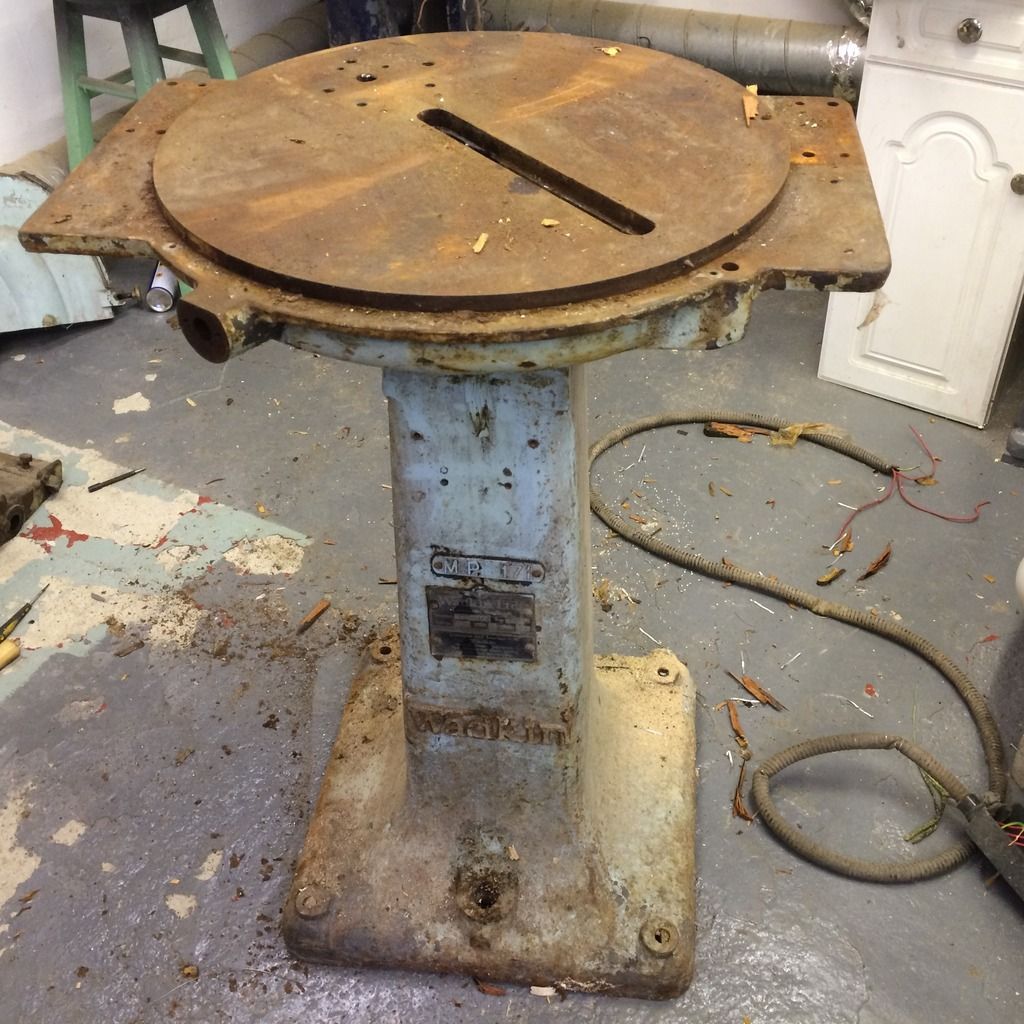
I bought this a couple of years ago and its been sat under a tree.


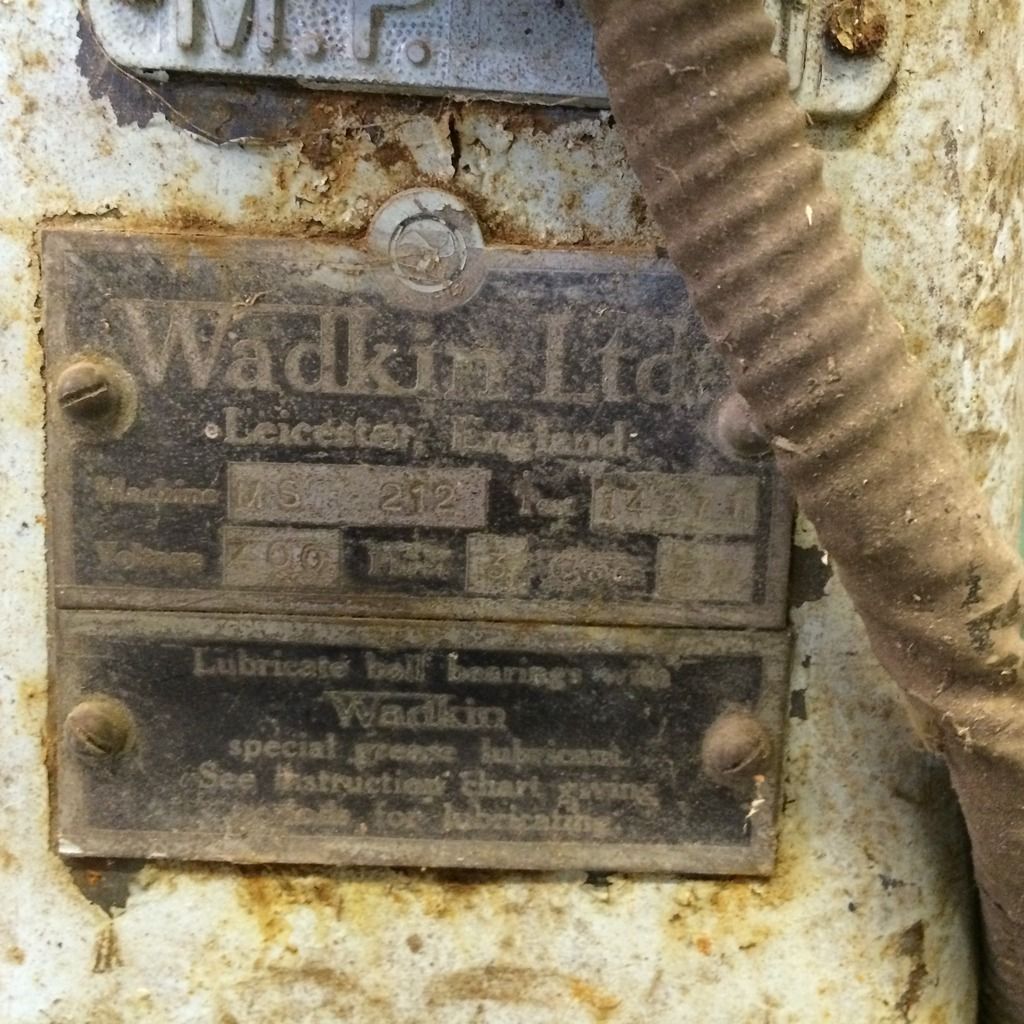
As you can see its pretty crusty


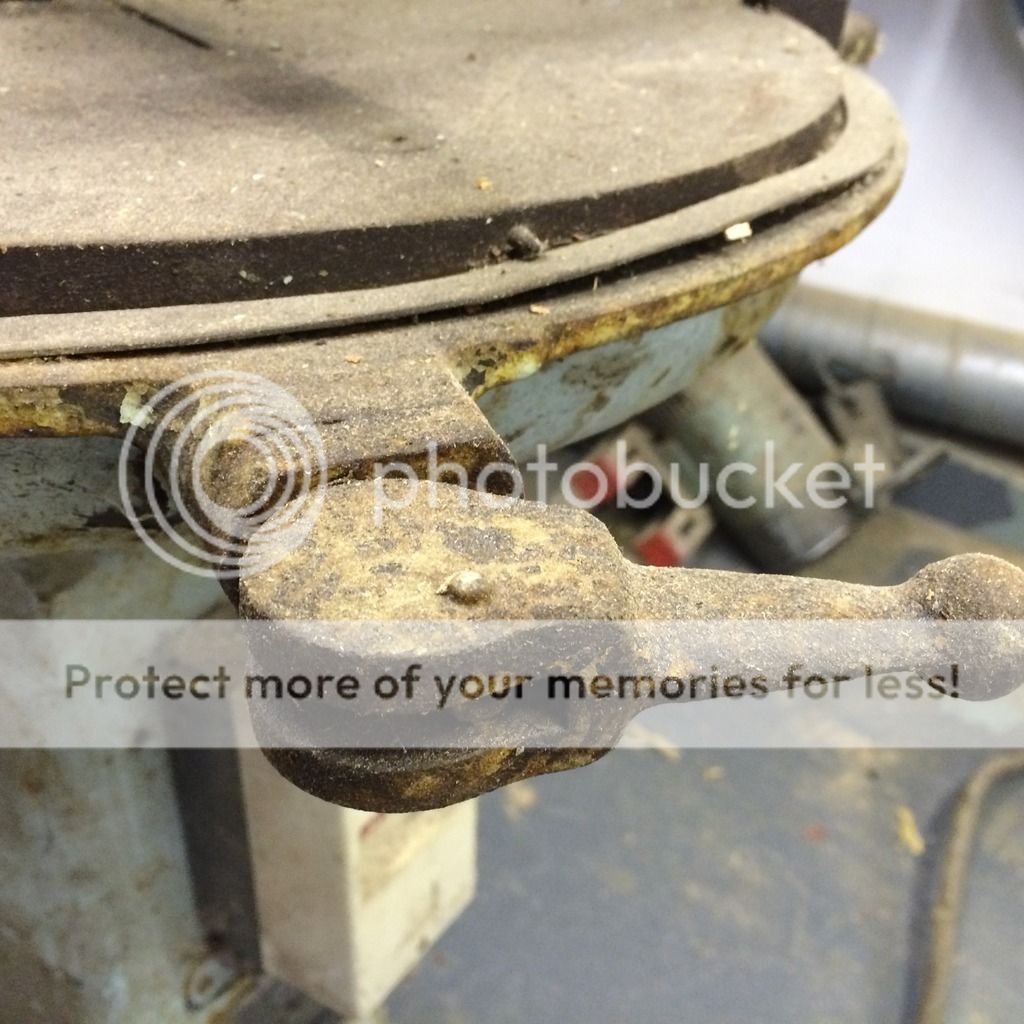
But like most wadkin lumps they come to bits easily


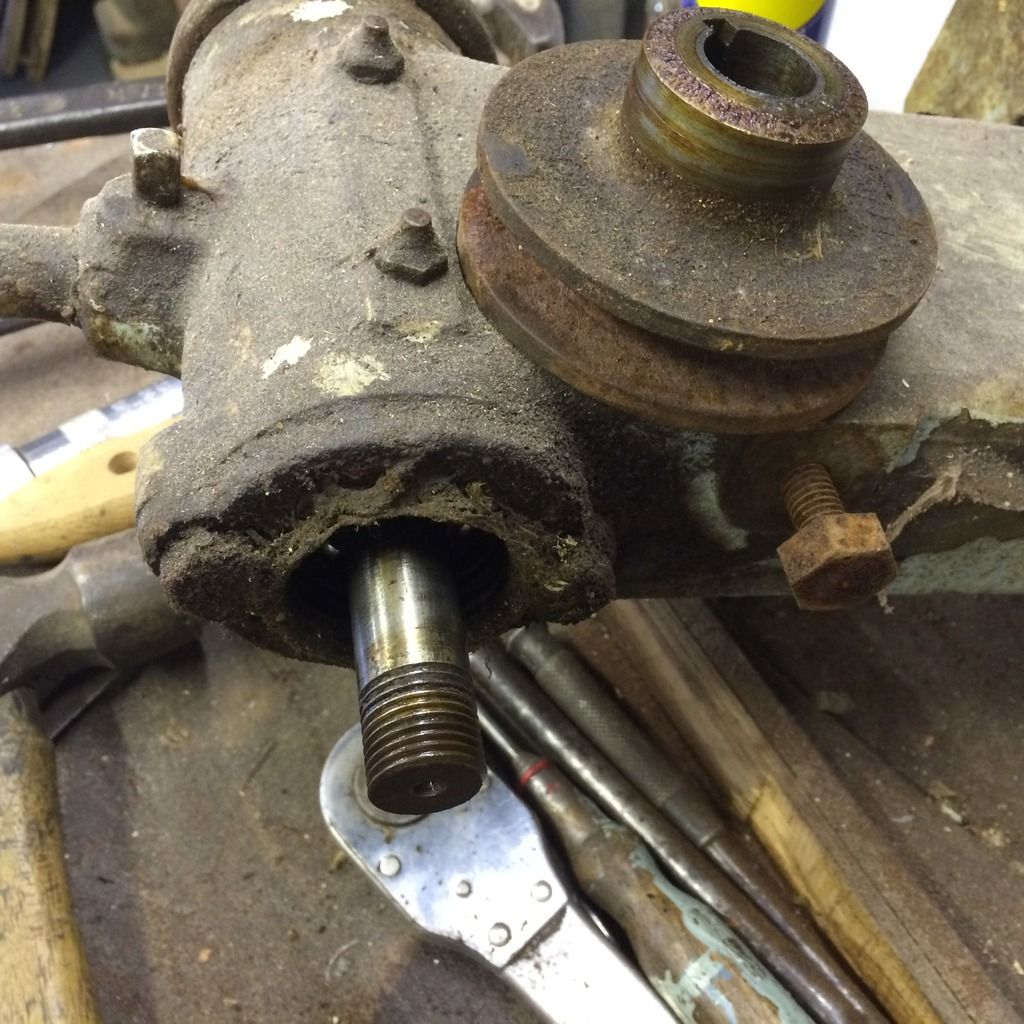
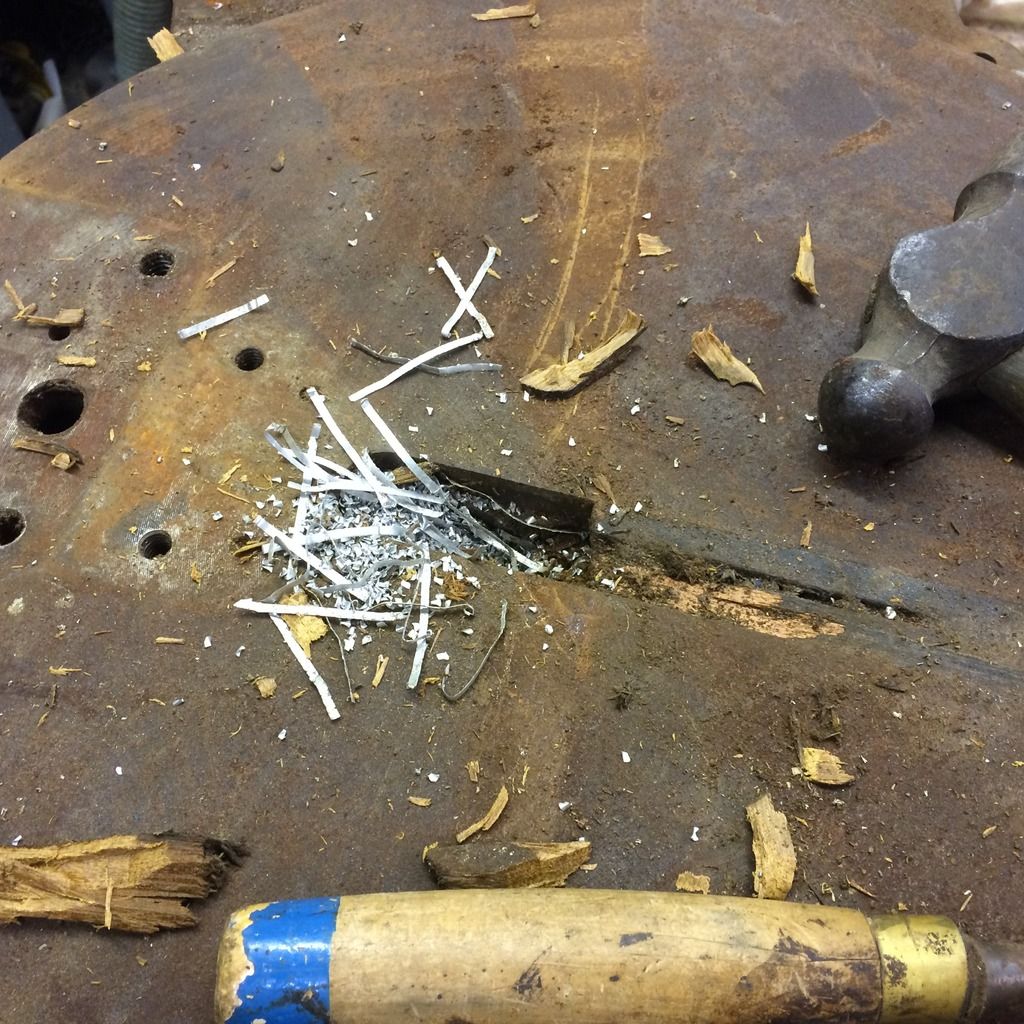
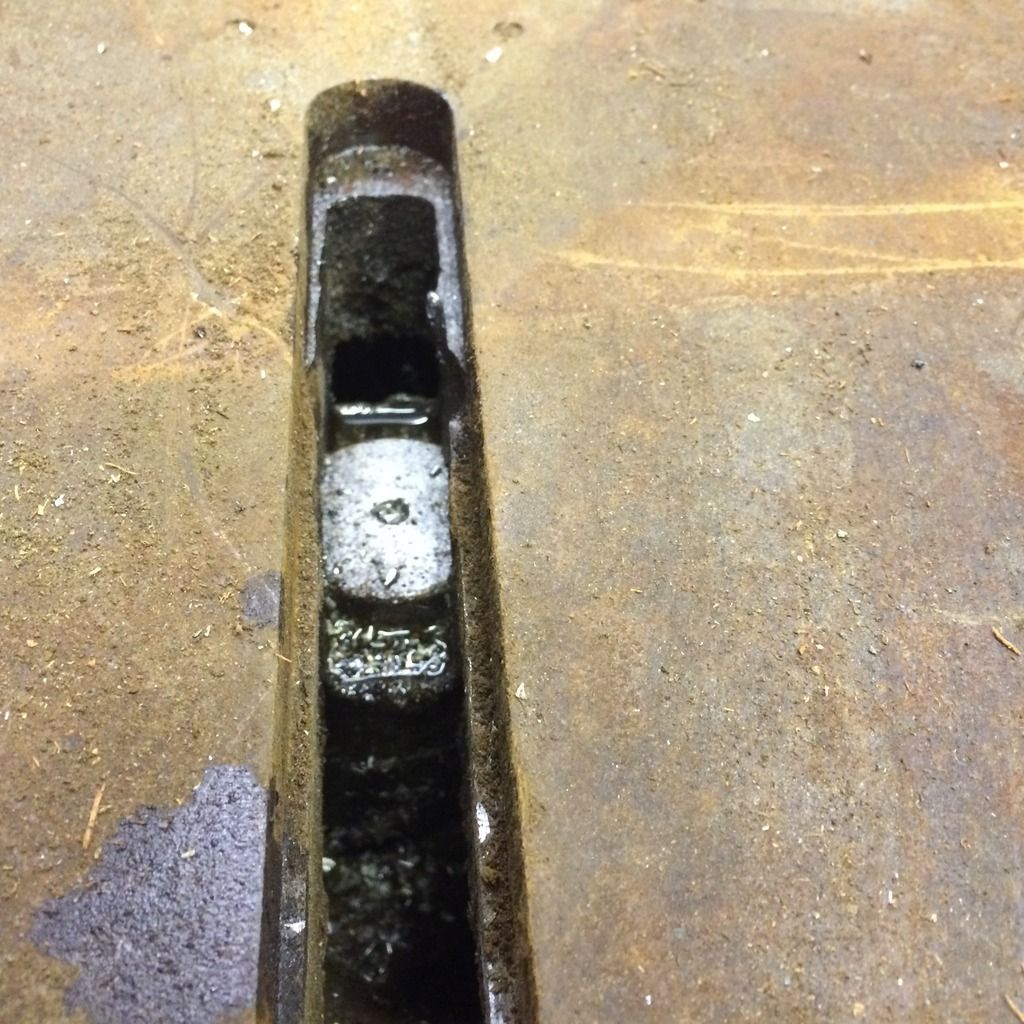
Looks like its been cutting ali for a while


Just about stripped just need to get the turning table off, not sure how to do it yet so the best option is to sleep on it.


Watching with interest, I do love seeing your threads rescuing Wadkins from the rusty depths
 
Good man Mr W =D>
Withdrawal was setting, I honest to God love watching you rescue these beauties.
More please :D
 
Watching with interest, can't wait to see how it turns out.
 
Just about stripped just need to get the turning table off, not sure how to do it yet so the best option is to sleep on it.


If you do you'll get:

a) dirty
b) hurt when you fall off!

I love your rebuild threads as well. Amazing what you achieve.
 
I didnt even know that Wadkin had made mitre saws. Never seen one pop up on ebay or any other auctioin site. This will be interesting to follow to see how it looks when finished.

Mike
 
A little more progress. Its always a good thing to walk away when something is stuck. I gave the table a good squirt of plus gas and left it overnight. I tipped it upside down and thought I might have to press it out. Luckily it just slid out.


Usual method of removing rust, Stanley blade then brass wire wheel in a drill and the finished off with some scotchbrite on the ROS


Been wanting to use my new needle scaler for ages, it works really well at cleaning up the casting crud on the letters. My compressor is only a 2hp Sip and struggled a bit. Still easier than a dremmel

 
A bit sanding with a flapper disc on the grinder and a bit bodge spread about.


All the parts laid out to see whats what.

 
I started to clean up the blade housing and its made from cast ali so should come up nice and shiny. I use various tools to get the desired finish. Wire wheel to get in the nucks, flapper disc on the grinder for removing material quickly, those sandpaper circle thingies that go in a drill ( they are really good for making the surface uniform), power file and then the ROS, I finally tried that abranet stuff and I am very impressed. Doesn't clog and lasts ages.


I quite like the finish the ROS gives so not quite sure if I will do the full shiny treatment.

 
Just to prove this little saw had been used for cutting ali for a long time I cleaned out the extraction pipe. It was jammed solid with ali swarf/dust


I then did the other half of the blade guard


I was thinking of fixing this hole with some apoxy. I found a nice crack next to it. I'm not sure if I should try and repair it or leave alone. I cant imagine 70 year old cast aluminium would weld very well.

 
Just about any cast aluminium that doesn't contain magnesium should be weldable if you find a good welder armed with a tig welder. If you heat up a chip with a gas welding torch and it doesn't catch fire it is free from magnesium....... though knowing your rebuilds from before I think you know all this already.

There is also an interresting new Swedish soldering rod sold for aluminium. The heat from a propane torch is enough to do a repair. Though this rod doesn't always work. Sometimes it just refures to seep into a joint. I don't know why.

PS......I like that saw......it would be nice to have one.
 
MIGHT be worth trying one of those low temp rods Heimlaga mentioned, but my experience using one to repair cracked deck on old Hayter mower was not brilliant. Seemed to fuse OK but as soon as it got a slight knock it fractured along the line where the solder met original metal. Possibly OK where (as here) there is no stress?
 
Thanks for the tip Heimlaga. I think I might try drilling a hole at each end of the crack which was suggested by the ever helpful mr 9fingers and then V it out a bit and fill with metal epoxy. I just remembered I had one of those wadkin knife setting gauges that got broke in the post and I used the epoxy and its still together after a few years.
 
Hammer-hite, how very dare you :lol: I cannot stand the stuff. Foils a good idea for filling the hole on the inside though
 
Seriously, not knowing much about restoration of metal things, would it not be possible to honeycomb the surrounding areas of the crack with say 1/16th holes and grind down the front and back surfaces and then fill with an epoxy filler, maybe reinforced with an appropriate alloy swarf or whatever, to create a sort of structural skin graft and grind this down to suit??
 

Latest posts

Back
Top