


MikeG.
Established Member
I have been disappointed in the quality of some of the dovetails I have seen on here in the last few months, so I thought I ought to put together a little tutorial showing you chaps how it is done.
Firstly, it is really important to have good quality stock to work with..........square edged, straight and even grained, with no cupping or bowing. Here is what I have chosen to work with for this lesson:
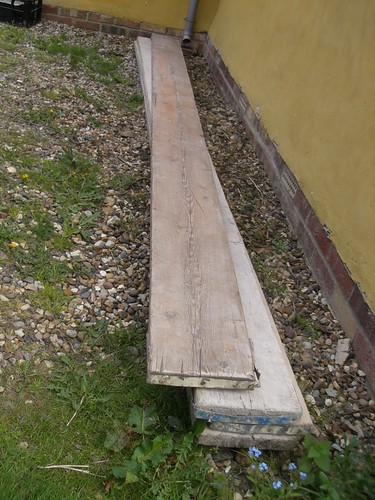
This timber has been specially matured for 10 years or more, and is ideal for the job.
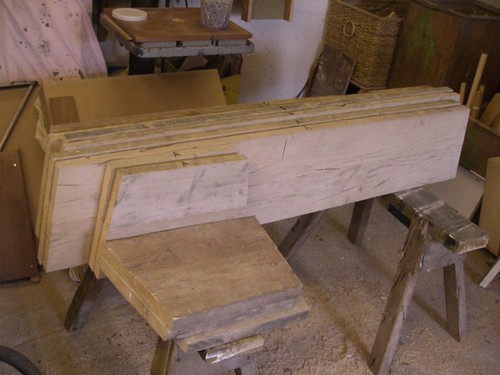
Prepare your boards and mark out which piece goes where. There was a little edge-jointing to do here first.....I aimed to work to a precision of plus or minus a hairs breadth:
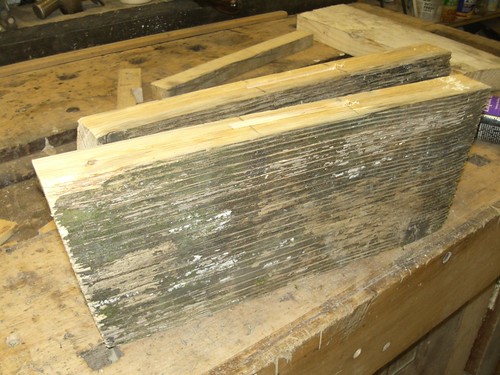
Here is a close up of one of the ends, carefully prepared.
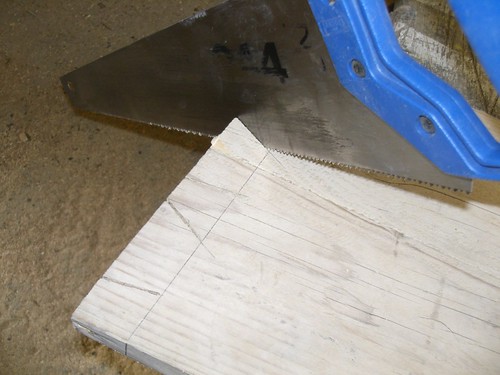
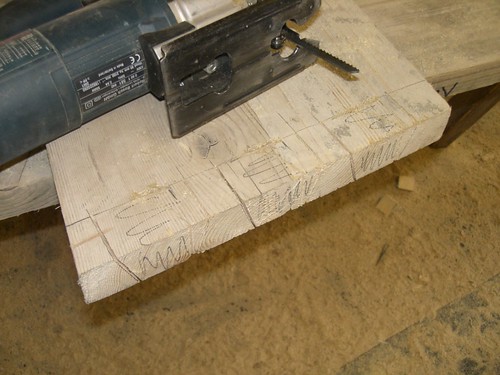
Mark out your tails first, trying to make them as small, neat and unobtrusive as possible, with an angle of about.........that much, or a bit less:
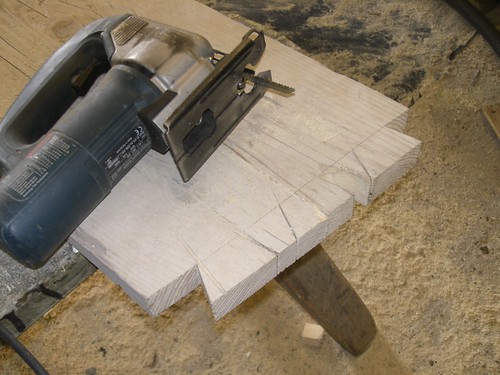
Start cutting, on the waste side of the line. I contemplated using a Japanese Tanawagochi-sushi but decided that the £4.95 Ridgeons special was more suitable:
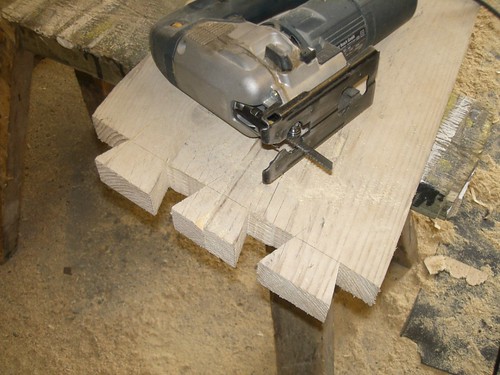
To remove the waste, I couldn't make up my mind between an English pattern coping saw with 230 teeth per inch and a titantium bow, or a Lie-Veritas-Valley-Faberge jewellery saw with 230 teeth per micron and brass instruction plates. In the end I settled for a Hitachi on the second most pendulous setting, and a blade only slightly dulled by cutting some aluminium:
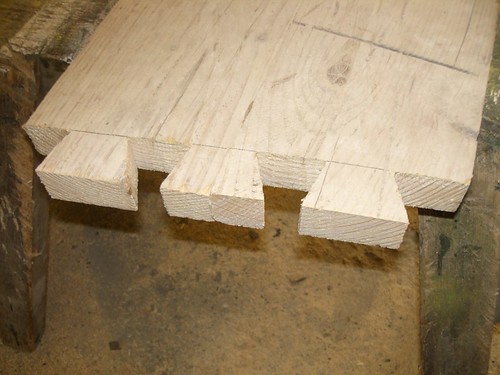
There we are......job done, and only in need of a little tiffle:
For tiffling, I brought out some of the finest of my handtools from their air-conditioned Ambonya Burr cabinet, and, making sure there was no remnant of horses hoof in the teeth, gently cleaned up.........being very careful of breakout (I'd eaten lots of sultanas):

And there we are.......tails finished:
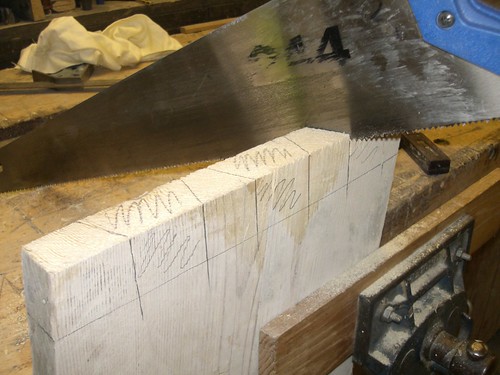
Unfortunately, I seem to have missed the photo where I used my pure amethyst marking knife to score a completely invisible line on the end-grain.........but I have highlighted the lines in pencil especially for this photo-shoot. There simply aren't enough pixels in this format to have allowed me any other way of showing you:
So, using the same precision saw as we used for the tails, begin cutting the pins. Don't forget which side of the line you are cutting!!!!
Remove the waste as for the tails, only the Hitachi doesn't quite reach into the corners. Casting aside thoughts of the jewellery saw, I decided to use the one-pound-bargain-bin-special coping saw, which coped with the task manfully:
When you have cleaned up with the same hand tools as for between the tails, gently press the pins into the tails with a smear of your twice-distilled-bears-pituatary glue. It shouldn't need clamping:
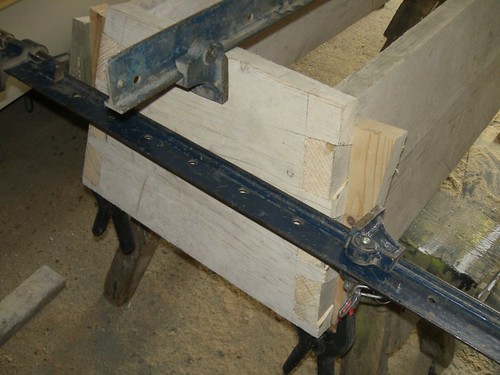
Remove the clamps, wash your hands and fetch the chamois leather gloves before removing our prize hand-made-by-300-year-old-dwarfs Block Plane from its silk cushion, waft it gently in the vicinity of the corners (but be careful not to leave a trace of dust on the equipment!).....
......and present your work to the Queen:
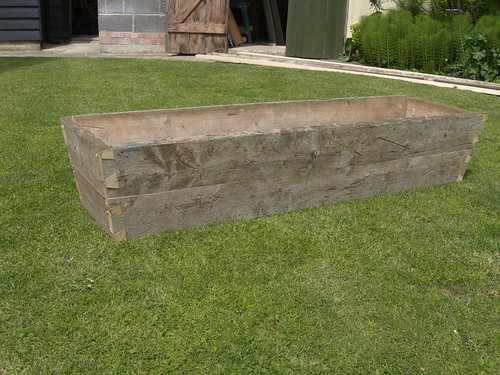
I do hope that this has been of some help to you worthy triers.
Mike
Firstly, it is really important to have good quality stock to work with..........square edged, straight and even grained, with no cupping or bowing. Here is what I have chosen to work with for this lesson:
This timber has been specially matured for 10 years or more, and is ideal for the job.
Prepare your boards and mark out which piece goes where. There was a little edge-jointing to do here first.....I aimed to work to a precision of plus or minus a hairs breadth:
Here is a close up of one of the ends, carefully prepared.
Mark out your tails first, trying to make them as small, neat and unobtrusive as possible, with an angle of about.........that much, or a bit less:
Start cutting, on the waste side of the line. I contemplated using a Japanese Tanawagochi-sushi but decided that the £4.95 Ridgeons special was more suitable:
To remove the waste, I couldn't make up my mind between an English pattern coping saw with 230 teeth per inch and a titantium bow, or a Lie-Veritas-Valley-Faberge jewellery saw with 230 teeth per micron and brass instruction plates. In the end I settled for a Hitachi on the second most pendulous setting, and a blade only slightly dulled by cutting some aluminium:
There we are......job done, and only in need of a little tiffle:
For tiffling, I brought out some of the finest of my handtools from their air-conditioned Ambonya Burr cabinet, and, making sure there was no remnant of horses hoof in the teeth, gently cleaned up.........being very careful of breakout (I'd eaten lots of sultanas):
And there we are.......tails finished:
Unfortunately, I seem to have missed the photo where I used my pure amethyst marking knife to score a completely invisible line on the end-grain.........but I have highlighted the lines in pencil especially for this photo-shoot. There simply aren't enough pixels in this format to have allowed me any other way of showing you:
So, using the same precision saw as we used for the tails, begin cutting the pins. Don't forget which side of the line you are cutting!!!!
Remove the waste as for the tails, only the Hitachi doesn't quite reach into the corners. Casting aside thoughts of the jewellery saw, I decided to use the one-pound-bargain-bin-special coping saw, which coped with the task manfully:
When you have cleaned up with the same hand tools as for between the tails, gently press the pins into the tails with a smear of your twice-distilled-bears-pituatary glue. It shouldn't need clamping:
Remove the clamps, wash your hands and fetch the chamois leather gloves before removing our prize hand-made-by-300-year-old-dwarfs Block Plane from its silk cushion, waft it gently in the vicinity of the corners (but be careful not to leave a trace of dust on the equipment!).....
......and present your work to the Queen:
I do hope that this has been of some help to you worthy triers.
Mike
