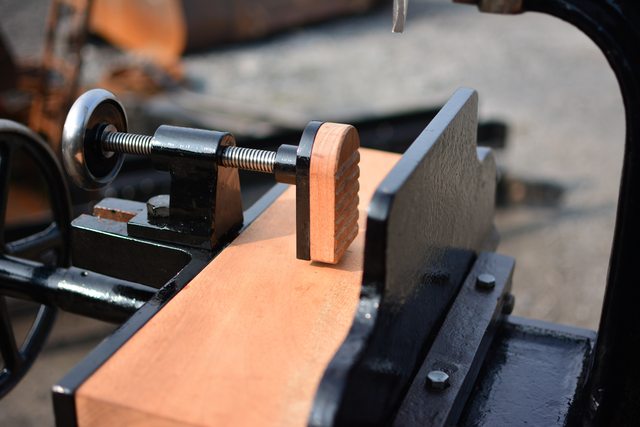
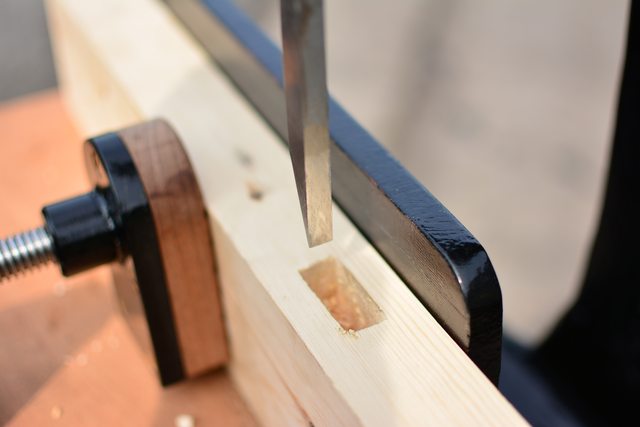
Triumph Mortiser Restoration

UKworkshop.co.uk

Help Support UKworkshop.co.uk:

This site may earn a commission from merchant affiliate links, including eBay, Amazon, and others.

Rhyolith

Established Member
Joined
15 Dec 2015
Messages
818
Reaction score
3
Location
Darlington
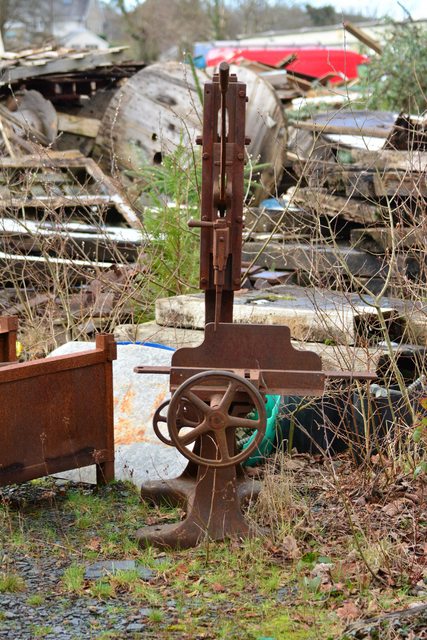
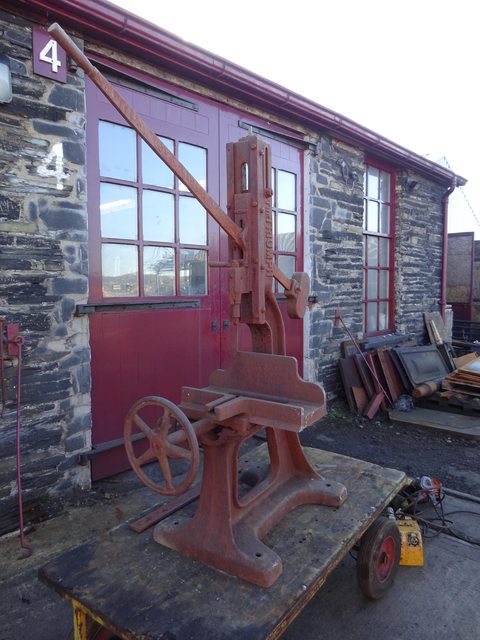
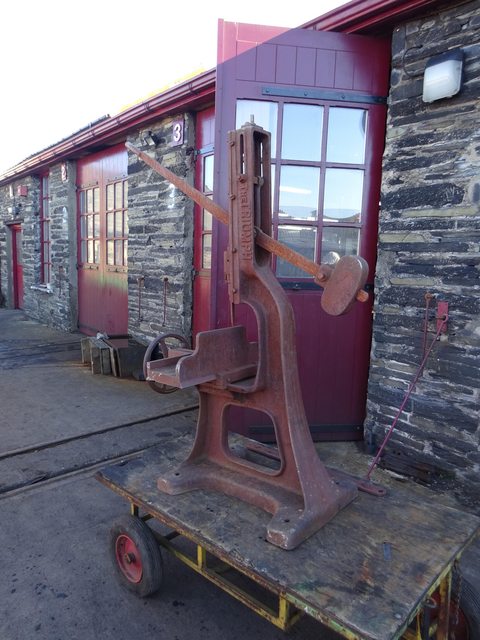
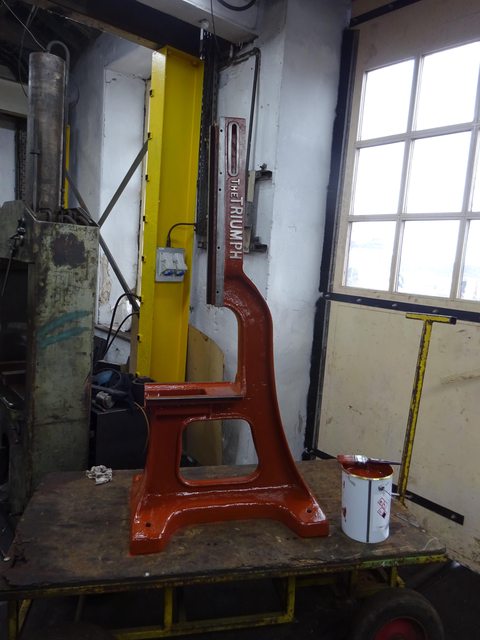
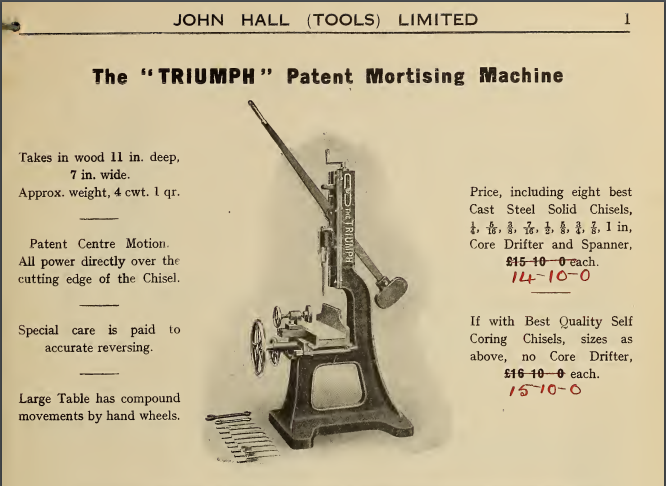
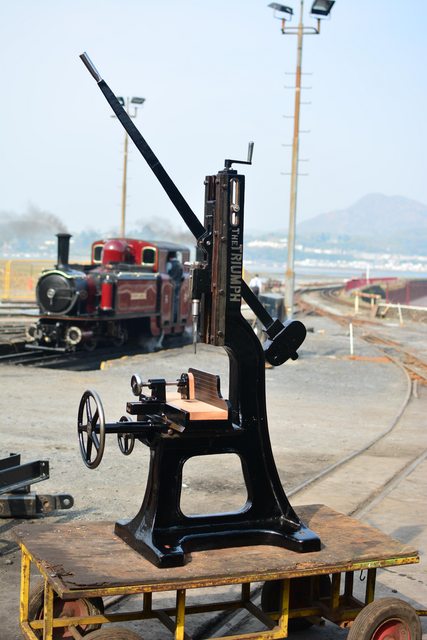
I found this amongst piles of junk on a yard on the railway. After talking with the boss i was able to bring it over to BL for restoration :D

0EApetvl.jpg

6zKkjoTl.jpg

msoXr3sl.jpg


I think was made by Wilson Brothers of Leeds, possibly dating from the 1940s?

First thing first, stripping it down. Removed all the parts.
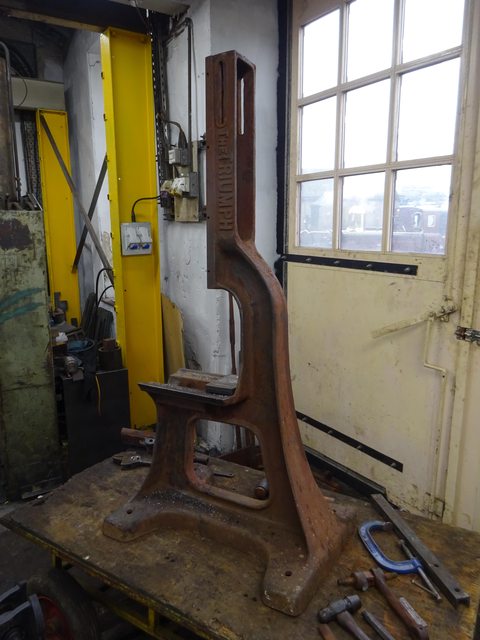
5UQY3oZl.jpg


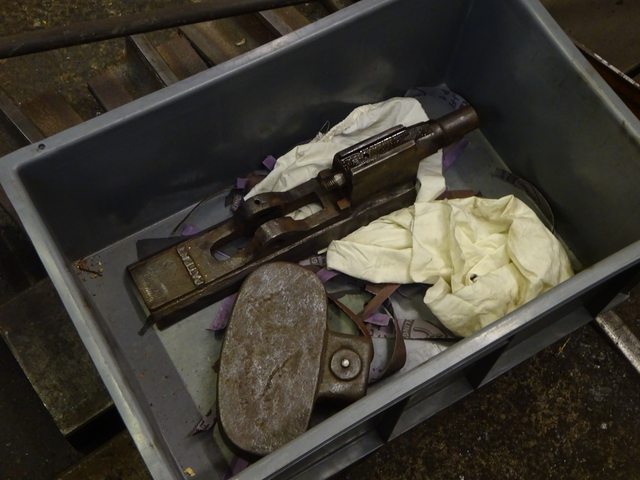
Started cleaning all of the parts 1 by 1, this was mostly done with a power brush on an angle grinder due to the extend of the rust; for smaller parts I used the wire wheel on the pedestal grinder.
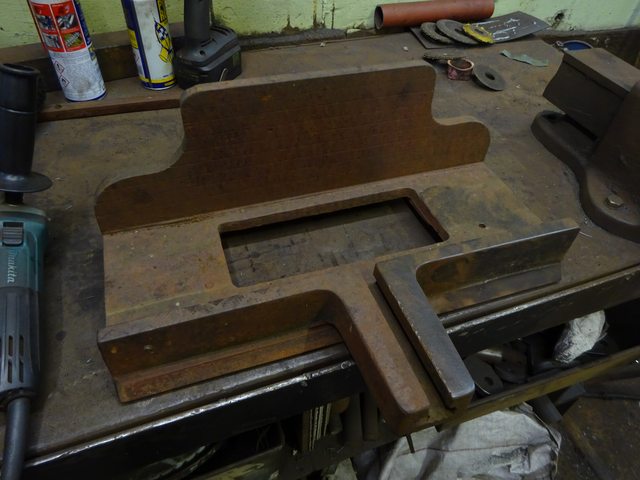
oTA2iqpl.jpg

MYgWWbsl.jpg


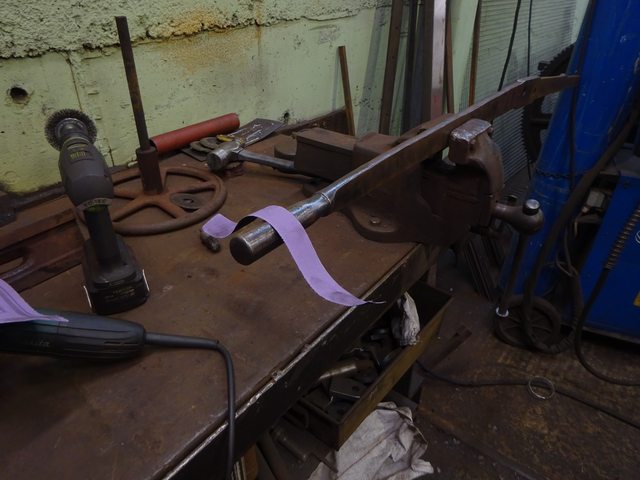
Some parts needed more, such as the handle which I wanted to be shiny. This required a lot of sanding to get past all the pitting.
4HmpDqUl.jpg


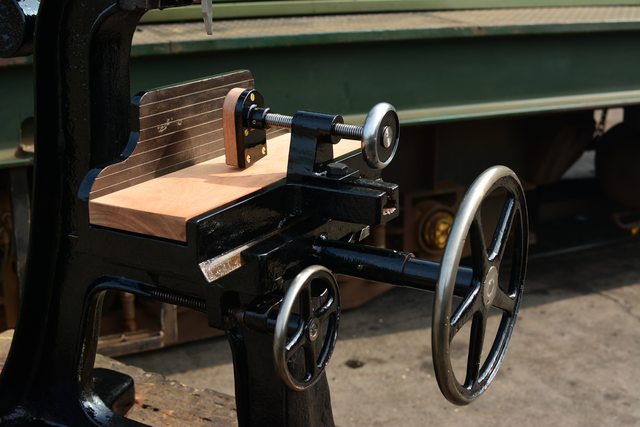
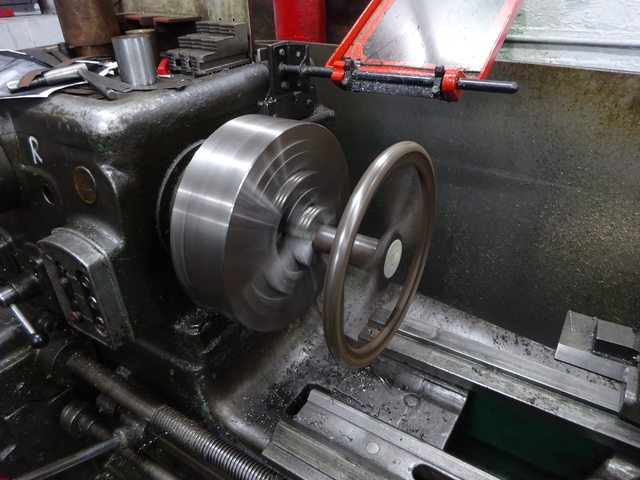
The iron wheel used to move the table side to side i also wanted to shine up, but this was easier :)
M1w5ZLAl.jpg


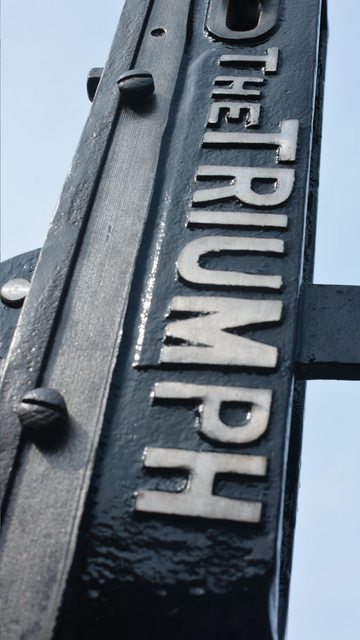
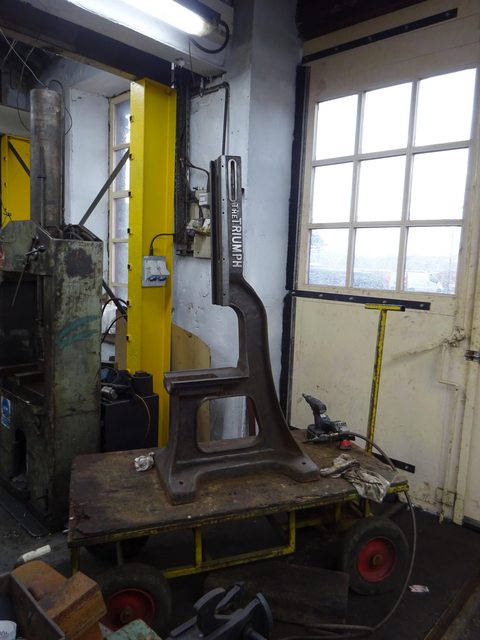
Decided to polish up the letters on the stand, not sure if this original (probably not) but I think it will look good. Probably should have used the belt sander from the start and angle grinder is NOT the right tool for this job :roll: still came out well though.
2cx0Tlsl.jpg


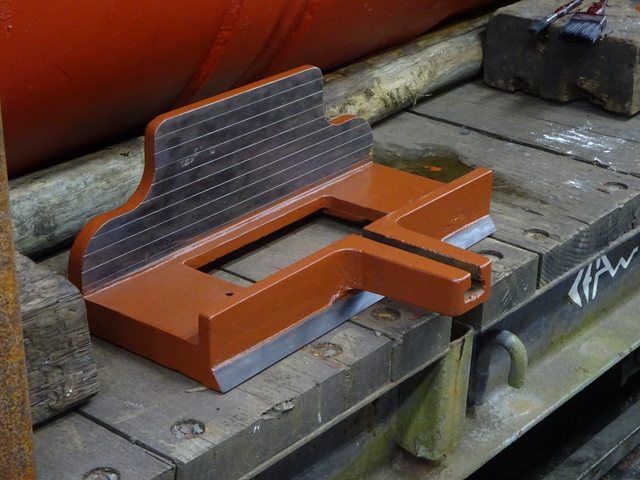
With all the parts cleaned I started painting them up with correles, which i used on the boilers for the engines... so pretty solid stuff! It smoothed out the severe pitting quite well.

2cx0Tlsl.jpg

sBNyQ2Fl.jpg

FZpl1Myl.jpg


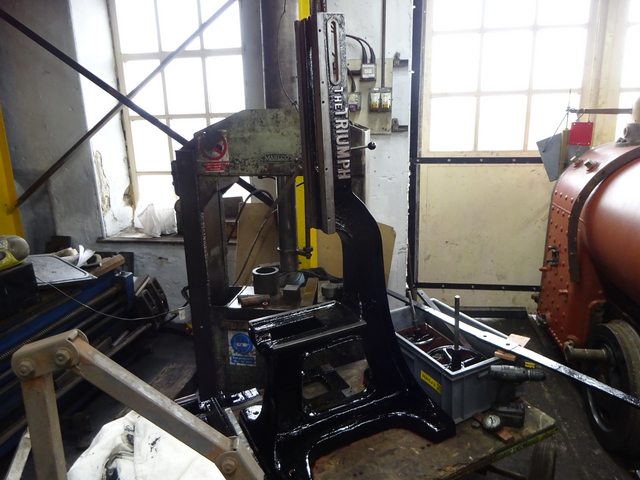
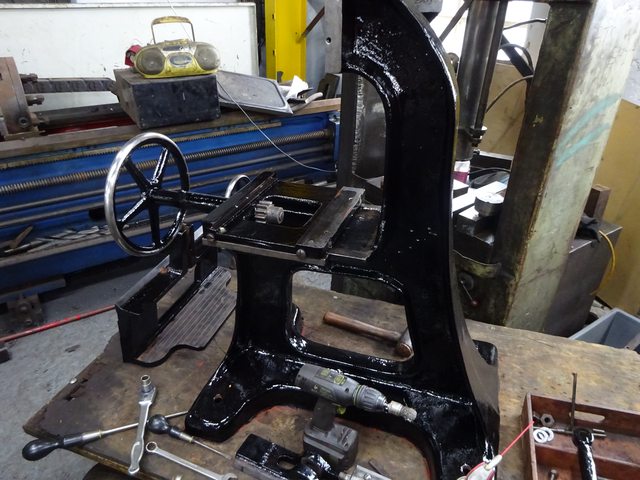
I think it was originally was black (though could have been anything frankly) and thought it would look good black, so thats what I went with.
itpQ5Nhl.jpg

8wQIJrul.jpg


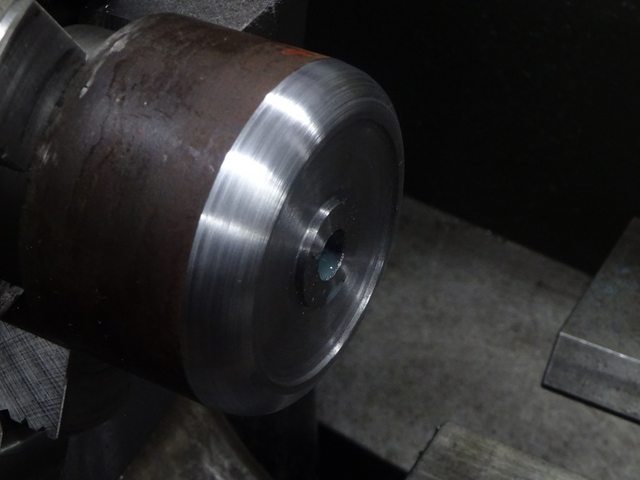
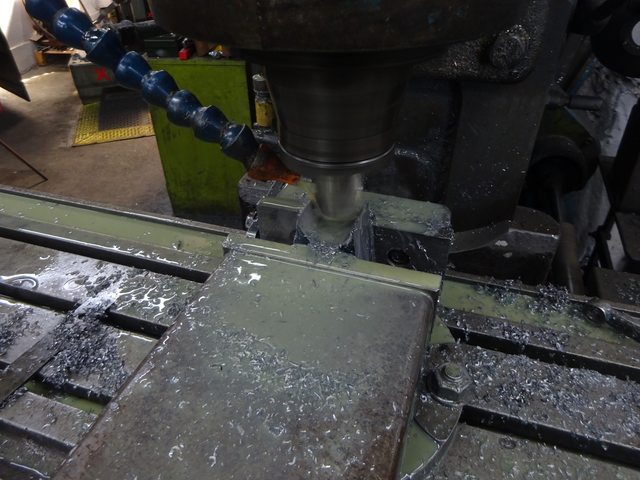
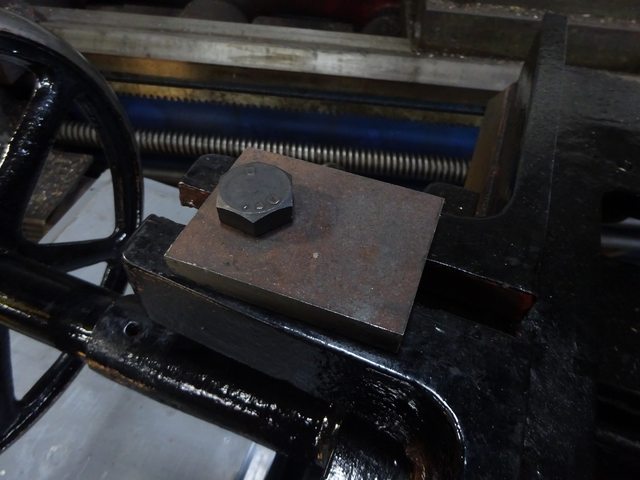
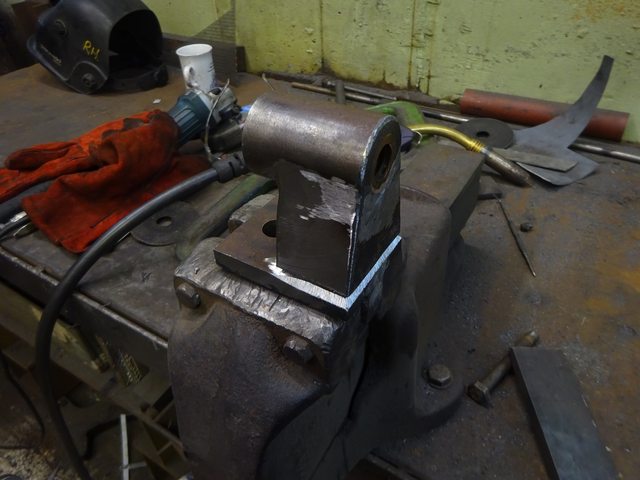
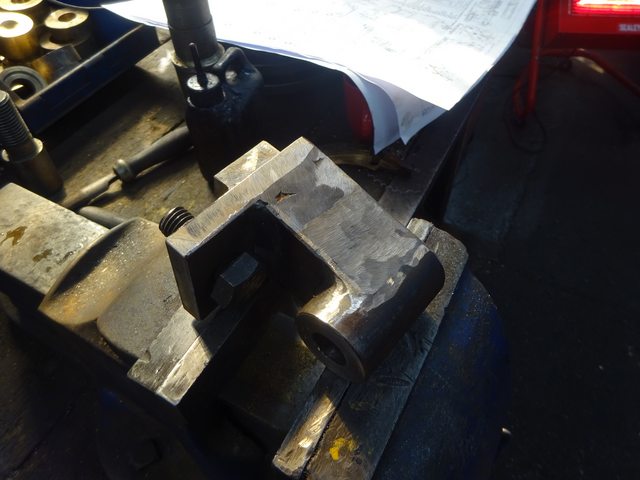
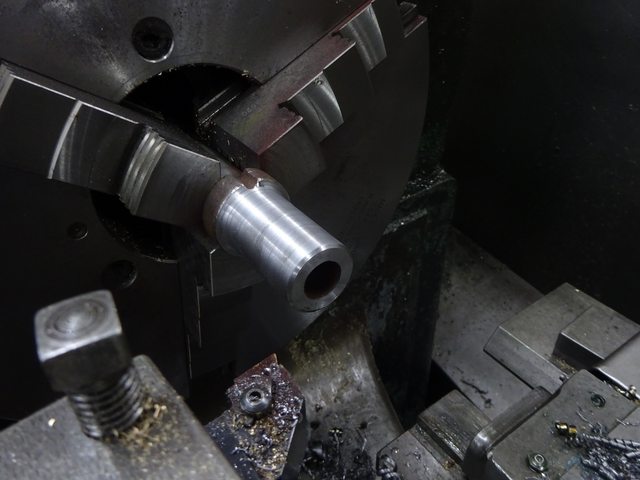
Now To the more far gone parts of which there are a few. First was the chisel holder, which just looked all horrible from heavy pitting (not the nice patina kind!). I decided to machine it in the end to get rid of it.
t6ynfBGl.jpg


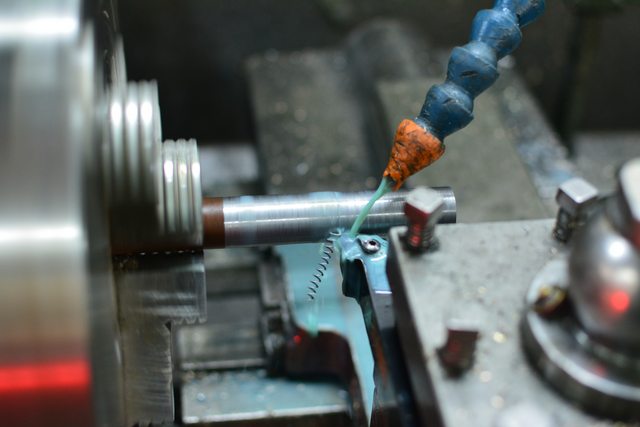
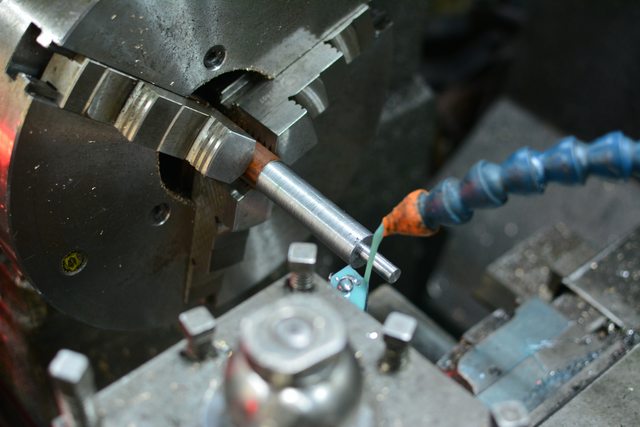
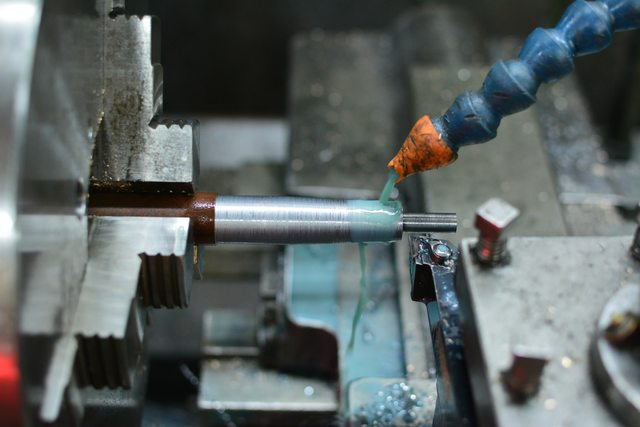
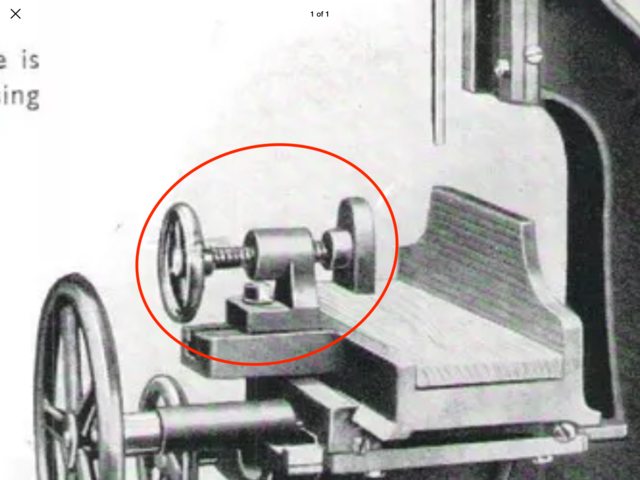
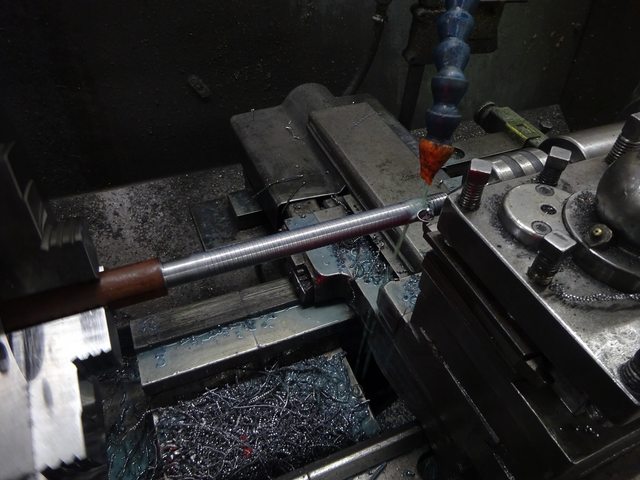
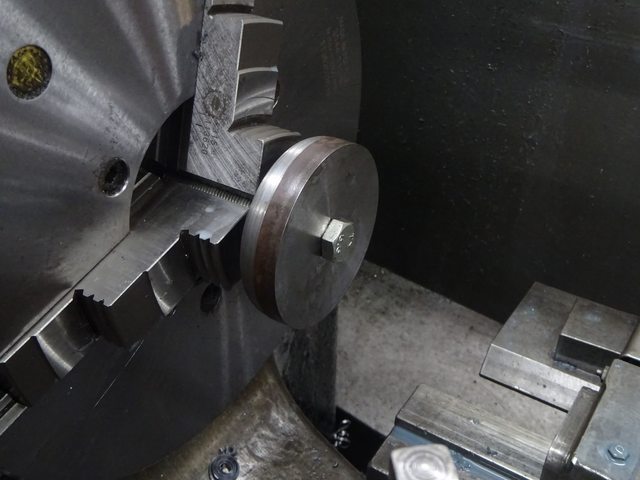
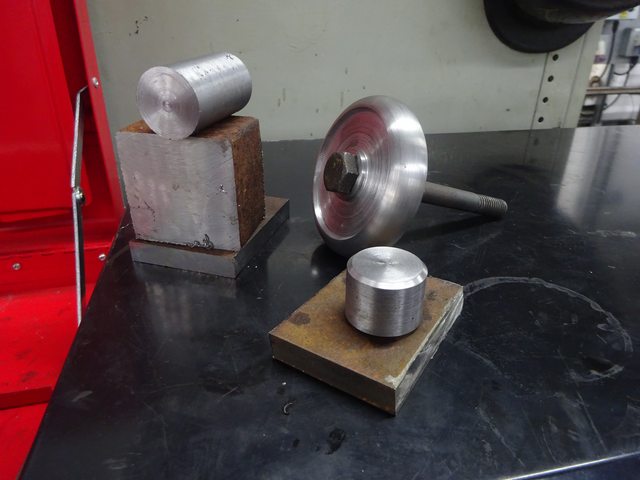
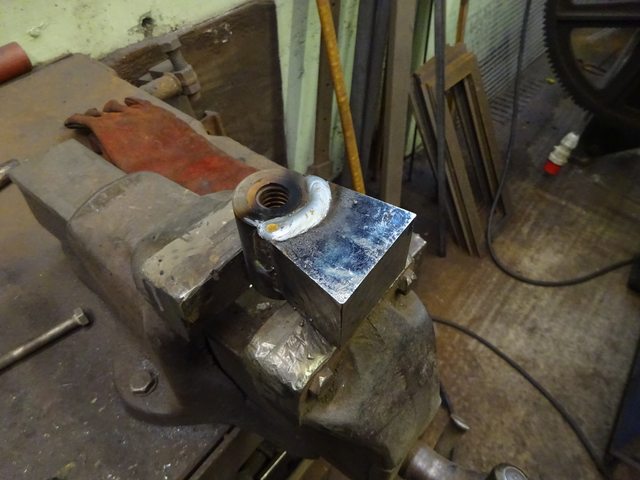
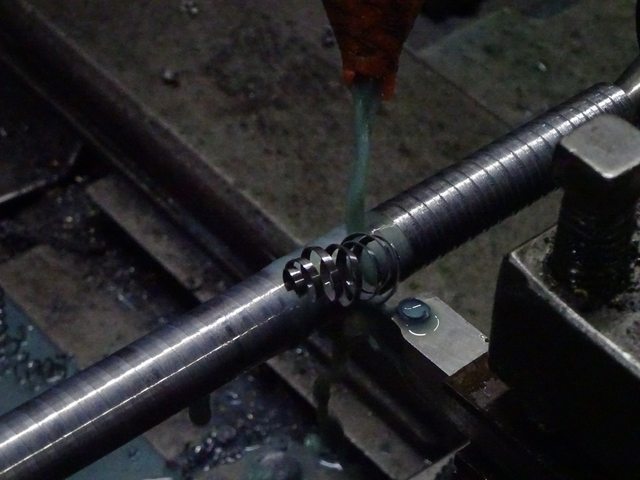
Next the thread that adjusts the chisel height was knackered, so that needed replacing! Its a 6tpi square thread (can't remember the diameter). Time to put the DSG to work :)
qFVpr8Al.jpg


To be continued...
 
Marvellous.

nMPDDta.png


I have one of them Ry. It's under cover but outside and needs lots of attention. :( Nothing that can't be remedied fairly easily with some care and attention.

I have lots of the chisels but cant release the one in place. Any ideas on a drift or release?

Will take some photos tomorrow.
 
Superb job.

=D>

How does the machine work? Are there just hollow chisels or does it have an auger as well, and if so where's the power for the auger coming from?
 
custard":34f1vtbr said:
How does the machine work? Are there just hollow chisels or does it have an auger as well, and if so where's the power for the auger coming from?

Works pretty much as a standard hand mortice chisel would as it's basically a mortice chisel fixed into the head rather than the more modern hollow chisels with augers. If I remember correctly you would do one pass on your mortices then you would have to flip the chisel around and do another pass, clear out the chips and repeat the process until the required depth is achieved. It's a slow process, probably actually a little slower than morticing by hand by a skilled craftsman back in the day but I suppose it makes up for it by not having the mark the exact location of the mortice in the thickness of the timber. All you have to do is set the in and out of the bed and clamp it in place and all you would need is the mark of the length of your mortices.

I have seen a couple that have had carefully made motor conversions at some point in their life to be able to use the hollow chisel and augers. It's nice when they're done that way because the machines tend to stay in circulation rather than dumped in a scrapyard somewhere to rot because they're obsolete.
 
Lovely stuff - looking forward to the action video!

Re how they worked - some had solid chisels and would possibly have needed a bored hole at one end of the mortice to give a space for the severed wood to move into, but others had a distinctive "edged" design of chisel which I think avoided that. For example, these, bought to use on one discussed on here some years ago - post696157.html -

file.php


It was a Reynolds, not a Triumph, but worth a look back for comparisons.

post689591.html
 
I have a similar one in Leeds, if anybody wants it for a restoration project...
 
Bm101":26h9oh3h said:
Marvellous.

nMPDDta.png


I have one of them Ry. It's under cover but outside and needs lots of attention. :( Nothing that can't be remedied fairly easily with some care and attention.

I have lots of the chisels but cant release the one in place. Any ideas on a drift or release?

Will take some photos tomorrow.
Try twisting it with a spanner. They only held in by taper.
 
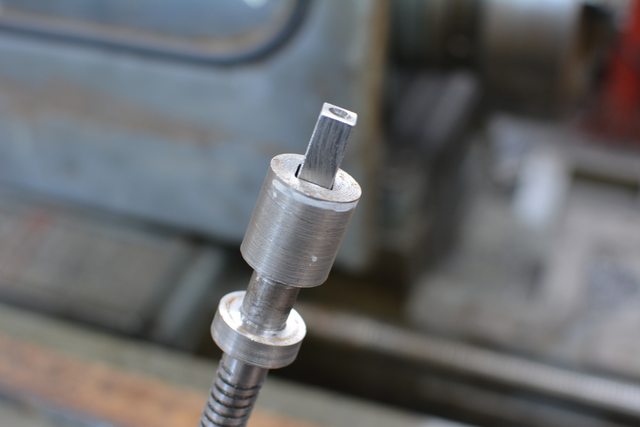
I successfully cut an 6tpi square thread, then used the Archdale (wonderful machine) and its dividing head to make a square end for the handle to sit on.

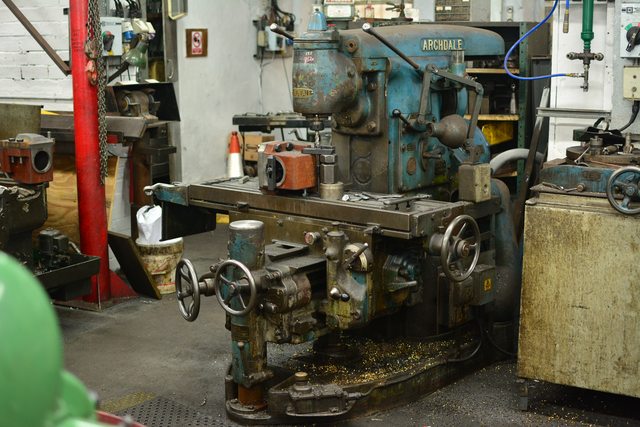
So I forgot to take any more pictures of the thread making and use of the dividing head. So Here is the Archdale miller to look at instead :D (with some else work in it).

DnMioZcl.jpg

Love the table feeds on this thing which are the most sophisticated i have seen on a milling machine, having a speed boost option is a brilliant idea that saves so much time getting the work into the right position, particularly as you can do it in any direction... it makes the best mechanical 'clunk' when you engage the drive to! (just don't go into the higher speed by accident... :roll:).

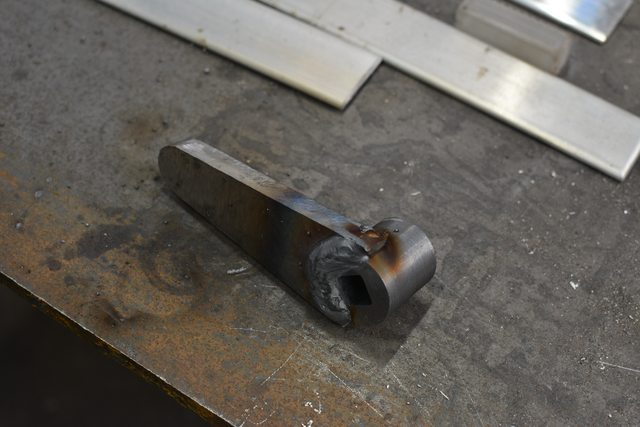
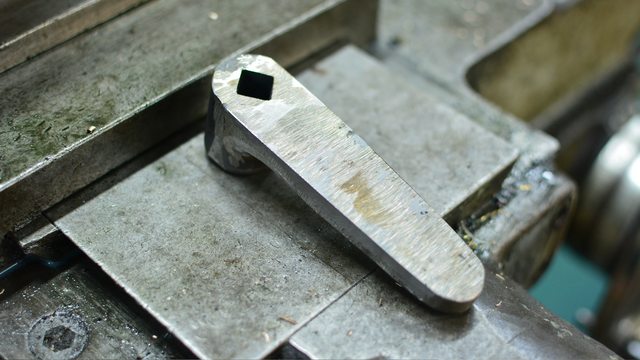
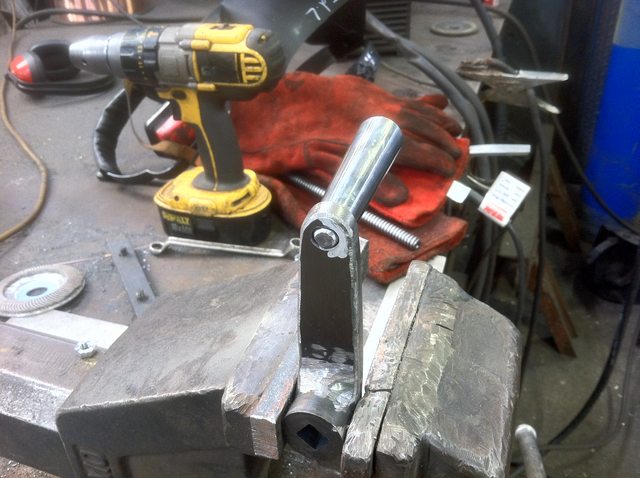
So with that done next I had to make a handle to go on the end.

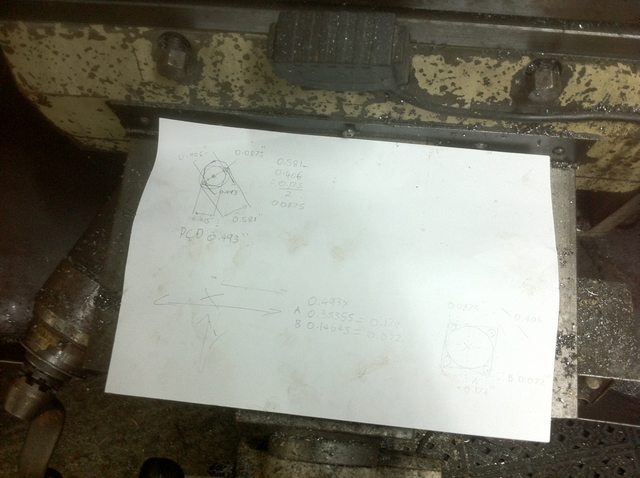
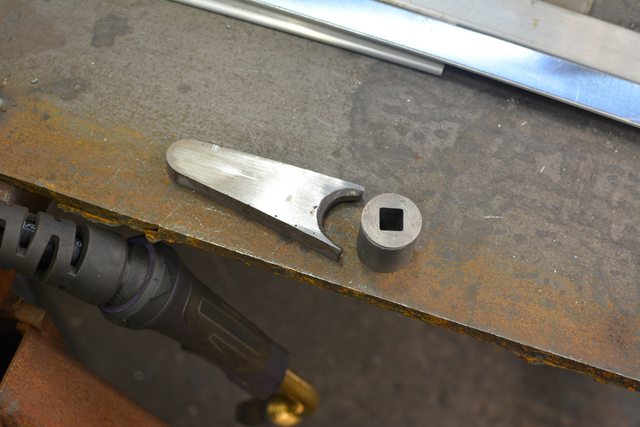
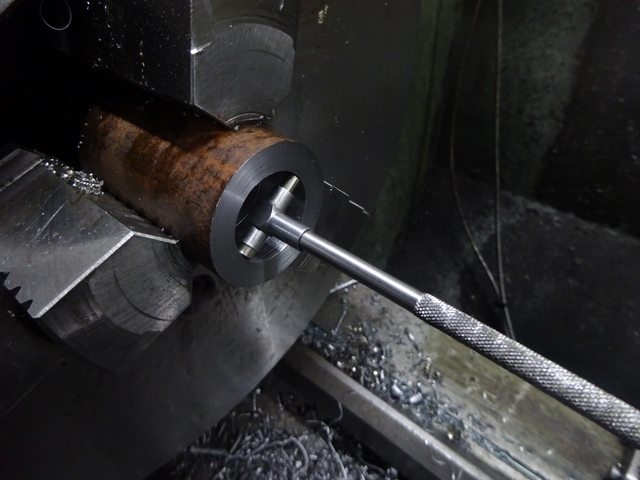
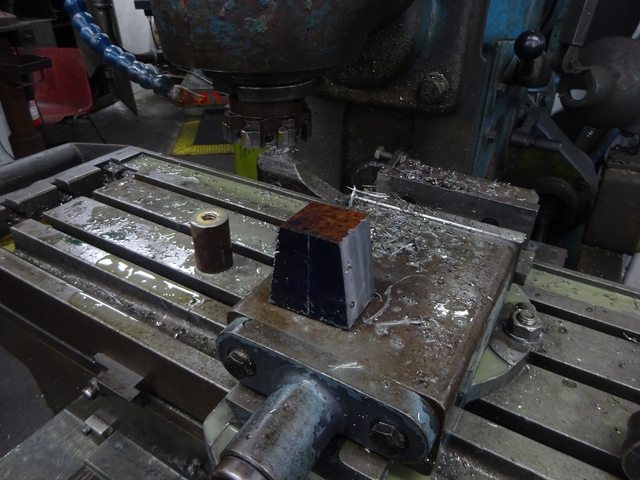
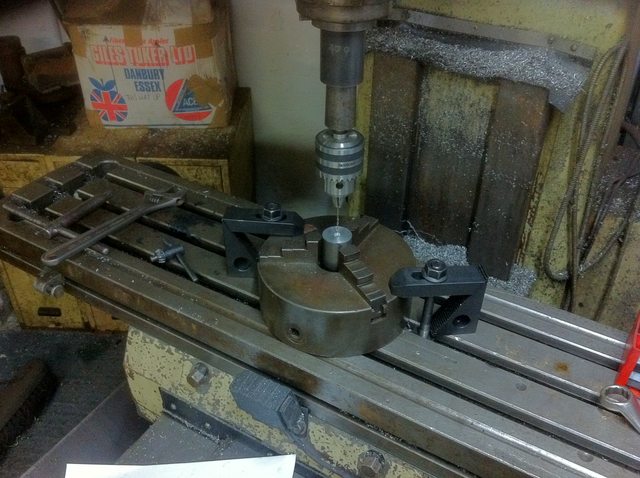
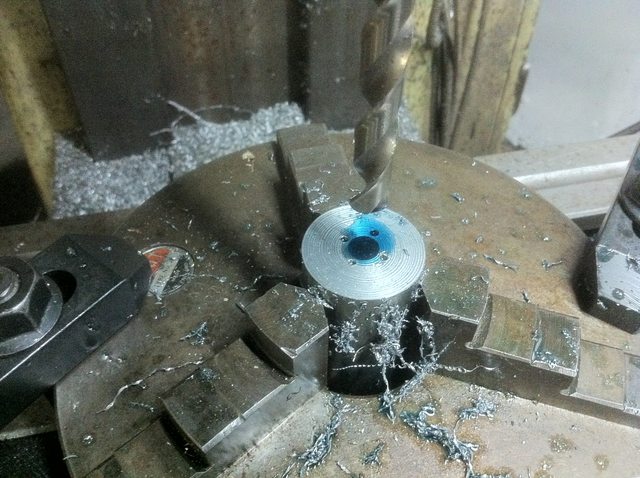
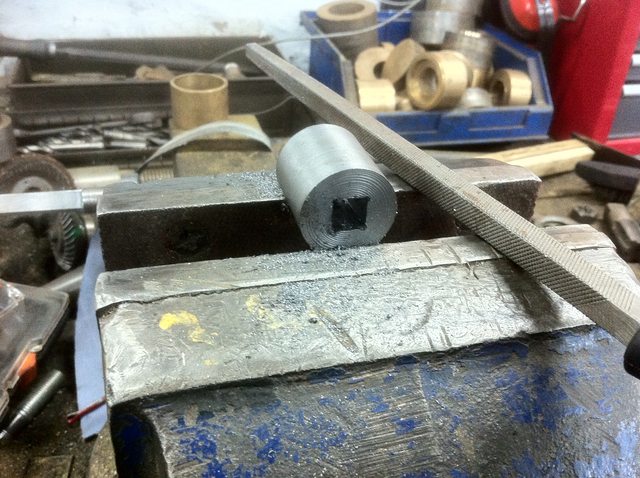
This meant making a square hole in steel, which is hard as it turns out! Because of the lack of something specialised, I had to drill 4 small holes in a perfect square to make the corners. This was done with some maths and a milling machine with read outs.

7zvXUuvl.jpg

ShK2geWl.jpg

B3NAXy6l.jpg


That took a fairly long time and next i had to file out the hole to the required size.

7QYjUJFl.jpg


Yay it fits (finally!).

owvAZZLl.jpg


The next bit was easy, just plasma cut out a piece of sheet steel then grind to fit.

GAfkgODl.jpg


Mig welded the two together, note my welding is not great.

cJ1sNcxl.jpg


And some more grinding to make it look more like a casting.

XGW47mll.jpg


Now back to the DSG for the last piece!

2XljqRLl.jpg

OJLPl4xl.jpg


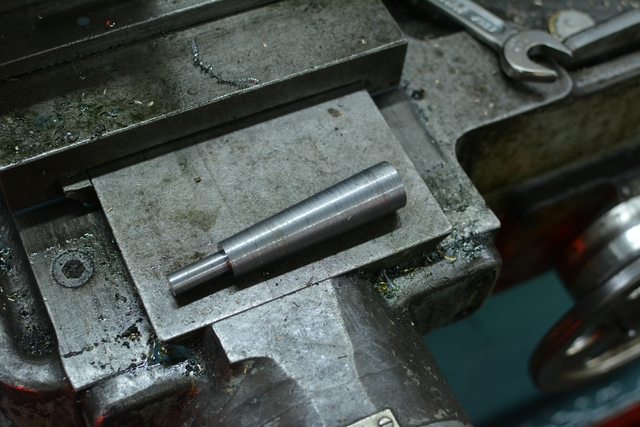
Used some more maths to work out the angle of the taper on one of the other handles (about 2 degrees) and angled the tool post accordingly.

B3xOVQXl.jpg

hT9ZN2Pl.jpg


and a bit of freehand shaping

gl1Tarcl.jpg


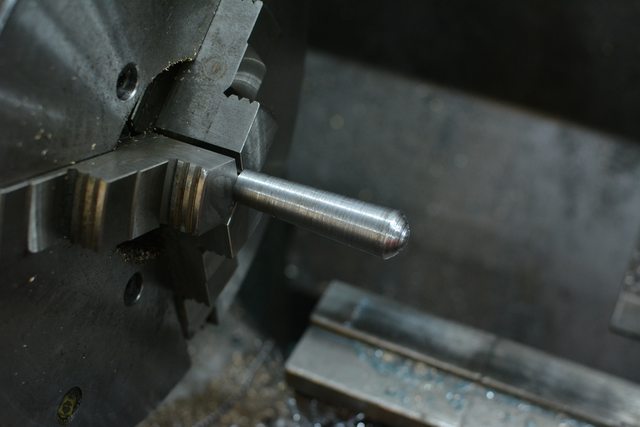
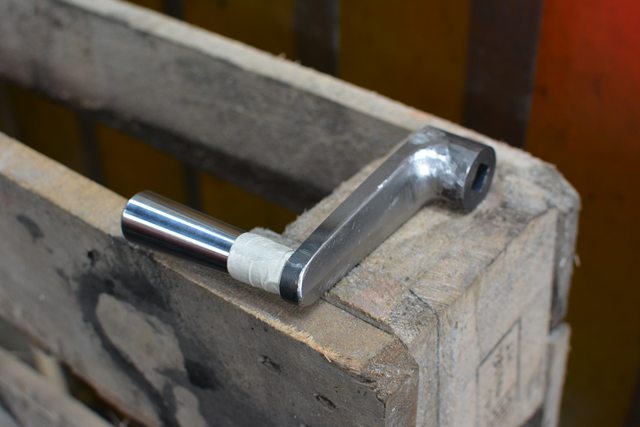
Spent a while polishing that up on the DSG before drilling out the handle arm ready for welding.

IPKYEVKl.jpg

DMcH7Upl.jpg


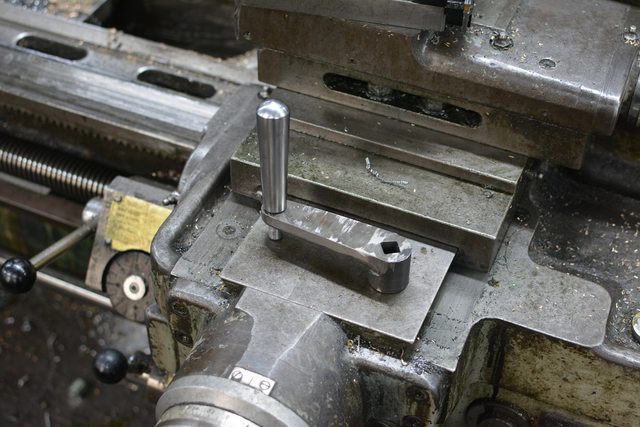
Welded up and ground to make it look nice and more like a casting, so it fits in with the rest of the machine.

dgONFt2l.jpg


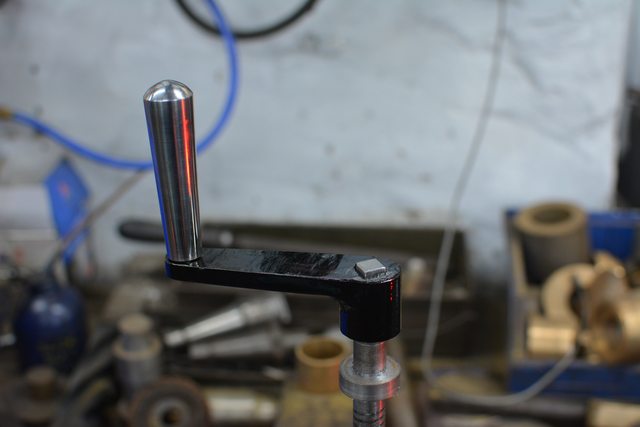
Lastly a slap of black gloss paint and its done!

UfJIJgul.jpg


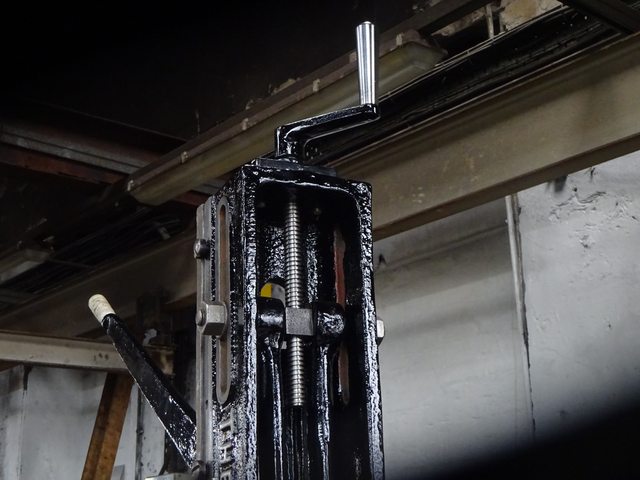
Here you can see the finished thread and handle, well over a week of work there! I am pretty happy with the result.

k49gpqzl.jpg


Next time....

8p7kXn8l.png
 
I think you are making it quite clear why people volunteer at your p̶l̶a̶y̶g̶r̶o̶u̶p̶ serious restoration organisation - it looks a lot of fun!
 
Rhyolith":1mxkycbm said:
Bm101":1mxkycbm said:
Marvellous.

nMPDDta.png


I have one of them Ry. It's under cover but outside and needs lots of attention. :( Nothing that can't be remedied fairly easily with some care and attention.

I have lots of the chisels but cant release the one in place. Any ideas on a drift or release?

Will take some photos tomorrow.
Try twisting it with a spanner. They only held in by taper.
Funny enough mate, I did this exact thing today. Clean and ****** it out in one move. All that worry.... Have to say it's down to this thread.
So thank you.

How are you doing for heads?
 
Top work! That archdale is a beast. Just got a couple of new milling machines myself - pair of deckel universal mills. Need to update my metalwork/machine shop thread.
I saw a great tip the other day for making a good cast effect on repairs. Drill out the nozzle slightly on an aerosol primer so it sprays terribly - the spatter looks like cast.

Sent from my SM-G950F using Tapatalk
 
First bit of the vice!

ej5nYMBl.jpg


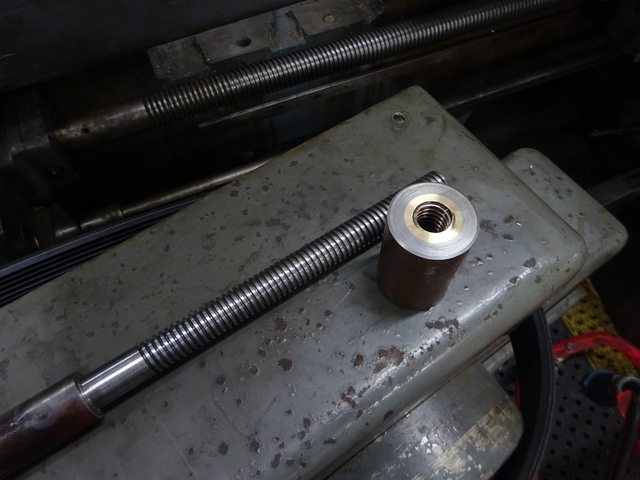
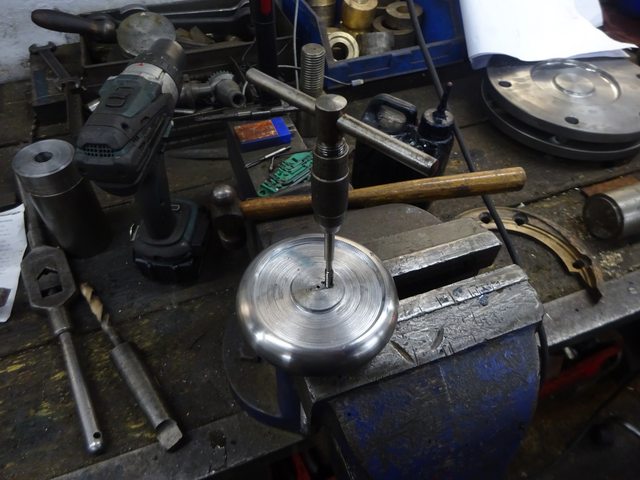
Actually made it twice, as a tape was discovered that would make the internal threading easier. So this was the second 8 tpi thread made to fit that.

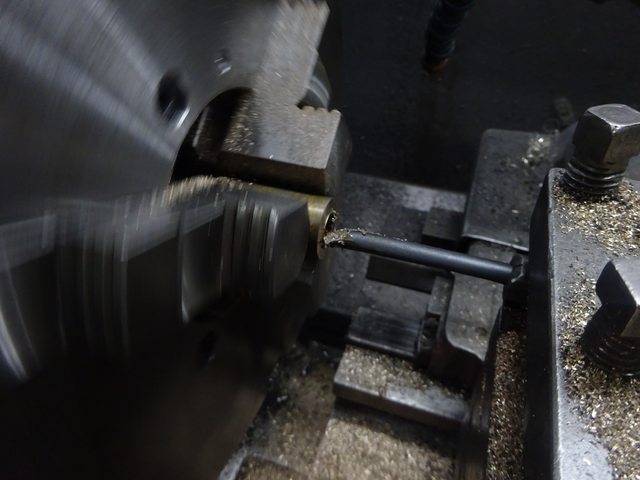
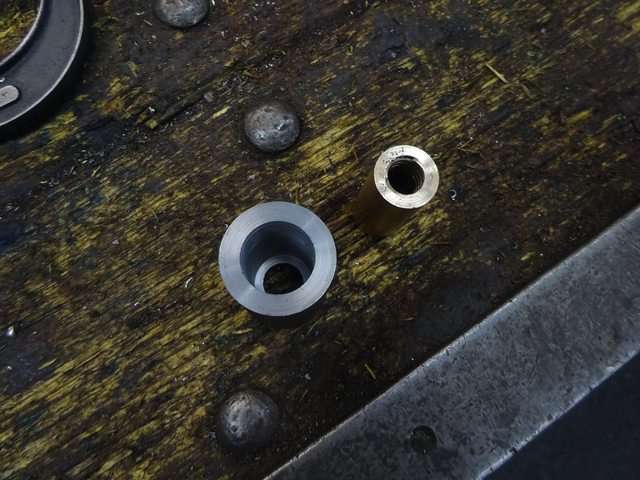
Next came the joy of internal threading, this took at least 4 attempts . The first two attempts were in steel, then two further in brass. The second brass one succeeded... definitely worth faffing about getting the best tooling possible!
GBYhju0l.jpg


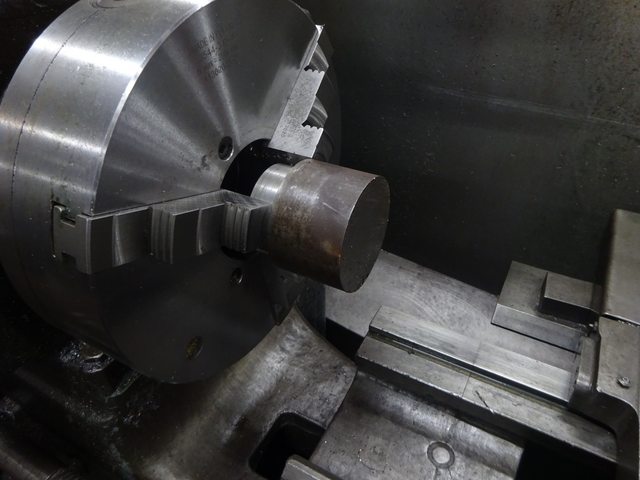
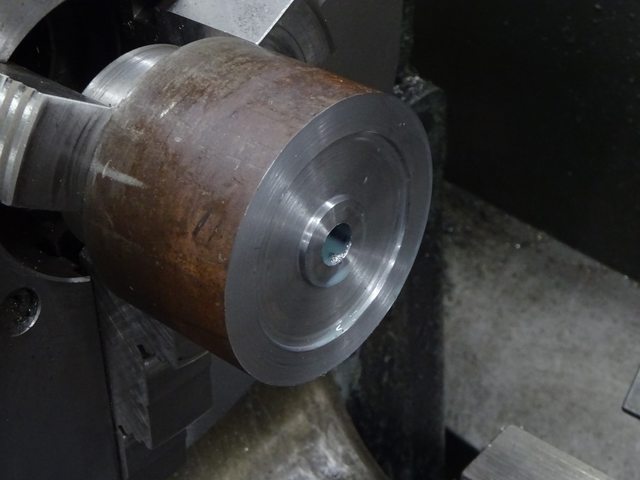
Next made a steel cylinder for it to fit into, this was nice and easy after the threading nightmare (forgot to mention, that was about a week's work getting that right!).

LRFxAZfl.jpg

lUOe2Fol.jpg

cCUS6Z4l.jpg


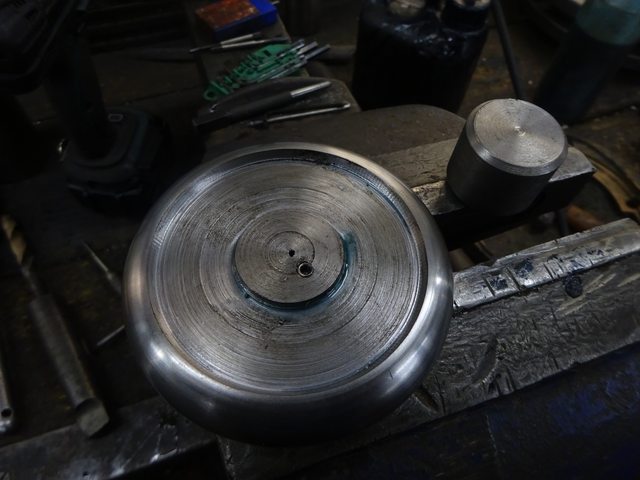
Here I cut the wheel for working the vice, started with the mounting hole and then shaping... the far side was harder with less to hold on to.
PH1GzEkl.jpg

WZHCYNQl.jpg

k5fQslUl.jpg

q2YkWNRl.jpg


Getting somewhere now, most of the bits are here in raw form.

TeVeGSjl.jpg


Next I unleashed the Archdale on this big lump to get it nice and symmetrical. Its the main body of the vice so I want it looking nice.

5Jw9pyRl.jpg


Then to cut a place for the cylinder to be welded onto.

bMGdSK5l.jpg

kKN1XpDl.jpg


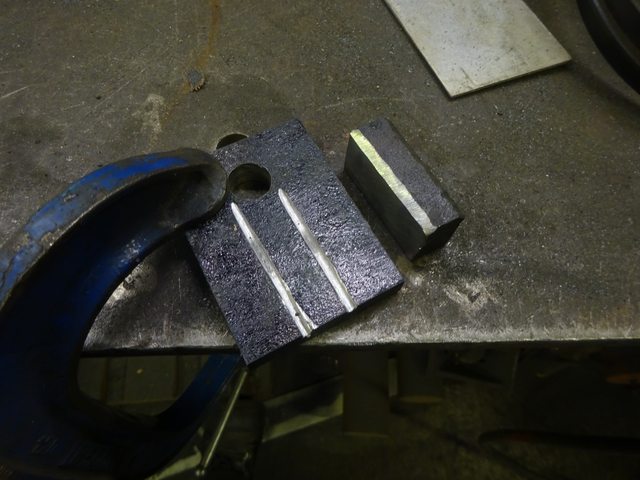
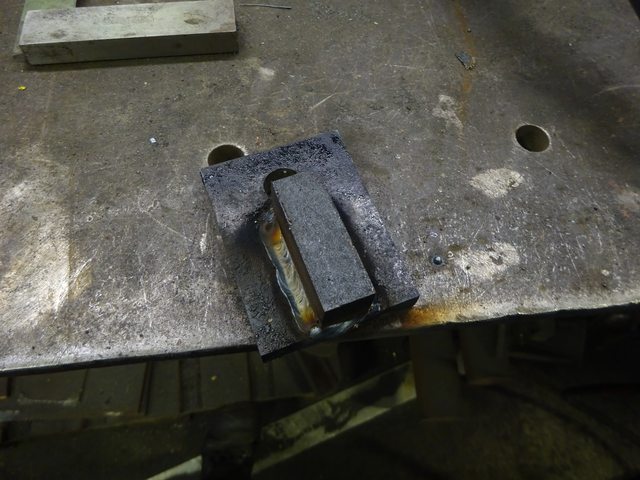
The base required a square bit to run in the slot the vice sits in. This had to be welded in such a way that the excess could be ground off to make a 90 degree corner without weaken the the weld too much. The key to this is a strong root for the weld, as such I ground a grove into the plat just under where the fitting would sit.

l4IVrQGl.jpg


This worked well. Just need to grind the excess off.

qhlR1KSl.jpg


With that I drilled a hole for the mounting screw (that pins the vice in place) and prepared i for welding.

dLhqOxil.jpg

vaXVagRl.jpg


and ground it to make it look nice. this was particularly needed as I used a fairly hot weld to get good penetration (i hope!).

UlWAdjel.jpg


With that I return to the wheel, it needs fixing to the thread in such a way that i can be removed at will. It was easiest just to stick with the same method by which the other wheels on the machine are held. Having a grub screw half and half o the join. I drilled and taped with the wheel mounted as I wanted it.

cUDz0GFl.jpg

z9BhP9yl.jpg


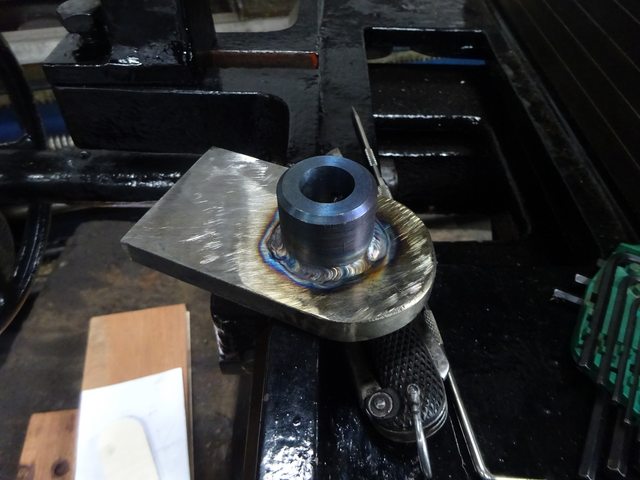
Now for the fitting for the pad that will clamp the wood.

21RA1w9l.jpg


Learned a bit of Tig welding, but one the more experienced to welded it for me in the end so it was neater (than i could do). The end result requires no grinding which was nice!

npNWJTgl.jpg


I have no photos of the slot i cut in the thread and the roll pin, these are what secure the pad.

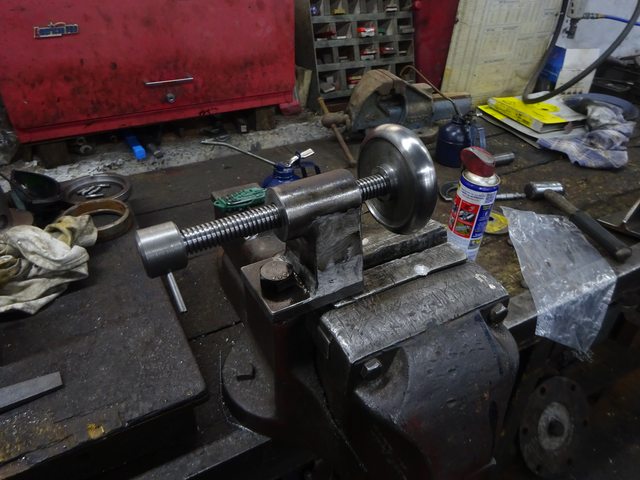
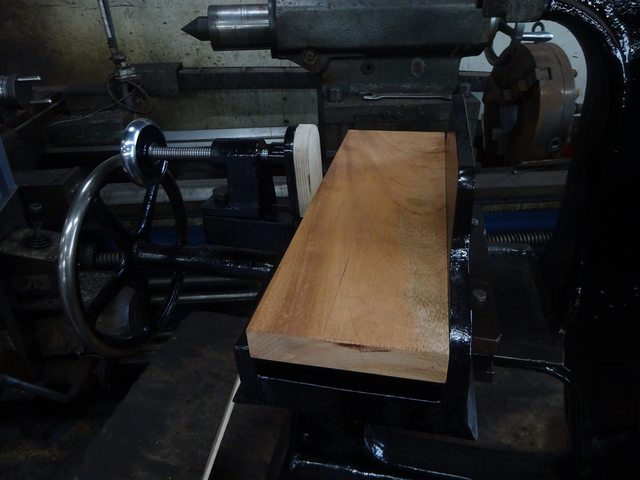
A lad in the carriage works made me a hardwood bed and plywood pad, though I decided to replace the pad with a fancier hardwood one after a few comments that the plywood was a bit ugly. The hardwood is "Utilly" (don't know the correct spelling, just what it sounds like!).

Il5Ka4Vl.jpg


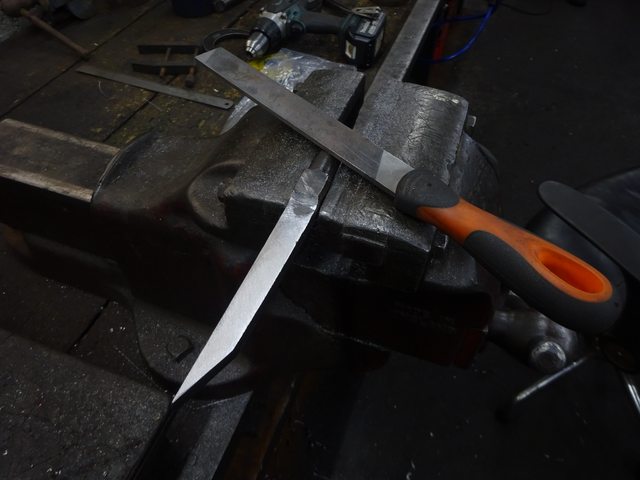
Lastly I peeped the one chisel it still had with it. This just involved grinding all the rust and pitting away and then straighten up with a file. The final sharpening was done on a series of diamond stones.

paJ8qfol.jpg


A bit of fettling later and Its Done! :mrgreen:

Zi1IYTzl.jpg


0Jsti4gl.jpg


lY2tx5jl.jpg


0HM10Fwl.jpg


It works too. Better than i thought, apparently the results are better than the powered mortiser. I think it would be significantly improved with a set of proper hardened chisels (the one it has is soft as anything).

c4ryBxPl.jpg


The boss seems pleased with the results and has suggested i go back to Minffordd yard to find more scrap to do up (hammer) :D
 
Absolutely superb work fella. That is a fantastic restoration. =D> =D> =D>
Well done Ryolith my hat is well and truly off. From the scrap heap to a useful (and beautiful) machine that will be used regularly in a proper workshop. What is not to like about this thread?!?
In fact, you have inspired me to sort mine out and I have put a few hours in with the grinder and the citric hot pot over the last couple of weeks as time allowed. I'll update a little later as work has progressed but it certainly won't compare to this level of workmanship or renewal. Mine is strictly a belt and braces, one man and his shed approach and luckily mine is sound mechanically. (Otherwise it would have been beyond my means or ability to get working). I'm aiming for a budget of £3.76 or thereabouts. :D
Brilliant stuff. Thanks for sharing.
Regards,
Chris
 
That clamp looks perfect. Really nice job!

Sent from my SM-G950F using Tapatalk
 
I think what comes over really clearly is how this project has led you to learn new skills and think like the engineers who made and used it. That must be very satisfying.
 
AndyT":1xgi936e said:
I think what comes over really clearly is how this project has led you to learn new skills and think like the engineers who made and used it. That must be very satisfying.
Very much so! I imagine the machines I have been using aren’t that different from what they would have used either.
 
Some jobs you can work and work and work, and not see where you've been (as they say around these parts). Not with this one.....
Fabulous. Just beautiful.
 

Latest posts

Back
Top