Toddlers desk & benches - FINISHED.

UKworkshop.co.uk

Help Support UKworkshop.co.uk:

This site may earn a commission from merchant affiliate links, including eBay, Amazon, and others.

pren

Established Member
Joined
13 Feb 2008
Messages
652
Reaction score
0
Location
Gogledd Cymru / North wales.
Happy new Year's Eve, guys! :D

Figured I'd try and get one last project started before the decade's out.

Had my MiL ring me the other day, asking if I could make an art desk/table for her grandson who's birthday is in a week :shock: 'Right-ho' says I. 'I'll see what I can do'.

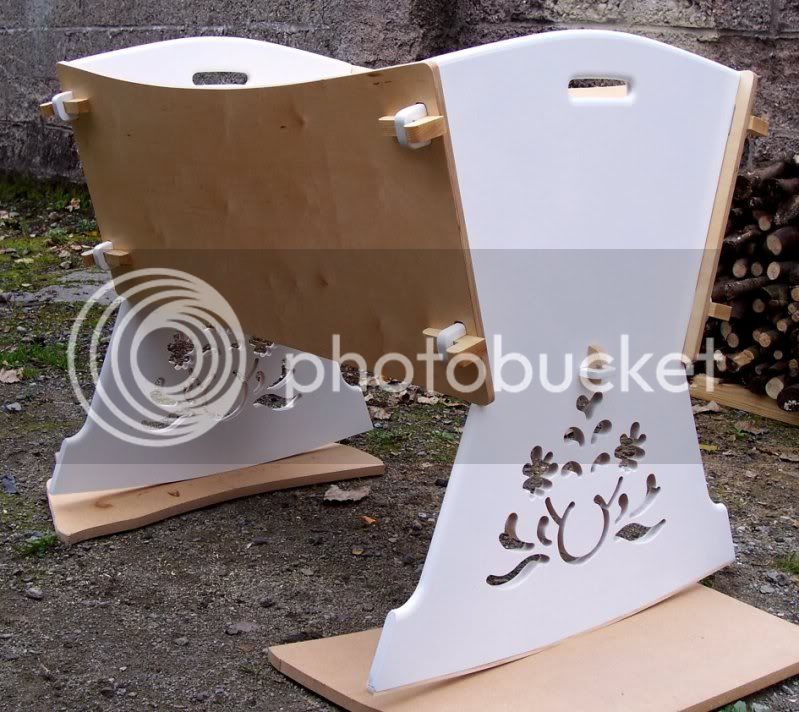
This is the design I came up with. Some of the aprons and stretchers are missing but will be on the finished artical.

leobench1.jpg


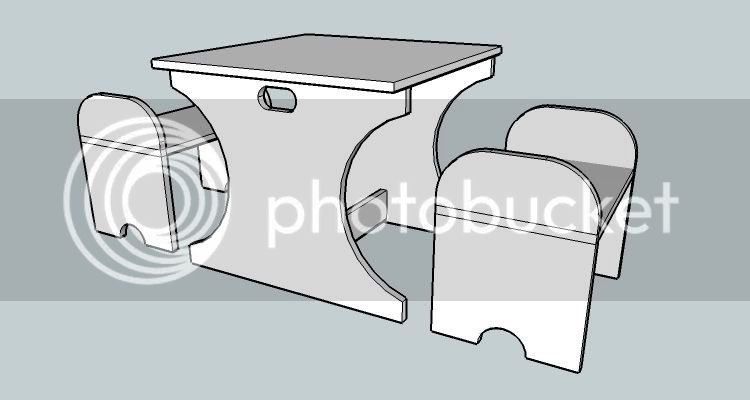
Luckily I had some 18mm MDF hanging around that was bought to make some doors for my never ending kitchen build so I decided to use it for this.

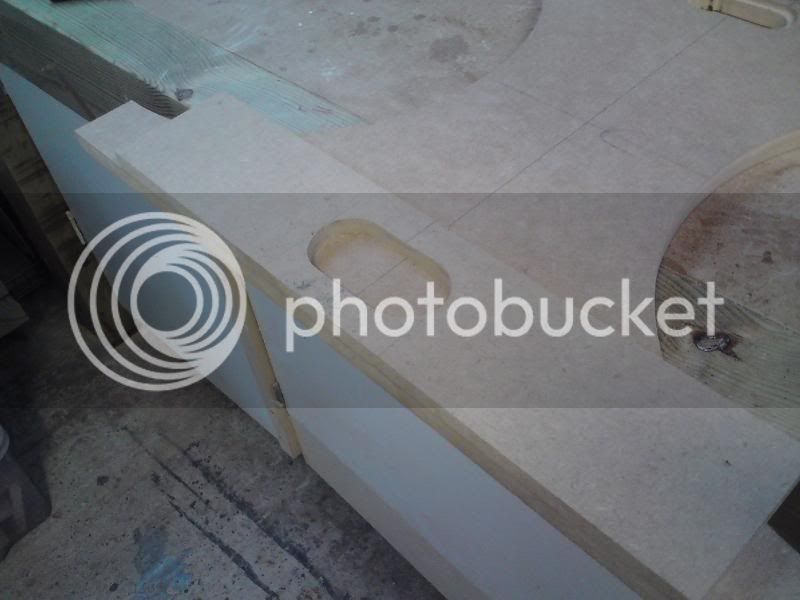
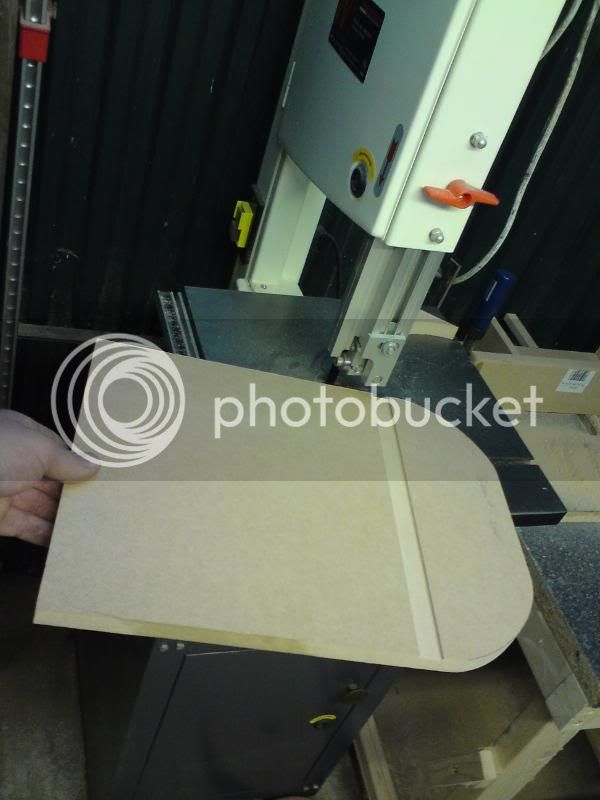
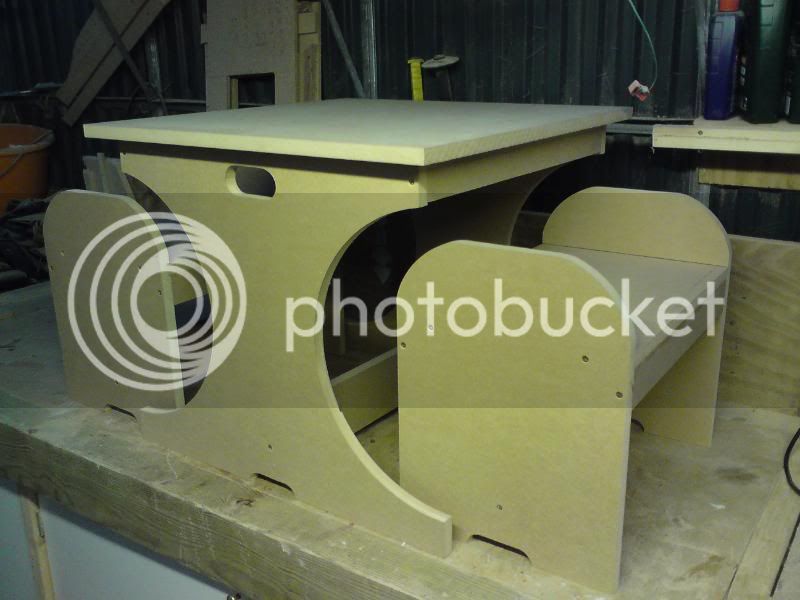
Afraid I didn't think to take any WiP's so far but this is the state of play so far (no joints have been made yet - clamps are just there to hold the whole thing up - they're not part of the final design :lol: )

DSC00023.jpg


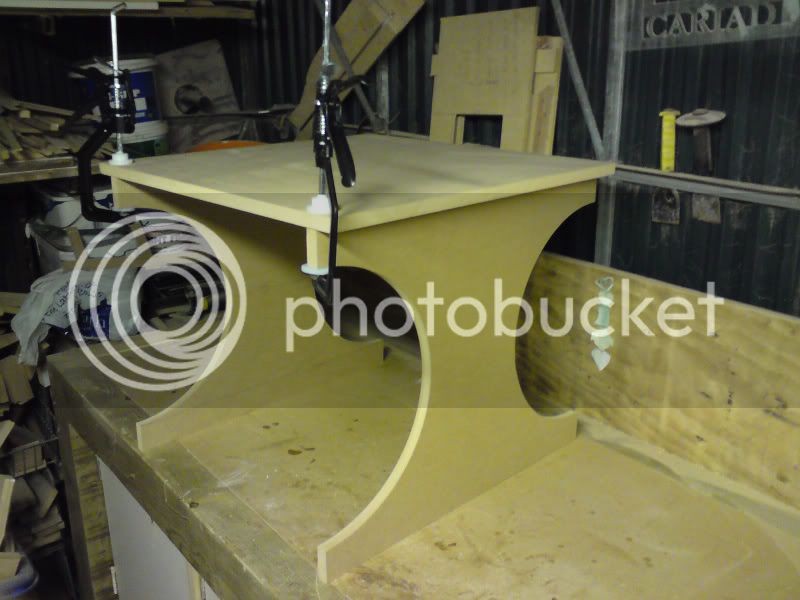
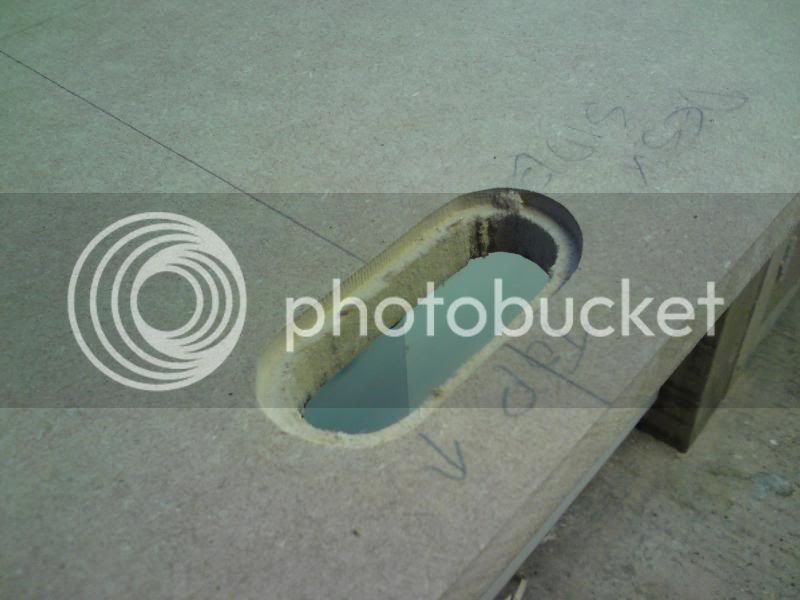
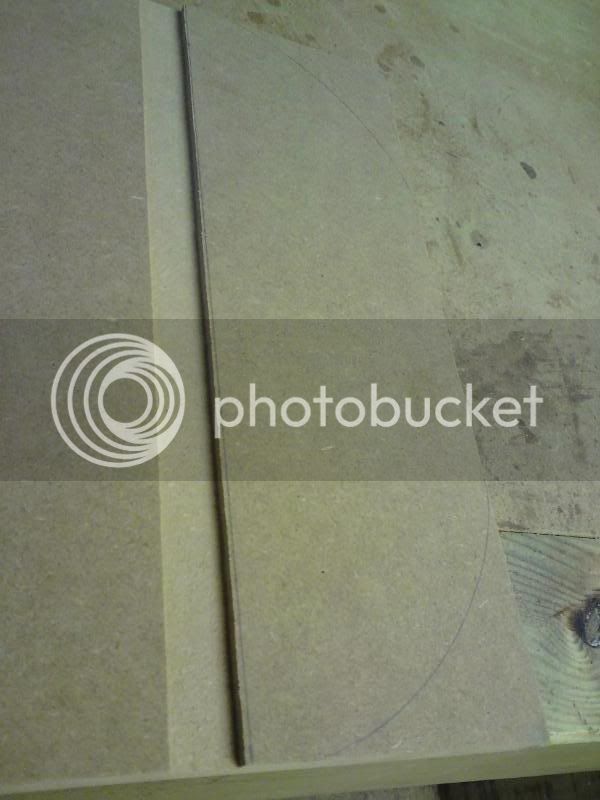
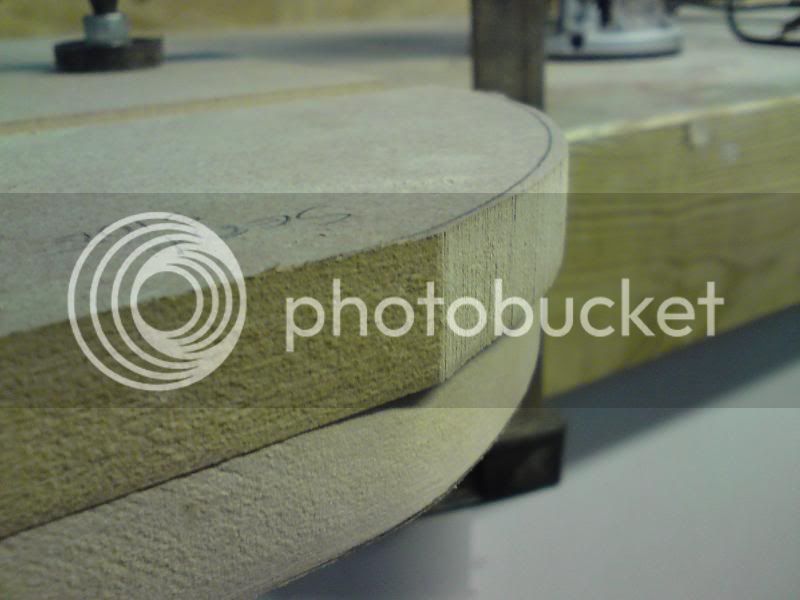
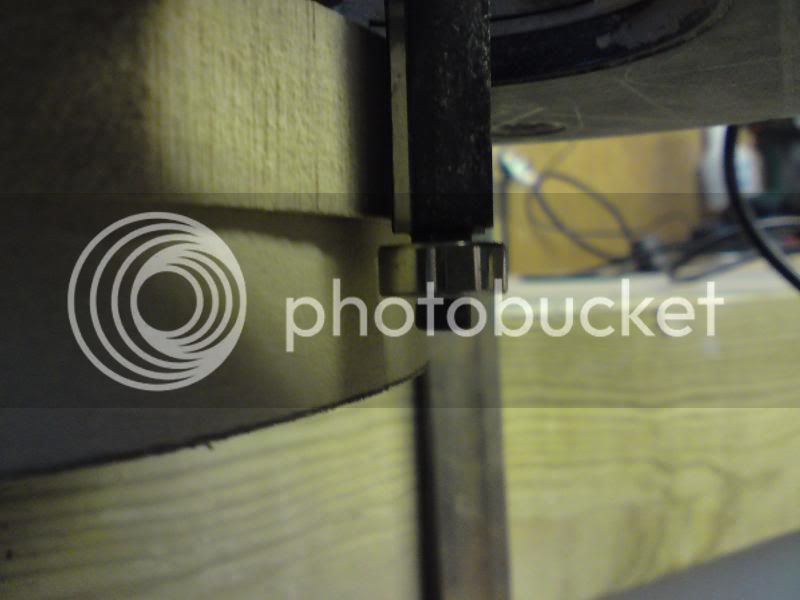
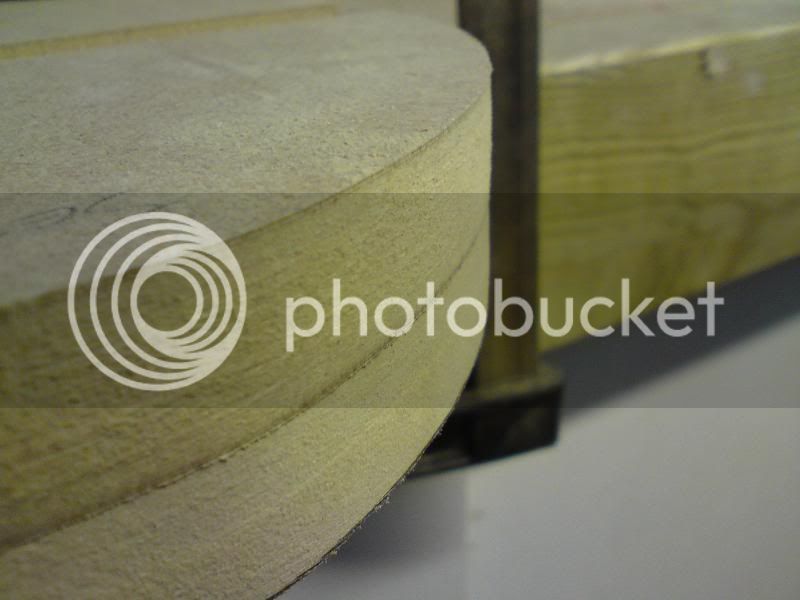
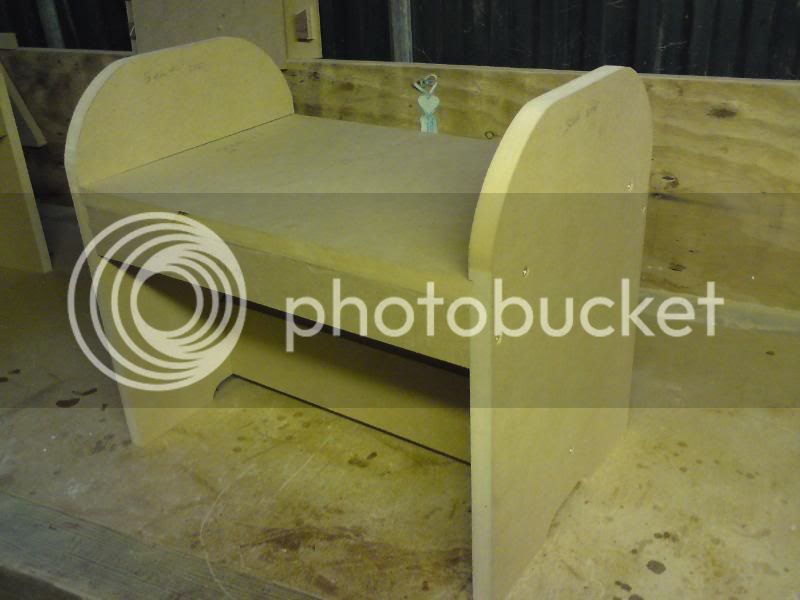
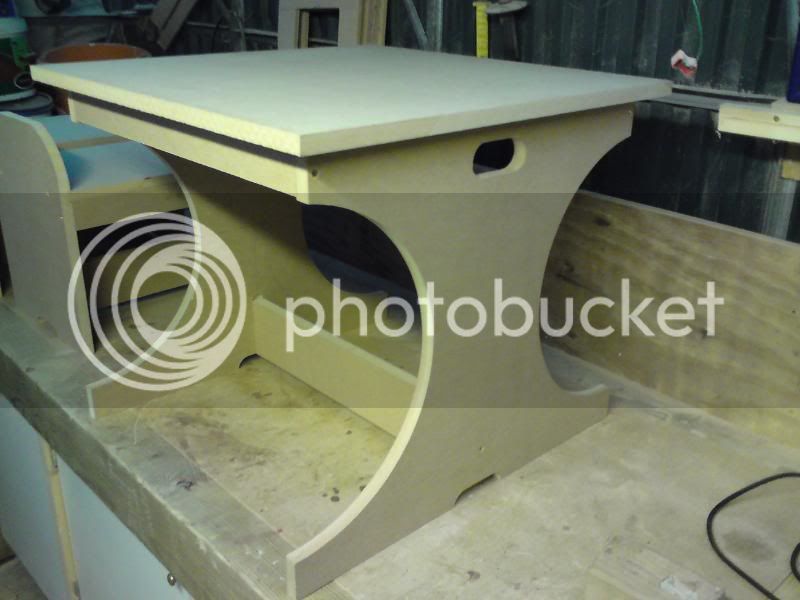
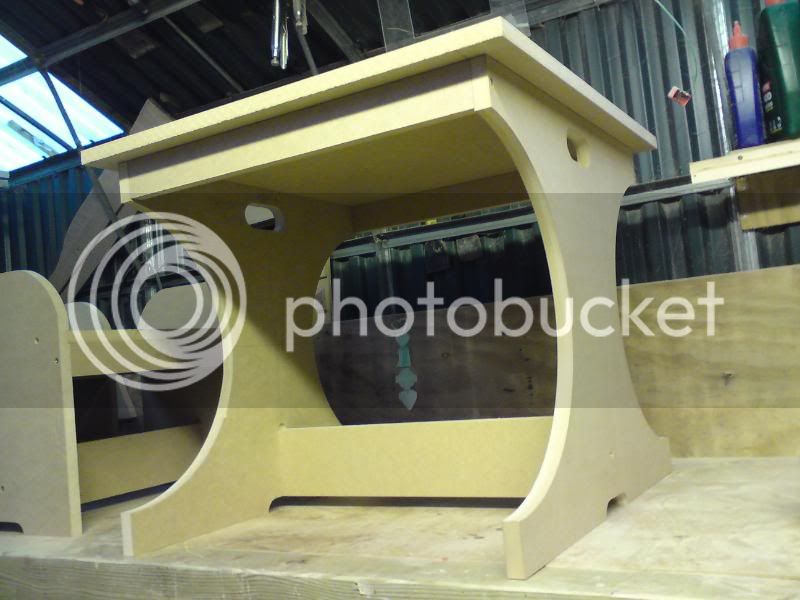
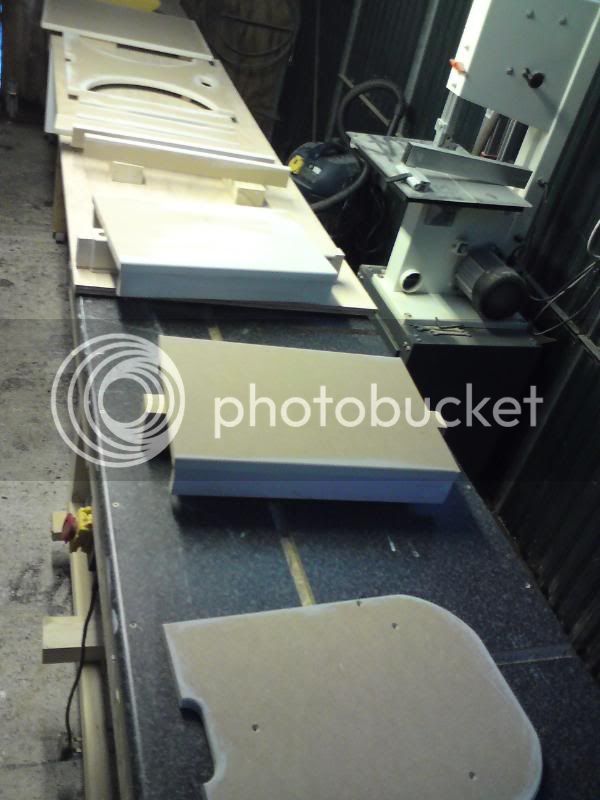
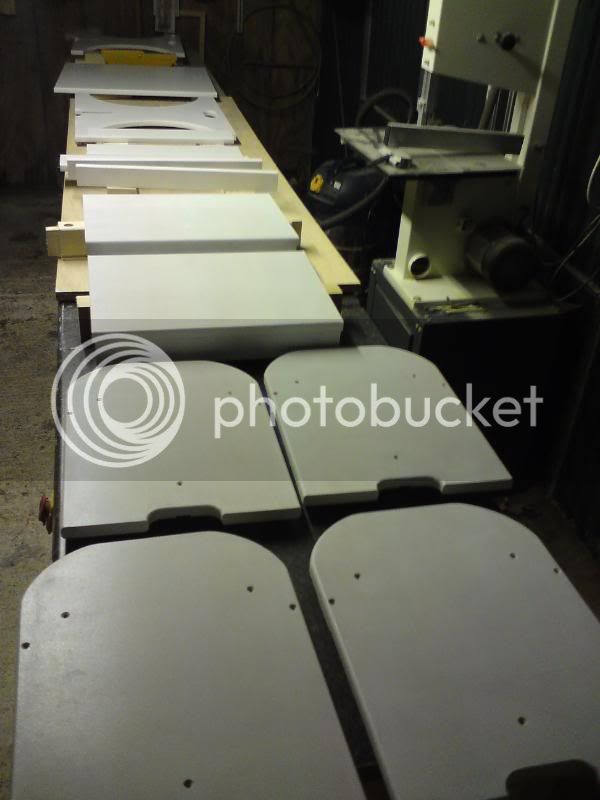
All the parts are cut to size and the semi-circles have been cut out using a router with a quickly made trammel and a jigsaw. The router was used to make a 5mm deep, semi-circular groove in in the MDF. The jigsaw was then used to cut away the waste, leaving a few mm of waste. A bearing guided trimming bit was then used to remove the waste, flush with the inner edge of the routed groove.

I hope to finish all the woodwork tomorrow as well as get as far as priming.

The joints for the desk and benches will be screwed housing joints and dowels supported by 50mm aprons under the desktop and seat board and 100mm stretchers between the 'legs' of both the desk and seats. These will be held with 8mm dowels and screws in pilot holes.

Does that sound ok?


Right. Beer O'Clock. :D
 
I think it would be a good thing if the 'right angled corners' were rounded off for safety reasons maybe all the other edges also, it will still look good.
 
pren":10r3sd7b said:
Had my MiL ring me the other day, asking if I could make an art desk/table for her grandson who's birthday is in a week :shock: 'Right-ho' says I. 'I'll see what I can do'.

Is that not your son? :D

Glad to see those little ones are being put to work again, they've had it easy for too long

Aidan
 
Assuming you'll be painting this then, I don't see a problem with screws and filler on this build. :wink: When you say dowels - do you mean Steve Maskery's tip of inserting a dowel for the screw to bite in to? This is a good idea as it prevent the MDF from splitting. You could otherwise use Miller Dowels and forget the screws but, I'm guessing you don't have any to hand and you want to get this job done ASAP. :)
 
Very nice design, I was supposed to make one of these for my daughter's xmas present. But then we got the news about the op and it didn't happen.

Looking forward to seeing it finished.
 
Thanks, folks! :D

All the corners/edges (arrises?) will be rounded over. I usually find that this makes MDF much easier to finish as the paint doesn't usually stick as well on sharp corners.

I wasn't going to include the hand holes originally but I figured without them, the obvious lifting point would be the table top which would lead to undue stress on the fixings.

It's quite odd making something this small. I was setting out the parts and kept thinking: 'This is waaay too small for a table!' Had to keep reminding myself that the recipient is only a wee man.

The whole thing was intended to be flat-packed for transit but, again, the actual size of it got away from me. The table stands 500mm high by 600mm square. The benches are 400mm at their highest point. It'll all fit in our hatchback easily! :roll: :lol:

It's like working for the Borrowers! :lol:

Just got a few errands to run and then it's back to work.

Happy New Year, everyone / Blwyddyn Newydd Dda, bawb! :D
 
Righty ho. Just came in to defrost my head. Why oh why didn't i insulate my shed in the summer?!

Progress so far.

I made up a quick jig to make the hand-holes in the sides of the desk.

DSC00026.jpg


These were routed out with a guide bush and a 6mm bit. The waste was cut out with a jigsaw.

DSC00028-1.jpg


Using a following bearing guided trim bit, I cleaned up the hole.

DSC00029-1.jpg


The housings on the bench sides were cut on the router table (no pics).
The radius curve on the tops of the bench seats was made using a handy sweet tin.

DSC00030-1.jpg

DSC00032.jpg


This radius was then cut out on the bandsaw before being sanded to the line.

DSC00031.jpg


This was used as a template to mark the other sides. These were then rough cut on the bandsaw.

DSC00033.jpg


The template side was then used in conjunction with the bearing guided trimmer to clean up the edges.

DSC00036.jpg

DSC00038.jpg

DSC00039.jpg


That's it so far. Just having mini-pizzas and left over nibbles then I'm back off oot. :D
 
I've done some work recently for an even wee-er man, ie a baby! :p This project of yours reminded me of the flatpack rocking crib I made. I used 18mm MDF anf Birch ply. The wedges are ash, the whole thing locks together very solidly.


crib1.jpg
 
Having got all the woodwork done today, this is where I'm up to. I'm afraid I forgot to take the requisite WiP's :(

DSC00040.jpg

DSC00042.jpg

DSC00043.jpg

DSC00044.jpg


The benches and desk are all held together with screws. I was debating weather or not to use dowels to strengthen the joints, but I found that pre-drilled screws and wide stretchers and aprons made for a perfectly strong construction. I was worried about 'racking' from use, but with the wide stretchers, this seems to not be an issue. The benches support my 15st bouncing on them so a wee lad should not be an issue.

All that's left is to round over the corners/edges, PVA the end 'grain', sand, prime, sand, prime, sand, paint, cutback & paint some more. :D
 
TheTiddles":1wnrsmsb said:
pren":1wnrsmsb said:
Had my MiL ring me the other day, asking if I could make an art desk/table for her grandson who's birthday is in a week :shock: 'Right-ho' says I. 'I'll see what I can do'.

Is that not your son? :D

Aidan

Only if the MiL had just one child Aidan...

Or have I missed summat?
John

:lol:
 
Love it. My only comment is that it looks heavy. Not sure if that's good or bad.

Oh and I feel for you with the paint. MDF takes a lot of patience to get perfect.
 
wizer":1oe305kq said:
Love it. My only comment is that it looks heavy. Not sure if that's good or bad.
.

Do you mean visually heavy or actually weighs-a-ton heavy?

Have to say the weight did cross my mind when I was carrying all the parts around in one stack. I think i was in 'making-furniture-for-grownups' mode when I opted to use the 18mm MDF. The effort required in pulling the bench in and out from the desk hadn't occured to me. I'd say the bench is about the same weight as, say, 2.5L of paint. I don't think it'll be an issue. 8-[

The weight in the desk makes it really nice and stable. I was able to sit on it without it flexing too far, so it should be reasonably toddler proof.


Visually, I've just finished rounding over the edges. Even in it's unpainted state, this makes it seem much less 'blocky'.

I just hope I get a bit more of an emotive reaction out of the sets recipients. I spent ages making a box for a christening bracelet and all I got was an 'Oh. Ta.' :roll: I tell ya, if it's not from Next, they don't want to know..... [/rant].
 
CroppyBoy: I've just seen your pic of the rocking crib!! That's beautiful! I love the thinking behind the knock down aspect! nice. :D Do you have any shots of the inside? Just wondering how you made the base?

I hit 'stop' on my browser when I opened this thread last time so as to speed up the loading time. I didn't realise you'd posted a picture. :roll: :lol:
 
Right ho, time for an update.

In preparation for painting, I coated the edges of the MDF with a roughly 50/50 mix of PVA wood glue and water. I covered the areas pretty liberally in order to get it to soak in.

Due to the cold, the mixture dried white.
DSC00004.jpg


I left this overnight and sanded it down with 60grit before giving it a coat of flat matt white emulsion. I've used this before to prime MDF and find it works just as well as MDF or wood primer but at a fraction of the cost. It sands down beautifully, 'powdering' off like car body filler.

DSC00005.jpg


I left the 'primer' to dry overnight before sanding the edges with 180grit paper. Normally, I would give the edges two coats of primer. Due to the cold weather, tho, I'm a bit concerned that the topcoat of eggshell wont dry in time if I leave it another day. I have to paint outside in my cold cold shed as there isn't room for all the parts in my house :( REALLY wish I'd gotten round to rebuilding my shed with insulation over the summer!! Got bloody icicles!

DSC00015.jpg


One coat of primer seems to have been enough this time, although there are a couple of rough patches.

The topcoat of Dulux Eggshell has gone on this morning at a balmy -6 degrees! :shock: Hopefully it'll be dry enough by the tomorrow to give the other sides a coat. So far, one coat of the eggshell seems to be enough to cover the peices. This was applied with a 4" foam roller.

DSC00013.jpg


Fingers crossed for a heatwave overnight ..... :roll: :lol:
 
I like that colour.

However cold it is, you cannot complain about the amount of space you have!! :wink:
 
Cheers.

I had a bit of a clearout, donating all the random offcuts of crappy softwood to my workmates fire fund. Surprising how much space it all takes up! I laid a spare 6' sheet of ply between my router table and table saw to make 12' bench for the painting. Not done this before but I will do it again when I've got a large paint list to complete. 8)

The PVA really does work on the edges of MDF. When you sand the edges of un-PVA'd MDF, it just turns to fluff. The PVA mixture impregnates what would become fluff and makes it ridgid and brittle. When you then sand it, all the little fluffy bits break off reasonably cleanly. If I had more time, I'd sand the edges, PVA them, sand them to 60grit, PVA again, sand to 180grit, prime twice then sand that to 180grit. The emulsion/primer builds in the little pits in the MDF edge. Once it's dried, it can be sanded as a filler.

As I've mentioned, I've skimped a bit in order to save time so I'm not expecting a flawless finish but hopefully it'll be good enough. [-o<

I've generally found that the more effort you put into the preparation stage with MDF, the better the end result. Just a PITA that it takes so long and involves so much effort!
 

Latest posts

Back
Top