NickN
Established Member
With perfect timing for my re-entry into learning woodworking as a complete beginner, I saw a few weeks back that Paul Sellers was releasing a new series on his Woodworking Masterclasses website, and Youtube, free of charge, showing how to build a revised version of his workbench, which features a single top and well, and various changes to dimensions and joints.
So, always being one of those idiots that love to jump in at the deep end and see how fast I sink (or, possibly, swim), I decided to make this my first EVER proper piece I'll make (not counting little things like a sharpening plate holder and spatula, or cobbled together stuff like my scrollsaw stand). Although my workshop is far from fully kitted out yet, I felt I had enough to make a decent start, and hopefully work alongside the release of each episode in the series.
I may well end up seeking advice in this thread as I go along, and there may be a hiatus while I get a bandsaw sorted out soon, but all being well I'll keep progressing nicely. I'll welcome any comments and criticism, as I've got no-one in person to rebuke me for getting things wrong... (hammer)
Building a workbench without a workbench is obviously always interesting, but luckily I had bought a couple of 'Jawhorse' clamping trestles last year during a Homebase clearance sale, and they are proving to be worth their weight in gold.
Ok, here goes:
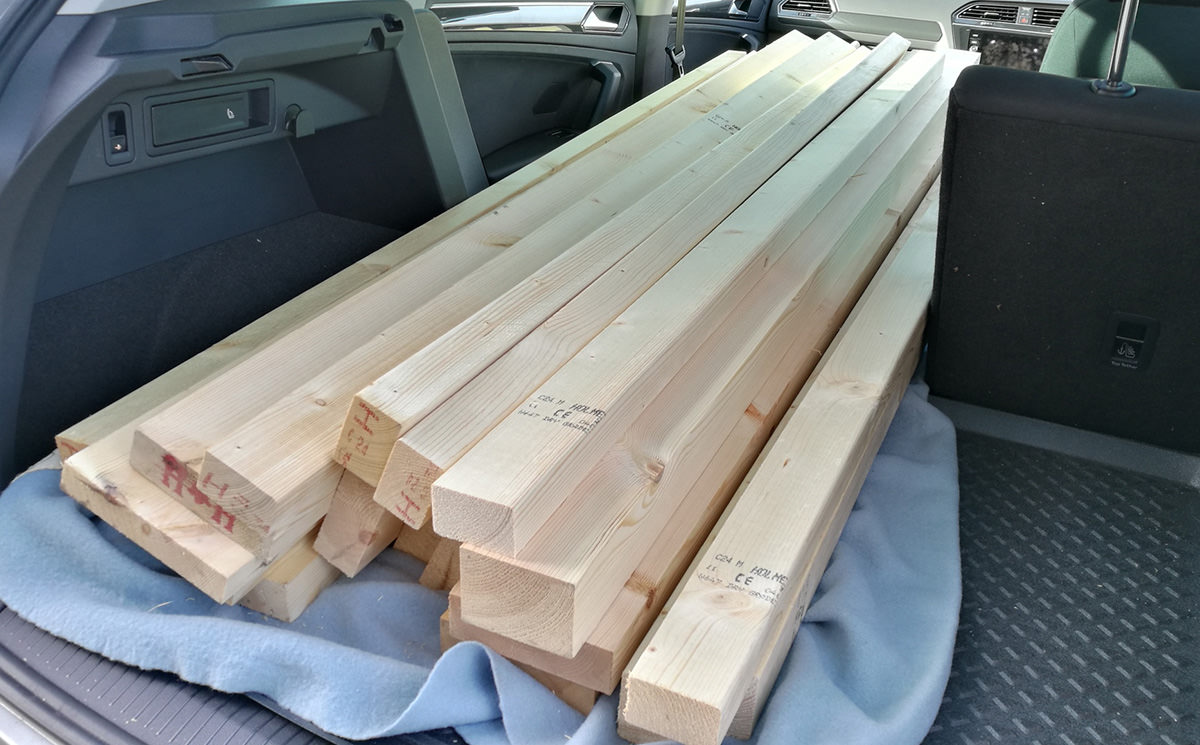
Picking up the timber needed from Davies Timber in Wythall, Birmingham (who I can highly recommend):
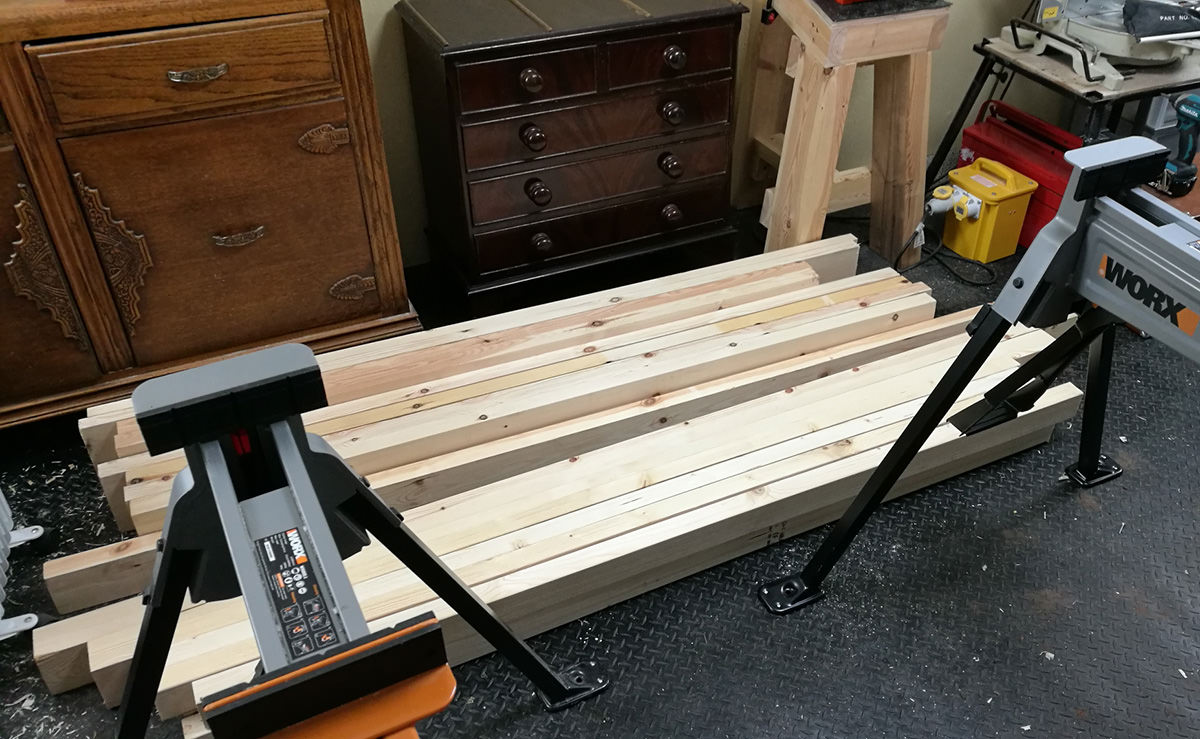
The same pile of wood now on the workshop floor:
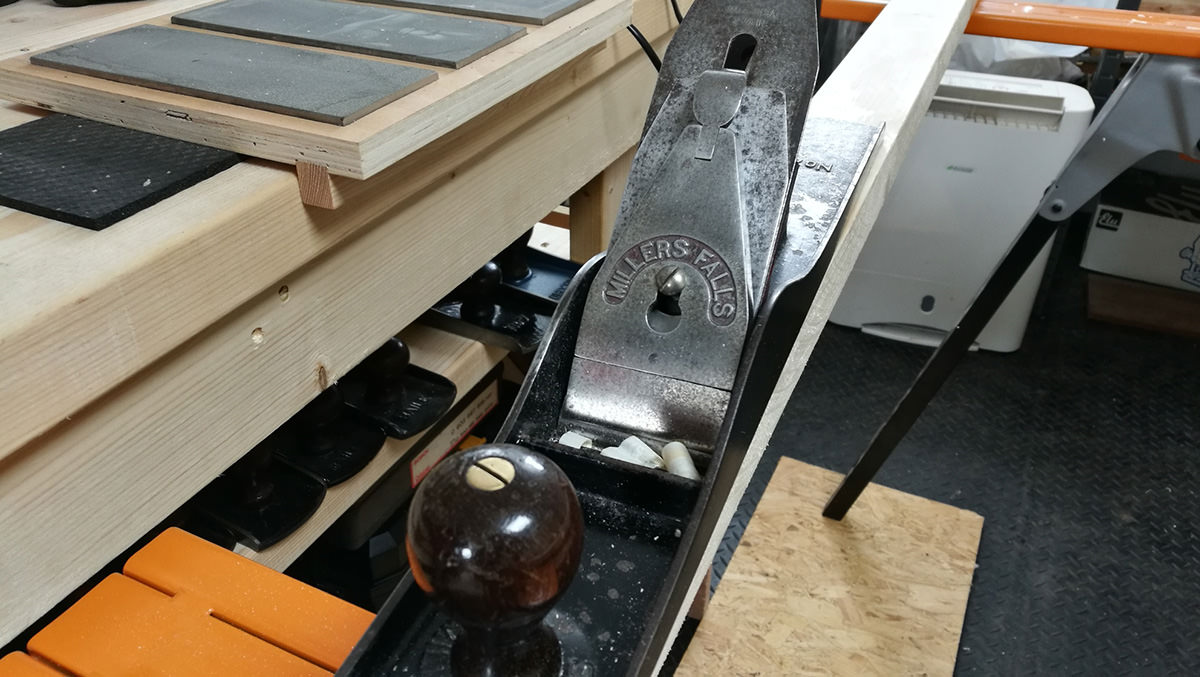
Gratuitous plane shot - I tried several sizes for squaring and flattening the bench top stud timber, and ended up finding the 5 1/2 (size 15 in Millers Falls models) gave about the best result for me.
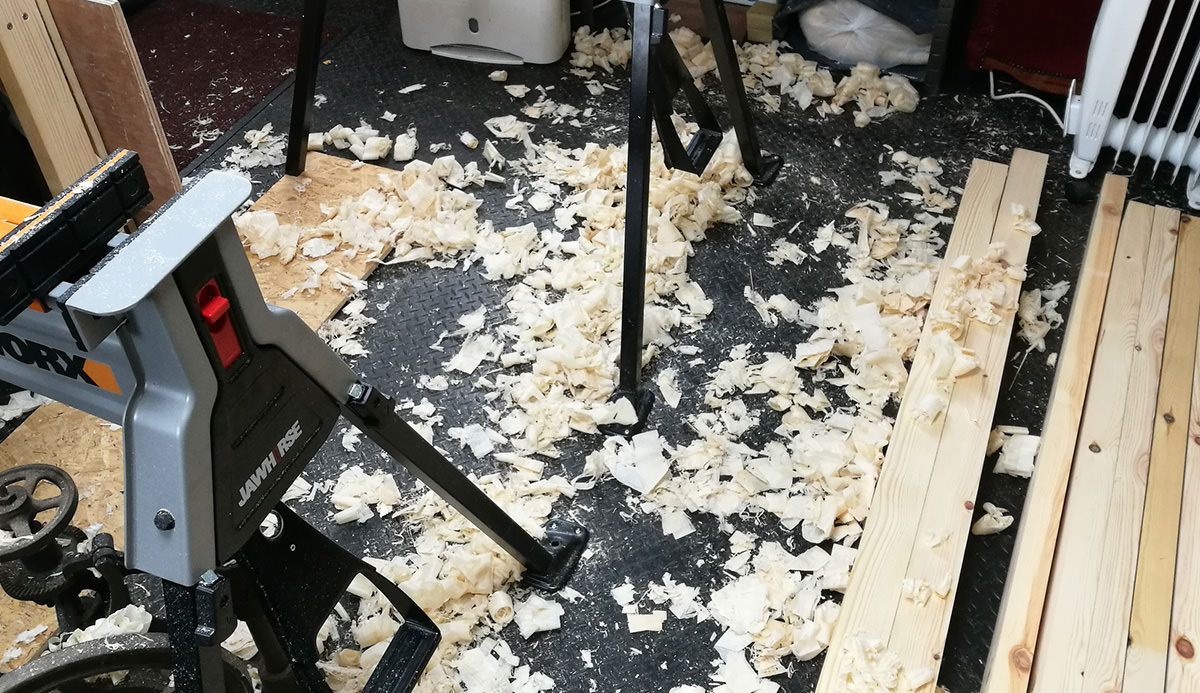
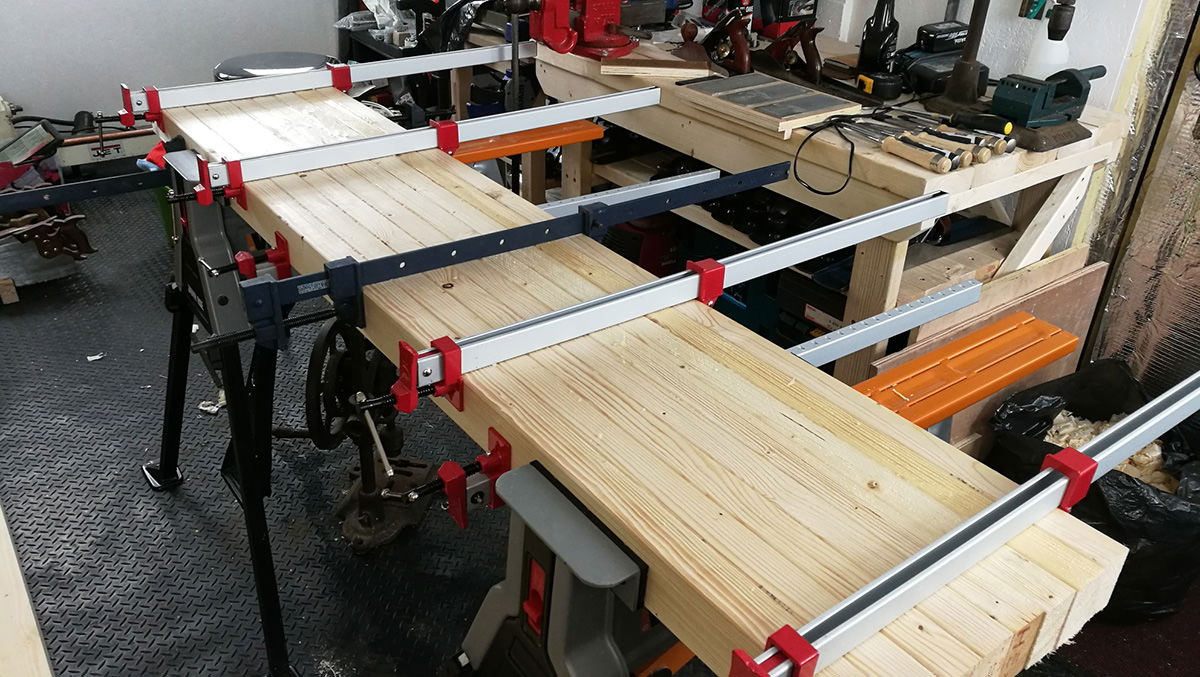
For laminating the bench top I used 3 x 2 C24 Scant, which rather unfortunately is slightly larger in depth than the recommended 63mm x 38mm 3 x 2 C16 CLS - so currently my laminated bench top is a little wider than it should be, oh well. Here the boards are clamped up after gluing - the Jawhorse clamps really helped here too.
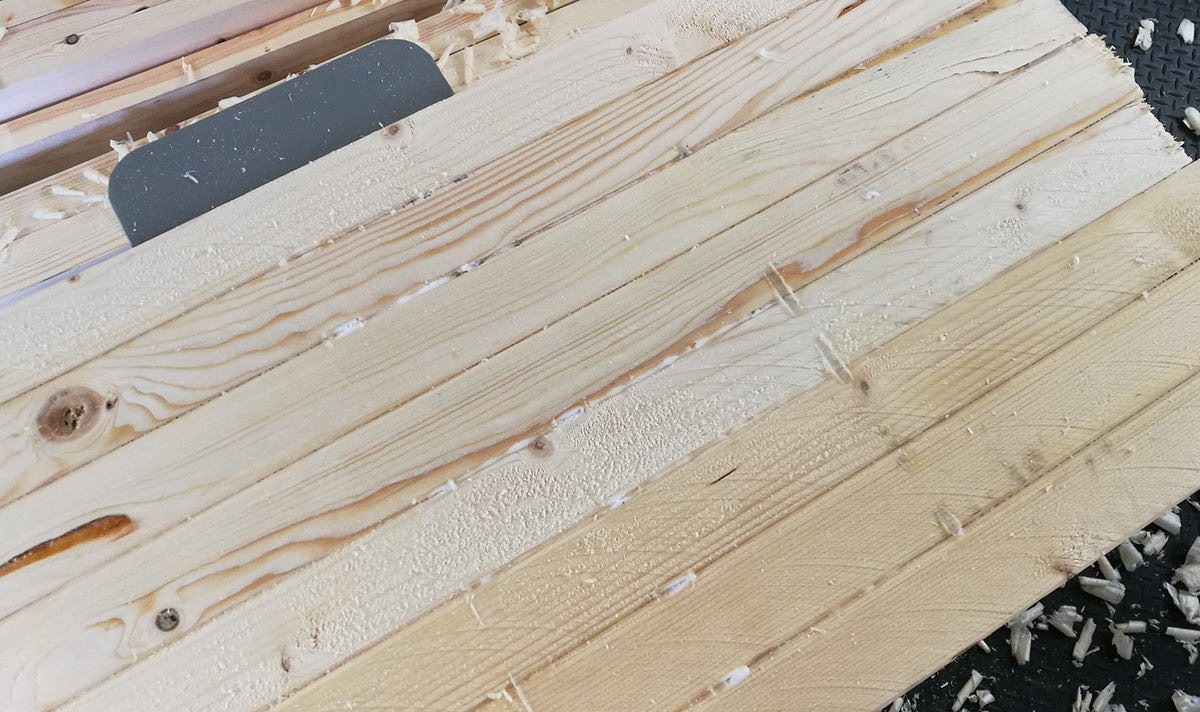
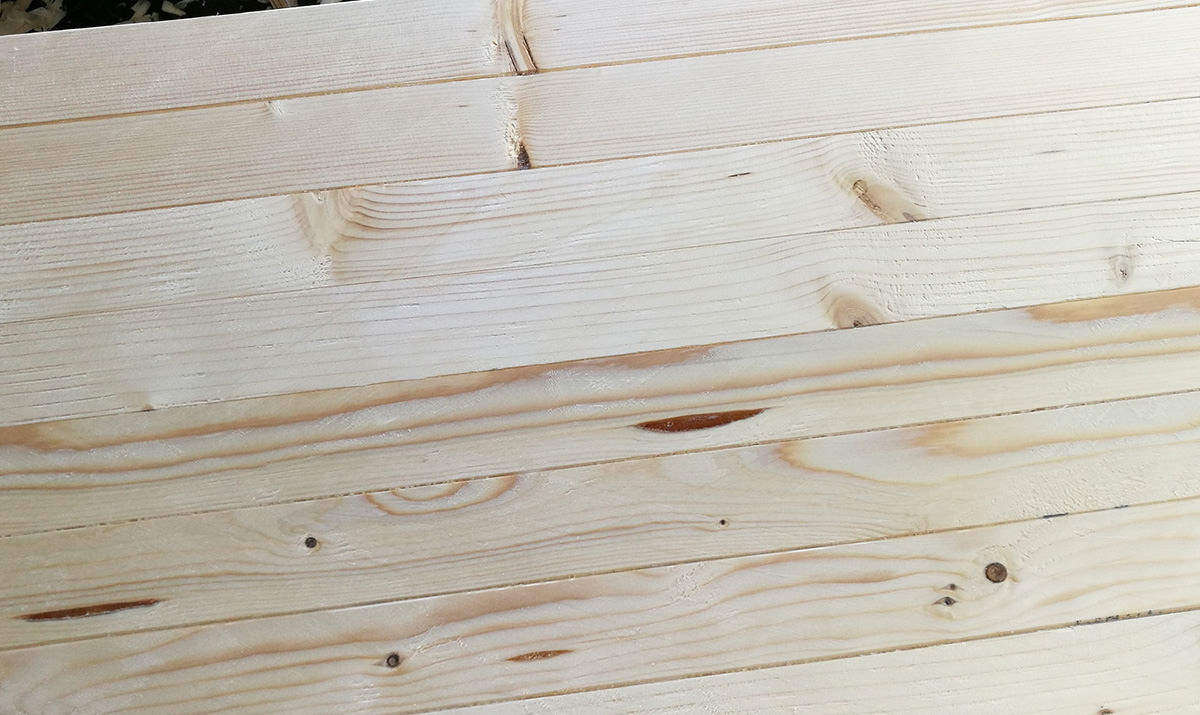
After laminating, planing the whole surface as one - here's a before and after shot.
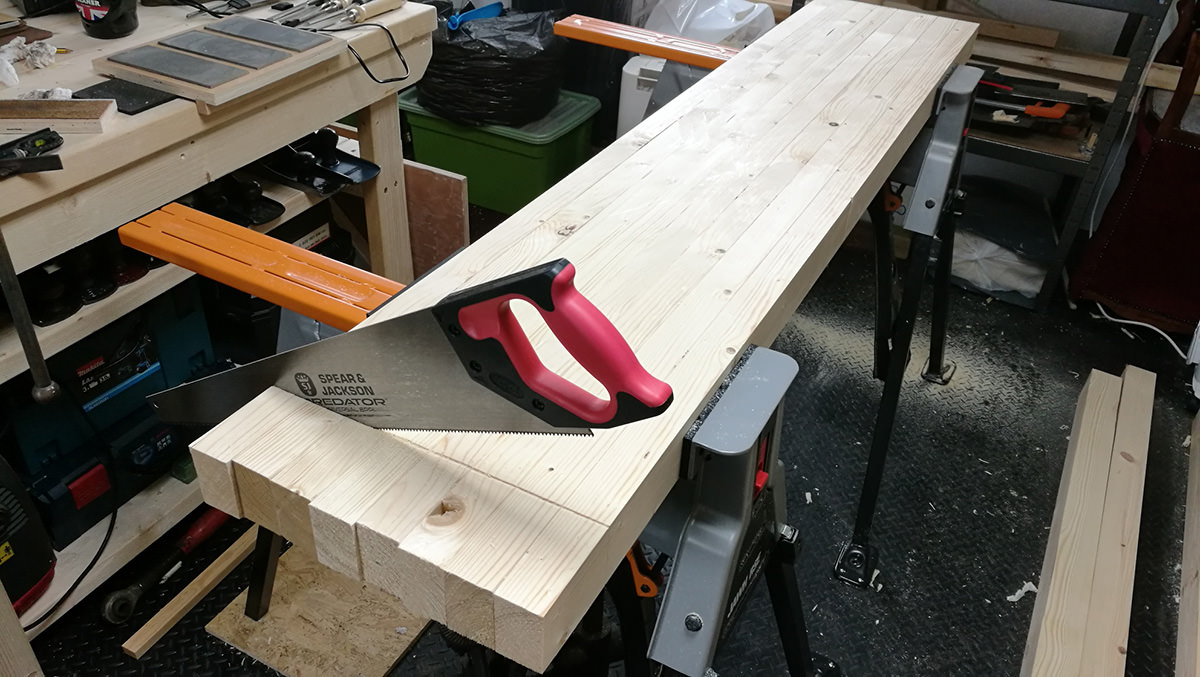
Finally in the bench top preparation, cutting to length, 66" in this version. I marked all round with a knife and chiselled out a small groove to keep the saw aligned.
Oh, and you didn't see that nasty ol' hardpoint saw, it's your imagination. My newly ordered traditional Spear and Jackson hadn't arrived then, and I haven't got around to sharpening any of my old saws yet, so this, bought before I knew any better, did the job nicely.
So, always being one of those idiots that love to jump in at the deep end and see how fast I sink (or, possibly, swim), I decided to make this my first EVER proper piece I'll make (not counting little things like a sharpening plate holder and spatula, or cobbled together stuff like my scrollsaw stand). Although my workshop is far from fully kitted out yet, I felt I had enough to make a decent start, and hopefully work alongside the release of each episode in the series.
I may well end up seeking advice in this thread as I go along, and there may be a hiatus while I get a bandsaw sorted out soon, but all being well I'll keep progressing nicely. I'll welcome any comments and criticism, as I've got no-one in person to rebuke me for getting things wrong... (hammer)
Building a workbench without a workbench is obviously always interesting, but luckily I had bought a couple of 'Jawhorse' clamping trestles last year during a Homebase clearance sale, and they are proving to be worth their weight in gold.
Ok, here goes:
Picking up the timber needed from Davies Timber in Wythall, Birmingham (who I can highly recommend):

The same pile of wood now on the workshop floor:

Gratuitous plane shot - I tried several sizes for squaring and flattening the bench top stud timber, and ended up finding the 5 1/2 (size 15 in Millers Falls models) gave about the best result for me.


For laminating the bench top I used 3 x 2 C24 Scant, which rather unfortunately is slightly larger in depth than the recommended 63mm x 38mm 3 x 2 C16 CLS - so currently my laminated bench top is a little wider than it should be, oh well. Here the boards are clamped up after gluing - the Jawhorse clamps really helped here too.

After laminating, planing the whole surface as one - here's a before and after shot.


Finally in the bench top preparation, cutting to length, 66" in this version. I marked all round with a knife and chiselled out a small groove to keep the saw aligned.
Oh, and you didn't see that nasty ol' hardpoint saw, it's your imagination. My newly ordered traditional Spear and Jackson hadn't arrived then, and I haven't got around to sharpening any of my old saws yet, so this, bought before I knew any better, did the job nicely.


