Restoring an antique chest of drawers. Advice welcomed.

UKworkshop.co.uk

Help Support UKworkshop.co.uk:

This site may earn a commission from merchant affiliate links, including eBay, Amazon, and others.

rob.

Established Member
Joined
23 Jul 2009
Messages
86
Reaction score
0
Location
Suffolk Uk.
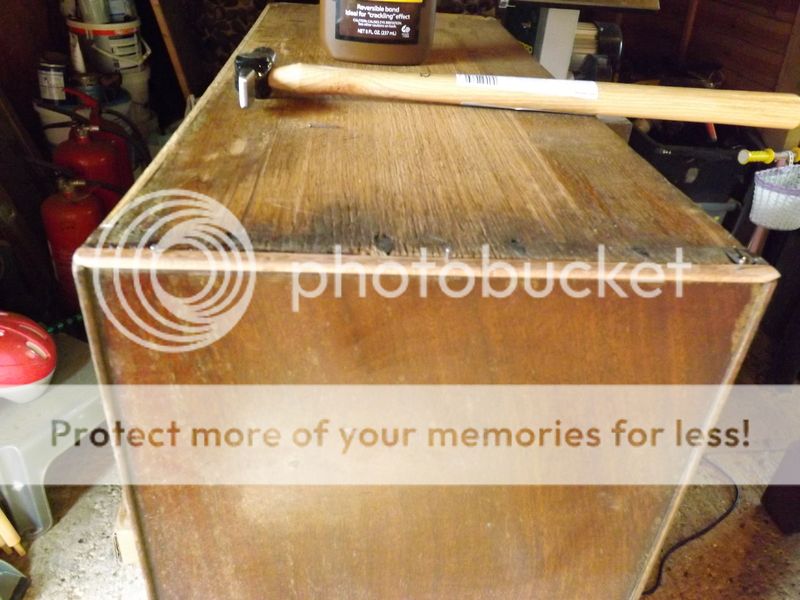
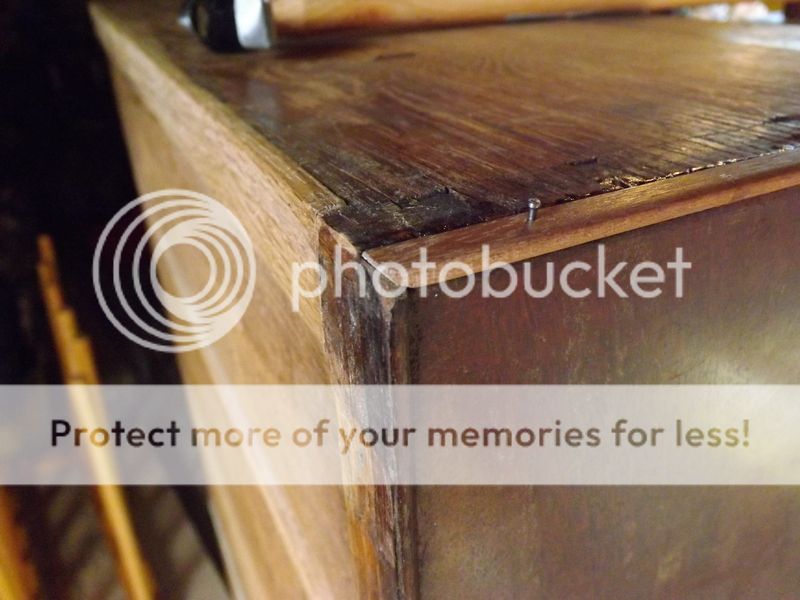
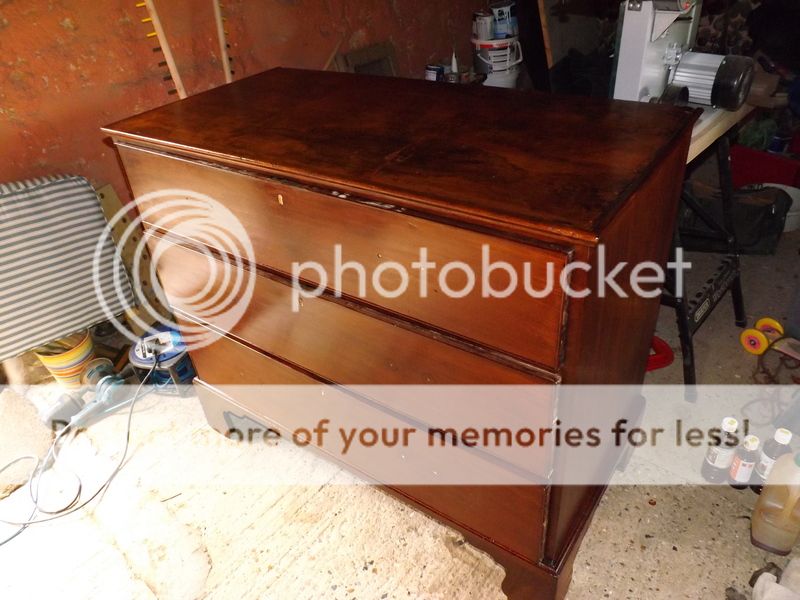
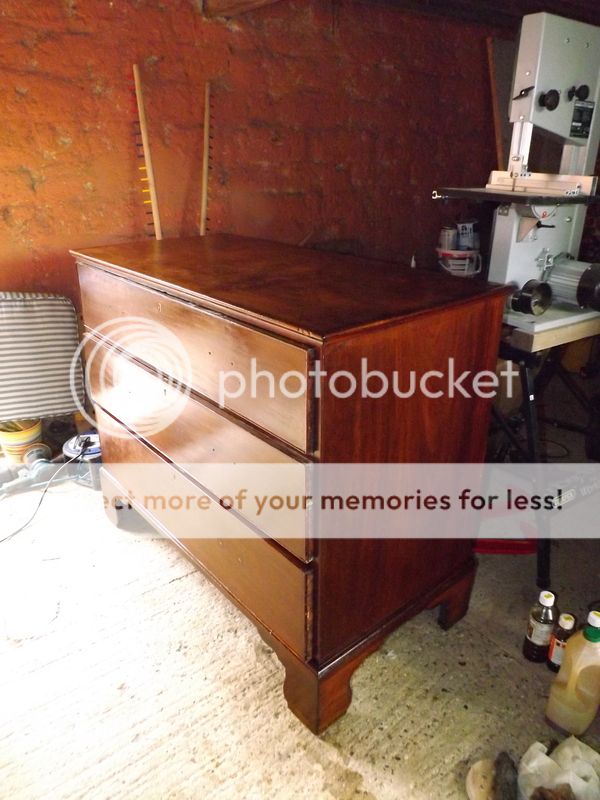
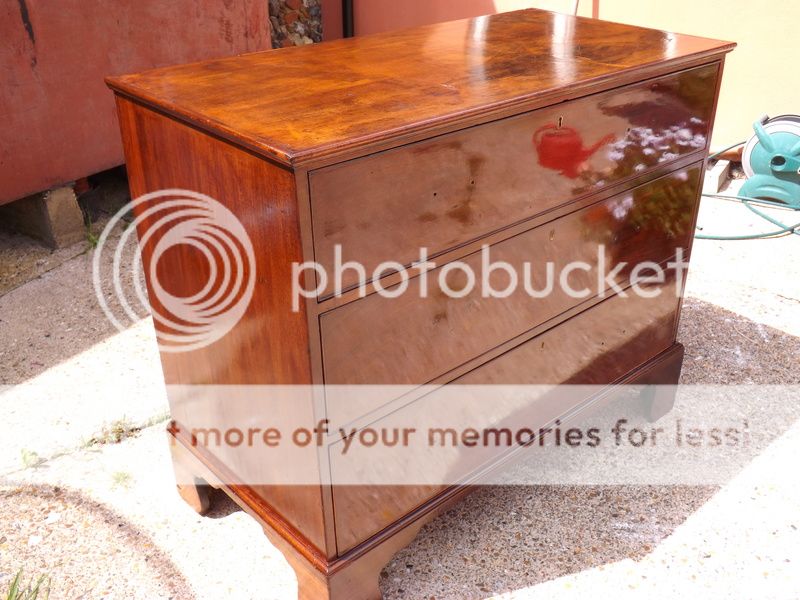
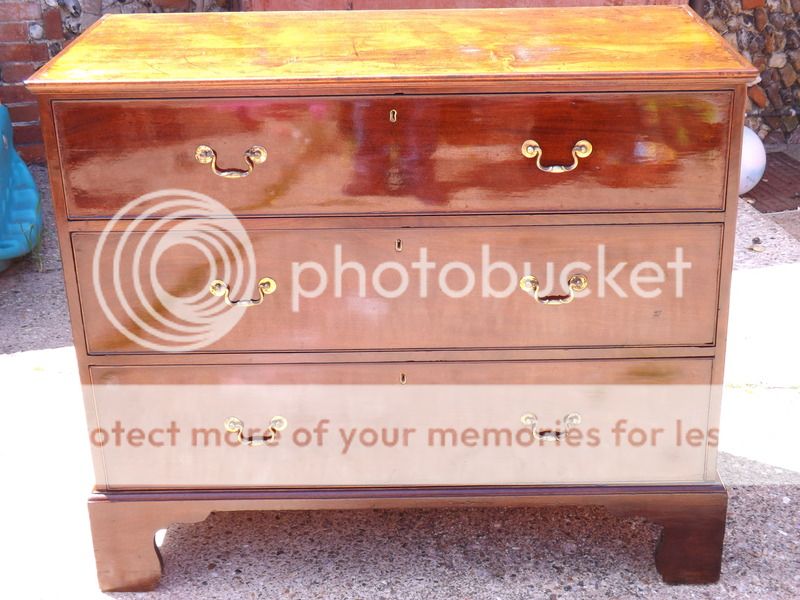
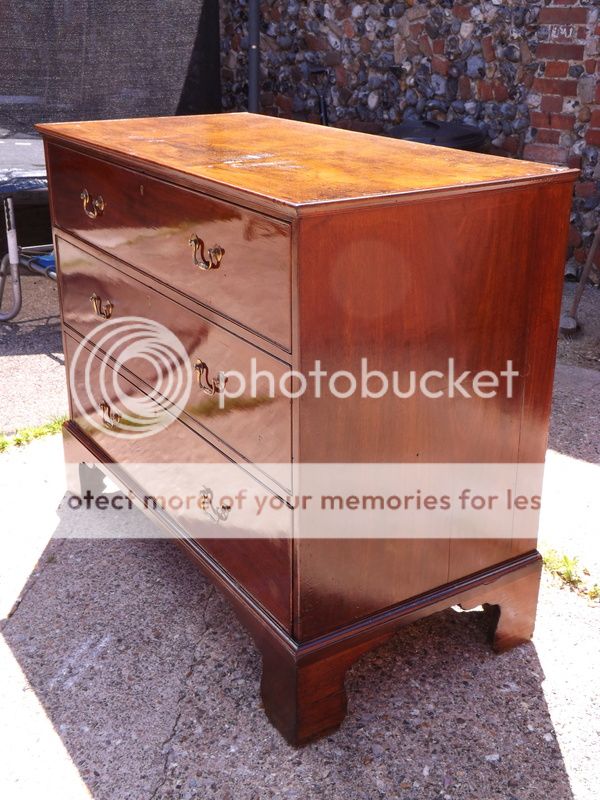
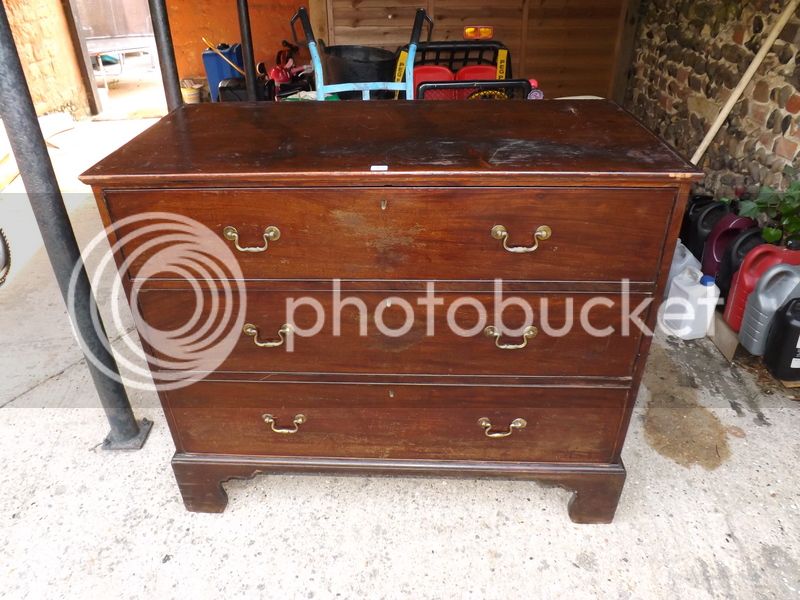
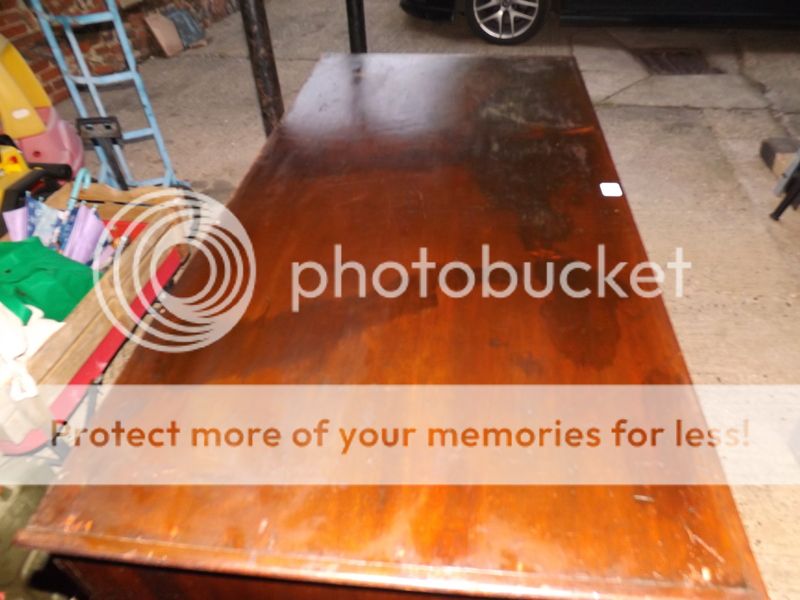
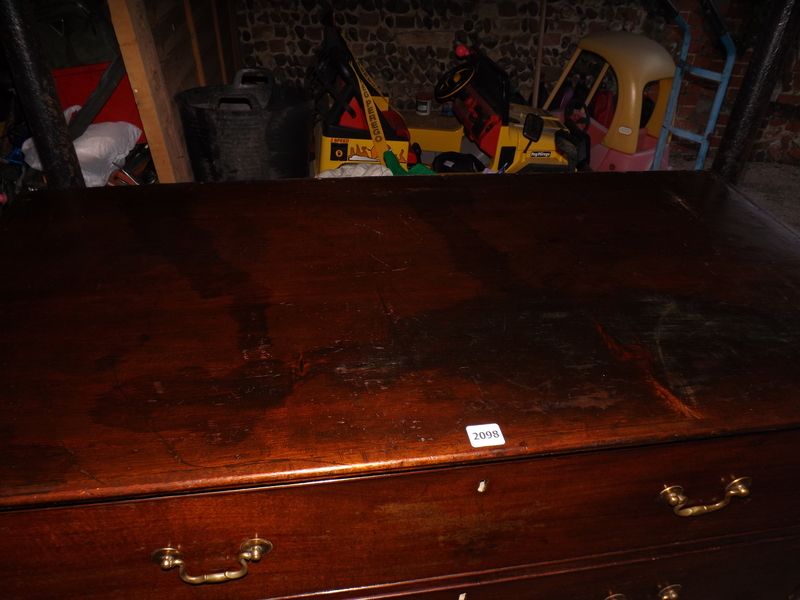
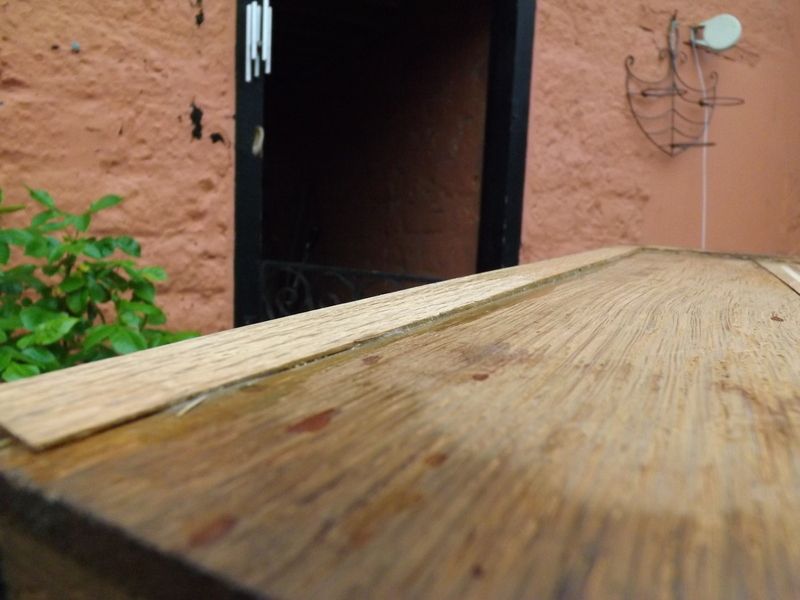
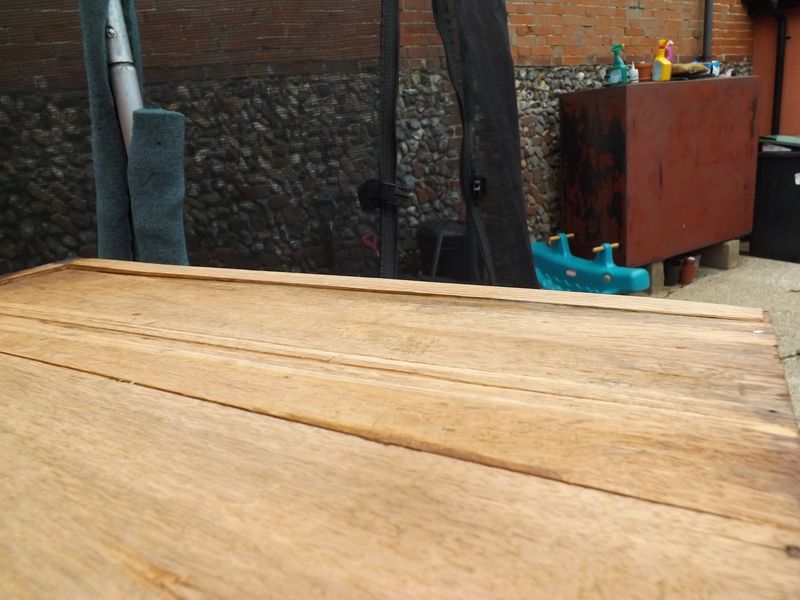
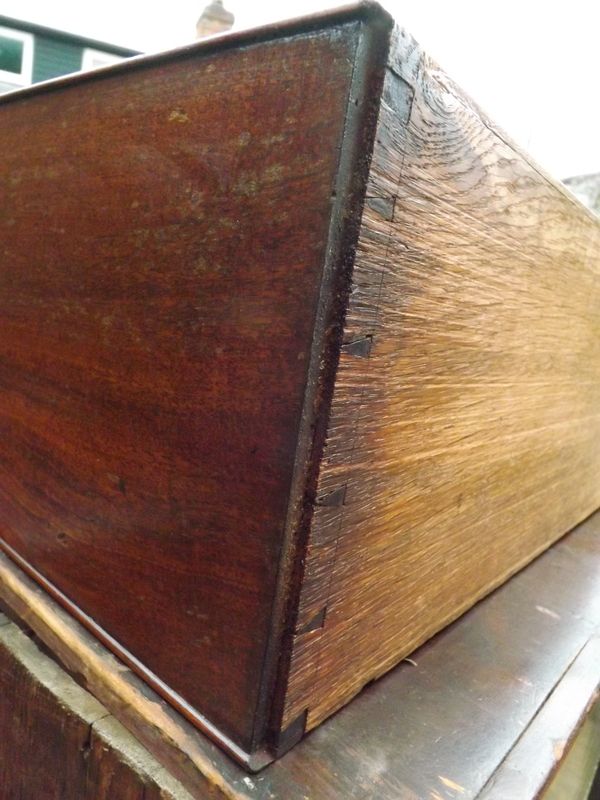
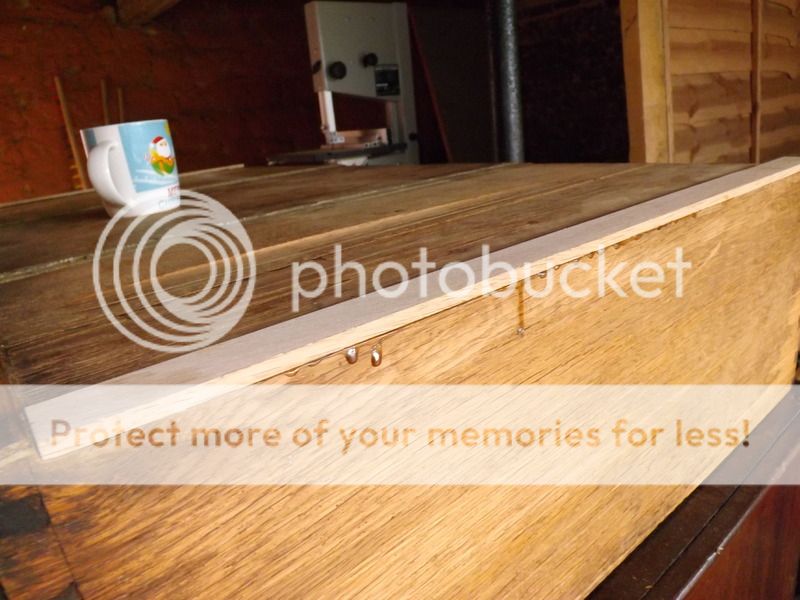
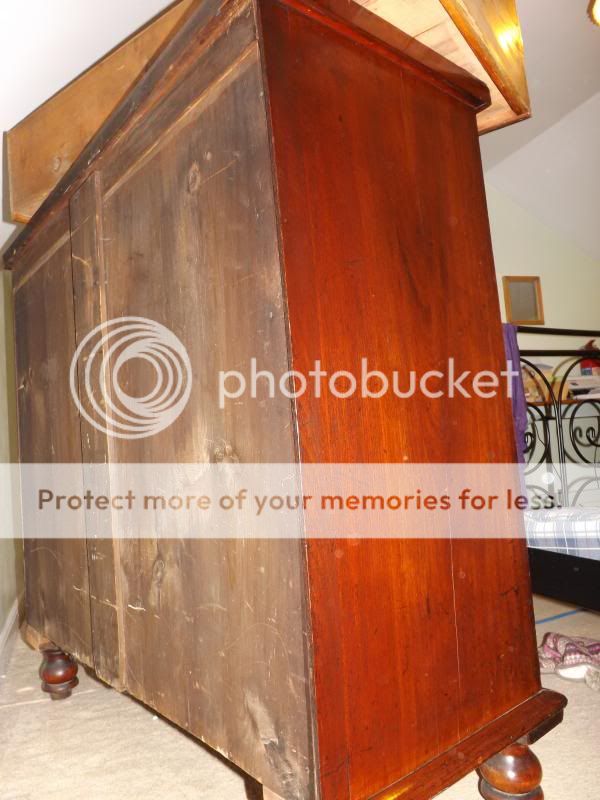
Its a late Georgian three drawer chest, mahogany sides, mahogany on pine top , oak lined drawers with mahogany fronts and pine dust boards.

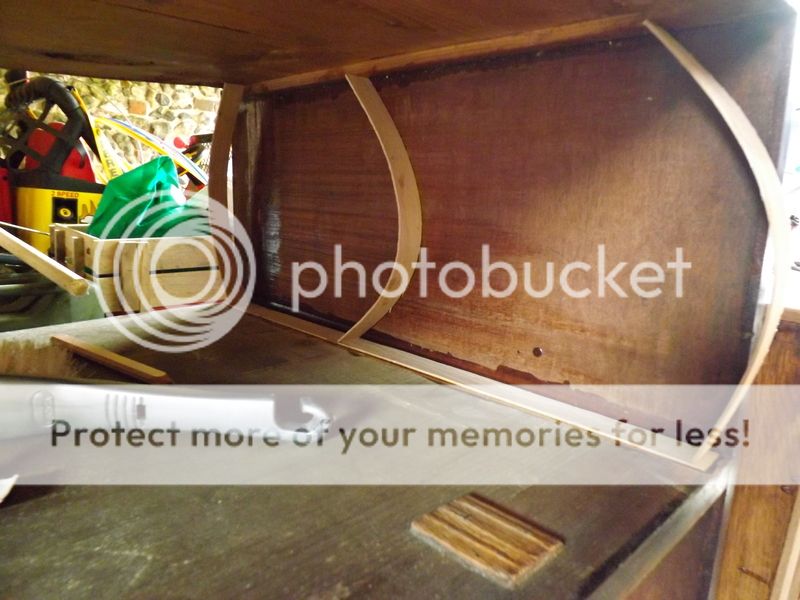
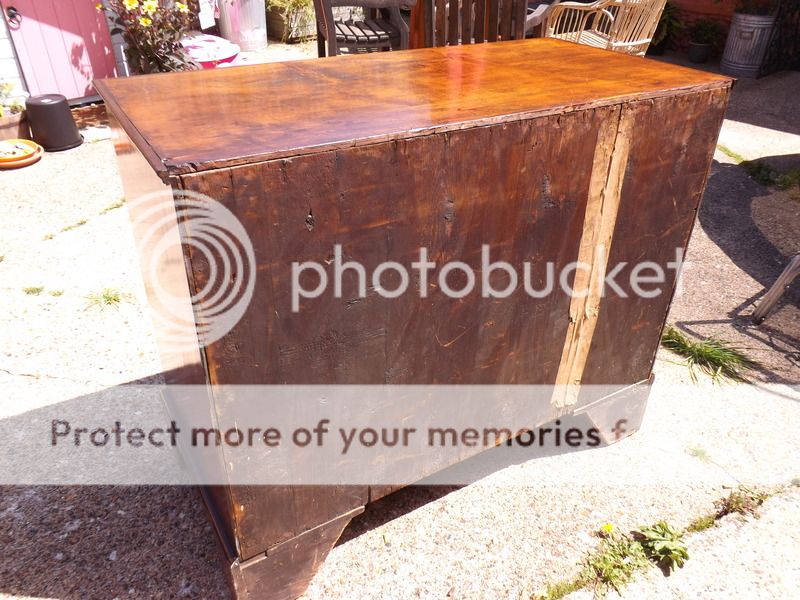
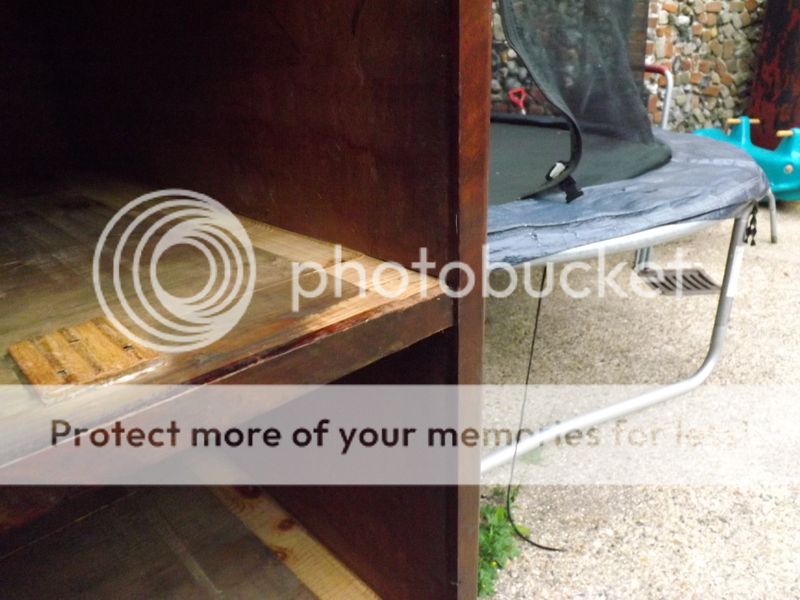
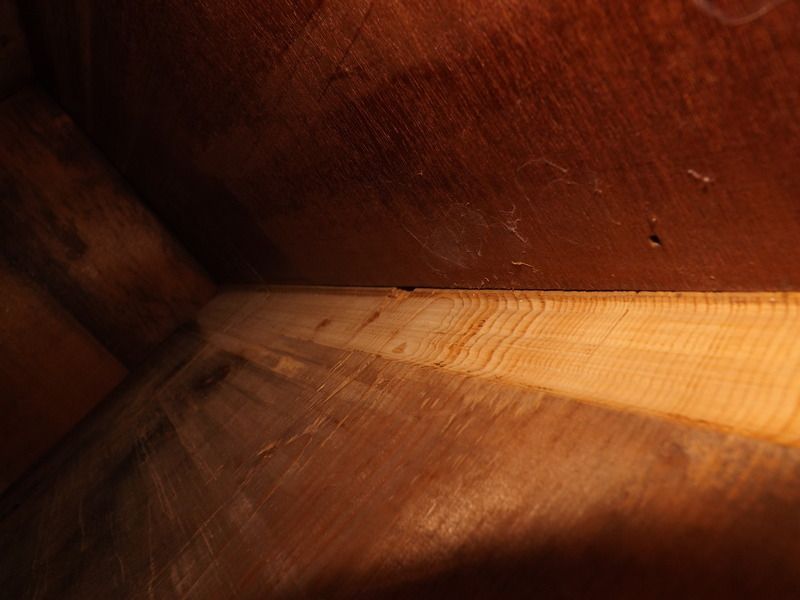
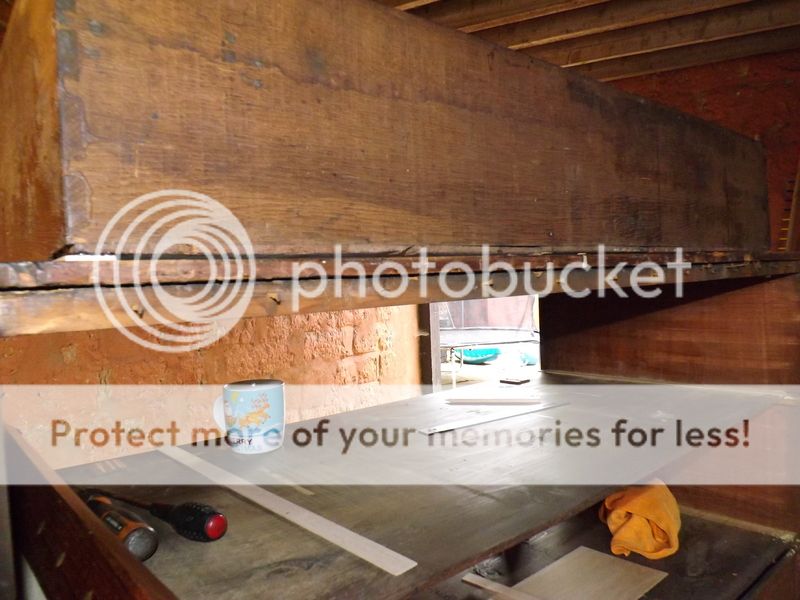
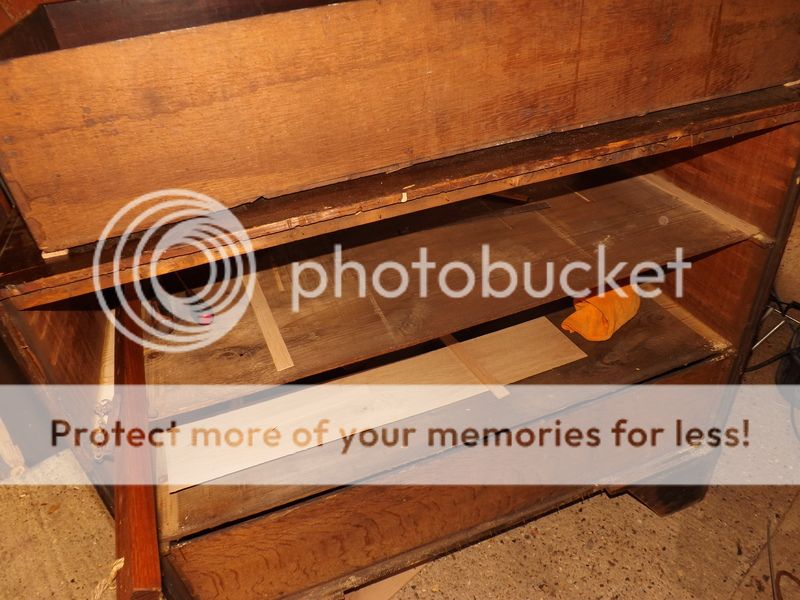
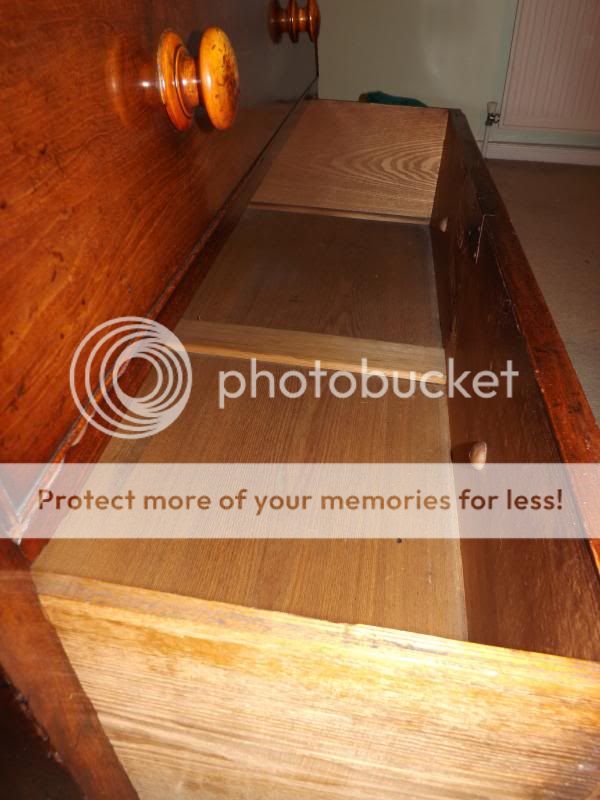
So far the only issues are worn drawer runners, slightly warn dust boards where the drawers run, this has caused the drawer stops to wear and put wear on the drawer bottoms.

On one side of the carcass the two dust boards have slipped inwards/back.

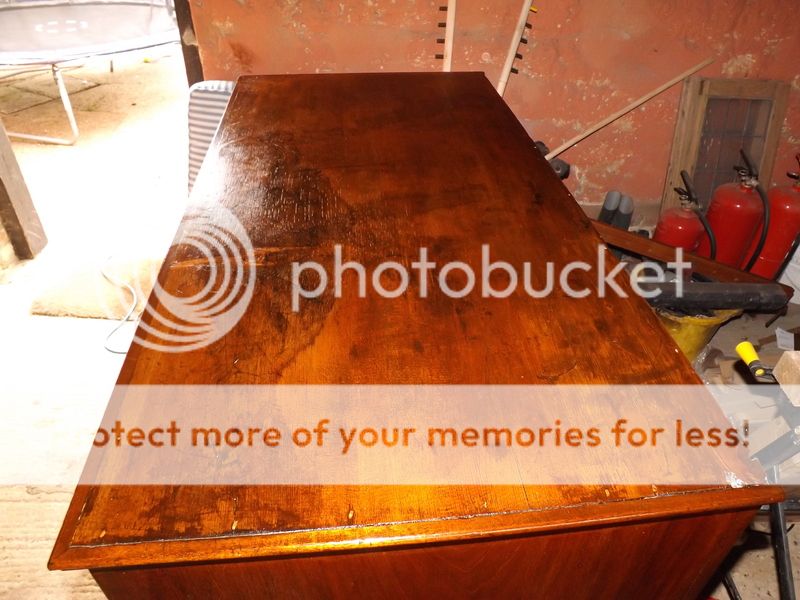
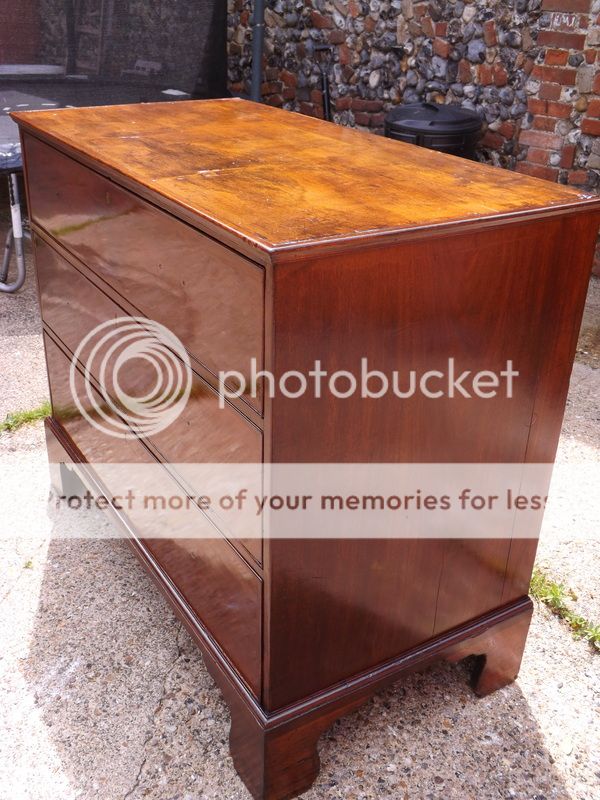
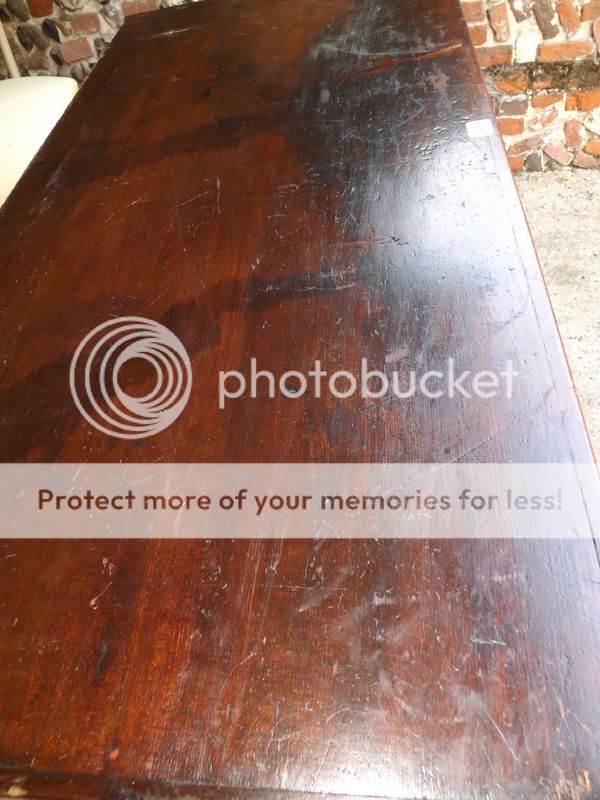
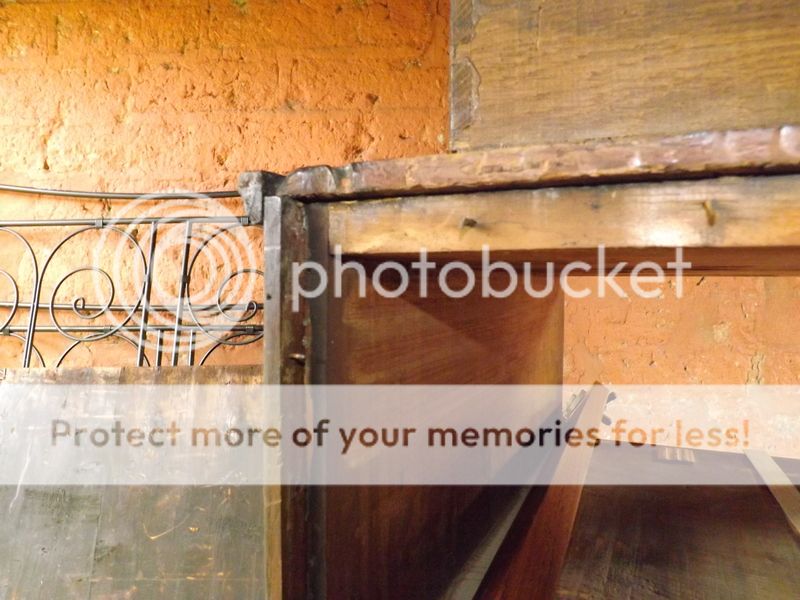
The finish has worn through on the drawer fronts , there is a large stain in the finish on the top and some large scratches in the finish on one side.

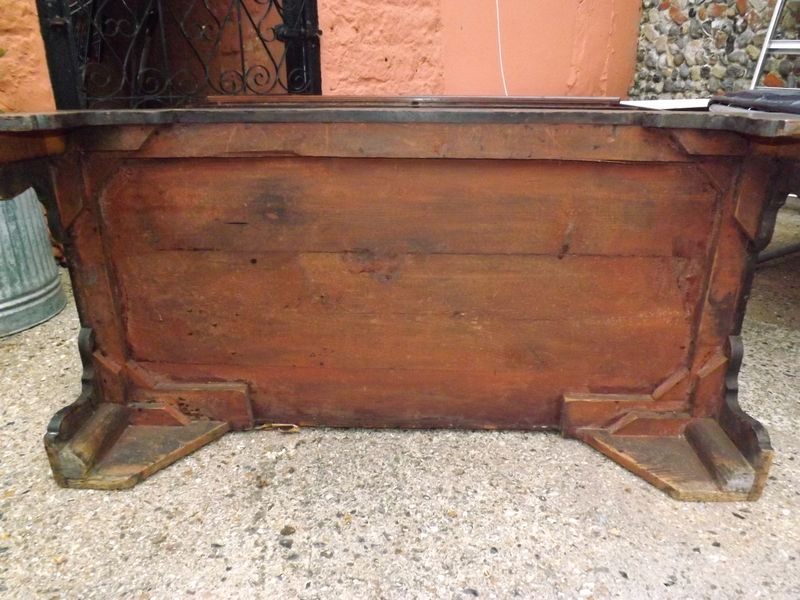
The usual knocks and dings.

Here are some photos.
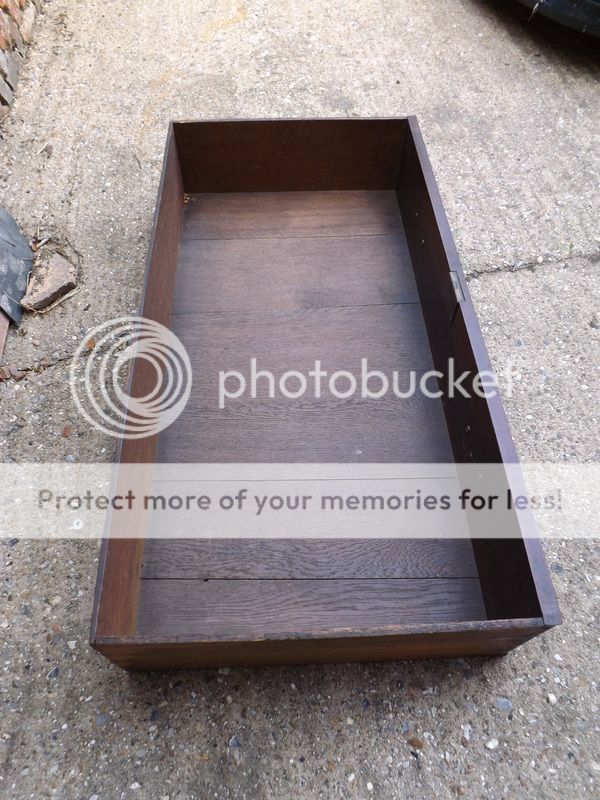
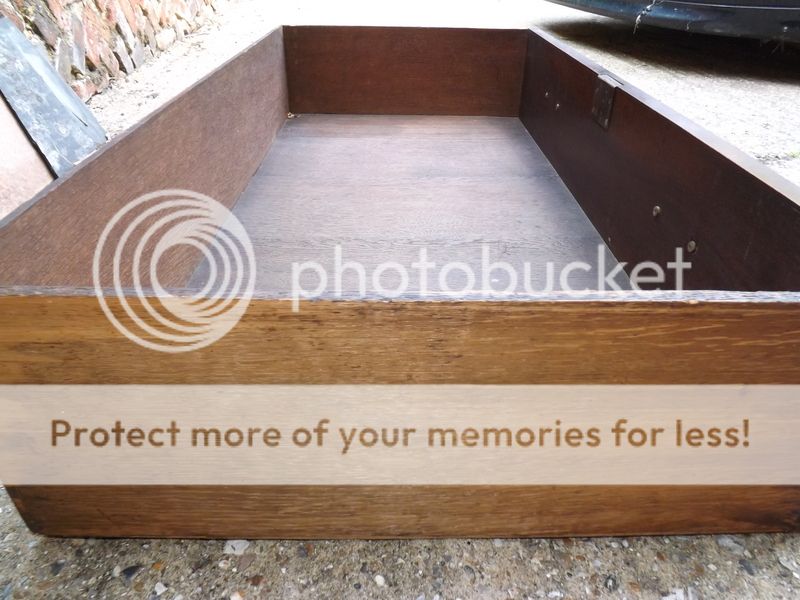
DSCF1136.jpg


DSCF1137.jpg


DSCF1140.jpg


DSCF1139.jpg


DSCF1158.jpg


DSCF1157.jpg


DSCF1147.jpg


DSCF1148.jpg


DSCF1149.jpg


DSCF1143.jpg


DSCF1142.jpg


DSCF1141.jpg


DSCF1185.jpg


DSCF1183.jpg


DSCF1184.jpg


DSCF1178.jpg
 
So, I have sanded the wear on the dust boards nice and flat to accommodate an oak fillet to make it up to level with the dust board and glued in some new drawer runners.

I have not glued the fillet in yet because of the slipped dust boards, is there a way to repair the boards and bring them back level with the front of the carcass without taking the thing apart? Trying to get glue in there in situ will be problematic as the base and top are still holding the chest rigid , there is no wonkiness in the carcass at all. Its glued with hide glue but the top seems to be nailed on.
 
That's coming along nicely.
I imagine dealing with the finish will be the difficult bit.
Judging by the bracket feet and drawer bottom, might it not be an early Georgian chest?
 
Thank you, I'm quite pleased with the progress so far , its something I really enjoy. The finish will be difficult, I'd rather not remove the old finish but its pretty badly damaged and may be beyond repair. I would rather add to than take away though.

Not sure of dating it, I'm pretty sure George III but dating furniture isn't a strong point for me. Its quite large and I have been told large means later but I'm not convinced this is the case. I also understand that the drawer bottoms grain on early furniture would have ran from side to side rather than front to back?

I do have a notion though that it might have been part of a chest on chest due to its proportions and drawer size and also the mahogany on pine top that's been nailed down.
 
I might be wrong, but I think after 1750s they all went from side to side.
 
dzj":26fmagar said:
I might be wrong, but I think after 1750s they all went from side to side.
You could be right, athough I thought it was the other way around.

I've pulled the back off which thankfully came away in one piece. I put a clamp on it to pull the dust board forward, which it did and when I took the clamp off it stayed put, its not perfectly flush but its a lot better. I'm now thinking removal and regluing may not be necessary.

DSCF1465.jpg


DSCF1472.jpg


DSCF1469.jpg


DSCF1468.jpg


DSCF1467.jpg


DSCF1466.jpg


DSCF1468.jpg
 
Judging by the photos, other than the normal wear you'd expect from an old piece, structurally it's in pretty good condition.
The cockbead shouldn't be too difficult to replace.
 
It is pretty sound. Usually they arnt too bad although I try to steer away from anything horrendous. Each time I buy a new project I do seem to be getting braver.

This is one I did a while back, it was just basically a tidy up with this one.

DSCF1272.jpg


This will be my next project. Its badly worn out, lots of shrinkage cracks, some cock beading and missing veneer.
Its not quite as old but its very well made.

DSCF2358.jpg


DSCF2339.jpg


DSCF2329.jpg


DSCF2330.jpg
 
That's an interesting way to attach the top (in the last photo).
I wonder how come there are no cross grain/ long grain issues.
 
It didn't stop this huge shrinkage crack all along the top. Even with all these cracks the thing is still solid and rigid.

DSCF2331.jpg
 
I assume this unorthodox way of affixing the top and the dust frames to the sides if what caused all these cracks.
The big question is what to do now.
 
dzj":3mliuabu said:
I assume this unorthodox way of affixing the top and the dust frames to the sides if what caused all these cracks.
The big question is what to do now.
Not sure, I doubt I'll be able to bring the two halves back together again, I could fill it with a fillet of wood or just leave it be and call it character.
 
It does, hopefully another couple of hundred years if I don't fluff this up. :D

Did some cock beading and clamped up the split in the side with a little glue. Not too sure that the glue will hold but its worth a try I guess.

My first ever cock bead, cut on the saw and shaped with sand paper, not a great fit but I should be able to make it look Ok when it comes to sorting out the finish.

DSCF1473.jpg


DSCF1478.jpg


DSCF1477.jpg


DSCF1474.jpg


DSCF1475.jpg
 
A bit more progress today, The rest of the fillets are in and the glue drying, I opted to do the sanding with them in place, this way I can easily trial fit the drawer and fine tune the fit.
The bottom drawer might not need anything doing to it, I'll see how it looks when the rest are fitting true.

DSCF1525.jpg


DSCF1523.jpg


DSCF1524.jpg


I also want to share this with you guys, the handles are original , I think they are ormolu, definitely brass with some sort of gold coating. They are also quite dirty, my thoughts are to remove the dirt that seems to be old polish deposits without removing any of the patina. The gold coating has worn away on the front of the handles.
Note the lovely hand cut threads and the hand made nuts to secure the handles to the drawer.
I'm going to try some methylated spirits to see if this will dissolve the old polish deposits.

DSCF1532.jpg


DSCF1533.jpg


DSCF1531.jpg


DSCF1537.jpg


DSCF1536.jpg


DSCF1541.jpg


DSCF1542.jpg
 
I'm making some progress now, I found out that the spots on the handles are not polish but some kind of corrosion, they can be cleaned using chemicals but this doesn't do the finish any good so I need to explore this some more but its looking like they might have to be left as is with just a good clean or returned to brass which will make them too clean for my liking.

The top is pine, I did think about veneering it but for now its been polished and doesn't look too bad.
search.php?search_id=egosearch

So onto refinishing, I started the process only to find it was going to be a bit more problematic than I first thought,

shellac-finish-looks-frosty-t98832.html


I'm still in the process of bodying up and will spirit it off when I'm satisfied with it, I've never had to spirit off before so this will be a learning curve for me, but I'm happy with the results so far.

I might have a little practice on something smaller before I risk tearing the polish on the chest.

DSCF1858.jpg


DSCF1859.jpg


DSCF1860.jpg


DSCF1868.jpg


DSCF1869.jpg


DSCF1867.jpg


DSCF1872.jpg


DSCF1871.jpg


DSCF1857.jpg


DSCF1883.jpg


DSCF1887.jpg
 
So I had a go at spiriting off, I cleaned the fad out with meths to the point where it was charged with meths and slightly coloured with polish. I started with little or no pressure and went in small circles alternating across the grain then with the grain clock wise then anti clockwise. When I felt drag I increased the pressure. I charged the fad a few times with meths until the cotton was clear of any polish. I ended by going in straight lines with the grain.
I tore the polish in one corner of the bottom drawer and I will have to repair this when its all dried but hopefully it won't be too much of an issue..
I'm not 100 percent sure how the finish looks as the light in my work space is terrible but I'll know for sure tomorrow, fingers crossed it wont be too bad. Its not perfectly flat and by no means ''French polished'' but I'm learning..

DSCF1889.jpg


DSCF1896.jpg


DSCF1897.jpg


DSCF1893.jpg


DSCF1898.jpg
 
So, orders from above were to get this done, so I got it done. The finish isn't bad but its far from perfect, I'll give it a couple of weeks then get some wax on it to reduce the shine and hopefully hide any horrors.
The pine top isn't great but I think trying to hide it under stain might have made things worse, not sure, but it kind of blends in well enough to the rest of the piece so as not to be too sore on the eye.
I waxed the new drawer runners and they glide in and out with ease.
The handles look Ok, I think they look a lot better than they would if I had brought them back to brass.
So, all in all I'm quite happy with this, the finish could have been better but its much much better that it was before.
Now I have to figure out how to get it up the stairs.


DSCF1904.jpg


DSCF1900.jpg


DSCF1899.jpg


DSCF1901.jpg


DSCF1903.jpg


DSCF1902.jpg


DSCF1905.jpg


DSCF1907.jpg


DSCF1908.jpg


DSCF1906.jpg


DSCF1909.jpg


Thanks for all your help and guidance guys, this site is a wealth of knowledge for people like me, I've learned a lot and will definitely be back for advice when my next project makes its way to my work space.
 

Latest posts

Back
Top