Scouse
Established Member
It's been a good few years since I did a WIP on tool restoration; I remember doing a few planes and this one on a Union pillar drill, but that was four years ago... Lordy!
Anyway, as noted previously, last year I didn't bother to put up any car boot finds, but I did find things at car boots and to be honest they are starting to build up and take up room, so I thought it was about time to fix 'em up and ... er, well that's it really. I would be surprised if there is anything of great historical significance, but I think most old tools deserve a second chance. There are planes, drills, chisels, vices etc, and I will have to get to all of them in the coming weeks, so I will keep the thread ongoing as I move through the pile; nothing ground breaking, you understand, I'm not doing one of Wallace's Wadkins, but still worthwhile.
So here is the pile up to now;
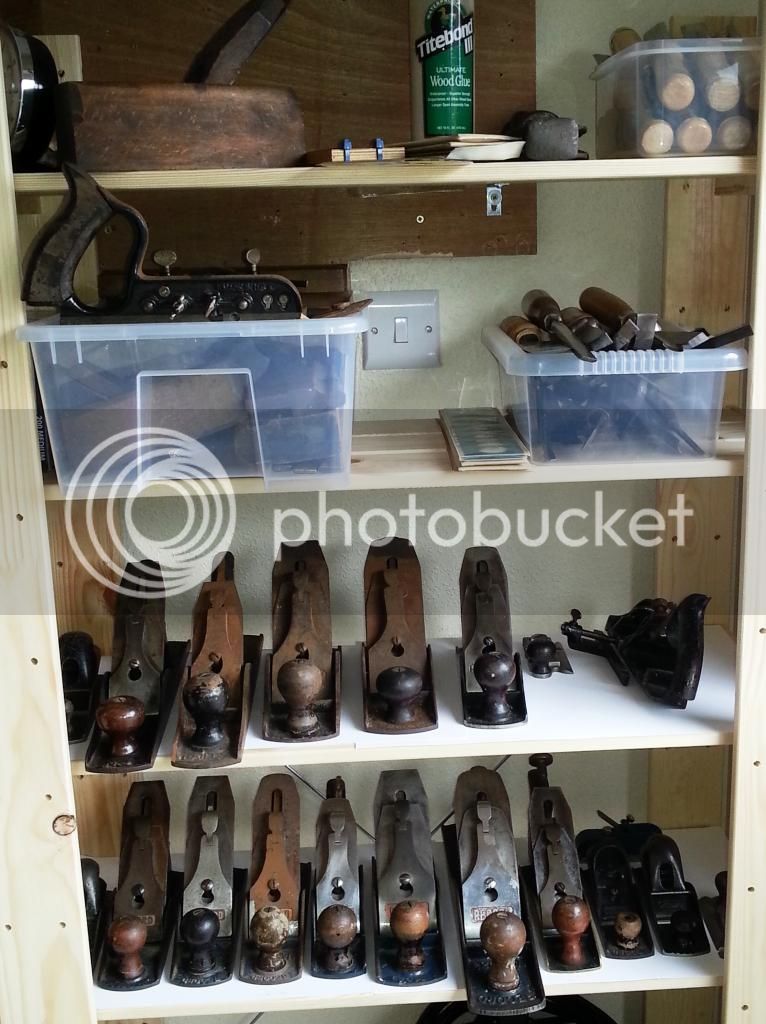
From the top, woody smoother, (ignore the chisels on the top shelf, got carried away at Aldi...). Next shelf, a box of various woodies, Stanley USA 50 which needs a few bits and a box full of chisels and gouges, mostly OBMs. Below are USA Stanley's; a 110 block plane, type 8 no5, type 18 no5, type 17 war production 4 1/2, type 9 4 1/2, type 16 no4, an early 98 side rebate and a 78 fillister.
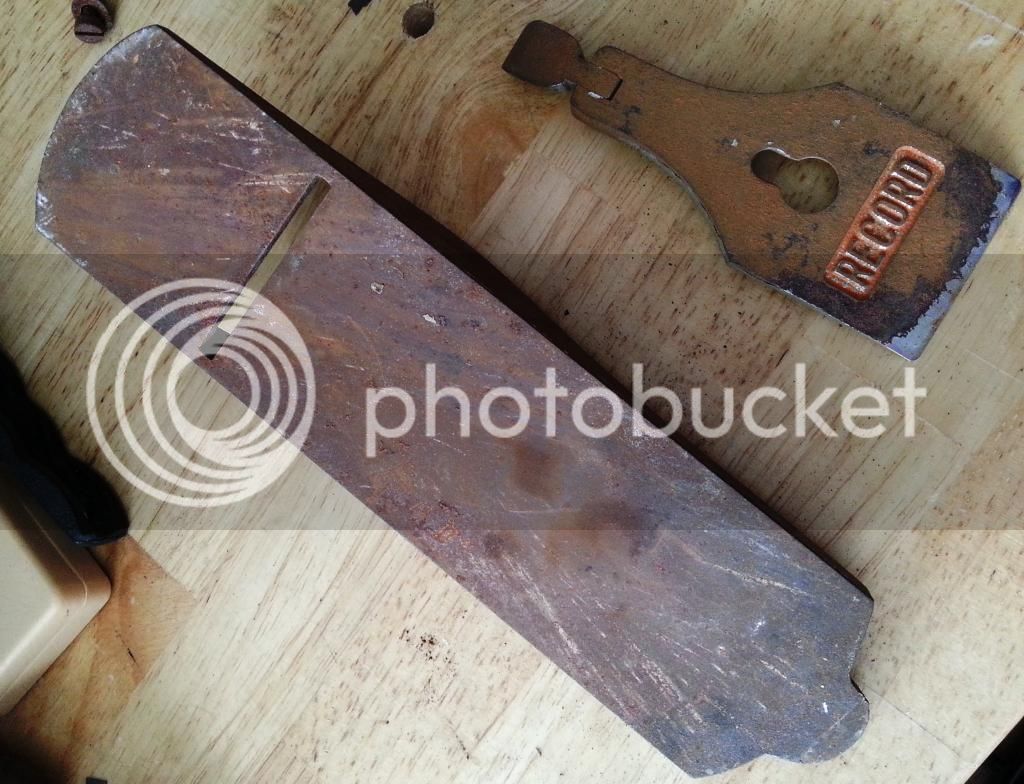
Next, Records; war finish no4, early no4, 1960's no4, 1970's no3, 1950's no4 1/2, 1970's no5 1/2, brass GTL, a couple of block planes, 2506 rebate and a bull nose rebate. Not pictured are a couple of Record router planes, a WS A78 and a Woden no4 in its original box.
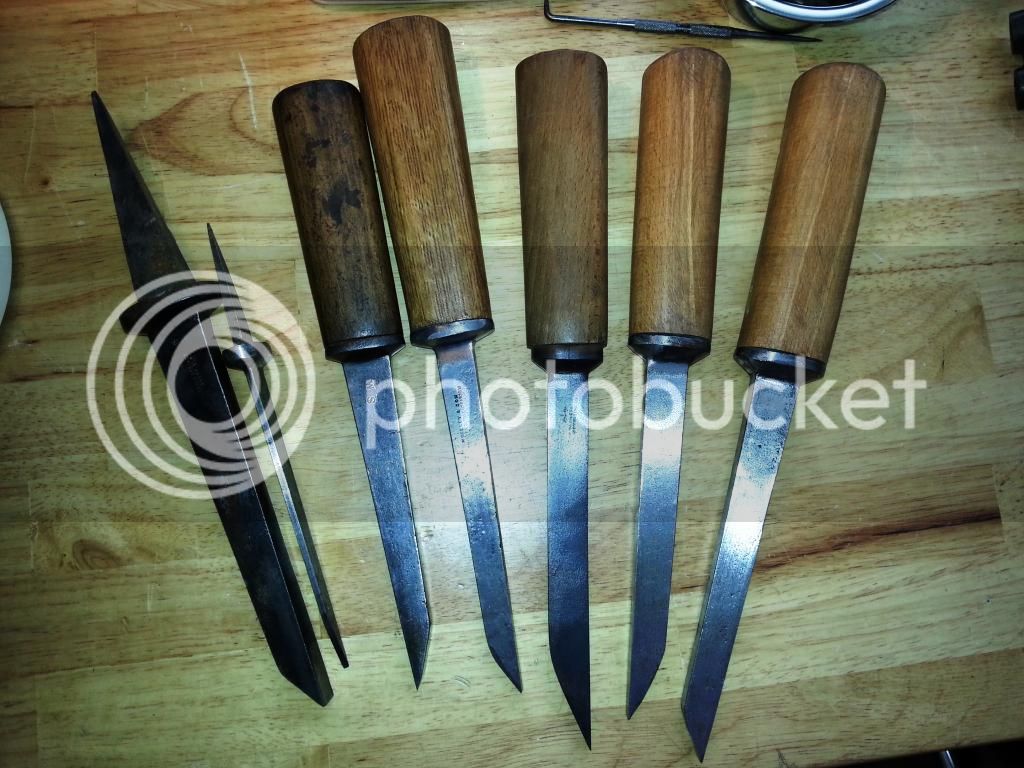
Deep breath, chisels;
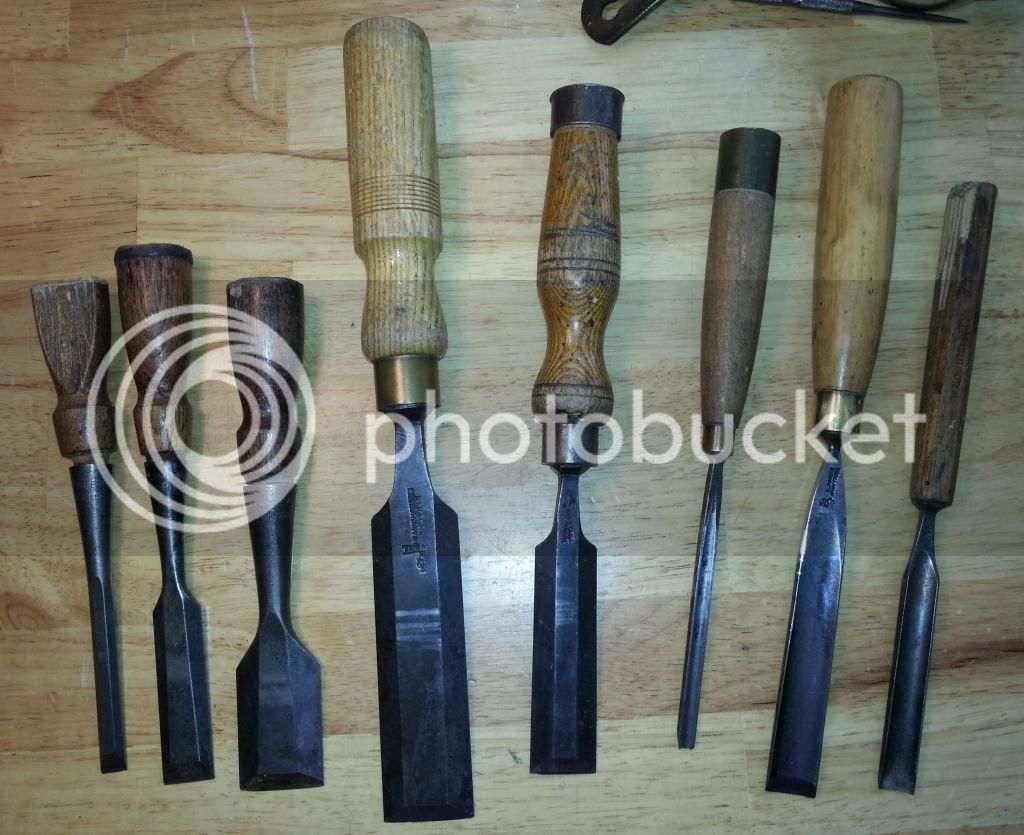
And drills;
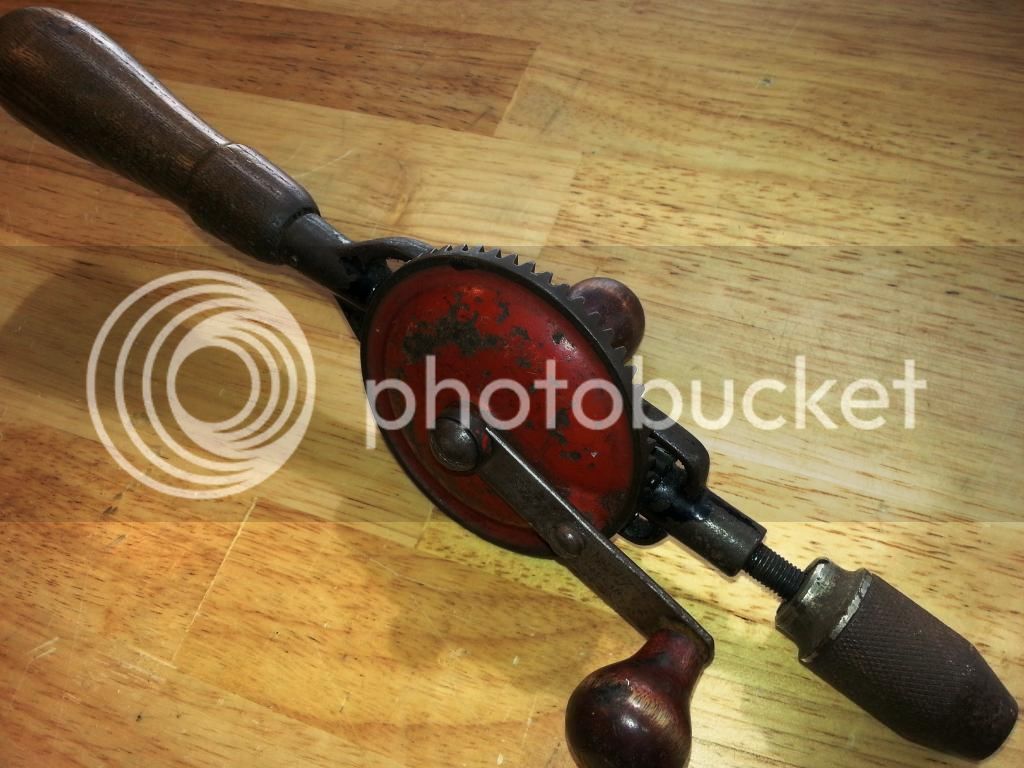
Millers Falls no77
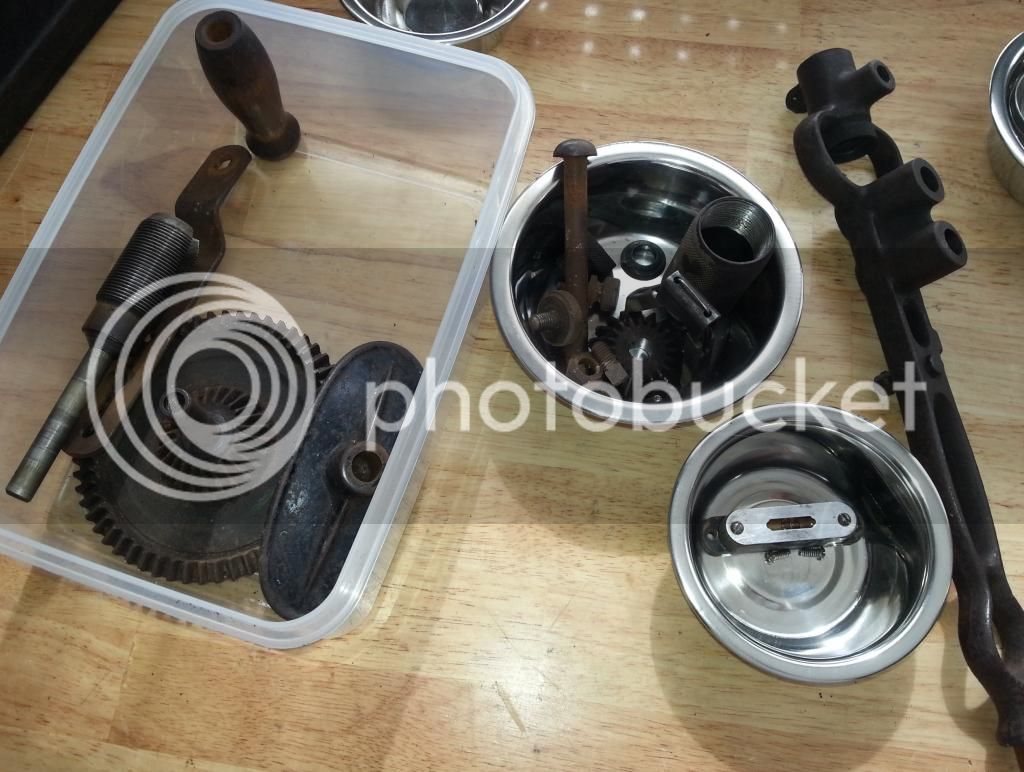
Millers Falls no12 breast drill (honest)
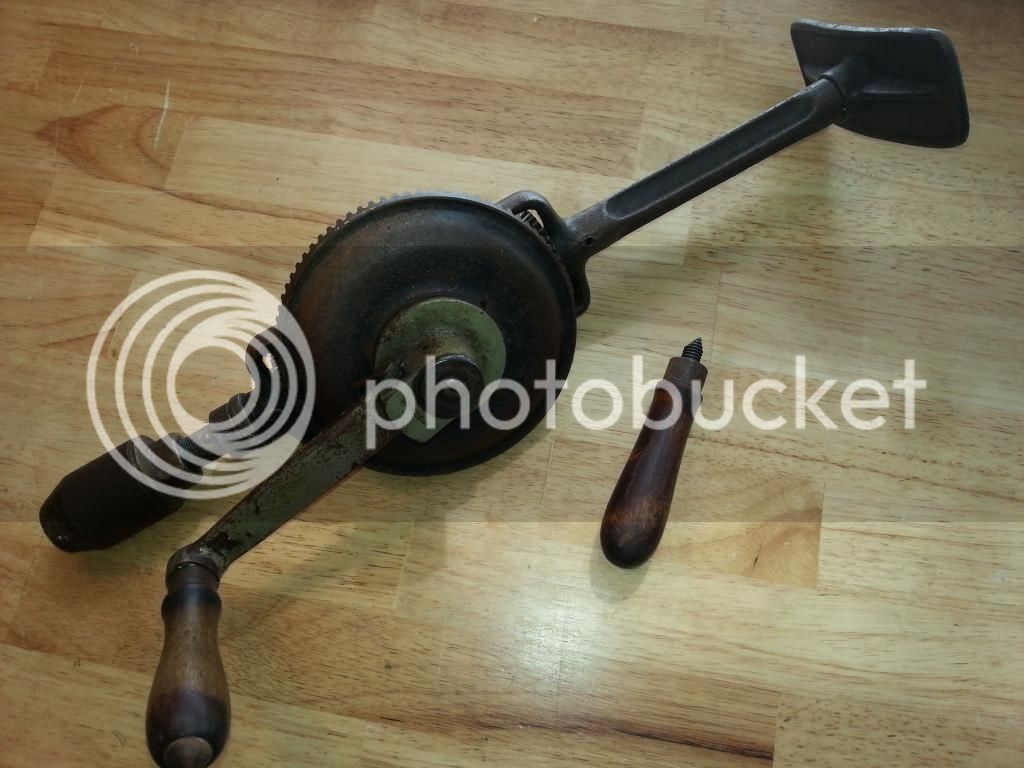
North Brothers Yankee 1555... can't wait to start on that one.
Vices;
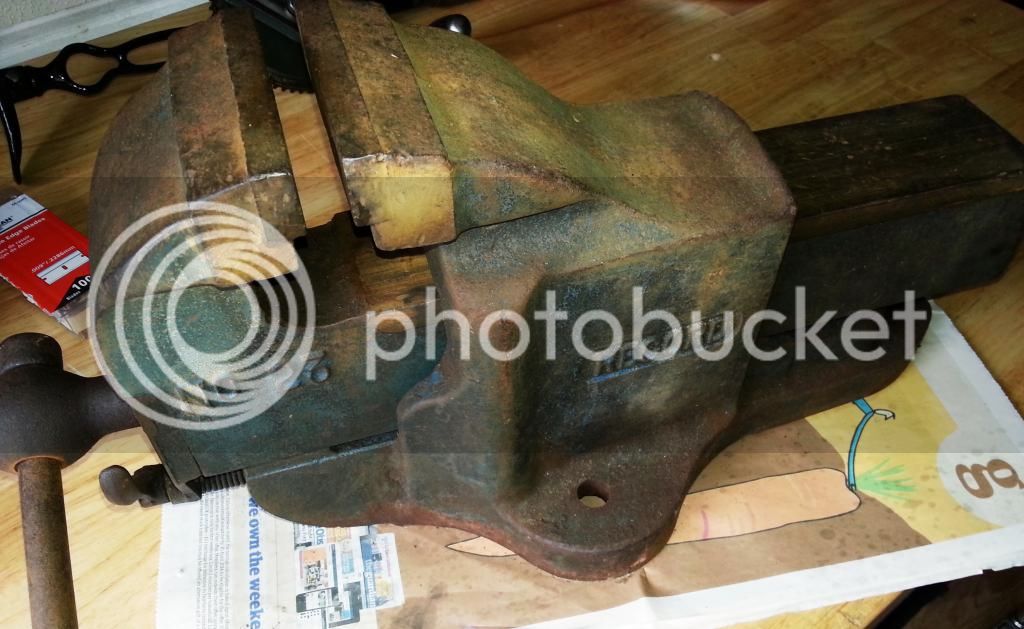
Record 23,
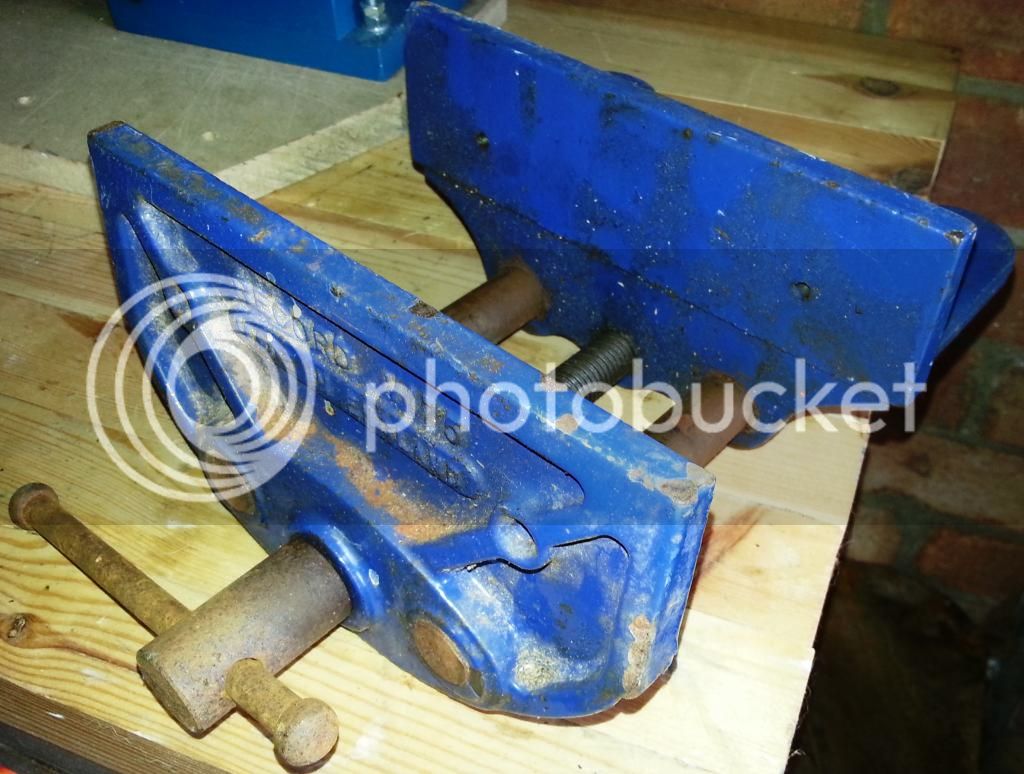
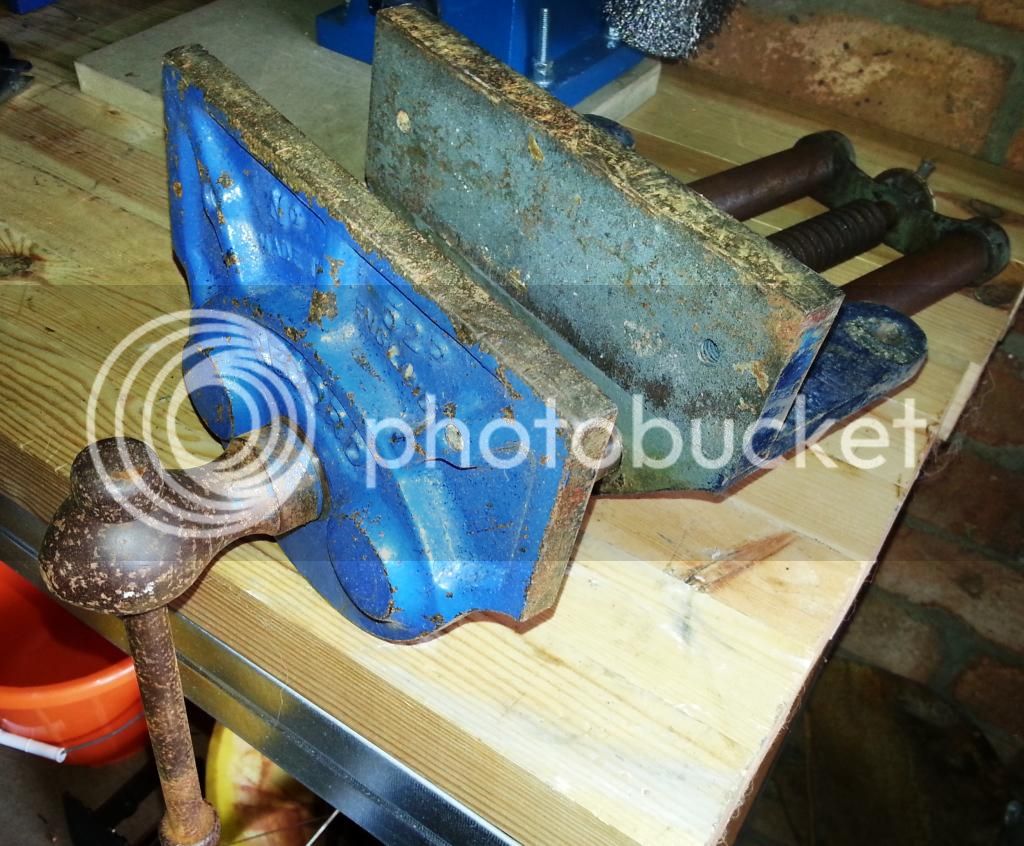
Record V175, fairly modern I suspect, and a Record 52P below.
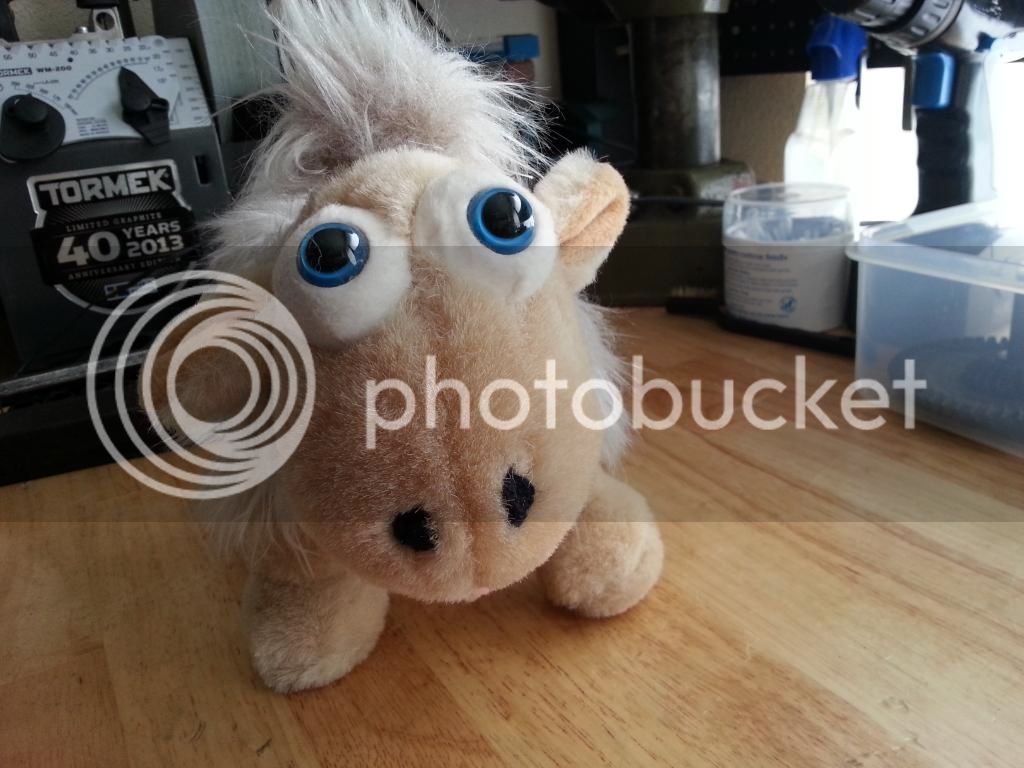
I think that's it. Trevor the Sheep is understandably concerned, but he has gone to make cheese on toast and watch 'Bargain Hunt' so he can calm down a bit.
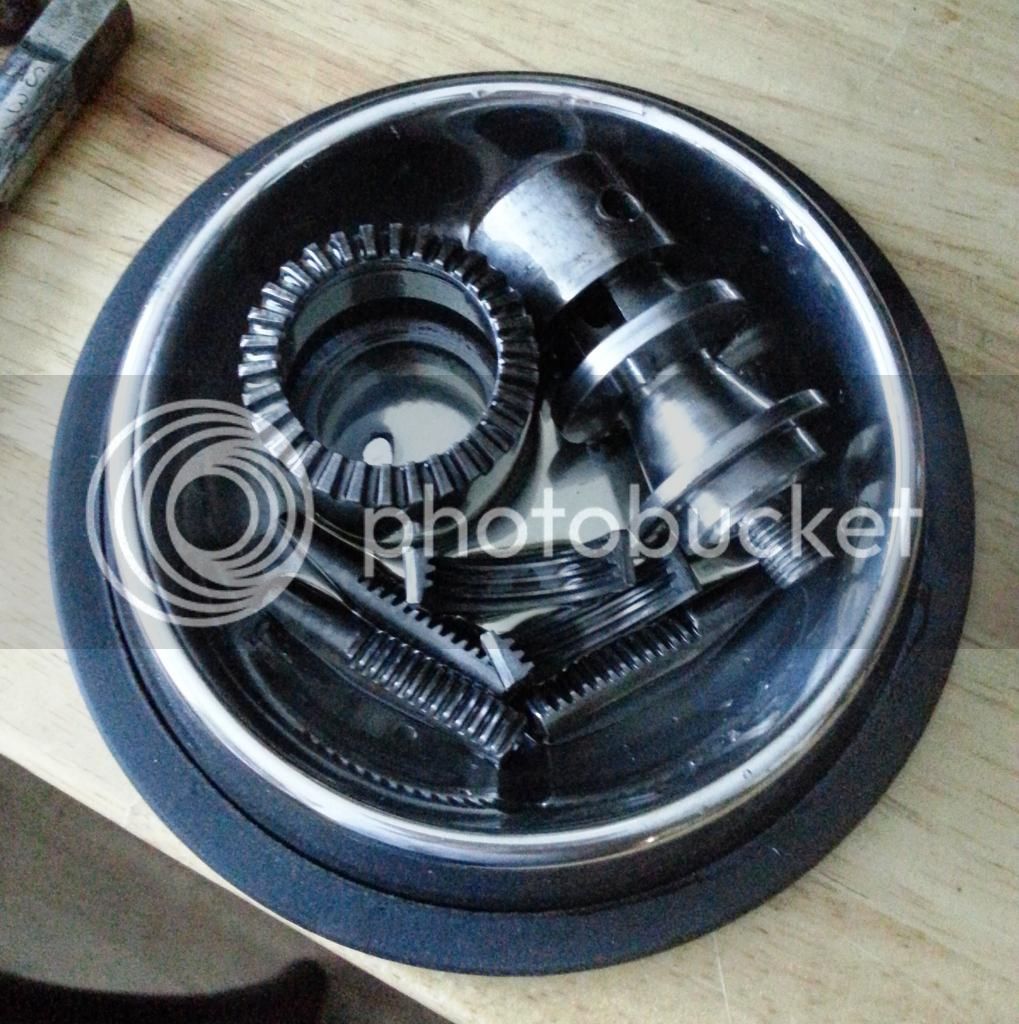
I confess I have made a start, the Millers Falls no 12 which arrived in bits, has had a bit of work. I forgot to take pictures of the work in progress, mainly because it required the assembly of two opposing conical thrust bearings, and a bit of a hissy fit in the process. Anyway, it now looks like this;
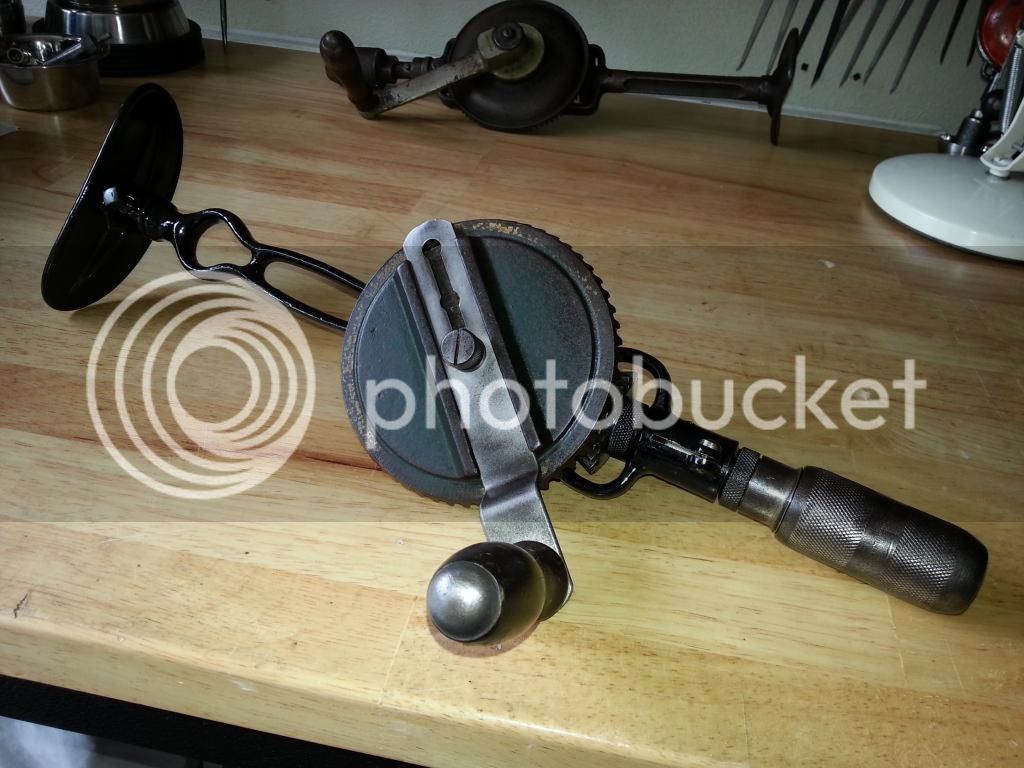
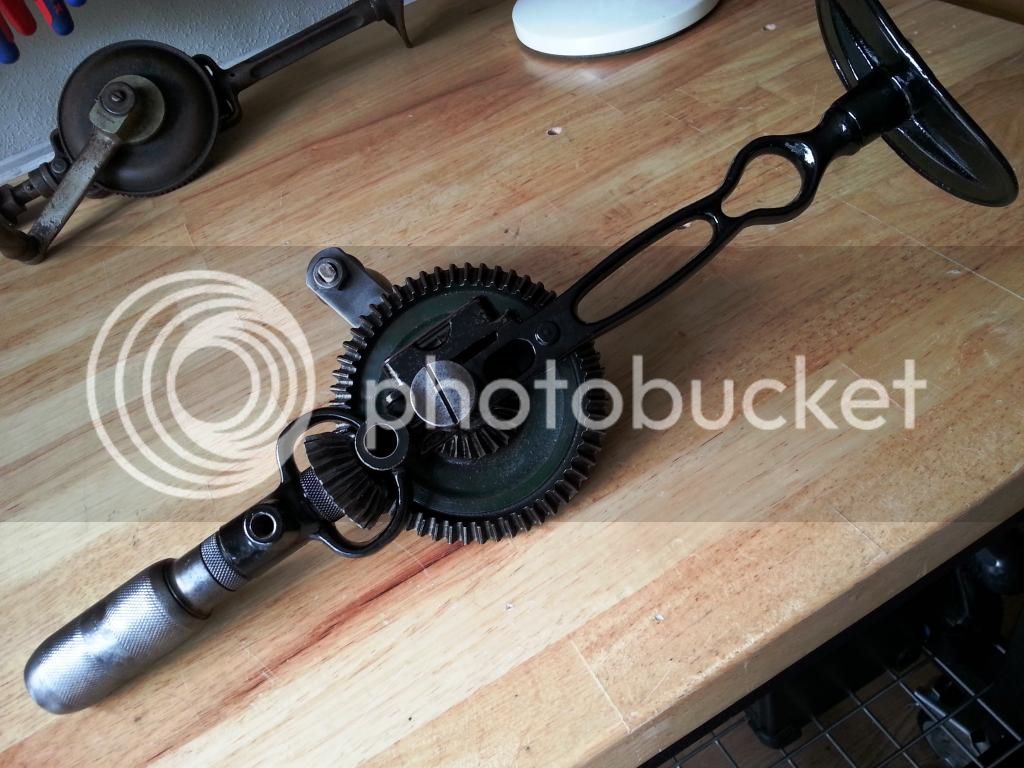
The frame had to be resprayed, but I have left the drive gear as found, partly because I liked the patina and contrast with the fresh frame, and partly because a good clean revealed the original green and gilt finish, being made before Millers Falls adopted their more familiar red. Needs a side handle, but I'm sure one will turn up.
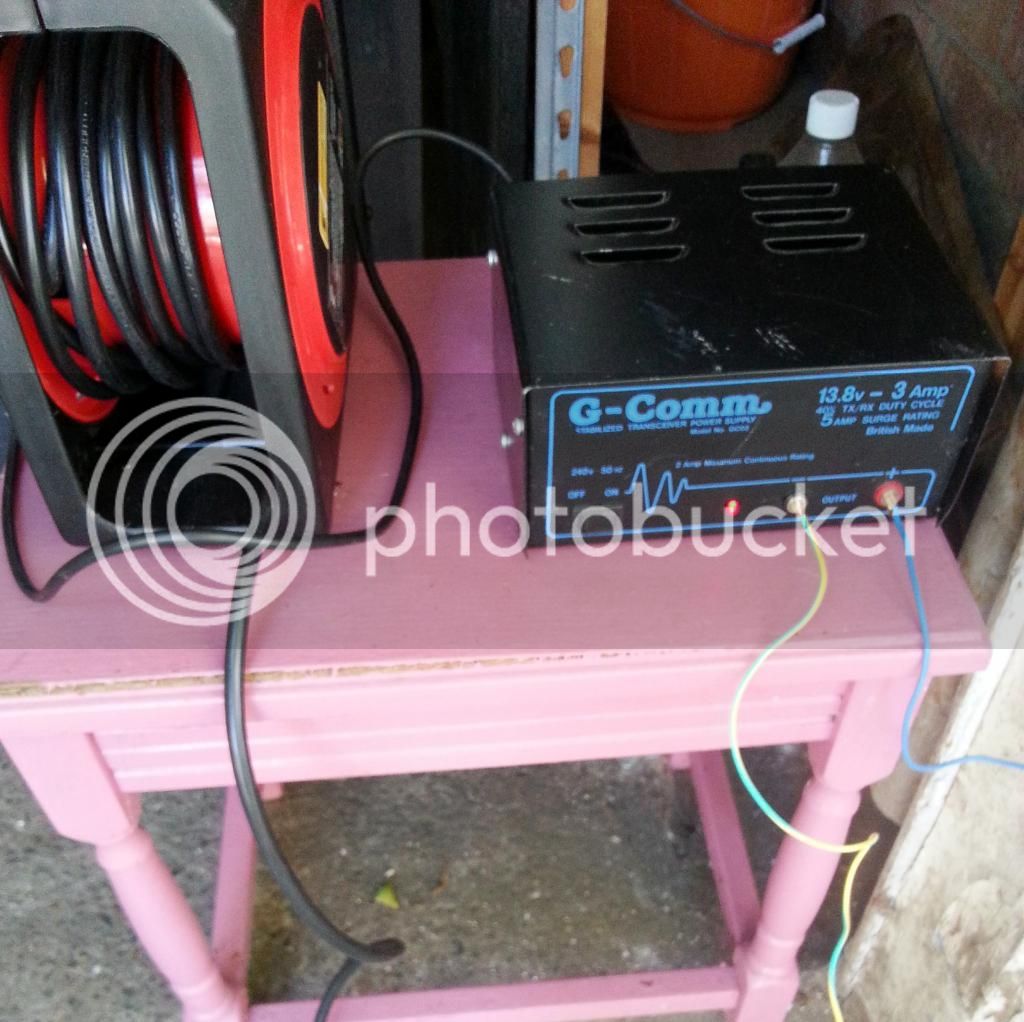
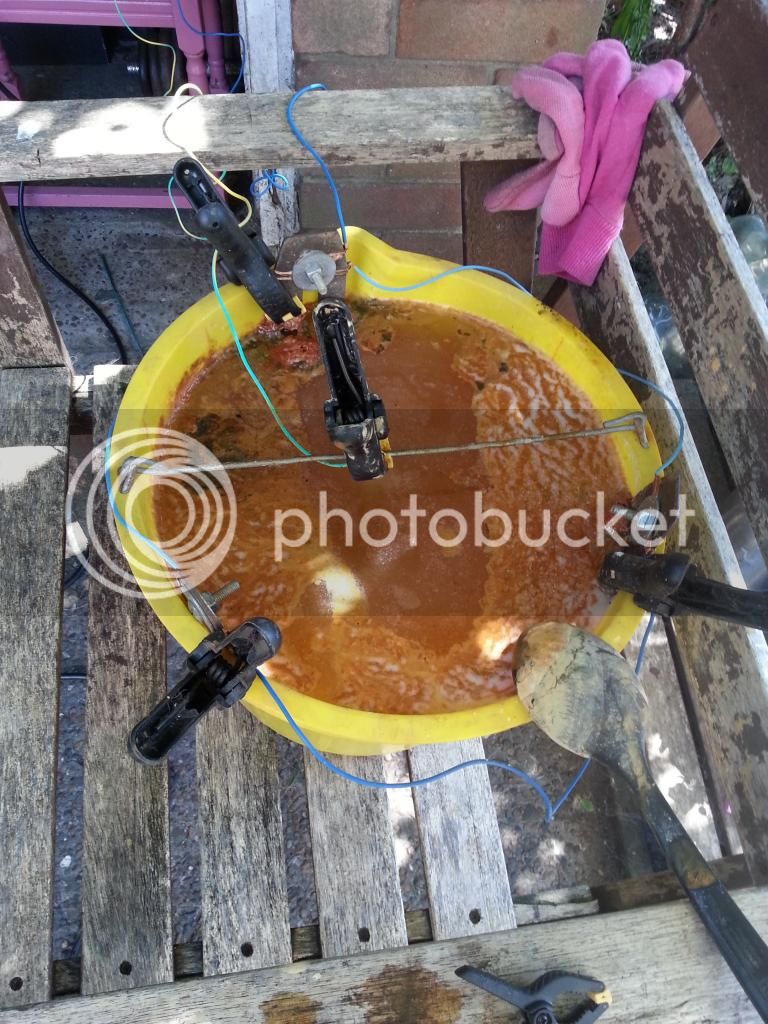
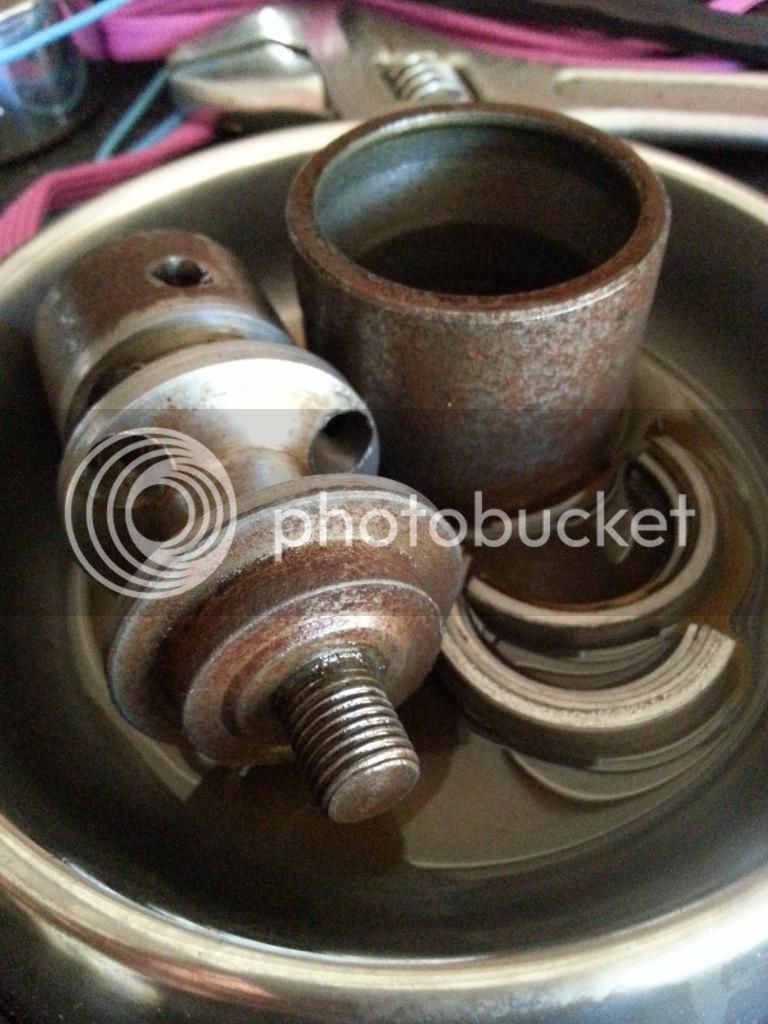
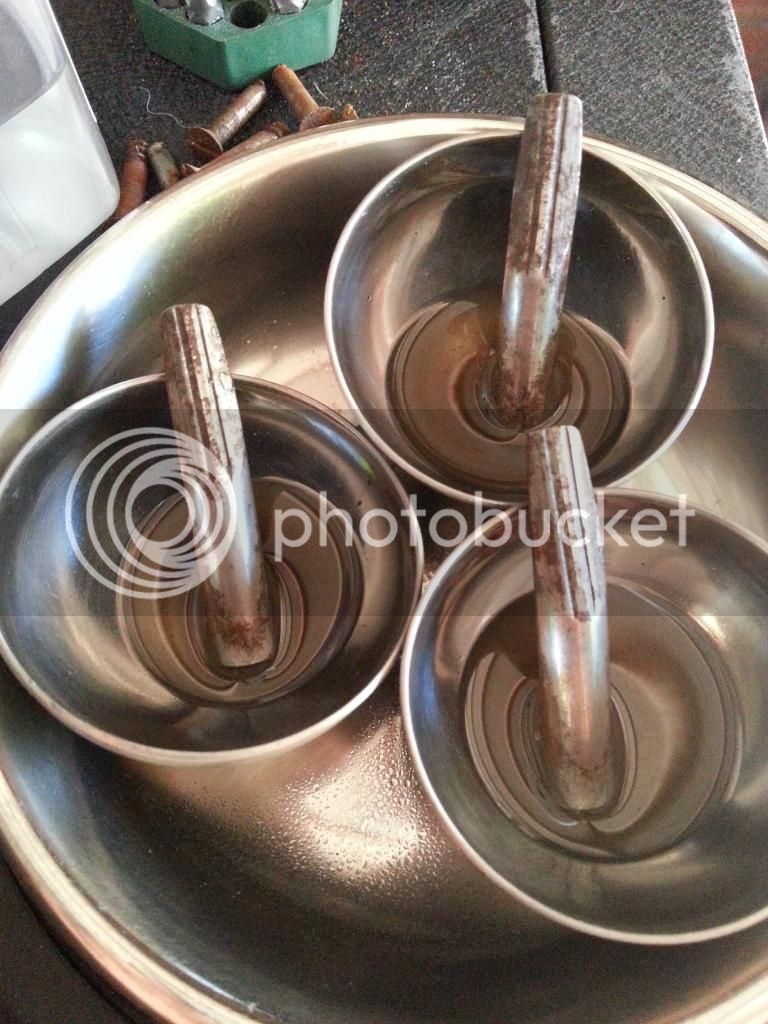
So now I'm off to set up a couple of electrolysis buckets and decide what to do next...
Anyway, as noted previously, last year I didn't bother to put up any car boot finds, but I did find things at car boots and to be honest they are starting to build up and take up room, so I thought it was about time to fix 'em up and ... er, well that's it really. I would be surprised if there is anything of great historical significance, but I think most old tools deserve a second chance. There are planes, drills, chisels, vices etc, and I will have to get to all of them in the coming weeks, so I will keep the thread ongoing as I move through the pile; nothing ground breaking, you understand, I'm not doing one of Wallace's Wadkins, but still worthwhile.
So here is the pile up to now;

From the top, woody smoother, (ignore the chisels on the top shelf, got carried away at Aldi...). Next shelf, a box of various woodies, Stanley USA 50 which needs a few bits and a box full of chisels and gouges, mostly OBMs. Below are USA Stanley's; a 110 block plane, type 8 no5, type 18 no5, type 17 war production 4 1/2, type 9 4 1/2, type 16 no4, an early 98 side rebate and a 78 fillister.
Next, Records; war finish no4, early no4, 1960's no4, 1970's no3, 1950's no4 1/2, 1970's no5 1/2, brass GTL, a couple of block planes, 2506 rebate and a bull nose rebate. Not pictured are a couple of Record router planes, a WS A78 and a Woden no4 in its original box.
Deep breath, chisels;


And drills;

Millers Falls no77

Millers Falls no12 breast drill (honest)

North Brothers Yankee 1555... can't wait to start on that one.
Vices;

Record 23,

Record V175, fairly modern I suspect, and a Record 52P below.

I think that's it. Trevor the Sheep is understandably concerned, but he has gone to make cheese on toast and watch 'Bargain Hunt' so he can calm down a bit.

I confess I have made a start, the Millers Falls no 12 which arrived in bits, has had a bit of work. I forgot to take pictures of the work in progress, mainly because it required the assembly of two opposing conical thrust bearings, and a bit of a hissy fit in the process. Anyway, it now looks like this;


The frame had to be resprayed, but I have left the drive gear as found, partly because I liked the patina and contrast with the fresh frame, and partly because a good clean revealed the original green and gilt finish, being made before Millers Falls adopted their more familiar red. Needs a side handle, but I'm sure one will turn up.
So now I'm off to set up a couple of electrolysis buckets and decide what to do next...


