Reclaim pine kitchen/learning curve

UKworkshop.co.uk

Help Support UKworkshop.co.uk:

This site may earn a commission from merchant affiliate links, including eBay, Amazon, and others.

Alex

Established Member
Joined
31 Mar 2007
Messages
177
Reaction score
4
Location
Derby
Please comment, helpful critism and advice is most welcome. :D

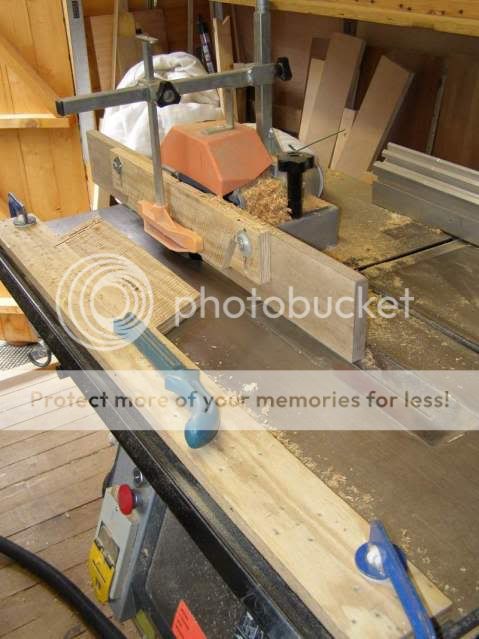
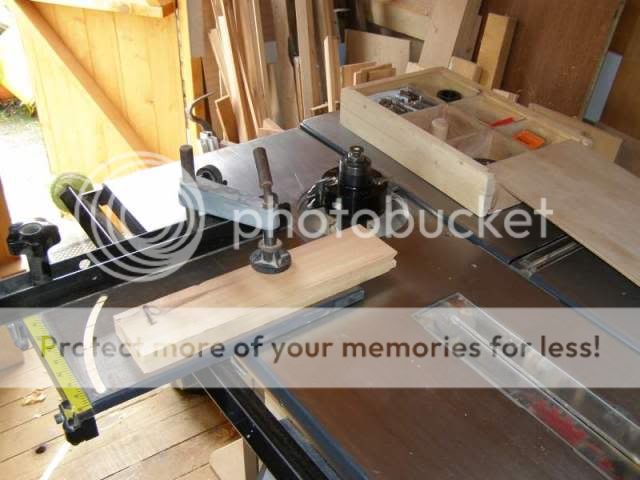
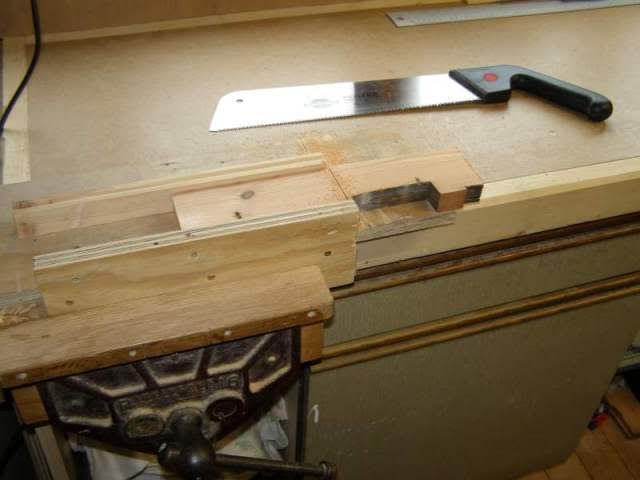
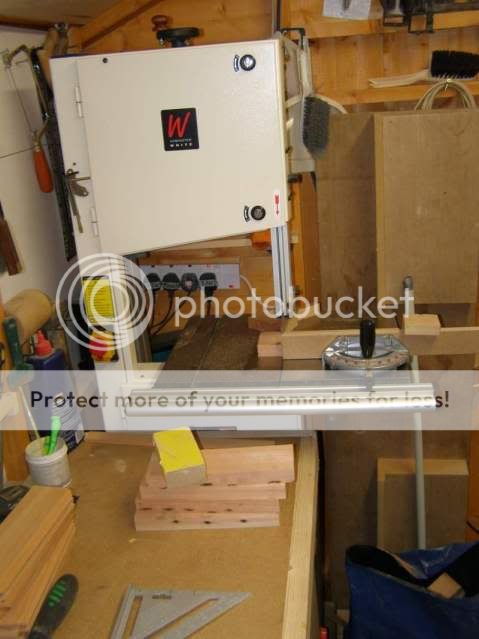
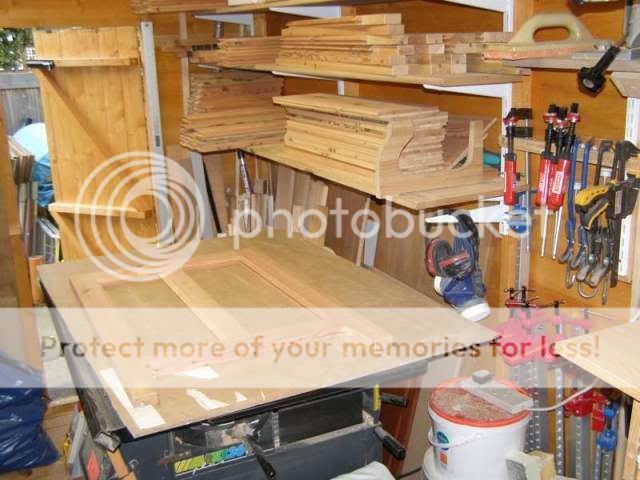
Just to give little background.Currently i do home refurbishments, anything from kitchens bathrooms to re-roofs but not a lot of it.(I work alone most the time.) On the carpentry side i generally only do the odd door or window, fitted cupboards etc. At the moment we moved in a new home so i'm temporily working out of a shed.
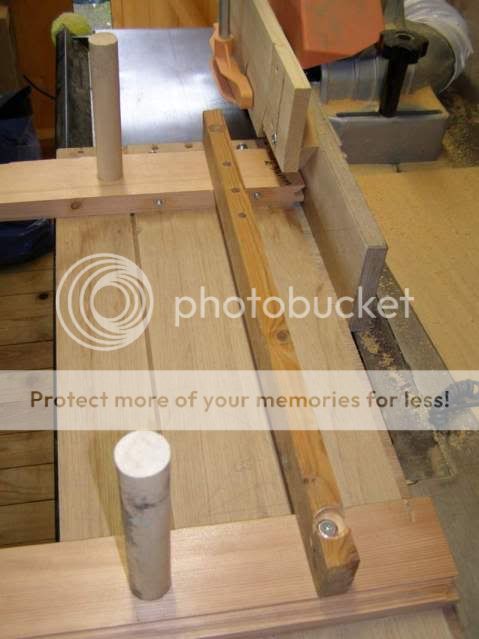
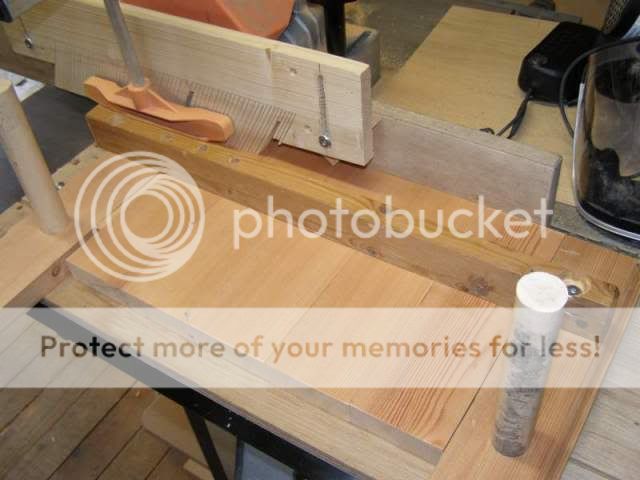
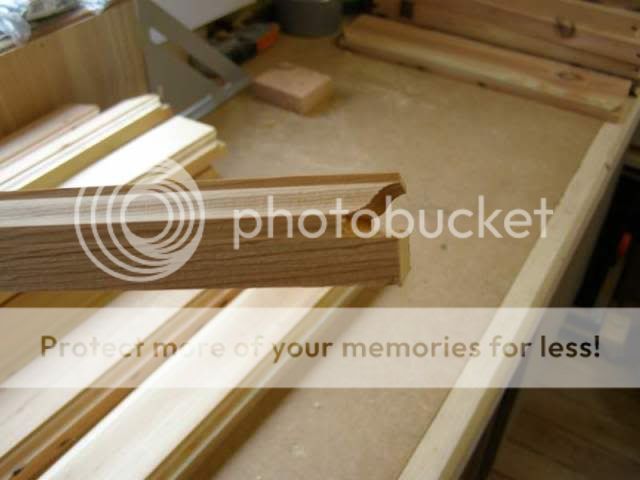
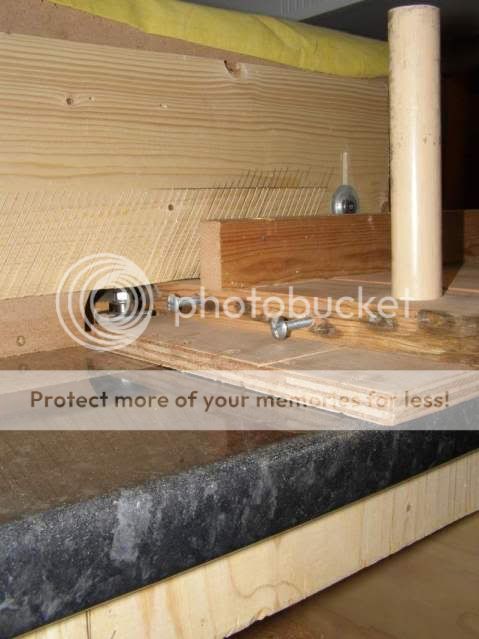
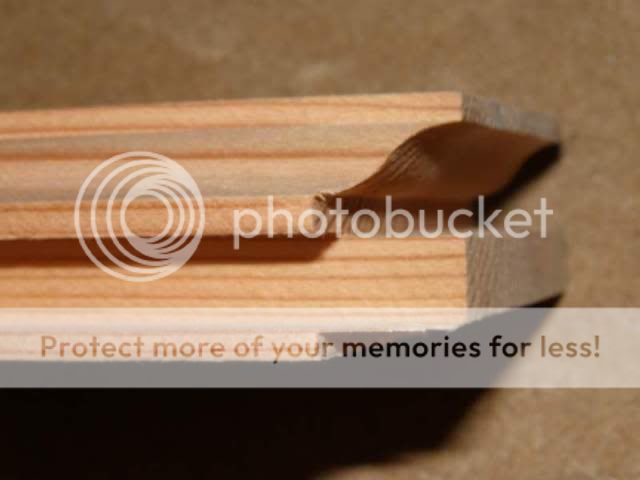
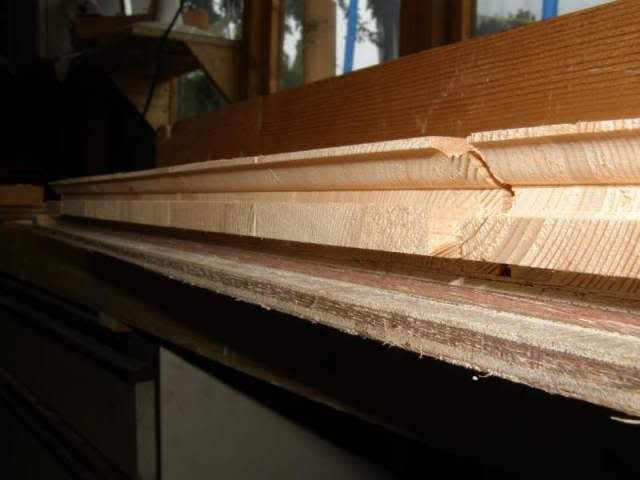
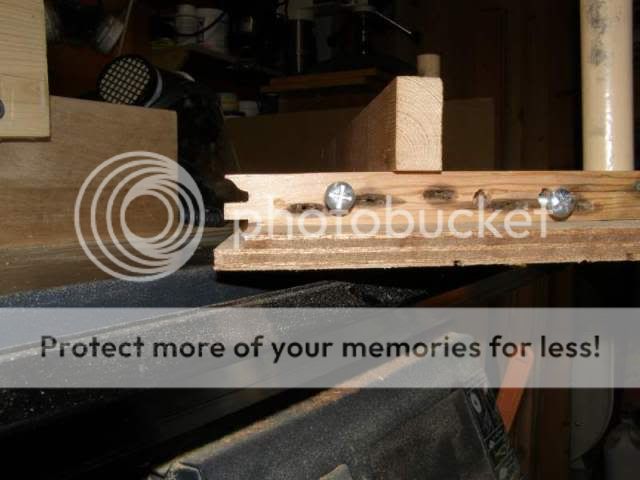
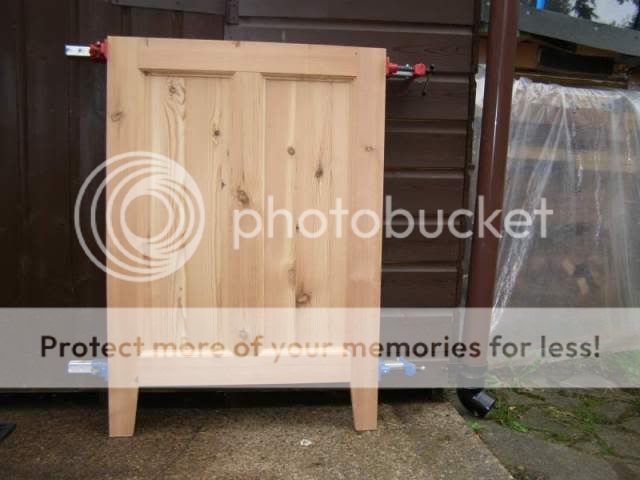
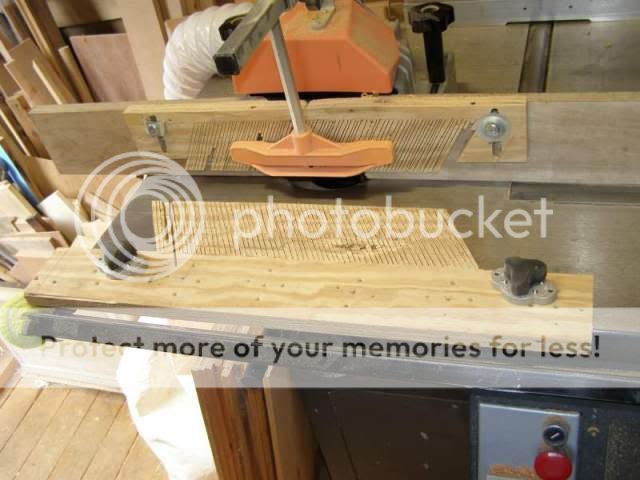
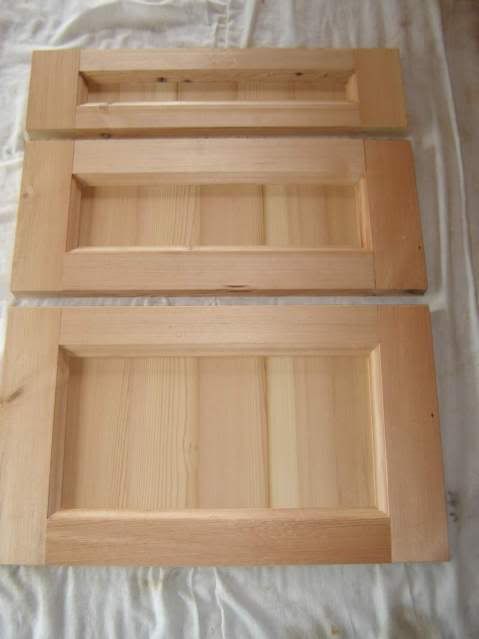
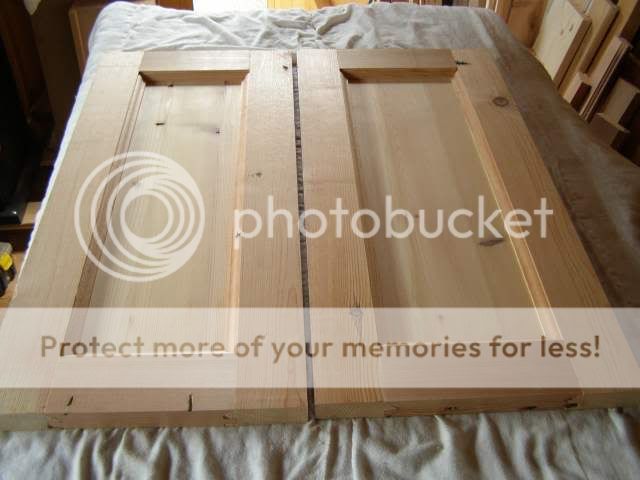
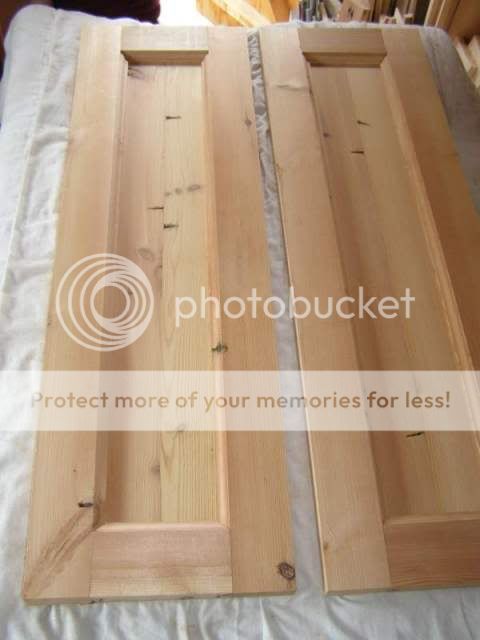
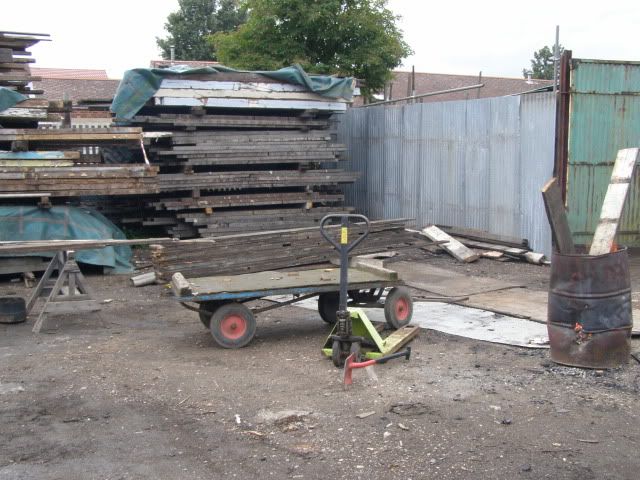
Now lets get on with it. First off the reclaimed pine i used came from a reclaim yard in Nottingham, 200 yr old Columbia redwood joists . I bought 3"x1" and 2"x1" PAR at the 30p a foot and that was the actual finished size, so nice and chunky. I also bought jointed 2' wide boards in 9mm and 20mm thickness for shelves and panels. The yard makes them up with RF glue and speed thickneser. Quality was better than expected.

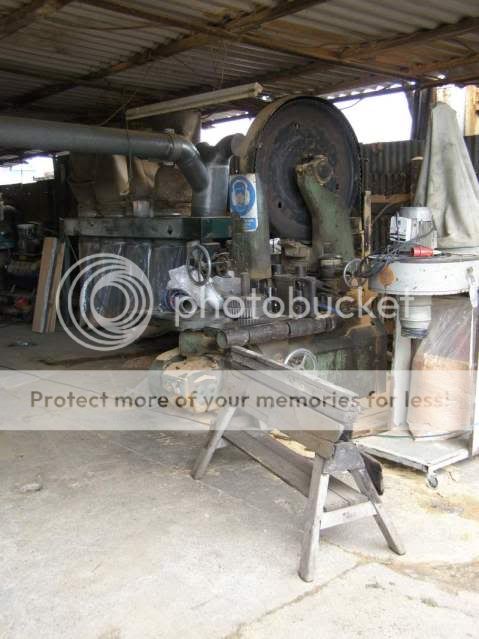
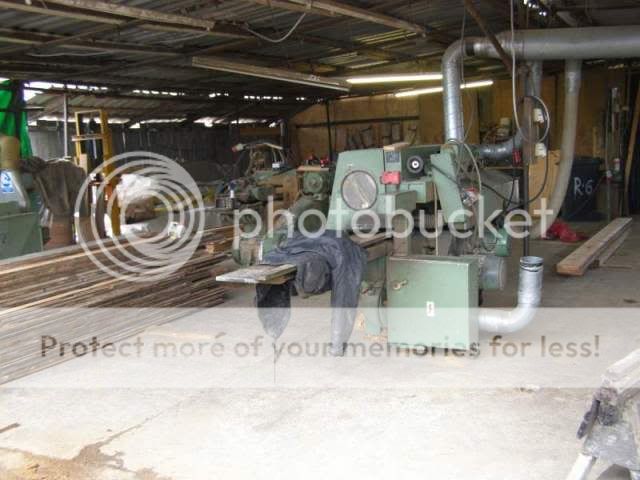
Few pics of the Reclaim yard
woodstuff001.jpg

woodstuff004.jpg

woodstuff003.jpg
 
Once i had collected all my timber thoughts turned to 'oh hell how am i going to manage all the components'. So some IN and Out shelves where in order and the ex router table wasn't up to much so i knocked up a quicky. :twisted:

Router table made from kitchen worktop and marine ply laminate as insert.
woodstuff031.jpg

Rear view showing mdf fence
woodstuff032.jpg

My Aeg Maxi26 Combi. Not the best but i get by until i have a bigger shop for separate chunks of castiron. Also the right is the in and out shelves.
woodstuff035.jpg


I hope no one minds but i'll post every few pics. Just let me know if i'm boring you lot.
 
The general construction of the units is frame and panel. The customer wanted no raised panel but not overly simple looking either. So i'm going with Roman Ogee mould on the rail and stiles with flat panel in fill. This is where all the problem began. :? First off all the router bits for this kind of moulding are max 9,5mm with max 6mm groove. The spindle moulder euro cutters no 97 cuts the right size moulding but 4mm slot for panel. So the comprise was to do the moulding on spindle and the slot for the panel on router table. Not such a good idea now i look back on it :evil: I should have waited and have knives made up so all could be done in one operation.
I had to modify/grind the no.97 so i could use the bottom moulding for the scribe cuts. (all guards removed for pics/seriously i have healthy respect for this tool)
woodstuff067.jpg

I just had to grind a bit of the bottom. I also discovered after doing near perfect joints one day and rubbish the next that when you remove the knifes for cleaning this block doesn't register the blades perfectly at the same height to each other. If that makes sense :evil: Lost a day and quite a bit of material before i realised.
woodstuff008.jpg

I also seriously need a power feed and new block. Pushing the material past my feather boards was a killer.
The other problem was the sled that comes with machine was now where near accurate. this is the one.( I never use this machine with no guards on!)
woodstuff001-1.jpg
 
Right i'm going to post my process of doing things so you lot can advise + you can have a peek of my bits. :oops:
First i roughly crosscut the material, picking the best bits. I have a dewalt chopsaw 707 but only use it outside and its done nothing but rain round here so....
woodstuff051.jpg

And square cut on the bandsaw
woodstuff052.jpg

The mitre gauge thing isn't great but if you set it up a 90 deg and remember to sort of put clockwise twist on as you push through it cuts square everytime. That just sounds wrong!!! :twisted:
Then on with scribes in rails. This a sled i made up to replace original wonky one and I put five through at a time.
woodstuff054.jpg

loading her up
woodstuff057.jpg

Push through the moulder
woodstuff058.jpg

After scribing, unfortunately i have to use router as well to get tongue.
woodstuff010.jpg

Then with them still mounted on to the sled i take cut on the router to make the tongue.
woodstuff059.jpg

after
woodstuff025.jpg

result!
woodstuff062.jpg
 
Does anyone want to see more?
Surelly carn't be that boring?
 
thanks Dave, it's a bit frustrating and takes a bit of effort for us one finger typists :oops:

Pic showing how i held the rails in the sled.Two 4" gutter bolts with threaded inserts in jig pressing up against a superficial 1/4" bit of wood. Which seem to hold very tight.
woodstuff055.jpg


Ok dry fit for end panels 10 of these
woodstuff046.jpg

With panels dry fit
woodstuff021.jpg
 
Dry fit joint
woodstuff066.jpg

glue up of the end panels was done 3 at a time left half day then next set done. I used Titebond 3. This was my first time using titebond i was fairly impressed. Its a bit runnier than all the other glues and doesn't dry clear. Don't use wet rag for wipe ups!
woodstuff075.jpg

I used the old straw trick for cleaning up the corners it worked a treat.
woodstuff074.jpg

My feather boards on s/m. Though i did remake them out of solid pine the next day as shutter board breaks up.
 
Looks like you've got some nice wood to work with. Looking at your featherboards, I think you'd be better off making them from 18mm MDF, possibly with wider fingers. You say you've found that plywood featherboards break apart well, softwood isn't actually much better as you still have the short-grain issue on the fingers (the most important bits! :)).

You appear to do exceedingly well, judging by the size of your workshop. Scribes are always a b****r to get a snug fit, especially when you have to play around with two cutters to get the desired profile. I think you've done alright, though (I've seen worse! :wink:). Another thought would've been to make the stiles a couple of mm thicker than the rails, which would create a shadow that may help to hide the slight gaps... Then again, it may not suit your design. :? I like the idea of your wide coping sled.


woodstuff004.jpg


Slightly off topic but, I really hope the guys don't actually use that resaw - should the blade not be tracked correctly so it jumps off the front of the wheels, the operator would be in grave danger!! :shock: That 'guard' wouldn't last long either! :?
 
Thanks Olly, i was trying to post on your chest draw WIP using the quote box thing. I wanted highlight your great router table fence and ask about the mdf feather board. I do the cuts for the feathers free hand on the bandsaw. I find its fast and the space left by the narrow kerf didn't effect the performance, in fact gives a smoother run as the works not springing from one finger to the next. The fingers only break off when i do a test run(power off) and pull the sled out sideways. But i'm definitely going to make some mdf ones now. :p Those big old bandsaws where not big on safety. :shock: I didn't really get a close look, but they are power fed normally. I'm hoping to pop in soon to see his RF unit maybe get some pics. 8)
 
I've got as far as making and gluing all the end panels, doors and wall cupboard end panels. I put together the pan draws in dry fit and the customer was really pleased with the look. I then opened my big mouth and showed her a bead detail. So now the top and bottom rail on the carcase will have that detail. Sorry no picks of the unit put together yet. I still have a ton sanding and i've got to do stain samples. The customer wants just slight redness. As for choice of finish i thought i might try http://www.hardwaxoil.co.uk/?gclid=CKza ... 4wodcgPrjw .I've never used it before.Does anyone know if it'll be good durable finish for kitchen? Do you still use sanding sealer or the likes so the oil with stain goes on even?

Few of the doors and wall cab end panels
woodstuff071.jpg

woodstuff073.jpg

woodstuff072.jpg


That's all for now. Hope you all enjoy.

Please do comment. Thanks.Alex
 
Thanks, Alex. I also do mine on the bandsaw and cut my 'fingers' about 3mm wide. You are right, the kerf of a bandsaw blade is ideal for this. I still think that wider (6mm?) fingers would be better... I've broken a couple off doing the exact same thing! :roll: :wink:
 
Thanks Alex, it's good to see the whole process :).

Thanks to you and Olly for the featherboard comments as well.

I'm increasingly using the Hard Wax Oil, Alex (hobby use). One of my early test pieces is now the door step for my workshop, and it seems to be standing up well after several months of wet boots :shock:. I've not used a sanding sealer with it so far, I think you'll need to test it on the particular timber you are using.

Boz
 
I wouldn't normally use sanding sealer before any kind of oil finish. You want to let the oil soak in to the wood, even with pine. Hardwax Oil is great stuff and, best of all, you can usually get a good finish with only two coats! :D
 
Back
Top