radial arm saw table

UKworkshop.co.uk

Help Support UKworkshop.co.uk:

This site may earn a commission from merchant affiliate links, including eBay, Amazon, and others.

marcros

Established Member
Joined
11 Feb 2011
Messages
11,302
Reaction score
745
Location
Leeds
I want to make a quick and simple bench/table for my new (to me) radial arm saw. It is a dewalt powershop DW125 and does not have any legs. Similar model on here http://www.bramer.nl/cms/index.php/nl/g ... aagkapzaag 2nd image down.

My plan is to use something like 4x2 CLS, or 4x2 sawn I suppose, but the cls will be dry at the Arnold Lavers and should be a bit nicer on the hands. I know that I should probably do a traditional M & T joints, but in the interests of time and effort, I am wondering whether either a dowel joint, or a loose tennon joint would do the job just as well. These would be much quicker to produce, either with a forstner bit for the dowels, or a router and template for the latter. I could embed some threaded rod as an alternative and wind the joint up tight with some nuts and washers...

For the top of this stand, I have an old piece of worktop. Then the saw will sit on that, on its metal table/base thing and the ultimate top will be a half sheet lengthways of 18mm mdf, giving a table of 8x2, and probably about a foot either end of this before I hit the garage walls. I am wondering whether to put the saw off centre, so that I have say 6 or 7ft of the table to the left hand side and very little to the right. It would enable me to cross cut longer boards. I have no plans to use the saw for ripping. I will make a couple of supports to take the ends of the mdf that are not supported by the main stand. The manual suggests a maximum crosscut thickness of 70mm at 90 degrees (10” blade). Do I lose 18mm of that because of the top thickness? Do I therefore want to minimise this and use hardboard over the fully supported metal bit for example?

Thanks
Mark
 
Hi Mark
Loose tenons are just as strong, like for like, as trad tenons and MUCH better than dowels.
No you do not lose any cutting capacity from the table, as the saw moves up and down (at least I assume it does. Every other RAS I've seen does!)
S
 
Thanks Steve. That should save me a bit of time over traditional. I will scrap the dowel idea- is it the proportion of side grain area that is the difference?

Is there a WE dvd on RAS (yet?!)? I know that there are a number of things to square and in a set order but have not yet researched the details.
 
marcros":30v20ef5 said:
Thanks Steve. That should save me a bit of time over traditional. I will scrap the dowel idea- is it the proportion of side grain area that is the difference?
Quite. Not only the end-grain issue, but getting multiple ones lined up perfectly is very difficult.

marcros":30v20ef5 said:
Is there a WE dvd on RAS (yet?!)? I know that there are a number of things to square and in a set order but have not yet researched the details.
I'm afraid there isn't. I'm between workshops at the mo, so filming isn't on the cards fora while. I do have one or two ideas for a crosscut saw DVD though, SCMS as well as RAS. Whether it will ever see the light of day is another matter.

Have a look on your WE2 though for a good mortising jig. It will help you with your loose tenons.
S
 
Before making anything it would be a good idea to read a copy of the instructions. The work surface that is fixed to the machine needs to be at least 18mm thick and needs to be in 2 parts with a fence between them and as part of the set up process the arms on the base need to be adjusted before the work surface is fixed to the base.
I think that the size of work surface you plan to fit is to large.
 
ah ok. I will have a read.

The work surface I planned was to make the whole thing incorporated into a run of bench surface. I will have a look at the instructions though.
 
I have a one piece 4 foot by 2 ft table on mine. So long as it is well supported I cannot see that the length is relevant.
The table comes in two sections so that, provided you are only cutting thin wood, you can get a wider cut ( an extra inch or two ) by moving a low fence back under the curve of the blade. I really did not like this so I made a moving fence of a height that allows it to go back so it stops a few mm in front of the blade. It is sort of a half way distance between the two. I also put T track on the front of the fence for sliding stops.
 
Grahamshed":1dimbl1m said:
I have a one piece 4 foot by 2 ft table on mine. So long as it is well supported I cannot see that the length is relevant.
The table comes in two sections so that, provided you are only cutting thin wood, you can get a wider cut ( an extra inch or two ) by moving a low fence back under the curve of the blade. I really did not like this so I made a moving fence of a height that allows it to go back so it stops a few mm in front of the blade. It is sort of a half way distance between the two. I also put T track on the front of the fence for sliding stops.

any chance of a few pics graham?
 
I will take some pics in the morning.
I have not explained the above very well. The two part table is what comes with the saw and it has a fence fixed in one of two places, one for thick wood and one further back for thin wood. I threw that away and replaced it with a one part table with a movable fence. The movablity of the fence is only a couple of inches and unless I need to cut really thick wood it wont need to be moved. I will explain more with the pics.
 
cheers. I dont think mine has much with it, other than the metal parts. all of the manuals I have seen include various non metal table parts I think.
 
powertools":ptfdcxhc said:
I see that your other poster has not yet come up with the photos. Do you still need ideas for this project?

Damn.
My apologies, I took a delivery of plywood and cellotex to line the workshop roof, and having forgotten about this, stacked it against the saw table.
I will be shifting it in the morning and will get the pics then.
Dementia is wonderful but I have tied a knot in my hankie.
 
OK, here they are. You will have to ignore the mess, everything is getting moved about so I can get roof insulation in.
RASsmall.jpg

RASsmall2.jpg

RASsmall3.jpg

RASsmall4.jpg

The top of the table in front of the fence is sacrificial and allows the blade to run over the fence support without cutting it.
 

Attachments

  • RASsmall.jpg
    RASsmall.jpg
    111 KB · Views: 67
  • RASsmall2.jpg
    RASsmall2.jpg
    107.5 KB · Views: 67
  • RASsmall3.jpg
    RASsmall3.jpg
    112.7 KB · Views: 67
  • RASsmall4.jpg
    RASsmall4.jpg
    97.6 KB · Views: 67
I have done the opposite and made my table as small as possible and the saw is mounted between 2 benches.
The best modification I made was the laser guide.
 

Attachments

  • CIMG1730.JPG
    CIMG1730.JPG
    175 KB · Views: 55
  • CIMG1729.JPG
    CIMG1729.JPG
    168.9 KB · Views: 55
  • CIMG1731.JPG
    CIMG1731.JPG
    159.4 KB · Views: 55
  • CIMG1733.JPG
    CIMG1733.JPG
    65.7 KB · Views: 55
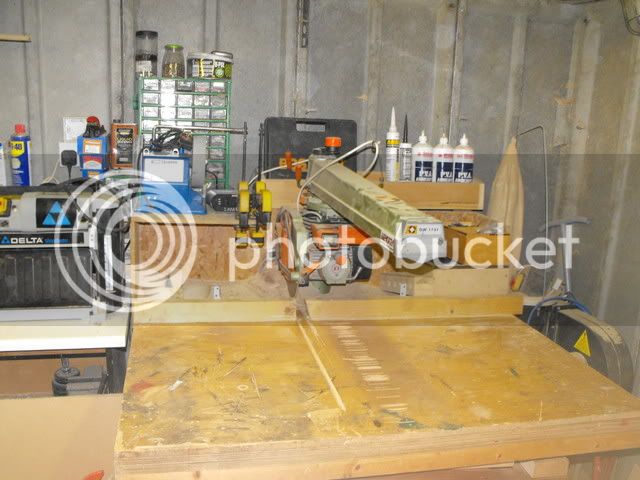
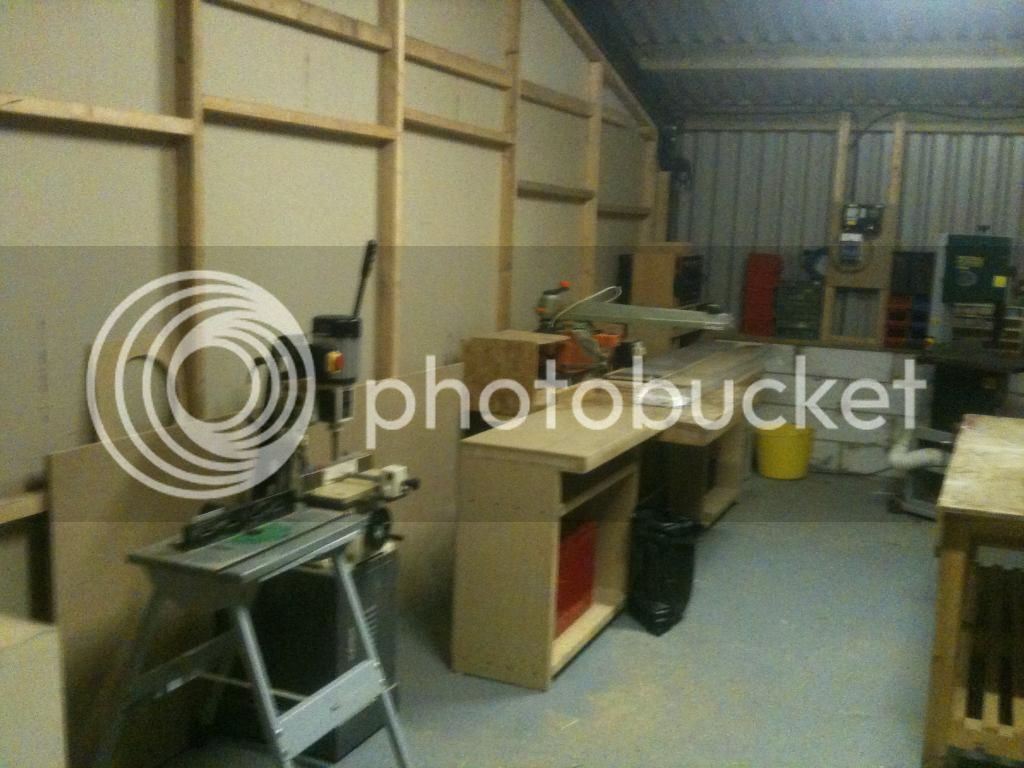
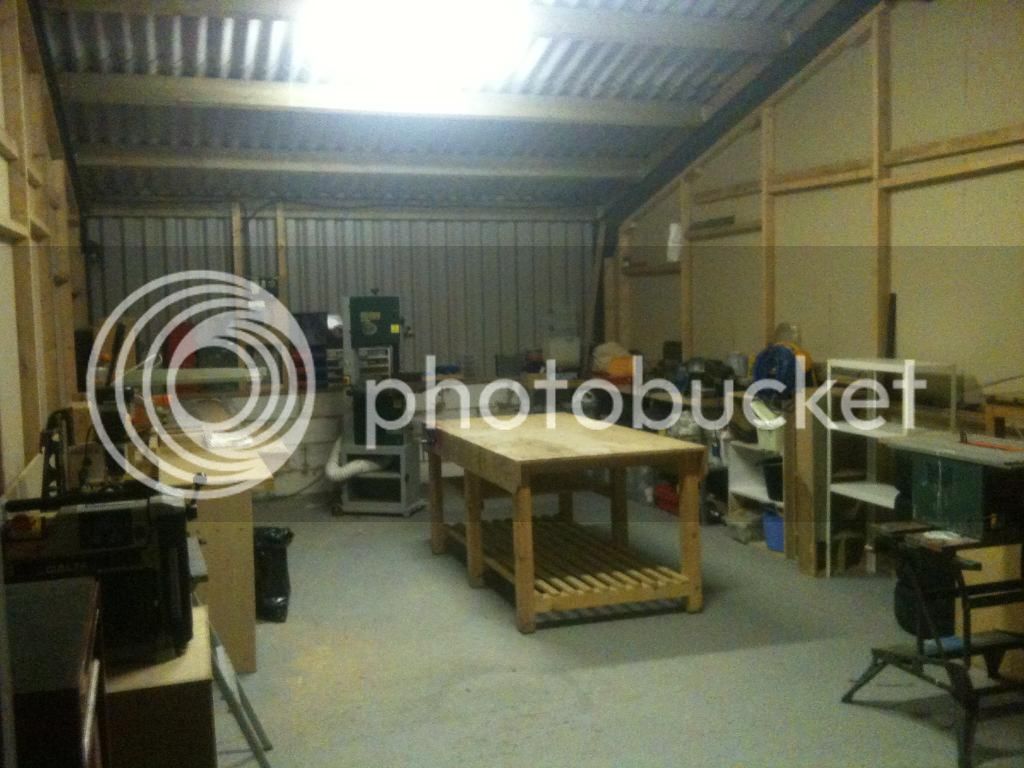
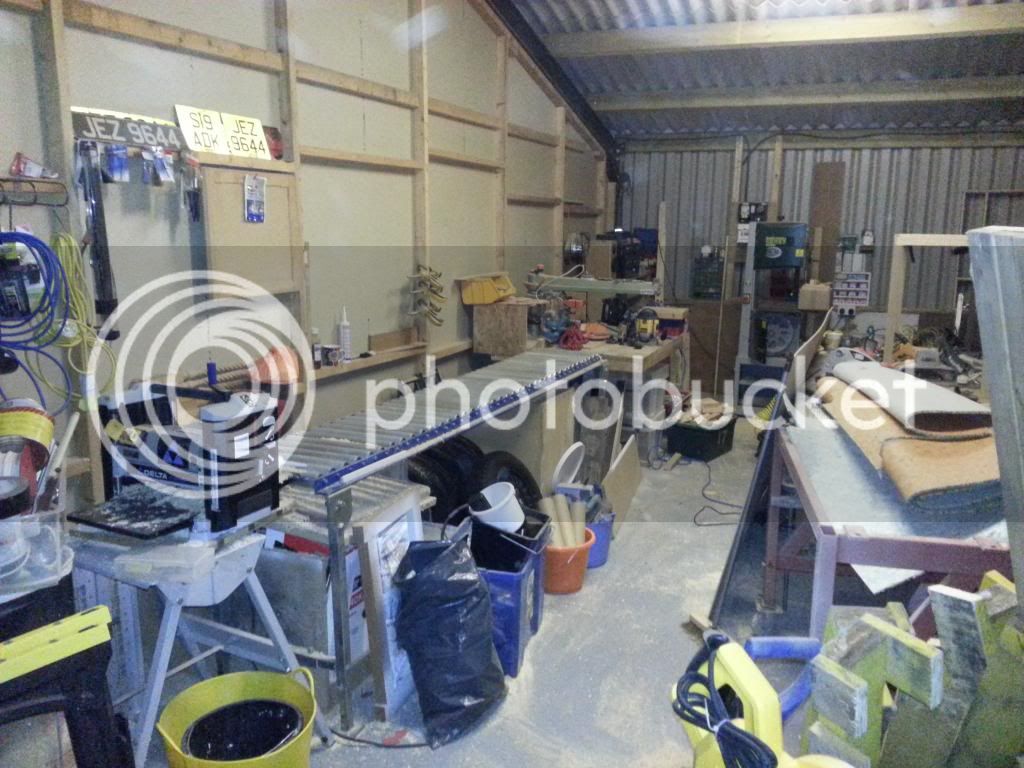
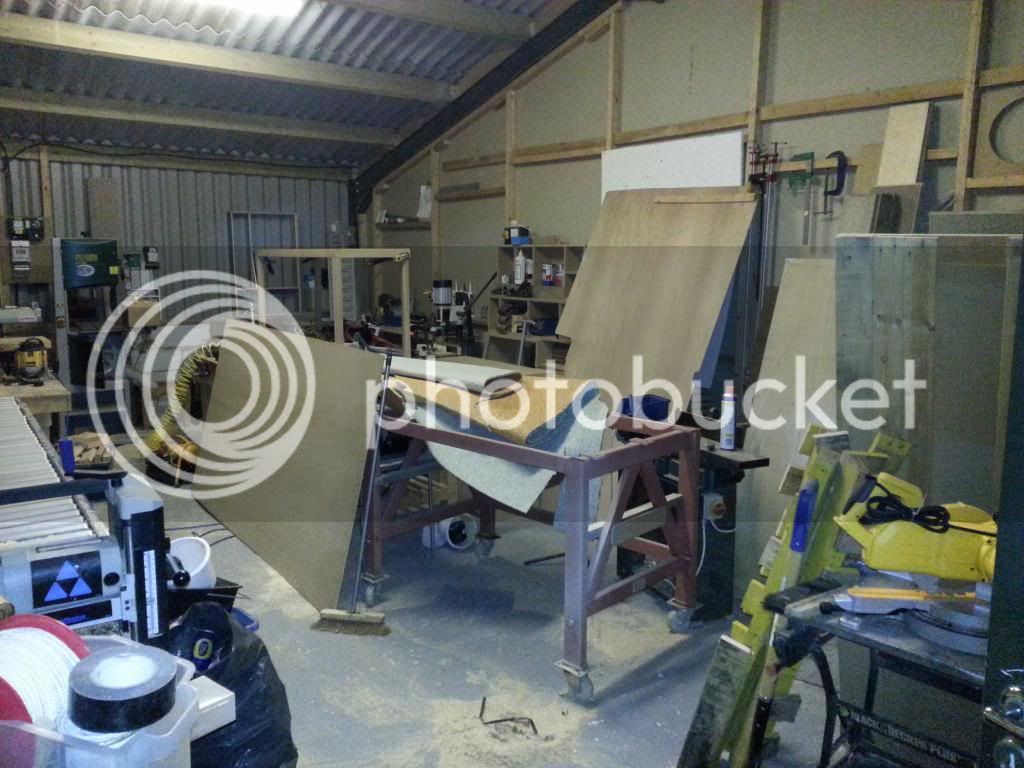
this is how i had mine set up,

2008_10150034_zps292a262b.jpg

IMG_0043_zps774acc62.jpg

IMG_0042_zpsf9bb683c.jpg


will upload how ive got it set up now tommorow, works so great
 
Back
Top