Planters - WIP

UKworkshop.co.uk

Help Support UKworkshop.co.uk:

This site may earn a commission from merchant affiliate links, including eBay, Amazon, and others.
The_Stig":3ggf1cvr said:
This took some digging out, but I thought I'd throw it out there...

...the planters come out pretty nice in Oak too.

24a2d9f9.jpg

Are they for dolls houses ??
 
wizer":2ikqn0n8 said:
The_Stig":2ikqn0n8 said:
This took some digging out, but I thought I'd throw it out there...

...the planters come out pretty nice in Oak too.

24a2d9f9.jpg

Are they for dolls houses ??

When I looked at this thread last night - the picture was a large one?
it seems to have shrunk and yet the post shows no edits????

Bob
 
I had a few problems with the posting, it wouldn't seem to shrink when it finally did it went ridiculously small.

It'll try again:

photo-1.jpg
 
It seems to have shrunk and yet the post shows no edits????

The reason it shrunk without edits was because I was editing it at source the problem was that it wasn't changing on here.

The strange thing is that I've deleted the original upload and yet still the miniature version shows, maybe I should clear my cache and that'll shift it.
 
Here we go...

NOTE TO REMEMBER: I am building 3 at a time so all my quantities have been trebled.

Sorted out some tanalised timber, this is what I had...

4x 1.8m 75x75 posts
6x 1.5m 75x75 posts

I need the following...

Posts x12 L: 450mm W: 45 D: 45
Braces x24 L: 345mm W: 45 D: 45

I placed a stop on my Mitre saw set to 450mm and off I went sawing the lengths, I couldn't get 4x 450mm out of a 1.8m piece due to the 'kerf' or width of saw blade so I had to cut 3 and use the left over for one of my 345 pieces. I reset the stop to 350mm and blitzed through the 24 braces.

Here we see posts and braces all cut to length, potta tea time.

Photo0060.jpg


Now, after establishing the fact that 75x75 is too thick for the planters we decided that the recommended 45x45 was a better size. So on my NEW table saw :lol: I took time setting up the fence and blade height.

Setting up the table saw, heres what I did...
Can I just add that this was quite a scary part of the project as this saw was new to me and I didn't know what to expect. I checked the blade was 90 degrees to the table, then checked the fence was also 90 degrees to the table. Checked the blade teeth actually came out of the top of my timber. Then I set the fence using the measurement markings on the table bed. I ran a test piece through... absolutley spot on. It said 45mm and it measured exactly 45mm all the way along.
This installed a new level of confidence into me which soon bit me on the pineapple when I had the plastic push stick in the line of the blade... BANG! Stick left hand and I curled up the corner and sobbed.

Took 10 minutes off and regained composure.

Here are the braces all ripped down to 45x45...

Photo0062.jpg


with a close up of the first one...

Photo0061.jpg


Notice the fluffy texture to the area that has been cut? Is this cos it's slightly damp wood?

Tonight I rip the posts and cut the motice/tenons and slots.
 
The fluffiness probably is the dampness tbh. But how many teeth on your blade?

Looking goof thus far. Keep the pics coming
 
it's a 40 tooth blade. Will, probably look out for an 80.
 
no 40 is enough for ripping or multi purpose. Higher tooth count might get a finer cut, but it will labour the saw considerably
 
fair point, i suppose i can always touch the peices on a bed sander to remove fluff.
 
Yep, sand with 80 and 120. No need to go higher on out door projects IMO.
 
might just leave 'em, I quite like the look of 'em rustic. Just blag 'em in shed/fence preservative, job done.
 
Good to see you've made a start, Lee. :)

That looks like spruce, to me, which would explain the soft and 'fluffy' finish. Sanding it would probably be the best way. If you tried to plane them, it wouldn't necessarily improve the finish much, depending on the grain.

What happened with the saw - did your push stick catch the blade? Those plastic ones are surprisingly dangerous - at some point in the future, you'd be better off using it as a template to make another from MDF or ply! :wink:
 
Olly, push stick is/was plastic. I WILL be making a new one tmrw night. I had it pushing on the cut line.

probably is spruce, it was left over from a fencing job I did. I offered to dispose of it for the people to save them having to get rid. :lol:
 
Next installment...

Finished off trimming down my posts last night so that is the batens at 45x45 (350 length) and posts at 45x45 (450 lengths)...

Here's everything ripped down...

Photo0063.jpg


I collected all my off cuts together and I have a real big pile of pieces in two sizes:

24 pieces = 75 x 30 (L: 350)
24 pieces = 45 x 30 (L: 350)
12 pieces = 75 x 30 (L: 450)
12 pieces = 45 x 30 (L: 450)

Here they are...

Photo0064.jpg


BONUS POINT : Anyone who comes up with a good project using my offcuts.

I now needed to put a 14mm wide slot all the way along the batons. his slot should be 11mm deep. I set the router table up with the appropriate size bit, set the depth to 11mm but then dropped the bit down to about 5mm as I will do 2 passes to get the required depth.

I passed all the 24 batons over the router then reset the depth to 11mm and passed them all through again, here is my result...

Photo0067.jpg


These batons only need a slot on 1 edge to take the 14mm T&G side panelling.

The posts require 2 slots to take both a tenon and the T&G side panels.
I measured 10mm on one end of a post and 30mm on the opposite end. This is where I want my slot to start and end on each post. This will require plunging the post onto the bit which at first is quite scary. I made a start mark on top of my fence and a finish mark too. I lowered the post onto the bit lining up the first 10mm starting mark with the starting mark on the fence, then I slide the post along to table, stopping when the 30mm line was level with the finishing mark on the fence.
Once again, 2 passes were done for each slot, one at 5mm and the other at 11mm.

Here is the result for 5mm pass...

Photo0065.jpg


and completed at 11mm depth...

Photo0066.jpg


Next job will be cleaning up the slots, but probably tmrw night.

cheers
 
yes I know - it's been ages since my last update. Well, Mrs J had other demands that took priority over these planters (wink wink) - nah, she needed a greenhouse building and the garden sorting.

Now thats all done though I headed back into the shop to finish these planters. I'm getting fed up of tripping over the bits of wood to be honest.

Here we are then, pot of tea down the neck and we're off!

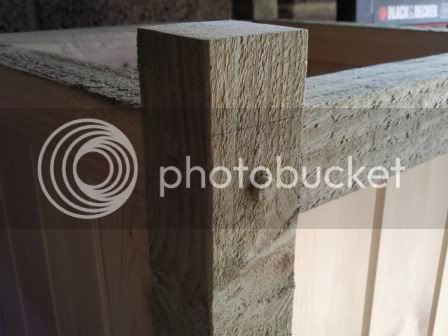
I decided that mortise and tenon jointing all the bits of the frame was really over engineering the project. So I opted for some weather proof screws to do the job.

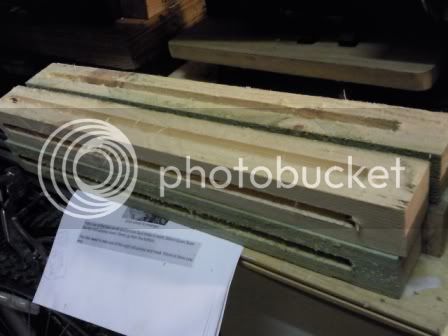
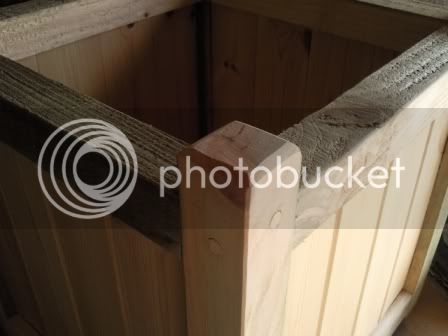
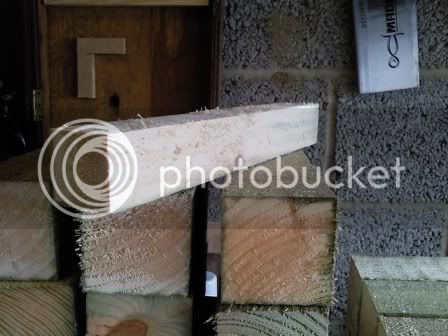
I drilled the uprights but I drilled one side near the top and the other side near the bottom (on the same piece). This is because each upright will have a horizontal piece attached to 2 faces and the screws would cross each other, look here...

Photo0135.jpg


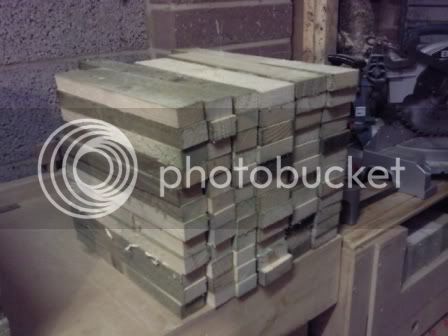
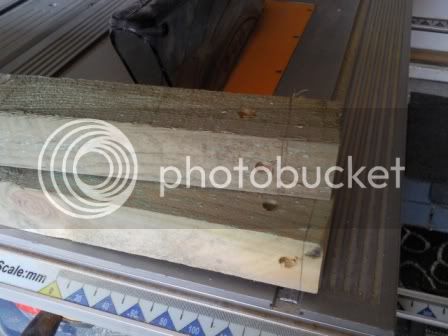
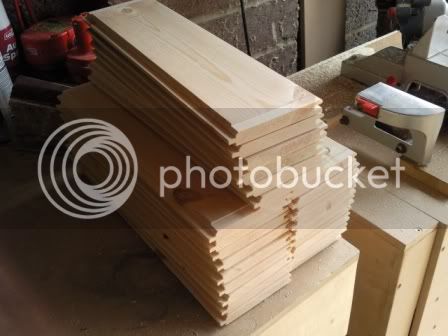
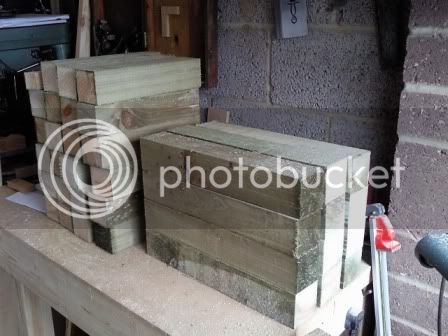
No this was done it was onto the tongue and groove. I opted for 16mm T&G - nice and solid. I set up the chop saw with a stopper so every cut was the same and I blasted through them.

here's one ...

Photo0146.jpg


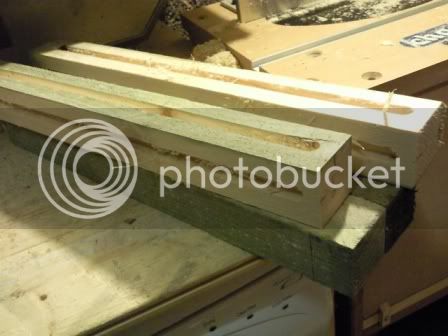
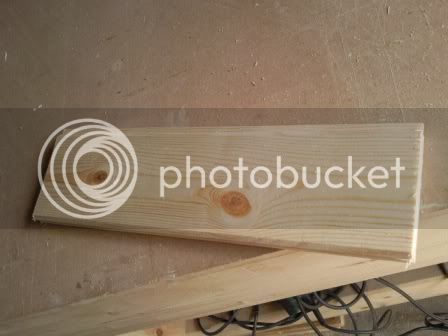
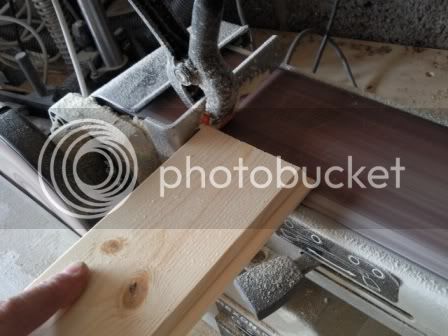
Now it turns out my grooves for the T&G were a couple of mm smaller than my T&G so I touched the ends on the bed sander...

Photo0147.jpg


...this made them fit perfectly!

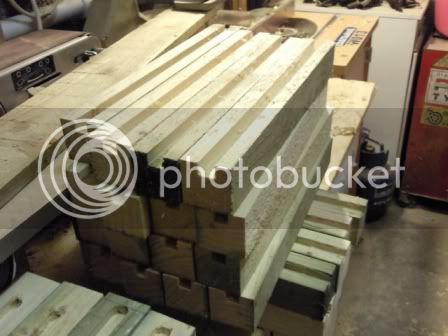
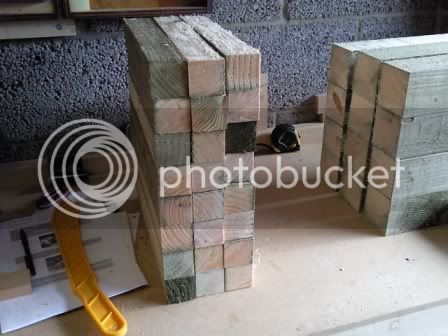
Here is a pile of them...

Photo0148.jpg


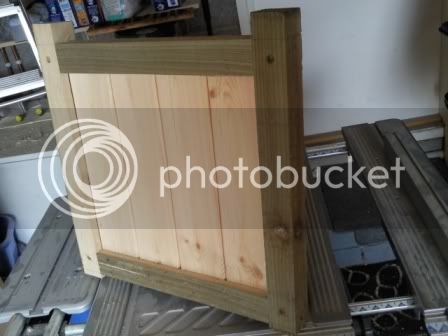
So with this done it was assembley time. Here is one side done...

Photo0136.jpg


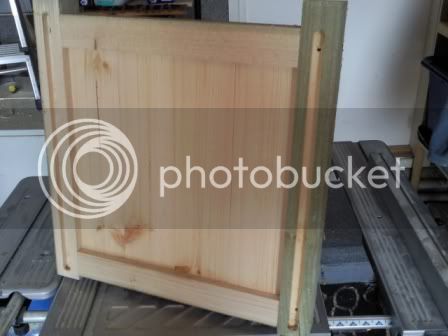
...and the view from the inside...

Photo0137.jpg


Once I had 2 of these complete I finished the assembley...

Photo0138.jpg


The Screw holes looked a bit rubbish. So I made some plugs and plugged 'em...

Photo0141.jpg


Sanded them flush and moved onto the bottoms.
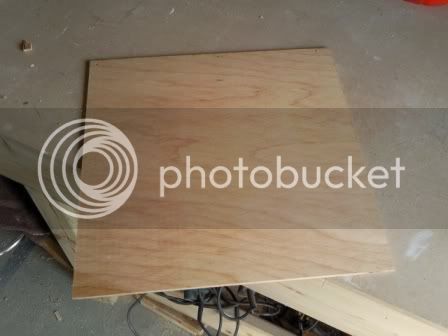
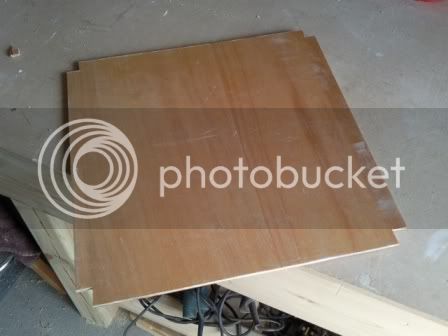
Decided to use some offcuts of ply for the bottom. Nice and sturdy.
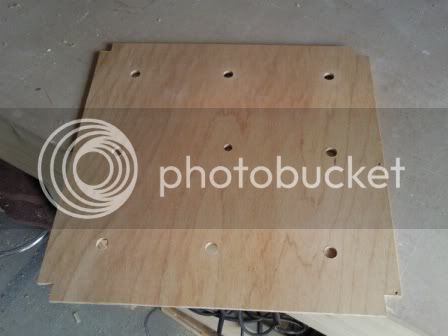
I cut them to size... took off the corners... drilled drain holes...
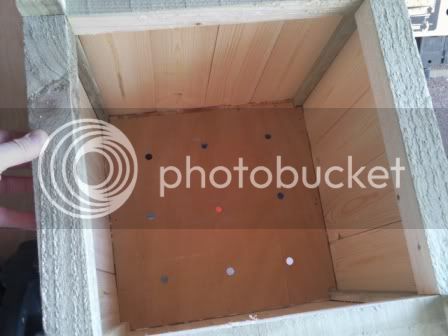
Photo0143.jpg
Photo0144.jpg
Photo0145.jpg


then fitted them...

Photo0140.jpg


Really coming along now. Finishing line is in sight.

I gave them a last sanding (i left them quite rough though) and put chamfour on the tops...

Photo0142.jpg


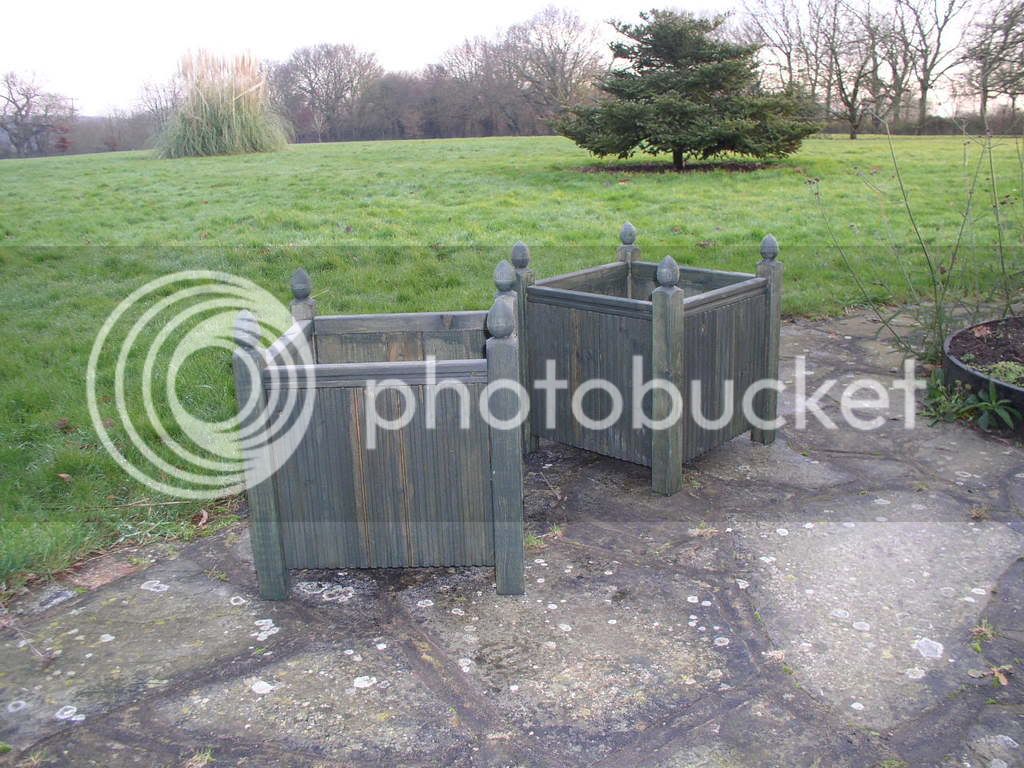
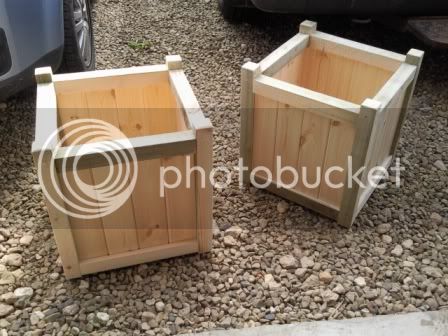
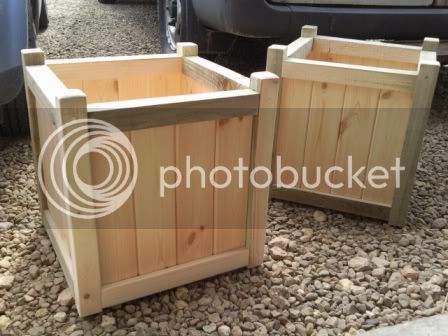
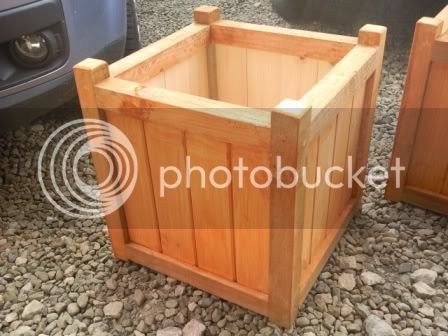
Ta Daaaahh! ready to paint.

Photo0154.jpg
Photo0155.jpg


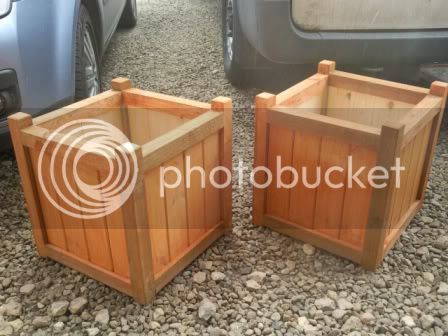
Finished them off with some Golden Chesnut preservative..

Photo0156.jpg
Photo0157.jpg
 
Back
Top