devonwoody
Established Member
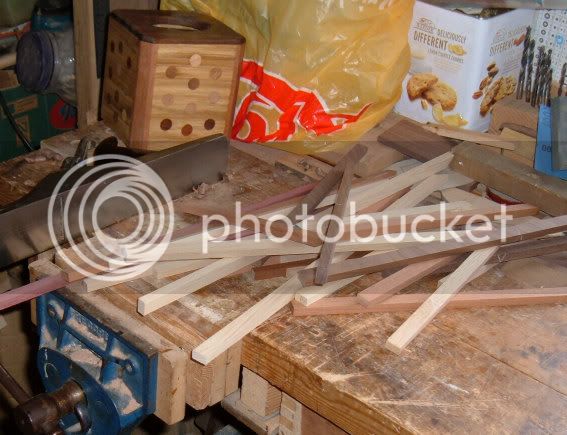
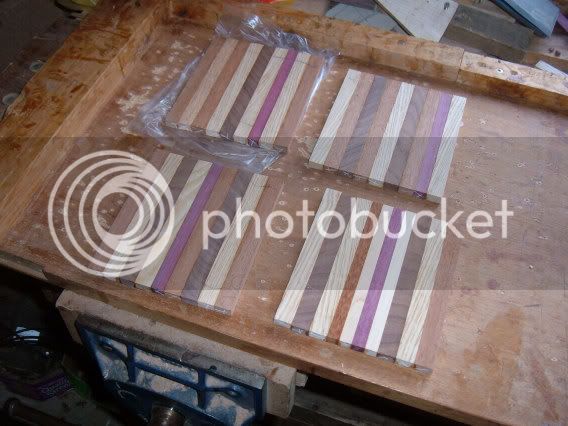
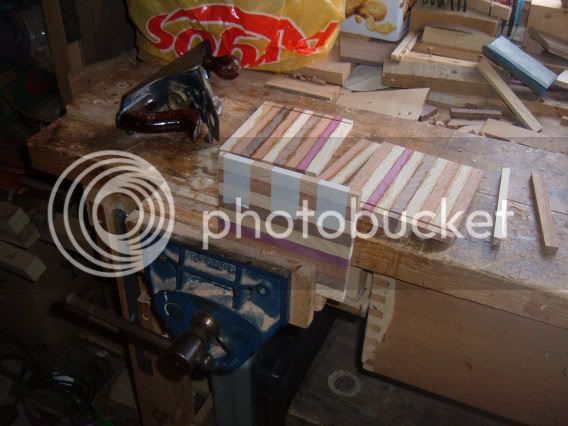
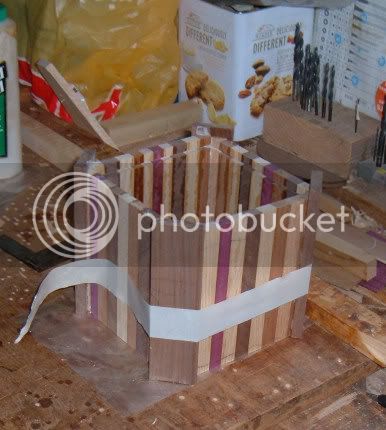
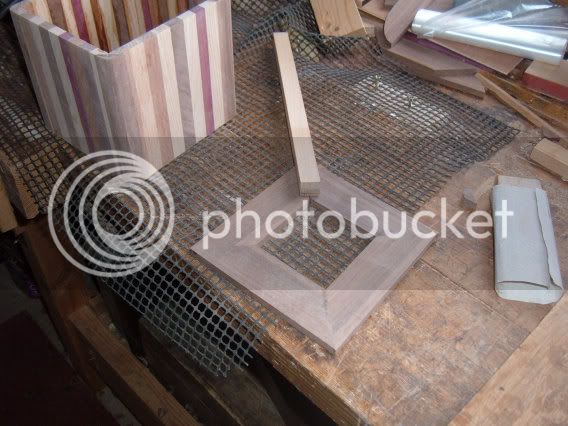
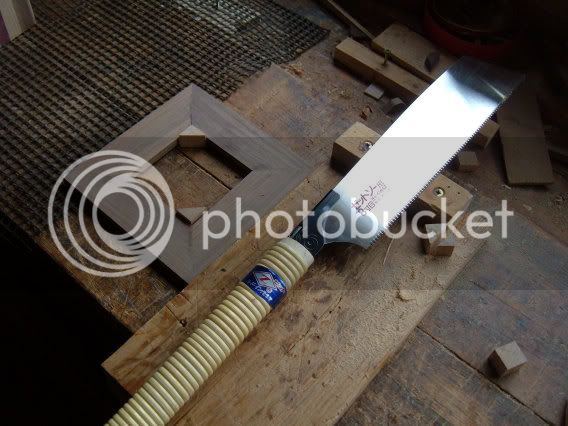
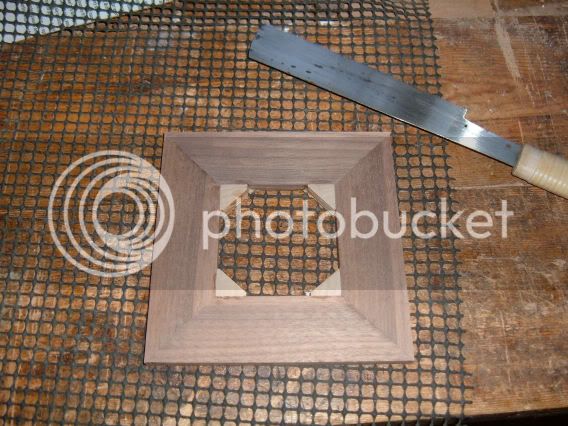
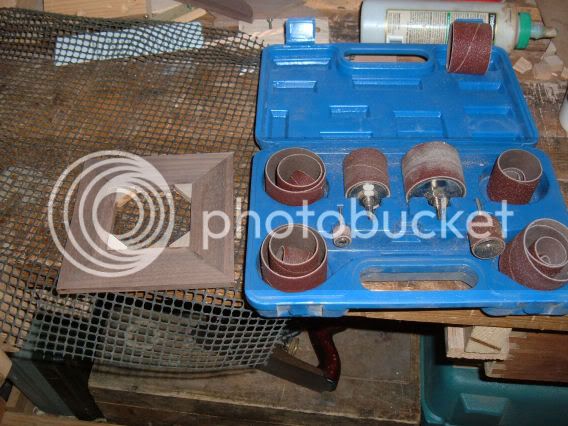
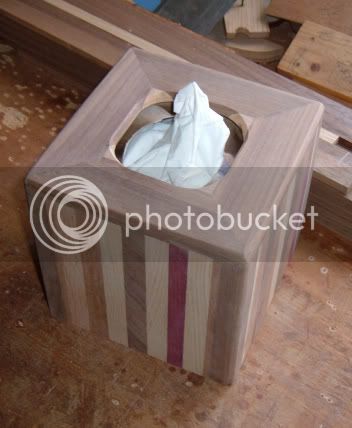
Just had a flash, and starting a new tissue box design!


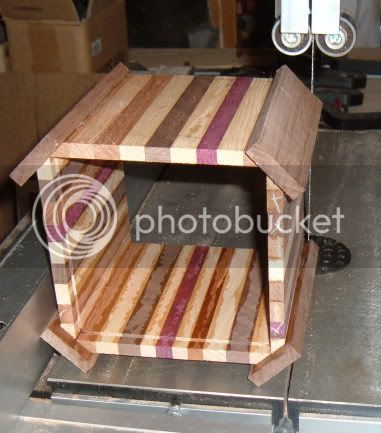
tinytim1458":1gt8vy7m said:great design and the colours work well together, you get better and better the more tissue boxes you do.
Tim
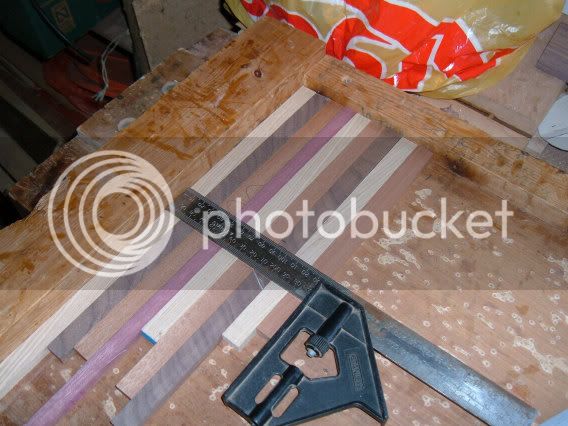
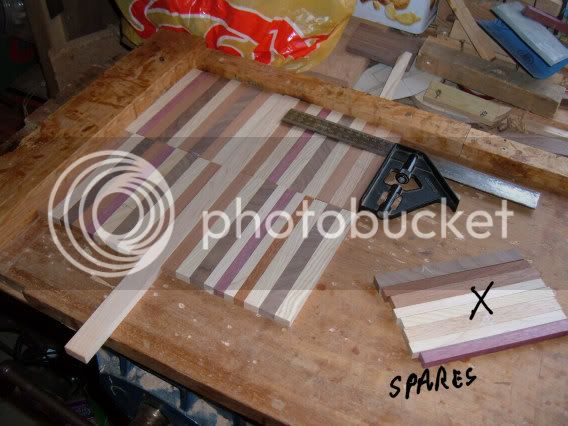
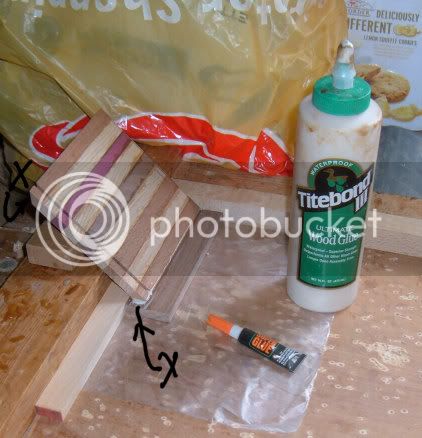
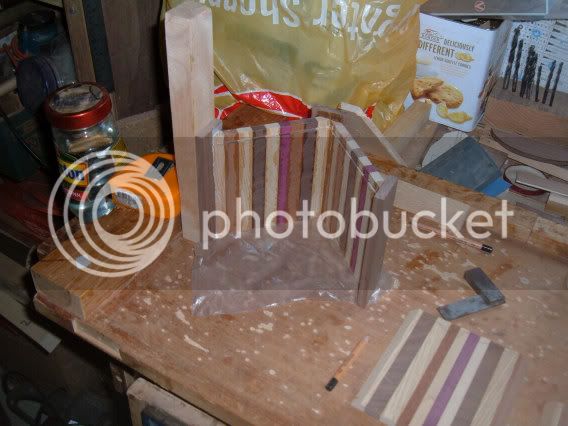
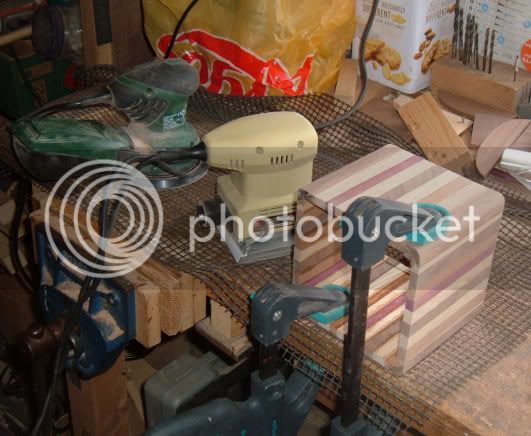
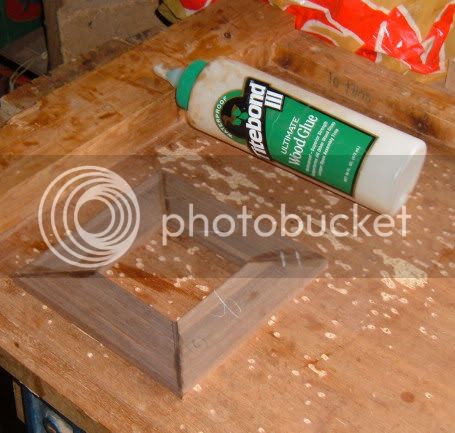
") ref the superglue - I wonder if the 2 part 'mitre' glues would be of any use for the tricky glue up's that you have pictured above? What types of wood offcuts are you using to get those colours? I'm colourblind which doesn't help identifying wood hehe.
ref the superglue - I wonder if the 2 part 'mitre' glues would be of any use for the tricky glue up's that you have pictured above? What types of wood offcuts are you using to get those colours? I'm colourblind which doesn't help identifying wood hehe.devonwoody":sylr62t4 said:Just got another three on the way last evening, a few debts to pay. :wink:

Enter your email address to join:


