OPJ
Established Member
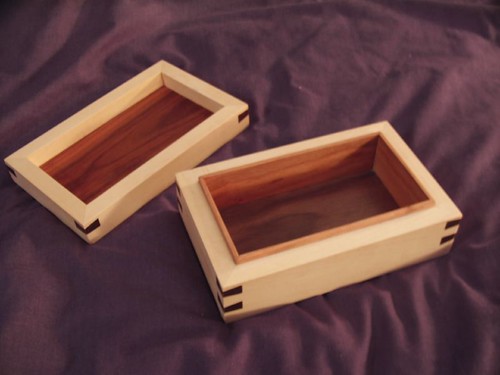
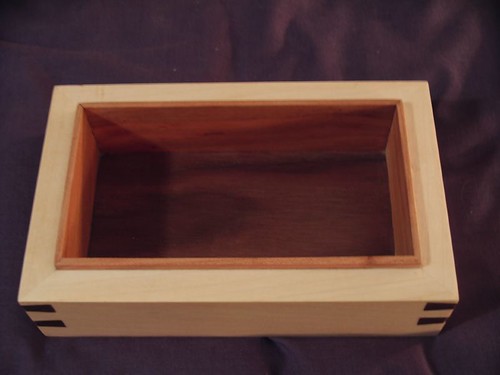
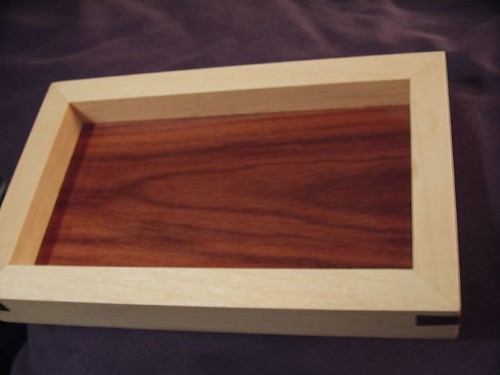
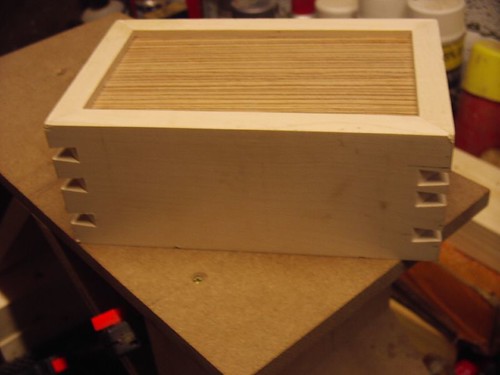
This is a project I started in college a few weeks ago before we got stuck in to practicing Dovetails for an upcoming Cabinet in the New Year. My apologies for not having any WIP photo's for the box up until this point but the corners were accurately mitred on an Axminster Mitre Trimmer with a 5mm thick top and base, each set in to a groove, 5mm up or down fromthe edge. It's made from sycamore with a lovely rosewood top veneer but I can't remember what the timber is on the base and I think I may have two shades of walnut on the inside - I still need to cut it open, you see.
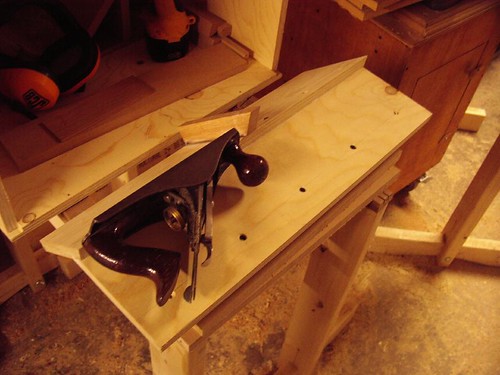
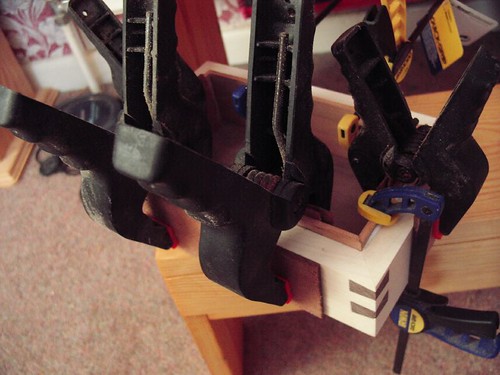
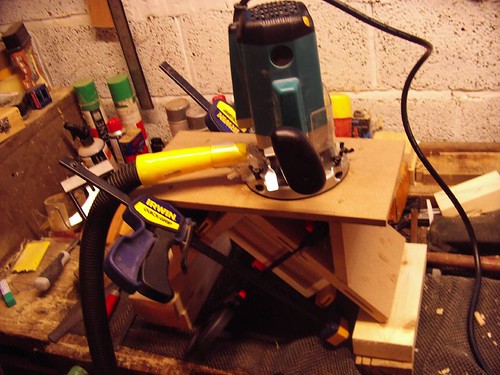
These first couple of photo's should help to demonstrate the MDF jig I made for routing the dovetails in the corners, which will take dovetailed splines (not keys!). A slot in the top of jig is routed to the same diameter as my guide bush and centralised.
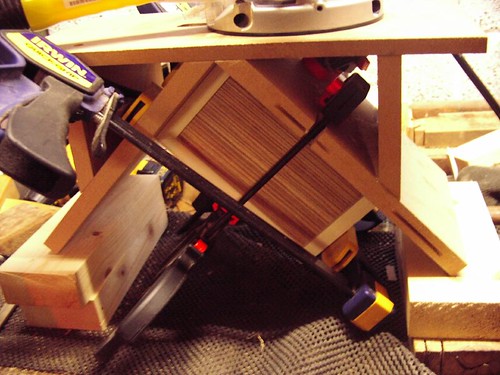
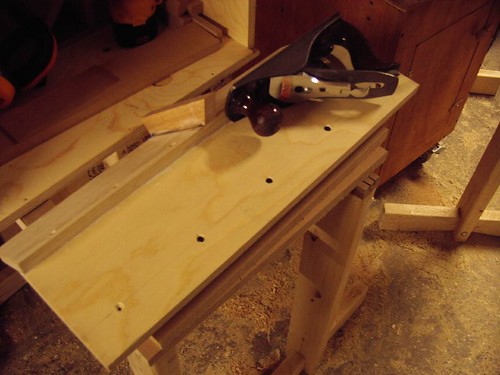
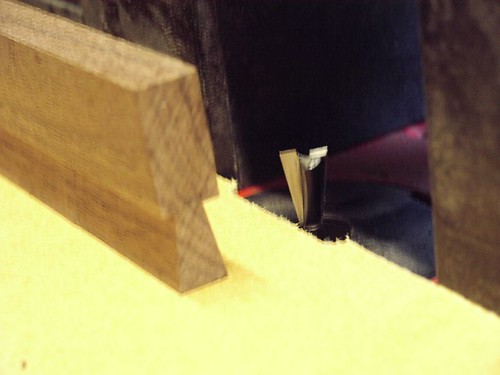
With the first couple of cuts, I used only two clamps (one either side of the jig) and, er, well... you can see the results of that just below! It's safe to say the box moved a little bit even when feeding the router slowly!
I was so annoyed with myself for letting this happen - and also for working to the wrong line, which you can see in the next picture :roll: - that I managed to knock the box on to the solid concrete garage floor. It didn't just fall and land once, it took several knocks off the bench and then rolled for a bit! :evil: Unfortunately, some of the corners show irreparable damage. And I did so well to protect it on the way back from college.
You can even see the line where I should have routed it! :roll:
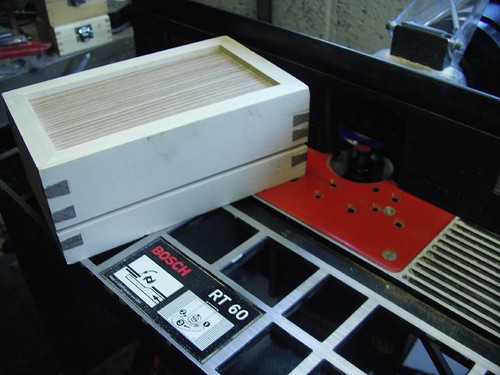
So, on to the next job - and it's time to cut the dovetailed splines to fit in these damned slots and add a decorative touch as well as strengthening the mitre joints. I clamped a scrap of hardboard in place because my Bosch RT 60 router table is anything but level with the large and awkward mounting plate. The same cutter was used again and the timber is American Black Walnut.
It wasn't until after I'd cut 400mm of a length of this timber that I suddenly remember I had a perfect offcut sitting in my Offcuts bin! :roll: Always the way! :wink:
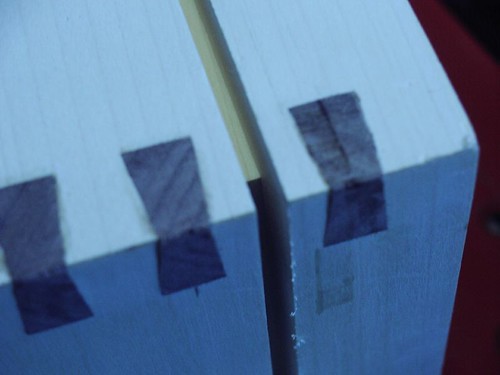
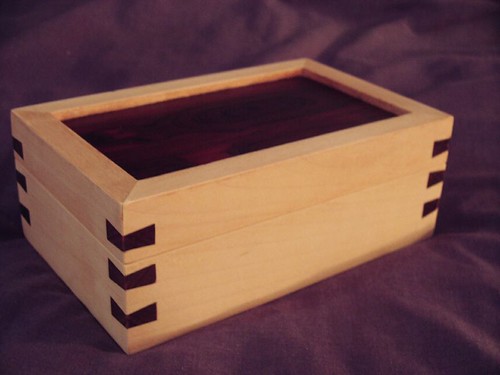
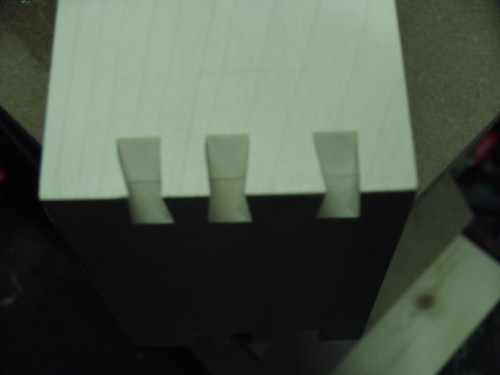
Just like the tenons I cut at work, these dovetailed splines were machined until a VERY tight fit had been achieved. Took a good amount of persuasion to get them in with a small rubber mallet, though I'm happy with the result so far - bearing in mind you can also see where I've attempted to join two of them, end-to-end, where I screwed up.
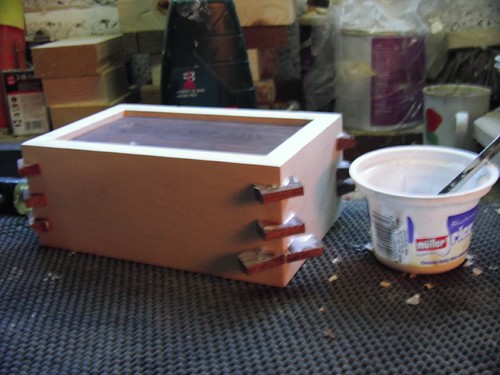
That "warm glow" you can see is from the cheap, little Halogen heater I own which does little other than try to burn me if I get too close - don't worry, it has nothing to do with my growing rage or anger...!
So, this one-time "quick and easy" project is still going relatively well considering. I don't have the patience (or scrap sycamore) right now to try and disguise my obvious faults with the router, so it's going to remain the way it is - besides, it's only for my mum! :wink:
I'd appreciate some advice on how to finish this, if you'd be so kind?
Hopefully, I'll be back tomorrow and Friday having cut the top open and fitted the internal Cherry lining - although, without a mitre trimmer of my own, I may have to build a Donkey's Ear Shooting Board somehow...
Thank you.
These first couple of photo's should help to demonstrate the MDF jig I made for routing the dovetails in the corners, which will take dovetailed splines (not keys!). A slot in the top of jig is routed to the same diameter as my guide bush and centralised.
With the first couple of cuts, I used only two clamps (one either side of the jig) and, er, well... you can see the results of that just below! It's safe to say the box moved a little bit even when feeding the router slowly!
I was so annoyed with myself for letting this happen - and also for working to the wrong line, which you can see in the next picture :roll: - that I managed to knock the box on to the solid concrete garage floor. It didn't just fall and land once, it took several knocks off the bench and then rolled for a bit! :evil: Unfortunately, some of the corners show irreparable damage. And I did so well to protect it on the way back from college.
You can even see the line where I should have routed it! :roll:
So, on to the next job - and it's time to cut the dovetailed splines to fit in these damned slots and add a decorative touch as well as strengthening the mitre joints. I clamped a scrap of hardboard in place because my Bosch RT 60 router table is anything but level with the large and awkward mounting plate. The same cutter was used again and the timber is American Black Walnut.
It wasn't until after I'd cut 400mm of a length of this timber that I suddenly remember I had a perfect offcut sitting in my Offcuts bin! :roll: Always the way! :wink:
Just like the tenons I cut at work, these dovetailed splines were machined until a VERY tight fit had been achieved. Took a good amount of persuasion to get them in with a small rubber mallet, though I'm happy with the result so far - bearing in mind you can also see where I've attempted to join two of them, end-to-end, where I screwed up.
That "warm glow" you can see is from the cheap, little Halogen heater I own which does little other than try to burn me if I get too close - don't worry, it has nothing to do with my growing rage or anger...!
So, this one-time "quick and easy" project is still going relatively well considering. I don't have the patience (or scrap sycamore) right now to try and disguise my obvious faults with the router, so it's going to remain the way it is - besides, it's only for my mum! :wink:
I'd appreciate some advice on how to finish this, if you'd be so kind?
Hopefully, I'll be back tomorrow and Friday having cut the top open and fitted the internal Cherry lining - although, without a mitre trimmer of my own, I may have to build a Donkey's Ear Shooting Board somehow...
Thank you.