My dotty tissue box

UKworkshop.co.uk

Help Support UKworkshop.co.uk:

This site may earn a commission from merchant affiliate links, including eBay, Amazon, and others.

devonwoody

Established Member
Joined
11 Apr 2004
Messages
13,493
Reaction score
25
Location
Paignton Devon
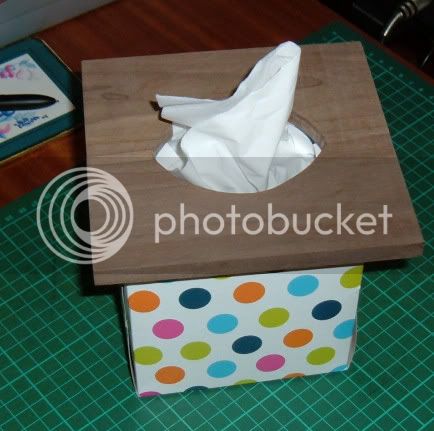
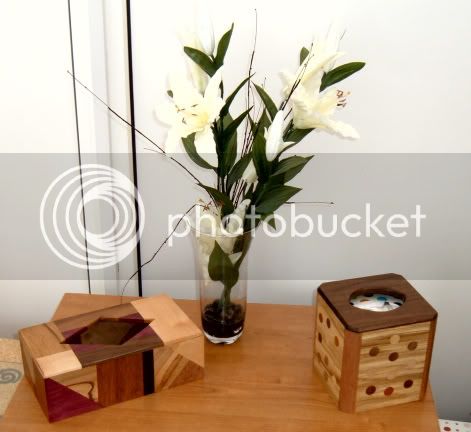
New shape box and a change of style coming up.

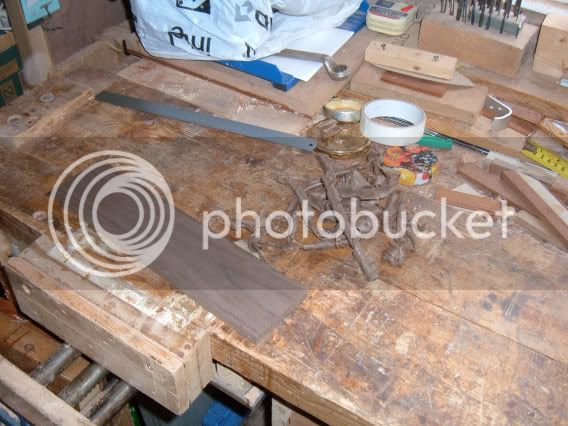
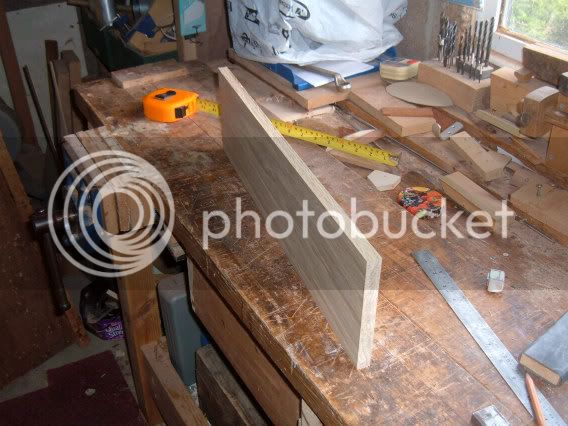
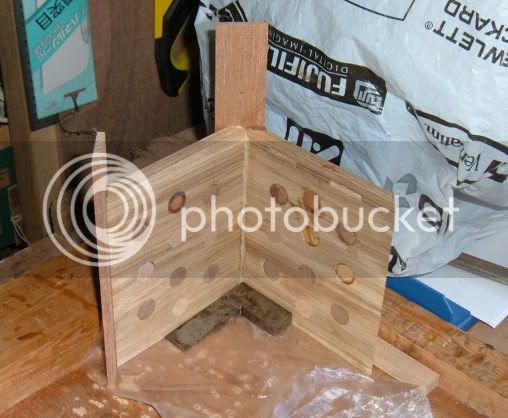
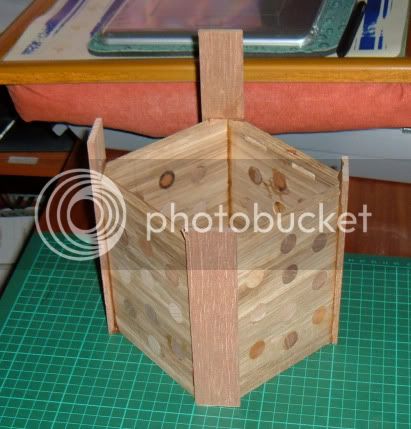
Located this length of Oak with an unusual grain pattern and it it just long enough for two boxes if I make those reverse mitre corner joints instead of the conventional type. This is because the longest length goes to the internal face of the box and does not lose length because of a conventional joint.

1a-1.jpg


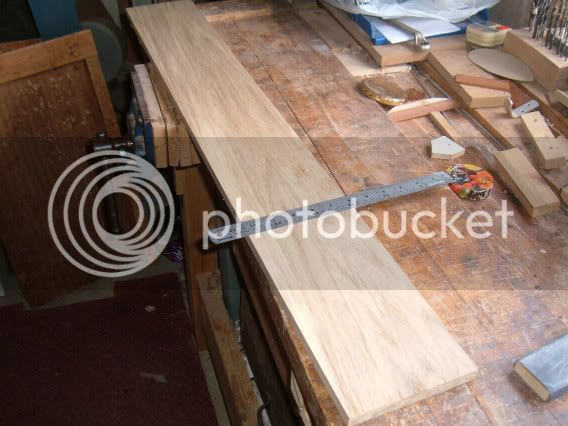
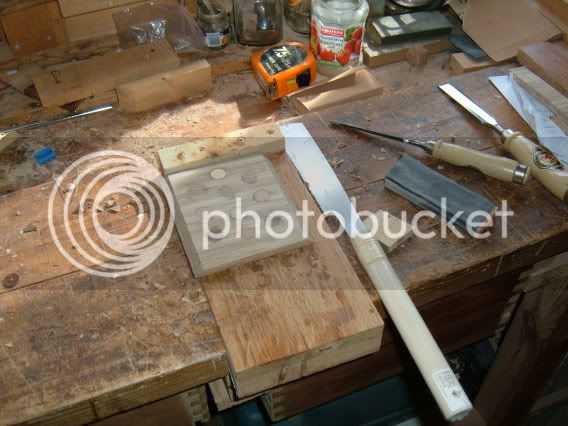
It is 15 mm thick which is a bit heavy for a tissue box so put it through the thicknesser 6 times (three each face) and reduced to about 9.80mm.

2a-1.jpg


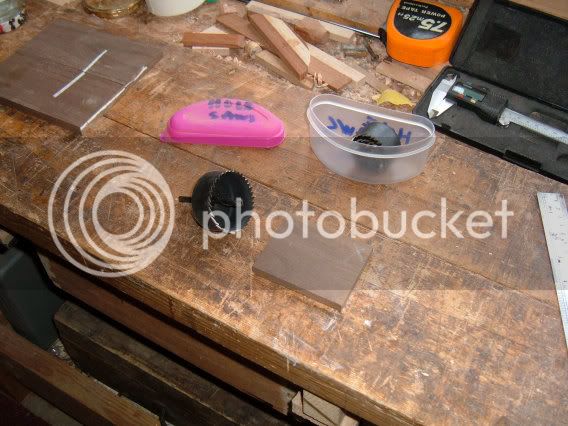
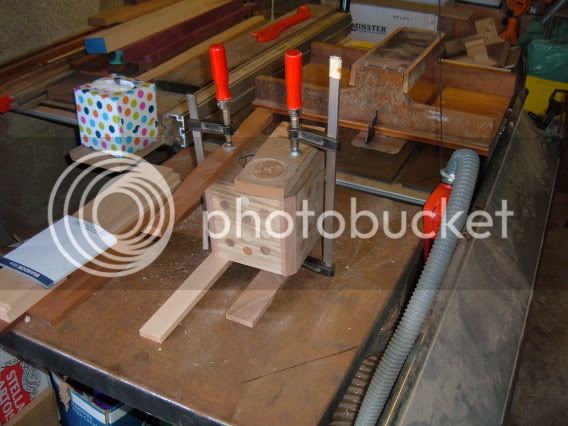
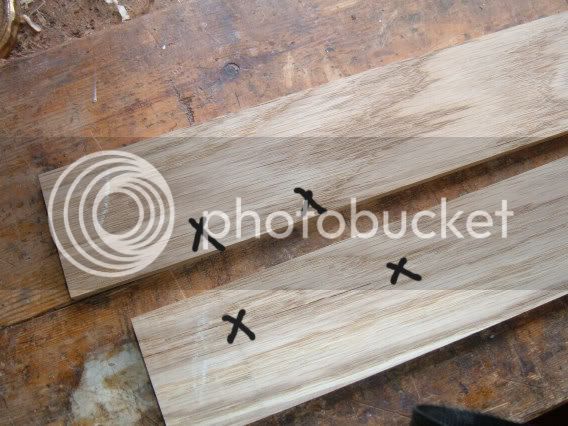
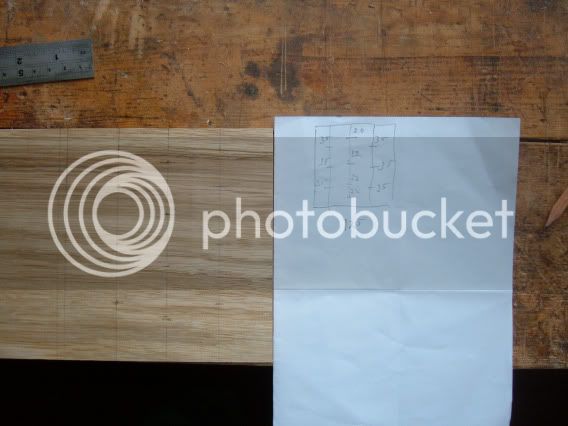
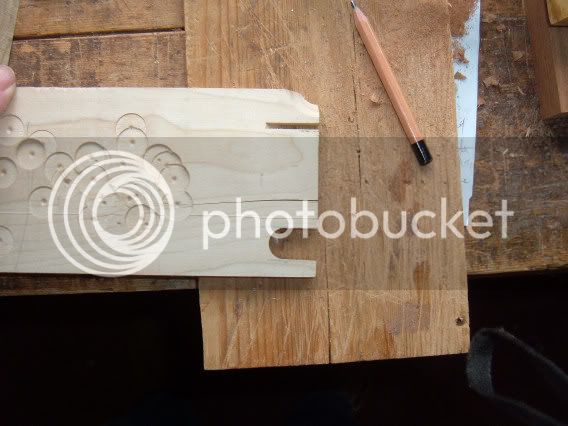
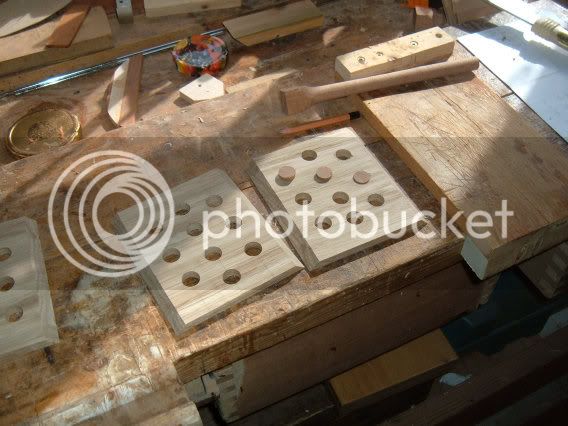
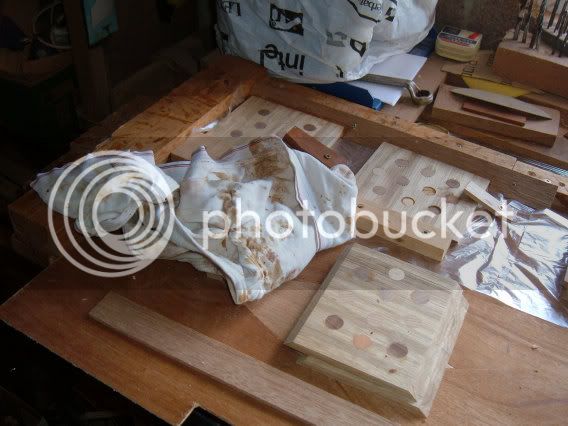
Then drew up a pattern piece.
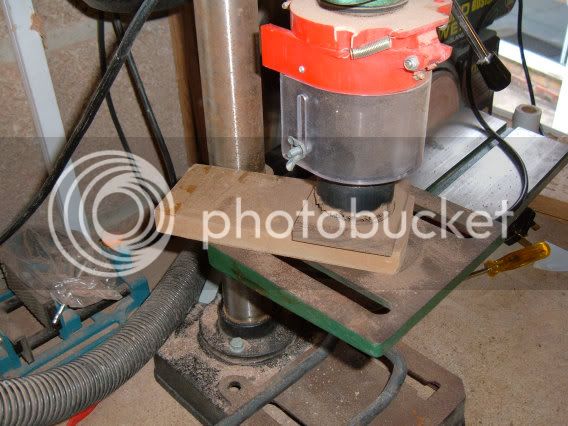
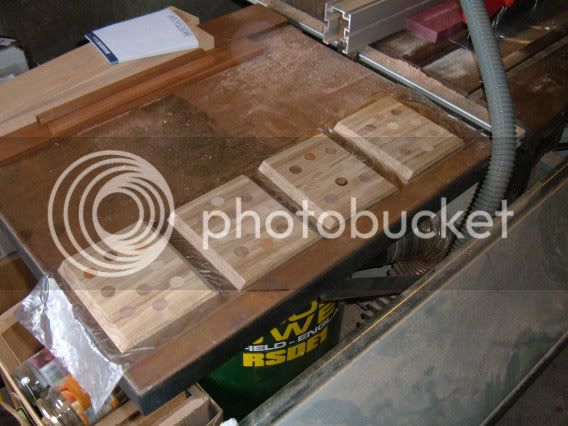
3a-1.jpg


and did this.

4a-1.jpg


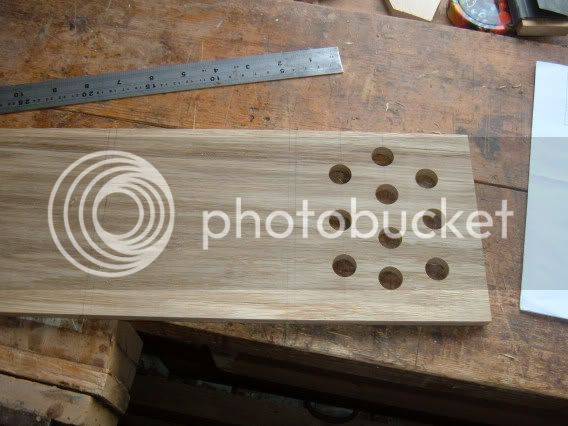
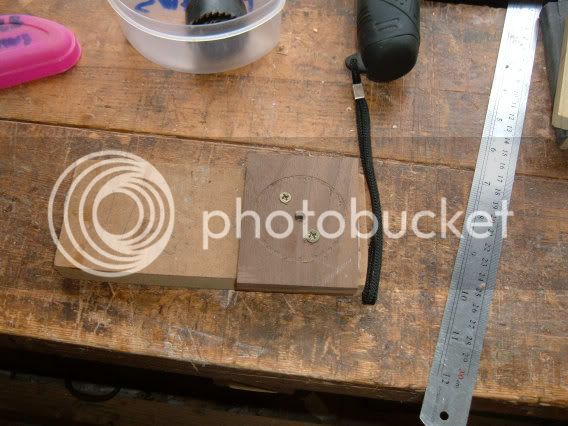
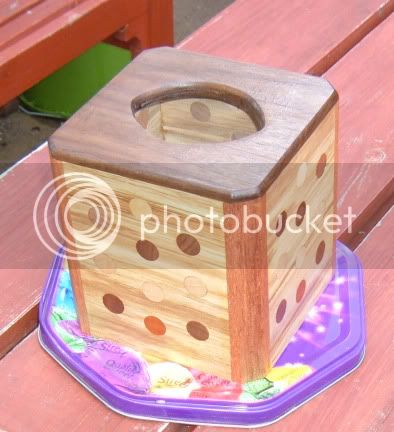
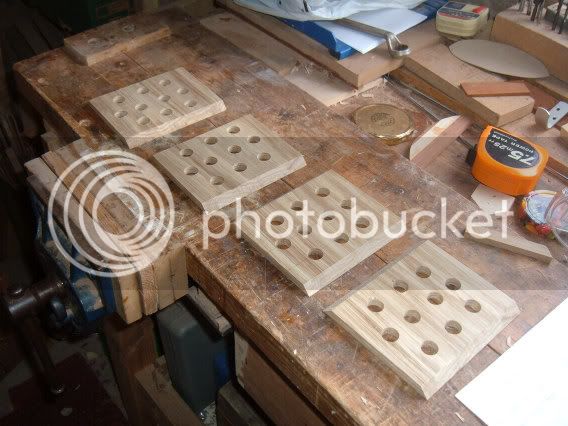
Enough for one box, (hence the title dotty box)

5a-1.jpg


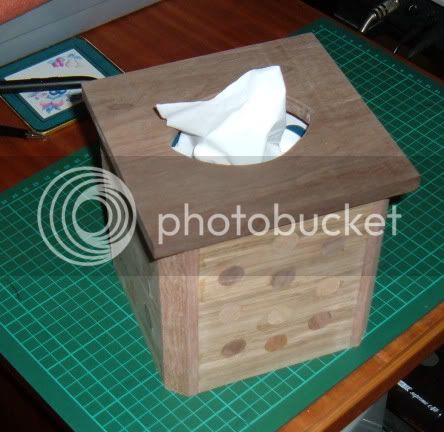
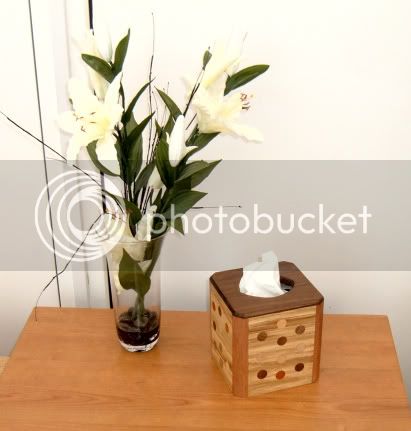
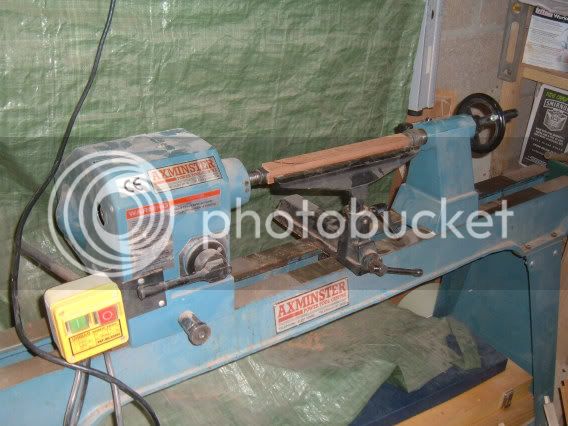
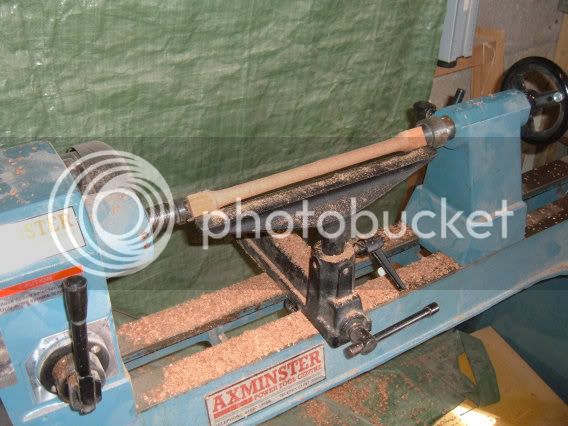
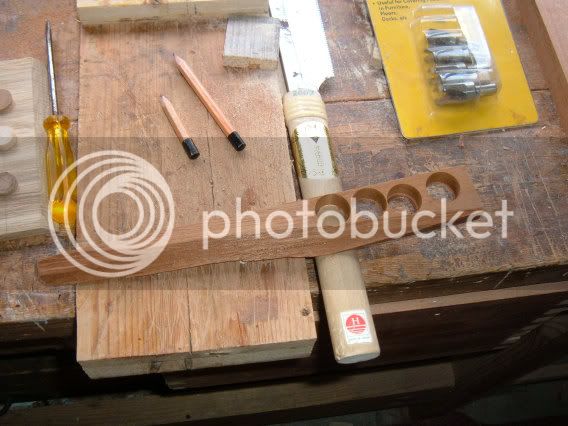
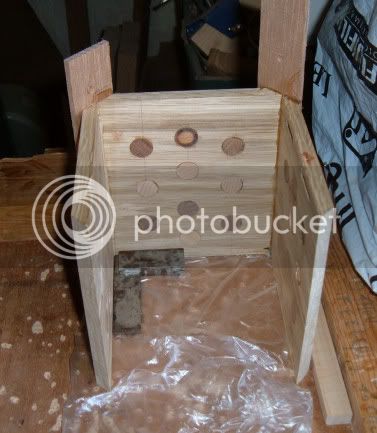
Going to turn three different colour spindles to around 15mm diameter
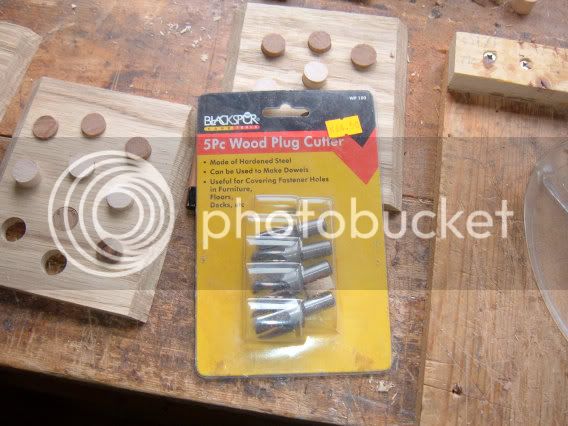
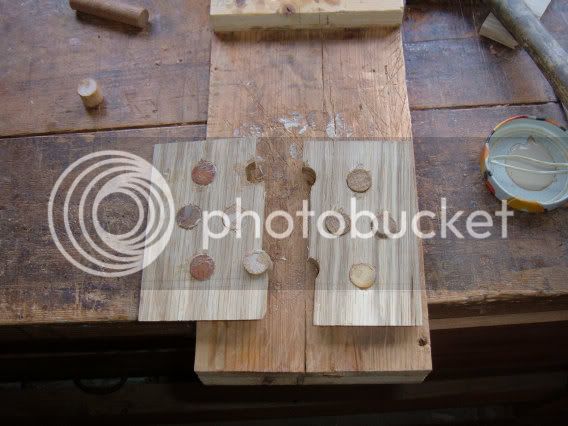
and plug those holes.

6a-1.jpg
 
Had a couple of days out of the W/S but gales have passed on now.

So did a bit of turning,

7a-1.jpg


I had to make a second attempt at a spindle, one pass too many and the spindles was too thin.

Cut myself a size guide.

9a-1.jpg


Then my memory kicked in, and recalled I had purchased a set of plug cutters some years ago, and one fitted.

10a-1.jpg


So got plugging.

8a-1.jpg


Even found some waste timber to use for plugs, who would have thought I would have found a use for this piece.

11a-1.jpg


Then disaster struck

12a-1.jpg
 
Oh, bad luck on that one splitting.

I was hoping to see a side finished. Ah, well, i will have something to look forward to.
 
Went back to W/S later that evening and did the repair with titebond 3 and dabs of superglue, (no clamps used)

14a-1.jpg


So hopefully should clean up tomorrow.
 
DW the work you put into these tissue boxes never ceases to amaze me. You've definately found you niche market/gift design, and are keeping ahead of the "competition".
 
Its been a hectic day in the W/S.

The broken piece glued up OK and I also roughly cleaned up all the plugs on both faces.

17a-1.jpg


using saw, chisels and sander.

18a-1.jpg


commenced the glue up of corners which is a slow process with this joint.

20a-1.jpg


15a-1.jpg


16a-1.jpg


Having trouble with the misses, she is refusing to wash my underwear.

21a-1.jpg
 
Third and final corners have glued up OK, nearly took the box to bed with me, superglue must have leaked on to my fingers.

22a-1.jpg


23a-1.jpg
 
I think it is going well.

24a-1.jpg


Cleaned up the corners, did some handwork for a change, I must recommend the Tormek wet sharpening system, I suspect the others are good as well, I have never had such pleasure with a plane after the last sharpening session, I just stroked the work and it was really smooth.

Hoping to fit on the lid aperture today, debating whether to go for a dark top with white spots or give it a rest? :wink: :)
 
Found a reject piece of black walnut, marked it up with gauge at 1/2" from both sides and got a nice cutting line guide to run using the bandsaw, just keep the blade within those gauge lines and I have two very usable bits of timber.

25a-1.jpg


Went to clean up on the thicknesser and I got some snipe, but I was happy to hand plane it out after last nights experience with the newly sharpened blade. BTW the snipe was caused I think because the thicknesser table was dirty, wiped some beeswax over the table and the next sample piece of timber planed without snipe, so there you are.

26a-1.jpg


Took me half an hour at least to find this set of free hole saws (came in one of those free drill sets on a purchase). Never used one before so did a trial run, glad I did, double sided tape would not hold in place.

27a-1.jpg


So I screwed the waste internal cut down.

28a-1.jpg


29a-1.jpg


Got a nice cut out on this trial run. However I will have to elongate the lid piece with a jig saw.

30a-1.jpg


Back tomorrow.
 
Enthusiasm got the better of me and I went out to the W/S again in the evening when the lid timber glue up was set.

Cut the 2" hole as per trial run earlier in the day, and then had to go hunting for my jig saw blades, last used I think 12 years ago when doing the kitchen worktop with primitive tools.
So cut the elongated hole free hand and it seems to work on a tissue box.

31a-1.jpg


Going back today to fit lid in carcass and the final sand, might even get the shellac and wax on today.

32a-1.jpg
 
Got the lid glued on, did a cleanup of all faces and put a roundover bit on lid and aperture.

33a-1.jpg


Gave it a coat of shellac outside because of the sanding earlier and will then wax tomorrow.

34a-1.jpg


I have started another T/B using the same oak but it has got some check cracks, do you think I can fill cracks later and the timber remain stable?

35a-1.jpg
 
Beautiful as always!

I really like the different woods, which contrast each other nicely!
 
OK here it is with applied photographic composition. :)


36a-1.jpg


Put the last two together.

37a-1.jpg


(My get my tripod out and the 10mp camera set up and try again)
 
Back
Top