Meddings pillar drill (picture heavy)

UKworkshop.co.uk

Help Support UKworkshop.co.uk:

This site may earn a commission from merchant affiliate links, including eBay, Amazon, and others.

Doug B

Shy Tot
Joined
6 Aug 2008
Messages
5,725
Reaction score
11,075
Location
@dougsworkshop
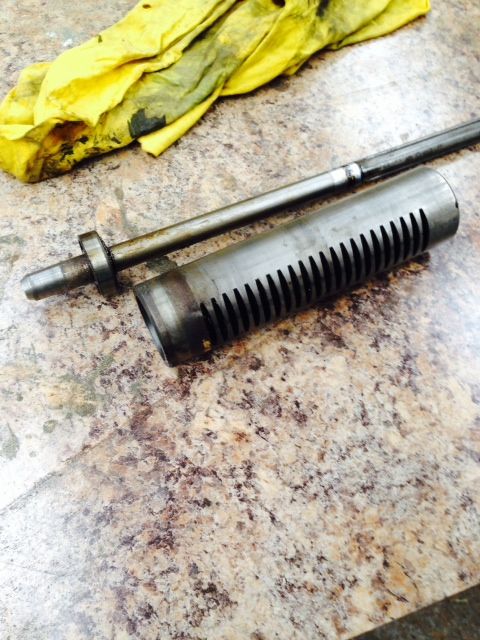
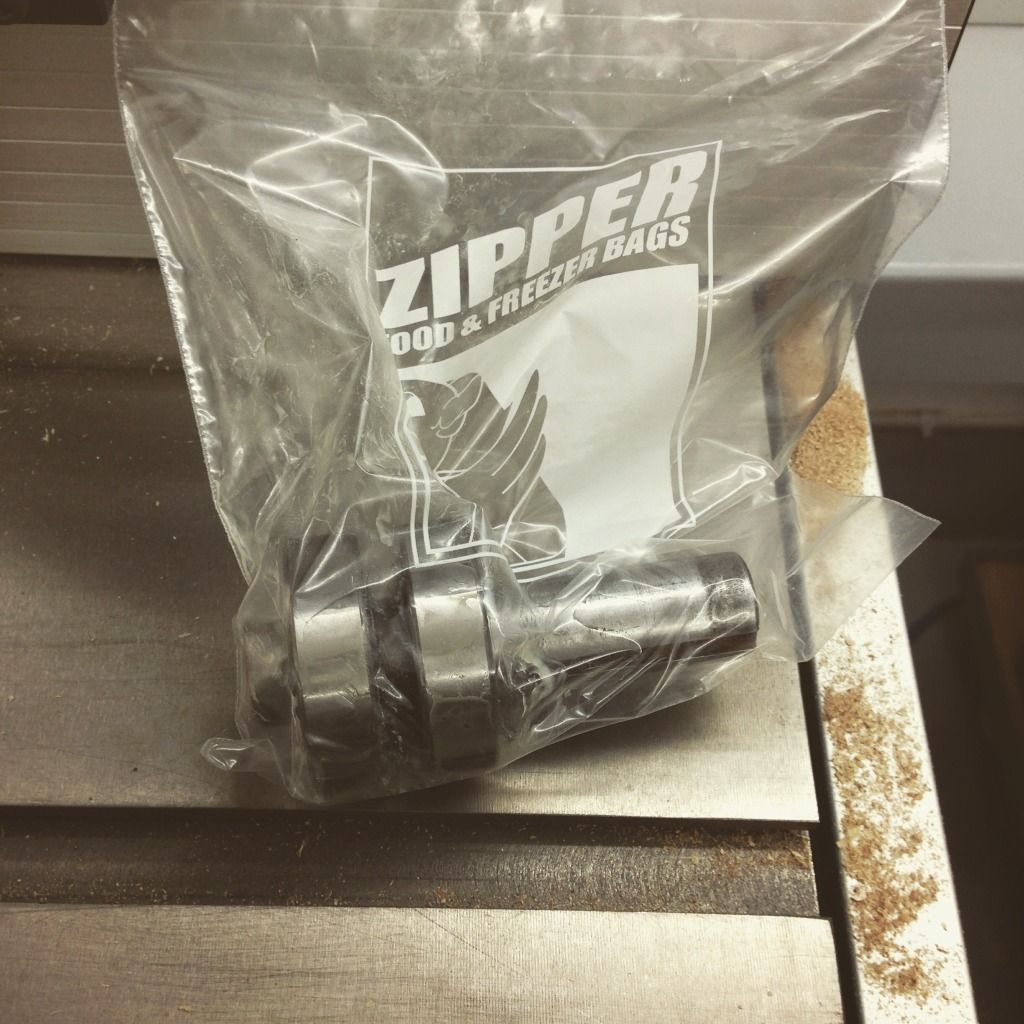
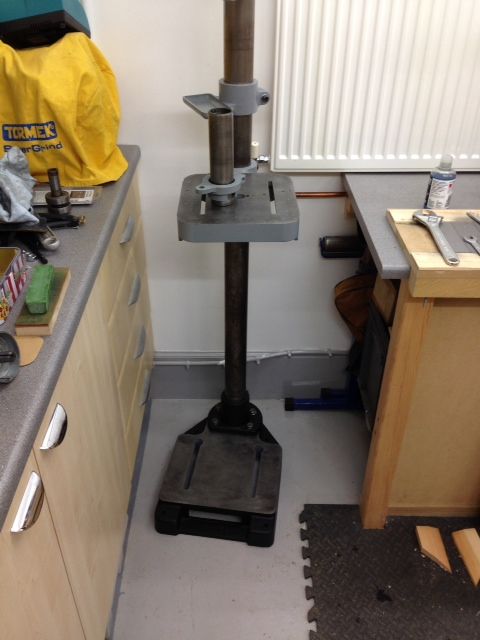
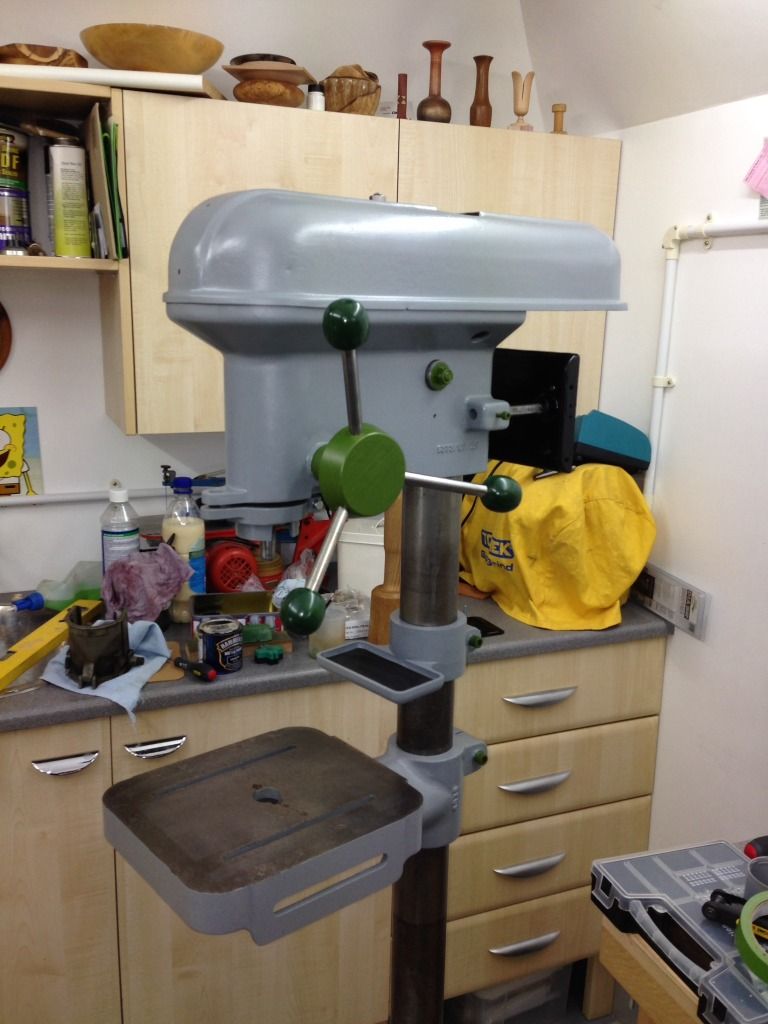
Pick up this poor old tired drill earlier this year

photo_zps7dc3c16d.jpg


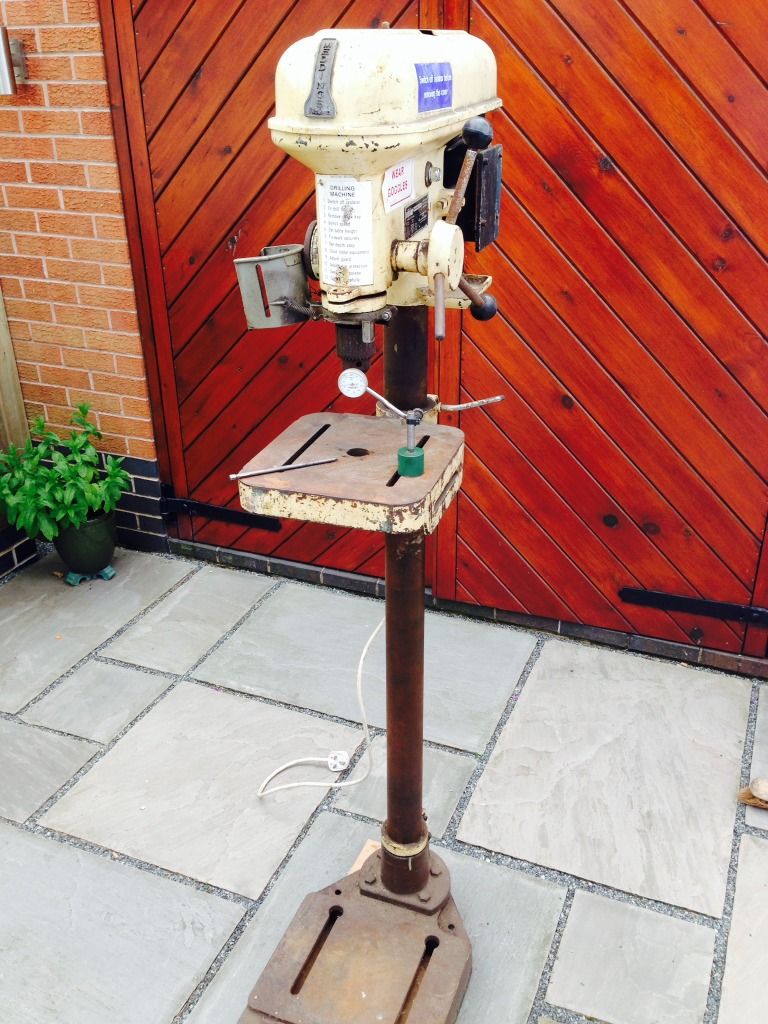
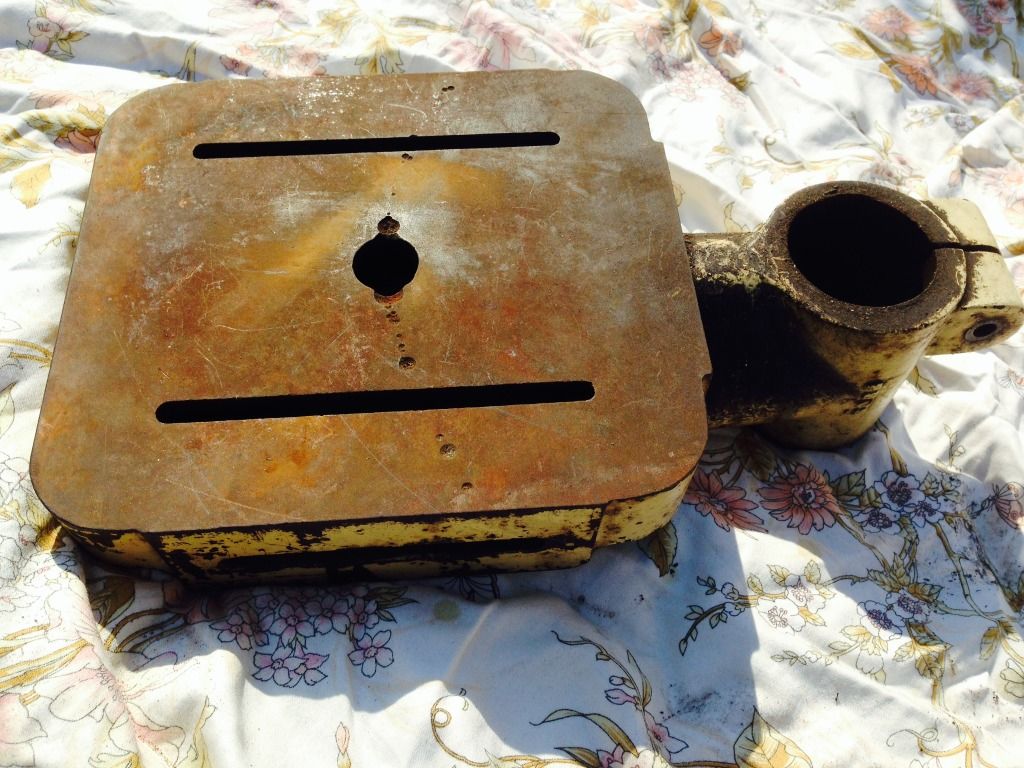
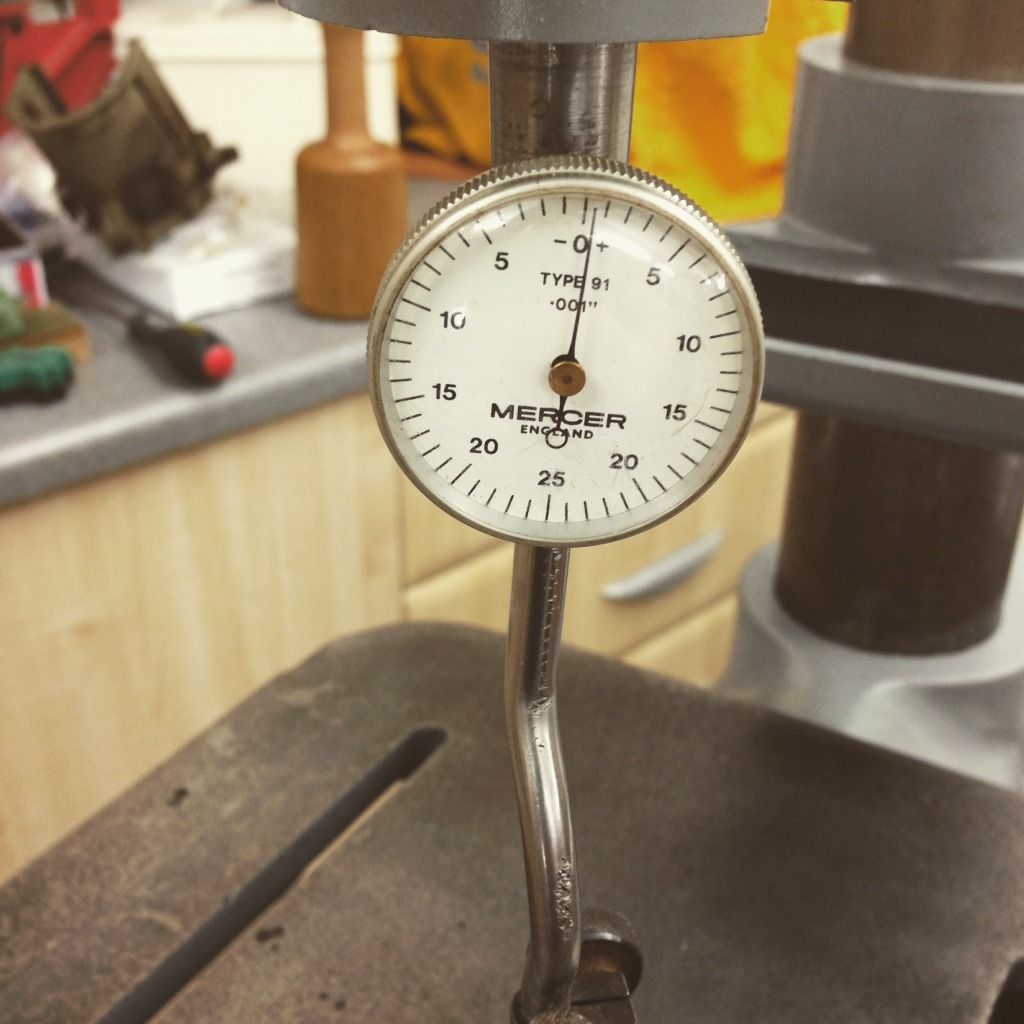
It was pretty grimed up & looked to have had a hard life which included at some point someone painting it cream, but it had very little run out so I thought it would be worth cleaning up. It was single phase though for some reason didn't have an on off switch, it must have been a case of plugging it in to get it to work, not really a problem as I want 3 phase & have managed to pick up a matching 3 phase motor.

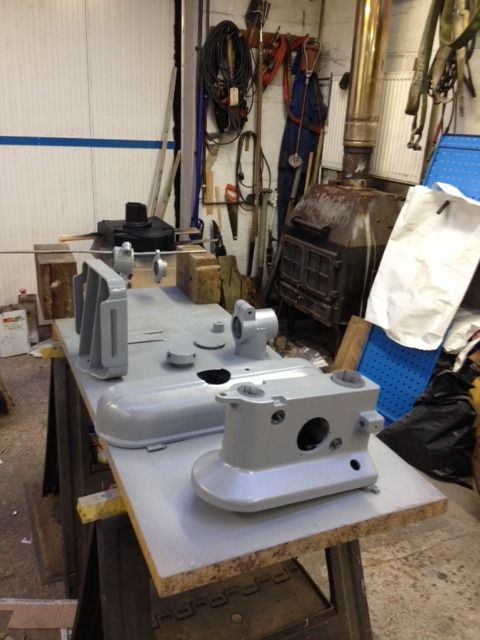
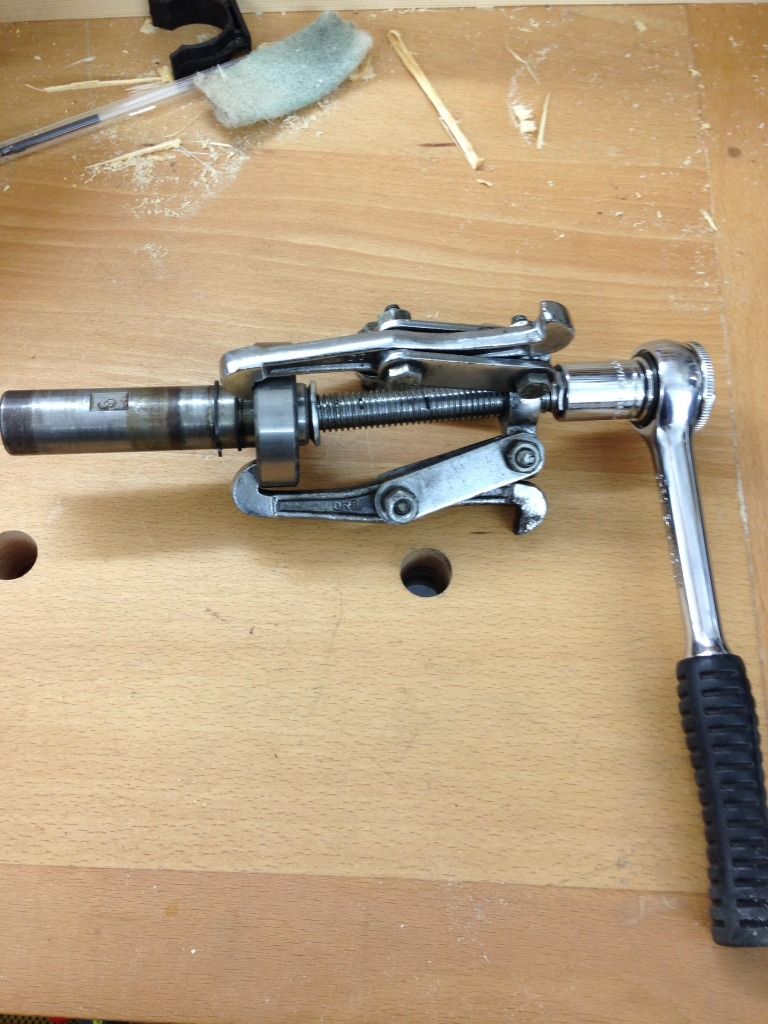
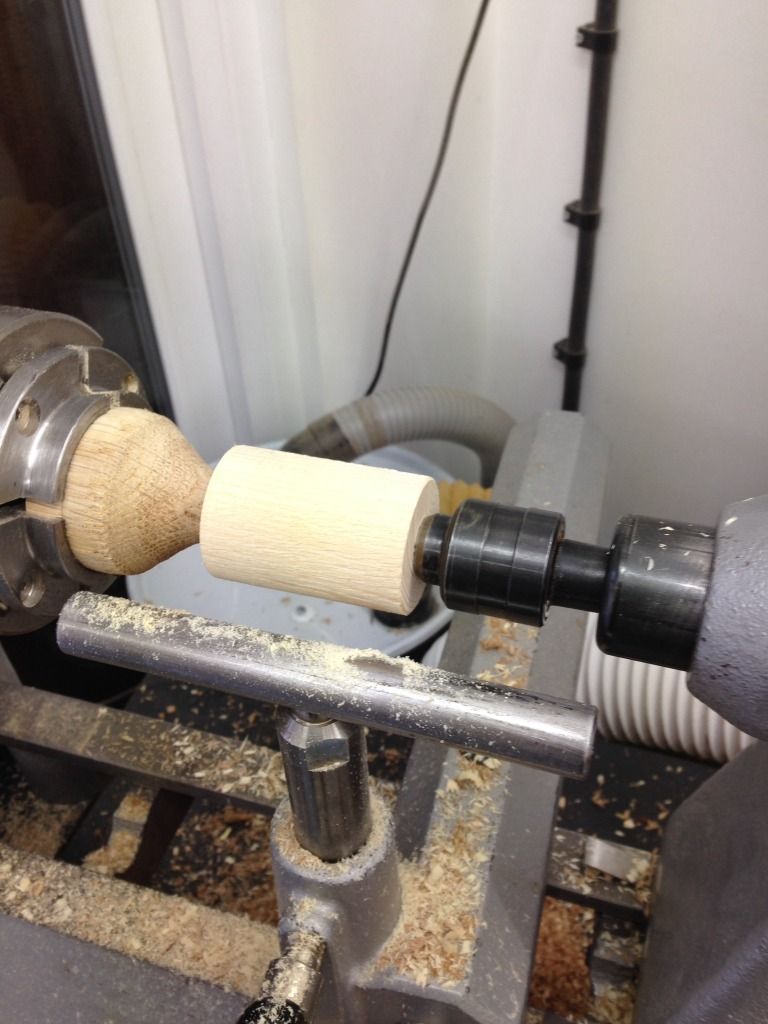
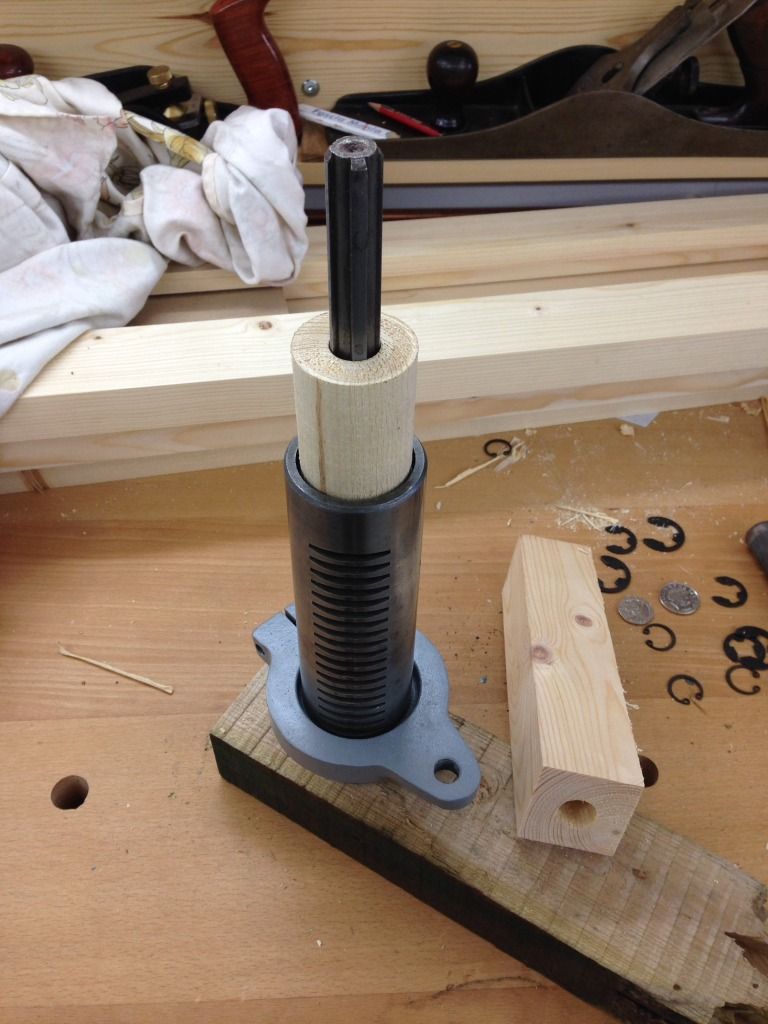
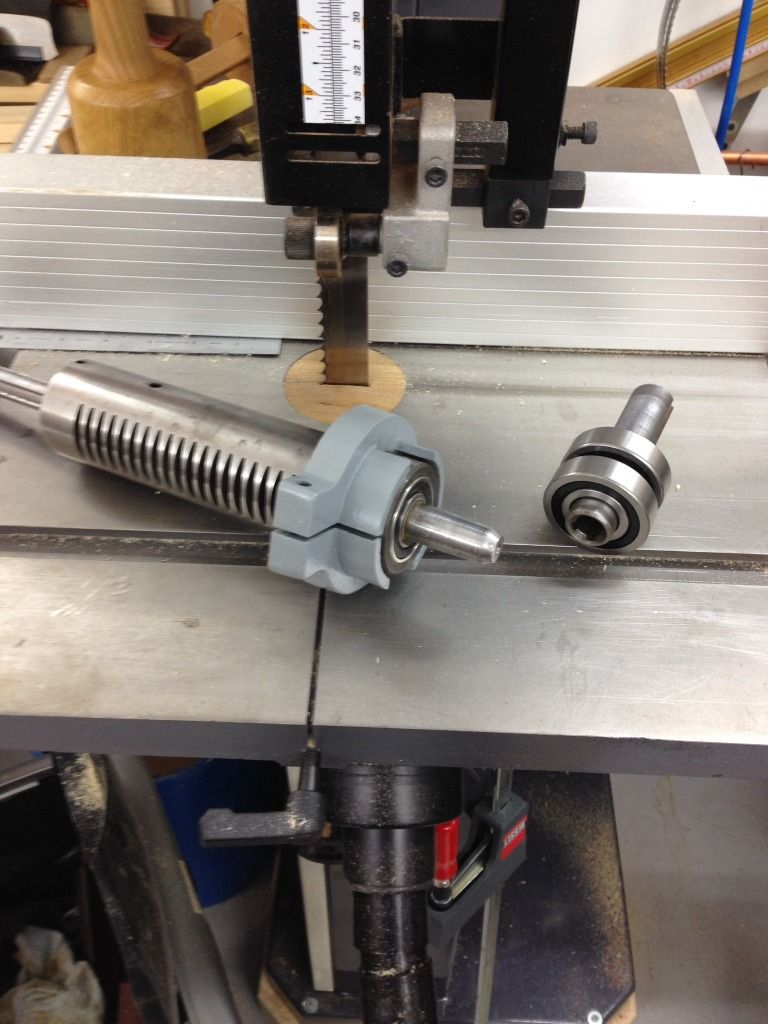
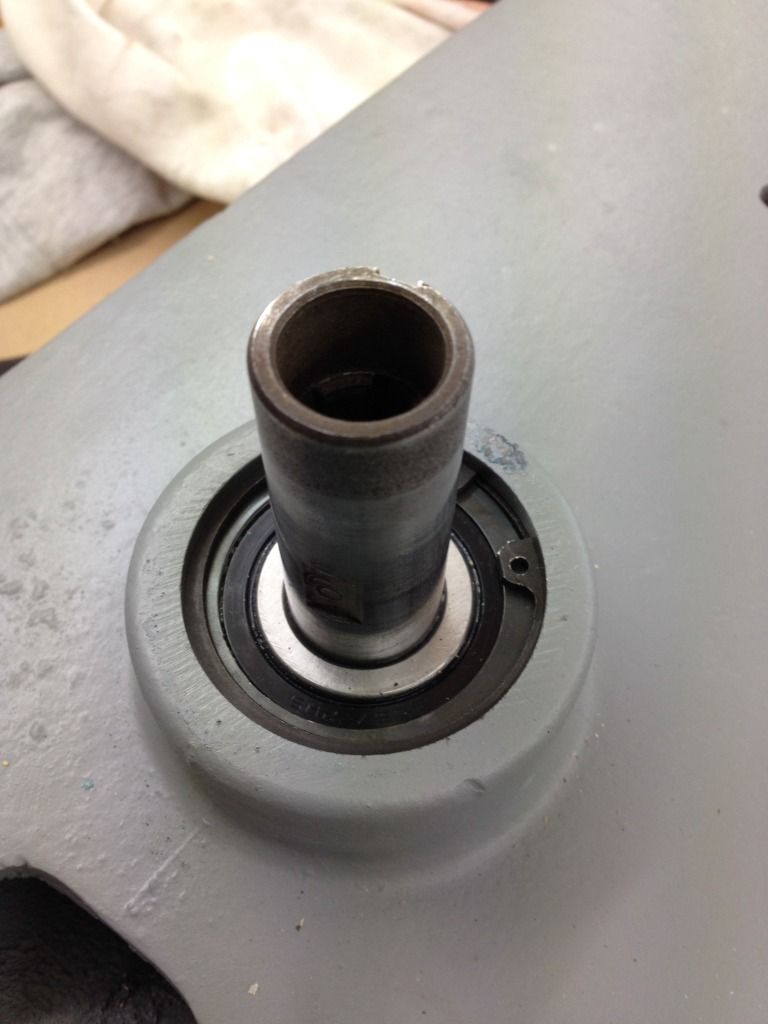
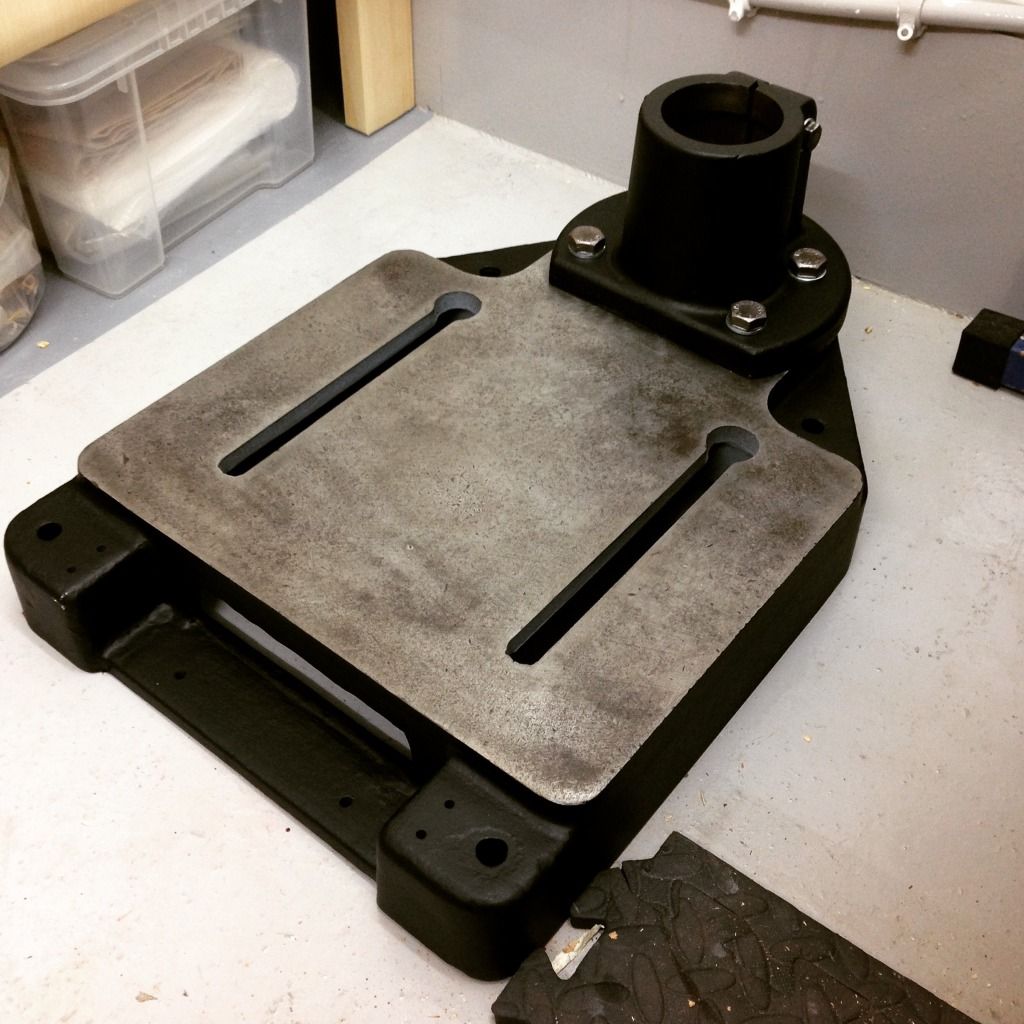
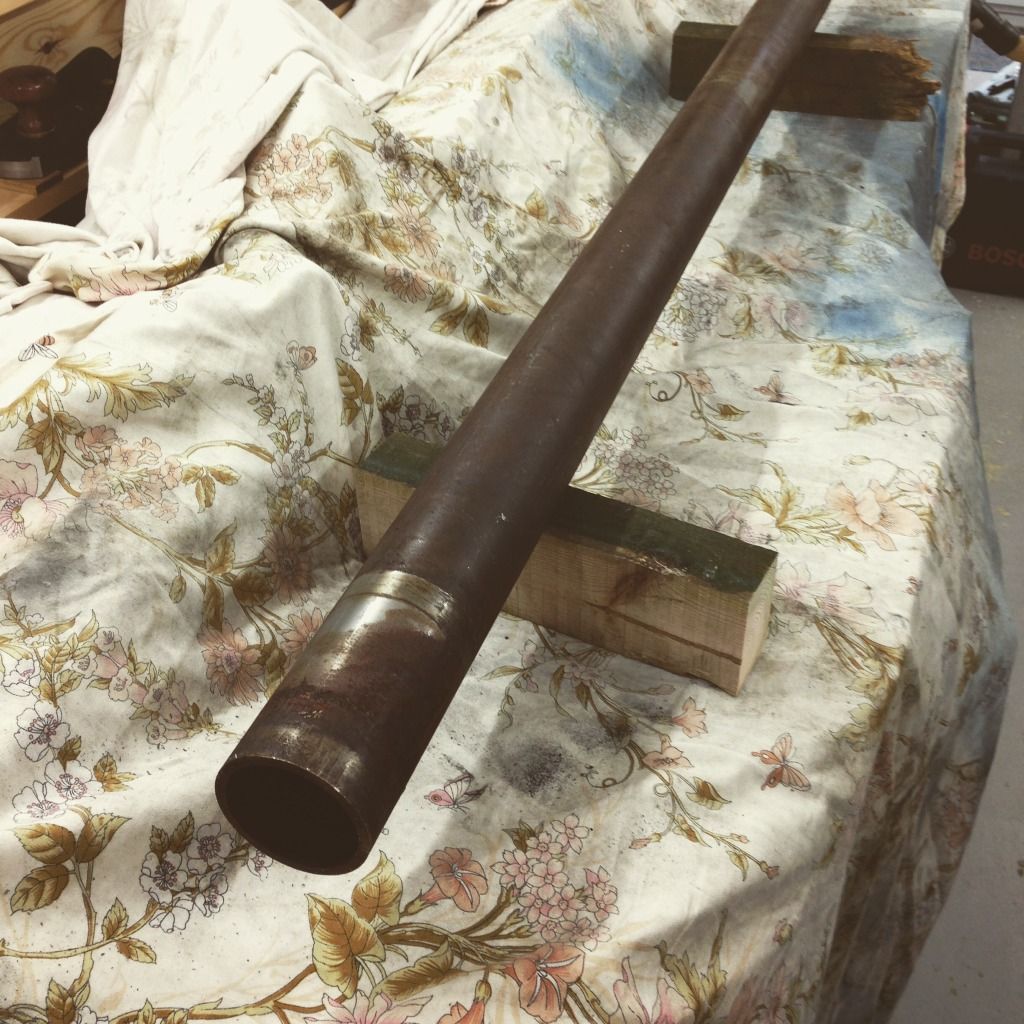
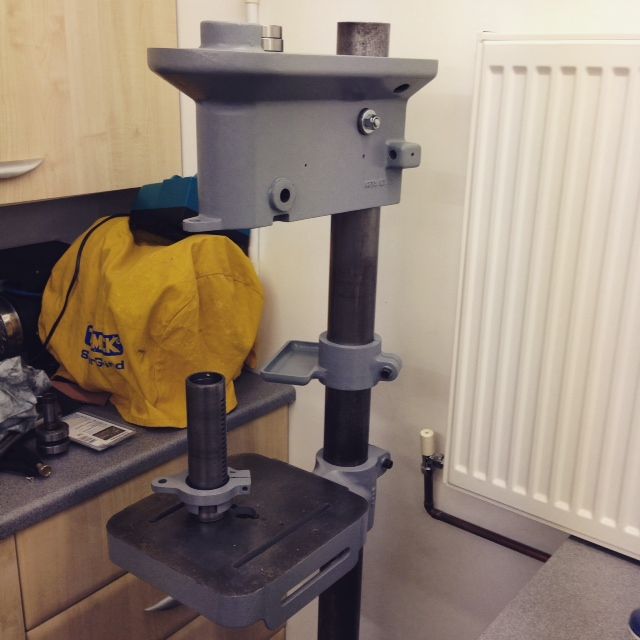
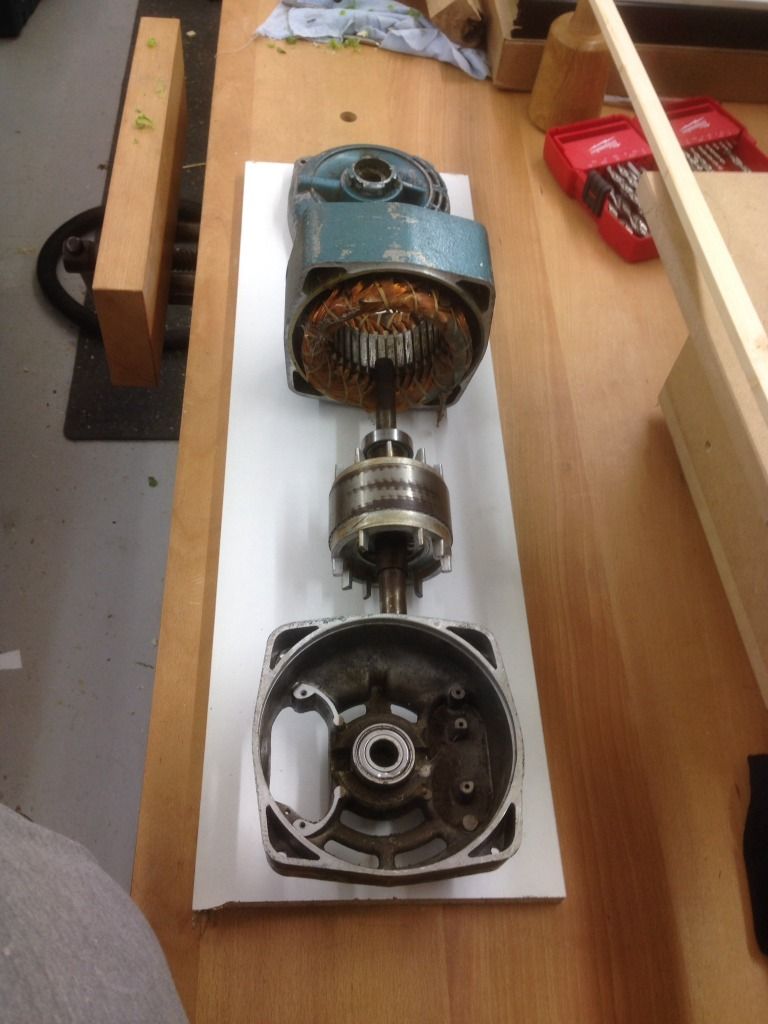
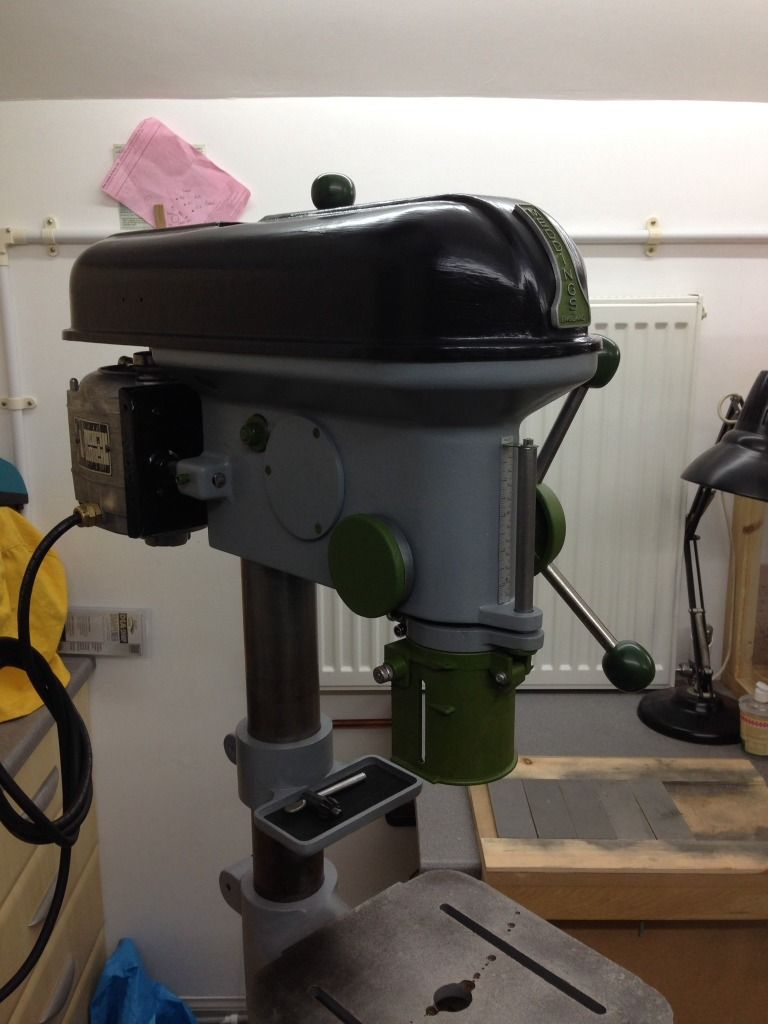
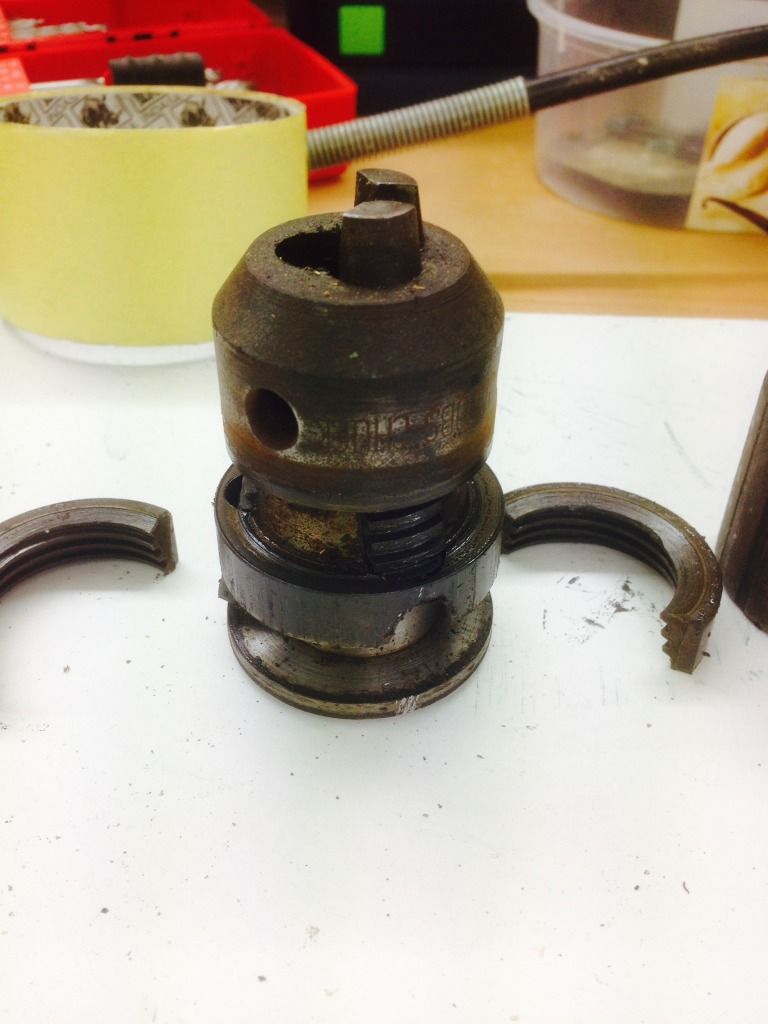
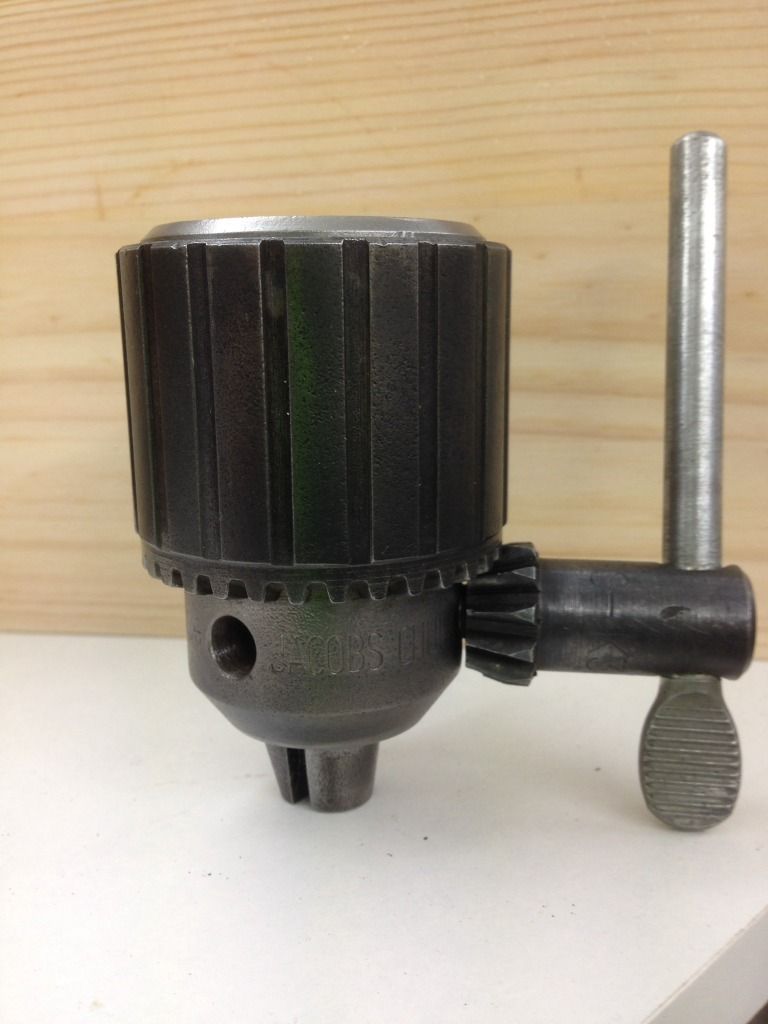
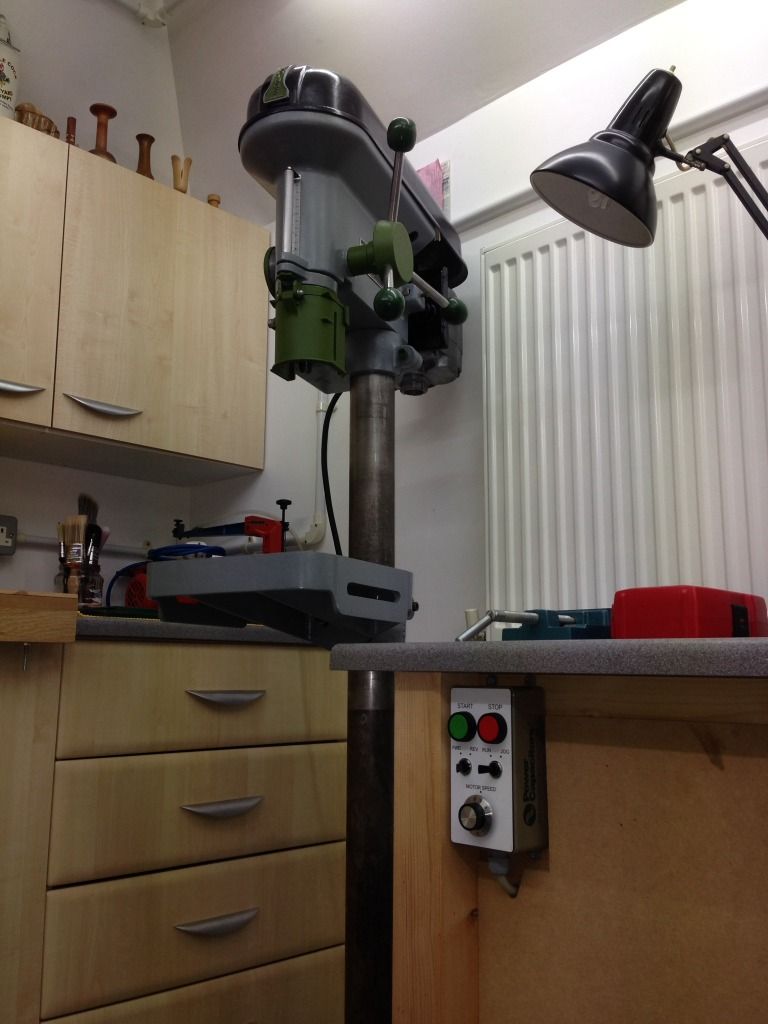
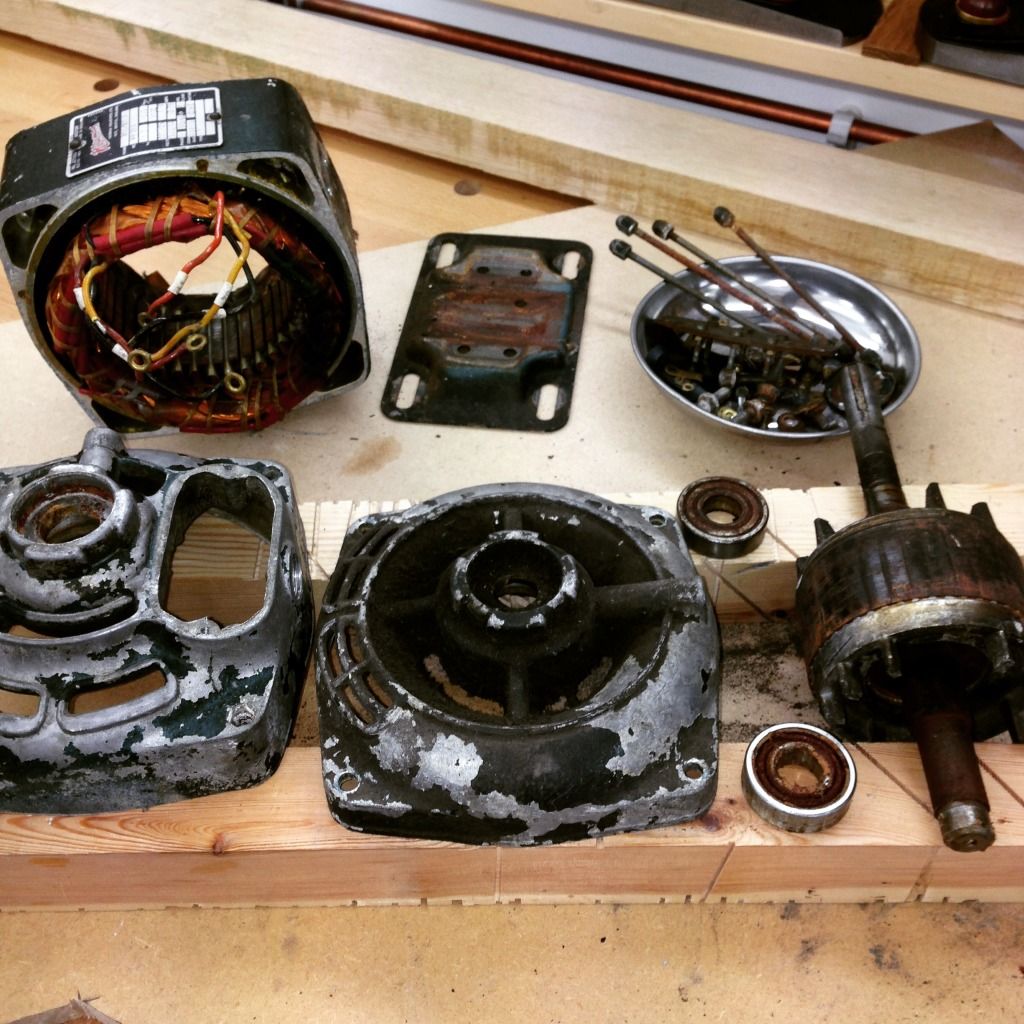
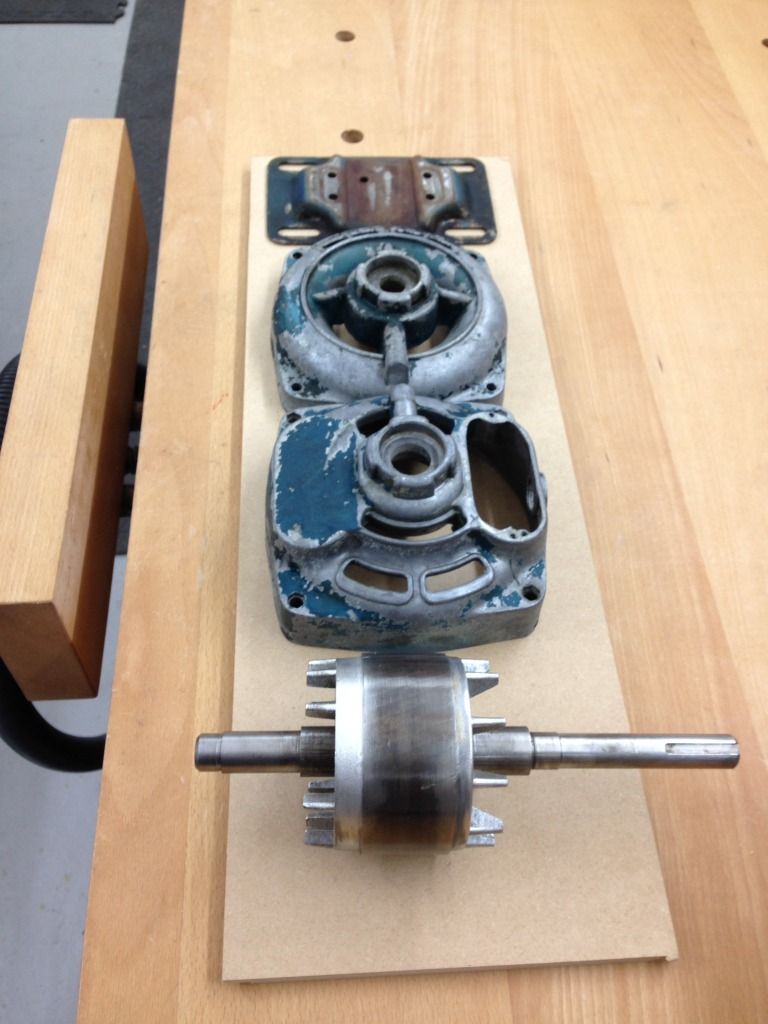
I started by dismantling all the parts & getting them dipped to remove all the grot & grime, this was a few months ago & I've only just managed to get started on it but today I've sanded all the main parts & started spraying them, the base & pillar clamp are the black pieces in the background.

photo_zps2916b185.jpg


I'm hoping progress on this renovation will speed up considerably over the Xmas break.
 
What is the factory colour for these? I have a bench model that I am probably going to have powder coated. Not sure whether to have it in the original colour or whether to pimp it!
 
Only just sorted the photos I took of this rebuild, the first shows the amount of rust & grime that was on the drill when I got it.

photo_zps7deb0cf4.jpg


After painting the body I started on removing bearings this little gizmo made short work of removing the top bearings, borrowed from a mechanic friend.

photo2_zps42f75b1b.jpg


This is the quill assembly with the top & bottom circlips removed & the shaft knocked out from the top

photo1_zps8900fd96.jpg


It was then over to the lathe to turn a block to be able to knock the new bearings on.

photo1_zpsb299e2a2.jpg


This worked for the bottom bearing but another block of wood needed to be drilled for the top bearing.

photo2_zps00e8ce47.jpg


This is the top & bottom bearing assemblies ready for refitting.

photo3_zps15a95988.jpg


A great tip I picked up was to put items in the freezer over night to aid getting bearings on or in components, this is the top assembly ready for the freezer.

photo4_zps00b657f6.jpg


& this is it back in the maim body of the drill.

photo5_zps97b6ff5e.jpg


It really did go in quite easily after a night in the cold.
 
I have got the whole quill assembly in one lump at the moment. I can't quite work out how to separate it down, although I haven't looked at it for long. The chuck obviously needs to come off and I need to get a bearing puller.
 
At this point I was ready to start putting bits back together, this is the foot & pillar collar bolted together the bolts having been cleaned on a rotary wire brush on a bench grinder, this tool really did make life so much easier.

photo3_zps785db48c.jpg


Next up was cleaning the pillar, this was in a real state but after lots of elbow grease & a tin of Worths rustoff I was happy it was as good as it was going to get, this is pre cleaning.

photo4_zps3fd04e3a.jpg


Pillar reinstalled along with table & bit tray.

photo3_zps9b240b7c.jpg


Then it was time for the drill body.


photo4_zpsba08ee22.jpg


The quill was then reattached with the drive shaft.

photo3_zps454277b7.jpg
 
marcros":398iv3dm said:
I have got the whole quill assembly in one lump at the moment. I can't quite work out how to separate it down, although I haven't looked at it for long. The chuck obviously needs to come off and I need to get a bearing puller.

I've just edited my second post Marcros as I'd missed out a photo.
 
This next photo shows the return spring & housing fitted also the hub for the handles with the one undamaged handle attached.

photo1_zps8ea5315a.jpg


Back to the lathe to turn some knobs on the new levers.

photo5_zps2116ffd6.jpg


Handles refitted along with the motor housing plate & some pimping started

photo1_zps5a94252e.jpg


At this point I cleaned up & painted the Meddings badge

photo2_zps25d794b6.jpg


I striped the motor, although this wasn't the original one I wanted to see what state it was in, I changed the bearings & cleaned off all the paint.

photo4_zps17f03177.jpg


The belt cover was in a poor state so I decided to give it a couple of coats of black paint just to see if it would look better than in grey, it did so I fixed the badge, did a little more pimping & fitted the cleaned up motor.

photo1_zpsf182bc6b.jpg
 
Thanks. I have the circlips off. It may just need a gentle tap.
 
At this point I checked the run out

photo3_zpse23c4d28.jpg


Less than half a thou was good enough for me so on with cleaning the chuck which had seized.

photo5_zps866de425.jpg


photo2_zps2c83fa67.jpg


More rotary wire brush & it was like new, well almost

photo3_zps4986baa1.jpg


I don't have any photos of the inverter though I did take a video but don't seem to be able to up load it.

photo_zps3a54f23d.jpg


This is the drill in action cutting plugs for a job renovating antique church pews.

photo2_zps3f94410a.jpg
 
More as a word of working, when I got this drill I was told it was single phase this is what the wiring looked like

photo3_zps307e9f55.jpg


Not ideal, luckily I didn't ever plug it in but I have over the last couple of weeks been renovating this motor I'm not sure if it will work as it was full of a thick greasy substance, this is it striped down.

photo_zps9b78f9c8.jpg


It's bearings looked like this.

photo5_zps0b64e92e.jpg


So far after a spell in the dip tank it is looking better.

photo2_zps510ed171.jpg


Fingers crossed I should have this back together in a couple of weeks.
 
Doug,

did you put new bearings in this, and if so do you remember roughly how much they cost?

I have just had a quote for the 2 large ones at £58 each and the two small ones at £32.50 each. I am taken aback by this- I was expecting them to be far cheaper than this.

Thanks
Mark
 
even meddings themselves are cheaper by a little bit. They have quoted 51 and 25, so there is scope for a bit of a saving, if the OEM is quoting that.

The problem is that I have sent the originals to a local place (the high price that i listed), so I dont have any info other than the meddings part number.

I was expecting a tenner a piece or so.
 
Jon,

I didn't- i need to get the old ones back and get the sizes from them. They look well priced though.

Mark
 
Hi Mark.

I did replace the bearings & like you found the prices varied incredibly though there is a big difference in the quality of available bearings, luckily there is a little shop locally that does bearings, the guy there was very knowledgeable & whilst I didn't go for the best quality he sorted me some which he said would work well. As he only charged me £20 for four I figured I'd got nothing to loose & so far they are working as he said.
 
i am thinking of doing the same- the simply bearings ones are about £25, for no name. the place in leeds offered me Japanese made ones at £75, or English made ones at £170 odd.

since it is a hobby, and my labour is nothing, usage a few hours a year, I am tempted to risk the no names, and if i have to replace them, then i will have learned a valuable lesson. That is unless somebody posts advice to the contrary in the next 12 hours.

if anybody is looking at this thread, I believe that they are:

2off 7/8" x 2" x 9/16, metal shielded both sides
2off 5/8" x 1 9/16" x 7/16, metal shielded both sides.

i measured to the best of my calipers, and these sizes coincided with stock sizes. I have never seen a review that states the sizes, but nobody has complained about scarcity, or cost, so i conclude that they must be these. My drill looks like yours (curvy bonnet), which suggests a mark 2, (certainly not mark 3 which is square), so imperial sized bearings.
 

Latest posts

Back
Top