Derek Cohen (Perth Oz)
Established Member
I adjust plane irons - woodies and infills - with a small hammer.
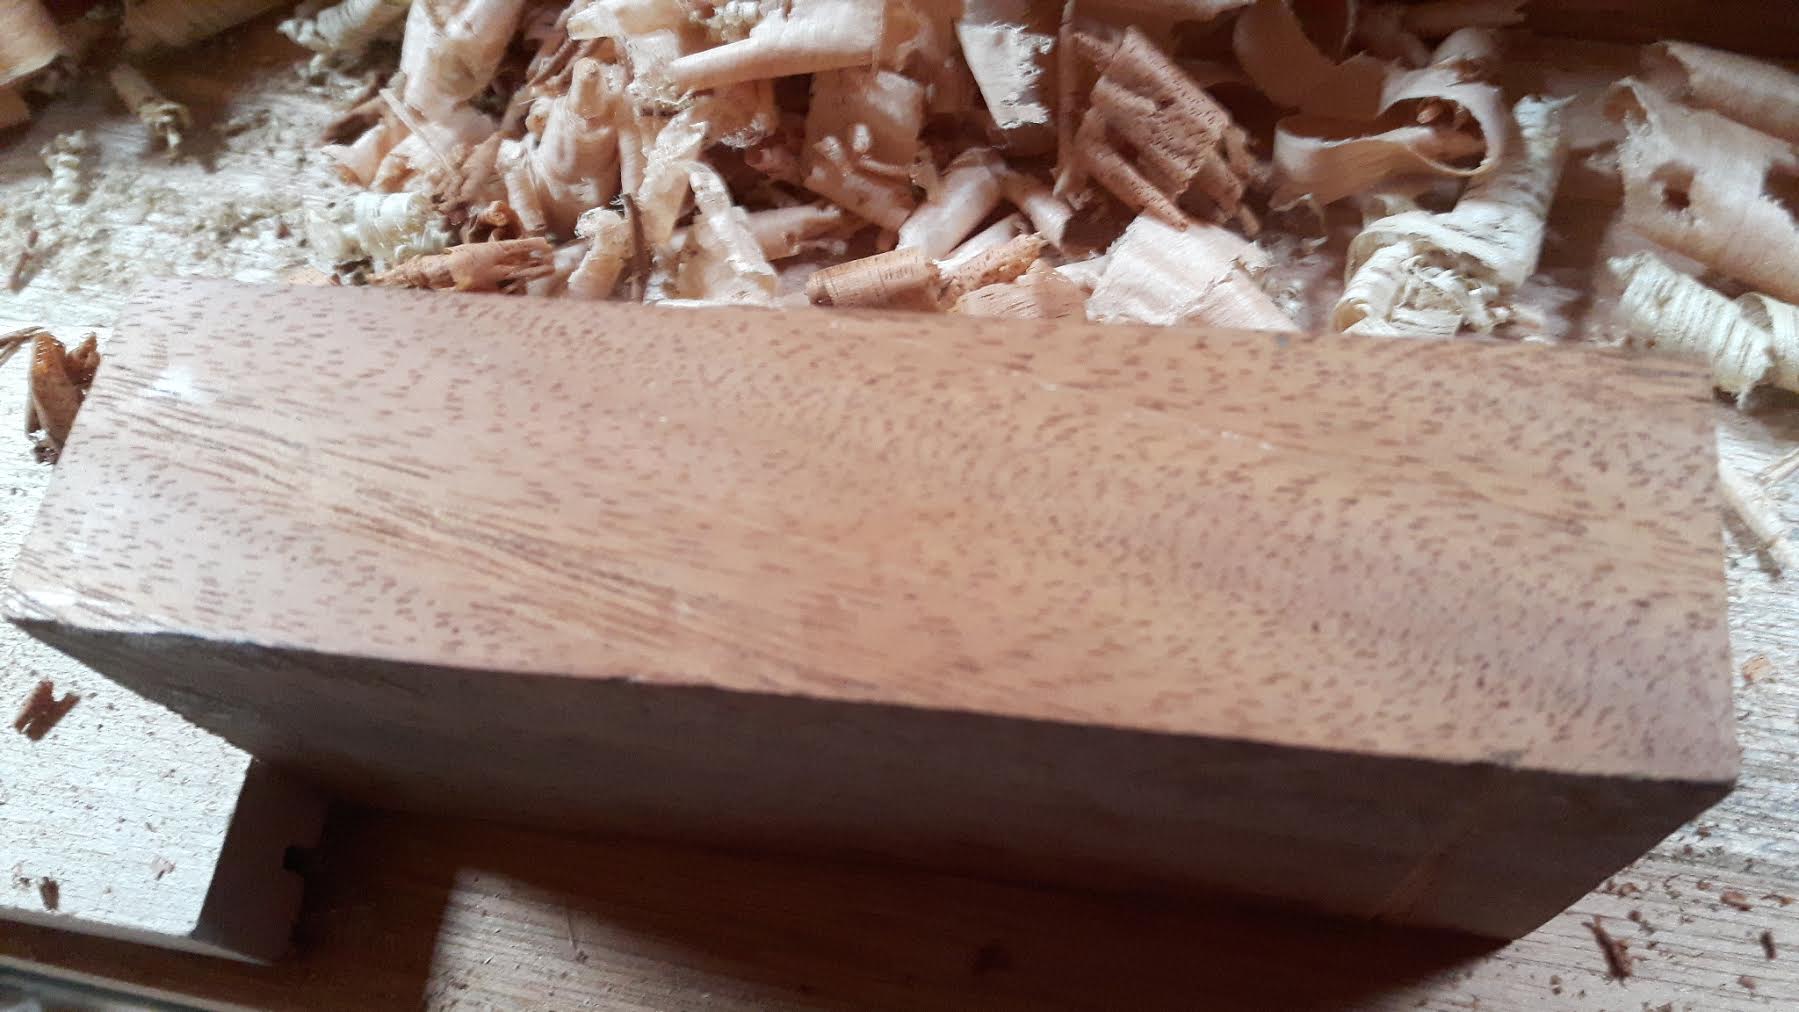
I first set plane irons with the use of a flat surface. Terry Gordon (of HNT Gordon) generally supplies a block of planed wood to rest the plane upon. My preference, which I have used for many years, is a block of wood to which is glued a sheet of glass ...
The advantage of glass over wood is that the glass remains flat and has no give. It will not damage a steel edge.
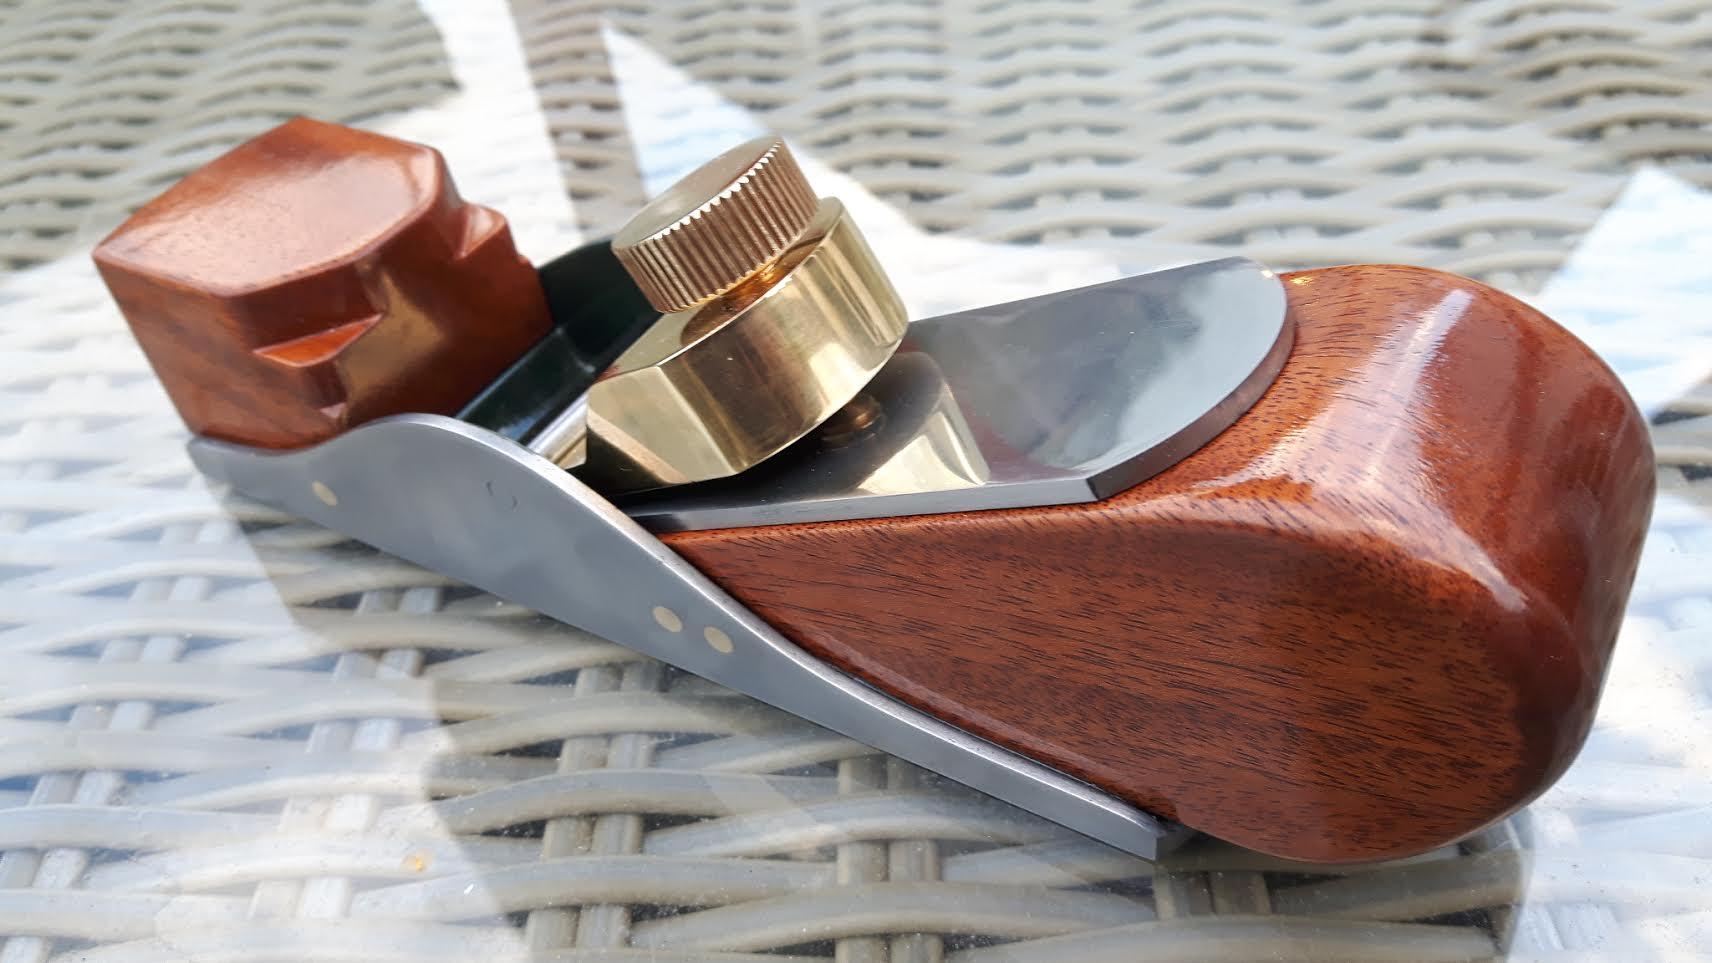
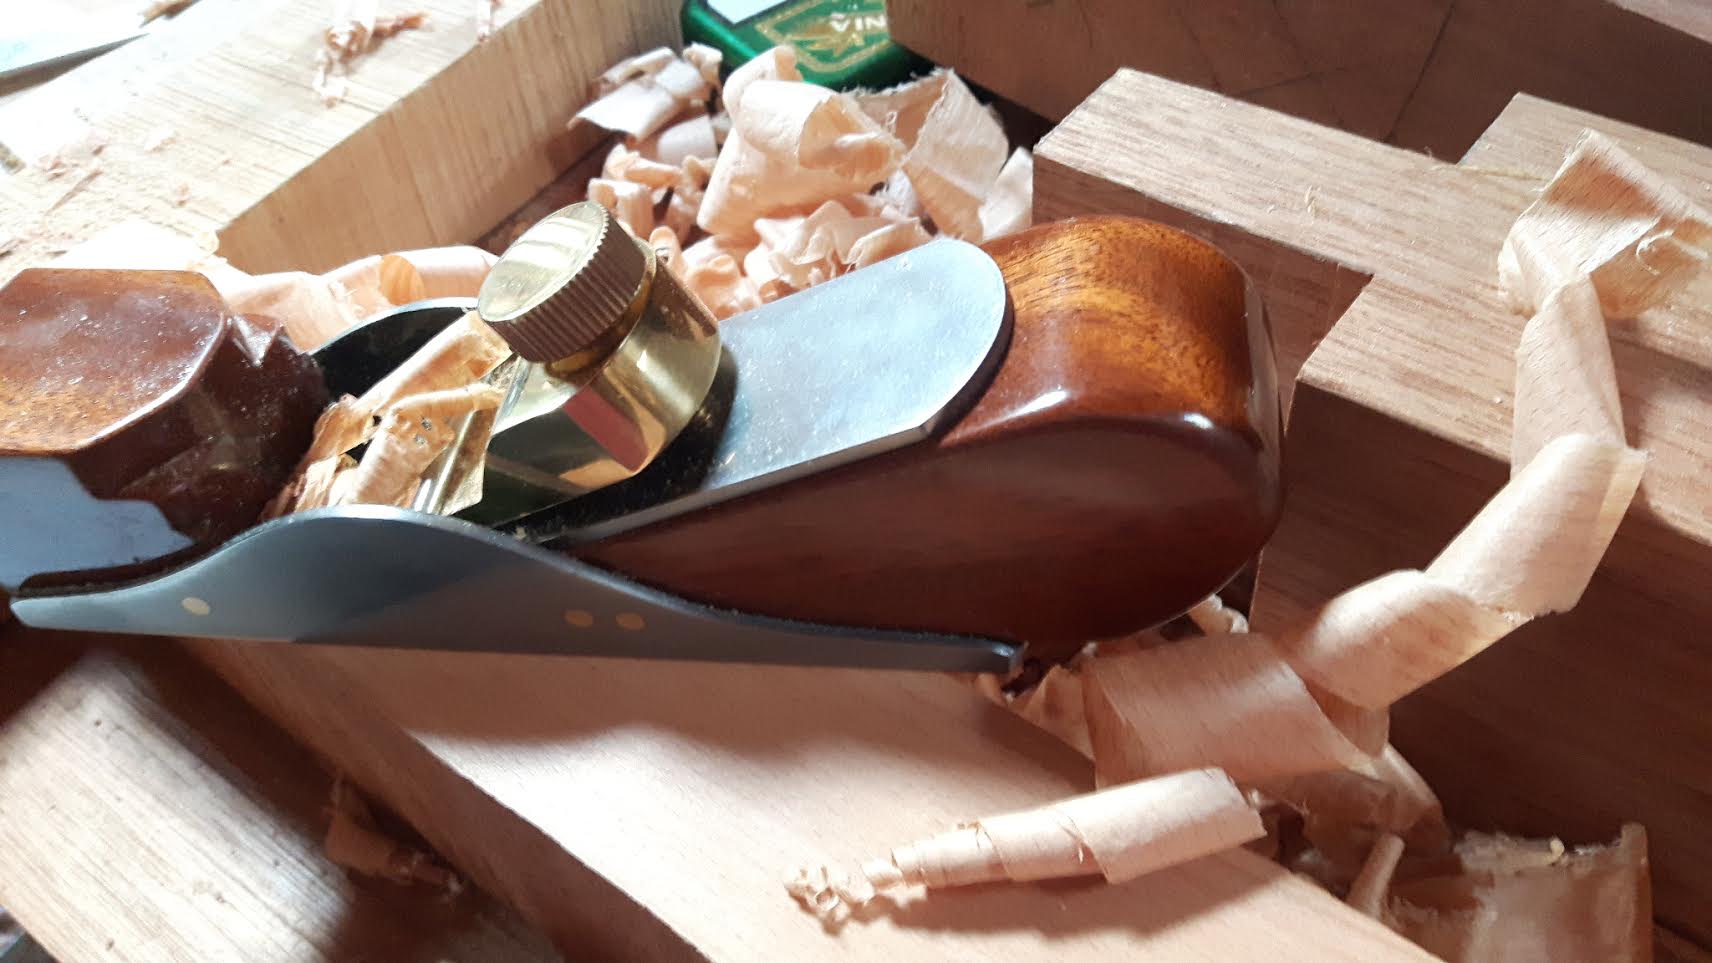
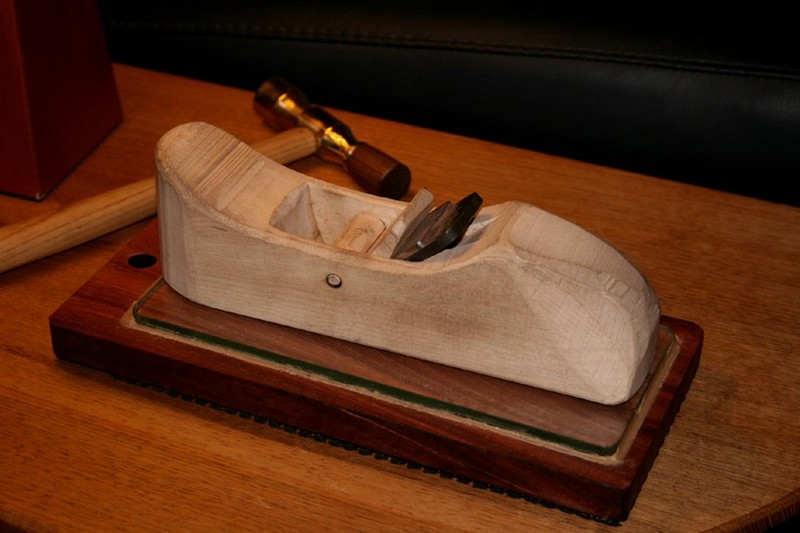
What we want here is to place the plane on the glass and lower the iron through the mouth to rest on the glass. Then secure (not tighten) the wedge or lever cap.
This may be as much as you need to do. The blade should be square to the sole if you have pushed it through the mouth until it registered with the glass.. It should also have minimal projection – perhaps enough for the finest of shavings. It is much easier to tap the blade/rap the toe or the back of the blade for increased projection than raise the blade if there is too much projection. With a woodie, the reason is simply because raising the blade also loosens the wedge. And this increases the probability of losing blade squareness.
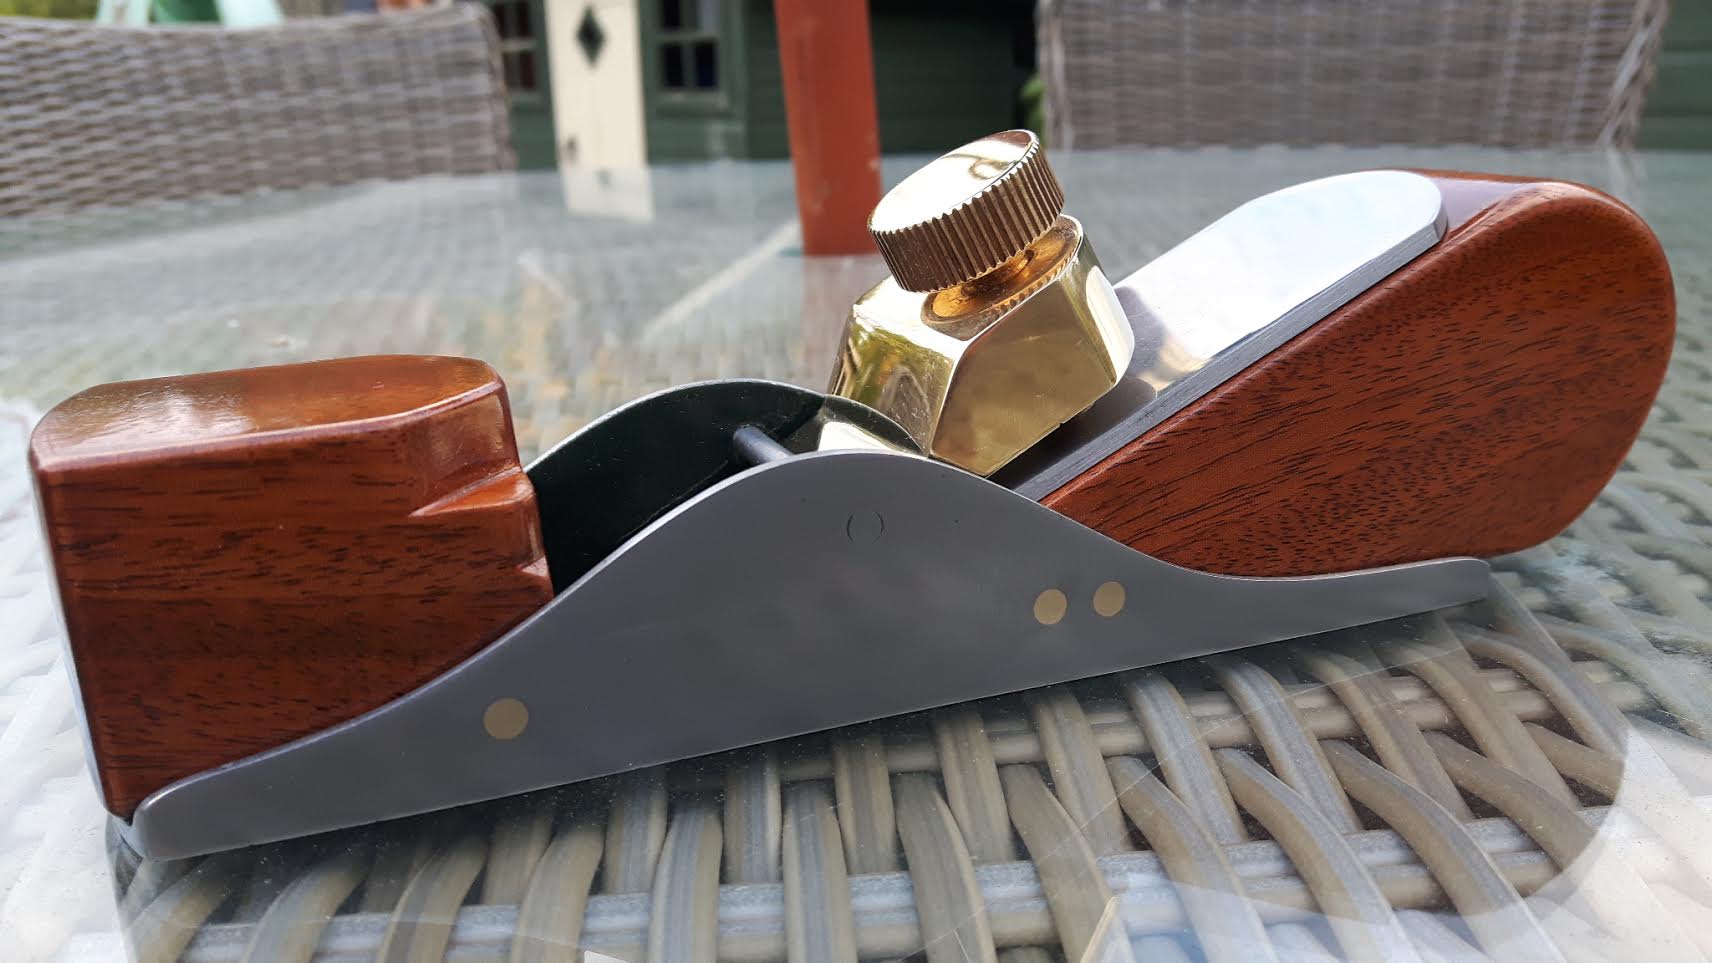
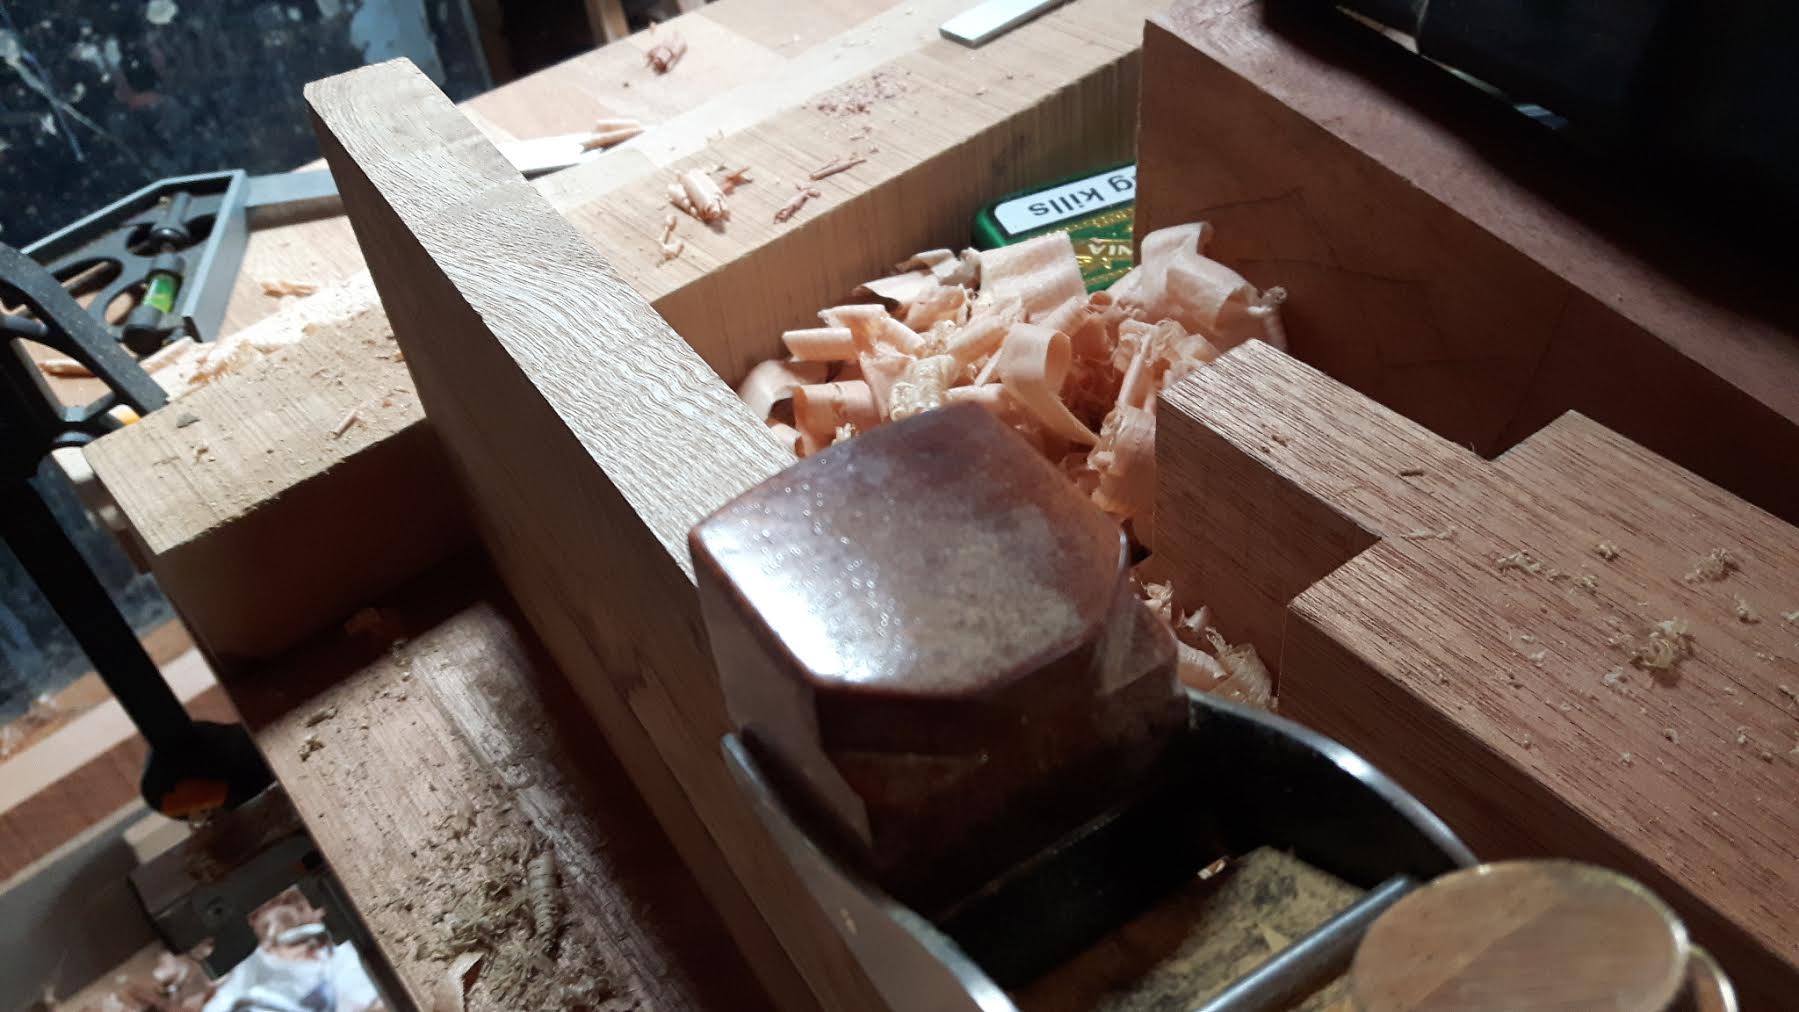
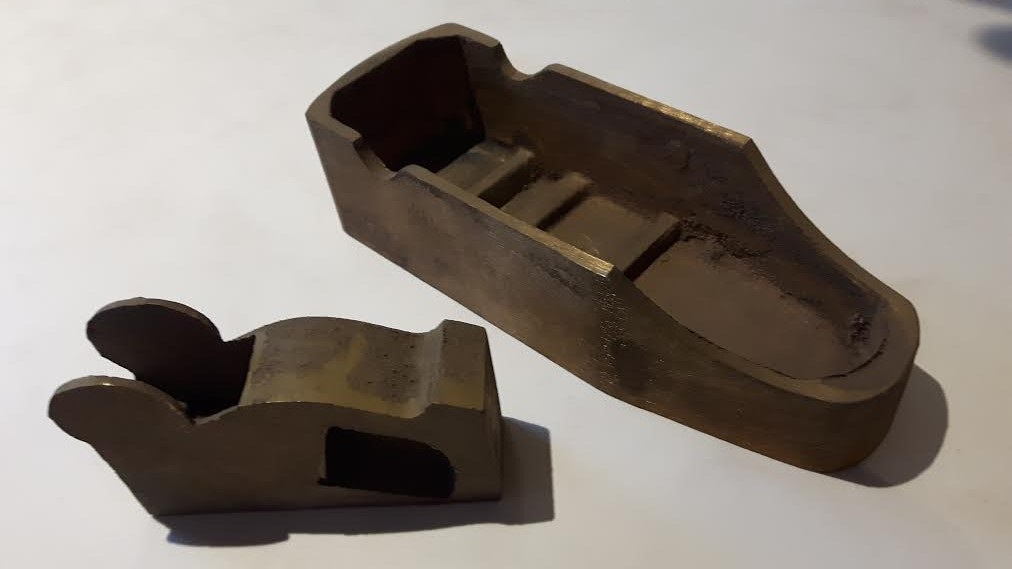
I use my fingers to feel the projection of the iron through the mouth - whether it is even, too much or too little. A hammer is used to adjust the lateral setting, by tapping on the side of the blade. If there is too much projection, one has the choice of starting again, or using the hammer on the rear of the body. I never strike the infill of an infill plane. I strike the steel rear of the sole.
The hammer I currently use is brass on one side and hard nylon on the other. The nylon does not damage a wooden wedge, and the brass does not damage steel. You need brass to adjust an infill.
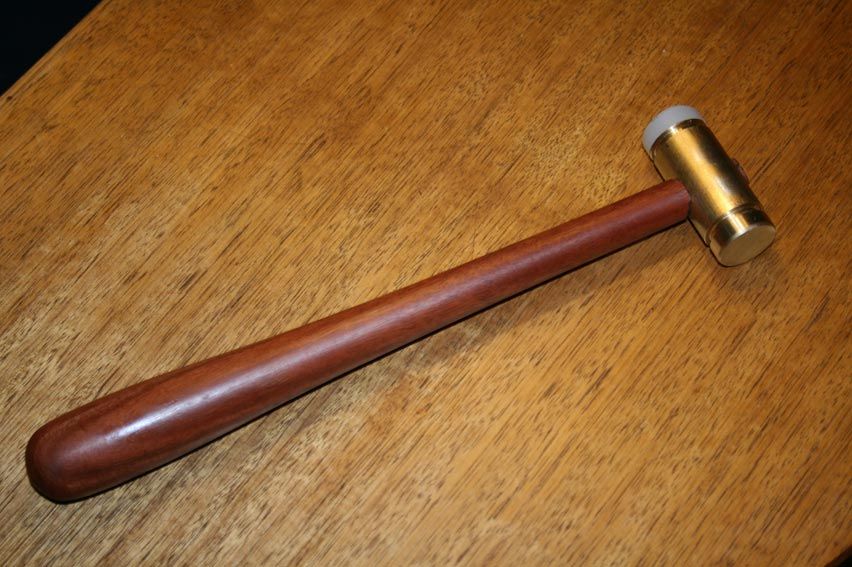
Have a look at the video of Raney's hammer - mine is similar with the exception that I use nylon where he uses raw hide. Otherwise he also uses a setting board - you may not catch this unless you are looking for it as he does it quickly. He also uses his fingers to feel the projection.
I do not like what I saw in David Barron's video - it was all vague and lacked precision. Witness that he had to reset the plane. The shavings were coarse, and he was planing off-centre.
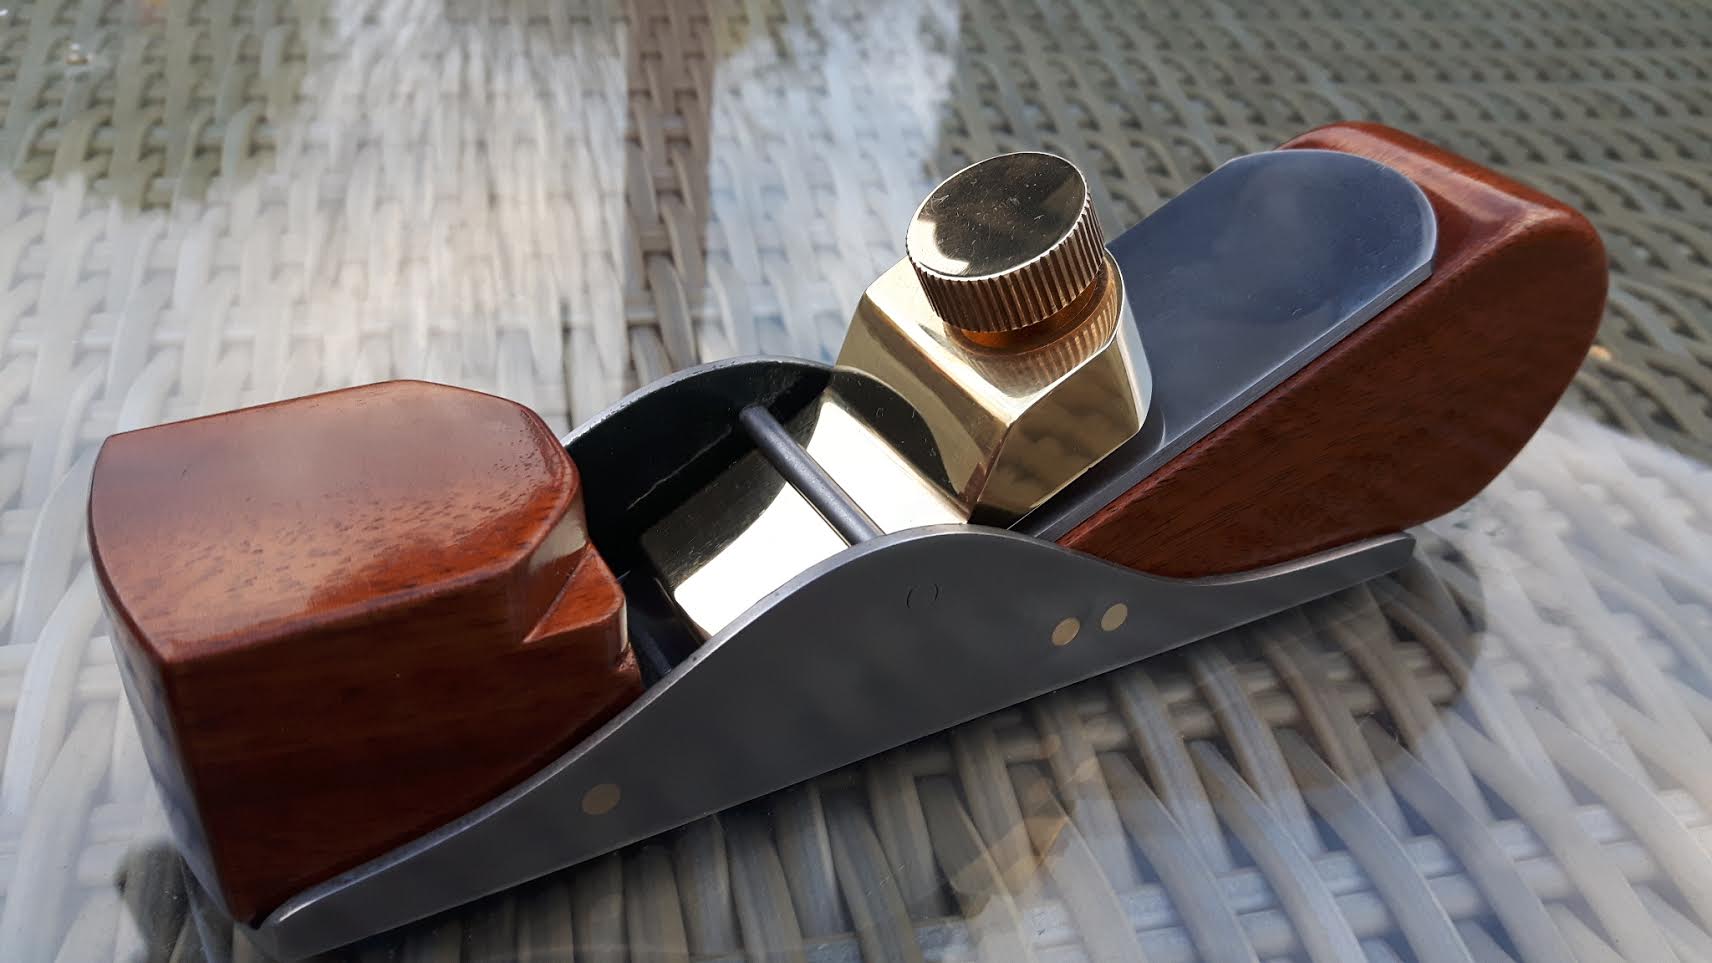
All this reinforces the need for the blade to be in a position to be struck. Some infills use a snecked blade to strike to pull it back, but all leave enough room to strike the blade laterally without the infill getting in the way. Hitting the rear of the blade is the best way of moving the blade forward - just a light tap with a reduced setting on the lever cap screw.
Regards from Perth
Derek
I first set plane irons with the use of a flat surface. Terry Gordon (of HNT Gordon) generally supplies a block of planed wood to rest the plane upon. My preference, which I have used for many years, is a block of wood to which is glued a sheet of glass ...
The advantage of glass over wood is that the glass remains flat and has no give. It will not damage a steel edge.
What we want here is to place the plane on the glass and lower the iron through the mouth to rest on the glass. Then secure (not tighten) the wedge or lever cap.
This may be as much as you need to do. The blade should be square to the sole if you have pushed it through the mouth until it registered with the glass.. It should also have minimal projection – perhaps enough for the finest of shavings. It is much easier to tap the blade/rap the toe or the back of the blade for increased projection than raise the blade if there is too much projection. With a woodie, the reason is simply because raising the blade also loosens the wedge. And this increases the probability of losing blade squareness.
I use my fingers to feel the projection of the iron through the mouth - whether it is even, too much or too little. A hammer is used to adjust the lateral setting, by tapping on the side of the blade. If there is too much projection, one has the choice of starting again, or using the hammer on the rear of the body. I never strike the infill of an infill plane. I strike the steel rear of the sole.
The hammer I currently use is brass on one side and hard nylon on the other. The nylon does not damage a wooden wedge, and the brass does not damage steel. You need brass to adjust an infill.
Have a look at the video of Raney's hammer - mine is similar with the exception that I use nylon where he uses raw hide. Otherwise he also uses a setting board - you may not catch this unless you are looking for it as he does it quickly. He also uses his fingers to feel the projection.
I do not like what I saw in David Barron's video - it was all vague and lacked precision. Witness that he had to reset the plane. The shavings were coarse, and he was planing off-centre.
All this reinforces the need for the blade to be in a position to be struck. Some infills use a snecked blade to strike to pull it back, but all leave enough room to strike the blade laterally without the infill getting in the way. Hitting the rear of the blade is the best way of moving the blade forward - just a light tap with a reduced setting on the lever cap screw.
Regards from Perth
Derek