Dandan
Established Member
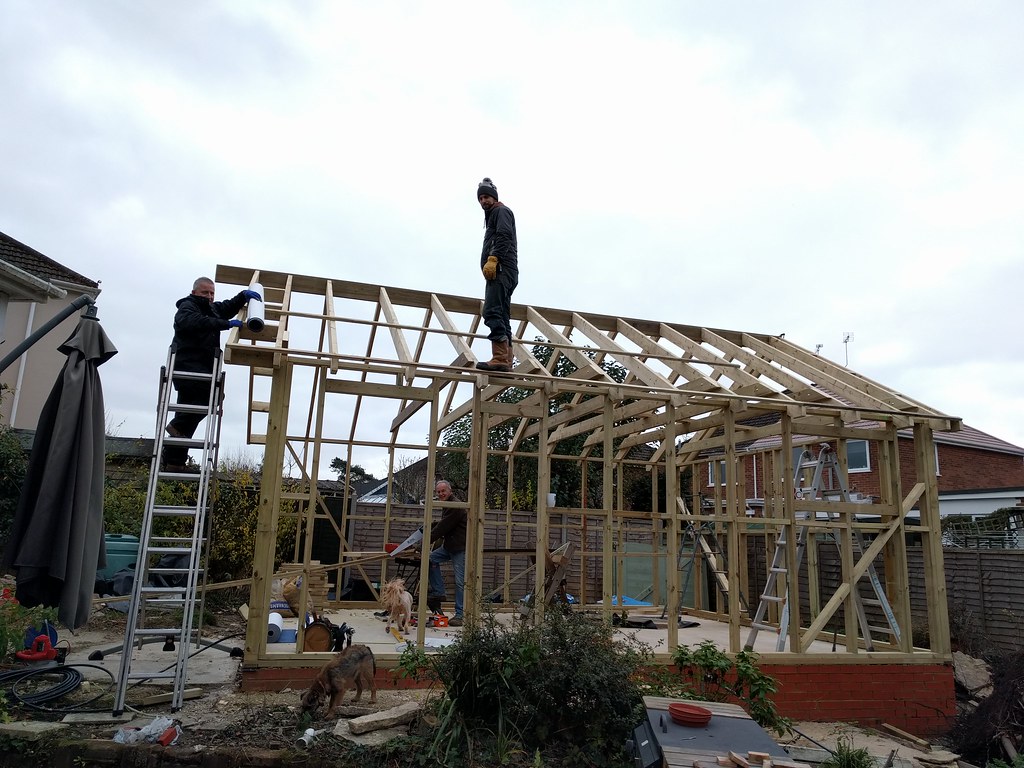
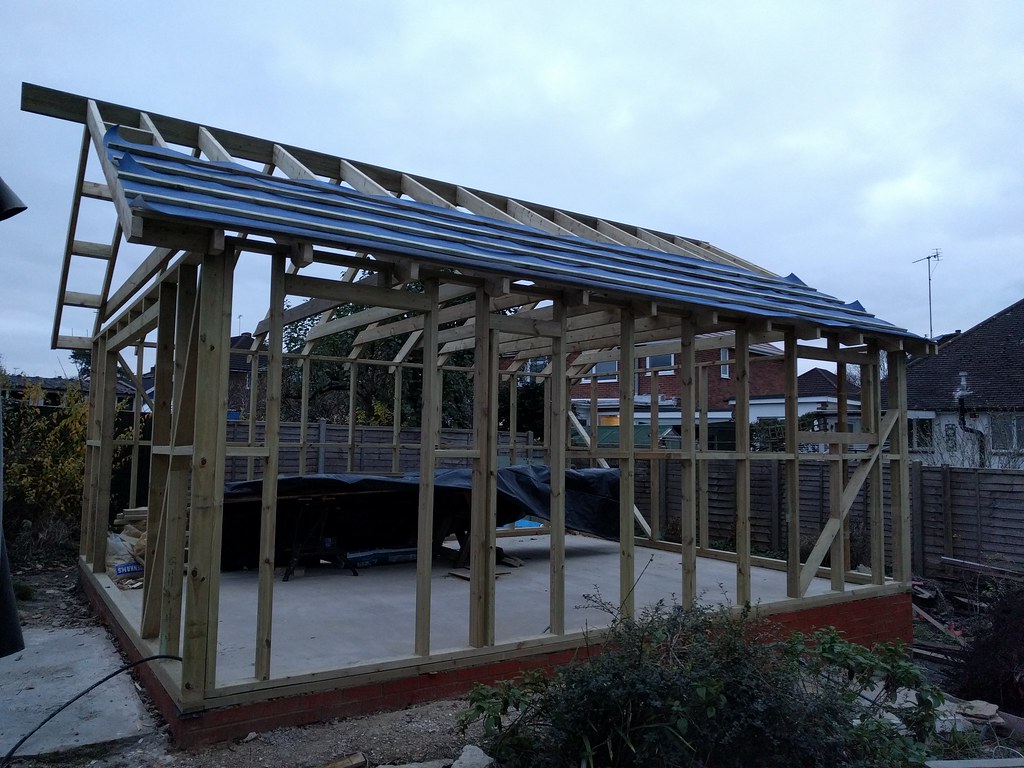
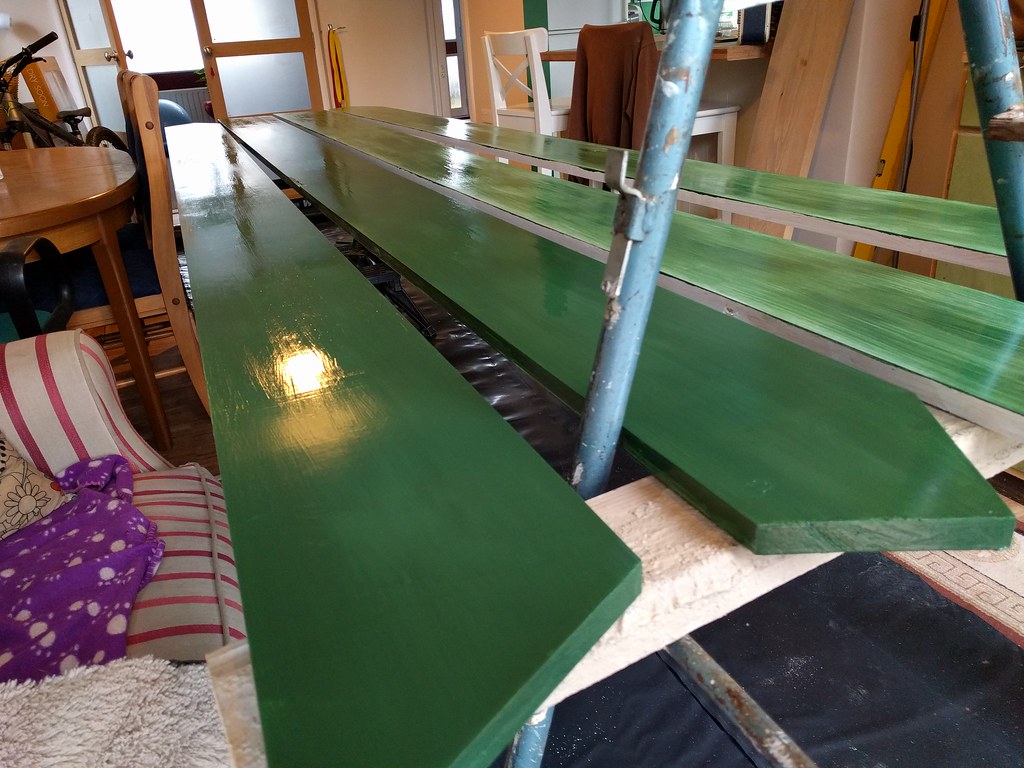
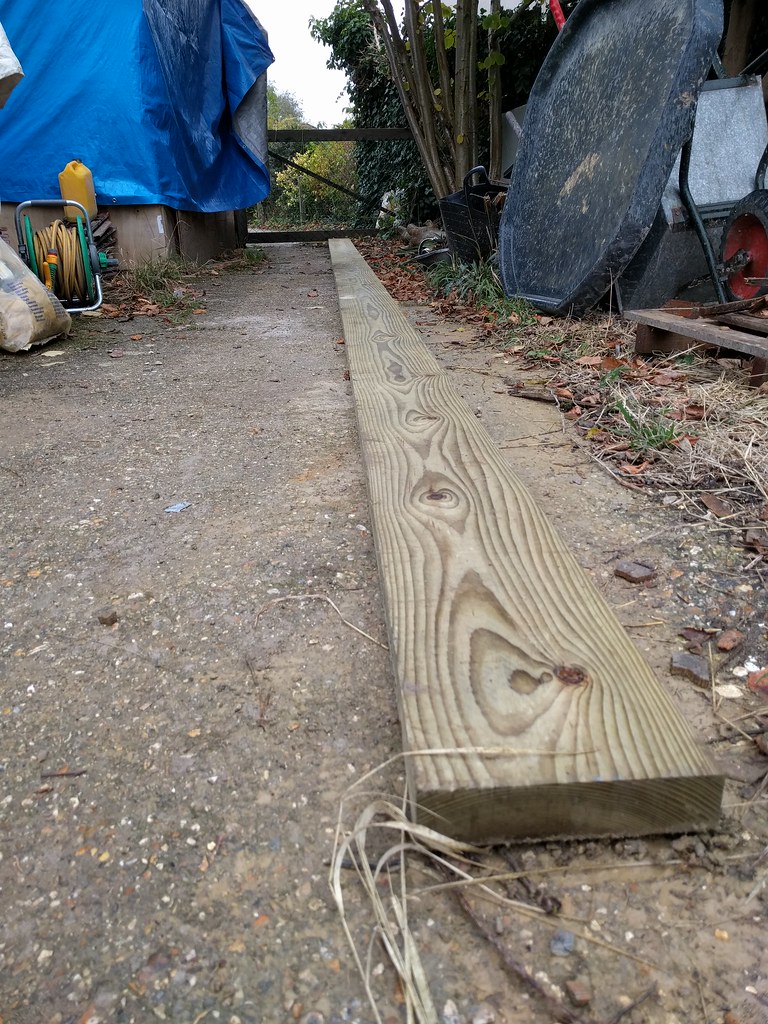
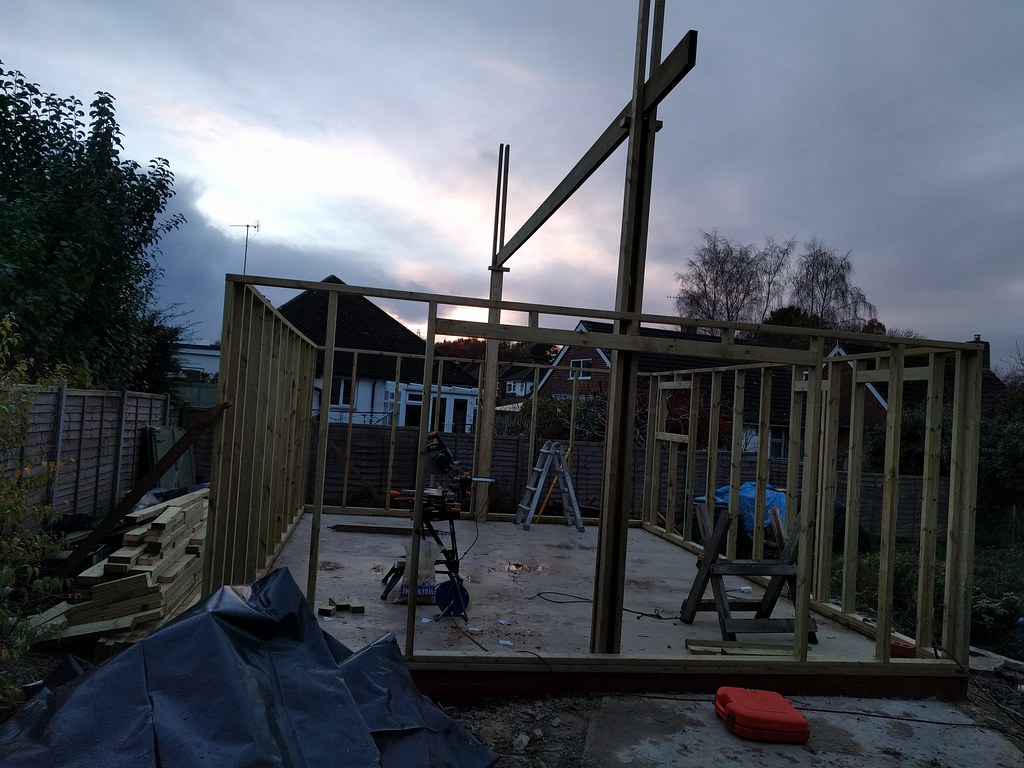
Wood arrived!

I've had another think about the slab and done some research into hiring a polishing/grinding machine, the only thing I could find was either a hand-held device that was never designed to do 30 square metres, or getting in some industrial company to do the job, no doubt for many hundreds of pounds. So what i'm going to do is leave it for now, screed/fill any really offensive areas (Which there may not even be any bits that are that bad, i've not got down on hands and knees to look) and then use a high build resin floor paint, I think that should give me a more than satisfactory surface.
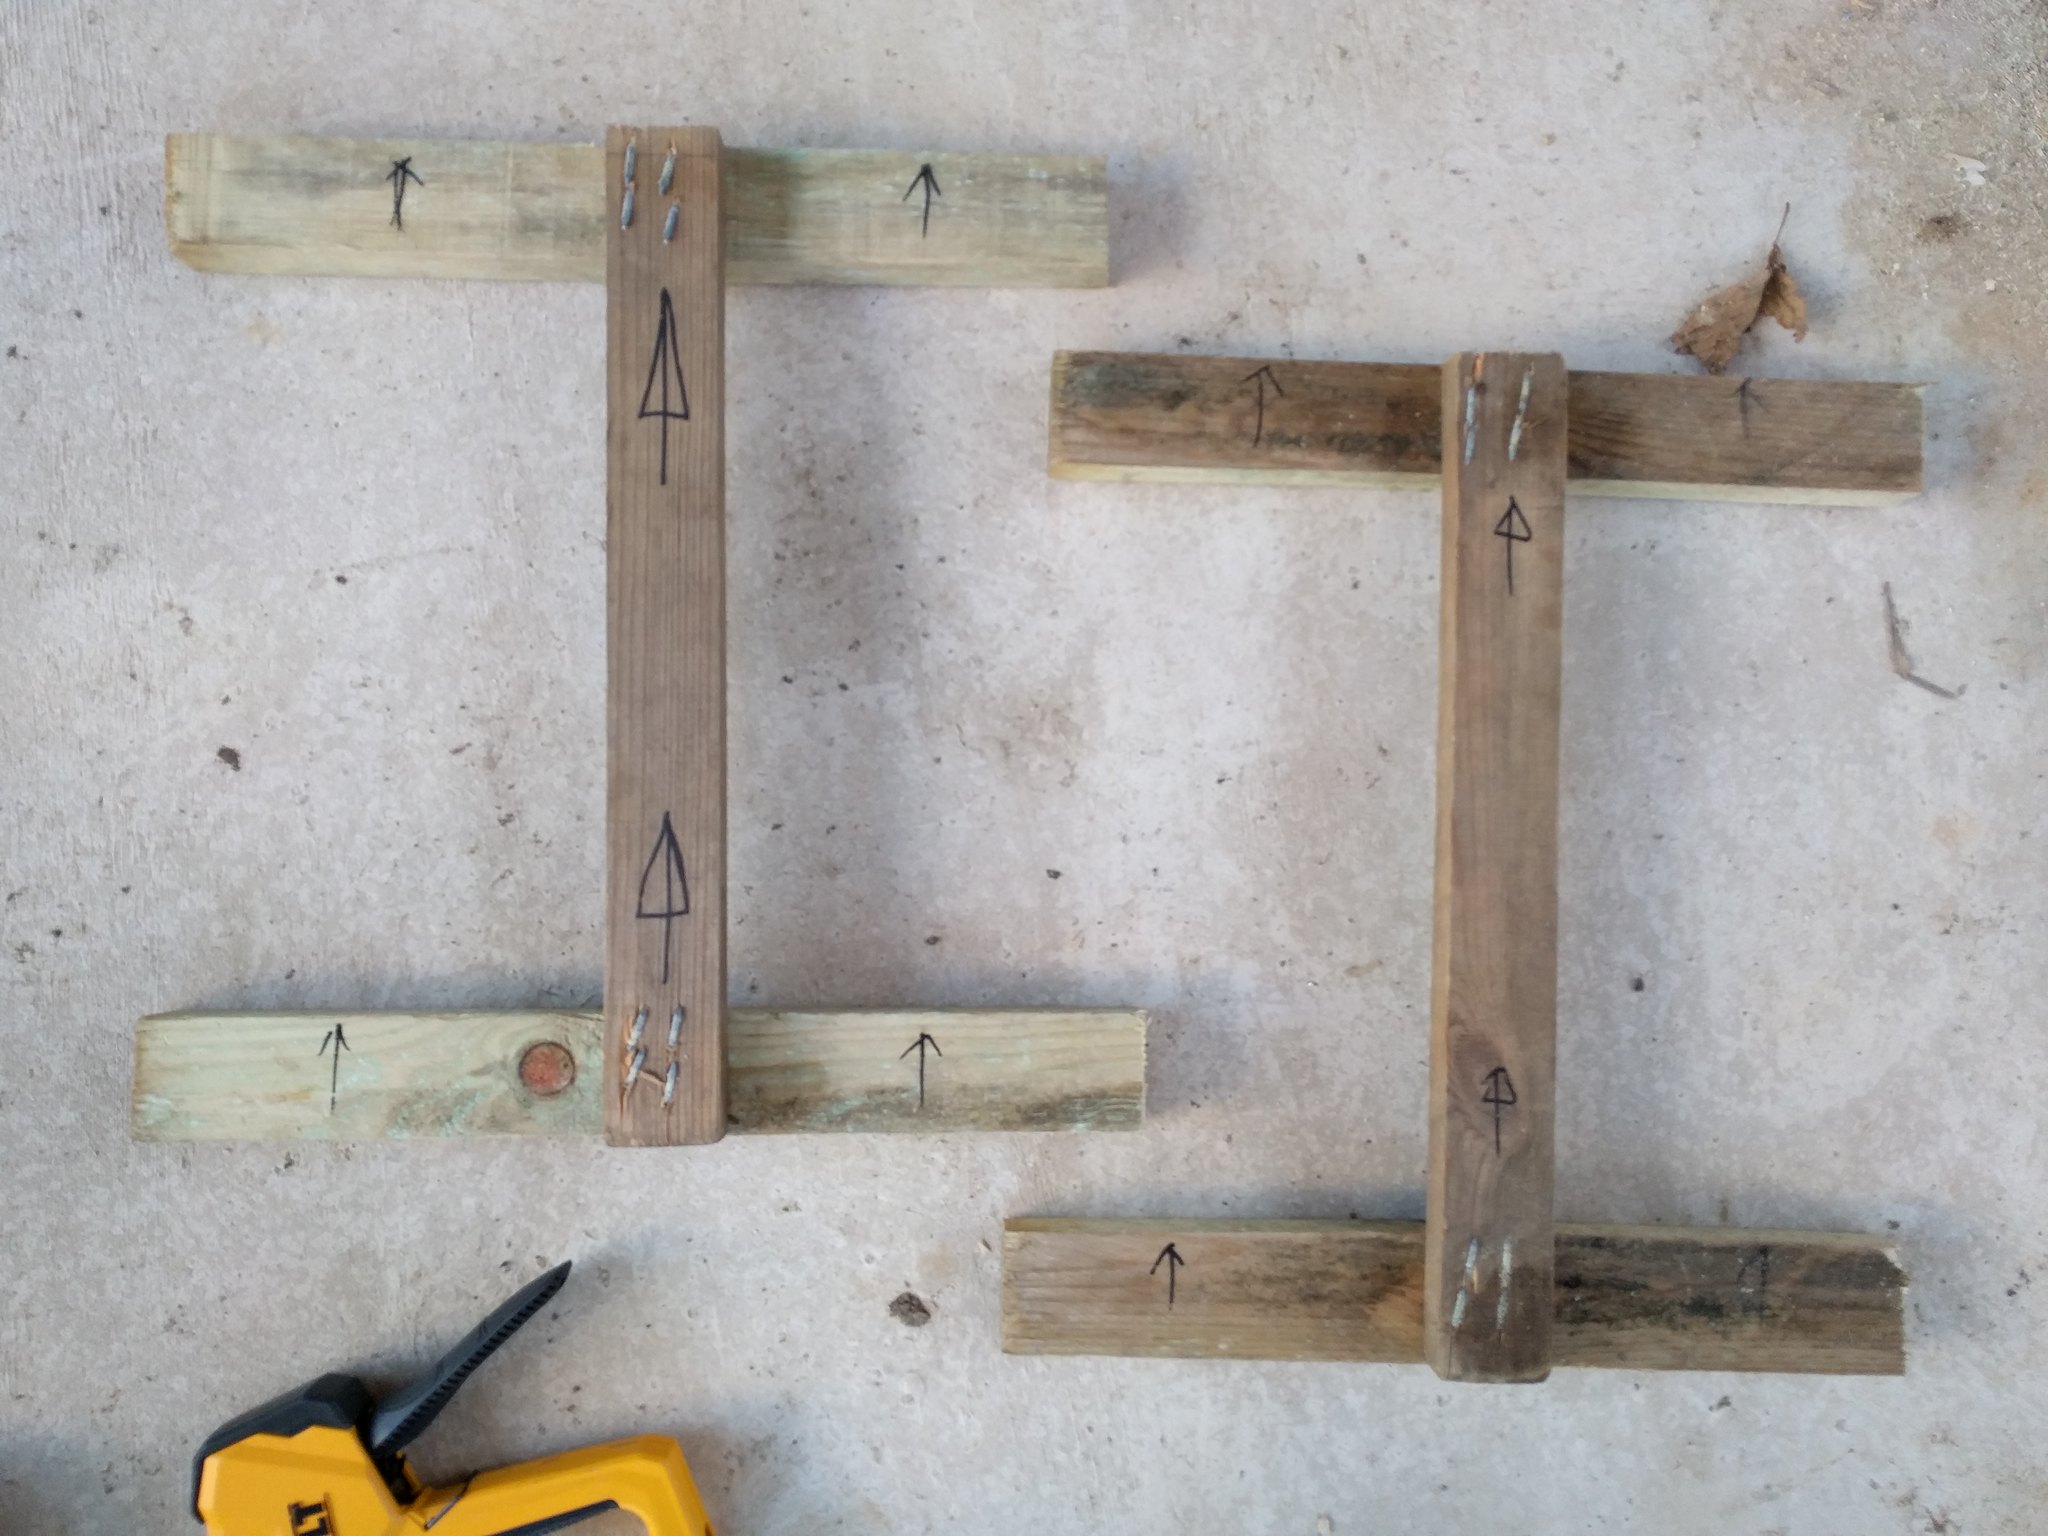
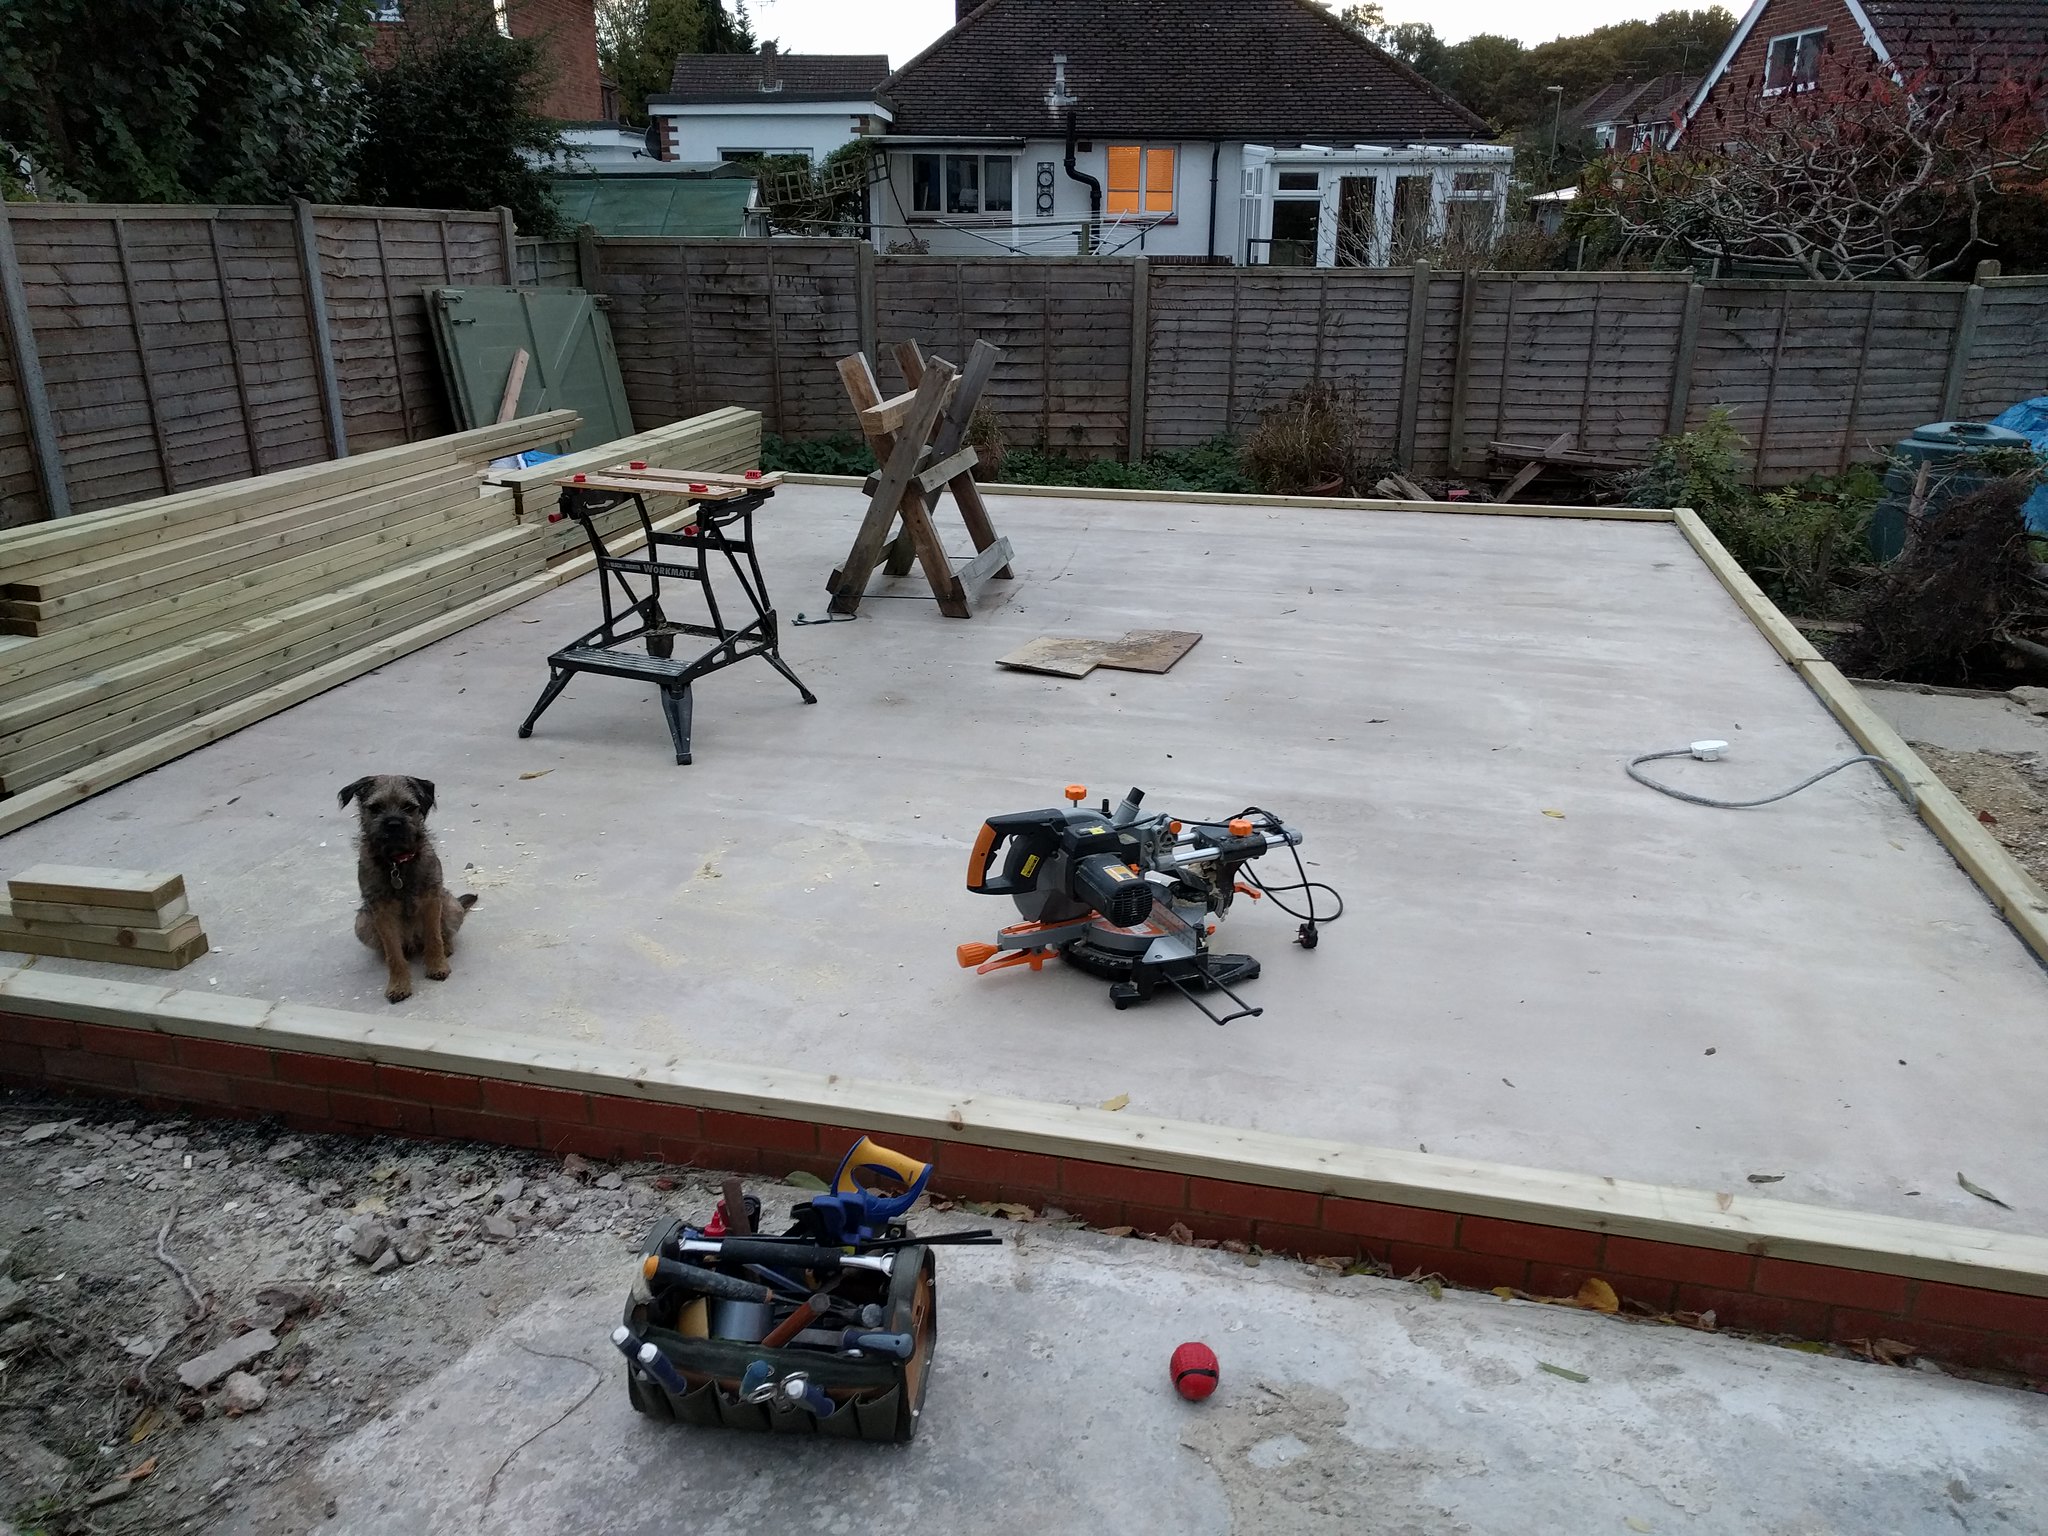
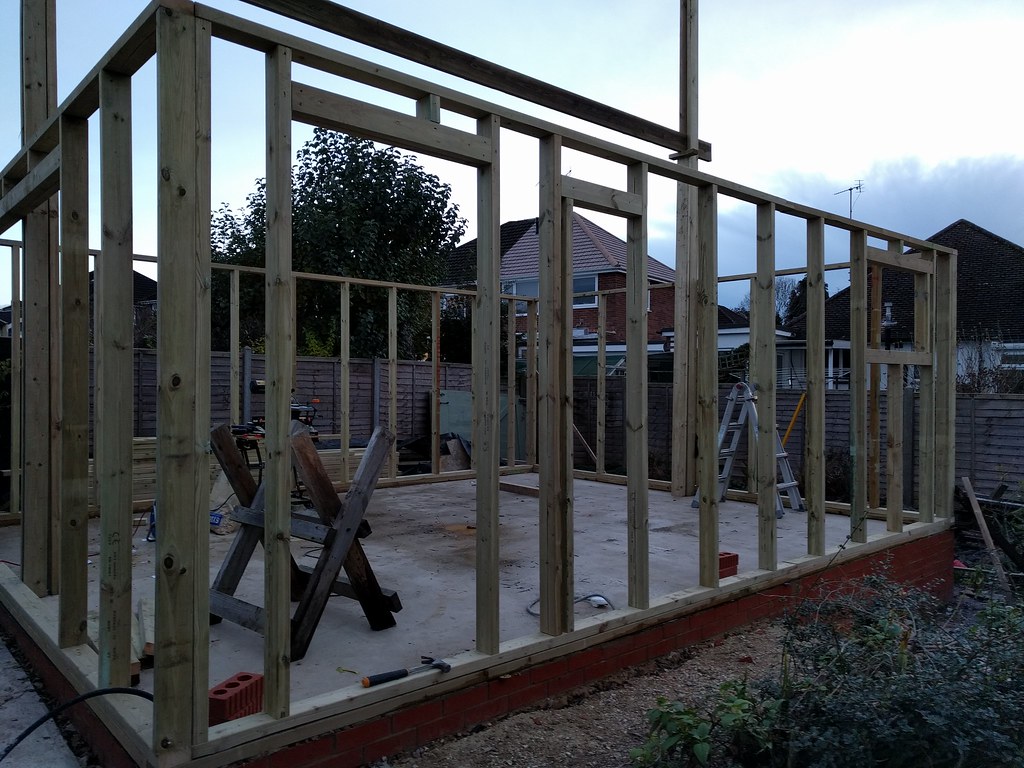
I didn't get much done this weekend as I was busy enjoying myself doing other stuff, but I did set up and make my first cuts!

(As you can see I have so far managed to not cut my thumb off...)
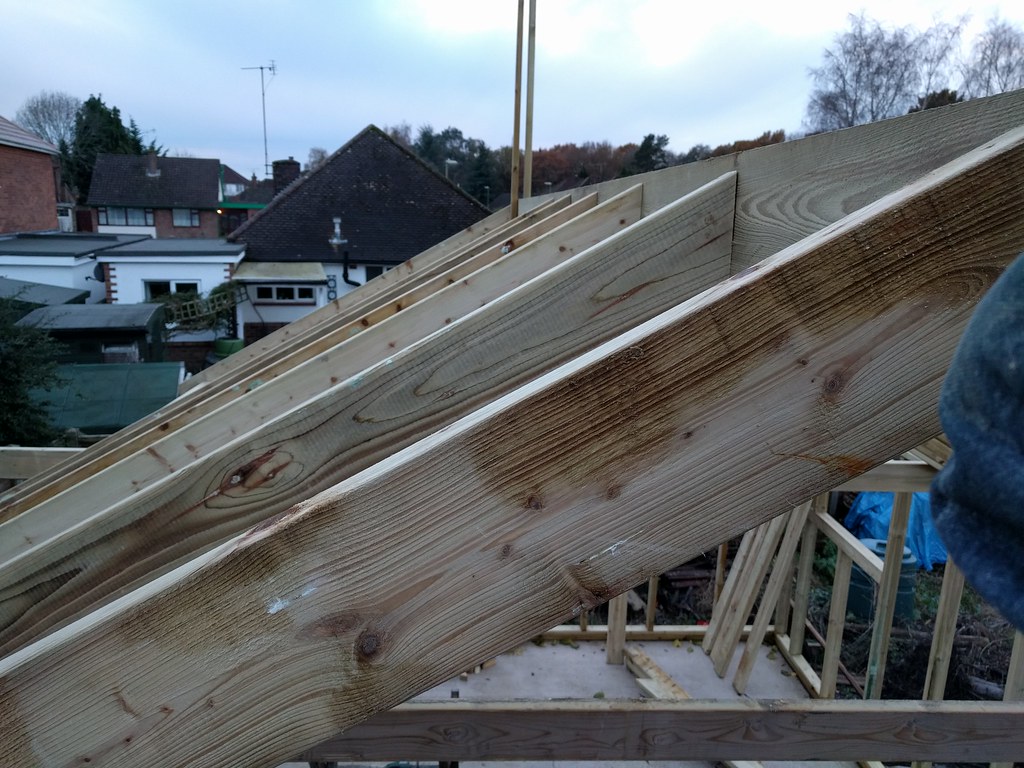
All that forum reading is paying off now, I used all the tricks I could recall, cutting all the same lengths together, using length stops to repeat cuts, even using a screwdriver to lever out the waste from the half laps, it almost felt like I knew what I was doing.
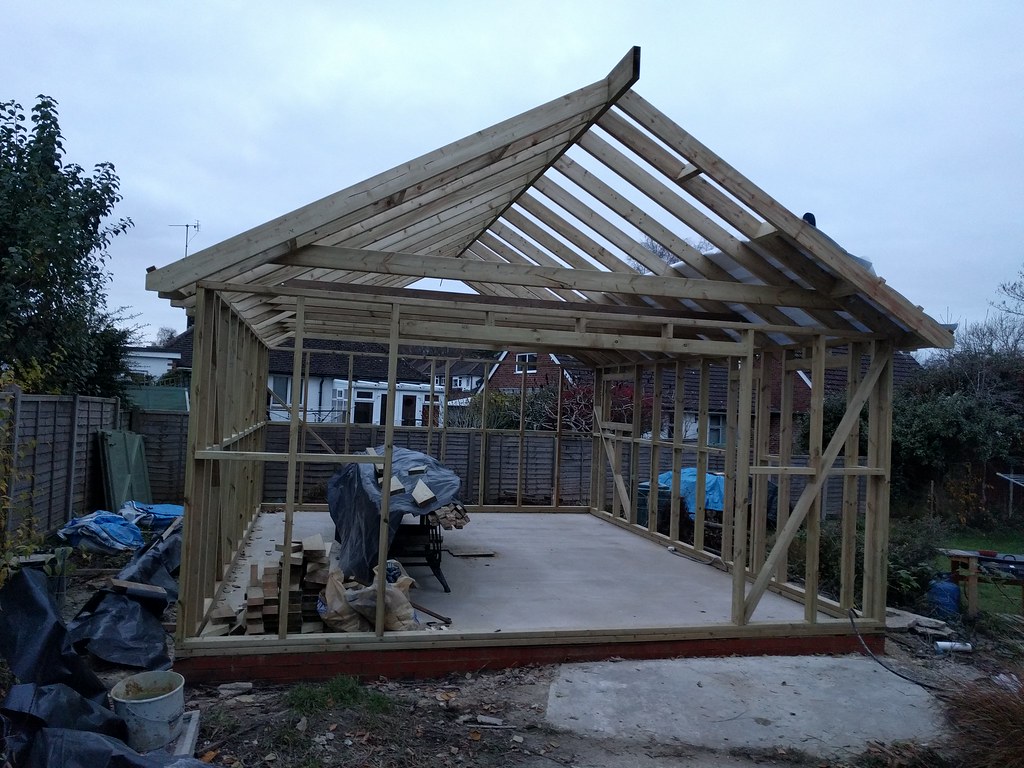
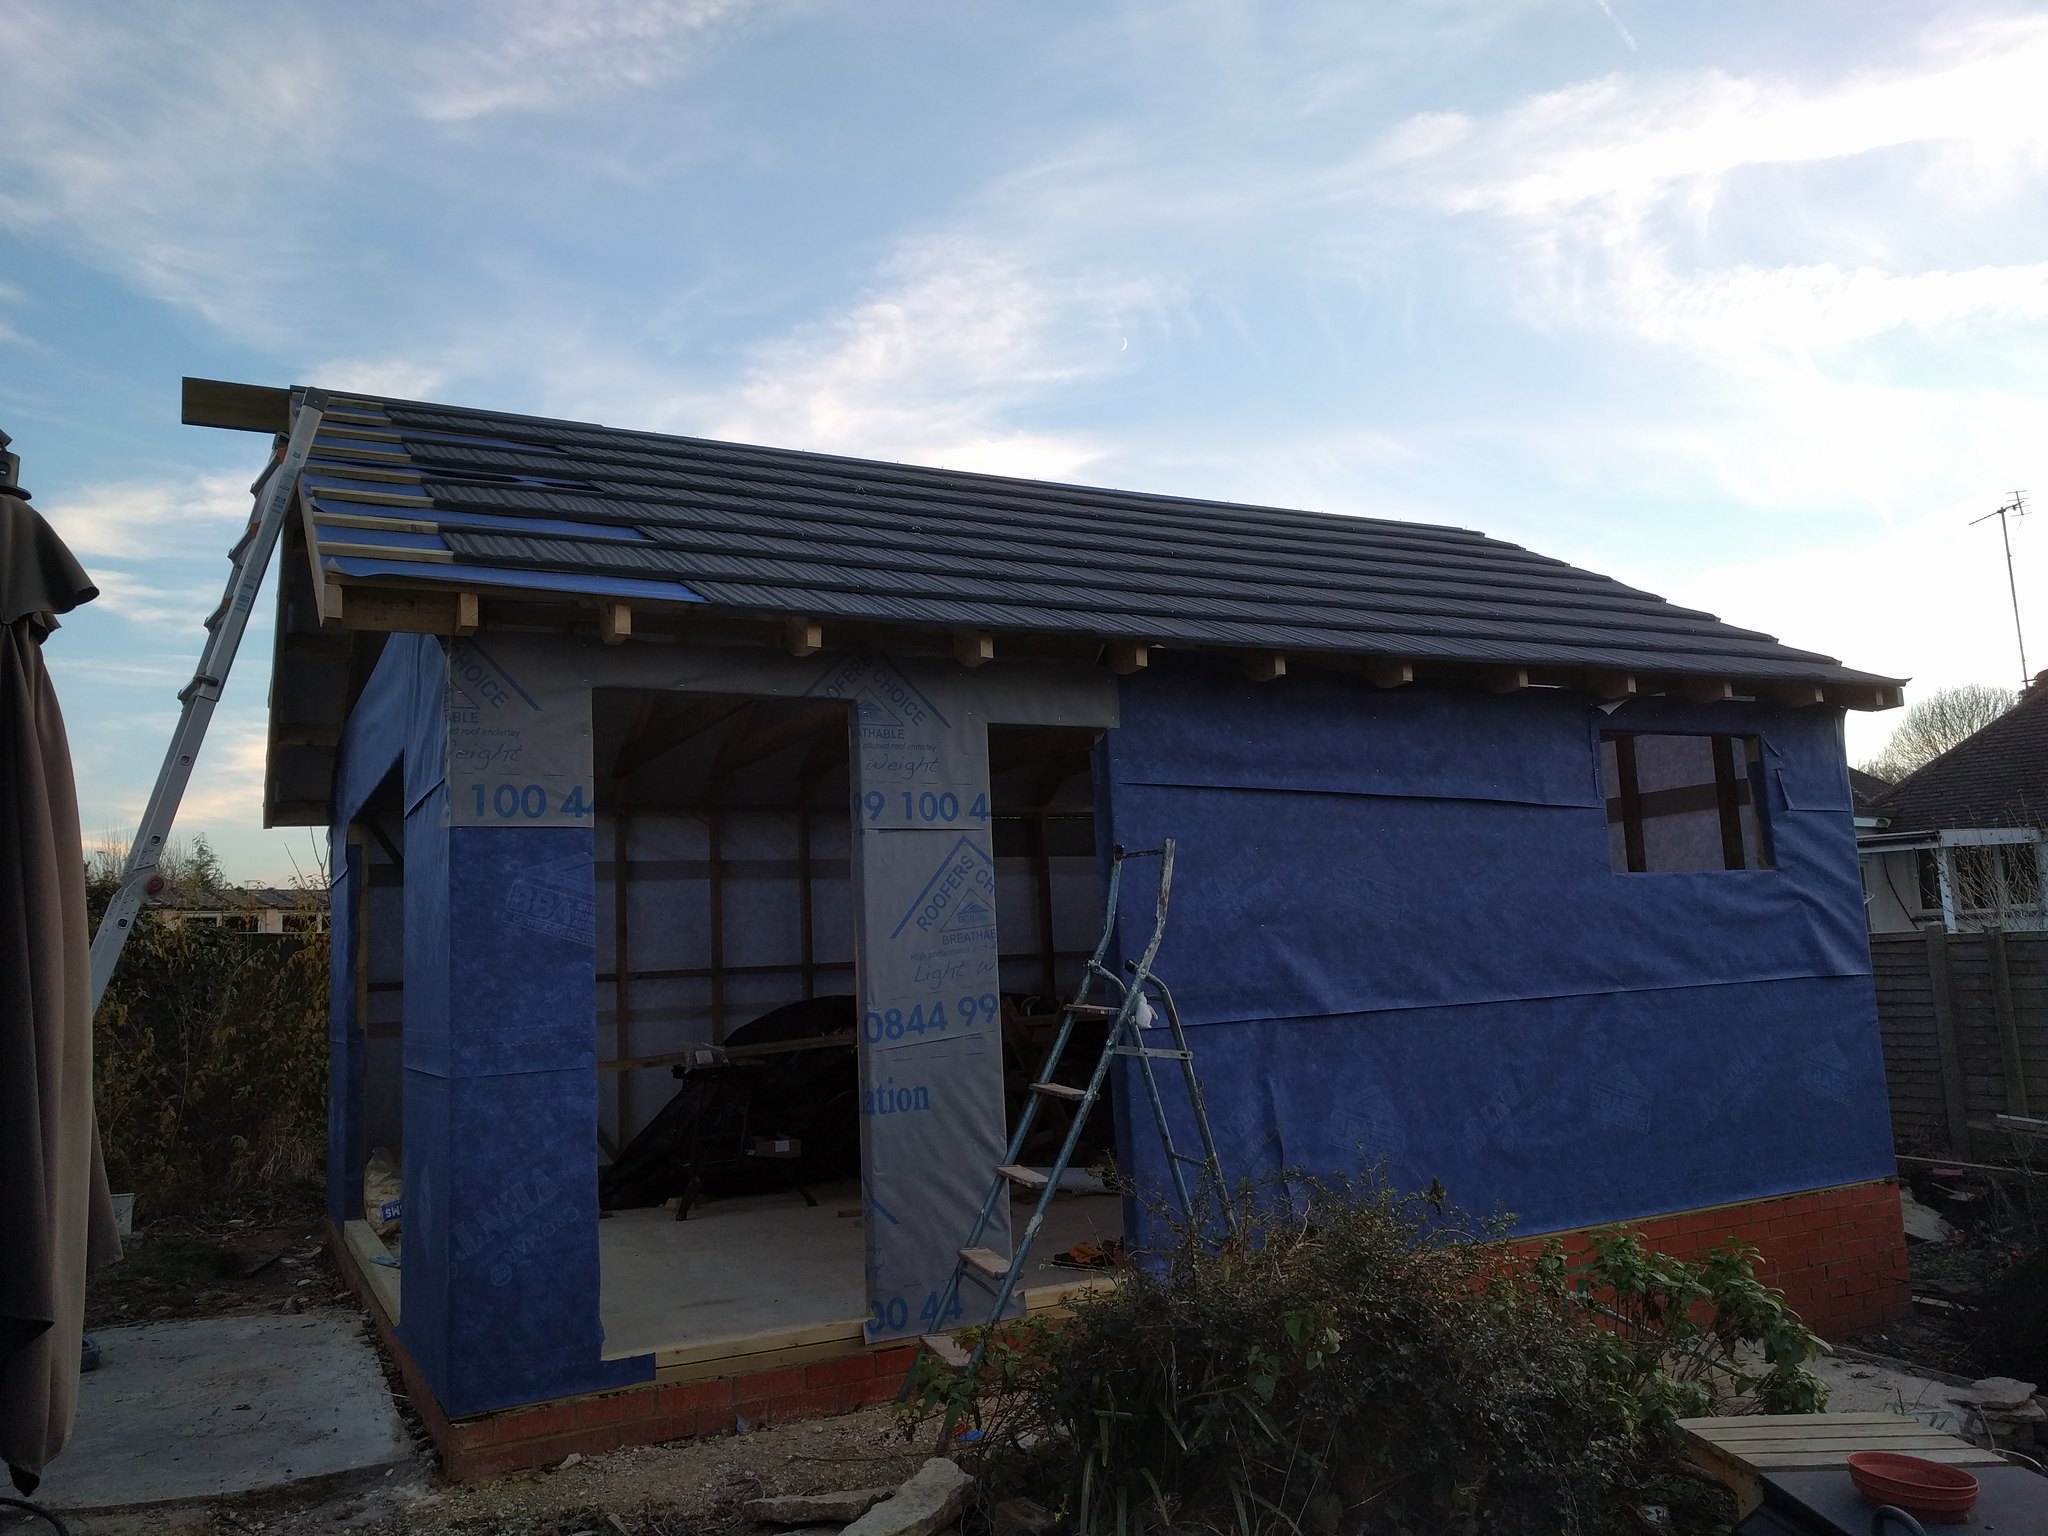
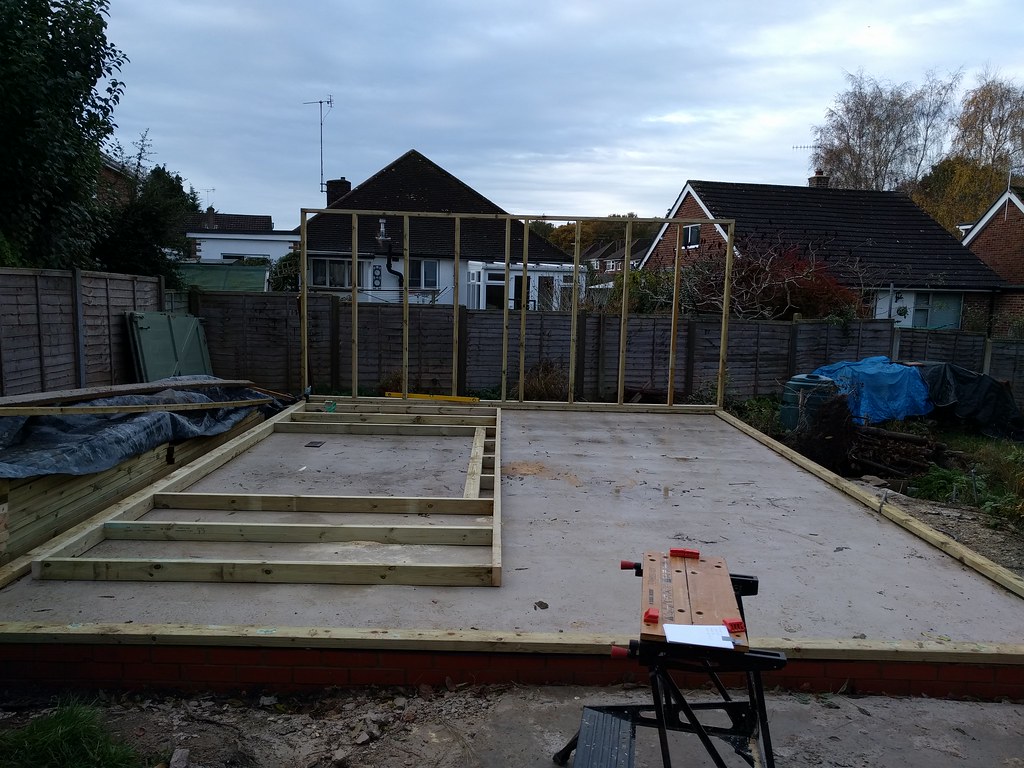
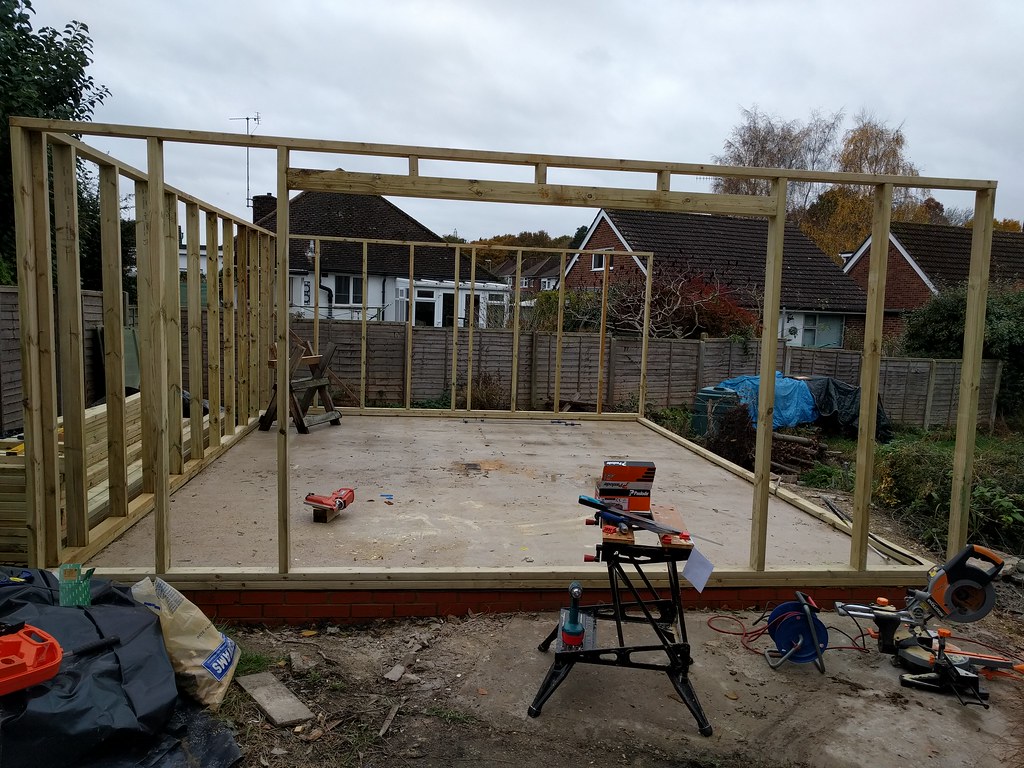
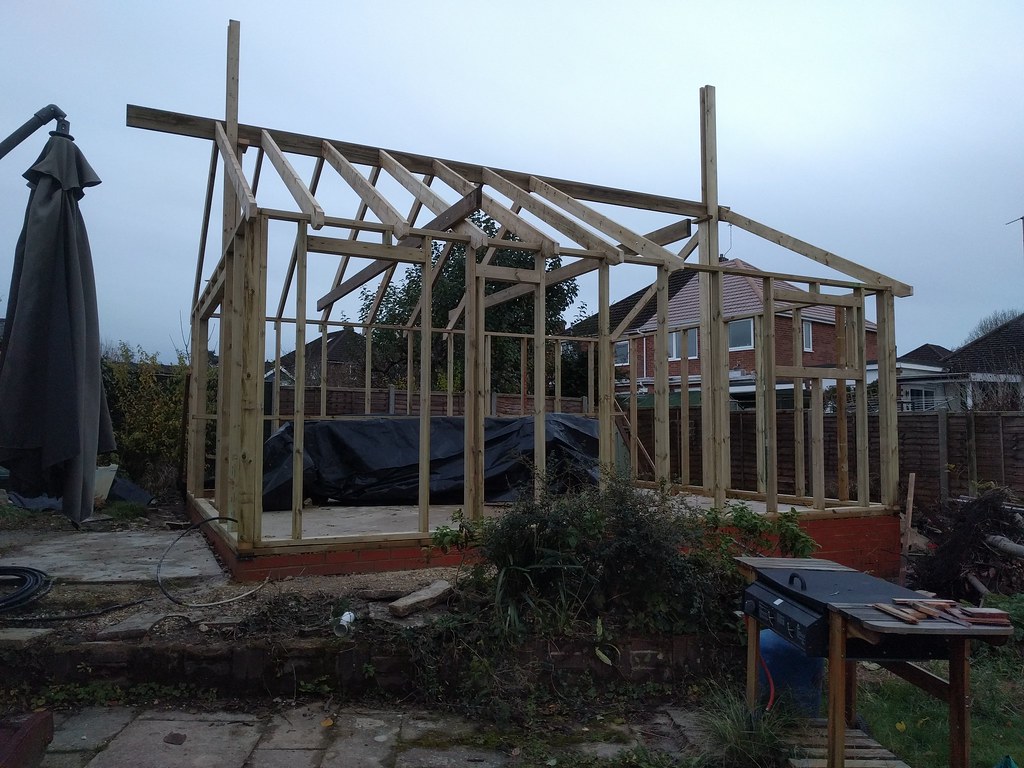
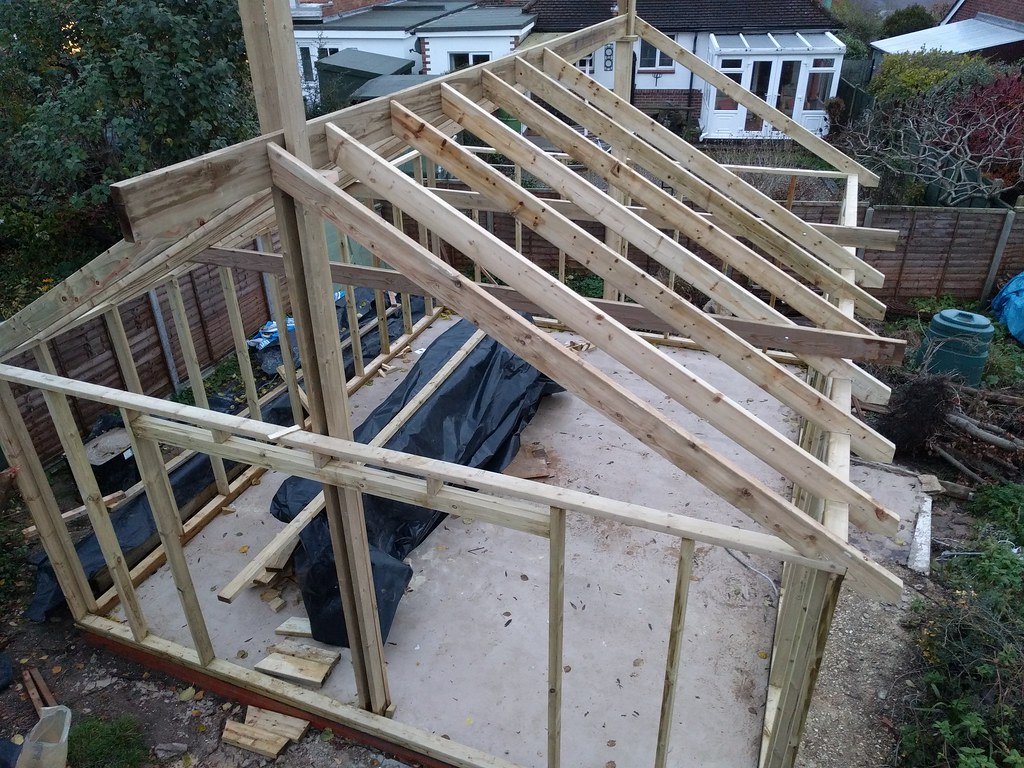
I cut and half lapped all the wall plates, I was going to mortar them in but I was busy for the best bit of the afternoon and it was only 6 degrees here today, I'll have to hope for more clement weather next weekend, as I think it's best to lay cement when its over 10 degrees, is that right?
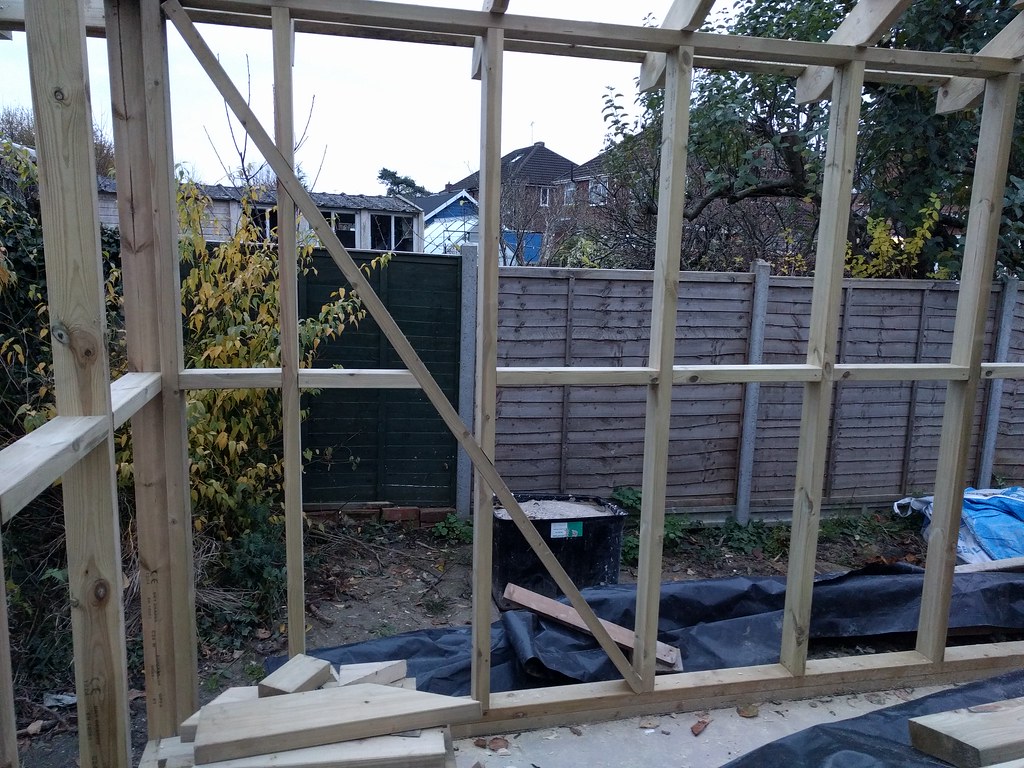
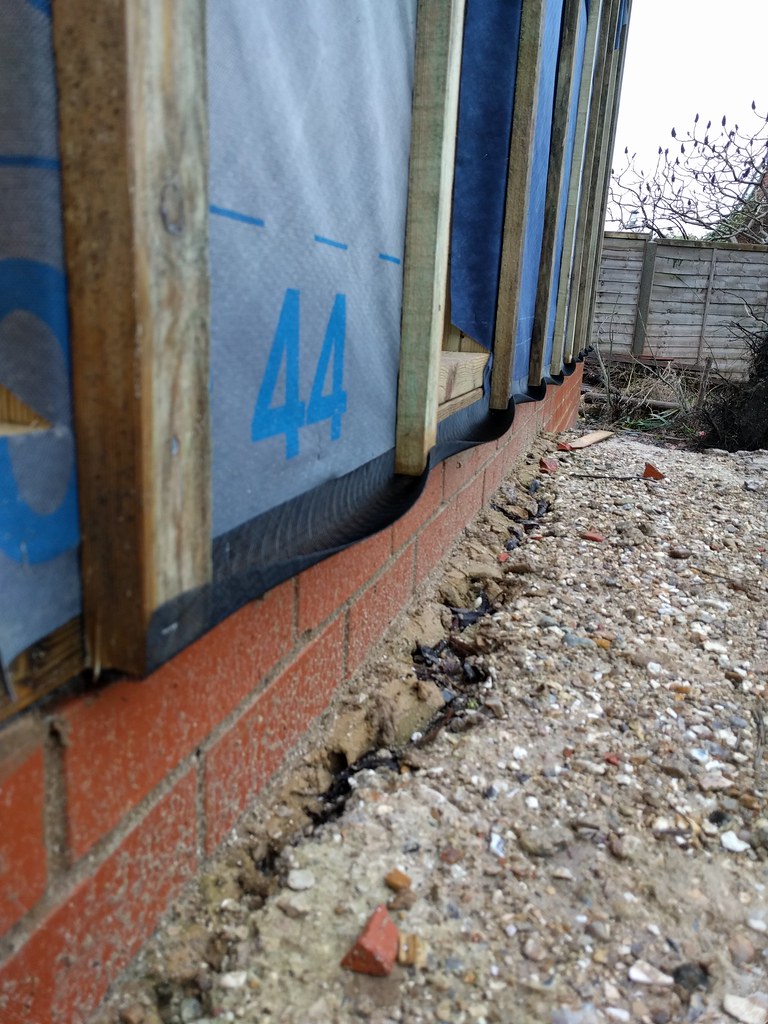
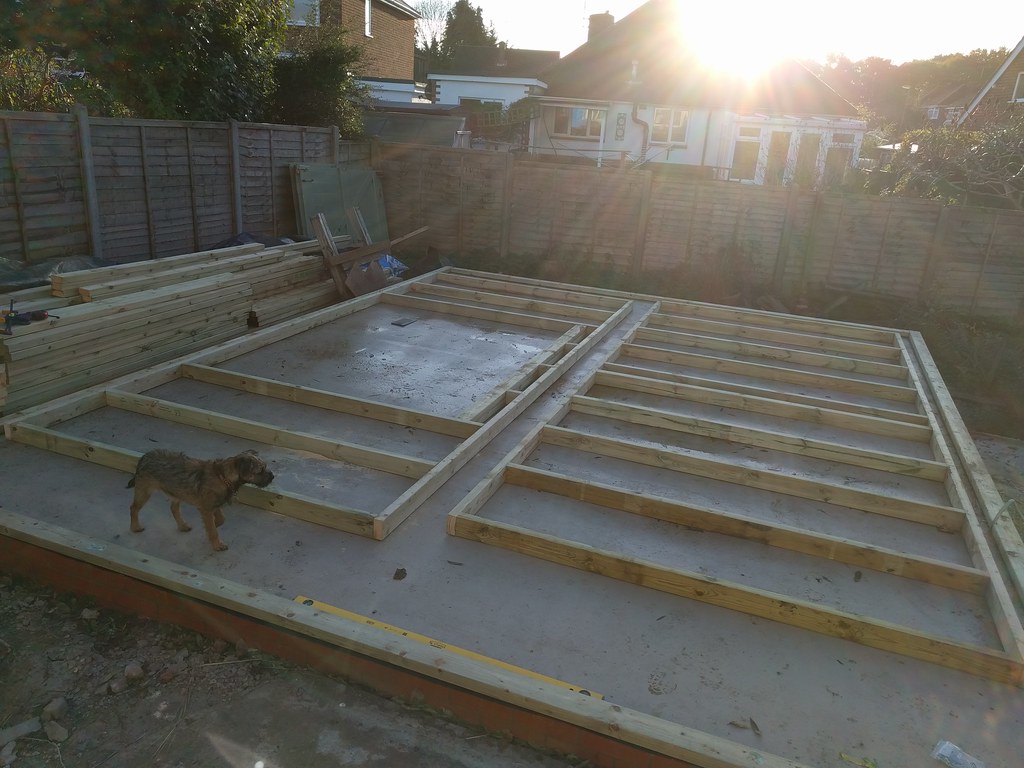
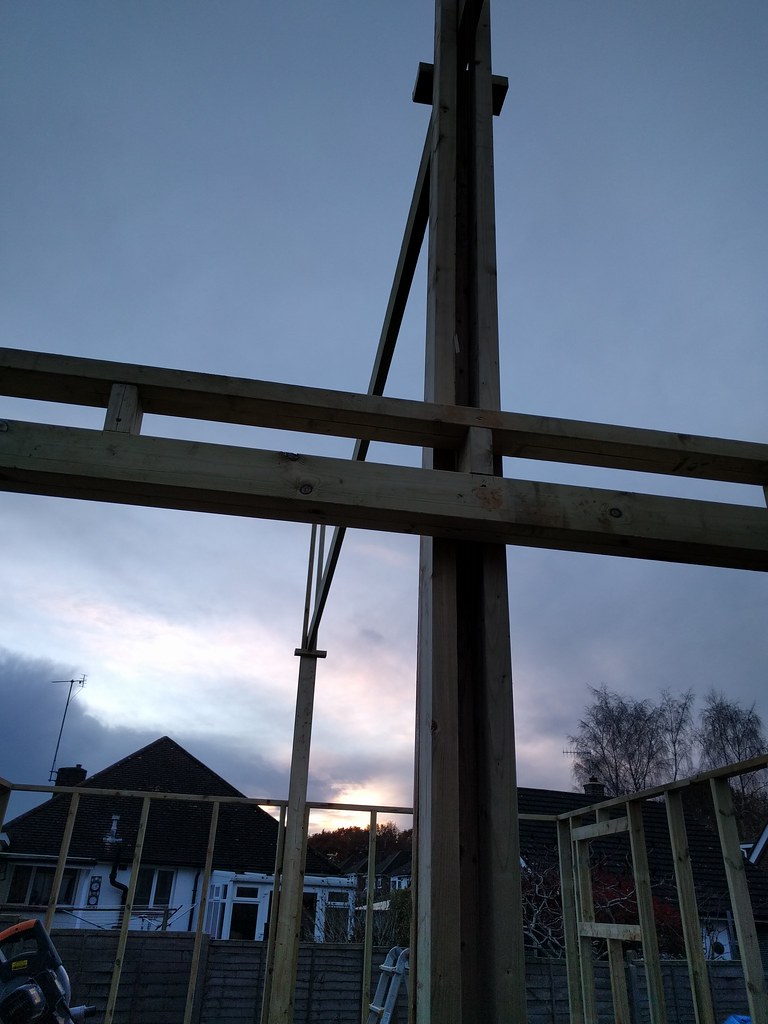
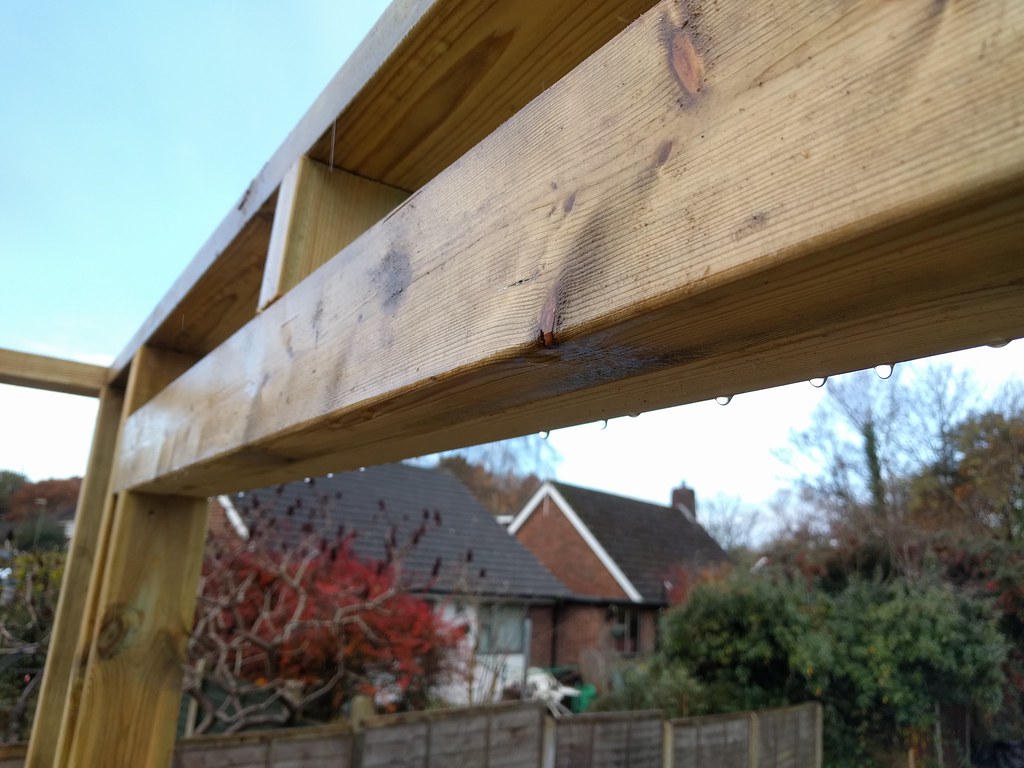
I did test fit them, all looks ok, my slab hasn't ended up quite as exact as I first thought though, its 10mm out in some dimensions, I've not had a chance to re-check the diagonals yet. It is oversize though so at least I won't have an overhang and i'll just chamfer the mortar between the slab and the wall plate, as well as hiding the error in the back corner.
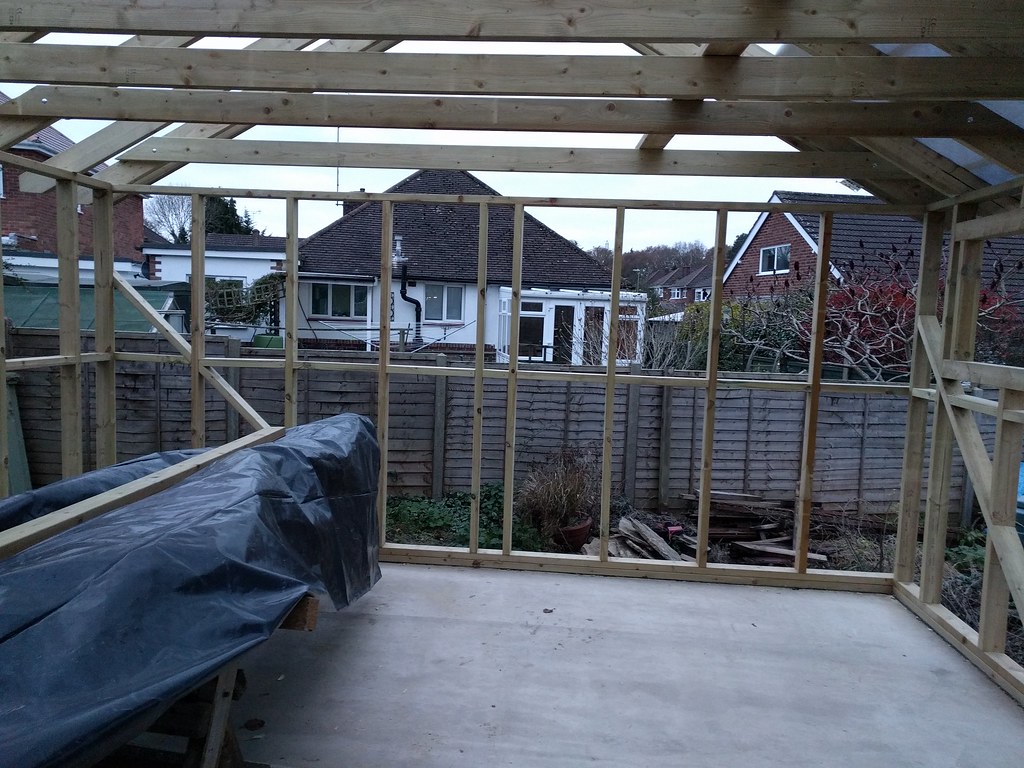
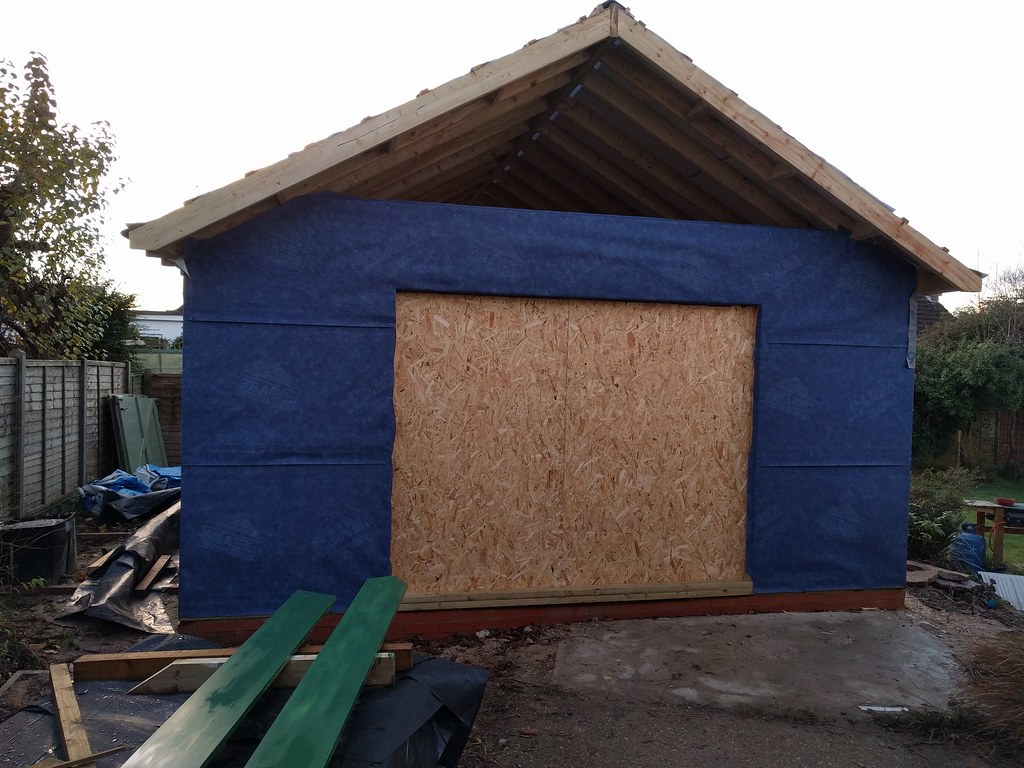
Also you may notice i've not cut a hole for my big front doors, as much as it's a waste of wood I was going to cut it out afterwards to help keep things square, I'll just 'spot weld' it with mortar for now and tidy it up afterwards.
Walls next weekend!
I've had another think about the slab and done some research into hiring a polishing/grinding machine, the only thing I could find was either a hand-held device that was never designed to do 30 square metres, or getting in some industrial company to do the job, no doubt for many hundreds of pounds. So what i'm going to do is leave it for now, screed/fill any really offensive areas (Which there may not even be any bits that are that bad, i've not got down on hands and knees to look) and then use a high build resin floor paint, I think that should give me a more than satisfactory surface.
I didn't get much done this weekend as I was busy enjoying myself doing other stuff, but I did set up and make my first cuts!
(As you can see I have so far managed to not cut my thumb off...)
All that forum reading is paying off now, I used all the tricks I could recall, cutting all the same lengths together, using length stops to repeat cuts, even using a screwdriver to lever out the waste from the half laps, it almost felt like I knew what I was doing.
I cut and half lapped all the wall plates, I was going to mortar them in but I was busy for the best bit of the afternoon and it was only 6 degrees here today, I'll have to hope for more clement weather next weekend, as I think it's best to lay cement when its over 10 degrees, is that right?
I did test fit them, all looks ok, my slab hasn't ended up quite as exact as I first thought though, its 10mm out in some dimensions, I've not had a chance to re-check the diagonals yet. It is oversize though so at least I won't have an overhang and i'll just chamfer the mortar between the slab and the wall plate, as well as hiding the error in the back corner.
Also you may notice i've not cut a hole for my big front doors, as much as it's a waste of wood I was going to cut it out afterwards to help keep things square, I'll just 'spot weld' it with mortar for now and tidy it up afterwards.
Walls next weekend!


")