


<a><img></a>
<a><img></a>
<a><img></a>
<a><img></a>
<a><img></a>
<a><img></a>
<a><img></a>
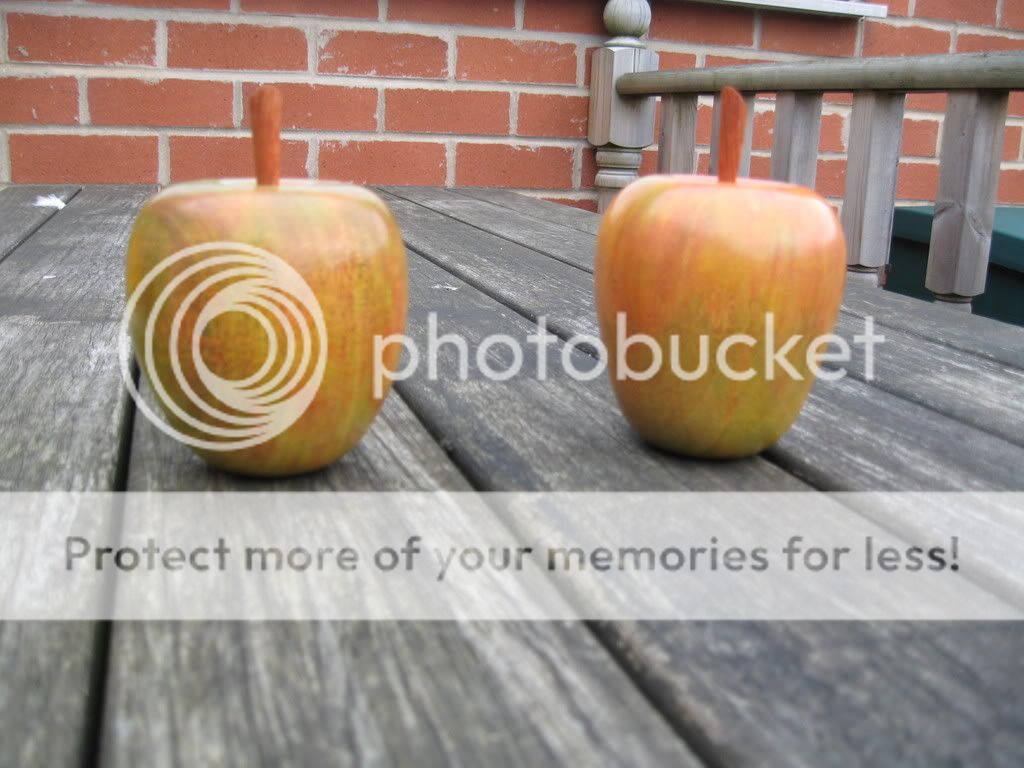
Hi All,
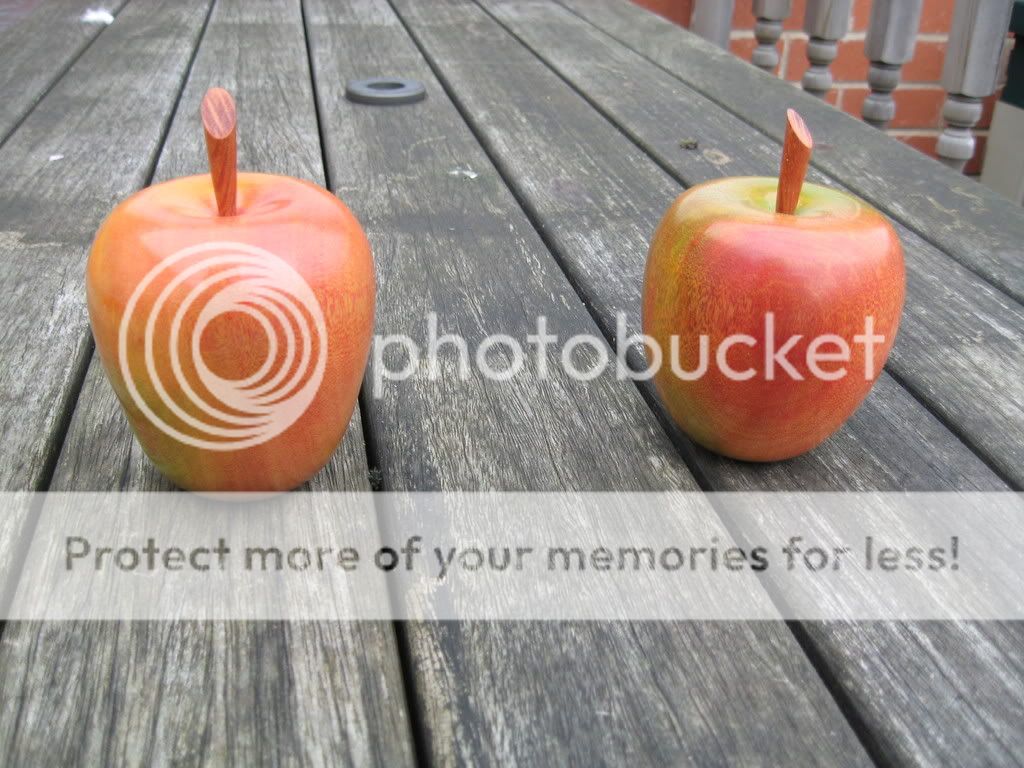
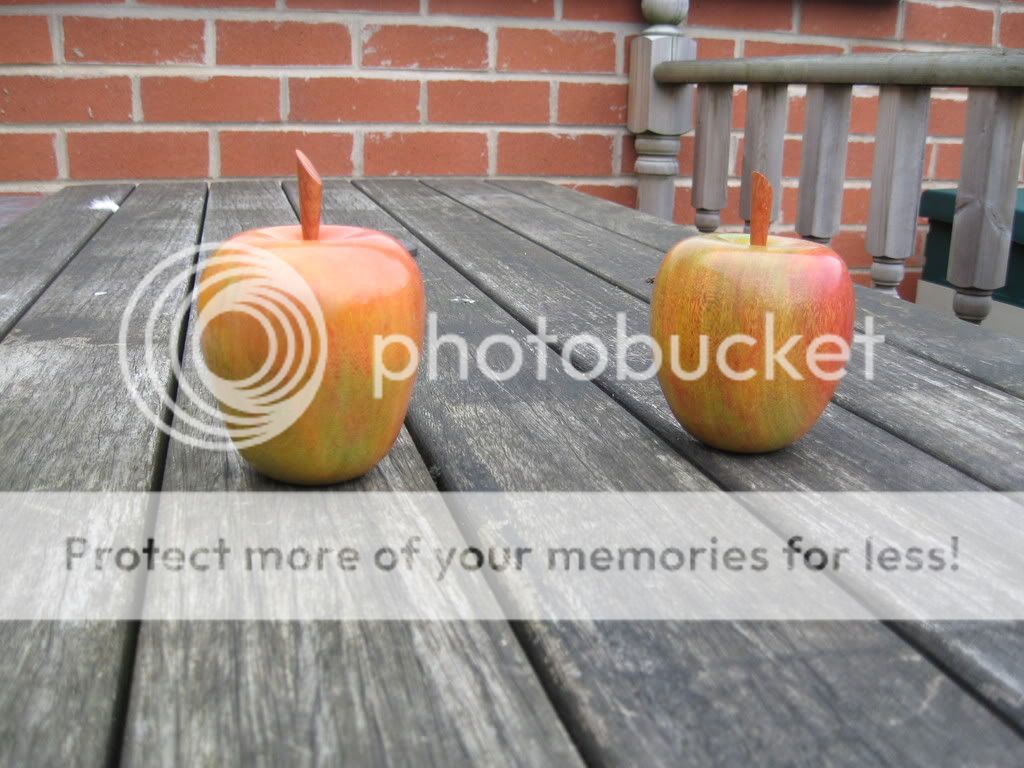
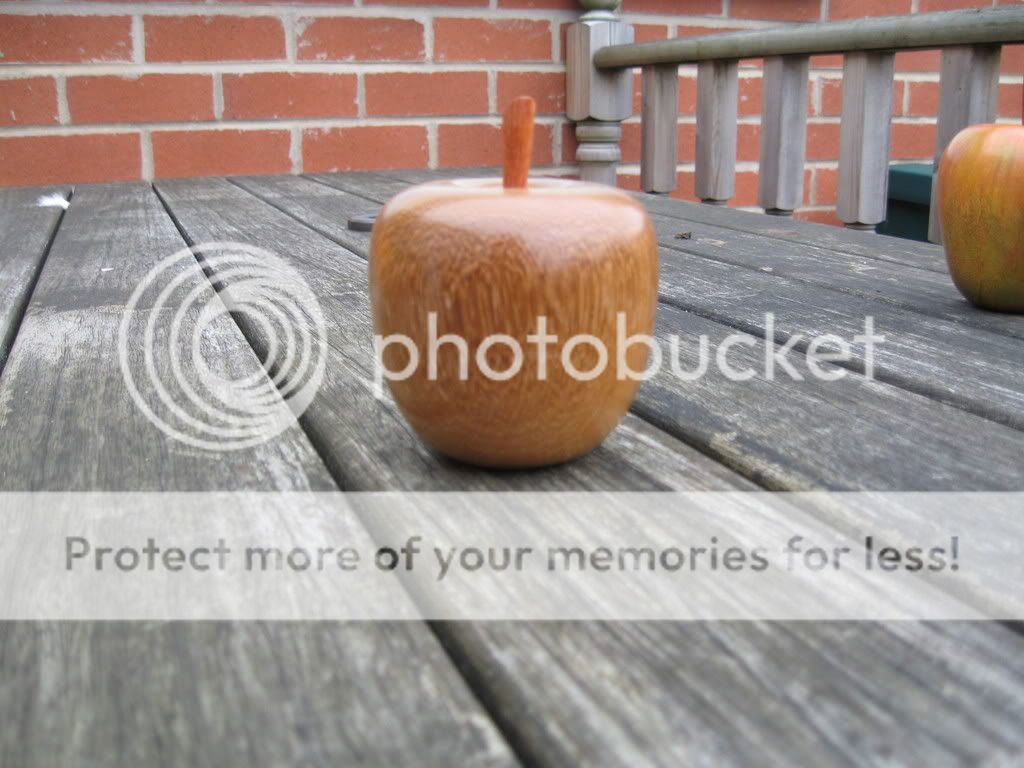
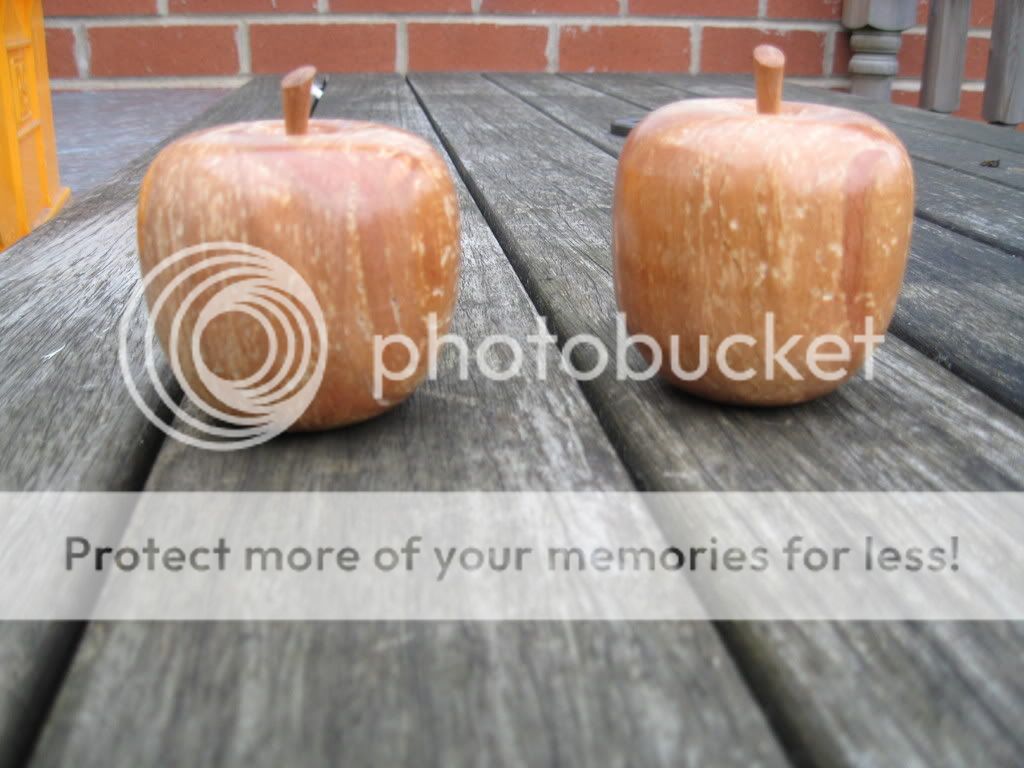
I have been very impressed by all the workshop output photographs posted by all you guys and considering the nice welcome comments i received today I thought I had better post some photographs of last weeks output to show that I can walk the walk as well as talk the talk.
With assistance from one of my daughters I have had a go at this effort so I do trust I have got it right and you can enjoy the pictures.
Best regards,
Ian
<a><img></a>
<a><img></a>
<a><img></a>
<a><img></a>
<a><img></a>
<a><img></a>
Hi All,
I have been very impressed by all the workshop output photographs posted by all you guys and considering the nice welcome comments i received today I thought I had better post some photographs of last weeks output to show that I can walk the walk as well as talk the talk.
With assistance from one of my daughters I have had a go at this effort so I do trust I have got it right and you can enjoy the pictures.
Best regards,
Ian
")