Guess what

UKworkshop.co.uk

Help Support UKworkshop.co.uk:

This site may earn a commission from merchant affiliate links, including eBay, Amazon, and others.

devonwoody

Established Member
Joined
11 Apr 2004
Messages
13,493
Reaction score
25
Location
Paignton Devon
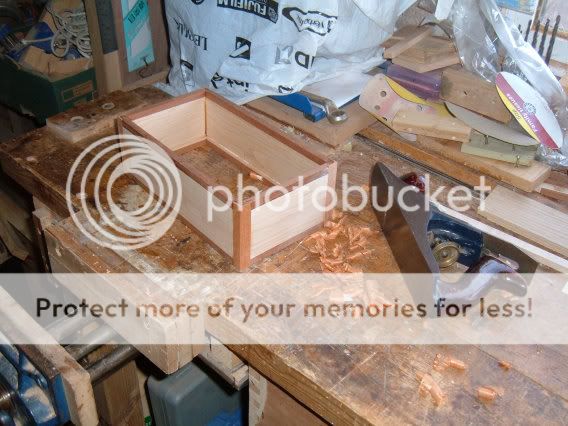
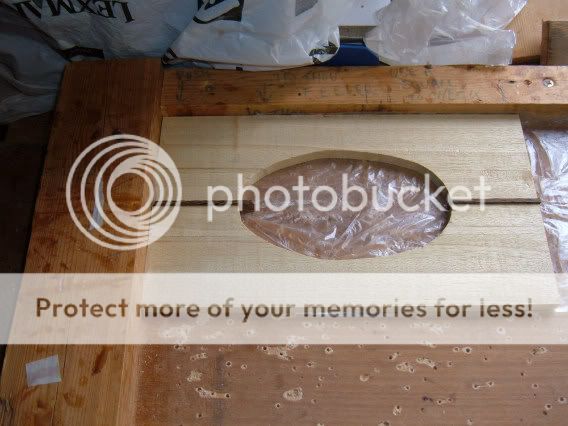
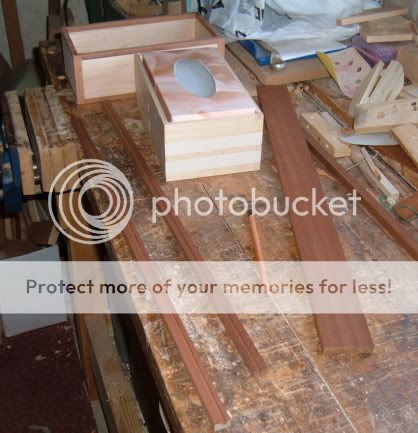
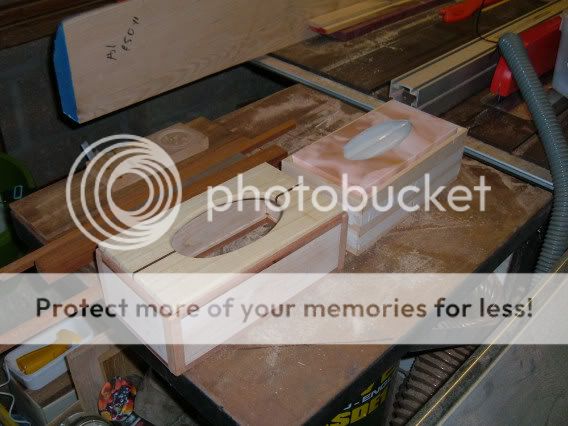
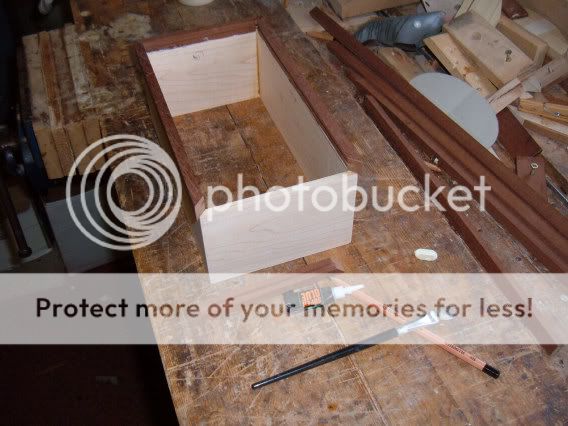
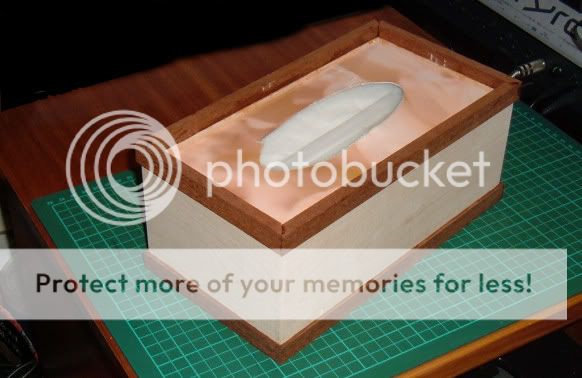
I am starting a new tissue box. :wink:

My eye has healed, although I might be laid up again in 14 days when stitches have been removed.

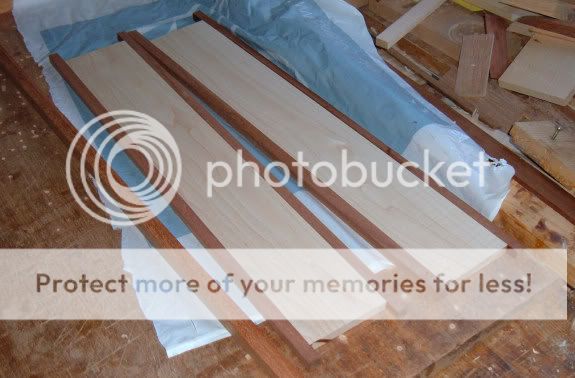
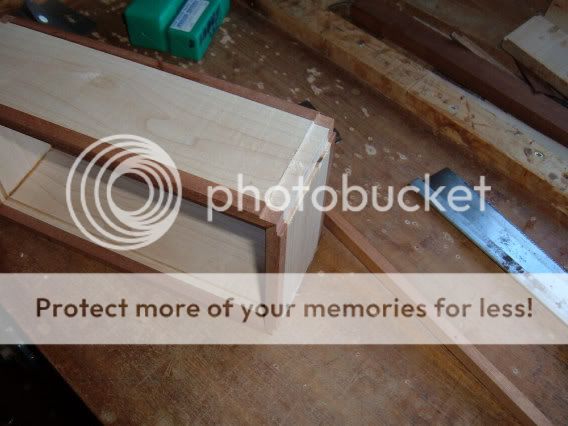
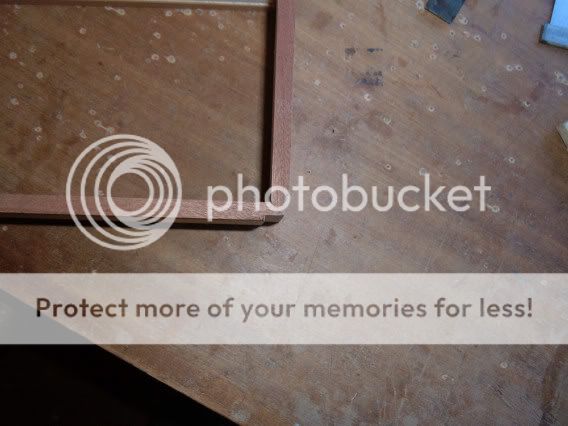
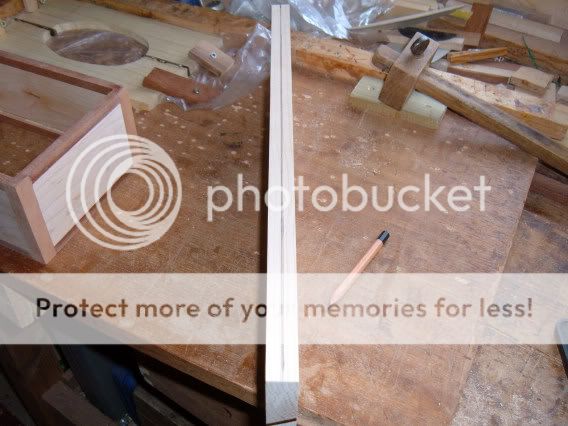
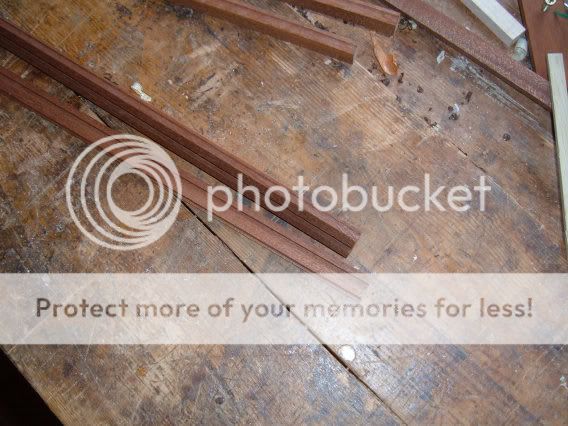
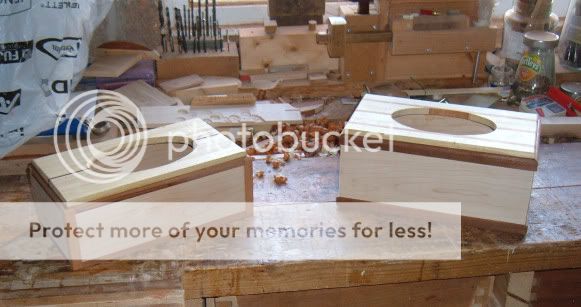
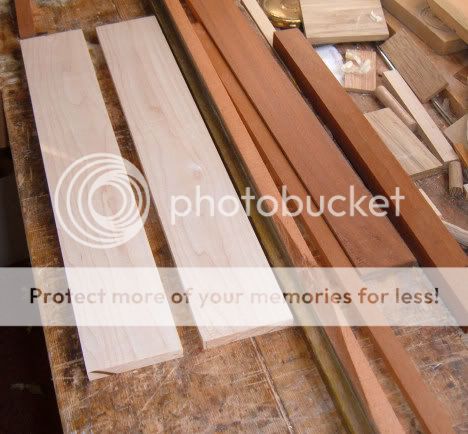
So I found this piece of Meranti from remains of our old window frames and because it is already rebated I am wanting to make it a feature.
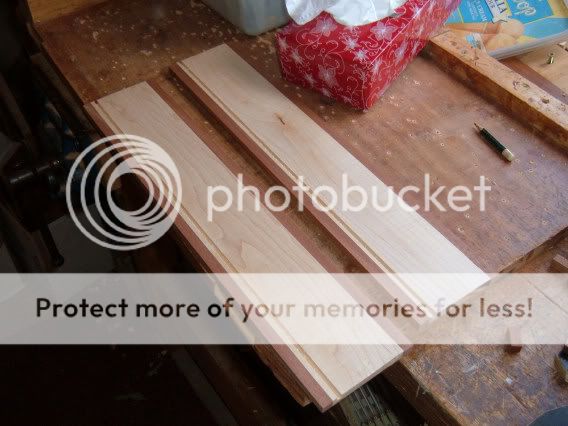
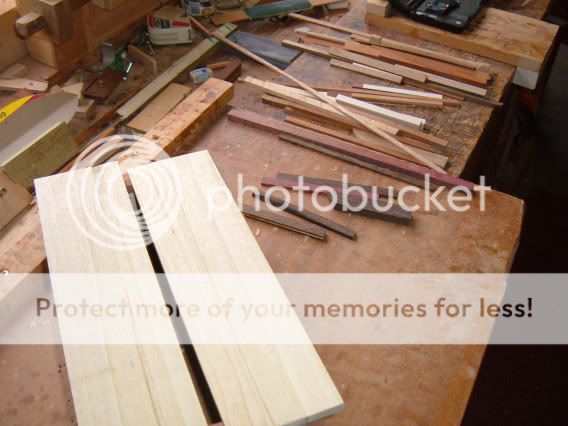
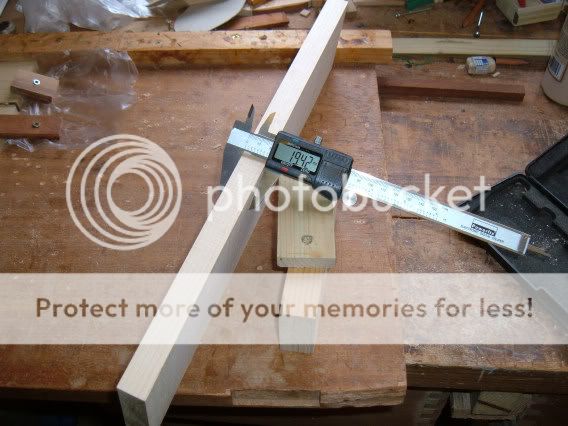
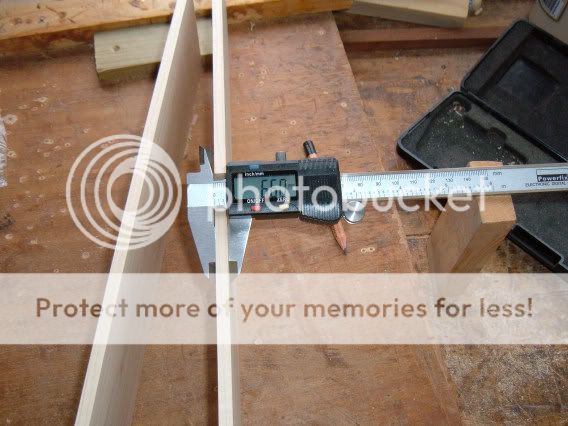
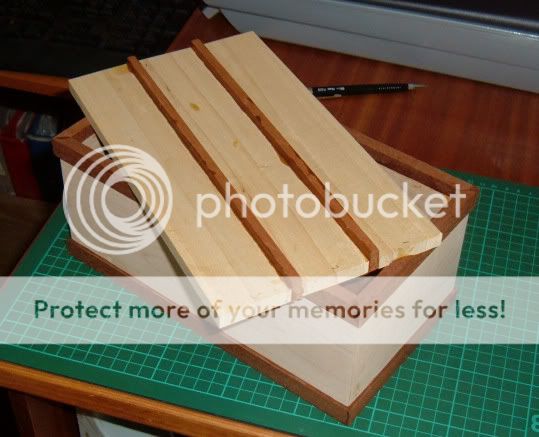
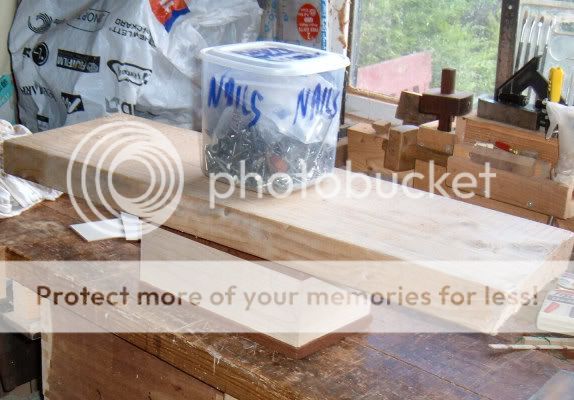
Bits of maple also laying around but need beefing up a bit, they are under width, so more brown wood put on bench.

1a-4.jpg
 
I got out an old faithful, at least 40 years old and did a bit of handwork.

2a-5.jpg


3a-5.jpg


But that colder weather has arrived, the glue has not dried enough at three hours.

4a-4.jpg


So will be back tomorrow.
 
Couldn't resist, I popped out to the W/S late evening and put the two pieces through the thicknesser and they have come up nice and clean.

5a-4.jpg
 
Not good news to report today. :wink:

Did the dadoes whilst the timber was in lengths (for bottom slats)

6a-4.jpg


Mitred the four corners of the carcass working my usual method with my mitre jig and then glued up carcass and held together with masking tape instead of clamps.

7a-4.jpg


When glue had set ( 4 hours later) I rebated off the four corners of the box using the router table. (I did use a longer backing piece when cutting the rebates)

8a-4.jpg


The corner rebates were cut as per picture but they are not very nice, my hands wobbled going past the cutter and box was inclined to fall into the fence gap. (alright I was scared that things my fly off the table like a missile, in fact there was one large bang on one cut, and my vest got very damp)

9a-3.jpg


Top view of rebate.

10a-3.jpg


I am going to try and clean up rebates by hand, clamping a fence to the timber and use some hand tools. (I might try a trial run on some scrap timber and use the table saw to give clean cuts.)
 
John

IMHO there are three changes you could try:

1. Close the table fences together (or use a single fence with a router bit shape cut-out). When routing relatively short work it is even more important to have full support right up to the cutter. This includes the cutter hole in the table.

2. The backing piece should be at least the height of the workpiece for support.

3. Take small bites (I tend to set the bit quite low, run all edges through, then raise the bit a little and run them all through again etc)

Personally in this situation I would probably not use the fence, but instead use a mitre-slot sled which will support the work right up to the cutter.

HTH

Dave
 
Dave thanks for your advice, when getting older routines get forgotten after leaving the scene for a while. A little worrying really.

Anyway, the situation has been recovered for the time being, I got out the surgeons scalpel, cut fresh lines and using my chisels which these days are super sharp (I use a Tormek) things are again underway.

11a-3.jpg


Prepared corner infills and fitted, made a change some handwork.

12a-3.jpg


Hand planed the corners to make them flush with carcass.

13a-2.jpg


I think I shall have to do the roundovers on box edges with sandpaper in case I get tear out using a router bit.
 
Looks nice so far but how to you get the bottom in the rebate if the sides are already glued up?
 
p111dom":veaffaog said:
Looks nice so far but how to you get the bottom in the rebate if the sides are already glued up?

The previous 30 tissue boxes had no problem. :wink:

I cut off a portion of the rebated edge and sliding slats then drop in. :)
 
started preparing the lid, to get the width required I have glued up some battens.

14a-3.jpg


Cut out the aperture on the bandsaw and then used a new file/rasp to clean up the band saw blade cuts. Its brand name is microplane (purchased from Ask tools) it is quite a delicate tool but cuts very cleanly, hardly any pressure needed using. They come with different profiles, mine is oval shape.

15a-3.jpg


Glued up the lid with contrast dark timber strip (from that picture above) to break up the plainness of the white timber.

16a-3.jpg


And guess what, I've started another tissue box, the timber (maple) is only 19mm thick and sawn finish.

thin1a.jpg


So marked it up and ready for the bandsaw.

thin2a.jpg


Finished up after thicknessing with just under 7mm boards.

thin3a.jpg


Stacked them up for a few hours to see if there was any stress movement.

thin4a.jpg


No problem, constructed another carcass .

thin5a.jpg


Because I have located some larger tissue refills, I am going to have to raise the height of my new box and have prepared some mouldings to glue to the above carcass in a contrasting wood of course.

thin6a.jpg


So I am going to be busy.
(One of my neighbours also wants another box for storing some art inks in. )
 
The carcass of the first box is now finished and ready for its final clean up and a coat of shellac and wax. (note the 8" wide board of American Ash laying on table, I see it cost £50 last year)

17a-3.jpg


For the second box, the one which is only built with 7mm board I have completed the mouldings (on the router table)

thin7a.jpg


The mouldings have been sized and glued to carcass using titebond3 and a few dabs of super glue to avoid having to clamp mouldings in position whilst glue sets. (works for me)

thin8a.jpg


This thin box now awaits a lid to be made.

thin9a.jpg
 
Nice looking boxes again DW :D
Re- the rebates,couldn't you rebate them before gluing them together.
This would be a lot safer,as you won't have the worry of the case failing on the glue joint while running it through :?:
 
Paul, if you are referring to the first box, you are correct, but these days I seem to decorate on the hoof so to speak and go where the mood takes me.
 
Hi DW

I am just curious as to why you always make tissue boxes? I mean either the folks in your house cry a lot or have constant colds :cry: :shock: :D :D , OR you sell your tissue boxes in local shops or online or something? So I was just wondering really. Given that you have some great skills in making boxes, do you make/have you made other types of box? Or even make other things...?

cheers
Steve
 
Boxes are so easy to give away, no one has yet refused the gift of a box, no I dont sell them and never have.

Each box made (well over 30) have different designs and non stock measurements, I make them on the hoof.

Over the seven years has a member there have been numerous other items made and displayed.

I'm a pensioner, given up hunting, making money, and just keeping the NHS in business.
 
devonwoody":320rdirp said:
Boxes are so easy to give away, no one has yet refused the gift of a box, no I dont sell them and never have.

Each box made (well over 30) have different designs and non stock measurements, I make them on the hoof.

Over the seven years has a member there have been numerous other items made and displayed.

I'm a pensioner, given up hunting, making money, and just keeping the NHS in business.

Ah well that's all very satisfactory then and good to see that your boxes are well received. I'll have a search for some of your other stuff when time permits...

Good to see that you are surviving on your pension without the need to continue hunting! :wink:

I too am keeping the NHS in business and I'm currently in my mid-life crisis, so Lord knows what I'll be like when I get to retire! :shock:

Oh well, I am some years off that yet, so will continue to supplement my day job with whittling.

cheers
Steve
 
Steve, many of us go through that time of life, my remedy to the situation was to be in a position to downsize,(property speculation played a part).
I am glad I did because looking back many of my colleagues never made it to the 65th. Less income but a longer and happier lifestyle.

Anyway back to the box, I glued up some waste pieces in preparation to making the lidded aperture.

thin10a.jpg
 
Hi Devonwoody, lovely box. You mention early on in the thread that you used your "usual method with your mitre jig" can you share exactly what kind of jig this is. I have had real problems trying to get mitres really tight. Not so bad on small stock that can fit into my chop saw but your box looked to be around 3 to 4 inches tall. I'd love to hear how you do it.

Jiroma
 
Jiroma":3haqoas1 said:
Hi Devonwoody, lovely box. You mention early on in the thread that you used your "usual method with your mitre jig" can you share exactly what kind of jig this is. I have had real problems trying to get mitres really tight. Not so bad on small stock that can fit into my chop saw but your box looked to be around 3 to 4 inches tall. I'd love to hear how you do it.

Jiroma

Have a look at the link below, post number 5, you will see the jig I use.

I have previously used a router bit and also the SCMS saw but this jig rarely fails if all timbers are clamped down and timber stops are used to maintain equal timber lengths.

http://www.woodworkforums.com/f87/my-fi ... -a-115478/
 
Cleaned up and prepared lid and glued to carcass, and made sure it did not go walkabouts whilst glue set.

finals1a.jpg


So thats another two tissue boxes, little and large awaiting final clean up and to be waxed.

finals2a.jpg


Will try and get another box in production again during next 6 days and then it back to the eye clinic again.
 
Back
Top