Morning Drew,
Isn't it amazing how fast this part of the build comes together (said Dick, who still hasn't finally finished his build)

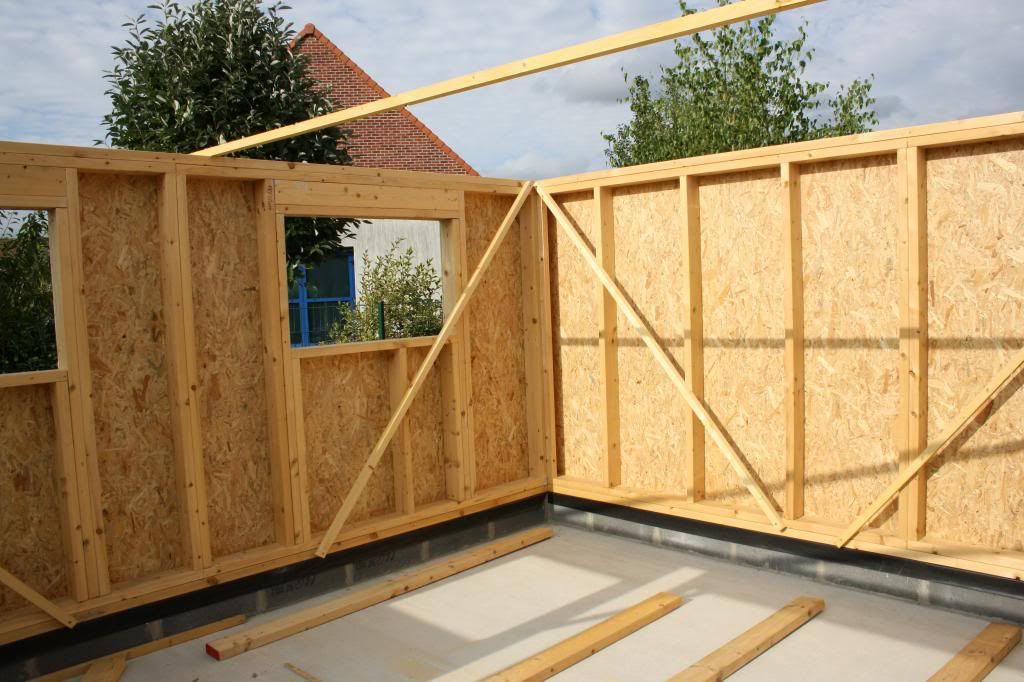
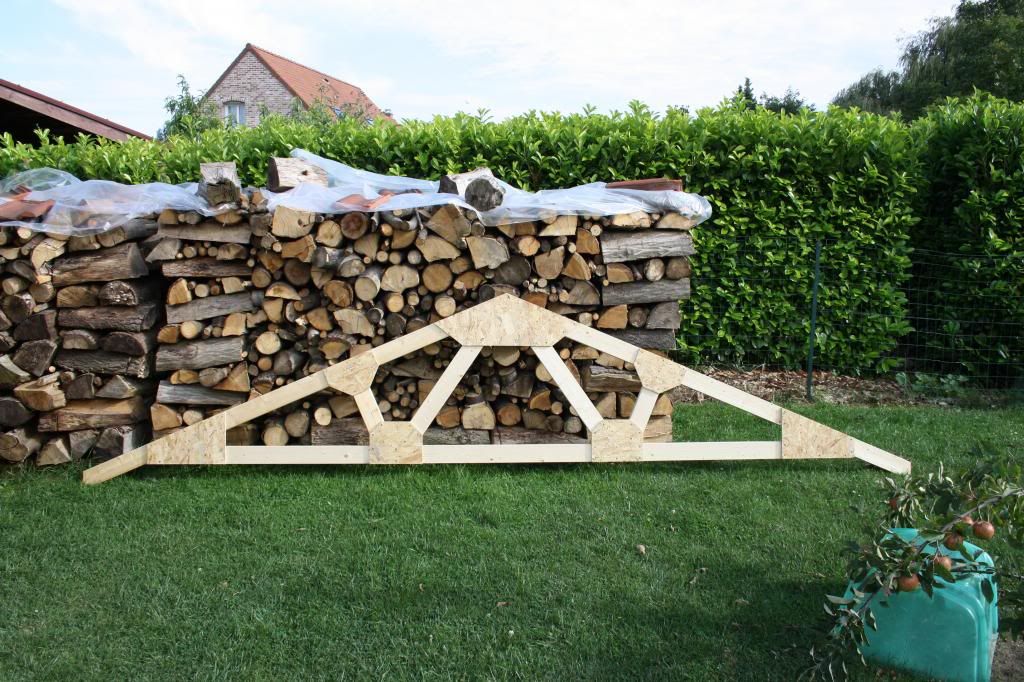
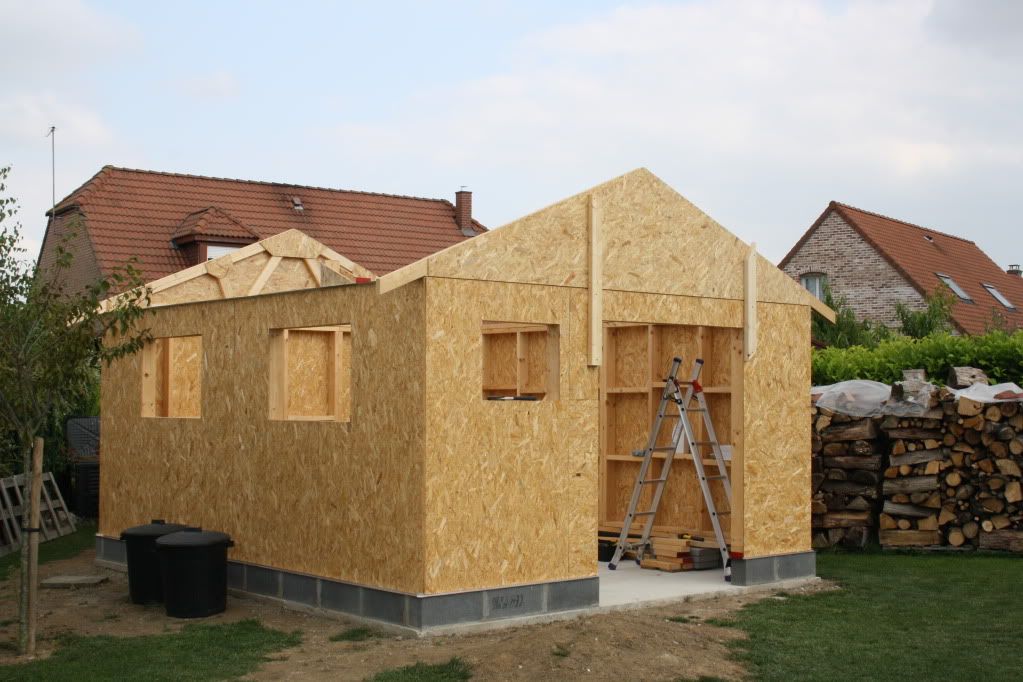
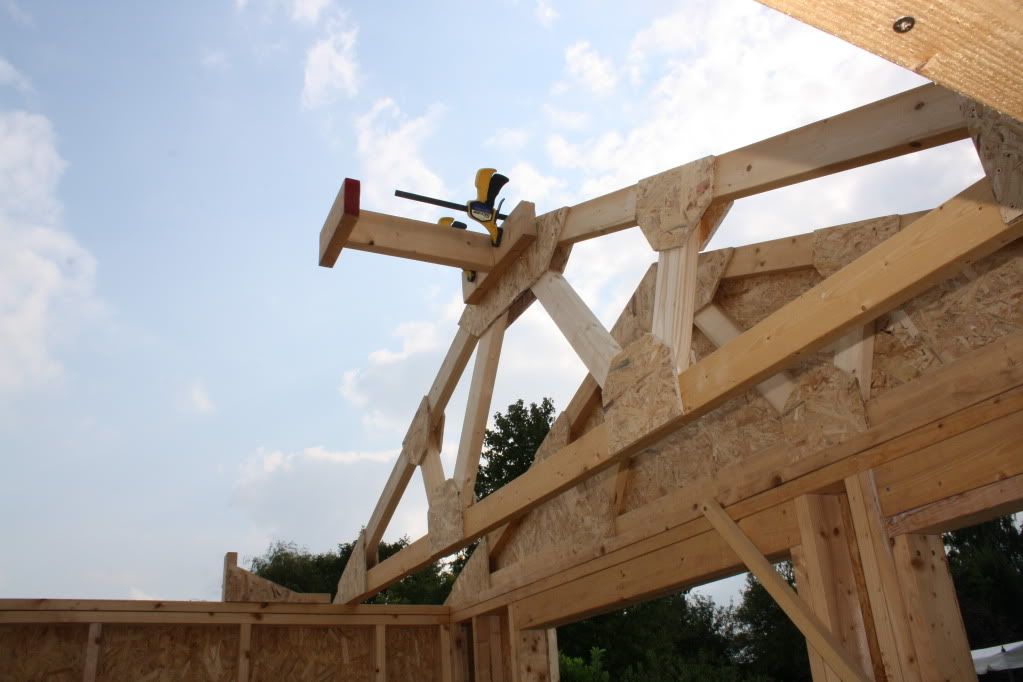
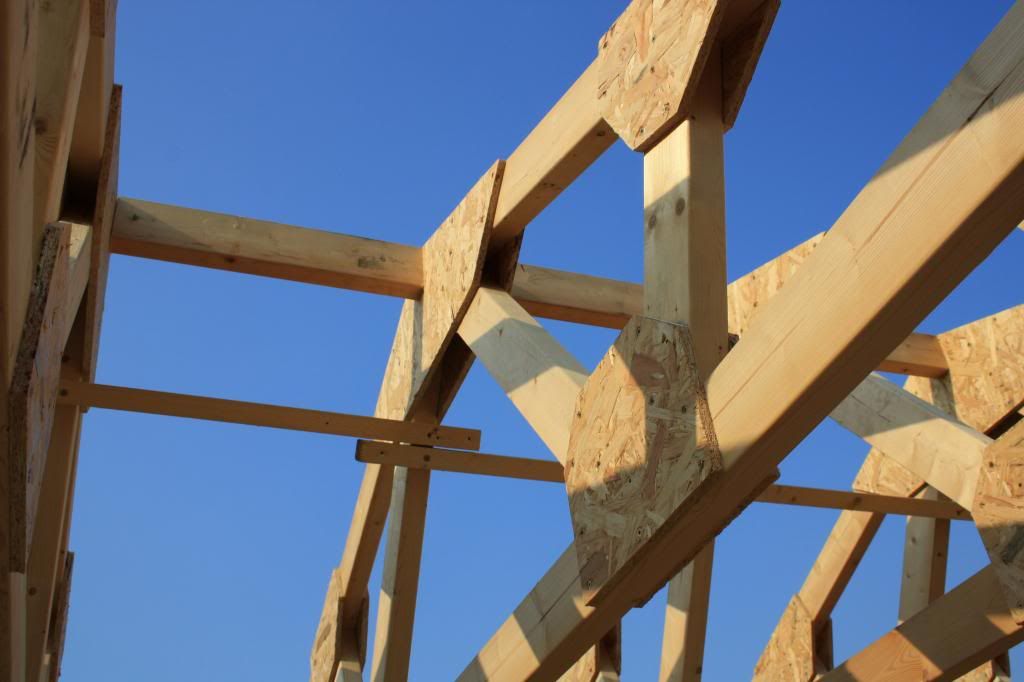
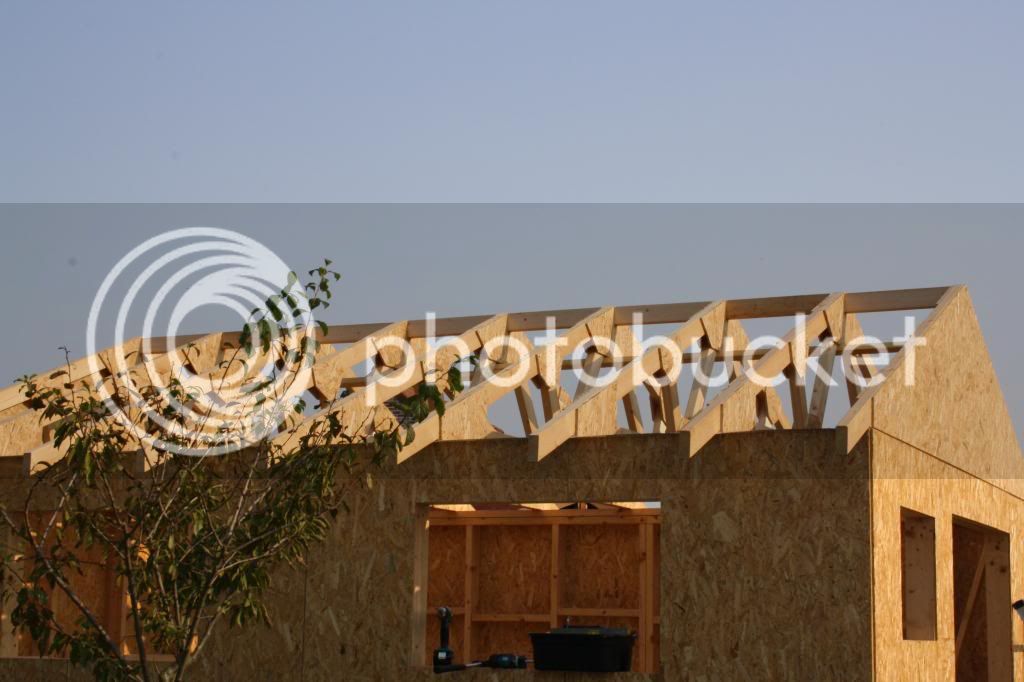
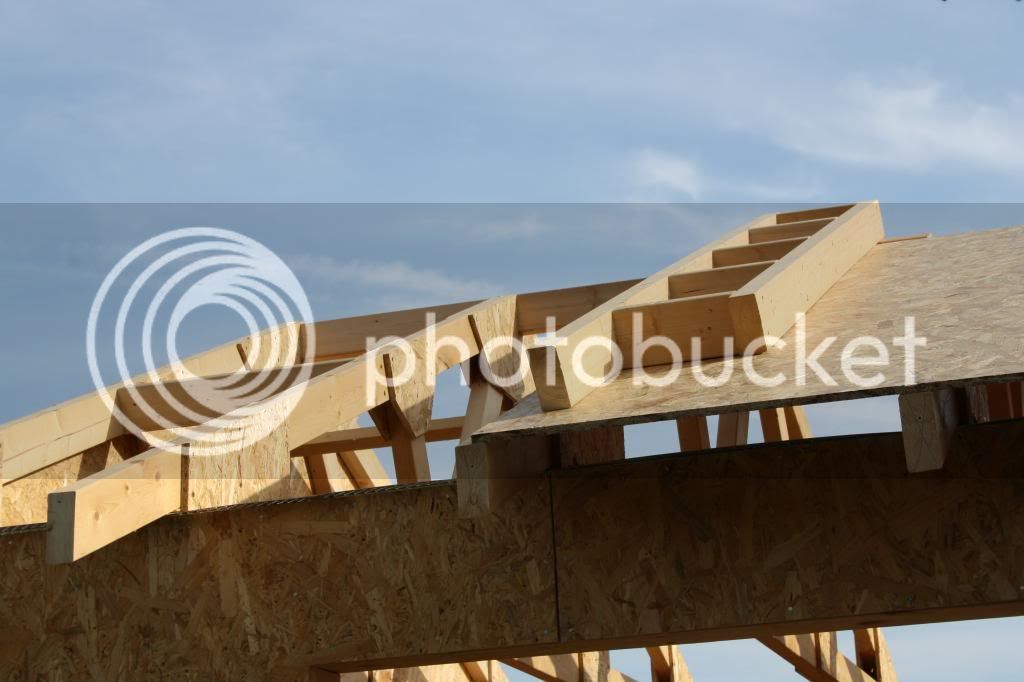
You have done a grand job so far, and the fink trusses look fine. Using this method will make the roof assembly fly as well - it is so satisfying.
Having done this kind of roof, can I offer some advice (that you might have already decided on) When errecting the trusses, use a pair of stopblocks that you either screw or clamp in place to position the trusses accurately. Then you can just slide them into position and not have to struggle. Also, if you make the blocks L shaped, once the truss is in position, you can immediately clamp the truss to it for stability - very handy if windy, or working on your own. We also had another L shaped bracket cut to the truss spacing that we clamped to the top of the adjacentt truss so that the next truss could be slid into place and held upright whilst clamping - I hope that makes sense. That is how we two old farts managed to make a heavy and awkward job into an easy one.
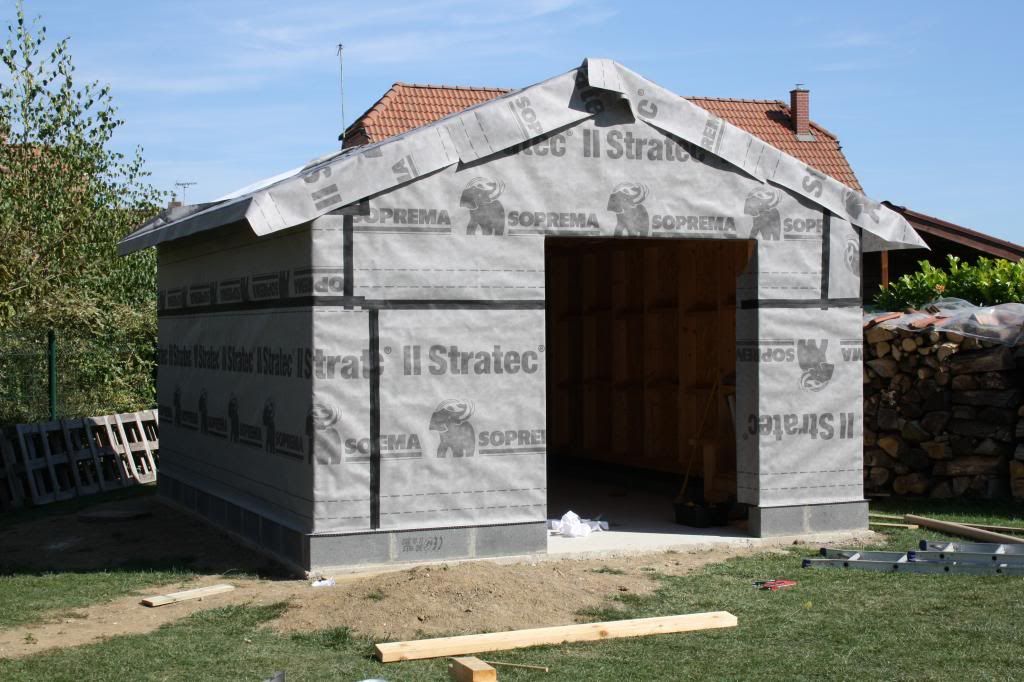
So keep up the the good work, and best wishes for a speedy conclusion.
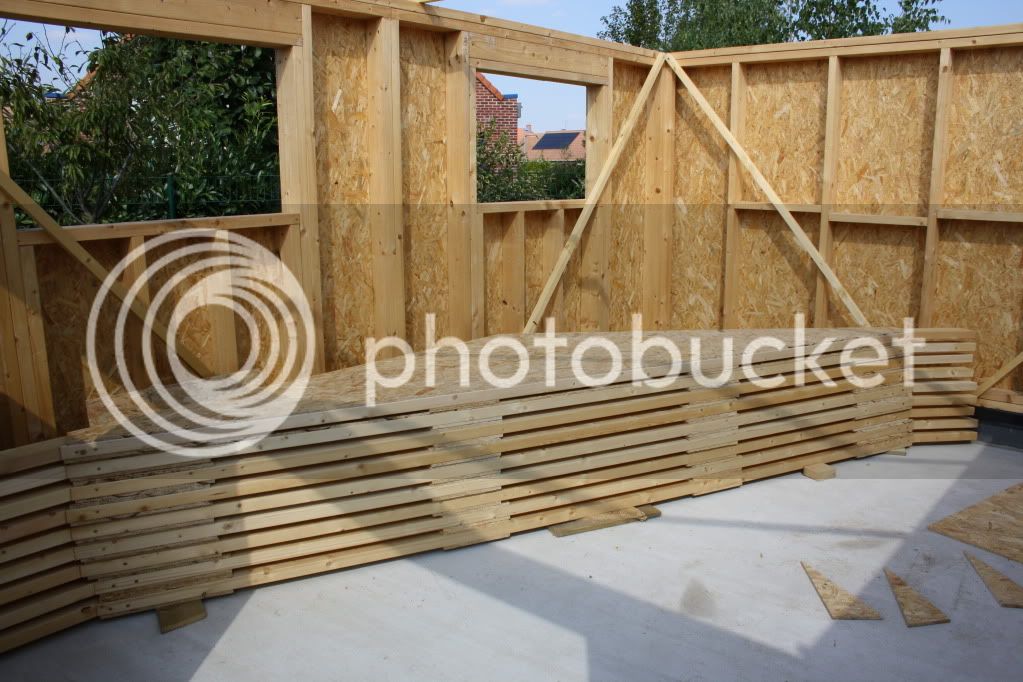
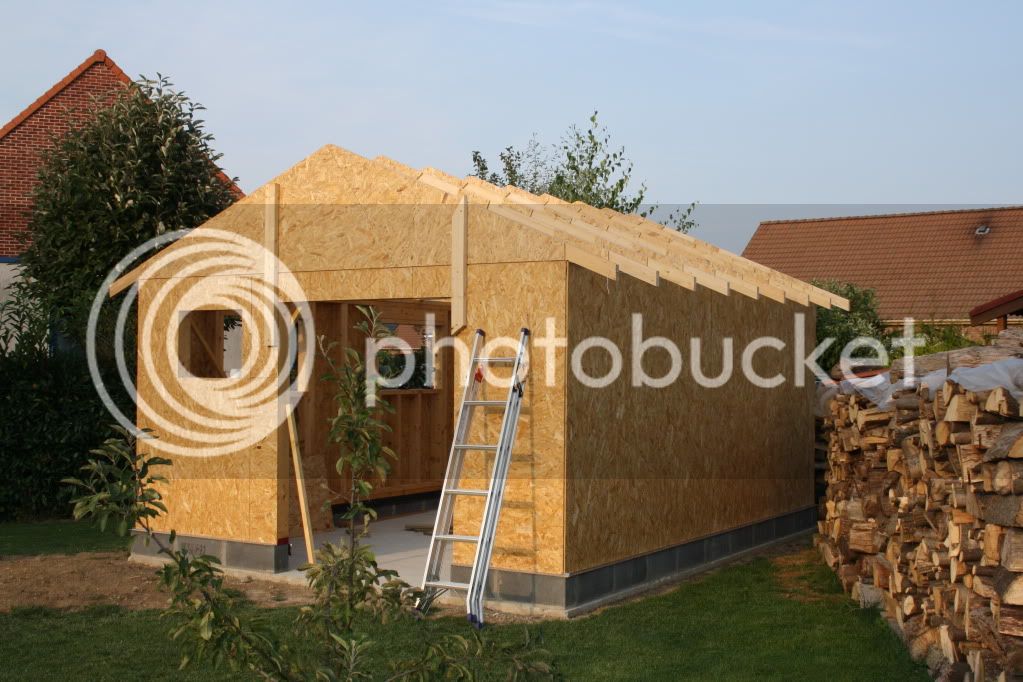
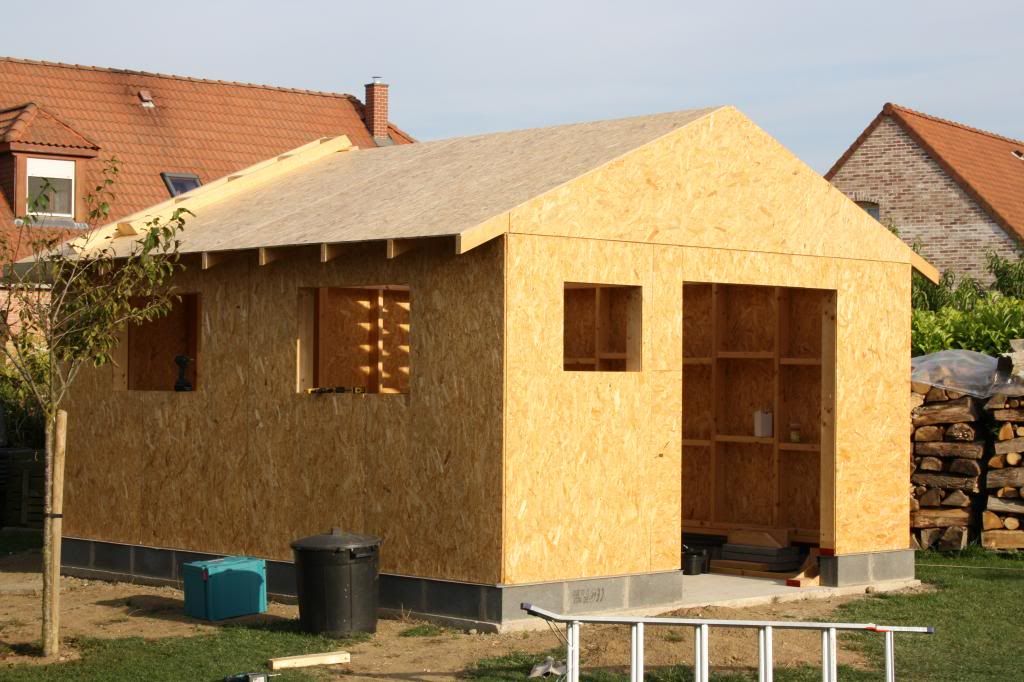
Oh yes, and I am deeply envious of you neatly stacked and very large wood pile
Regards...Dick.