Fire engine bed WIP

UKworkshop.co.uk

Help Support UKworkshop.co.uk:

This site may earn a commission from merchant affiliate links, including eBay, Amazon, and others.

Mekkemikkel

Established Member
Joined
31 Aug 2009
Messages
71
Reaction score
0
Location
Norway
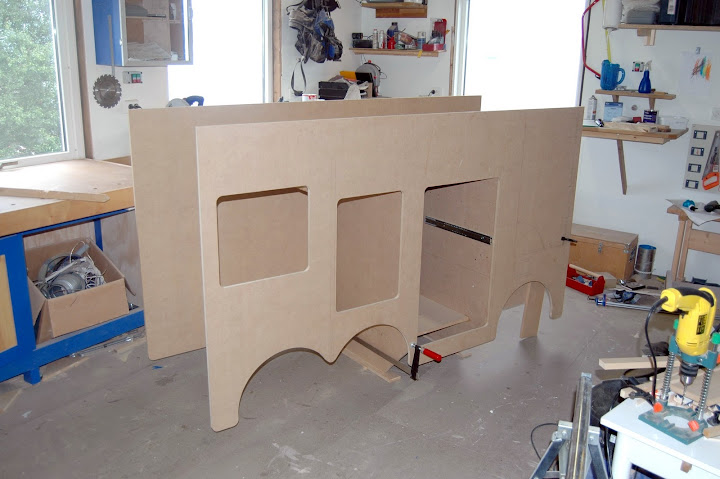
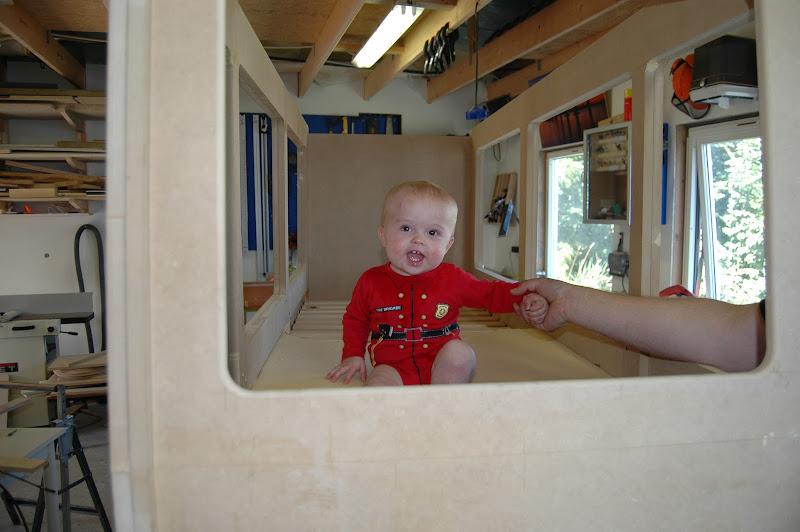
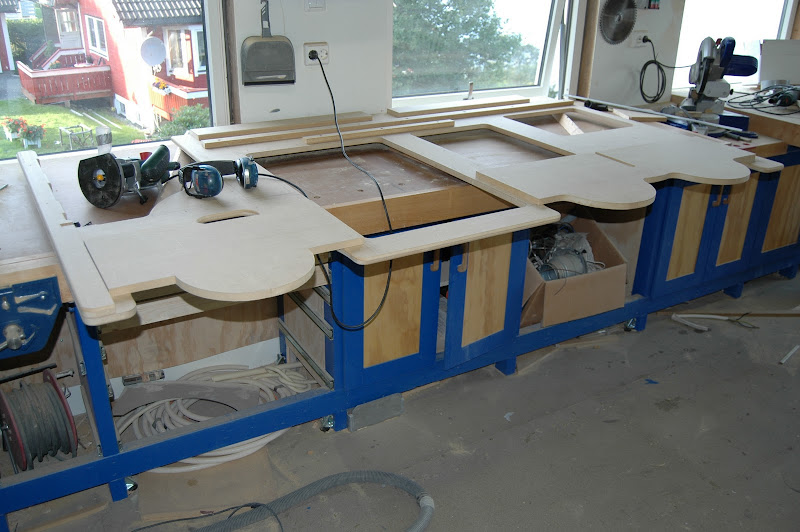
As promised in my workshopWIP, here comes the photo-story about my oldest son's new bed. His hero is Fireman Sam, so there was no question about which kind of bed he wanted!

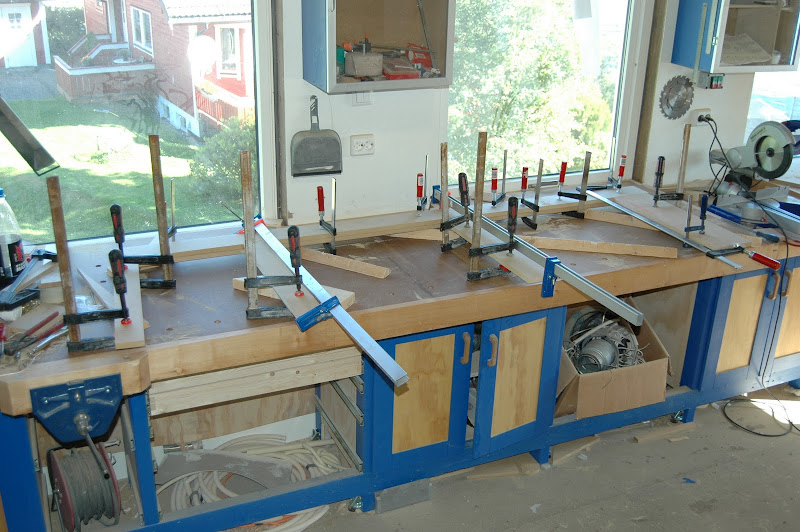
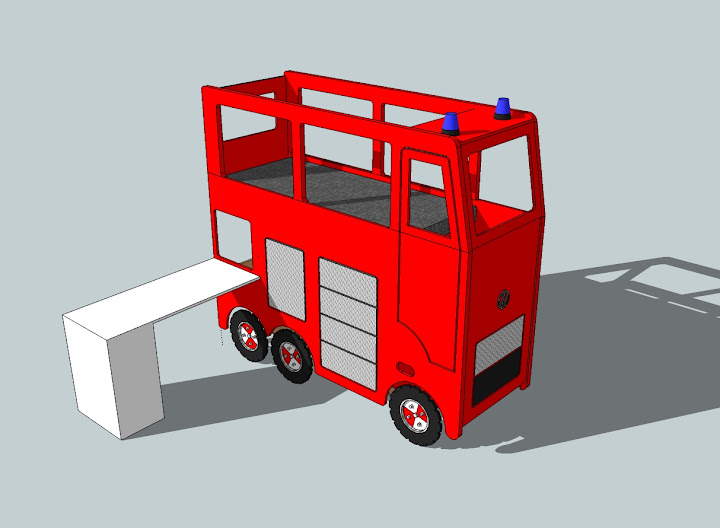
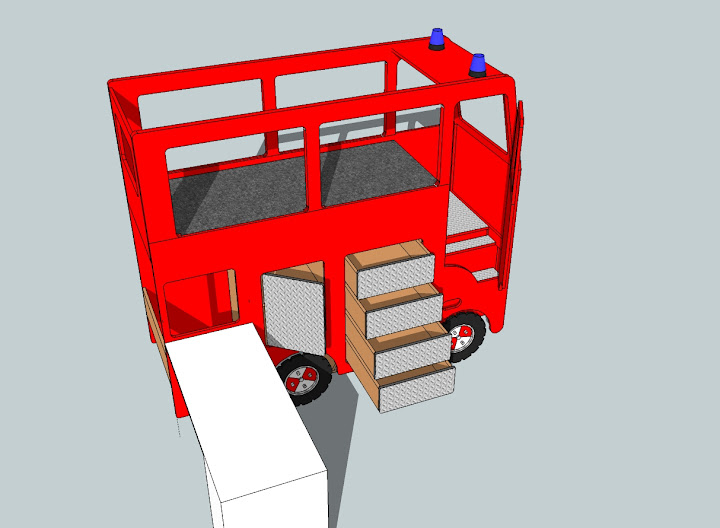
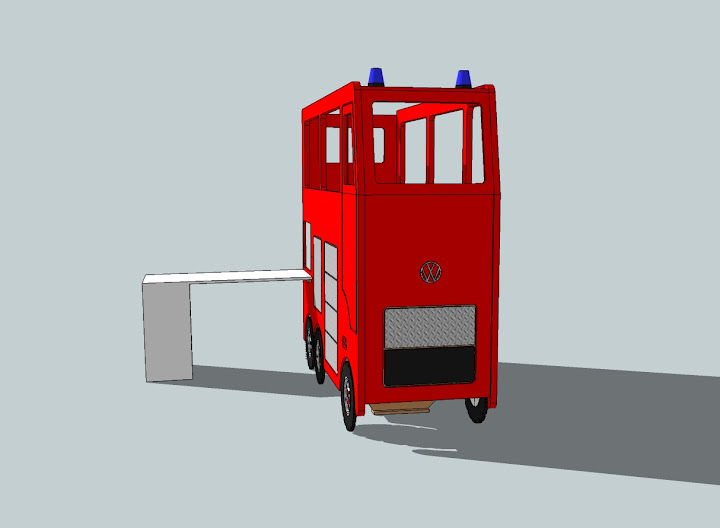
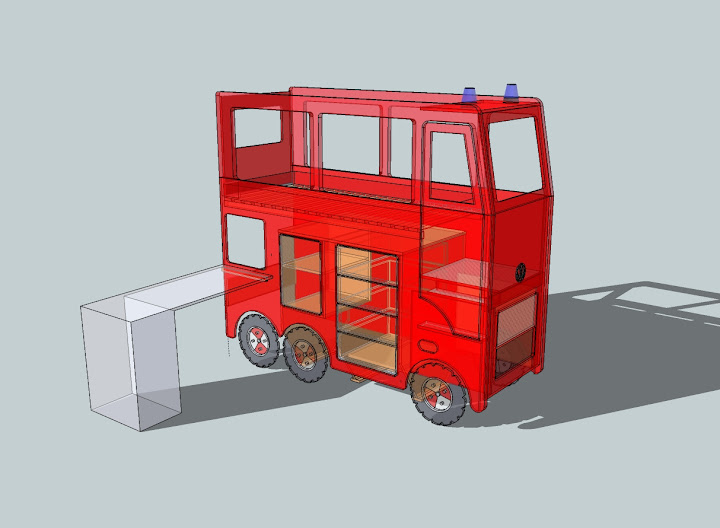
For a start, here is the sketchup-drawings which the client accepted:

Brannbilseng%20SU1.jpg


Brannbilseng%20SU3.jpg


Brannbilseng%20SU2.jpg


Brannbilseng%20SU%20X-ray.jpg
 
First i made all the components for the internal unit. Everything is 18mm MDF.

DSC_1637.JPG


And assembled it with glue and screws to this:

DSC_1647.JPG


DSC_1649.JPG
 
Next I made all the drawers, with 6mm ply bottoms.

DSC_1707.JPG


Mitre lock joints in all corners.

DSC_1708.JPG


And sprayed them white:

DSC_1716.JPG
 
Sim, my workshop is 56m2, but i guess you never can have too much space!


With the drawers in the finishing room, it was time for some bodywork!

First I routed a recess where the wheels will be.

DSC_1718.JPG


DSC_1719.JPG


Then I removed the waste with the jigsaw:

DSC_1721.JPG


And cleaned it up with a trimmer in the router.

DSC_1722.JPG


I made a template which I used to round over all the corners with the router.

DSC_1724.JPG


And ended up with this:

DSC_1727.JPG
 
Mekkemikkel":zlrze4i3 said:
Next I made all the drawers, with 6mm ply pineapples.


Please excuse my ignorance here but I've seen this on a couple of posts, but what are 'pineapples'??

Wayne.
 
planetWayne":ms6uvuml said:
Mekkemikkel":ms6uvuml said:
Next I made all the drawers, with 6mm ply pineapples.


Please excuse my ignorance here but I've seen this on a couple of posts, but what are 'pineapples'??

Wayne.

:lol: I did use the word "b o t t o m" for a "drawerb o t t o m" but I think the bad language filter censored it!
 
In the UK, the firemen exit the sleeping area usually via a pole, (vehicles are on the ground floor) but a nice project and your son should sleep well with such an exotic bed.
 
To continue the bodywork, I copied the shape to another sheet for the other side of the truck, and drilled all the holes for the screws that will hold the body to the internal unit through both sheets at once.

DSC_1732.JPG


Then I used my corner-template and routed all the corners for the openings for drawers and cupboard.

DSC_1734.JPG


DSC_1740.JPG


DSC_1742.JPG


Next I connected all the corners with a straight edge and the same bearing guided template cutter in my router.

DSC_1743.JPG


DSC_1744.JPG


Then a round with the jigsaw

DSC_1745.JPG


And clean up with the router:

DSC_1747.JPG


I had to do a new test fit to see how it looked :)

DSC_1748.JPG
 
devonwoody":13lvaeji said:
In the UK, the firemen exit the sleeping area usually via a pole, (vehicles are on the ground floor) but a nice project and your son should sleep well with such an exotic bed.

Yes, he do want a pole in his room, but I'm afraid that might make it look like a totaly different "play area" - not suited for å 5-year old guy! :shock: :lol:


Well, a car needs a door, so I made that opening in the same manner as before:

DSC_1749.JPG


And here I've also fitted the drawers:

DSC_1754.JPG
 
Mekkemikkel":1oyi8zgv said:
:lol: I did use the word "b o t t o m" for a "drawerb o t t o m" but I think the bad language filter censored it!

:oops: :oops: I was beginning to think I was going loopy! Some new wood type or boarding made from pineapple trees or something! :oops: :oops:

Now that I feel really dense!


Great WIP by the way, very impressive!

Wayne.
 
Blister":3irayjd1 said:
Cracking project :lol:

It must be called DENNIS , as all fire engines are called DENNIS

says so on the front :p :p :p

We just sold all our old Dennis to Ireland, now they are all called Scania :(

DW, about the Poll, the new stations been built don't have polls, its against HS nowdays. Having said that my station has the longest poll drop in Europe and its great fun :)


Great bed, you'll have to stop feeding him so he never grows out of it!
 
As with all of your work Mekkemikkel, this is a stunning build.
But I still have problems with you trying to confuse your son by giving him a London Bus and just calling it a fire engine, even it it does have blue flashing lights.
Whoever has seen a fire engine without an escape ladder?

David
 
What a fantastic project! 8)

Is it your own design or did you find the plans elsewhere? I really like the steps leading up to the bed, where most similar designs would have some kind of ladder plonked on the front.

Look forward to seeing this come together. :)
 
Thanks for all the kind comments!

About the name I'm afraid that it won't be neither Dennis nor Scania. Fireman Sam's engine is named Jupiter - so Jupiter it is!

Acanthus, it's NOT a bus, and it WILL have a ladder eventually!!!! :shock: :wink:

Olly, the design is mine, but of course I've had some influence from google.... :)


With the sides done, I made the front.

DSC_1765.JPG


And then I made the upper part with the "windows".

DSC_1771.JPG


To make the frame a little stronger I glued on some strips of MDF, to double the thickness, and trimmed it with the router again.

DSC_1774.JPG
 
Next I made the drawer fronts form the pieces that I routed out from the side and front. I sprayed the edges white, and made an special black drawer front..

DSC_1766.JPG


.. and a bolt:

DSC_1769.JPG


Then i glued some offcuts from the kids vinyl flooring to the drawer fronts and the door for the cupboard, and weighted it down for the night..

DSC_1775.JPG


Next day I mounted the drawer fronts and ended up with this:

DSC_1785.JPG


DSC_1782.JPG


My youngest assistant came out to the workshop to check my progress:

DSC_1776.JPG
 
With the front window and upper parts of the sides in place, it's really beginning to look like a bu.... truck! :)

Biscuits and glue holds the front piece together.

DSC_1789.JPG


DSC_1790.JPG


Assistant fireman made a new inspection and seems quite happy!

DSC_2211.JPG


The door is also made up by two layers:

DSC_2216.JPG


With most of the parts fitted, I started to disassemble one side, for rounding over the edges and some sanding before the paint job.

DSC_2218.JPG


DSC_2222.JPG


DSC_2219.JPG


I also made and fitted the parts that the weels will be screwed on to:

DSC_2223.JPG
 

Latest posts

Back
Top