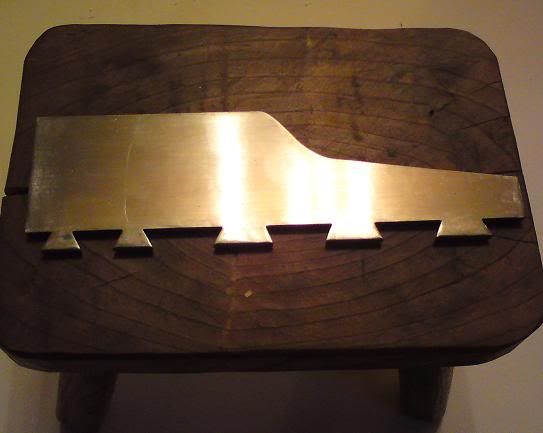
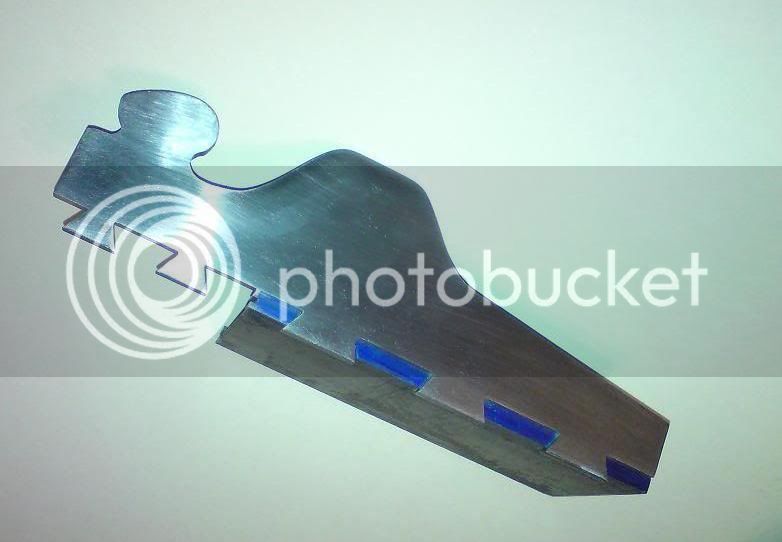
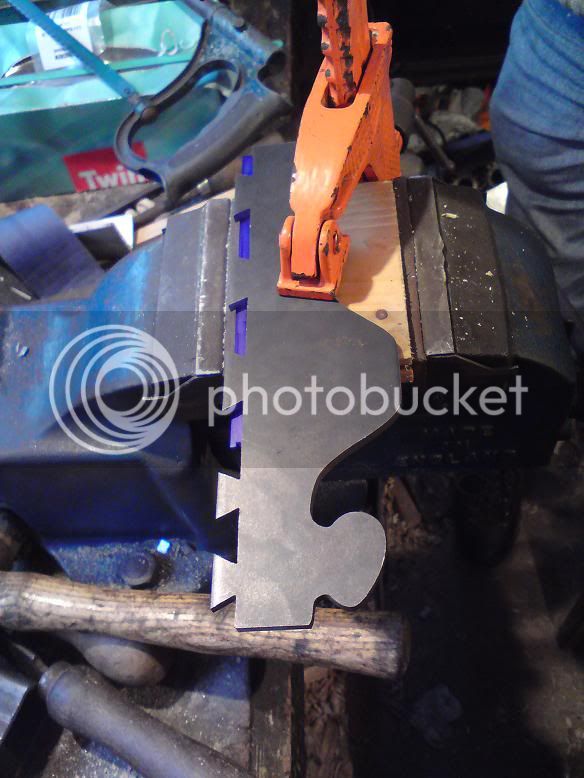
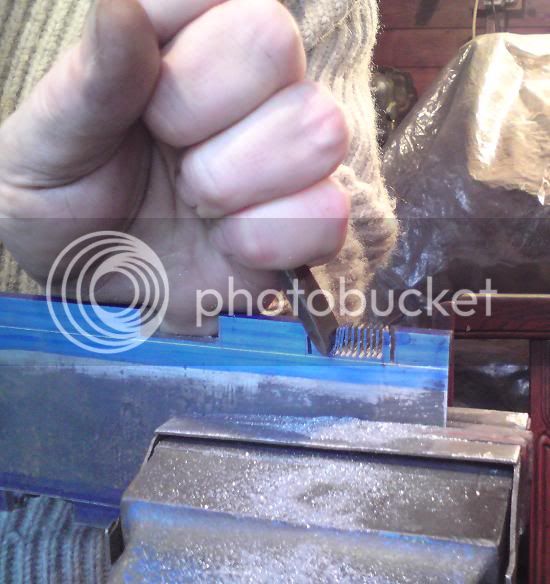
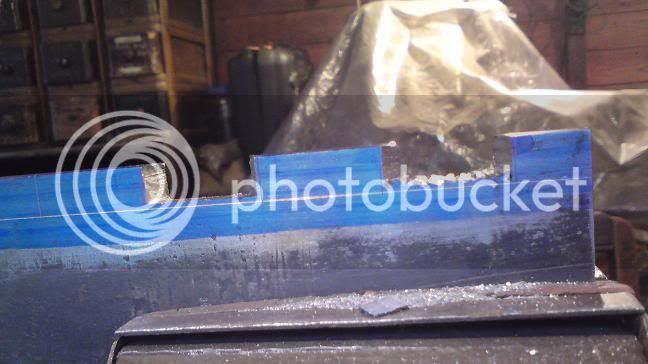
I finished the sides yesterday and started on the joints on one side of the sole. I got it to bite in last thing last night, but I have to say, it's harder than it looks.
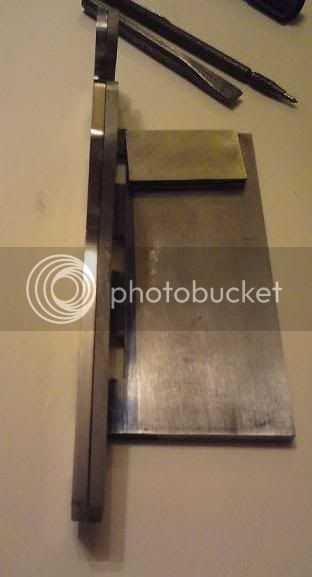
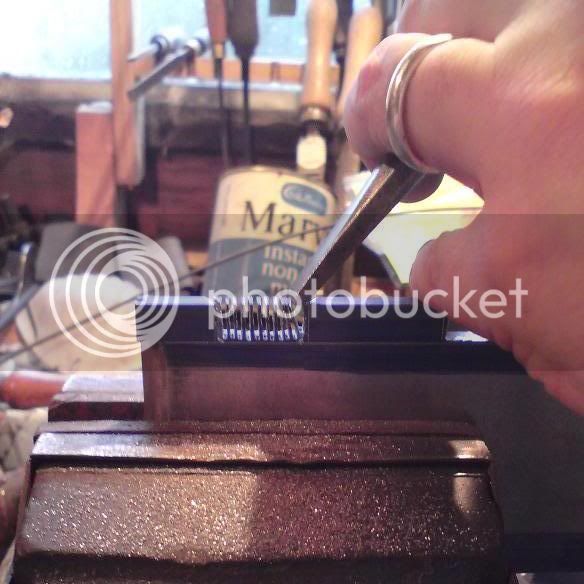
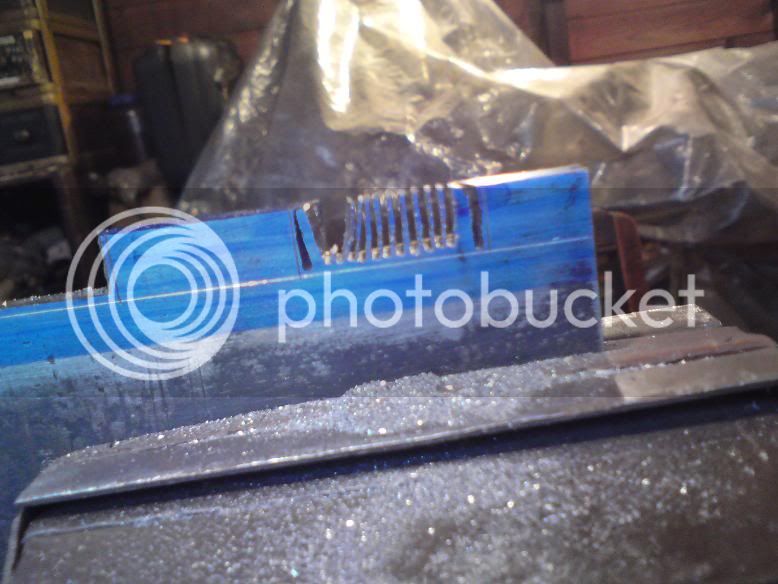
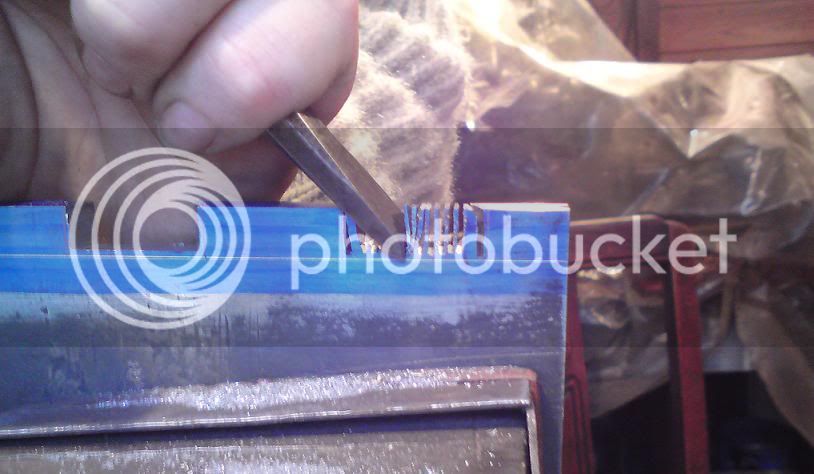
I have finally got round to getting a blue marker pen and a proper scriber. This is narrow enough to get in to the 5mm deep joints and I couldn't have done without it. There's another essential item to add to the list of kit.
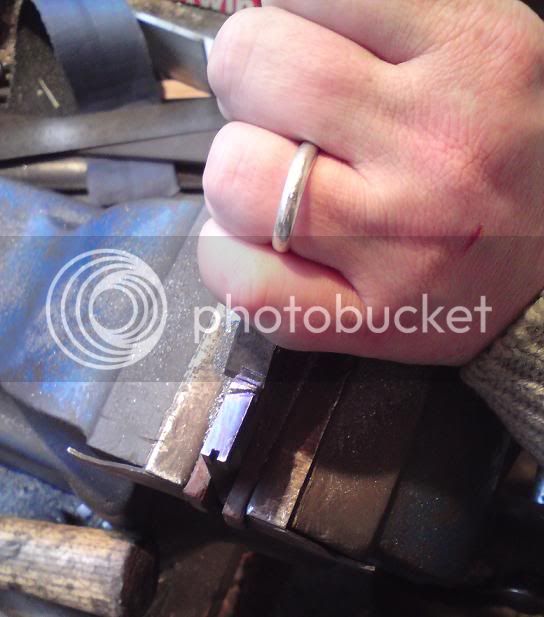
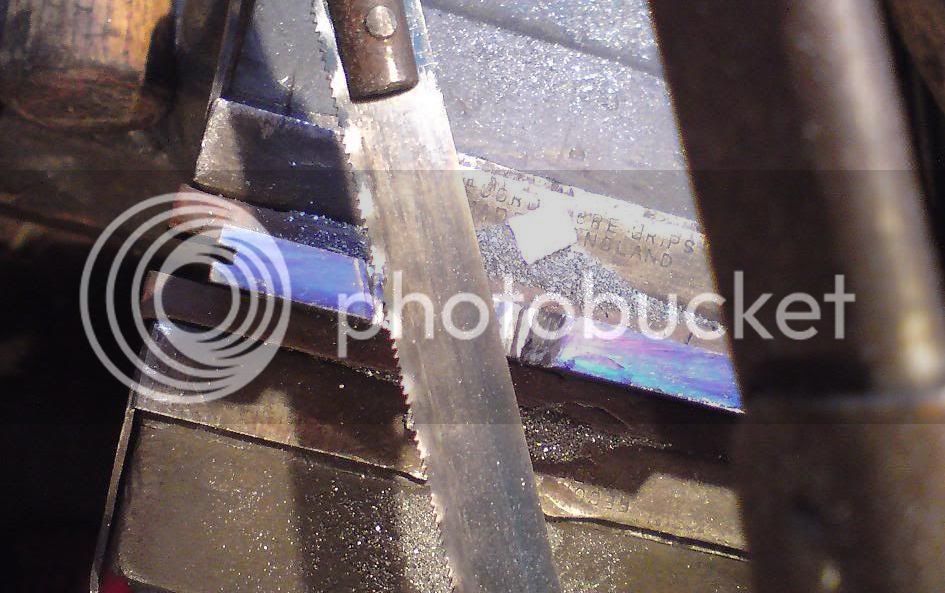
So I had my really accurate scribed lines to work up to - worked up to them; nowhere near. Worked into them ... worked through them ... it was a long, slow process of taking off minute amounts then checking for fit. It would be very easy to end up with too much taken from one side of one joint and not enough from the other, but with all that constant checking I think it's going to be ok.
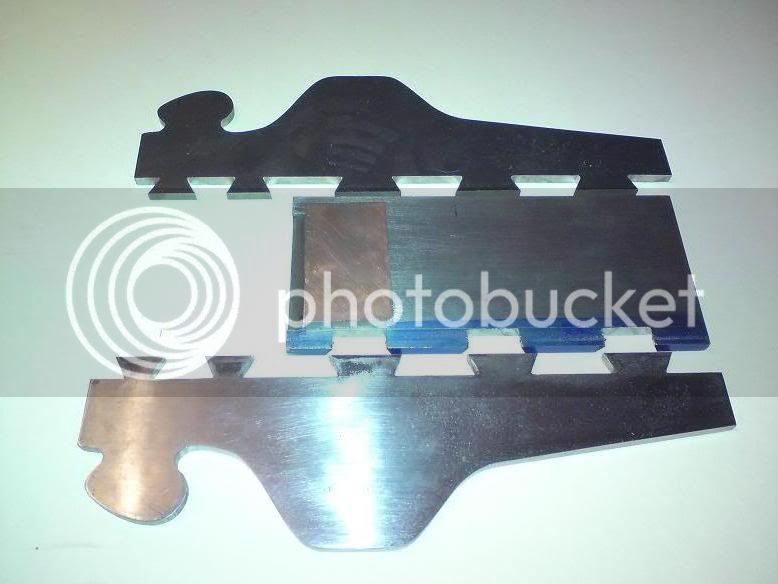
One thing is sure. Next time I will cut much steeper angled tails. It has been a real pain to have such tight corners at the tops of them. Although I got out all I could with a knife-profile Swiss file, they are always going to be rounder than the corners of the "pins" that should be fitting into them, which of course can easily be got point-sharp. Pictures to follow this evening.
Thanks for the tip off Dan - but when I do that, I get this
Andy, Yes I s'pose a wide blade is much more likely to get off square and lots harder to square up in sharpening than a narrow blade that is held fixed in a plough plane for eg. It's all academic for this plane of course due to the tapered iron but I just want it to have less play than the Veritas which has the habit of making several crazy side trips en route to its destination.
Xy - I've heard of people talking about this as an option, but I can't say I've ever had the need ... probably I just haven't done enough planing to have made quite all of the mistakes there are yet - although it feels like it sometimes
")