Display cabinet by Devonwoody

UKworkshop.co.uk

Help Support UKworkshop.co.uk:

This site may earn a commission from merchant affiliate links, including eBay, Amazon, and others.
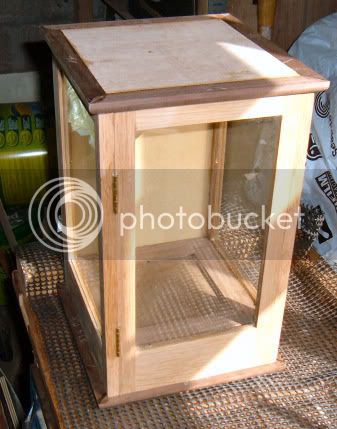
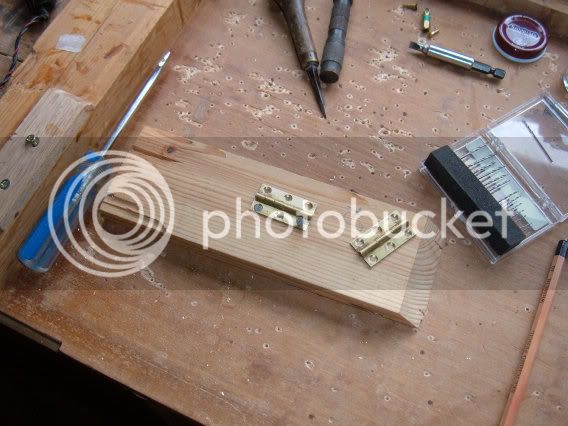
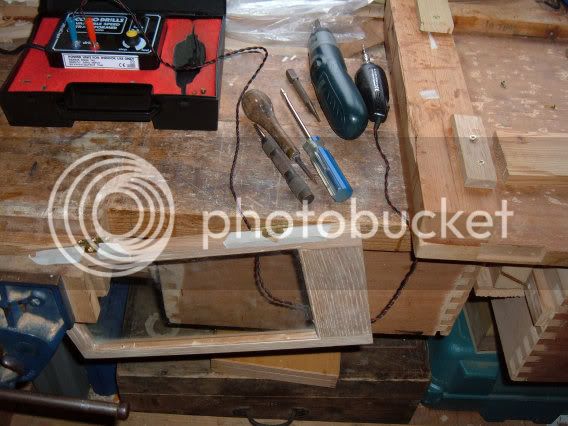
I started on fitting the hinges and found that the brass screw heads are oversized so drilled with a bit to largen dimensions, however there was a soft spot and the drill went completely through the countersunk area and now the screw will not hold at all. So I intend to put a screw in anyway and then solder its head to the hinge. Any better ideas please advise, (hammer)

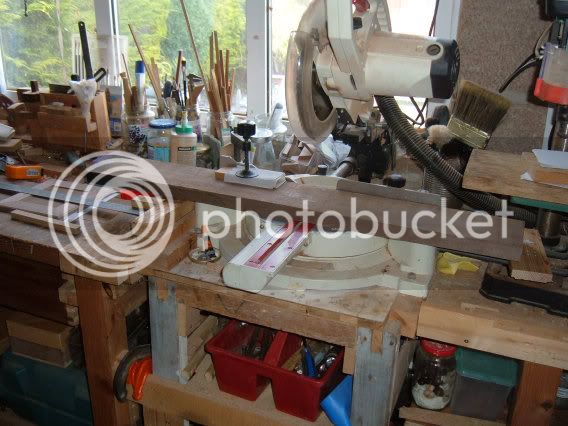
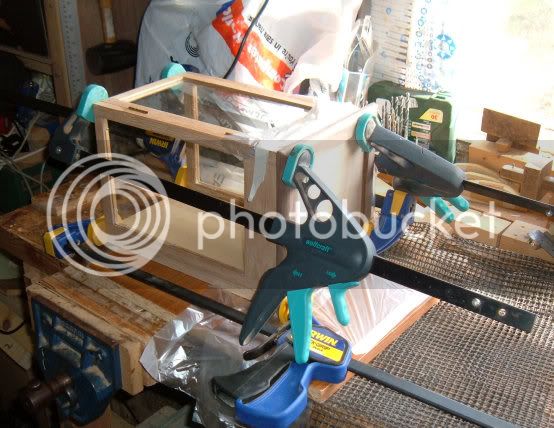
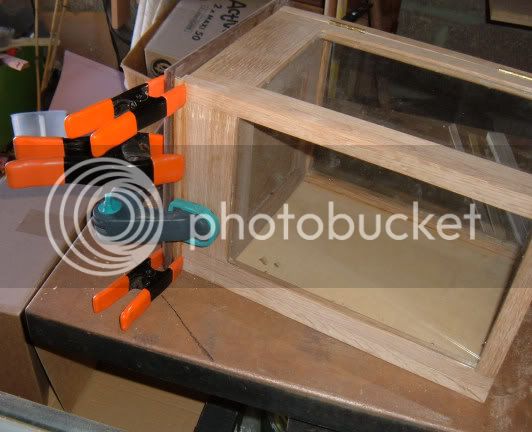
Pictures below shows how I held the hinges doing the above operation.

wednewuse1.jpg


wednew2wuse.jpg


Cannot show you the result today of fitted hinges :oops: They will need some more adjustment to correct some problems. (sorry about that one but it was bad)

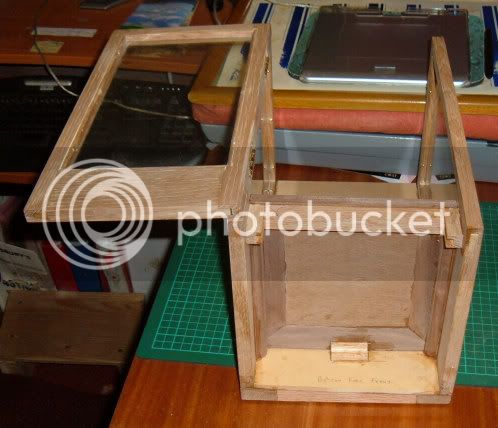
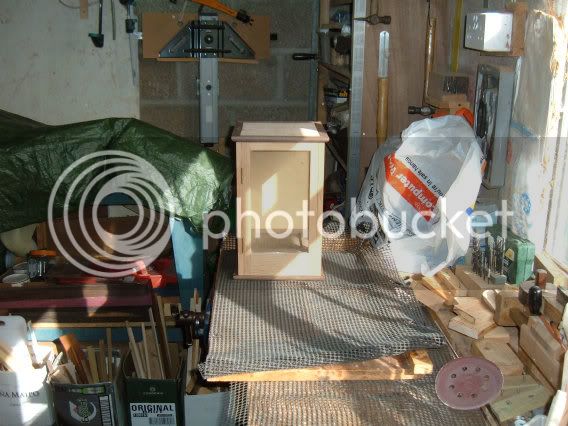
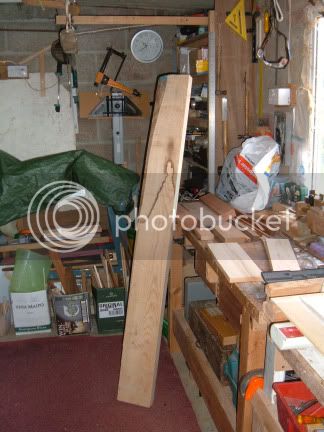
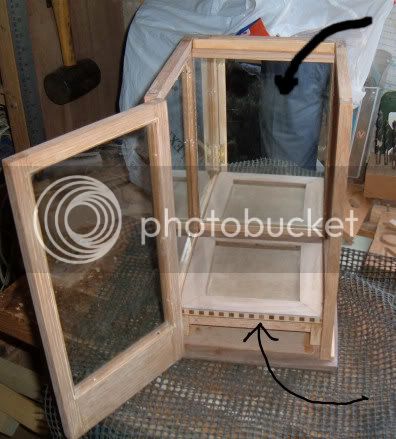
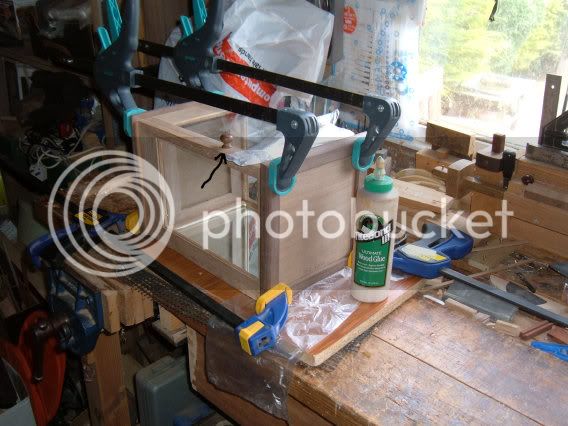
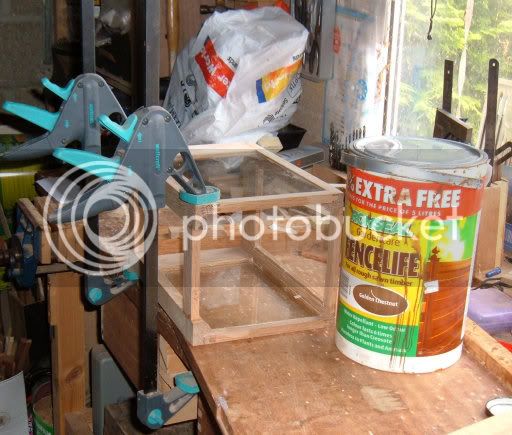
However I did glue the other side to back frame. (The tin of preservative is just a counter weight so the job did not fall off the bench)

wednew3wuse.jpg
 
I am pleased to report that hinges are now set.

2011_051818thmayafternhinge1w.jpg


The past woodwork teacher of many years ago would be wiping his eyes but the hinges do work.

Put the back and mirror in position and stood the cup on a temporary stand.

2011_051818thmayaftern0010cupinw.jpg


I have struck lucky with the top and bottom plate made sometime ago, the are going to be used partly as a platform and the other an internal top plate.
 
Fitted the internal platform and secured the fourth dimension across the front of the cabinet for the first time

fri203w.jpg


I now have to remake a top and bottom plate of cabinet to complete the woodwork for this piece.

A length of black walnut again selected but because of its condition, although it was 27mm thick I wasted away 14 mm of this getting to finished thickness. The short end left will come in for another TB.

fri201w.jpg


fri202w.jpg


I reckon there are now 49 pieces of timber in this cabinet and when adding metal items like screws, hinges, glazing and fixing bits the total will be nearly 90 items.
 
Nearly there!

Top and bottom plate ready to be glued on.

2011_0522sat22may20004w2.jpg


sorry about the sunshine!

2011_0522sat22may20007w1.jpg


The door at the present time holds its closed position perfectly and I have not decided whether to put a couple of slivers of timbers on its frame edge and carcass inside edge and let the door bump over those ridges to hold closed or find some magnetic way of holding doors closed in the future.

Getting some timber together to make some tissue boxes, I've got withdrawal symptoms.
 
It's looking very good DW!! Well done! You are speeding ahead of me (I wish I was retired)! I am also scratching my head about how to hold my doors shut on my display cabinet. I have come to the conclusion that some sort of magnetic catch is needed. I am thinking of burying the magnet (possibly a rare earth magnet) deep inside a drilled hole in the top/bottom of the main carcass and then having some flush mounted metallic plates inset into the doors at the appropriate places. Probably one top & bottom of each door. My doors will overlap the front edges of the carcass.

Have you (or anyone else) used rare earth magnets in this way before? I guess this depends on the dimensions of the REM and its corresponding magnetic strength, but my idea is to trial it at different drilled hole depths as I want to make sure that the right amount of attraction is available for the doors and so that you do not need a crow bar to open them! :shock:

Or is it better to just use a normal magnet?

cheers
Steve
 
Sorry Orcamesh, I cannot help you on the magnet question but happy for anyone to advise us both.

Started the clean up operations today but made a list of jobs still to do on cabinet and got a surprise, fit tops, bottoms, door knob some mouldings etc.etc. and in the meantime I decided to collect some timber together to prepare for tissue boxes.

tissueboxprepw1.jpg
 
Hi devonwoody,

The cabinet looks really good and I've learnt alot from your WIP - thanks for posting it.

With regard to rust on the table saw ( a few posts back ) - when shutting down for winter I spray the metal surface with WD40 ( liberally) and then drop a sheet of cling film over it. The cling film can be pressed in the nooks and crannies, other bits ripped off and stuck down if you miss a bit.
I do the same for the planner bed, spray it with WD40 and put a layer of cling film over the top. For my shoulder plane I spray it and wrap it in cling film.
When starting up again - remove cling film, wipe off the WD40 residue and you're ready to get going. Hope that might help.

Graham
 
Re the screw that won't bite, if 'twere me, I would drill the hole out wider, glue in a plug, pilot hole the plug and screw into that.
' course I don't know if this too small an arrangement for this trick to work.
Looking V good.
 
Richard T":iw1p7vdg said:
Re the screw that won't bite, if 'twere me, I would drill the hole out wider, glue in a plug, pilot hole the plug and screw into that.
' course I don't know if this too small an arrangement for this trick to work.

I would do the same. For a plug I generally use the old-style fibre Rawlplugs.

Cheers :wink:

Paul
 
Thanks, you are right.

However its the brass hinge counter sink hole I have overdrilled the screws goes right through the eyelet and its around a size 8 screw needed which is too large for hinge.
 
Thanks also for the tip on closing down the c.i. tops over winter, I shall give that a try this year.

Some more progress on tiding up again yesterday and I fortunately had a message flash at 3am this morning to fit the back mirror before putting the top plate on permanently, that was a close one!
 
"its the brass hinge counter sink hole I have overdrilled the screws goes right through the eyelet "

Aha ... must have been reading too fast.

How about a small, thin brass washer - if thin enough would take the form of the countersink under pressure from the underside of the screw head and, hopefully, be invisible when done.
 
Good ideas come in two's.

I have got some very thin brass sheet, paper thickness or less from my model railway days so will give that a try.
 
I had a very good day yesterday in the W/S.

All wood work items are now fitted and it also brought back some happy memories of previous years on the forum.

The banding fitted to the front platform in the picture below marked with an arrow was given to me as a gift by LyNX many years ago together with some veneers and various other banding designs. Thanks again LyNX, don't see much of you on the forum.

The door knob was also given to me with five other turnings perhaps as much as five years ago by a member in Sheffield, sorry your name defeats me at the moment.

So to above and others thanks.

Photographs below show the little finishing jobs completed yesterday.

26may1w.jpg


26may2w.jpg


26may3w.jpg


26may4w.jpg


26thmay5w.jpg


And finally awaiting varnish and hanging.

26thmay6w.jpg


Mirror fitted, top and bottom plates, beading to plate edges, banding to platform front and door knob fitted. I awoke early as usual this morning and I think I counted 56 pieces of timber have gone into the making of cabinet.

Taking it to its hanging place tomorrow to check that my fitting idea is practical and I will give more details later on its location, because I am awaiting a plaque which is going to be fitted to the front door panel.
 
This is the final workshop photograph of the display cabinet before leaving my workshop today.

2011_0104displaycabinet2011a0005.jpg


The plaque was unfixed, this was attached later at the Royal British Legion Branch Torquay.

plaquew.jpg


I have posted a new thread titled Royal British Legion display cabinet in projects with a brief history of this commission.
 
I like your Display Cabinet Devon Woody, Very nice!

Orcamesh":349gtrrx said:
It's looking very good DW!! Well done! You are speeding ahead of me (I wish I was retired)! I am also scratching my head about how to hold my doors shut on my display cabinet. I have come to the conclusion that some sort of magnetic catch is needed. I am thinking of burying the magnet (possibly a rare earth magnet) deep inside a drilled hole in the top/bottom of the main carcass and then having some flush mounted metallic plates inset into the doors at the appropriate places. Probably one top & bottom of each door. My doors will overlap the front edges of the carcass.

Have you (or anyone else) used rare earth magnets in this way before? I guess this depends on the dimensions of the REM and its corresponding magnetic strength, but my idea is to trial it at different drilled hole depths as I want to make sure that the right amount of attraction is available for the doors and so that you do not need a crow bar to open them! :shock:

Or is it better to just use a normal magnet?

cheers
Steve

Yes I have experimented with magnets a lot, I love magnets, you can do all that and more, and now you can get pretty much any size shape and strength, so the possibilities are endless.
My two favorite methods for holding cabinet doors shut are
1. slotting a small rectangular neodymium magnet into the tenon during door assembly, and then I use a small round washer shaped neodymium magnet, behind the top rail & under the base, I adjust the strength by altering the gap.
2. Drilling holes to house even stronger round neodymium magnets, behind the hinges on the frame and the door, the lever of the door makes it easy to open, and the resistance/force is at the corners of the cabinet , ie. you don't pull the cabinet over when you open the door.
Did I say I love Magnets.
P1020442.jpg
 

Latest posts

Back
Top