Display cabinet by Devonwoody

UKworkshop.co.uk

Help Support UKworkshop.co.uk:

This site may earn a commission from merchant affiliate links, including eBay, Amazon, and others.

devonwoody

Established Member
Joined
11 Apr 2004
Messages
13,493
Reaction score
25
Location
Paignton Devon
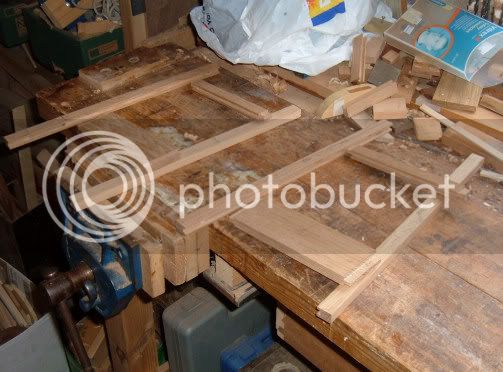
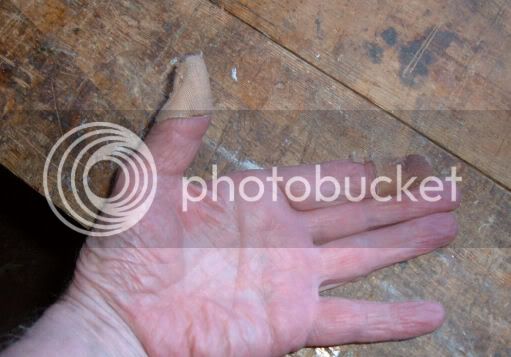
Back into the workshop today and went through my timber stock looking for suitable timber to start on a display cabinet.

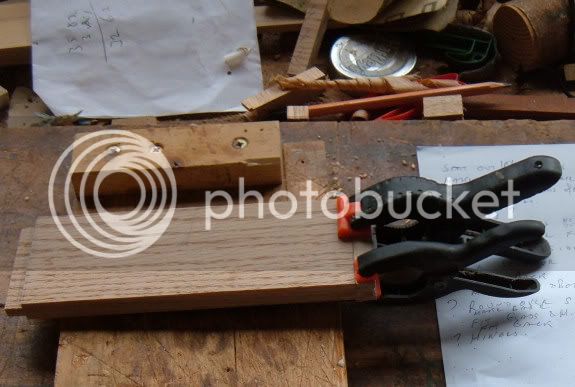
Brought it indoors to acclimatise to central heating conditions after being in sheds for around 5 years.

oak 2.jpg


oak 1.jpg


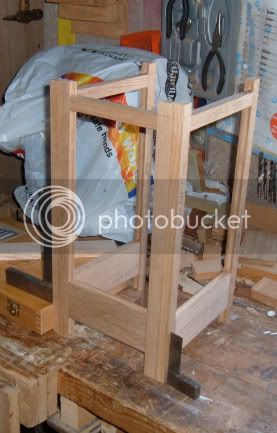
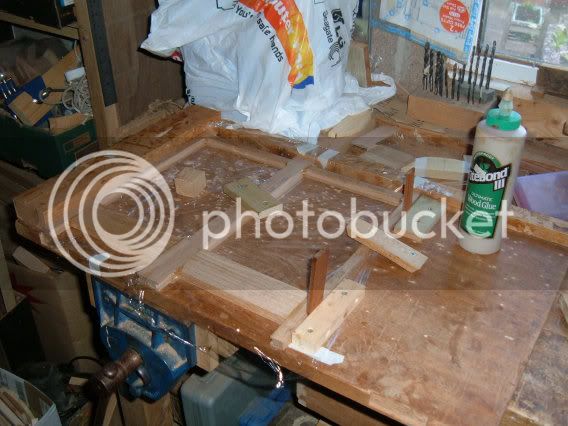
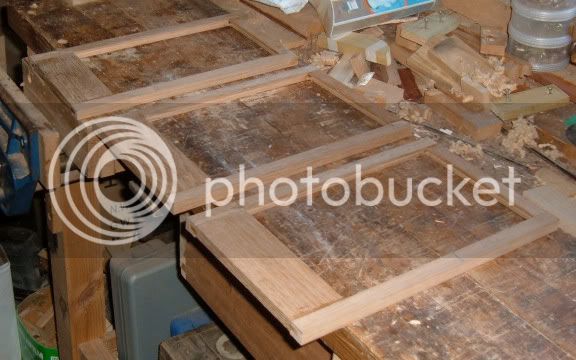
I am thinking of making the sides using the suggestion by Mailee (shaker style mortises) and the door a traditional M/T.

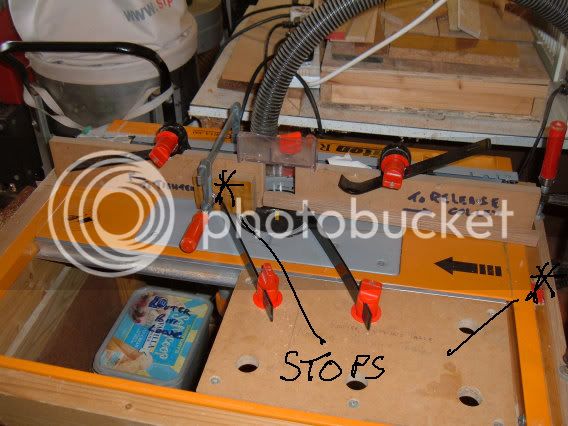
Making it on the hoof with rough sketches as I go along.

Back in around four weeks.
 

Attachments

  • oak 1.jpg
    oak 1.jpg
    29.1 KB · Views: 2,405
  • oak 2.jpg
    oak 2.jpg
    47 KB · Views: 2,405
Did a bit of machining today, planed up sides and cut to approximate thicknesses.

Cutting the preliminary thickness on the table saw I got a lot of chatter, why was that?

Incidentally two more pics attached of the tablesaw top. The main table has hardly been affected by weather conditions over winter (it had a poly sheet over the table with timber keeping it in contact with tabletop)
The extension table had no poly and has a rust layer, so I have learnt something.

BTW how do I post pics in order to align with typed comments?
 

Attachments

  • Image2w.jpg
    Image2w.jpg
    46.4 KB · Views: 1,962
  • Image6w.jpg
    Image6w.jpg
    43.2 KB · Views: 1,962
  • saw4w.jpg
    saw4w.jpg
    45.1 KB · Views: 1,962
  • saww.jpg
    saww.jpg
    56.5 KB · Views: 1,962
Pictures will align if they are pasted as links, or the insert the attachments using the place inline function just below the text box. Like:


This. Looks like this in the reply:

Code:
Pictures will align if they are pasted as links, or the insert the attachments using the place inline function just below the text box. Like:


This. Code is looks like:

My SIP saw was a bit bad after the winter to, nothing like yours just a few spots. So I sanded it down with the ROS, its quite hard work but looked as good as new when done with a fresh waxing:
 
With regard to the rust on the extension table, I think it will be too onerous and messy to clean off, I am going to try sticking some vinyl wallpaper over the top of the rust or a sheet of hardboard. What your views?
 
I use phosphoric acid for cleaning up / restoring rusty cast iron.

You can get it from car parts places. some allow wheel cleaner has it. or just look for a rust remover.

Just rub it into the rust with some wire wool, and it comes up pretty nice. (dont forget rubber/latex gloves ! )
 
I don't know why you'd say it would be messy. I just use the ROS dry on mine with dust extraction and then wipe the table with a cloth until the cloth comes off clean. Then on with a layer of wax. I did the same with an old planer a few years back, was a ton of work as it was very rusty but came up nicely in the end.
 
Phosphoric acid is found in cola (brown fizzy drink). It does work as a rust remover, but it's better with stuff you can dip and wash afterwards. I saw someone on TV recently suggesting cola was good as a loo/drain cleaner! It's very cheap as the private label stuff in supermarkets, so might be worth a punt.

E.
 
Actually Eric, it also works as a flux when soldering with some solders.

Back to the garden maintenance again, the seedlings have all come up at once.
 
devonwoody":lx8b6oo0 said:
Actually Eric, it also works as a flux when soldering with some solders.

Back to the garden maintenance again, the seedlings have all come up at once.

Useful in an emergency! I knew phosphoric acid was a flux, but not cola!

. . .

On the gardening front, sort-of, this appeared in our dining room:

Amaryllis..jpg


It keeps muttering, "feed me!" But it's only ever getting cold tea, per usual.

I'm dead impressed though, as the flowers are quite a bit bigger than last year, and it looks ,from the position of the new leaves, as if it may even flower twice this year. We've got two more that are pink rather than red, with bigger flowers, but they seem to go over really fast. This one's managed a week so far with all three flowers open.

Just a bit of fun really...

E.
 

Attachments

  • Amaryllis..jpg
    Amaryllis..jpg
    70.2 KB · Views: 1,664
Got some brownie points in this week and helped with the gardening. :)

So I had two sessions in the workshop during the day and prepared the oak pieces and then cut 1/4" dadoes on the router table.

prepared 1w.jpg


Then I cut all lengths to rough size.

prepared 2w.jpg


Then the temperature went over 80far. so I called it a day.

Hoping to make mortises on the router and cut tenons on my sled tomorrow.
 

Attachments

  • prepared 1w.jpg
    prepared 1w.jpg
    81.8 KB · Views: 1,551
  • prepared 2w.jpg
    prepared 2w.jpg
    81 KB · Views: 1,551
I got in two sessions today.

Started by cutting mortises on router table, set up stop blocks both ends and dropped timber on to running bit and pushed along to the stop to create the length of mortise. Did two passes on each cut in rotation.
Blocks marked with crosses on picture. I did have a problem setting distance from fence to cut mortises because I eyeballed the cutting position but it has worked out well.


routermortisesw.jpg


Cut tenons on my table saw using a sled.

tenonscutw.jpg


One tenon I over cut so had to glue some cheeks back on and recut. (I should have used a test piece to set blade height)

tenonrecutw.jpg


Side frames dry assembled and my stress on the project as been released.

sideframestestfittedw.jpg


Door for front (slighter narrower) also dry fitted.

frontdoordryfittedw.jpg


I have now got to decide to cut off one of the dado sides to accommodate glass.
I would like to use the router freehand after the sides and front have been glued up, but not being an experienced router user I would ask how to proceed with the cutting directions, I know there is something about rotor blade direction for safety. So please advise.
 
In the past when I have needed to cut out for glass I made a false baseplate on my router with a pointed block of timber on the bottom set the required distance from the cutter. This block would then follow the inside lower edge while the cutter removed the upper edge. Then just square off the corners with a chisel. simples! :D HTH. :wink:
 
Mailee, thanks for your suggestion, my Triton router is such a big lump I cannot see that working for me. Looks like I shall have to cut off the glass rebate using a the router table and set blocks again and machine before I glue up. Then cut the corners by hand?
 
OK, I cut off the glass rebates on the router table using blocks to restrict cut to required lengths. However my accident of the season, I removed the straight router bit to exchange for a larger cutter and when removing the bit stuck in the collet and my fingers ran up the exposed blade because the cutter did not come free of the collet and ouch!.

handw.jpg


However sticky tape only required and I carried on and glued up the two outside frames (and also the door frame) as per picture.

framesgluedw.jpg


Then came to a stop, temperature went over 80far again but humidity is less than 50%, lovely. That should do the workshop stock and equipment some good.

tempw-1.jpg
 
Popped into the W/S late afternoon and tidied up the frames.

Cut corners square ready for 2mm glass.
Also cut off horns, but I do have a problem, one of the narrow top cross pieces must have moved when being glued up. Then I cut off horns without noticing and now I have one frame which is short. I am going to hang door on the outside of the frame instead of inside hoping I can bullshit my way out of this boo boo.

framesmadetidyw.jpg
 
Back
Top