This is just a quick WIP but I thought it may be of interest.
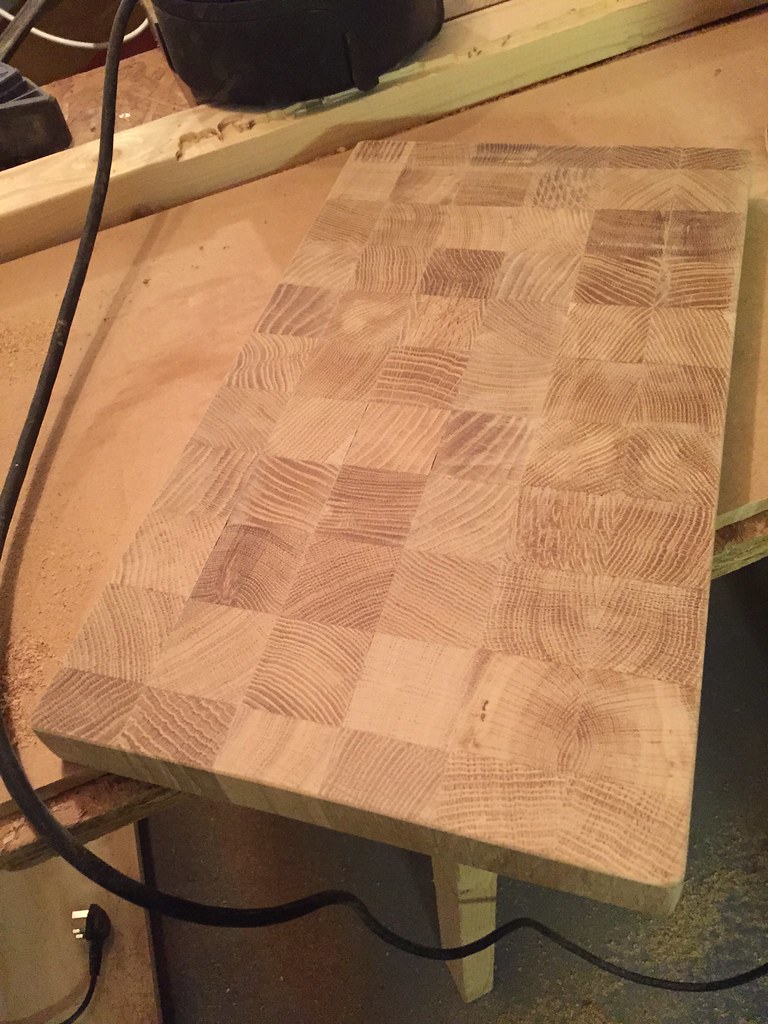
I had some left-over oak worktops and I had the crazy idea of cutting it up to make some end grain chopping boards. I'm quite sceptical this will work but I thought for a few hours work it might be worth a go.
So I cut the boards up into 35mm strips and edge joined them all with waterproof glue.
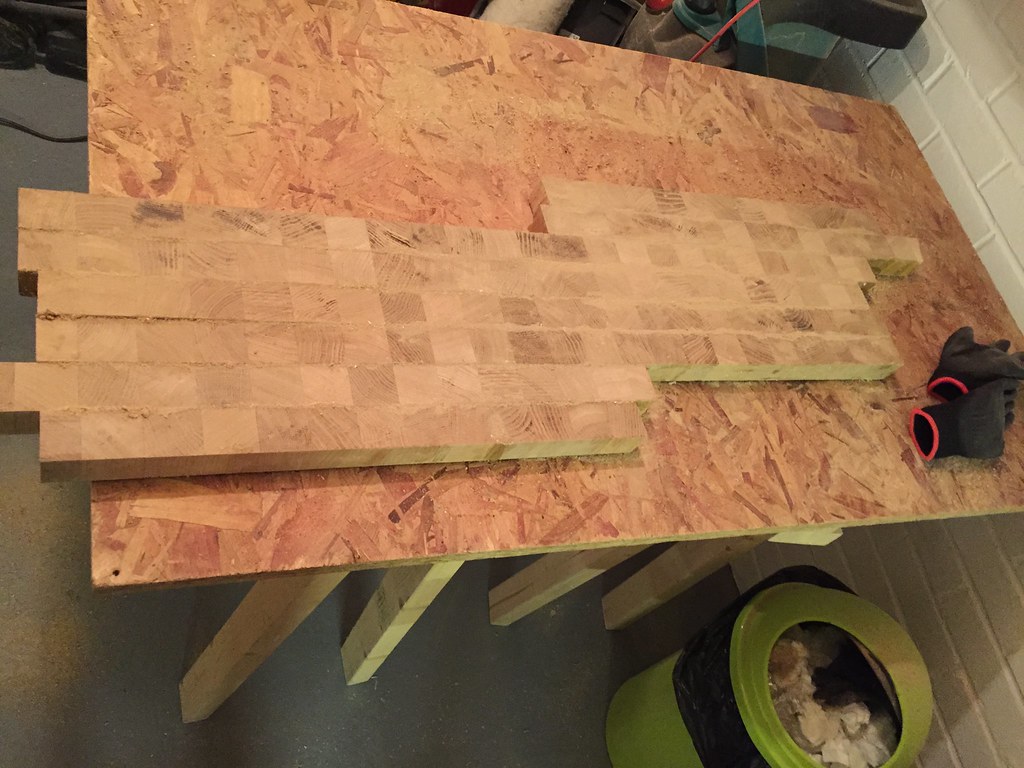
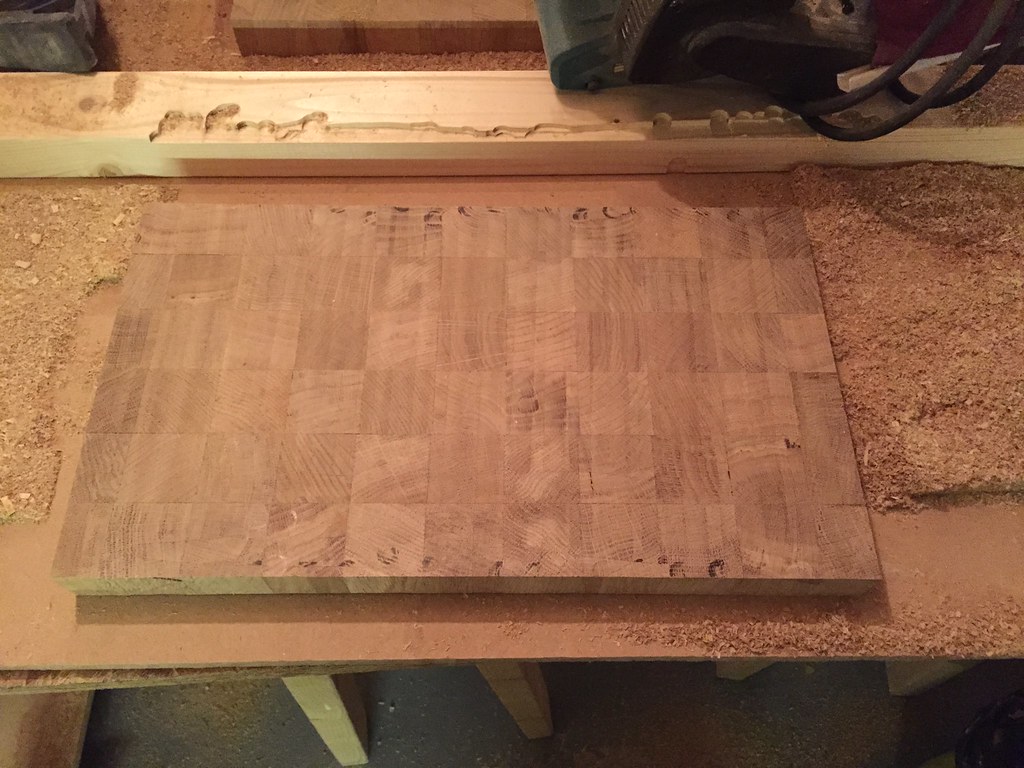
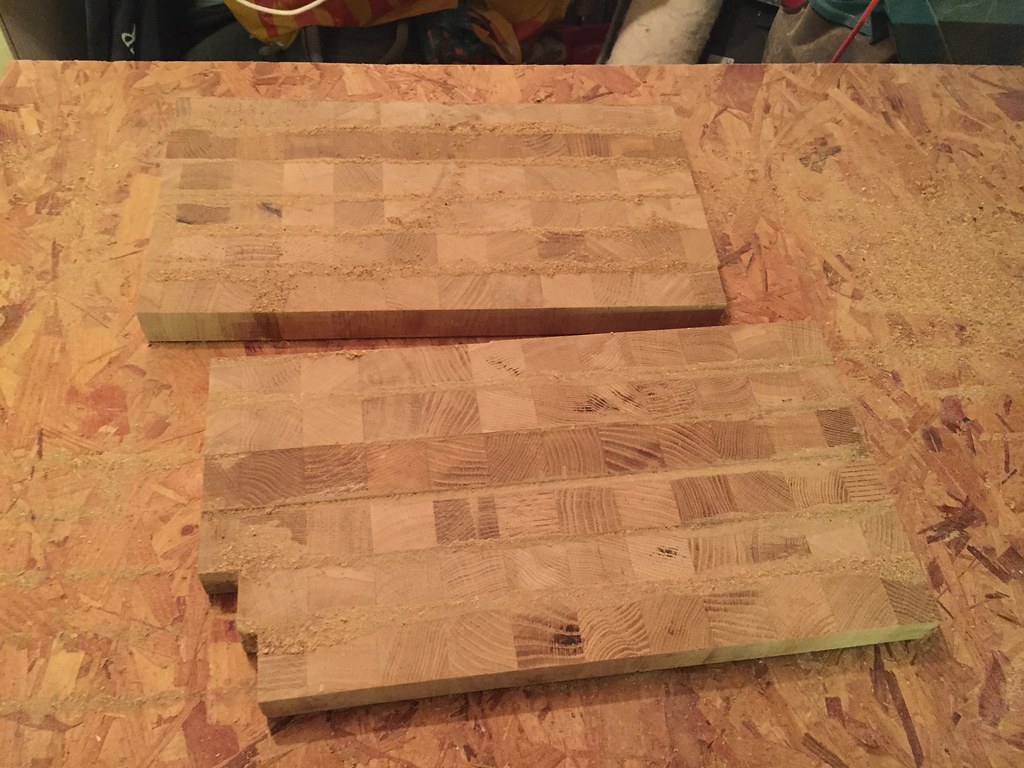
This was then rough cut into two cutting boards:
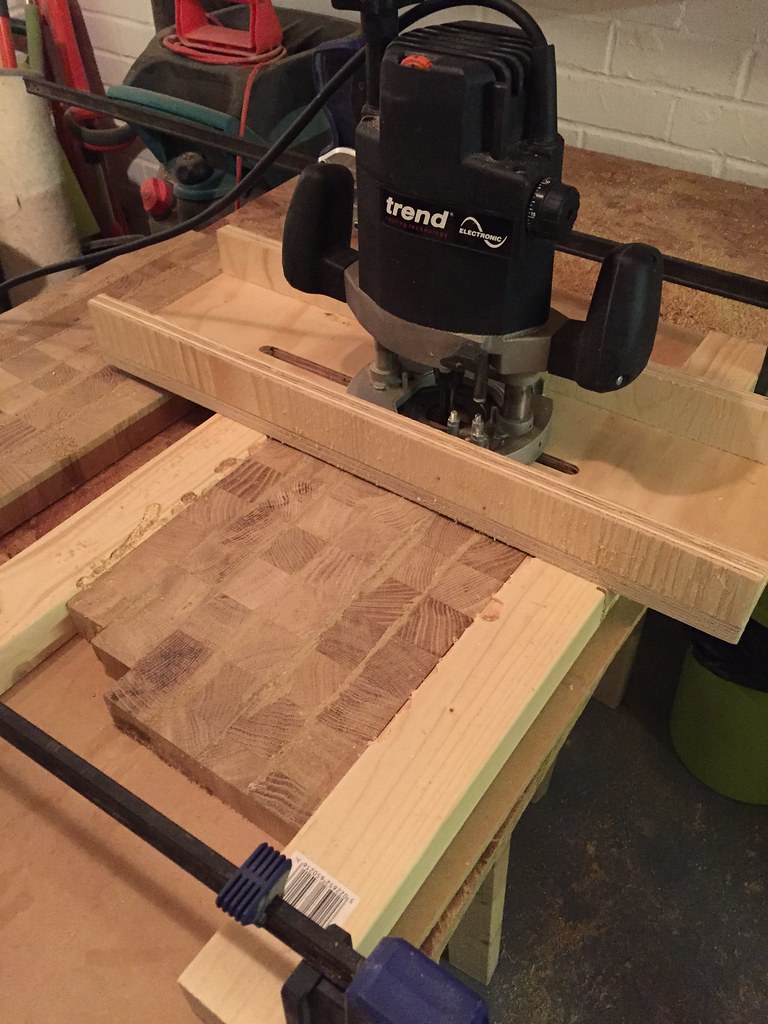
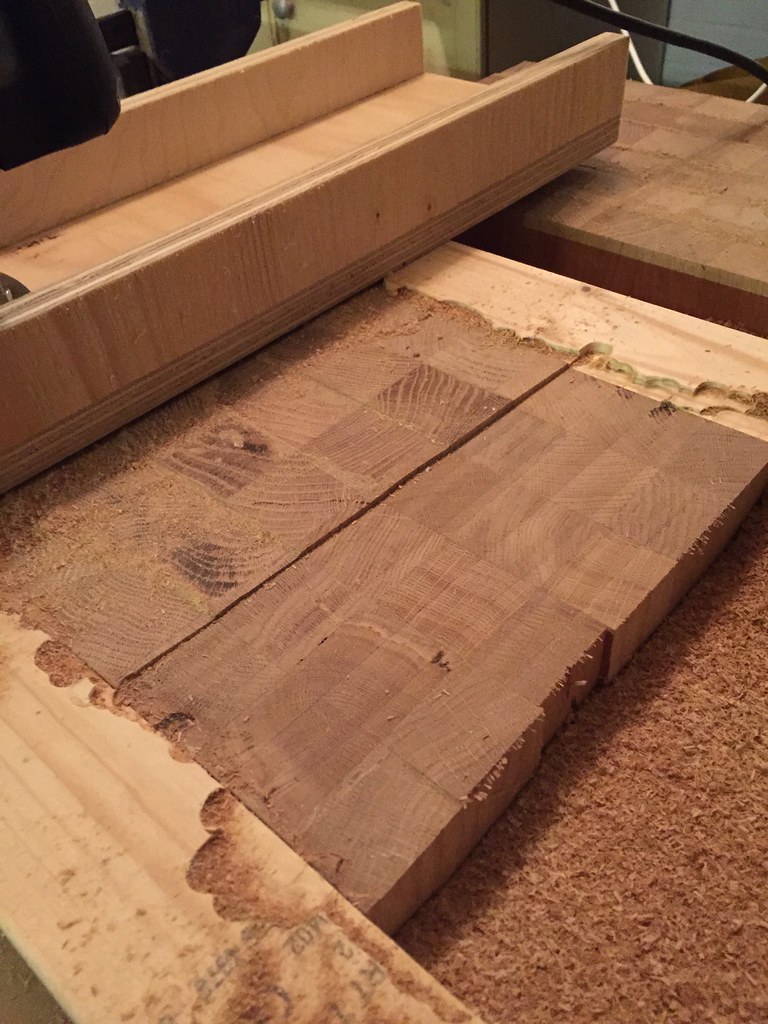
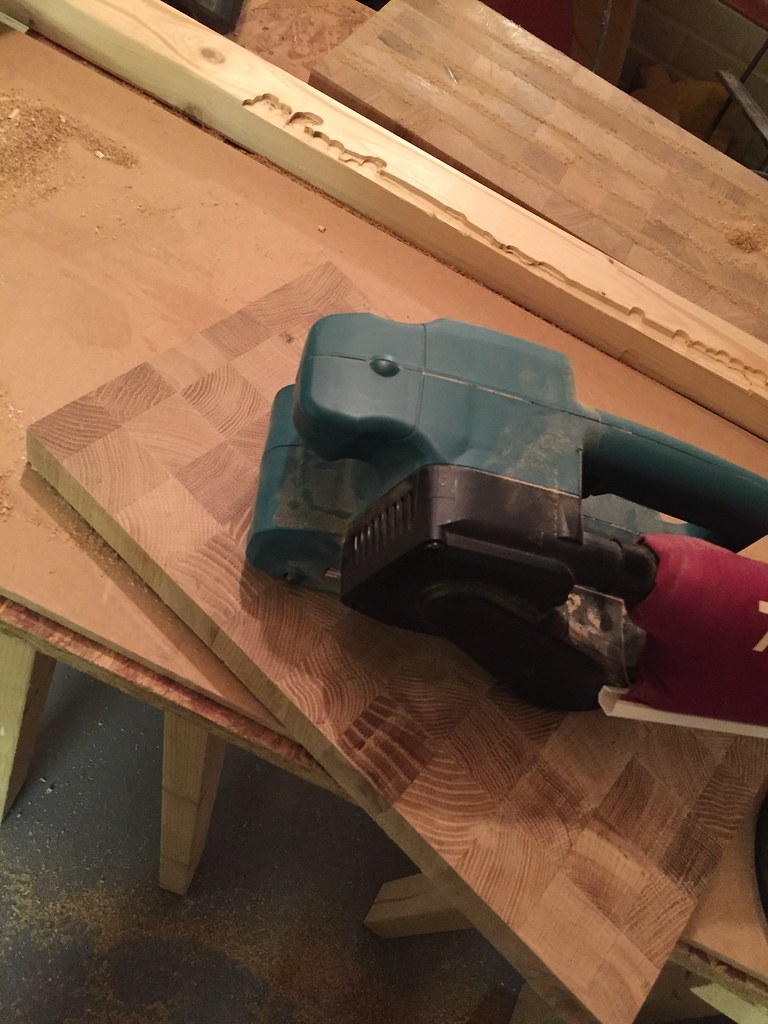
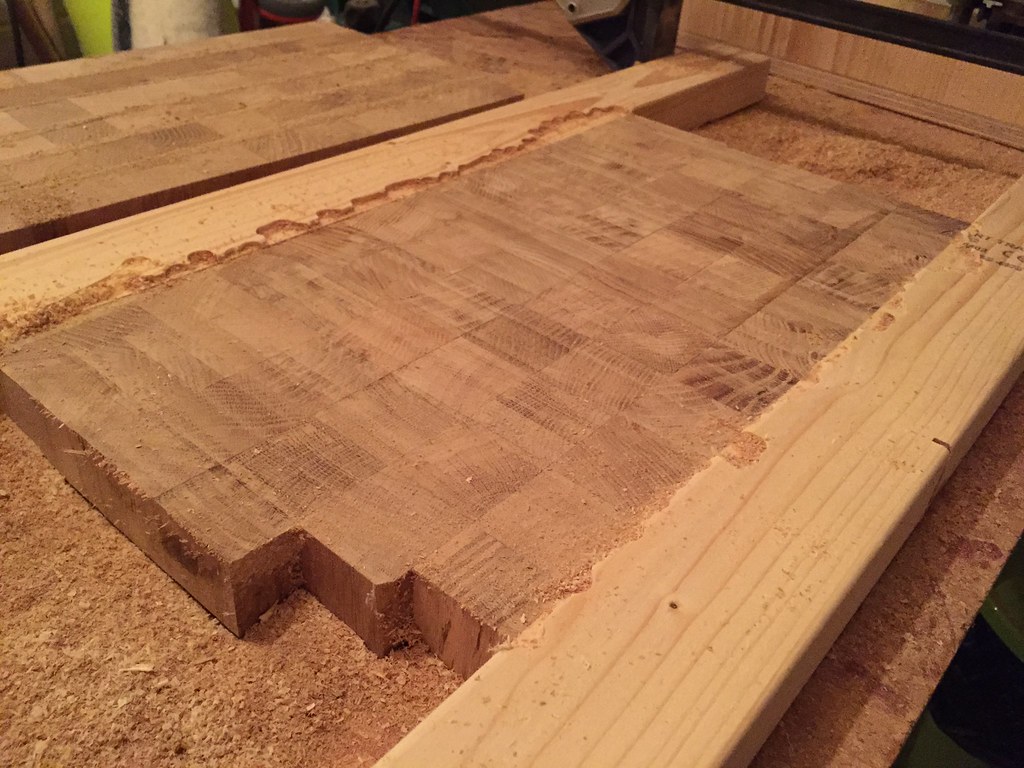
The glue up didn't go as well as I had hoped so I decided to make a flattening router jig to quickly flatten the top. Never done this before but I'm very happy with the result, a quick sanding and this will be perfect:
Should have these finished in the next couple of nights so I'll post some more pics then
I had some left-over oak worktops and I had the crazy idea of cutting it up to make some end grain chopping boards. I'm quite sceptical this will work but I thought for a few hours work it might be worth a go.
So I cut the boards up into 35mm strips and edge joined them all with waterproof glue.
This was then rough cut into two cutting boards:
The glue up didn't go as well as I had hoped so I decided to make a flattening router jig to quickly flatten the top. Never done this before but I'm very happy with the result, a quick sanding and this will be perfect:
Should have these finished in the next couple of nights so I'll post some more pics then