I had to make a repair this weekend on a tiny ukulele whose bridge had come off, and therefore had to make a clamp for the re-glueing.
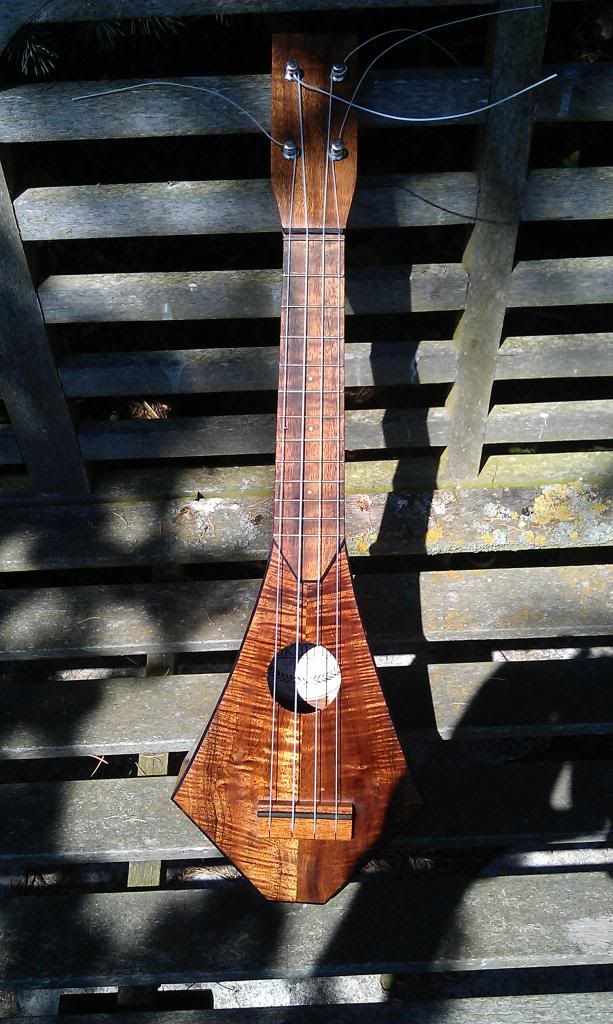
Here is the patient:
The centre of the bridge is about 75mm from the centre of the sound hole, and the body is only about 30mm deep. The top wood is less than 1.5mm thick, so my clamp mustn't put any pressure on it around the sound hole.
And this is why the bridge came unglued:
Those screws were in place of clamping, to save money in production. There wasn't enough glue in the joint, so it only adhered where wood fibres have been pulled away (this is Western Red Cedar, which is notorious for fracturing like this).
My first step is to make the leg inside the body and the upright. The plywood triangles are glued to the leg/upright. Then it needs shaping to make sure it will actually fit inside the instrument. It needs a transverse caul at the far end of the leg (visible later), to press upwards under the bridge and also to clear the bracing on the underside of the soundboard.
My clamping force comes from the upper arm which has an M6 bolt in the end. 10mm hole up from underside, 6mm hole down from the top, bang the nut in with a hammer, job done.
Here's the completed clamp. I fixed the upper arm once I knew I could still insert the clamp inside the uke. If the arm would interfere, just drill a couple of holes and pin with loose nails.
Finally I need a caul to go between bolt and bridge, and to apply pressure at the ends as well as in the middle. This has two M5 bolts and nuts, as before, with a 6mm hole (not all the way through!) to locate the clamping bolt.
Underneath is 1.5mm plywood pinned at the centre, so the M5 bolts can flex it down onto the bridge. Bolt sizes aren't critical - these were what I had lying around.
Here it is, clamping the bridge to the top.
I left the wood fibres on the underside of the bridge, scraped the visible glue off (none on the soundboard, of course, so that just got a light sanding), put a dam of masking tape all around and then applied hot hide glue. Hot hide glue is favourite for bridges because it doesn't cold creep, and you don't want the bridge gradually to migrate towards the neck! Left it overnight, strung it up this morning, and the bridge is still on. But I'm keeping my fingers crossed - the broken top wood fibres mean the joint can't be as strong as I'd like.
If Bugbear wants to re-glue his bridge, first he needs to remove it (heat and spatula, or maybe meths might soften the glue), then shape its base to the top (sandpaper taped to top is slow but effective). Then he must make a clamp along these lines (or Google for alternative styles of bridge clamp). Potential differences:
1. His bridge is wider, so I'd make the top arm about the width of the meaty part of the bridge and use two bolts to apply downward pressure.
2. Underneath my bridge the soundboard is flat. Bugbear might find some braces there, and if so will need to work out how to shape the internal caul.
3. His upper caul will need to be shaped to put downward pressure on the "wings" of the bridge, so a bolt at either end bearing on a smaller caul might do it. A bit fiddly to tighten up, but because hot hide glue remains liquid while hot, just keep warming the whole lot with a hair dryer and clamp until squeeze out is visible.
You don't need much clamping pressure for this operation provided the bridge is a good fit to the top.