cider press

UKworkshop.co.uk

Help Support UKworkshop.co.uk:

This site may earn a commission from merchant affiliate links, including eBay, Amazon, and others.

stoatyboy

Established Member
Joined
9 Feb 2009
Messages
242
Reaction score
0
Location
Sussex
people do seem to get keen on these things so here's mine will upload in three sessions as there's a lot of pics

Frame first

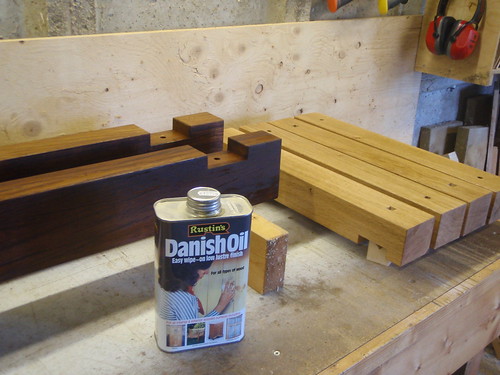
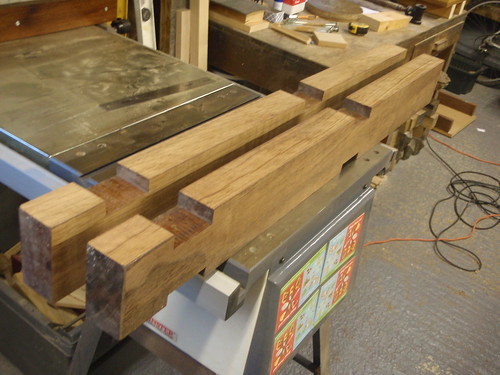
Started with some botched legs i'd made (murdered) when I didn't have a clue - these came from the edge of a car park the bits used to stop people driving into the bushes Sapele or similar I think
6186544360_60ecefb643.jpg


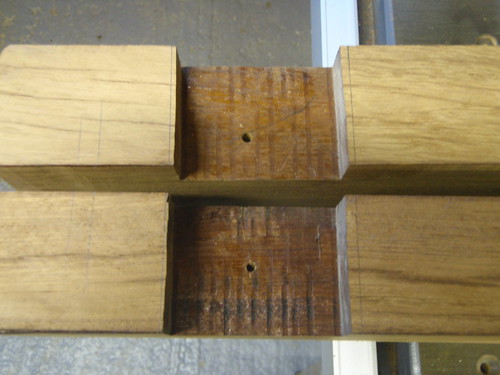
please note previous shocking joinery and way way off centre holes - incredible how your stuff improves when you find this place
6186546258_ef177b46a6.jpg


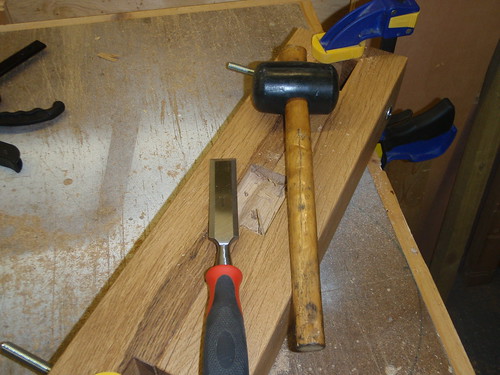
so cleaned those up by filling the holes and using a selection of power tools with a chisel at the end - much better
6186557120_d1ba449d41.jpg


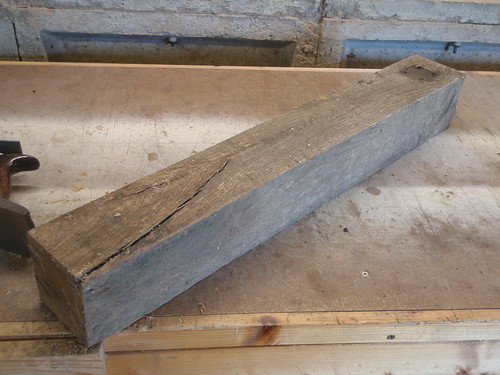
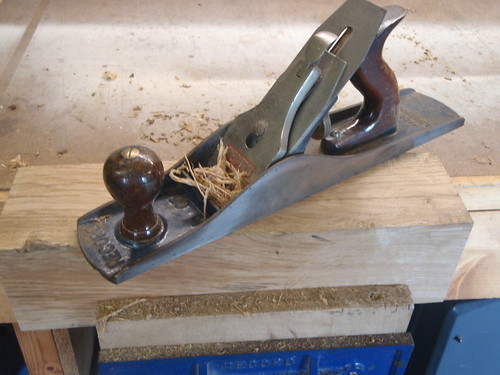
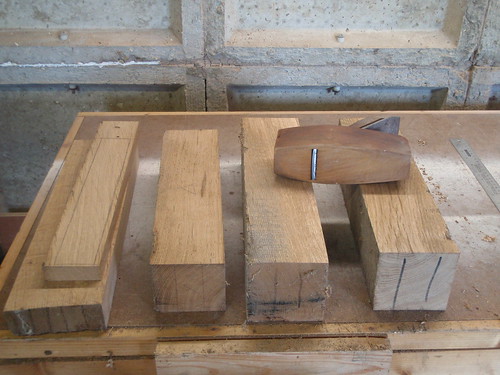
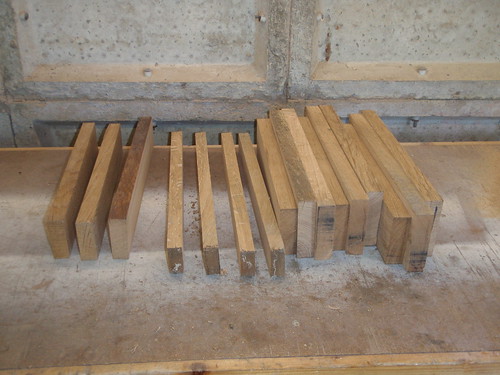
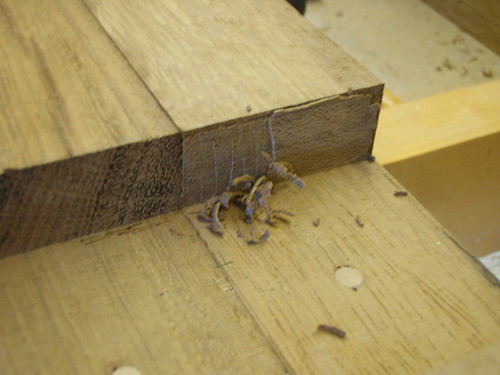
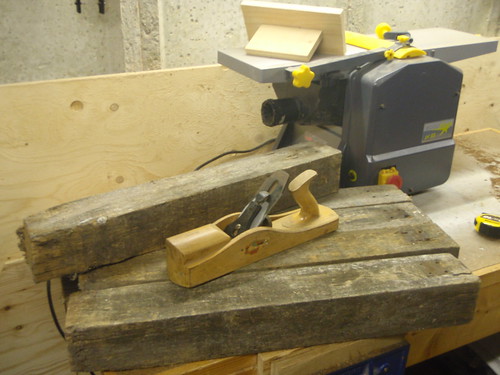
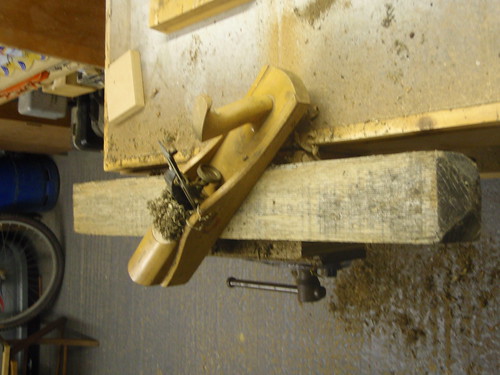
now for the cross bars - take some old oak fence posts - pictured with a selection of the tools used to get them ready (or prep my stock!) the half wood plane I got from a forum member a while ago with loads of other stuff for a fiver - he just wanted to see it used so here you are hope your looking!!
6186548396_e41ea62d8e.jpg


used it a bit like a scrub plane in case i hit a nail before it went in the planer/thicknesser
6186555146_d6c9329122.jpg


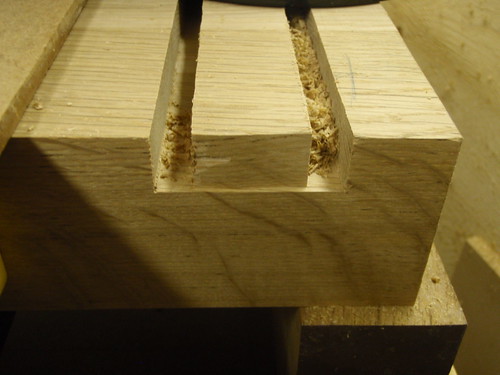
once cleaned up and sized cut the joints with a router
6186561274_2f9d12b7f9.jpg


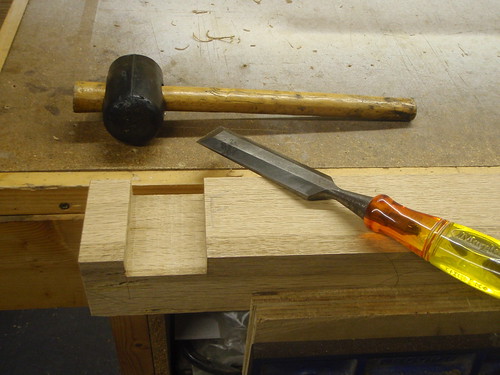
cleaned and fettled with chisel
6186563484_148ef7fbcb.jpg


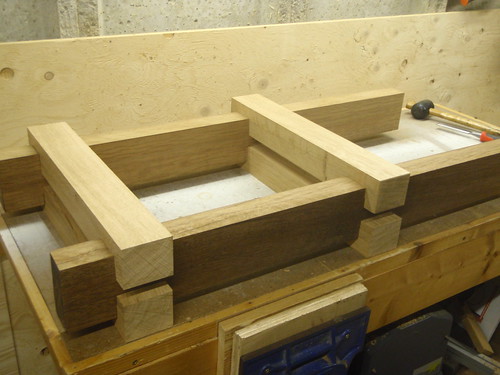
it fits together!
6186568012_c10a3382a2.jpg


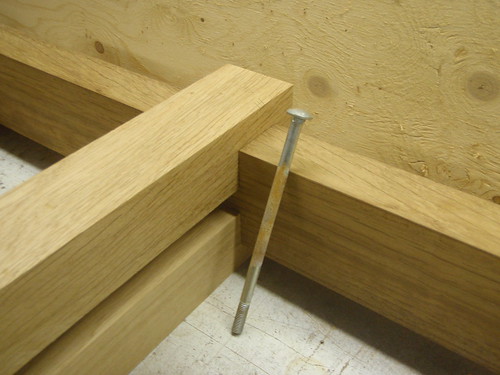
i need to get these through to hold it
6186570252_1ff15ab8e5.jpg


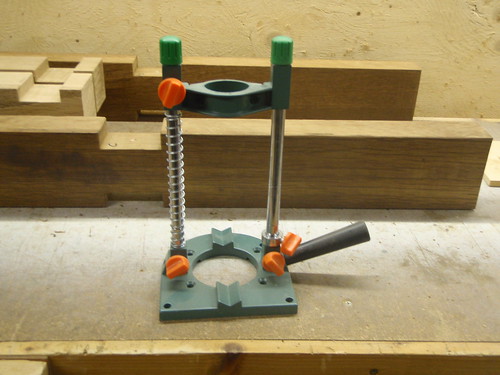
start with one of these (no drill press - on the list)
6186048453_541a09f2bf.jpg


finish like this - not pretty but it works
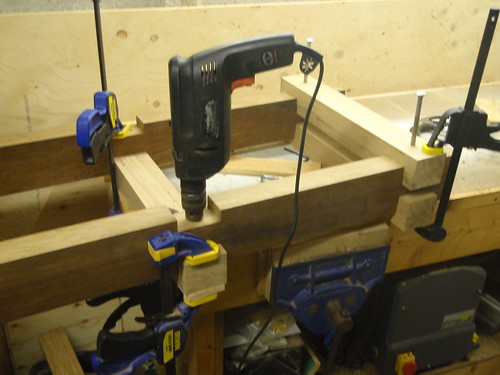
6186574976_77a356903e.jpg


chisel a rebate
6186058199_d690334984.jpg


for this
6186587184_b0f56f8eaf.jpg


coat of this or two
6186579646_5f4aa44c26.jpg


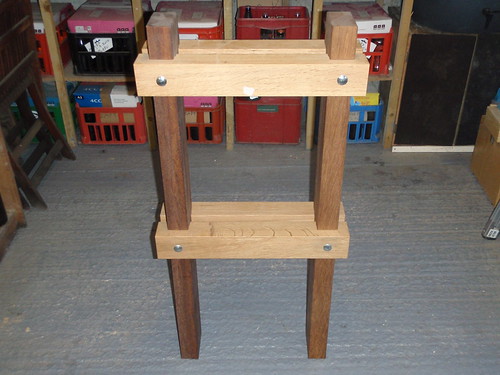
frame finished!
6186067891_e98236c699.jpg


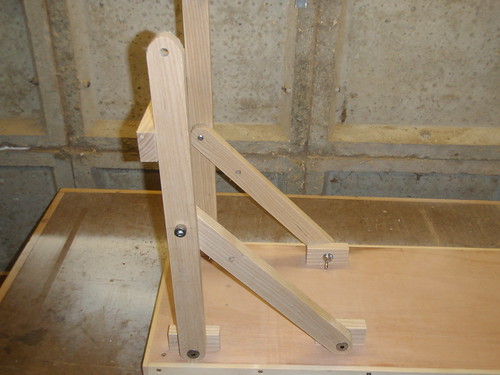
wingnuts used for reason revealed later - bolts m10 galvanised stainless would be better
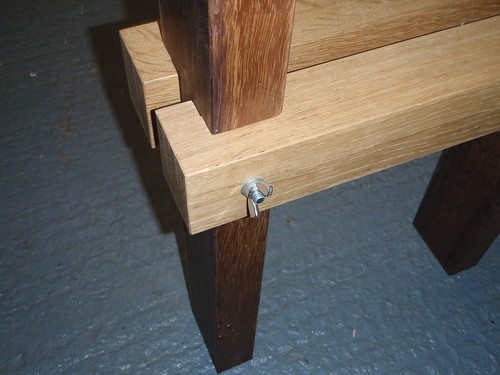
6186070269_8e177e2730.jpg


and I must just say I love the contrast of these two woods together - i did a coffee table with oak and sapele (ithink) and they do go nice

anyway enough for one night will post the table section next - Cheers
 
Two things thats not Sapele and your workspace is far to tidy =D>

Very tidy work by the way :D
 
Excellent work, I'd like to make a press one day when I have the time.

Where did you buy the threaded fitting from?
 
OK onto part two - if I new how to update the title to say 'updated' I would ...

so questions first:

if it's not Sapele for my uprights any ideas what it might be? it was a guess
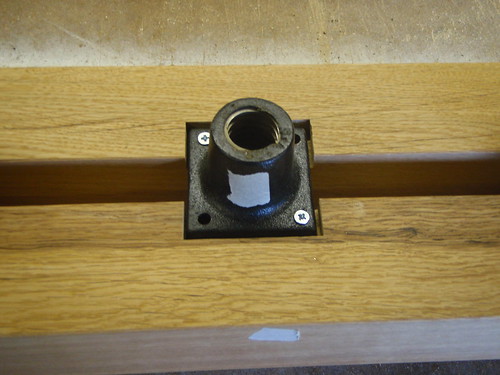
the screw fitting is an axminster york tail vice order no 510199 - other screw apparatus' are available
and yes it's chunky but when your neighbours 6'6" 15 stone copper brother in law comes over for a go and gives it some welly you'll be glad it is chunky - it survived bless it

so onto the table - not so interesting but necessary.

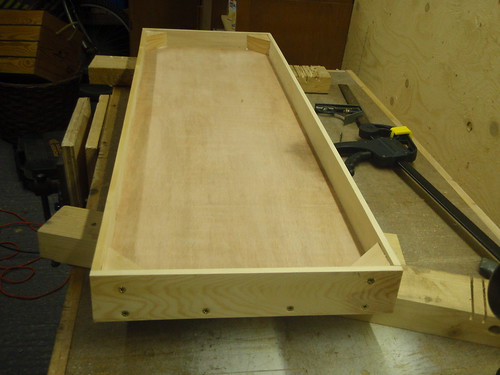
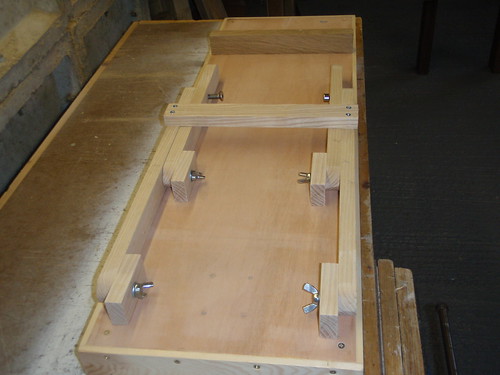
a sheet of 18mm far eastern ply with soft wood sides and some corner bracing screwed and glued
6354653691_e27bf75397.jpg


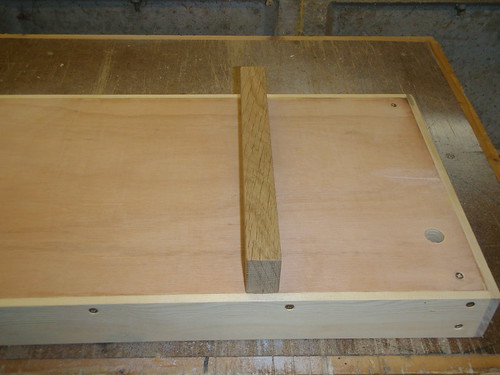
we drill a hole at one end to let the juice out (its these little design details that make all the difference you know) and a cross bar to slot in between the lower cross bars of the frame (that's what the wing nuts are for mentioned above - holds it all steady and locks it in place)
6354704697_b8507c365b.jpg


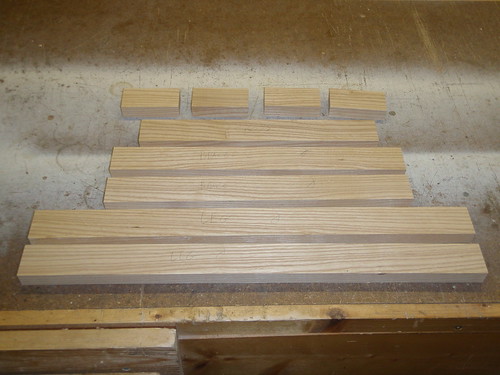
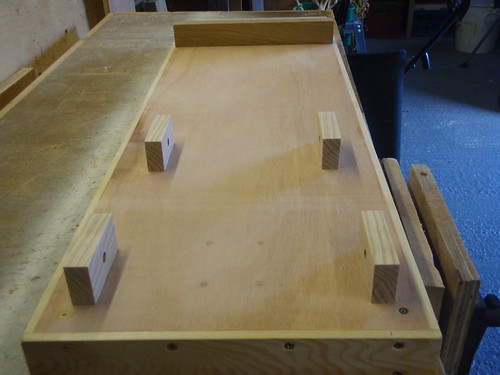
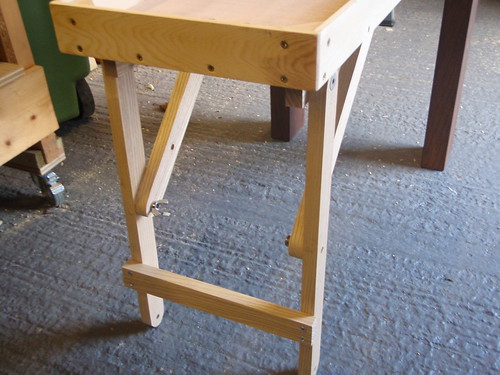
next all the bits for the legs out of ash - I had some left over - but not enough sadly to use for the cross bar above that's oak - never mind
6354679433_16f05ae95d.jpg


we then screw and glue all these bits on
6354693147_1da20453d6.jpg


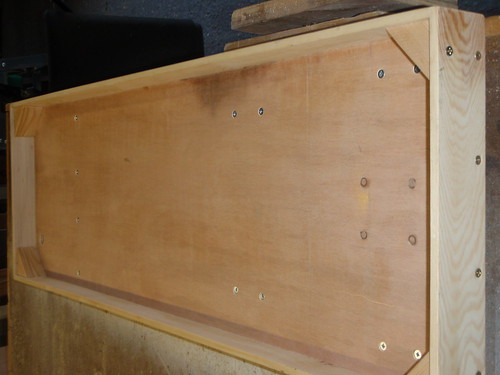
they are screwed through from the top for strength - not pretty unfortunately and I would love to think of a tidyer way to do it - maybe a thin 'over sheet' to cover them but it's already pretty heavy. You can see the cross bar was fixed the same way.
6354689449_5a924efa1b.jpg


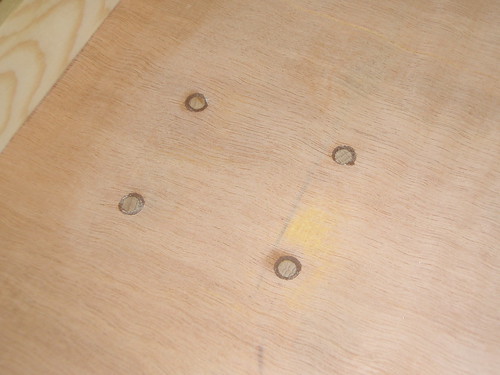
the eagle eyed among you will have spotted the four 'odd' holes in the middle of the table filled up - I was going to have just the one leg on the table my thinking being that three legs will always settle on an uneven surface like my patio. It didn't work so I drilled them out to 6mm and filled with dowel - I didn't have any bigger dowel and this left the countersink for the screws still not filled so in a moment of pure inspiration I thought I'd make a feature of them and fill with a contrasting timber and PVA - the idea was to make those Karl Holtey-esqe rivet things he used a while back. I don't think Karl has anything to worry about just yet! The cider won't mind though.
6354644987_4cd40c1f6f.jpg


moving swiftly on - drilled some holes and fixed the rest of the legs on
6354698989_24750df52c.jpg


here they are 'up'
6354701933_31bae7daf8.jpg


here they are the right way up - which is down
6354696207_eff6d17c7b.jpg


that's it for the table - no fine joinery I'm afraid but I just had to bash something together otherwise i'd have missed cider season (again) and my old press really had had enough - it was hateful to use.

next up the basket - final episode and I might hopefully regain a little cred!

cheers
 
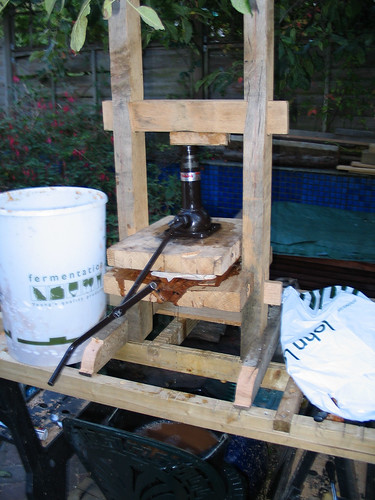
Looks great! I made this very rough and ready one powered using a bottle jack:


IMG_0147.jpg by markuspalarkus, on Flickr

I works fairly well but I need to make a better bed for it. Actually I want to make a bigger one but am thinking slippery slope!

Marko
 
stoatyboy":2irre62u said:
we drill a hole at one end to let the juice out (its these little design details that make all the difference you know) and a cross bar to slot in between the lower cross bars of the frame (that's what the wing nuts are for mentioned above - holds it all steady and locks it in place)
6354704697_b8507c365b.jpg

I think you should run a bead of bathroom sealant (or similar) around the perimeter of the hole; at the moment I strongly suspect the juice would run (by capilliary) all over the under-surface of your table. The bead would act just like the drip edge on a window sill or door weatherboard.

BugBear
 
bugbear":1dv3yi43 said:
stoatyboy":1dv3yi43 said:
we drill a hole at one end to let the juice out (its these little design details that make all the difference you know) and a cross bar to slot in between the lower cross bars of the frame (that's what the wing nuts are for mentioned above - holds it all steady and locks it in place)
6354704697_b8507c365b.jpg

I think you should run a bead of bathroom sealant (or similar) around the perimeter of the hole; at the moment I strongly suspect the juice would run (by capilliary) all over the under-surface of your table. The bead would act just like the drip edge on a window sill or door weatherboard.

BugBear

You could run some rope or (stainless) chain from the hole and the juice will just run down that
 
milkman":2kvahl95 said:
bugbear":2kvahl95 said:
I think you should run a bead of bathroom sealant (or similar) around the perimeter of the hole; at the moment I strongly suspect the juice would run (by capilliary) all over the under-surface of your table. The bead would act just like the drip edge on a window sill or door weatherboard.

BugBear

You could run some rope or (stainless) chain from the hole and the juice will just run down that

Elegant. :D

BugBear
 
These are both good ideas thank you but what I have actually done is cut the bottom narrow bit off of a funnel and drilled the hole so it is a very tight fit and stuck it in so I have the base of the funnel projecting out about two inches below the base of the table.

i'll see if I have a pic when i post up the next set of the basket

cheers
 
If I were you I would line the trough with plastic sheet, as the cider will soak into the ply and as well as the ply tainting the cider, after a while the wood will be blooming with all sorts of yeast and mould which will ruin the cider.
 
Ok lets get this finished - warning - metal work involved not pretty!

DM thanks for the suggestion - I've covered it in Ronseal 'kin hard floor varnish which works fine but you're right we need to keep those nasties out of the cider

So we're going to do the baskets so we need some more high quality reclaimed timber for the staves
6437831279_ea1b64587e.jpg


Clean up square enough to resaw using 1930's record no 5.5 yum
6437837077_d3369f2f65.jpg


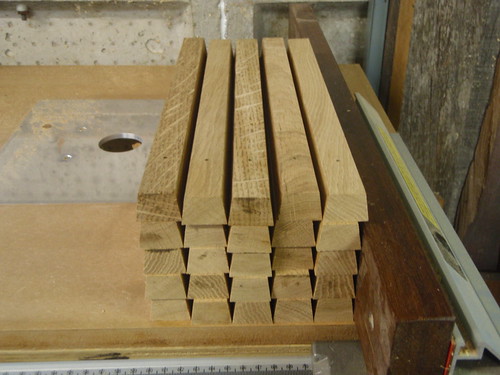
end up with pile for sawing
6437840221_af685f1767.jpg


which gets sawn up ( stop me if i'm going too slow)
6437846415_325c2784fd.jpg


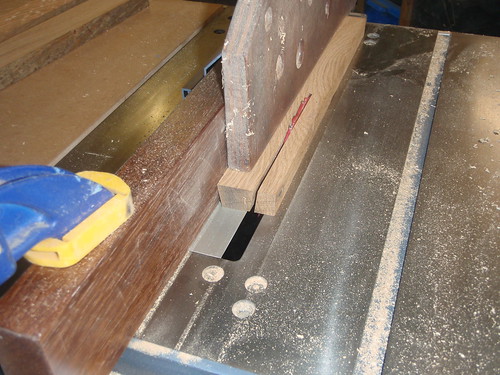
once thicknessed to dimension we can saw the staves using the angle feature on the tablesaw (no guard no riving knife i'm a **** and i'm not making anything else until i've sorted that out but got away with it this time)
6437849719_684d45d00d.jpg


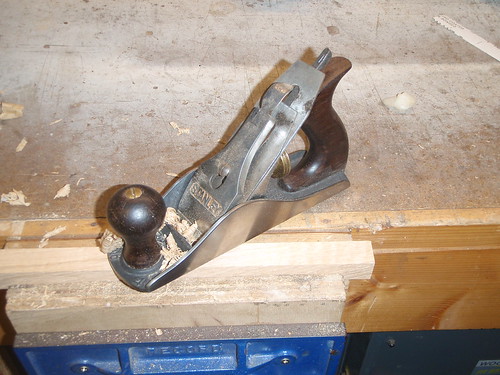
a quick schwip with the no4 and theyre ready for the next bit
6437859667_5cedb4f38f.jpg


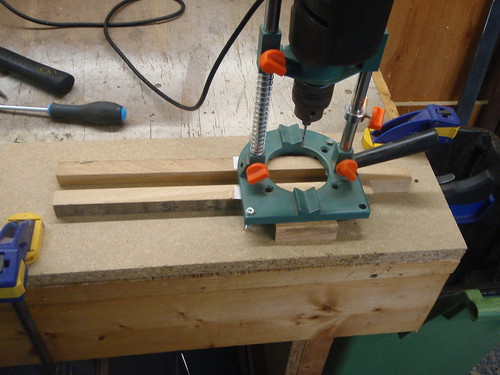
need a lot of holes the same - no drill press so I tend to end up building jigs like this - couple of bits of off cut with the angle on stuck to a board with a stop and the axi drill guide screwed on - works fine but not pretty
6437852705_f5785dab72.jpg


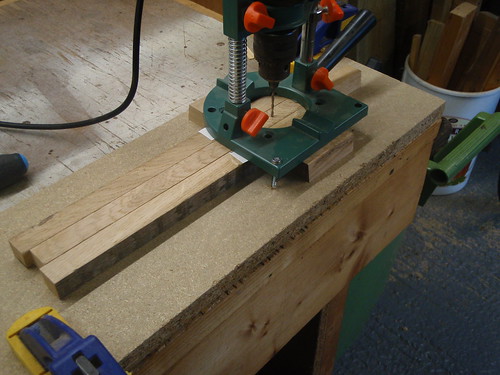
here's a stave slid in and being drilled - it's not as good or quick as a drill press but it's a darn sight cheaper!
6437856315_5163cc8b14.jpg


so we end up with a stack of staves ready for sanding and more 'kin hard floor varnish
6437862621_2d39752676.jpg


so metal work needed for the hoops - I am not a metal person so those of you good at this may need to look away...

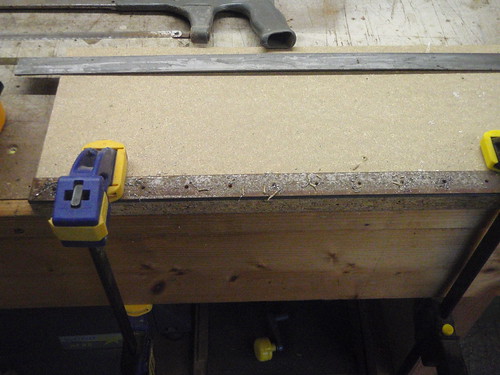
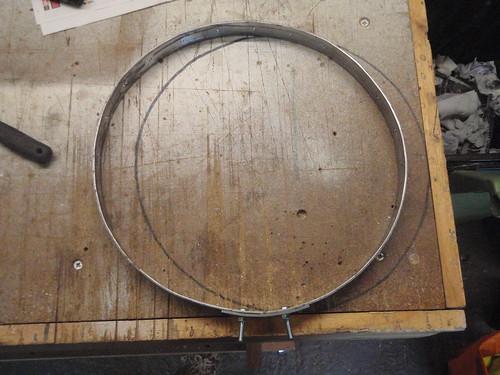
take a piece of 25mm by 2mm steel from B&Q and cut to length - place under a template (the rusty bit) and drill 24 holes
6437865693_4ba821ec1f.jpg


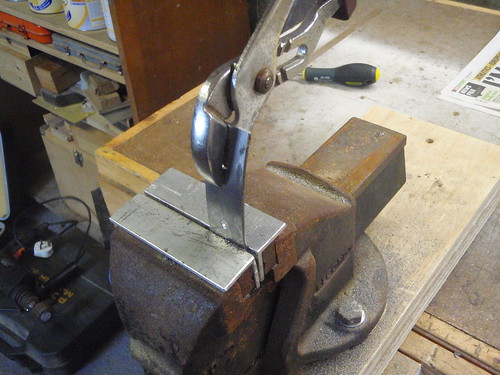
then place it in a vice and bend it like this (this is a short joining piece but the hoops were done the same way)
6437875177_984c37627d.jpg


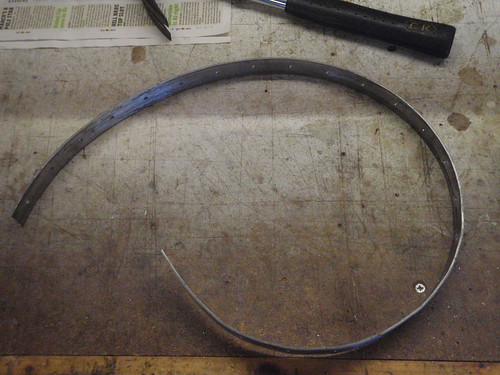
to end up with a perfectly circular band of steel
6437868631_8f3806f25a.jpg


have a cup of tea, calm down take a deep breath etc and go slowly taking care and attention and hey presto!
6437872113_d1592b8be2.jpg


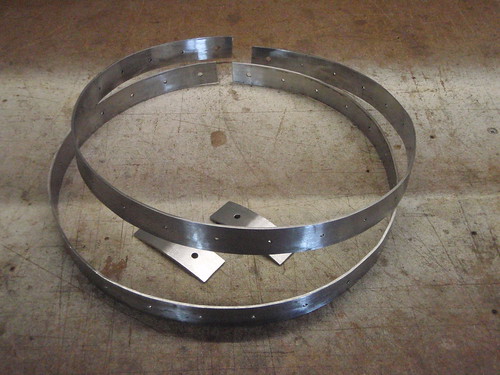
the circle on the bench is what I work to simple but effective enough - two hoops all cleaned and ready for painting - plasticote project enamel if you wondering
6437878873_66f5cea664.jpg


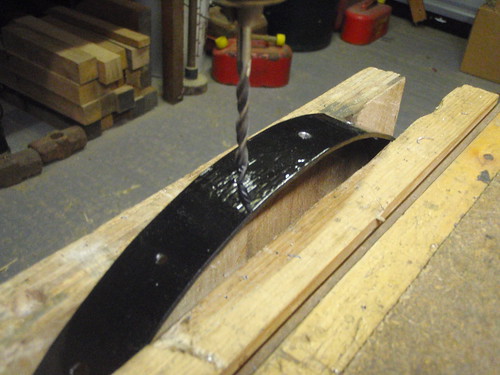
then go back and drill all the holes the right size for the screws you bought - doh
6437888789_7129724333.jpg


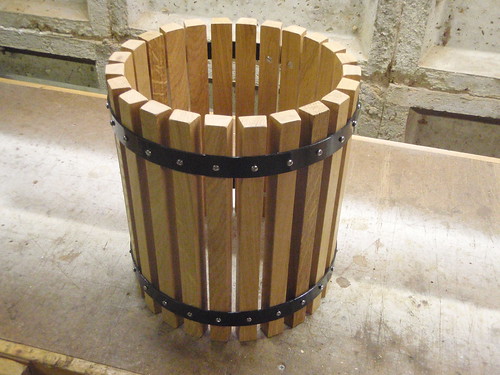
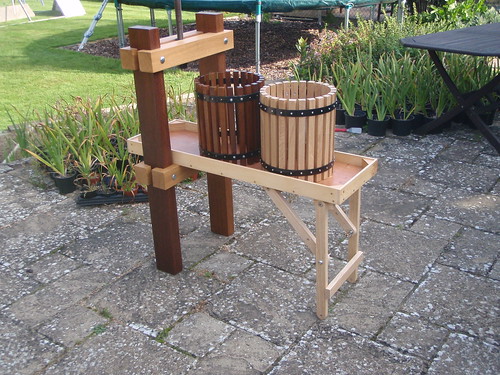
screw it all together and you get a rather smart looking basket!
6437891877_cfd4c16cc2.jpg


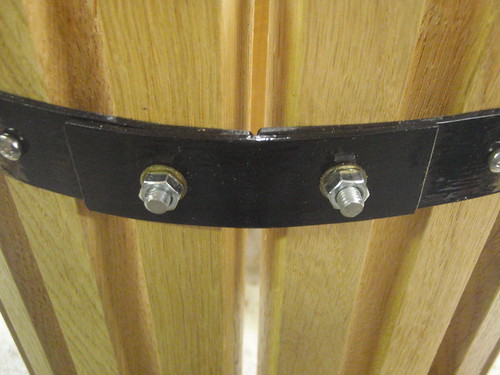
detail of the join - i can't weld so bolted a joining strip across - M5 bolts the M4s pinged off under pressure! got some M6's ready in case but so far no need
6437898311_ea8a071941.jpg


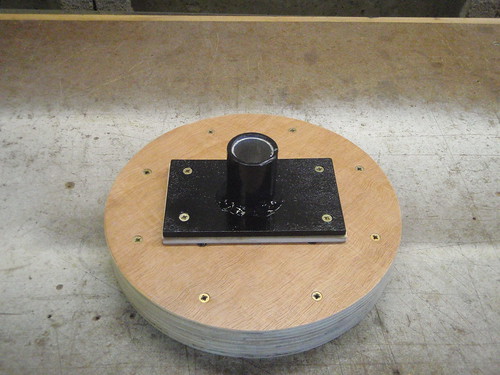
so couple more bits glue and screw some ply for a press plate and fix a recieving bit for the screw to locate in (got someone to weld this up for me £10 don't know if that's good or bad seemed ok)
6437885759_12f32e752d.jpg


and she's ready to rumble - what a little stunner eh? Gorgeous
6438054699_e1ccd987c2.jpg


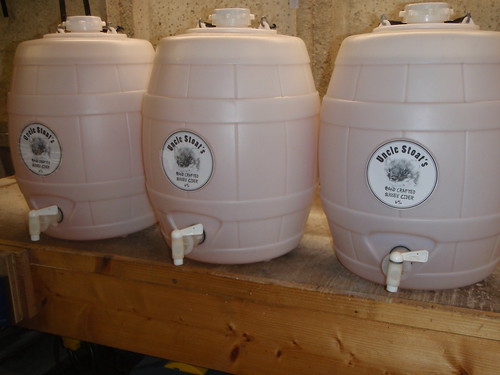
and here's what we make - Uncle Stoat's Sussex Cider!!
6438063753_7b2e116d8d.jpg


hope you enjoyed it I must say the jack powered presses like shown above are easier to make and I reckon a bit more efficient (having used both) but I wanted a basket press so here you go

all comments as ever gratefully received

cheers - Pete
 
I think the secret is in the scratting (making the apple pulp) more than the press. The basket ones look as though they can keep together a cheese that is many more layers higher. Cool!
 
Bang on Milkman - we use a garden shredder - adapted and kept for cider only

but that's not woodwork!!

cheers
 
Thanks for that but you know the rules

no photo's - it didn't happen!

there is also a thing on the woodgears web site about making an apple mill maybe you could use the best of both

cheers
 
Back
Top