Camera tripod shoe WIP

UKworkshop.co.uk

Help Support UKworkshop.co.uk:

This site may earn a commission from merchant affiliate links, including eBay, Amazon, and others.

DTR

Established Member
Joined
11 Mar 2011
Messages
1,870
Reaction score
20
Location
Essex
Morning all,

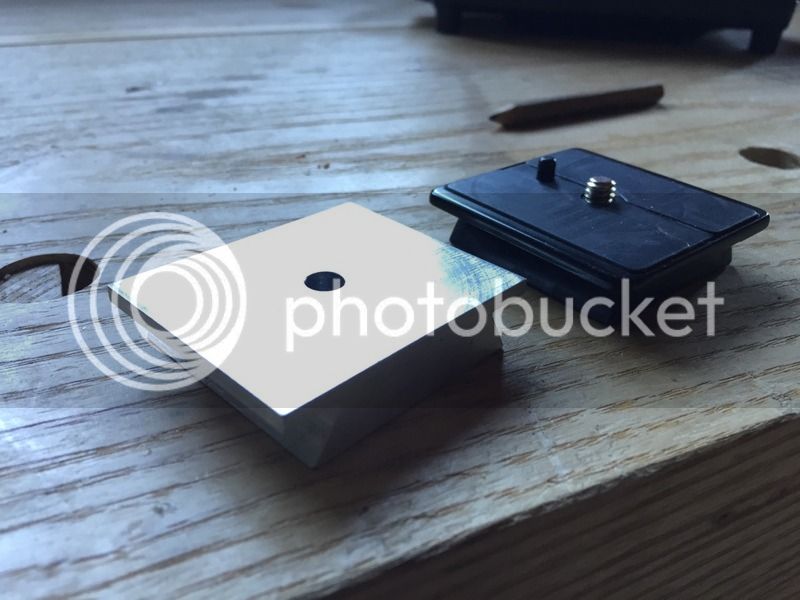
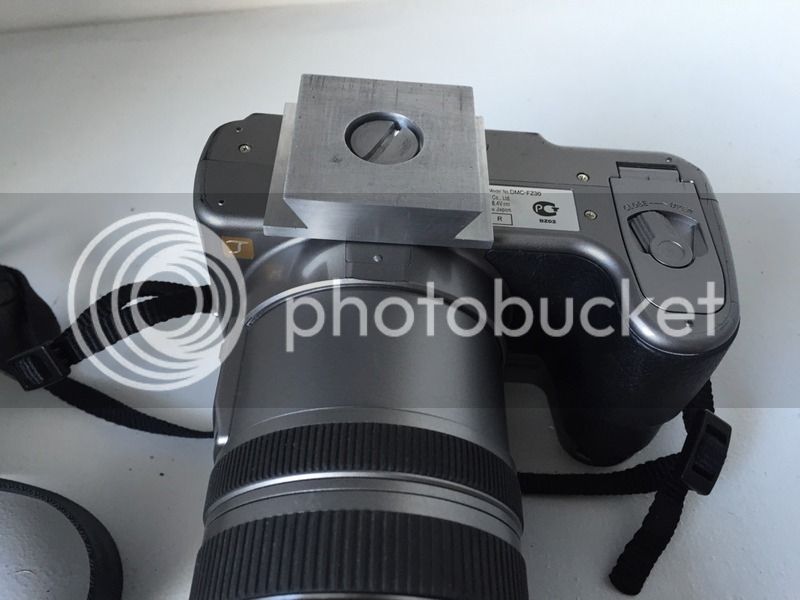
Here's a quick WIP from me. My camera tripod only came with one quick-release shoe, which SWMBO keeps pinching! :evil: So I thought I'd knock up a second one.

Of course, halfway through this project I discovered you can buy new shoes quite cheaply :oops: But I'm committed now!

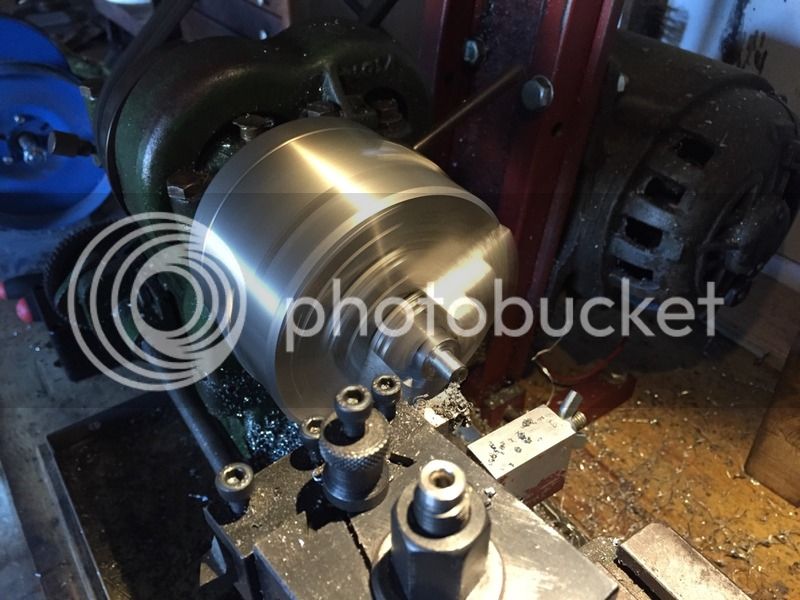
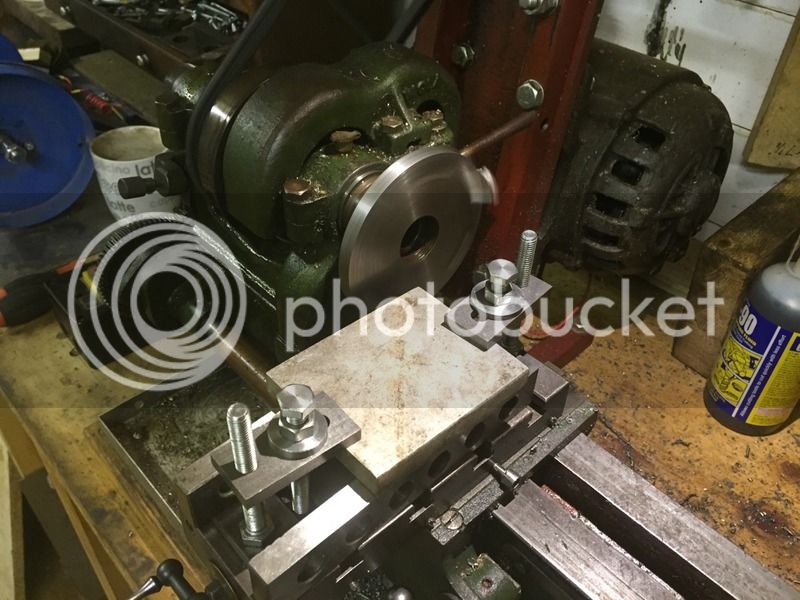
I don't have a milling machine, so here I'm milling the first edge flat with a flycutter. The aluminium I'm using is a random offcut that I inherited with the lathe:

276A26D0-DFF8-4D4D-AED1-FEC4063E619E-2561-0000067F6F7FE717.jpg


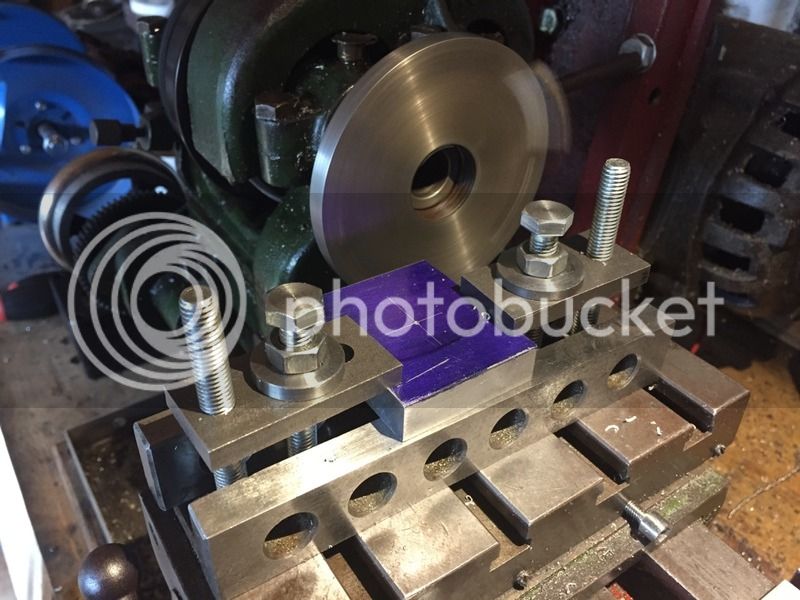
Once the datum edges were milled, I marked out the rest with a scribing block on the surface plate. Then I hacksawed the block to the rough size and finished the remaining edges on the lathe:

70077C64-94C6-40E5-9BC3-922399402B2E-2561-0000067F77CDA893.jpg


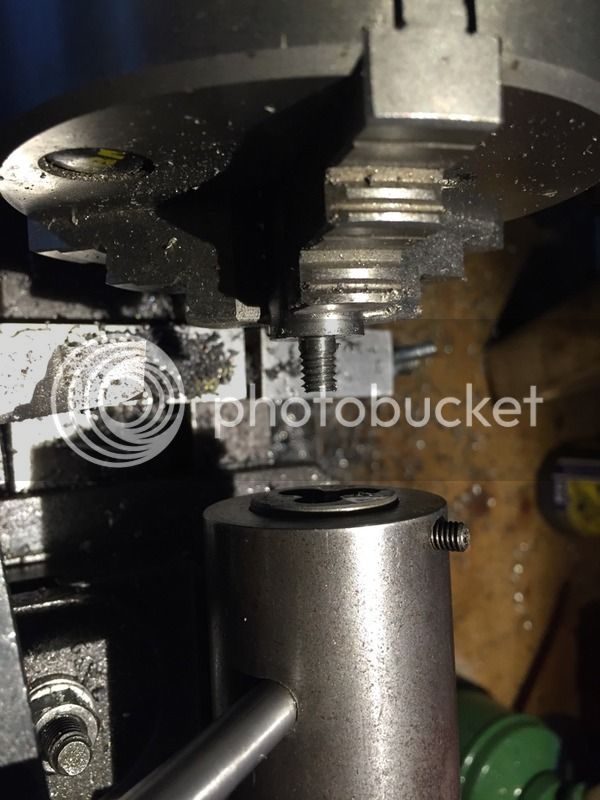
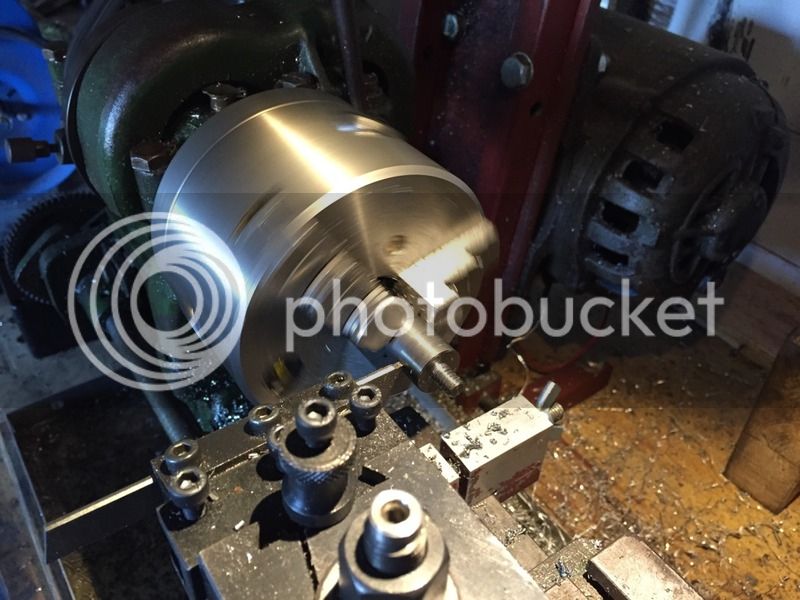
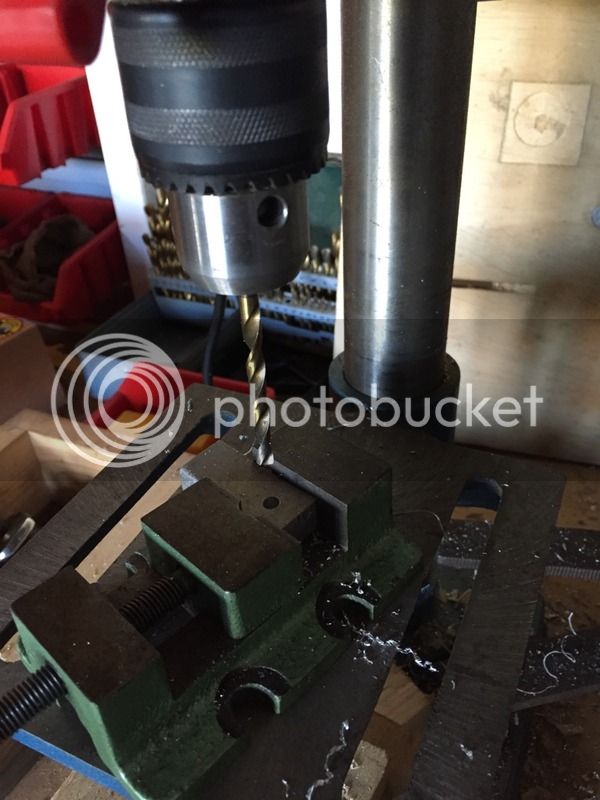
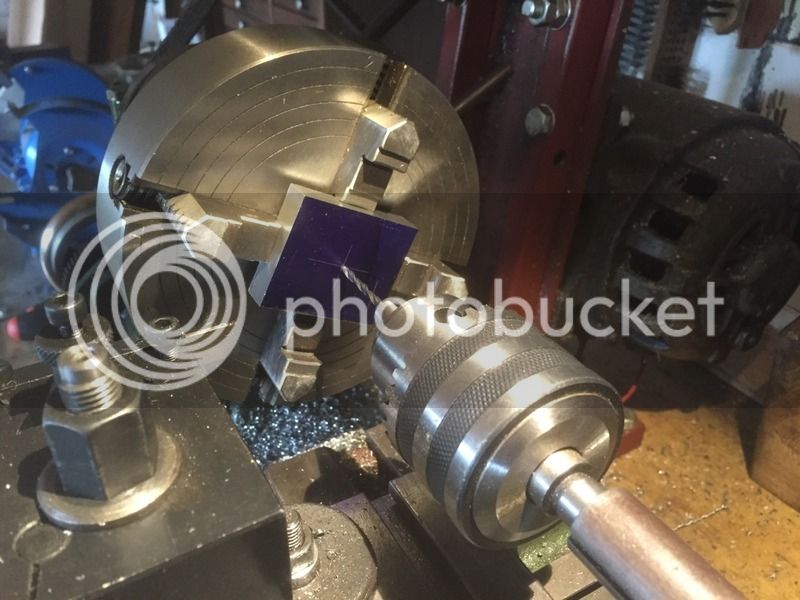
Next I mounted it in the four jaw chuck to drill the centre hole:

DD27CDBC-9187-4D81-9C4A-37DF08A74CEA-2561-0000067F80349287.jpg


94F0FDEA-AA31-4AEA-8E8A-D388513F0B0F-2561-0000067F87820179.jpg


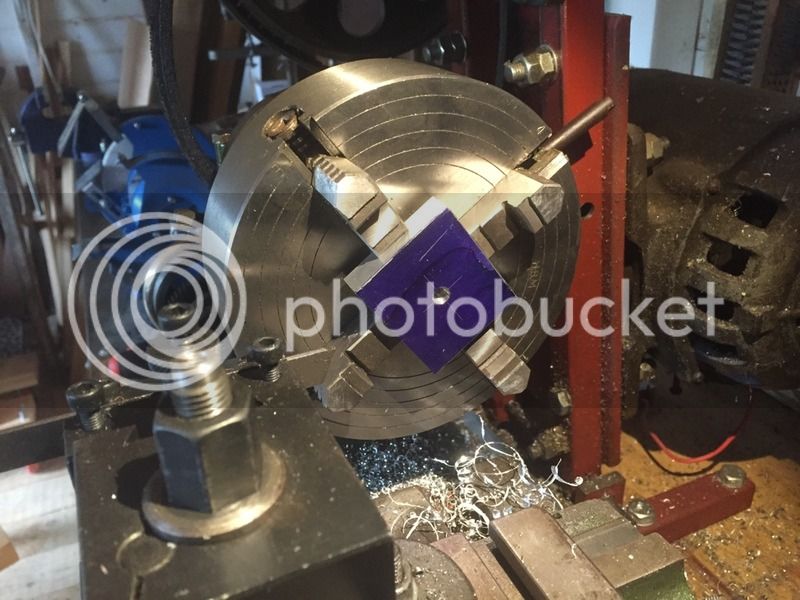
Then counterbored the hole to take the screw:

6B487B75-34F4-441C-A59B-26DEC020064C-2561-0000067F8EED4011.jpg


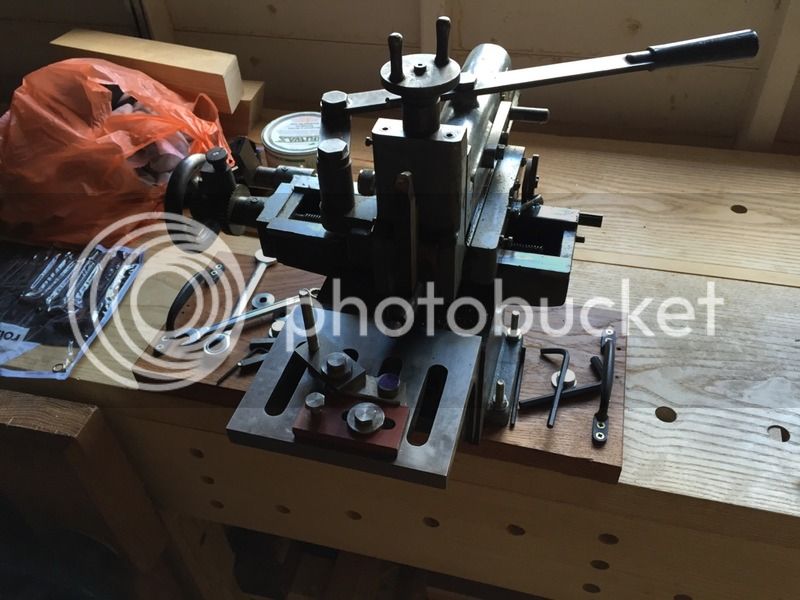
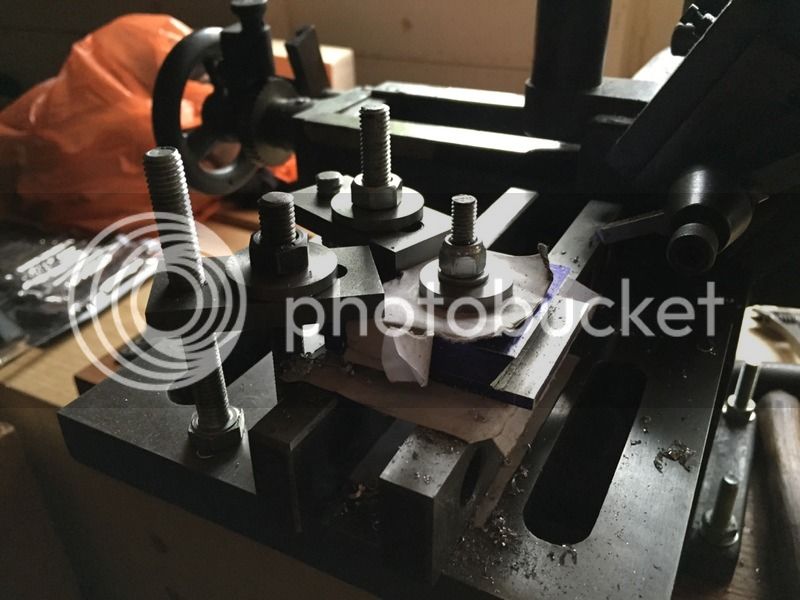
Now to shape the dovetails. I doing this on my Cowells hand shaper:
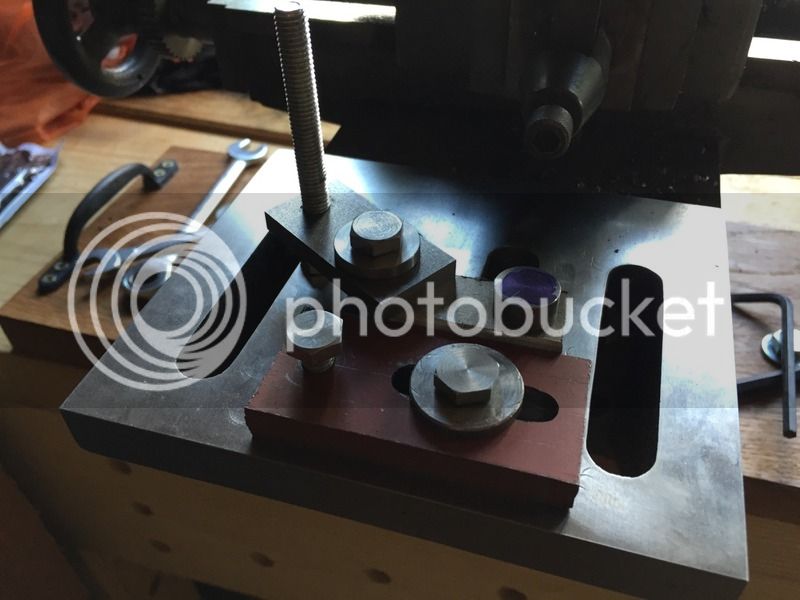
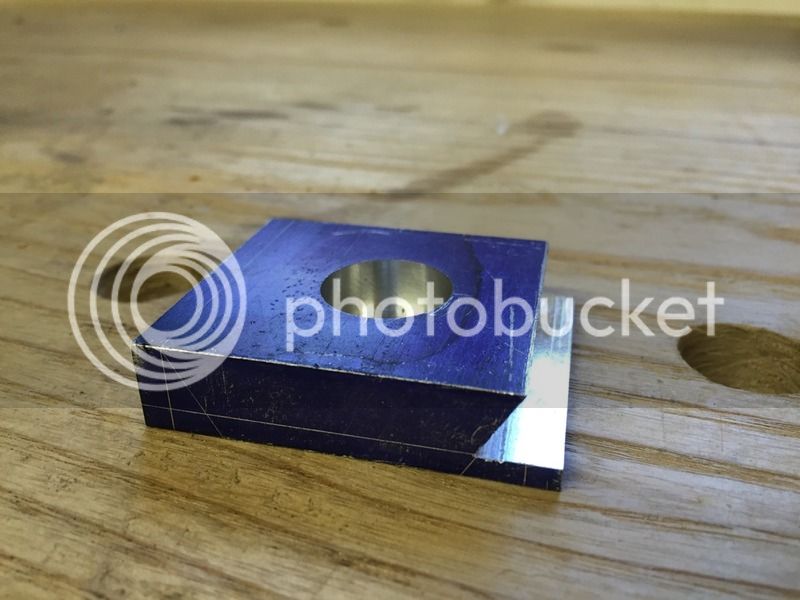
3C521381-A952-4B4E-9DF0-BC6D339D6CFC-2561-0000067F9D314A69.jpg


One dovetail done:

90A38F5A-0610-4374-8369-0CB49AA3F918-2561-0000067FA44EF852.jpg


And the finished block:

F0D11DBA-DA08-4EB0-8D52-363CE825FBF2-2561-0000067FB48551D6.jpg


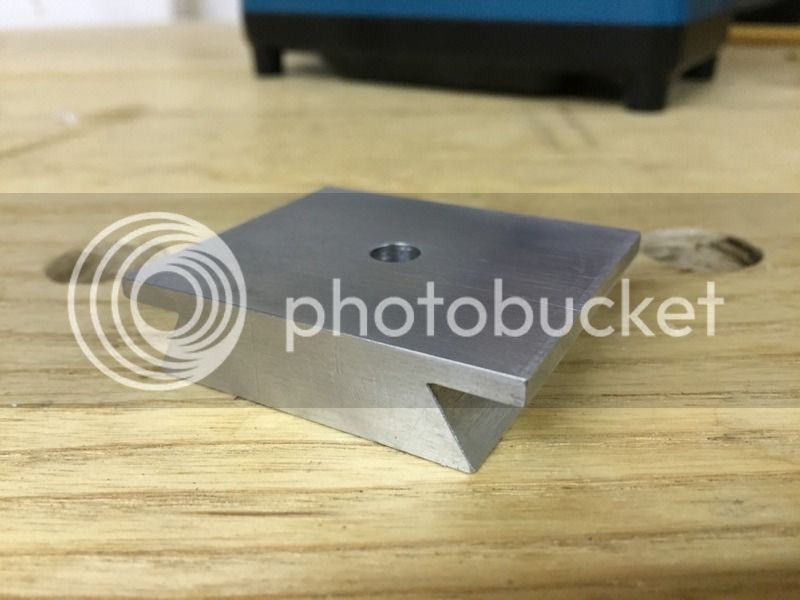
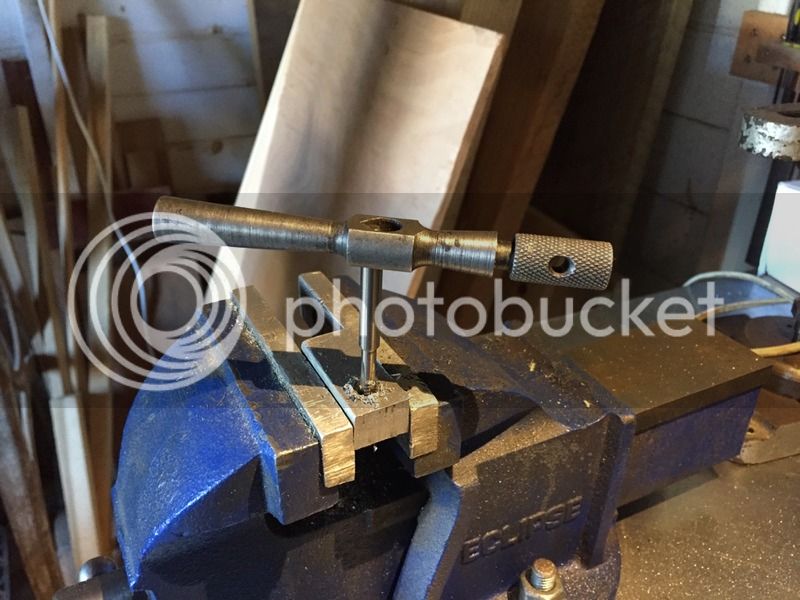
Today's job is to make the screw!
 
A photo of the new next to the original:

8EBF4519-CAD9-41BB-AA0A-C0407BEAB09D-2595-00000697EB02BFCD.jpg


And now the screw.... Turning some stock down to 1/4", then threading with a die:

BC5B7765-D219-4240-B1DC-33C81AEDB262-2595-00000697D035B04B.jpg


1713527E-7A8B-4A22-AF2D-7901D85FE19B-2595-00000697D90EA30A.jpg


Funny how millions of cameras across the globe still use an"obsolete" imperial thread.

Parting off:

4211D018-FC4D-4B55-A29E-22EF93C46ADC-2595-00000697E0C6C0C4.jpg


Next to cut the slot....
 
Have you any thoughts on the finish for it? Before I bought a compressor and sand blaster I used to give alloy parts a Matt finish by rubbing the item over a sheet of glass with grinding paste on it.
 
Thanks Rod!

I cut the screw slot on the shaper, but first I needed something to hold the screw with. I took one of the ally offcuts, and drilled and tapped it to take the screw:

A2DB10B7-367A-4766-A71F-598E80F96CAA-2595-00000697FB1616DD.jpg


8E8DBC82-5C0B-4A73-90D0-90D43D183889-2595-0000069800DB3491.jpg


Then I clamped it down to the shaper table, and shaped the slot

315E4C08-53DB-47B7-9AE3-C7029DA06CE0-2636-000006A91FB4775B.jpg


056B9A3D-07DD-4AE7-A2DE-A9CE6E21DC0D-2636-000006A92C228FB0.jpg


And here's the finished wotsit attached to SWMBO's camera

FA5AA94D-8997-4B24-A68F-1D835B10A510-2636-000006A947D38BB7.jpg
 
That's a nice demo of how much more fun it is to make something rather than buy it!
 
woodpig":p7l91459 said:
Have you any thoughts on the finish for it? Before I bought a compressor and sand blaster I used to give alloy parts a Matt finish by rubbing the item over a sheet of glass with grinding paste on it.

Sorry I didn't see your post earlier :?

No I haven't really thought about the finish. A sandblasted finish (or similar) does look good, maybe I should think about it...
 
I sand blast a lot of my stuff as it hides tooling marks etc. This is a Lathe tool holder straight out of the cabinet.

IMGP1710.jpg
 
DTR":f8lux41a said:
No I haven't really thought about the finish. A sandblasted finish (or similar) does look good, maybe I should think about it...

If you like a challenge, perhaps DIY anodizing would fit the bill. Guide here.
 
Nice job.

The reason for 1/4" & 3/8" thread is that it makes a strong thread and easily in most materials, particularly brass and steel, and its fairly resistant to damage. 3/8" is also the European microphone thread standard, for the same reason, and even the Americans have largely adopted it now.

The 'other' mic thread standard is actually two: the male thread, IIRC, is 5/8" 26tpi (I think that's UNF) but the female thread is a wholly non-standard 5/8" 27tpi (Google the price of taps in that size!). The idea is that they should jam together. Utterly horrid, and easily stripped out of cheap fittings.

I'm guessing you're glueing leatherette cork, or similar on top of the plate. I've got several special camera mounts, and they do chew up modern camera baseplates a bit, as SLRs seem to have become bigger and heavier again. I never thought I'd ever compare a Zenit B favourably to a Canon...
 
woodpig":2f3r6l1e said:
I sand blast a lot of my stuff as it hides tooling marks etc. This is a Lathe tool holder straight out of the cabinet.

Looks good, very professional =D>

Eric The Viking":2f3r6l1e said:
Nice job.

The reason for 1/4" & 3/8" thread is that it makes a strong thread and easily in most materials, particularly brass and steel, and its fairly resistant to damage. 3/8" is also the European microphone thread standard, for the same reason, and even the Americans have largely adopted it now.

The 'other' mic thread standard is actually two: the male thread, IIRC, is 5/8" 26tpi (I think that's UNF) but the female thread is a wholly non-standard 5/8" 27tpi (Google the price of taps in that size!). The idea is that they should jam together. Utterly horrid, and easily stripped out of cheap fittings.

I'm guessing you're glueing leatherette cork, or similar on top of the plate. I've got several special camera mounts, and they do chew up modern camera baseplates a bit, as SLRs seem to have become bigger and heavier again. I never thought I'd ever compare a Zenit B favourably to a Canon...

But still, M6 is very close to a 1/4 BSW. Not that I'm complaining, imperial threads are a lot easier to screwcut!

I wasn't aware of the "other" mic thread, sounds like lunacy! :shock:

No cork, but there's currently a square of ex-business card in there. I noticed there's already some circular scoring around the screw hole from its previous ownership. Apparently we've got some thin leather that might fit the bill, but I've yet to see it....
 
Thanks for the interesting WIP, you obviously know you're way around an ML 4 lathe.
And the pics were good too!
A very pleasant change from wood.
Regards Rodders
 
Wood pig - is that one of those Aussie "Diamond" cutters - did you work to any plans?

Rod
 
Harbo":lnojtchb said:
Wood pig - is that one of those Aussie "Diamond" cutters - did you work to any plans?

Rod

Yes, it's a Tangential or "diamond" tool holder as some call them. No plans, I just milled it as I went along. They're easy to make. As long as the bit is presented 12° to the left and 12° forward it cuts fine.
 
I just planed one up out of mahogany!

I didn't have the "step" though, it was a simple taper to the upper surface.

BugBear
 
Back
Top