Bootfair Spiers? Infill

UKworkshop.co.uk

Help Support UKworkshop.co.uk:

This site may earn a commission from merchant affiliate links, including eBay, Amazon, and others.
Cheers for the tips GP....I have some Liberon sticks and some waxes from that Konig...might try burning some of that into the deep gouges..

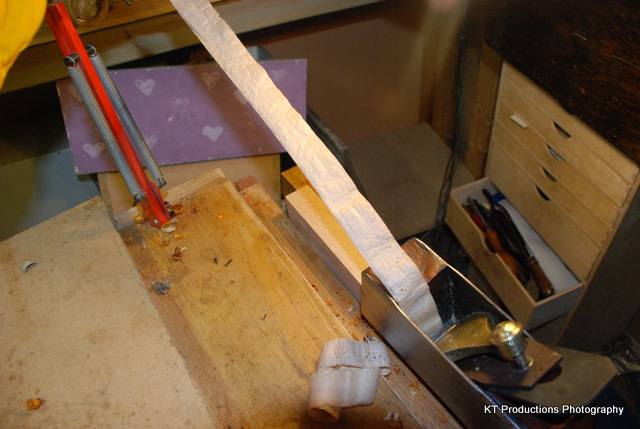
Ok Pete...I bit the bullet with that left over piece of O1....my first attempt at a slotted iron....

First to mark it out...

DSC_0056.JPG


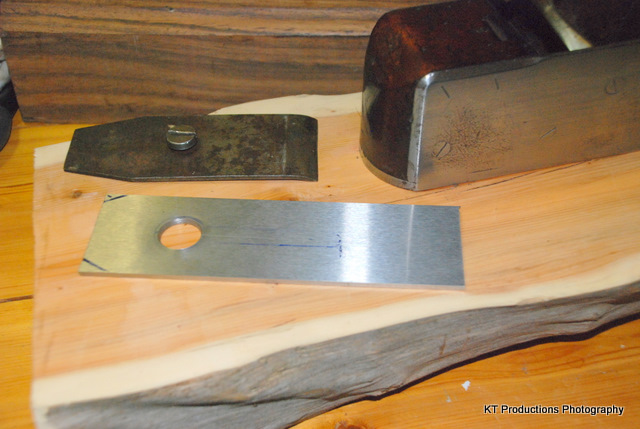
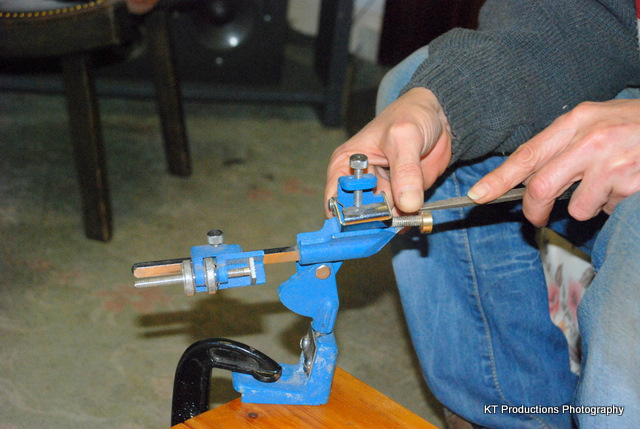
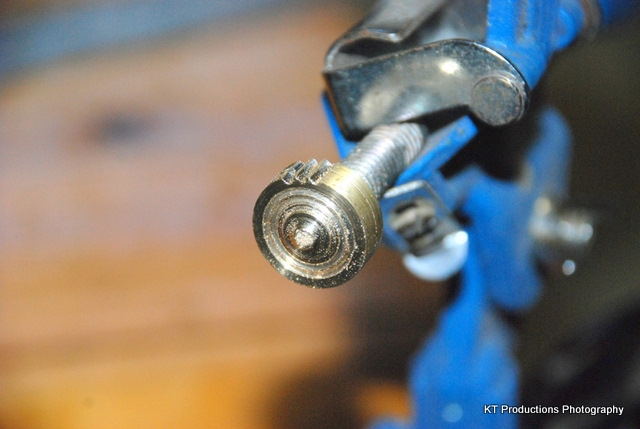
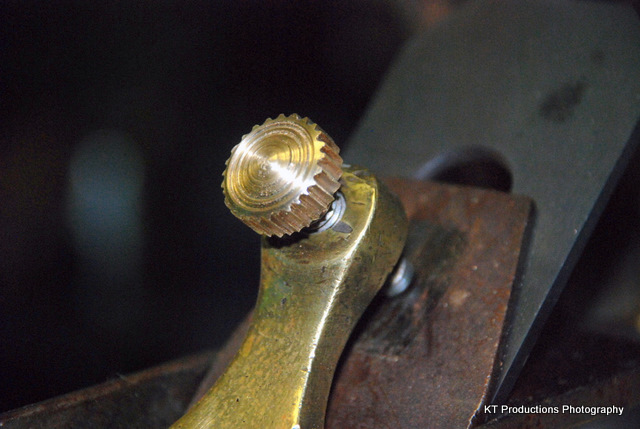
The screw hole was a nightmare as I don't have a metal drill that big and punches would not cut it...(in both senses of the word... :wink: ) but then I remembered I had a series of adjustable reamers...so I started with the biggest drill I had and progressively reamed the rest out...

This was time consuming but the finish is always better with reamers..

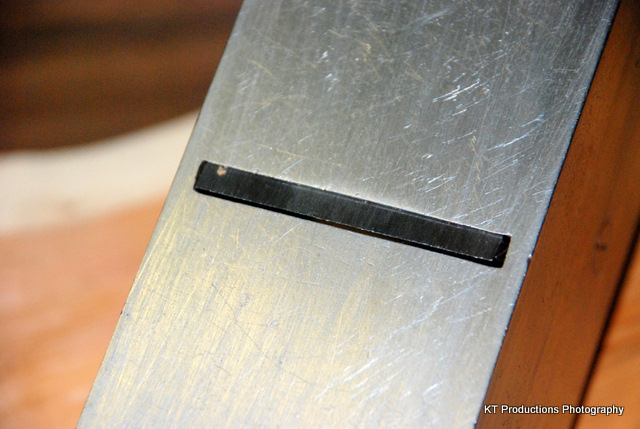
Then...how to cut the slot... :?:

:idea: Dremel with cutting discs....!!!! Worked perfectly!

DSC_0059.JPG


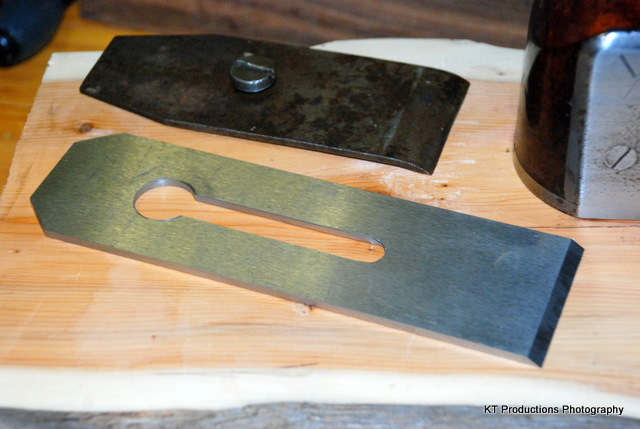
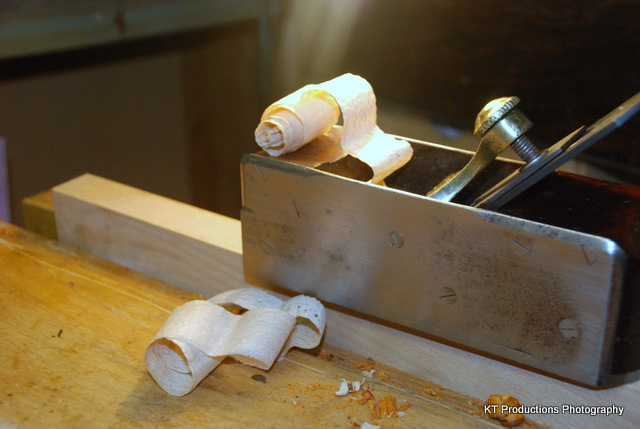
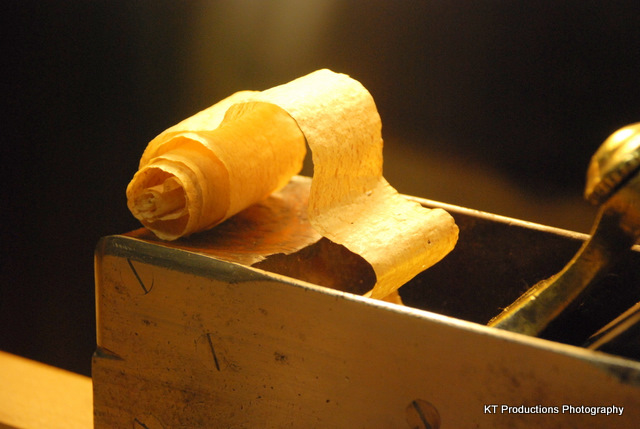
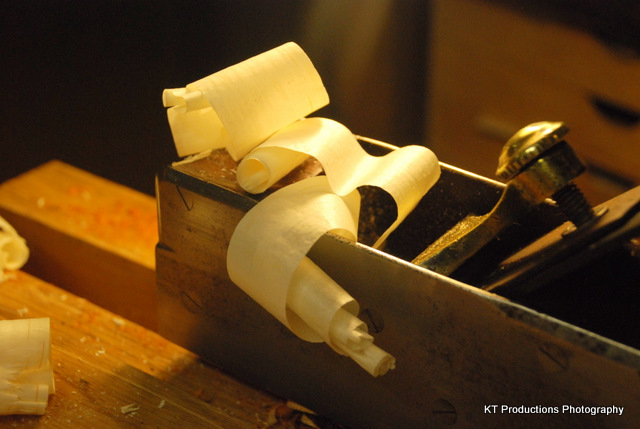
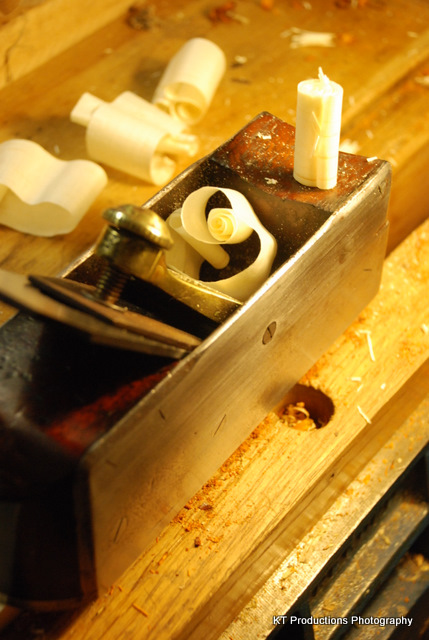
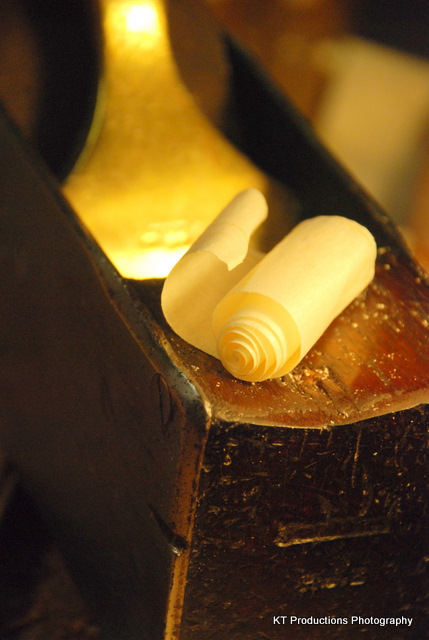
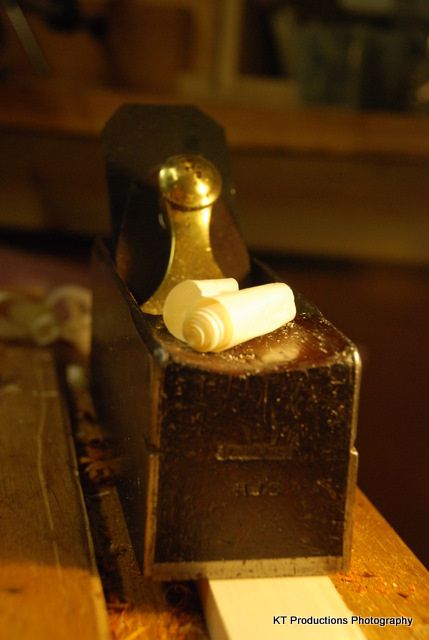
I've a bit of smoothing to do but I am rather pleased with the first attempt.

I put a bevel on it to check the mouth before I fire it...and it is perfect!

DSC_0061.JPG


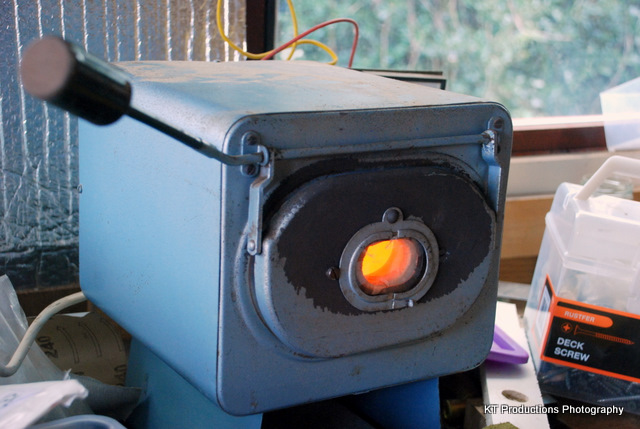
So...it's off to fire it tomorrow...and then temper it in the oven...I feel a roast coming on! 8)

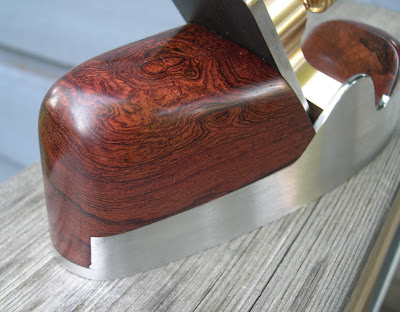
I am tempted to round off the top rather than angles but for now...I will keep it fairly traditional...

DSC_0063.JPG


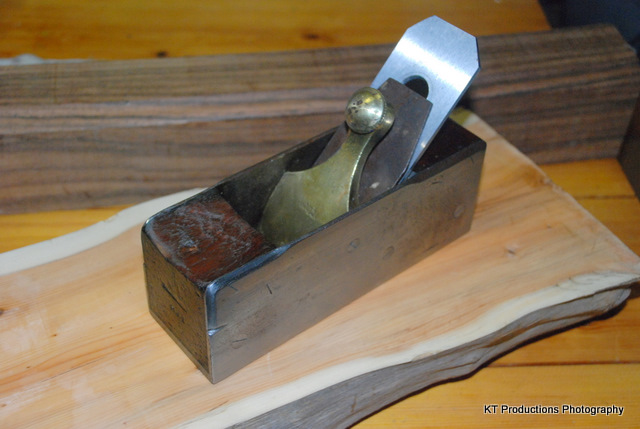
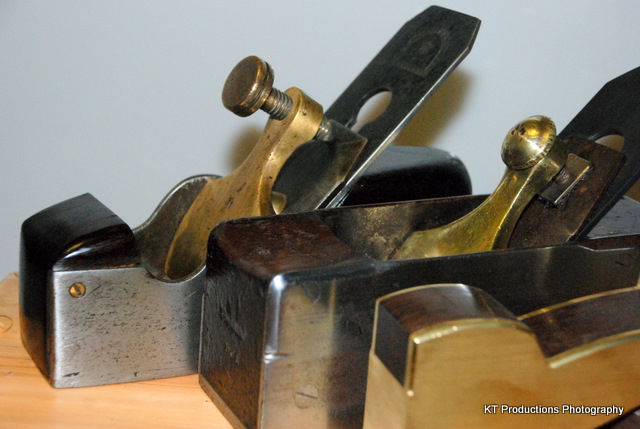
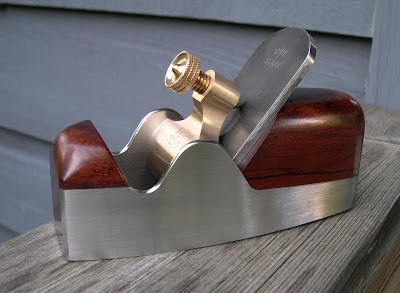
I think I have made the decision now to keep it...she looks quite nice now she's cleaned up...

More later when I have hardened the iron....

Cheers guys and gals...

Jim
 
This looks like a really sensible compromise between museum-style preservation of what you bought, and making the plane useful. I think what you are doing is along the lines of how it would have looked if it had been in continuous careful use, being maintained, not abused. Many planes needs a new blade sometime, and you need all the adjustments to work, but with one which is quite old and well-worn, you don't want it to turn into something looking brand new.

Another nice one!
 
Hi Andy...that was the aim my friend...

I fully understand the view that getting out a wire brush and going mad ruins an old tool...simply because it removes all the patina and war wounds which show the history...

Cleaning the grime off the sides and lapping the sole are indeed what a working cabinet maker would have done as a matter of course...not leave it in a rusty dirty state in the bottom of a box.

The infills were damaged and I wanted to make them look worn and not abused. I decided against new infills for this reason. If I could have removed the existing infills and replaced them without damaging them I could have seen how new ones looked..but alas...the screws are there for good now.

Once I have hardened with oil and then tempered in an oven...the iron won't look like pristine steel...and will look the part...new old stock...

Cheers

Jim
 
That's a very nice job you've done on the new O1 blade.

Everything will be up and running before you know it, as well as taking on renewed (More personal) patina once you've begun putting in some reasonable mileage together. :wink:
 
Jim,

I agree with Andy, a thoughtful, sensitive approach to an old tool that deserves to be treated with respect and put to use. I am sure the original maker (Spiers or whoever) would approve. Congratulationa.

Jim
 
That's a great little plane you have there and it looks like Spiers could have been the maker although not seen the shape before 8) 8)

Are there any numbers on the rear of the lever and/or the infill behind the blade as this can indicate made by a manufacturer ?

Andy
 
I am pretty sure that if the cap is a Spiers then the plane is too...as the screws were definitely flushed at the time of manufacture and they mate correctly with the cap. The other screws are exactly the same....

There are no markings whatsoever on the rear of the cap...the only other markings on the entire plane are the owner names...one reverse embossed as in the old style "Jenkins" and one H.J.E

I too am an avocate of sensitive restoration to make the tool useful...there is little point in keeping them on shelves for display unless they are all original, in fair nick to start with and thus relay a historical picture. Once as used as this example needed to be restored for use...which I will do...and keep it if (as I believe) it performs superbly.

Most of these old infills are valued simply because they work so well...my other Sorby infill coffin is just beautiful to use as a smoother.

Cheers

Jim
 
Well...I seem to be on a roll today! Must be the sunshine.

This is the third time I have used the kiln...remember this....

DSC_0376.JPG


I did a bit more reading of Tubal Cain's excellent book "Hardening, Tempering and Heat Treatment", wherein he discusses the physical and chemical changes which go on during the hardening of steel and decided to be very careful with my temperature control...and particularly the line "quench the hot steel when the temperature is on the rise".

Once tempered in the oven again from 200C to cold, without opening the oven....the iron seemed much harder when honing...

A quick whiz over 3M lapping film and creating a secondary bevel at 30 degs....I then fitted...adjusted and tested the plane...

All I can say is WOW!

First with beech....

DSC_0117.JPG


It is hard to describe how this feels compared with ALL or ANY other plane I have tried...including Cliftons, LNs, Veritas....the best. It is simply a joy.

I haven't even micro-adjusted it yet but it still whisssshes along with no effort whatever...and it is so even....

DSC_0118.JPG


....one long continuous shaving....

DSC_0119.JPG


....some willow ribbons....

DSC_0120.JPG


DSC_0122.JPG


Cute ain't they....

DSC_0123.JPG


I am really pleased with this little darling....

DSC_0126.JPG


....nice to bring her back to life again...this is a keeper for sure....

More later as I fine tune her...

Cheers guys and gals

Jimi
 
Fantastic. It must be immensely satisfying to put in all that work and be so richly rewarded.

Jim

I've sent you a PM
 
Hi Jim....I didn't have much time last night as the day ended but today I am off doing a couple of things and then back to play with her again.

Last thing yesterday (getting on for 1am!) I decided to see how she performed on end grain.

I chose the large yew block which was to hand and had a rough cut end...

Considering this is not exactly a low angle jobbie...it worked really well..shavings (abeit small) but not dust!

DSC_0128.JPG


I could have gone on and remove more to get below the deep saw cut (sorry) but I was knackerd....so more later...

...and I couldn't resist flattening and smoothing the long grain whilst I was at it...

DSC_0127.JPG


Very very impressed so far!

I might even finish sharpening the iron next! :wink:

Jim
 
Have been finishing off the iron and doing some reading up on the cap screw which is too short now and will need modifying a tad...and at the same time...I sharpened the iron to my satisfaction so that I may play....

DSC_0134.JPG


I have to admit...I want to just go on playing and playing with it...the shavings are regular....thin and require very little effort to produce.

I have tested it on a number of hardwoods and some pine just for fun and it performs spectacularly on long and end grain alike.

Now all I have to do is find some tool cupboard space! :?

This has been a rather interesting journey and leads me on to the steeper of these slopes we love so much....really....honestly!

Cheers guys and gals

Jimi
 
Thought I would just photograph a lineup of the infills so far...

Amazing what you can get at a bootfair...less than £30...

DSC_0143.JPG


Big beast that Spiers...

DSC_0145.JPG


Jim
 
Absolutely stunning line up.
I can resist no more ... I have some steel plate arriving this afternoon.
Jim, could you let me know how thick the two lever caps are at the shoulder, where the pivot screws are? - I tried drawing one out in the forge the other day but when I spread the shoulders they ended up just too thin. So I need to start with stock that is about right and draw either end.
I know they are usually cast or milled but if I can forge 'em, I will.
Many thanks and congrats at such excellent refurbs.
 
Hi Richard

Thanks for the kind words....it has been fun!

I think that Philly has the diagram for these things...I can't put my hand on the one for the actual lever cap and to be honest...you have to size them according to the scale of the plane....

I think this is easiest done with a block of brass....cut file or mill depending on what you have.

Derek has some details on infill building on his excellent site HERE

....and his review of the beautiful Marcou S15/BU Smoother may be of great help too!

And Aled has made a superb smoother HERE

Lots of resources on Google if you look for "Building and Infill Plane"

Good luck and please post WIP pictures and details...

I am embarking on my own one soon....

Jim
 
Hey up Jim, you can edit the thread title and remove the :?: mark :wink:

Just been thumbing through some Stanley Auction catalogues and there was one the same as yours :D

Sale 53,lot482....
Very rare,early dovetailed steel block plane by SPIERS 8" X 2 1/2" rosewood infill condition G estimated ???-???

Andy

You will have pm 8)
 
toolsntat":rff09edh said:
Hey up Jim, you can edit the thread title and remove the :?: mark :wink:

Just been thumbing through some Stanley Auction catalogues and there was one the same as yours :D

Sale 53,lot482....
Very rare,early dovetailed steel block plane by SPIERS 8" X 2 1/2" rosewood infill condition G estimated ???-???

Andy

You will have pm 8)

Good LORD! Andy!!

It really went for that much! OMG! Any possibility of you scanning that page? Did it have a picture?

I am going to replace the cap screw but keep the old one until I can do something with it as it is still too short...

I decided to whittle up another one for now to remove the packing on the chip breaker.

It needs to be about 7/8" diameter but I haven't got any brass rod that wide so will have to get some...meanwhile...

I don't have the right die to cut a thread yet so I had to turn up a knob top on the lathe and then mount threaded rod on it....Then comes the problem of cutting the knurling... :cry:

I decide to do this by hand with a three square file...so FINALLY I found a use for that drill sharpening jig I was going to get rid of!!!

DSC_0146.JPG


Perfect for controlling the workpiece and slowly moving it around....

DSC_0147.JPG


The results are quite acceptable....since I am going to mash it up a bit afterwards....

DSC_0150.JPG


See you in about...oh...a week or so!!!

:D

Jim
 
What a cracking job you're doing there Jimi, a pleasure to drool over.
For the 'short' lever cap screw, how about an un-threaded plain brass button let into the end? By the look of your images a couple of mm extra length could do it.

xy
 
Hey... thanks for the diagram. That's very clear. And the links - have been everywhere except Derek's Marcou review ... now that's a plane to aspire to.
Been looking at old ones, new ones, having speaks with Bill Carter (great chap!) and all in all thoroughly hurling myself down this slope - it's ok though, I'm a blacksmith and it's sort of what I do.
The chap arrived with the steel plate: 3, 4, 5, and 6mm plates, aprox. 70mm wide and 28" long. That should keep me busy for a bit. Haven't got any brass/bronze yet, nor done any serious negotiating - so far, when I find someone who carries gunmetal alloys, they don't do plate.

About knurling, I've noticed that quite a few lever cap screws have turned grooves so that the knurl is only taken on thin strips - which looks very fancy but would also take a lot of strain off the lathe .. just a thought.
I particularly like the idea of the slanted paterns that give more grip undoing and less doing up. There are so many clever innovations old and new; it's difficult to decide who's to steal first.
 
Hi XY

Thanks for the kind words...

I had thought of extending the original and I probably will but I needed to practice the complex art of getting used to my Myford and filing again...so I whittled this one up to see...

DSC_0155.JPG


Far too small of course but I needed to work with the plane and it wasn't QUITE tight enough...it kept slipping...

Even though this is a tad primative...it is hand hewn versus milled so I am getting there...the second half was done with a new file I got at the bootfair today...a nice little Nicholson of Canada "Double Ender" three square that my dealer got for me for £3...a BARGAIN!

50p more than the whole plane but I was feeling flush! :wink:

As I am going to build infills in the future...I felt that I should get at one with these bits and bobs so I can slowly improve techniques as I go alone rather than wasting valuable stock later when I go for real!

It works...looks of for now and I will keep the original safe for fixing up - probably with the plain button as you suggest.

Hi Richard...yes that diagram is all you need for a coffin...good luck with that. The Marcou is indeed an inspiration as are Holteys and of course...the Sauer and Steiners...which are my favourites...I mean...just LOOK at this one...

DRSNo4quarter.jpg


...simply stunning! Honduran Rosewood...

DRSNo4rearDetail.jpg


Anyway...off to test the infill now that I have the iron fully tightened...

More later!

Jim
 
Back
Top