A Host of Angels....

UKworkshop.co.uk

Help Support UKworkshop.co.uk:

This site may earn a commission from merchant affiliate links, including eBay, Amazon, and others.

jimi43

Established Member
Joined
12 Mar 2009
Messages
6,921
Reaction score
15
Location
Kent - the Garden of England
I received my TATHS membership pack this week...wonderful!!!

Part of the deal is the Seaton Chest book which as you may know...is free with the membership.

There is a page showing all the Gabriel planes in the form of a letter "S"

When I saw this I decided that if I'm going to collect ( :oops: ) woodies, I might as well collect Gabriels and start with the No.1 I recently bought...add to that this next one...and go from there.

So over to the latest acquisition....
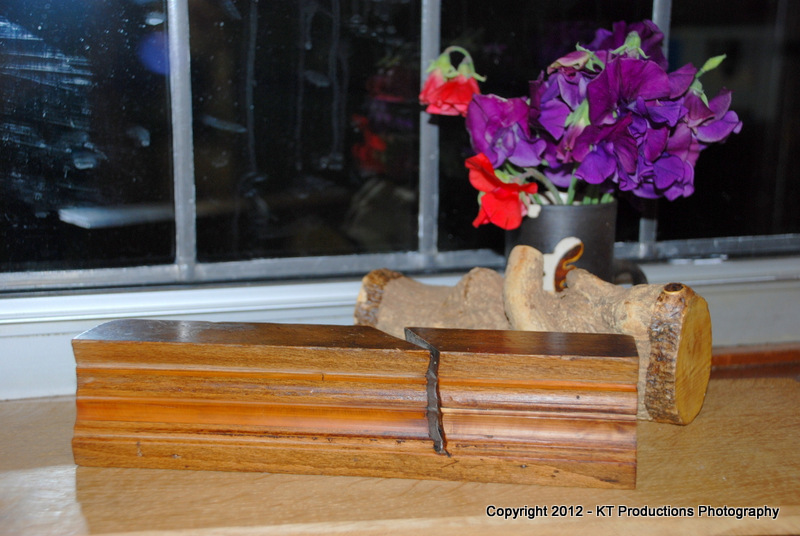
DSC_1832.JPG


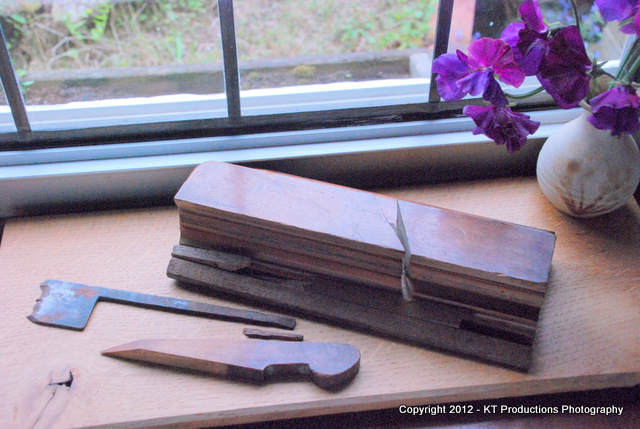
This one's a FleaBay restoration project...

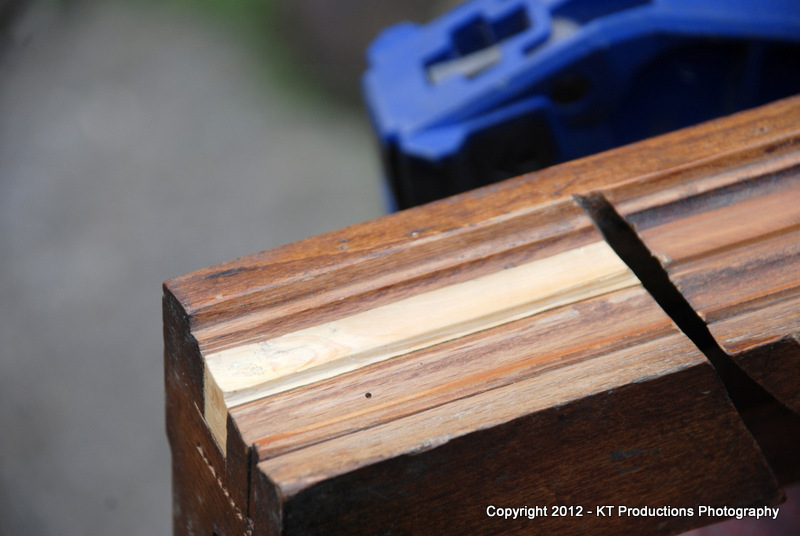
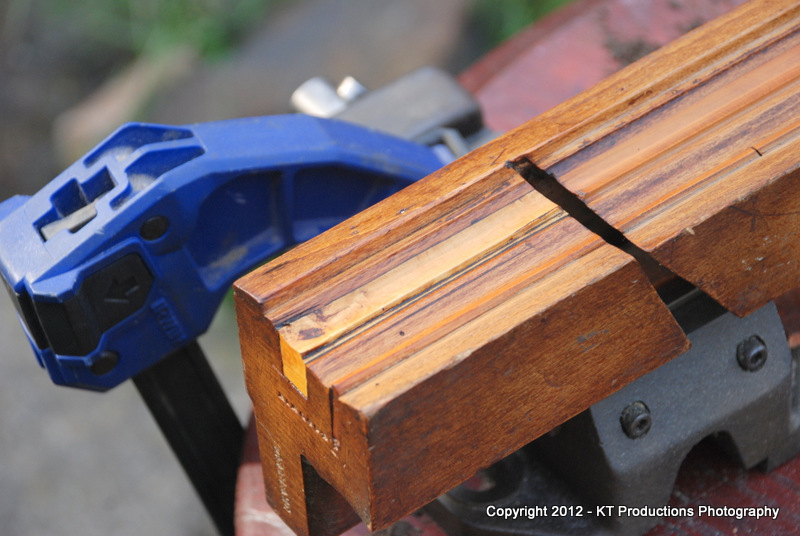
It has an old (very old) extension to the side...which was broken...
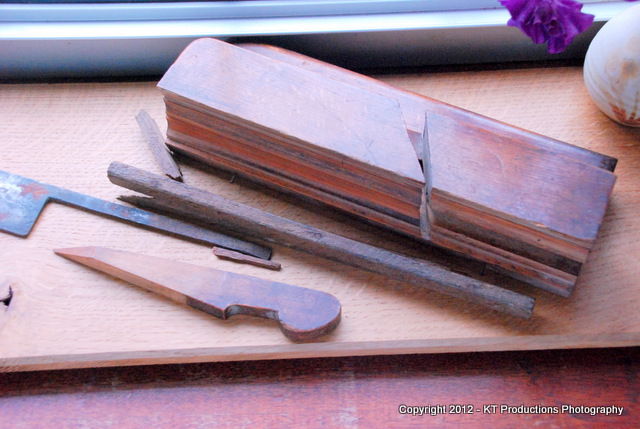
DSC_1834.JPG


...which virtually fell off...leaving a few ancient tacks which easily pulled out...
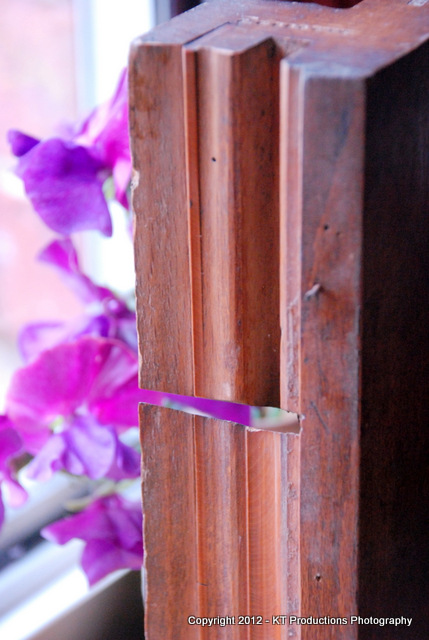
DSC_1835.JPG


The keen-eyed amongst you will notice also a bleedin' huge lump of boxwood insert missing to the front of the main profile curve of the iron....mmmmm

There are also a few flight holes from prehistoric beasties....
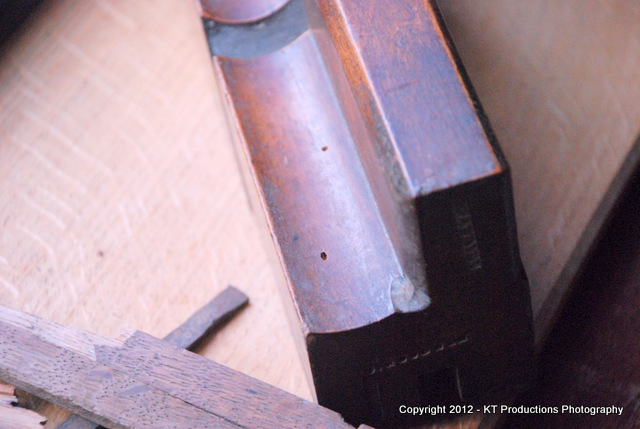
DSC_1840.JPG


...long since flown the nest I think!

I have some boxwood which would suit but I need a round of the right size to make the profile...or I might make a scratch...depending on which comes first! I started out by raiding the kitchen drawers...for cocktail sticks...
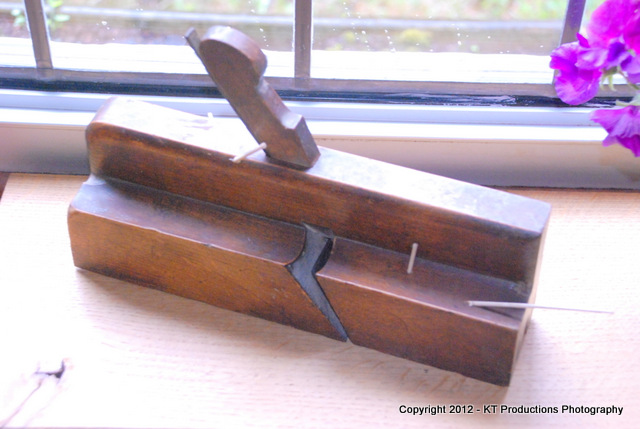
DSC_1844.JPG


...to prevent their descendants from coming back to roost! :mrgreen:

The tips were then stained and matched perfectly.

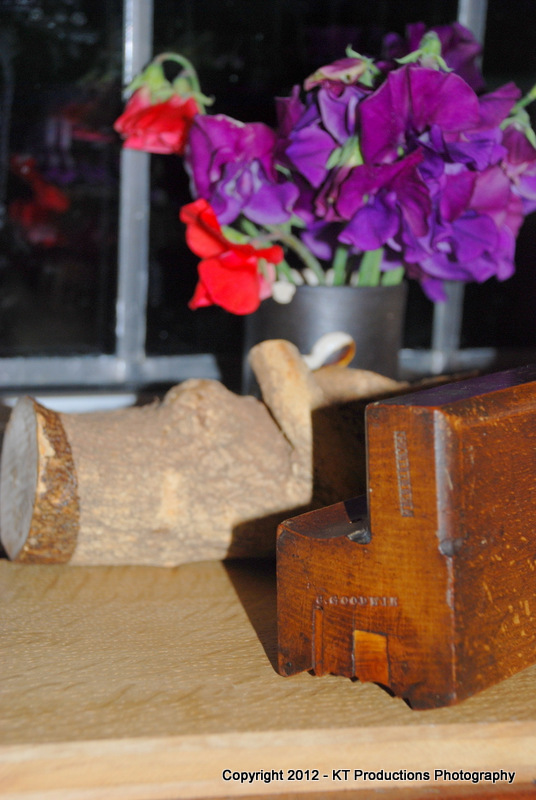
I've become rather attached to the beautiful ZB (zigzag border) of the maker's mark...
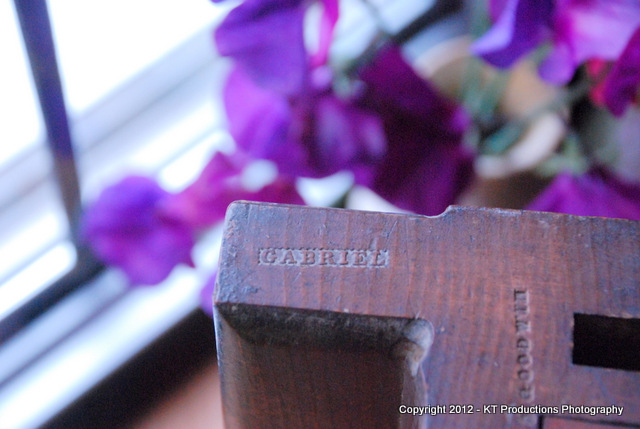
DSC_1836.JPG


...from that bygone era....but this one is even more fascinating as there are a couple of contemporary owner's stamps on the other end...
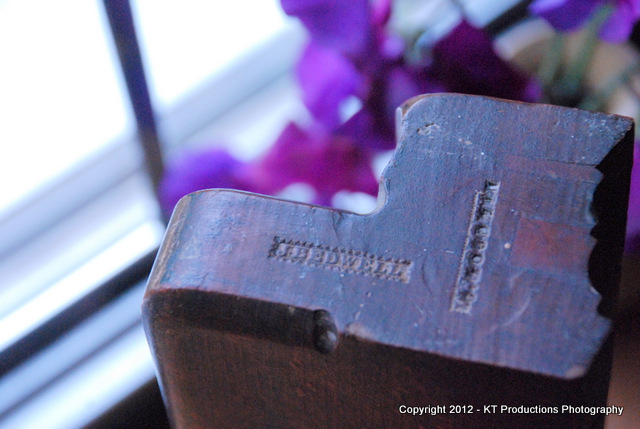
DSC_1838.JPG


One has been virtually obliterated but I am working a bit of forensics on that...the other is clear as a bell...a Mr J.Bedwell which may be John Bedwell, carpenter of Pound Street London...later of Ipswich. It's about the right date but we may never know.

Still...another part of the Jimi Chest is nearly there...the iron honed and ready to go once I get the insert sorted.

I am glad I have focussed this slope to one maker....this could become quite addictive!.....Mind you...there is a nice Griffiths up for sale at the moment! :oops:

Jim
 
Hi, Jim

Very nice, nothing like setting the bar high! can't be many Gabriels about.

Its a bit like me looking for a half set of Hields skew mouthed hollows :shock:

Have you any box for the missing bit? I have been collecting up old yard sticks for the box wood.

I tuned up a side bead that wasn't working well, turned out the boxing had been reglued not flush with the piece in frount of the mouth.
I made a scratch stock and scraped it down and now it works a treat.

Pete
 
Hi Pete....

Yes I do have some box offcuts somewhere...I'll have to dig through my hardwood and exotic trimmings box tonight.

I don't really want to cut open a new log for this little bit but I'm sure there is something of adequate dimensions somewhere.

Yes...the reason I chose GABRIEL is that they are quite common but rare as a set...so I might as well go down that road learning as I go.

The owner names fascinate me as much as the maker...especially the older ones from the turn of the 1800s

Jim
 
I saw this one but didn't bid - I'm glad you've bought it as I know you'll do a lovely job on it.

But, at risk of raising the bar a bit before you start - and excuse me if you know this already - but to do a proper job on the boxing, you need to cut a piece diagonally across the grain, so that the exposed part is oblique end grain, for maximum wear resistance. You may need to cut several small pieces side by side to achieve this. Of course you could just do an easy cut along the long grain - but that does mean it might not last the next two hundred years! :lol:
 
I was going to mention scratch stocks, too; but Pete beat me to it, I see.

Old scrapers and dead sawblades make good donors for scratchstock material, and a set of needle files would be useful to finish the profile after heavy metal-shifting with bigger engineer's files.

To sort out the iron, I see that Arc Euro Trade do diamond needle files quite cheaply. Eternal Tools do them too - better quality, longer length of cut, but costing more. For anybody going into complex moulder profiles, might be worth investing - they'll cut quicker than slipstones.
 
Strangely...as it is a bit specialist and potentially a bit anal...I admit I was reading up on the correct way to do boxing...mostly for the geometry...but I did read that you needed to "face the grain" and just the word you used..."obliquely" would have made it all a bit clearer had I read that...so thanks for that Prof...I get it now! :oops:

I actually have a bit of log that does a bit of a wiggle and would not be much use for anything else anyway...and if I get you correctly...cutting diagonally across that will reveal the end grain for most of the length...

I might need a few pictures to show you. Tell me...does the resulting end grain have to go backwards as it were....from the direction of planing? I thought this might be the right thing to do as it would mean that wear would be much reduced this way....like stroking ALFIE the right way as opposed to rubbing him up the wrong way! :mrgreen:

Is this so?

CC.....Douglas gave me a beautiful scratch stock he made which I have yet to use in anger and I will take a bit of bandsaw blade and grind that to the correct profile for creating this. Should be a laugh! 8)

Jim
 
jimi43":2vut0q8v said:
Tell me...does the resulting end grain have to go backwards as it were....from the direction of planing? I thought this might be the right thing to do as it would mean that wear would be much reduced this way....like stroking ALFIE the right way as opposed to rubbing him up the wrong way!
Jim

I checked in Whelan's book on plane making and he says it goes like this:

IMG_0827.jpg


It's not what you might expect - the wrong way of the fur! - but he explains that it's vital to get maximum support for the tip of the iron where it touches the boxing. If the angle was the other way round there would be a bit of short grain there, just at the most vulnerable spot.

I'll have to see if I can find a plane with a loose bit to have a look at.
 
Indeed you would Andy...and I can just see the rings coming out of the existing rear piece....you are quite correct!

I also found a short branch that would be ideal for sacrificing for this...fortunately it is the shorter of the two inserts that's missing....I think I can just about get the right angle out of the length. Being the leading part...the cutter is backing onto the original piece so it's not too critical...but the wear is....and I guess the staining will be correct also as the oil will go into the end grain rather than not into the side of the grain.

The approach to this...given that box is a smidgen more expensive now than in 1800...is going to take a bit of thinking.

The plan is to cut an oversized (width) length the correct way and overly long and high...then plane it down to wedge in the rebate first.

Then cut the hollow with a scratch correctly to match.

Then get the mouth angle cut.

Next plane off the height to fit.....glue into place and then trim the end off.

Do you think that would the best way?

Incidentally....the fine strips of pointed box on the next insert were made in two sections...not equal...so clearly this is to make the grain work....as you suggested earlier.

Of course I will do some more research first...maybe contact Phily and then start cutting...... :wink:

Jim
 
Hi, Jim
I would get plane it to fit glue it in, then shape it, you can make the scratch stock to fit the whole sole. Seems a less risky way to me.


Pete
 
Racers":9x2wy9hn said:
Hi, Jim
I would get plane it to fit glue it in, then shape it, you can make the scratch stock to fit the whole sole. Seems a less risky way to me.


Pete

That was Plan A Pete....but I was frightened of taking the patina of the existing profile wood....what do you think?

Jim
 
Hi, Jim

If you make the scratch stock a good fit and smooth (just round the corners so it doesn't cut) where you don't want to remove amy material I think it will be o/k.

Pete
 
Racers":1d8sqyww said:
Hi, Jim

If you make the scratch stock a good fit and smooth (just round the corners so it doesn't cut) where you don't want to remove amy material I think it will be o/k.

Pete

Now why didn't I think of that!!! :oops:

Jim
 
I finally got around to trying to create a front boxing for the missing piece today.

The choice of boxwood section is critical as you will see...and I didn't have the right piece unfortunately...but it's easy to change it out and try again now that I have worked out the technique.

So...first of all..to create the scratch....

DSC_1972.JPG


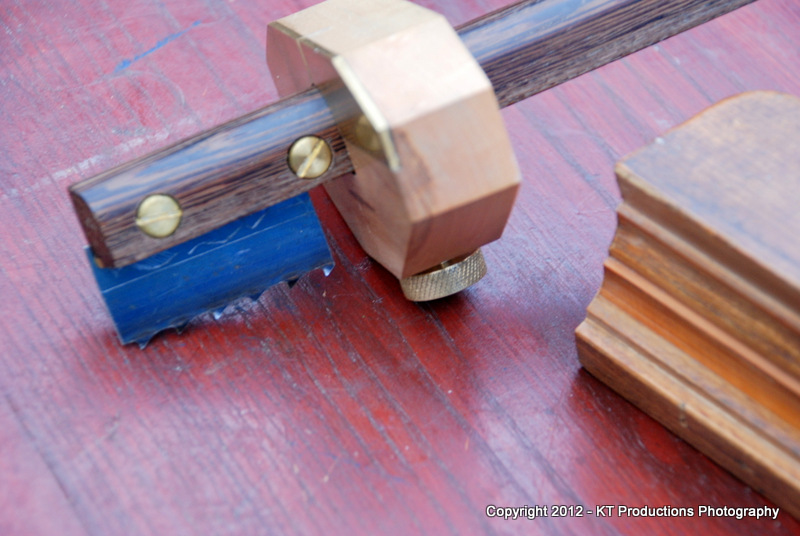
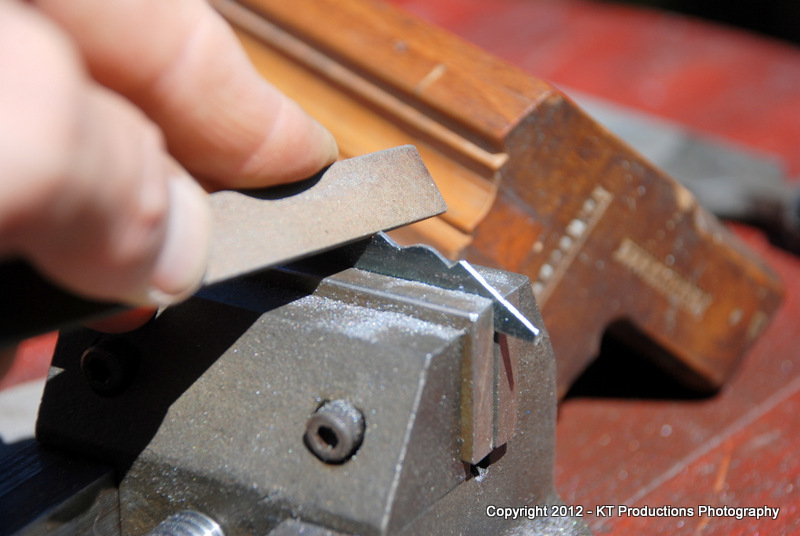
The ideal candidate for the stock material is a large bandsaw blade offcut. This one was left over from some stock that Ian sent me from Tuffsaws when I was practising with bow and frame saws....a tad too aggressive!

The metal behind the teeth is not hardened....so it is easy to shape with hacksaw, file and abrasive...

DSC_1973.JPG


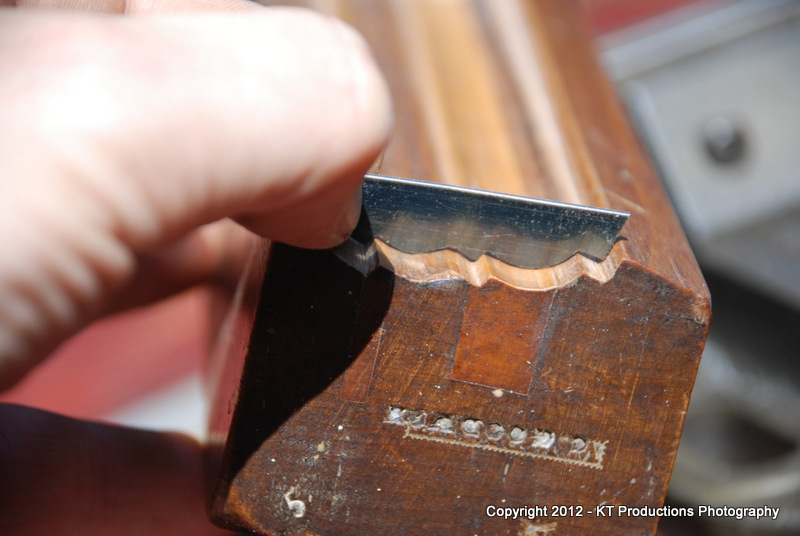
I scratched the rough shape on the steel using the end of the plane and a hardened steel scribe and then checked it frequently...

DSC_1978.JPG


...until it was spot on as tested against the good rear section...with no light visible between the wood and the steel.

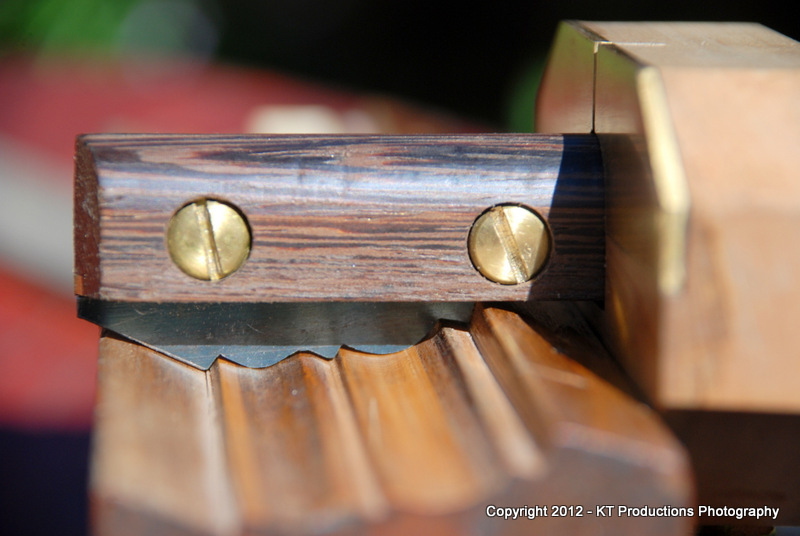
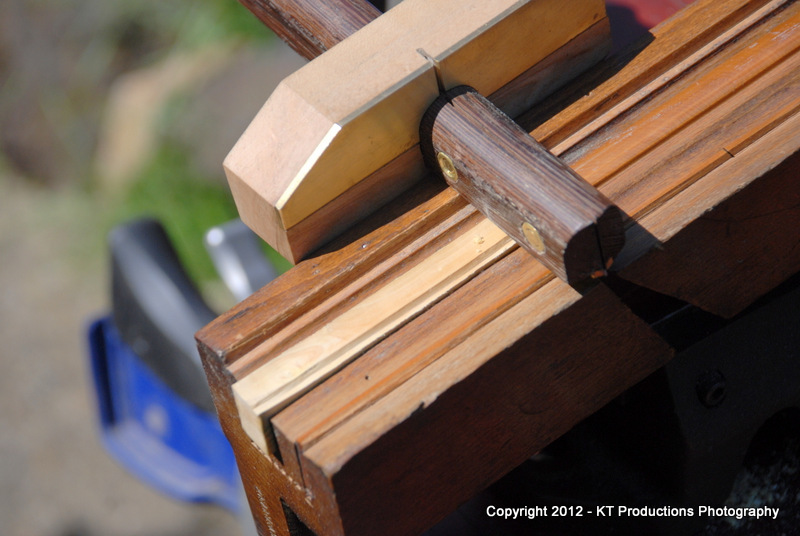
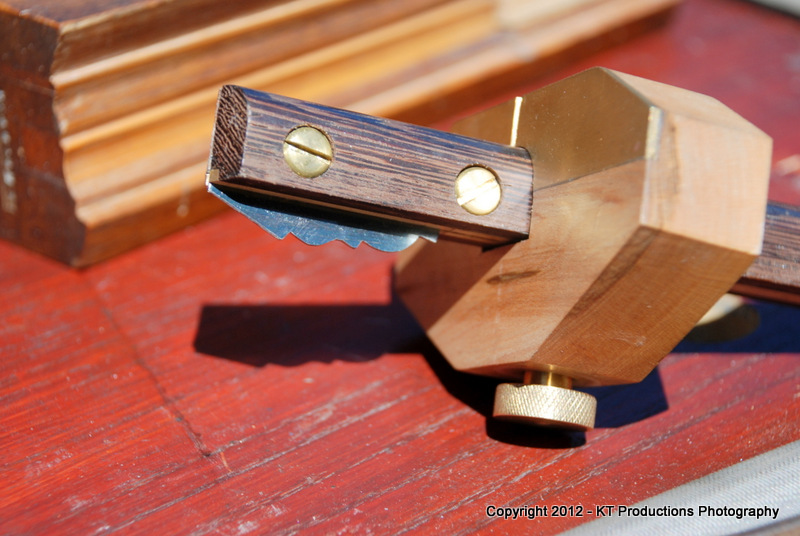
I fitted it in the superb scratch stock that Douglas gave me ages ago when we were discussing the design of these things...

DSC_1979.JPG


Before anyone says anything...I know it's upside down...this was to allow for the use of the flat side as a registration guide when set up correctly as the stock is held flat against the other side of the plane and the edge of the moulding...much more stable that way.

DSC_1980.JPG


A bit of fine tuning was necessary at this stage...the lefthand hollow is slightly the wrong shape and hits first...and we don't want this to happen!

I then rounded all but the stock that had to cut to prevent this cutting the good moulding...this worked really well..it just acted as a stop when the cut bit was done....

DSC_1994.JPG


Note how I left a little hangover tail sticking out of the end of the plane...this was because the fit is tight (as it should be)...no glue at all and it is so tight in there it takes a bit to knock it back out again!

DSC_1995.JPG


Nearly finished....just a bit to trim down on the very ends...which is not easy!

You can clearly see where I screwed up with the wood selection...a knot! It didn't occur to me that this would be a problem...I tried hard to get end grain at as tight and angle as possible but the pieces that I have are simply not large enough...and it was almost impossible to get a piece this long with just end grain...

The knot was even more pronounced when I tried to match the new wood with old...

DSC_1996.JPG


Also..the adjacent "V" was simply not crisp enough...that means that next time I need to pay more attention to the flatness of this section...but you learn fast with this stuff!

A really bummer but it does go to show how darn difficult it is to make these masterpieces! As there is no glue at all holding this firmly in place...I will do some testing with this first version and then keep my eye out for some wider stock to get a clean grained piece. I still have the stock of course..so it should be plain sailing next time! I learnt a lot! :oops:

Later on I refined the scratch stock a bit and got rid of most of the errors...and then antiqued the new boxwood as best I could. Box is notoriously difficult to stain evenly...and to match the surrounding beech was even more of a challenge...

DSC_1997.JPG


...but we're getting there...a touch more red methinks!

DSC_2000.JPG


The proof of the pudding would be how accurately it cuts the moulding....tomorrow! :lol:


Jim
 
Hi, Jim

Looks good, most of the ware in in the front of a moulding plane, so if your insert isn't a good fit I think it will still work.


Pete
 
I knew you'd do a suitable job on this Jim - I'd have said it was good enough, but you won't stop till it's perfect!


I've just bought Jane and Mark Rees' book on tool collecting and they have some interesting things to say about box.

English box never grows very big - only up to about 5" diameter. Christopher Gabriel's inventory of about 1800 shows that he was buying box from Turkey to use for tools - he had 14 hundredweight and 3 quarters of it in stock. [For younger readers - that's nearly 3/4 of a ton.]

In the nineteenth century Maracaibo boxwood was being imported from the West Indies. This was available in logs of up to 20" diameter. Without it there would not have been enough boxwood for the likes of Rabone to have made the countless thousands of boxwood rules that they did.

They also say "Newly cut boxwood has a pale, almost lemon colour which initially loses colour before very gradually darkening with the passage of time. Old boxwood, aided by polish or oil finish, becomes progressively more "golden," eventually becoming a deep gold in colour. To artificially colour boxwood is not easy and attempts can be detected by the experienced observer."

So give yourself a pat on the back!
 
jimi43":1c2m325d said:
I then rounded all but the stock that had to cut to prevent this cutting the good moulding...this worked really well..it just acted as a stop when the cut bit was done....

Excellent notion!

BugBear
 
Indeed BB...the rounding of the non-cutting scratch was indeed Pete's brilliant idea! And what a superb idea it was too...worked perfectly!

So...I guess you all want to know how it cuts!? I am surprised someone hasn't popped up and asked by now...as traditional as "if there are no pictures it didn't happen"!!! :mrgreen:

First, a couple of points. Now they ain't joking when they say when starting out on woodies...pick something simple. Well I had the beautiful little round so does that count? I think "they" mean..."then go to something a little more difficult..." not...jump straight to a complex moulding!!

Sharpening and adjusting of these irons is a blinkin' nightmare! Tiny little errors both in actual and relative to sole contours makes a huge difference to the tuning. And I thought gouges were a nightmare! Anyway...I got it sorted eventually!

Andy...thanks for the excellent excerpts from Jane and Mark's book...another darn piece of technical literature I shall have to buy!....It's ALFIE's birthday in a few months...IDEAL!! :mrgreen:

I knew I was on a hiding to nothing trying to get the iron-parallel grain with the diameters I had...looks like I might have to go to the West Indies on holiday this year after all! :mrgreen:

As far as staining...I used the old leather powders...mixed to try to match...and then I melted some beeswax and mixed it with turpentine and boiled linseed oil...added more light and dark brown powdered stain...a touch of red and rubbed this in. The beeswax is to lubricate the wood to prevent wear to the delicate sole...and I rubbed more in afterwards...just a neat cone and polished.

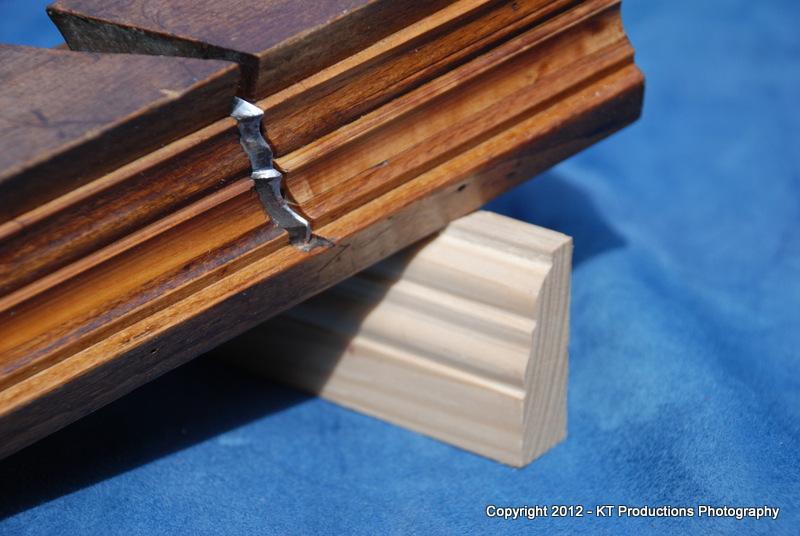
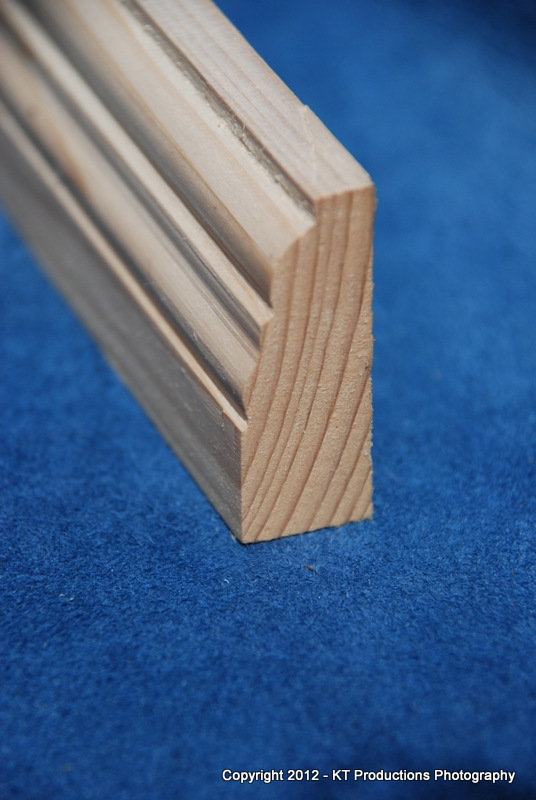
Secondly....I must state right up front that I have no idea how this moulding is supposed to look...but here you go...

DSC_2013.JPG


Not bad for a first time on these things...well to me anyway...

DSC_2005.JPG


Please note the judicious placing of the stock....I made a right balls up further down...this is not easy! :oops:

Still...Charley would be happy I think...better than being eaten by worms and rotting away...and he would know! :mrgreen:

Another one for the "chest"!

Jim
 
Hi, Jim

Tht looks dam good for a cheap bit of pine, pat on the back mate you deserve it.

Pete
 
Definitely well done. I foresee a sudden increase in the Kentish population of bespoke picture frames, mirrors and doors with elaborately framed panels.

One other thing I read somewhere but forgot to say - don't assume that the boxing needs to be all one piece - you'll find planes where two or more narrow pieces were glued up together to get the length - though presumably that brings its own set of problems!
 
Back
Top