

Richard T
Established Member
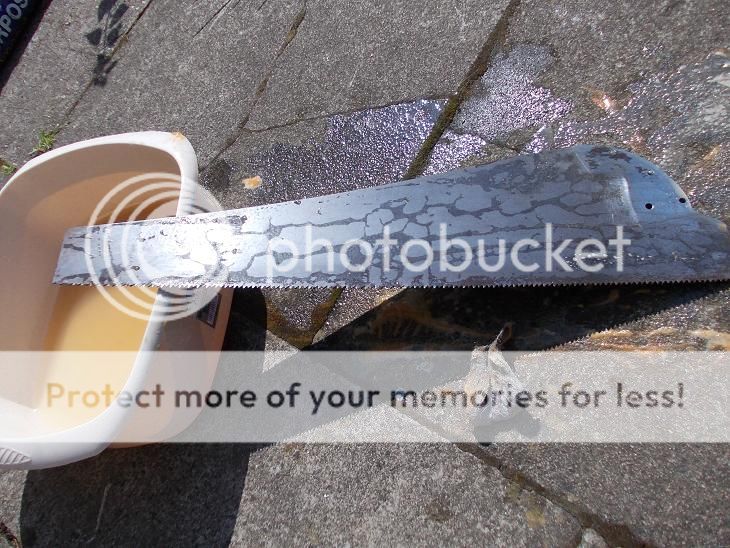
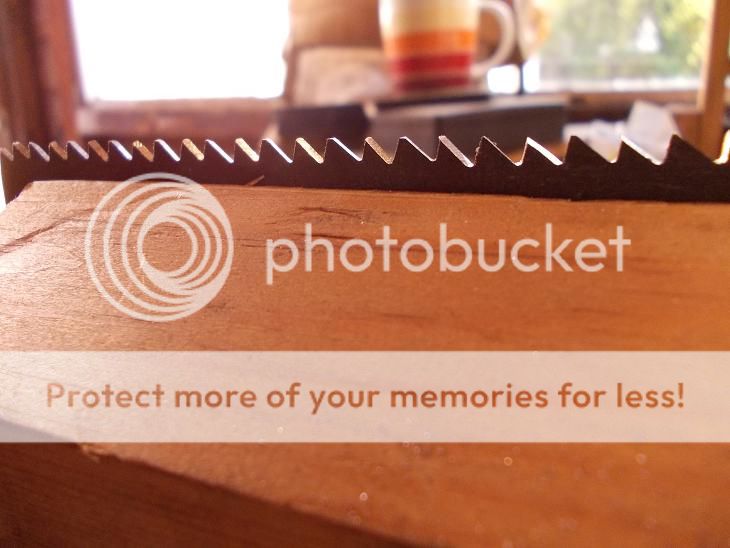
All I bought yesterday morning was this sorry looking modern Diston crosscut for £2.
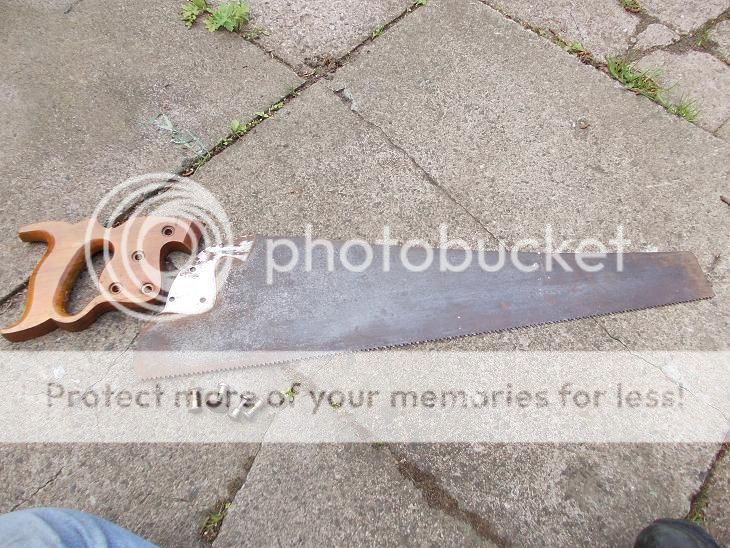
The blade is as straight as I could hope for so that is a good start.
It looks like it was file sharpened last time ... could be good, could be bad.

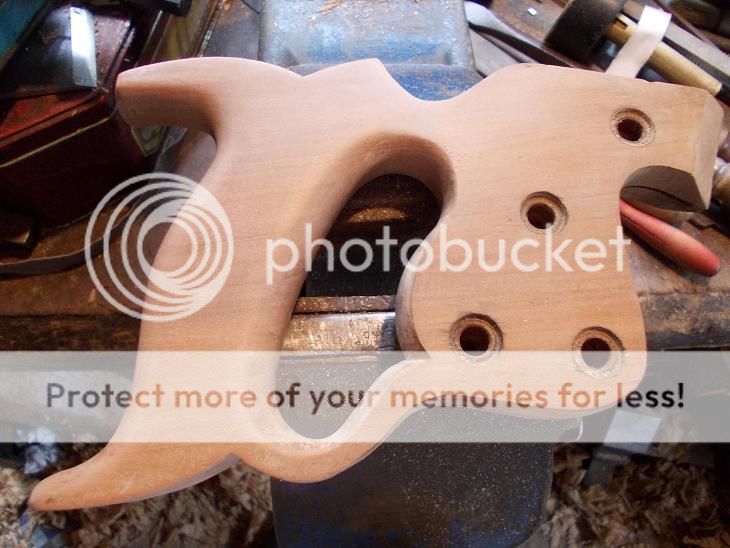
The handle has most of its horrible, original varnish.
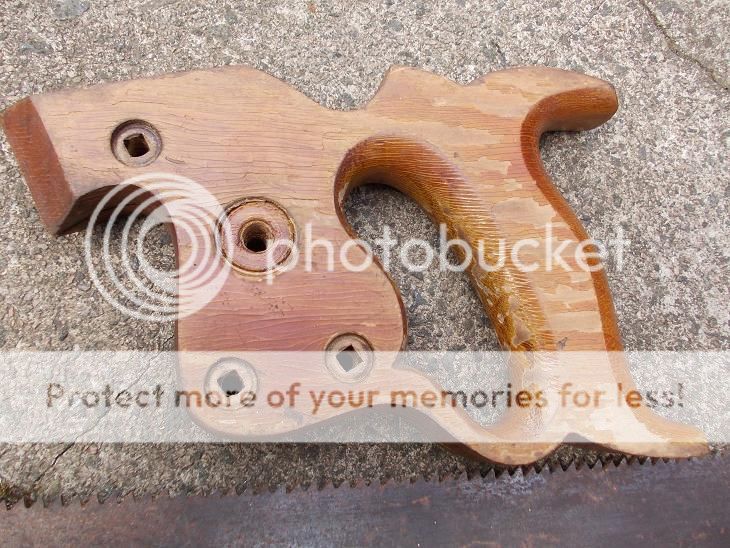
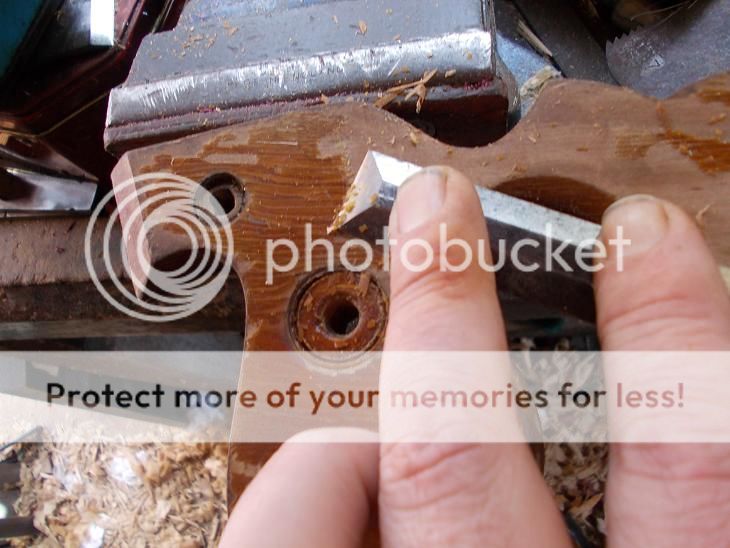
A lot of which was flaky enough to pare off easily.
I scrubbed the blade with a brillo in warm water as it was quite gungy as well as surface rusty. Bet to do this before it has nice sharp teeth to dull with wire wool.
This is my effort of a saw vice. It is hollowed slightly, tapering in from the middle to the ends so that in compression it grips all the way along. That's the theory anyway - I could have made a better job of it but it's not bad.
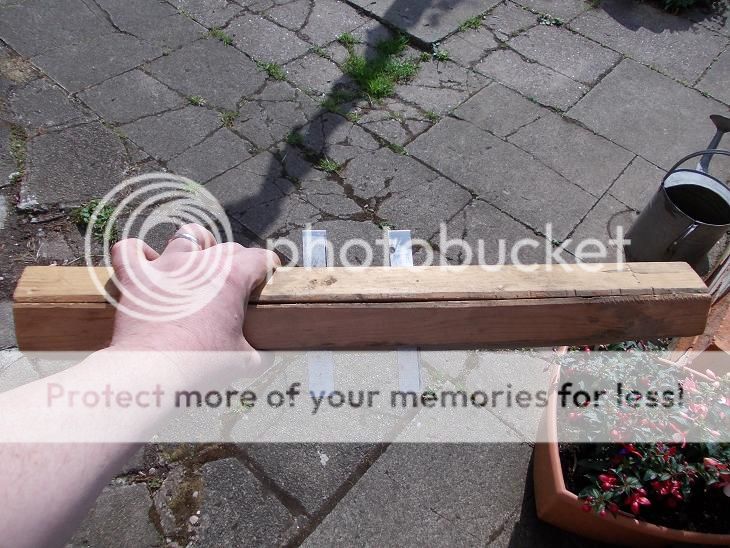
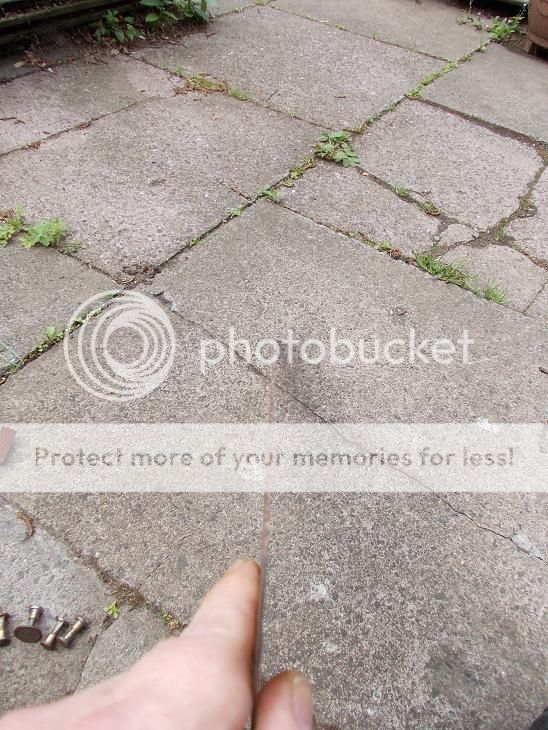
This is how it sits in the vice hanging on its brackets. If it had no brackets I would need four hands to line it up every time.
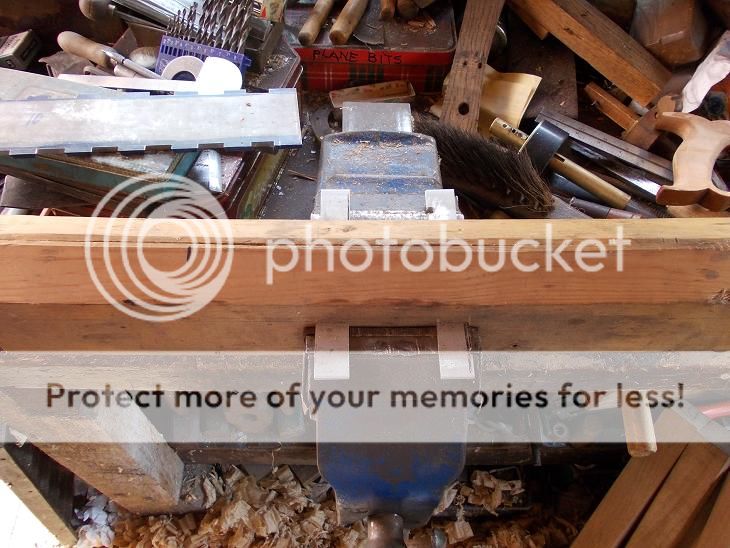
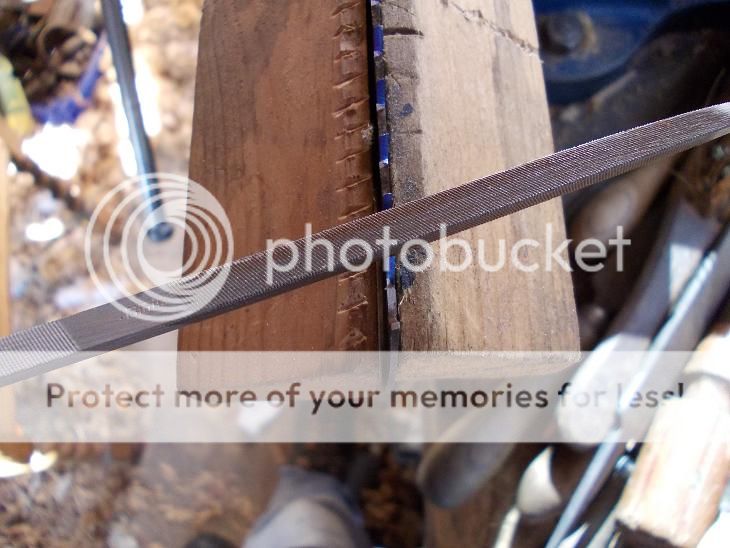
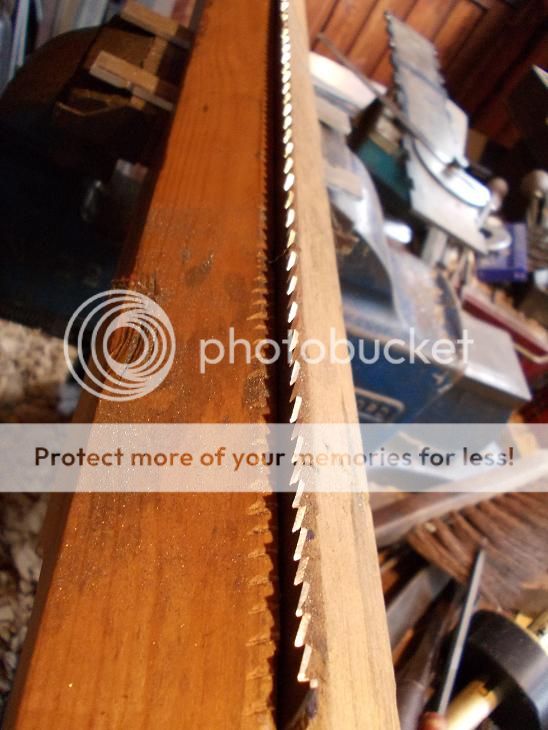
The first thing to do is to joint the blade. This involves a long, flat, smooth, handleless file stoked along the length, kept very level on top, until every tooth has some flat on its tip. This shows up how far out it has become either by wear or previous 'enthusiastic' and also gives a clear reference of how far I can go with each tooth to bring it back to straight.
Sometimes this can be an alarming and depressing exercise.

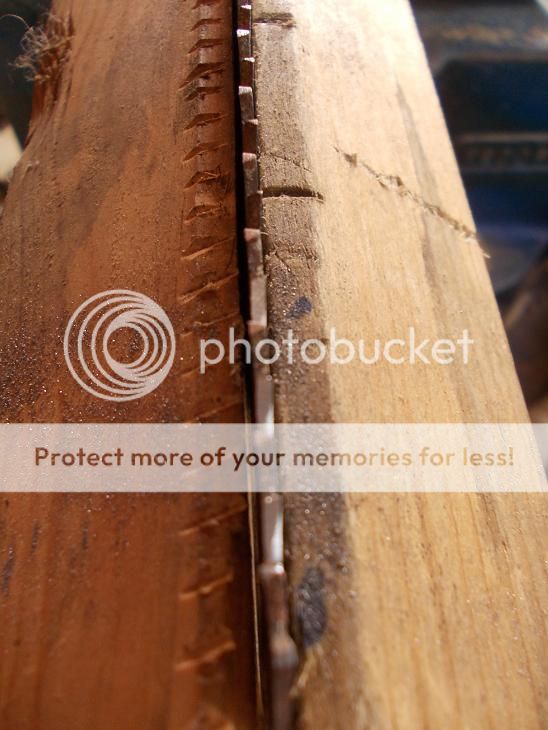
This saw's hidden horror was at the back where it soon became obvious how far out the left and right teeth had been filed.
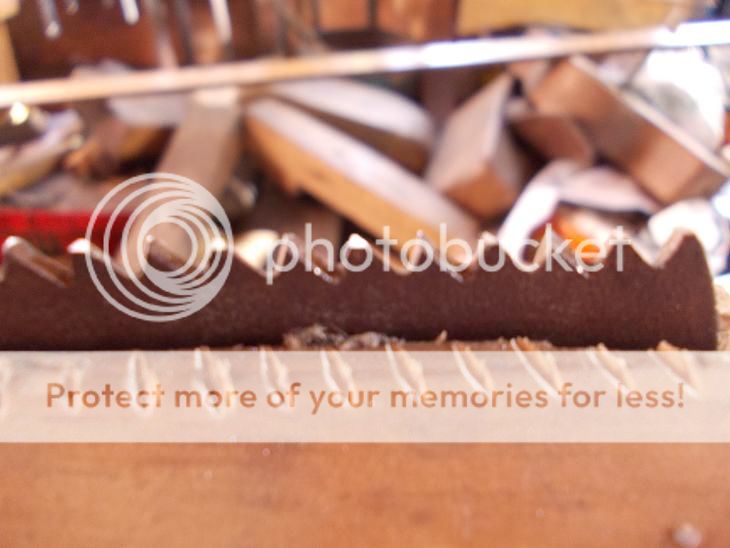
Nil desperandum - there were not too many like that. So on to the setting up. I decide on a wide fleam of 24 degrees. This is about as much as is practical - a cross cut saw's cross cut.
Alternate teeth are pretty clear at the start as the ones I am leaving are black.
Coming up the other side I marked the bright teeth blue so as not to mix up bright with bright.
I had nice even teeth but there were still flats visible in places.
So a touch - up before setting. Better.
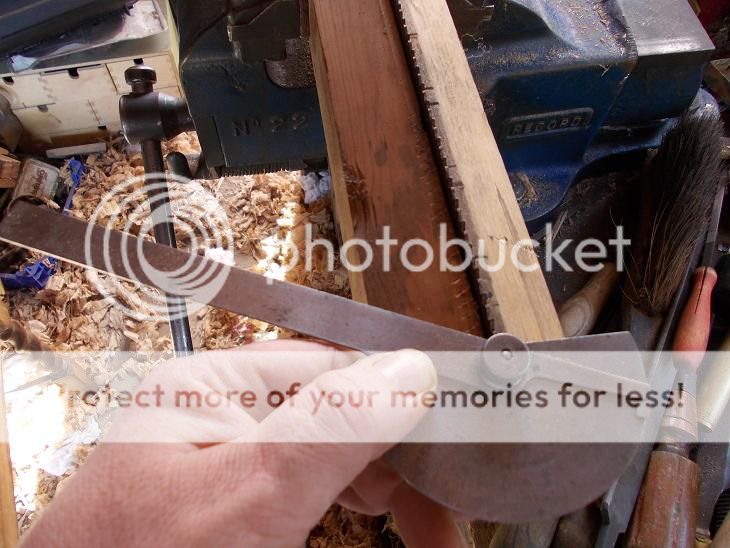
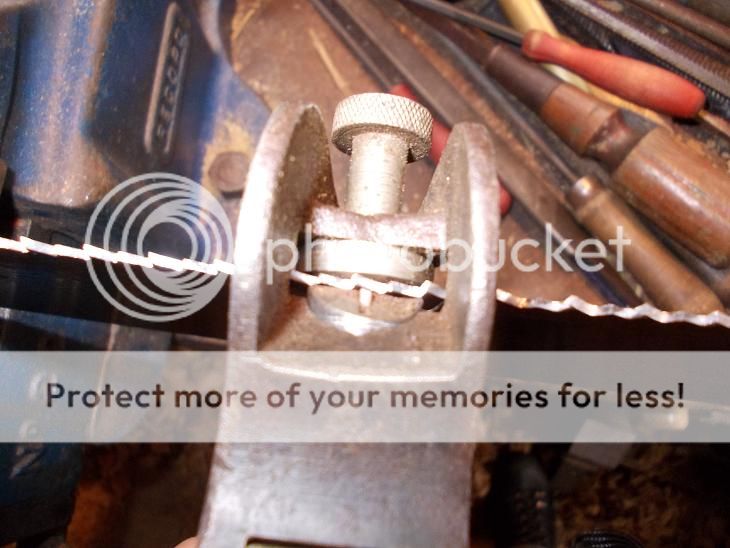
I took this picture of the set before I had adjusted it to what Eclipse reckon is suitable for seven tpi.
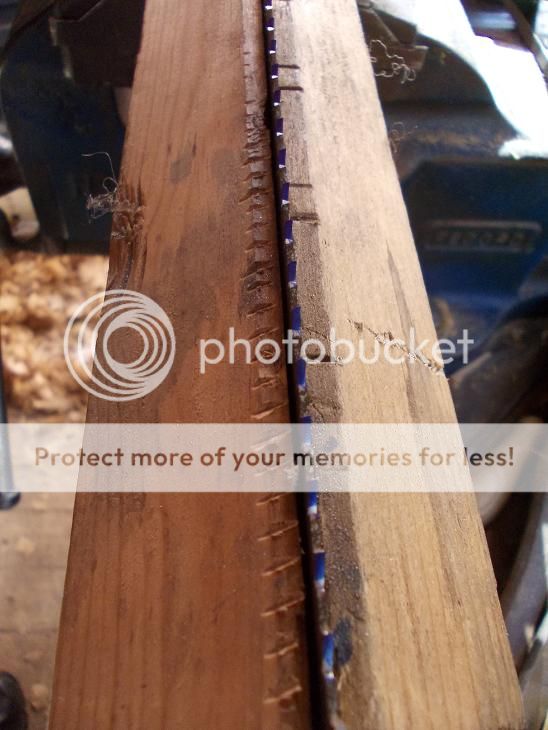
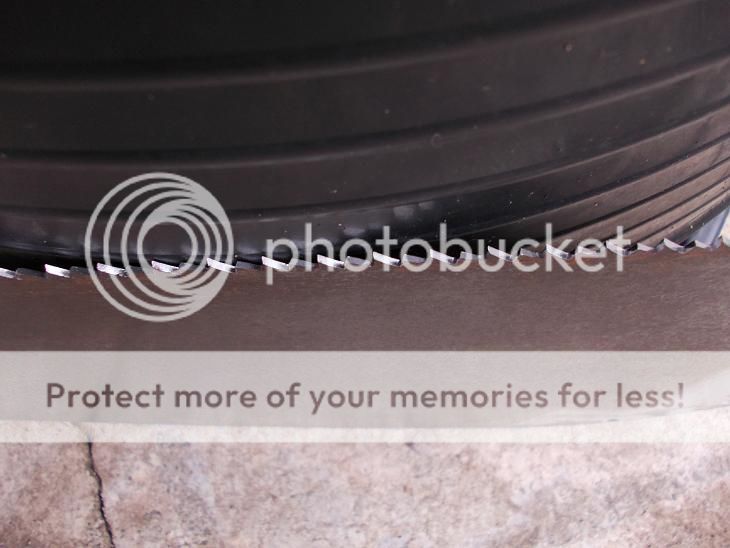
Having set and looking good.
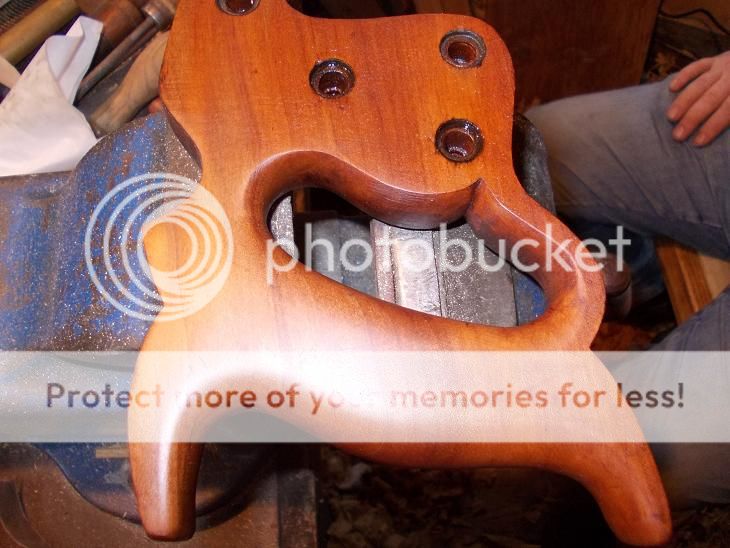
More tomorrow when hopefully the handle linseed will have dried enough to give it a test cut. Who would want to put an opaque varnish on that?
Oil's the stuff.

The blade is as straight as I could hope for so that is a good start.

It looks like it was file sharpened last time ... could be good, could be bad.

The handle has most of its horrible, original varnish.

A lot of which was flaky enough to pare off easily.

I scrubbed the blade with a brillo in warm water as it was quite gungy as well as surface rusty. Bet to do this before it has nice sharp teeth to dull with wire wool.

This is my effort of a saw vice. It is hollowed slightly, tapering in from the middle to the ends so that in compression it grips all the way along. That's the theory anyway - I could have made a better job of it but it's not bad.

This is how it sits in the vice hanging on its brackets. If it had no brackets I would need four hands to line it up every time.

The first thing to do is to joint the blade. This involves a long, flat, smooth, handleless file stoked along the length, kept very level on top, until every tooth has some flat on its tip. This shows up how far out it has become either by wear or previous 'enthusiastic' and also gives a clear reference of how far I can go with each tooth to bring it back to straight.
Sometimes this can be an alarming and depressing exercise.

This saw's hidden horror was at the back where it soon became obvious how far out the left and right teeth had been filed.

Nil desperandum - there were not too many like that. So on to the setting up. I decide on a wide fleam of 24 degrees. This is about as much as is practical - a cross cut saw's cross cut.

Alternate teeth are pretty clear at the start as the ones I am leaving are black.

Coming up the other side I marked the bright teeth blue so as not to mix up bright with bright.


I had nice even teeth but there were still flats visible in places.

So a touch - up before setting. Better.

I took this picture of the set before I had adjusted it to what Eclipse reckon is suitable for seven tpi.

Having set and looking good.

More tomorrow when hopefully the handle linseed will have dried enough to give it a test cut. Who would want to put an opaque varnish on that?

Oil's the stuff.


