Dandan
Established Member
Thanks John, i'll try and get a picture, it looks less like marks from something running over the surface and more like it was used as a worktop to beat something into submission. It's no bother but it is a puzzler!


Dandan":338u697l said:Thanks John, i'll try and get a picture, it looks less like marks from something running over the surface and more like it was used as a worktop to beat something into submission. It's no bother but it is a puzzler!
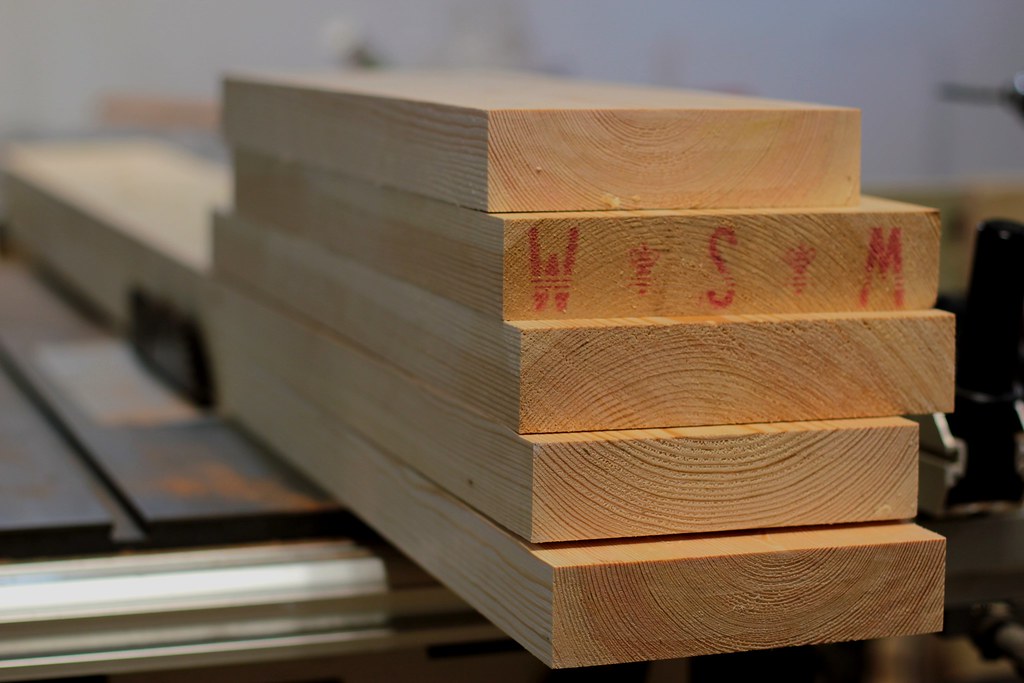
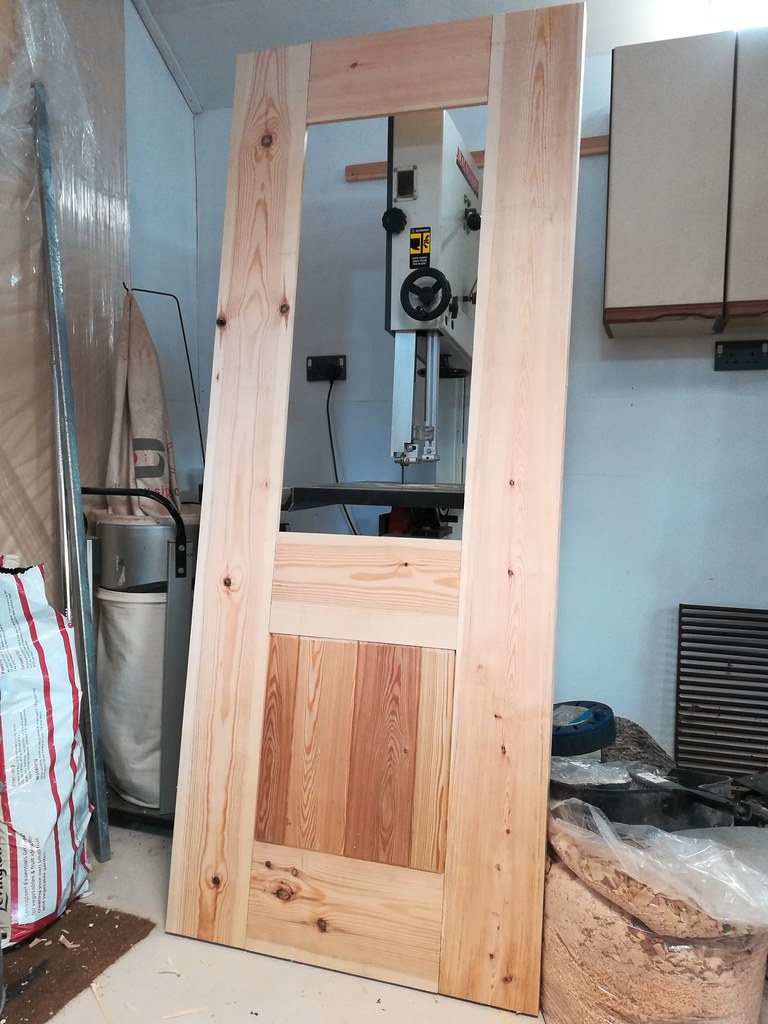
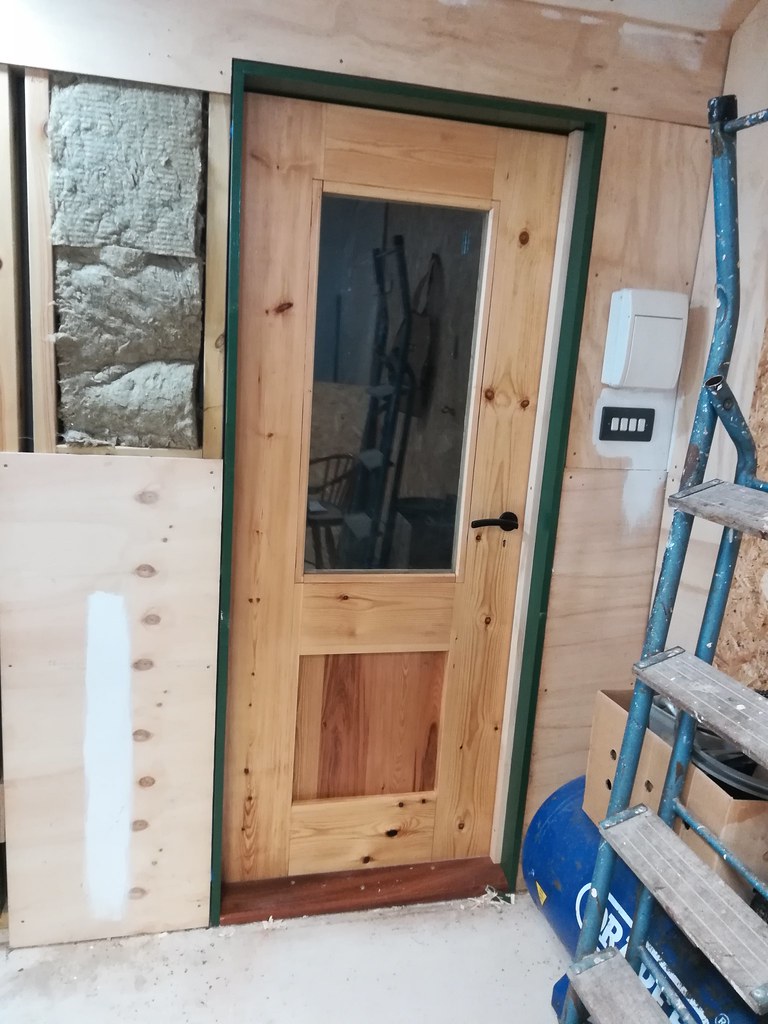
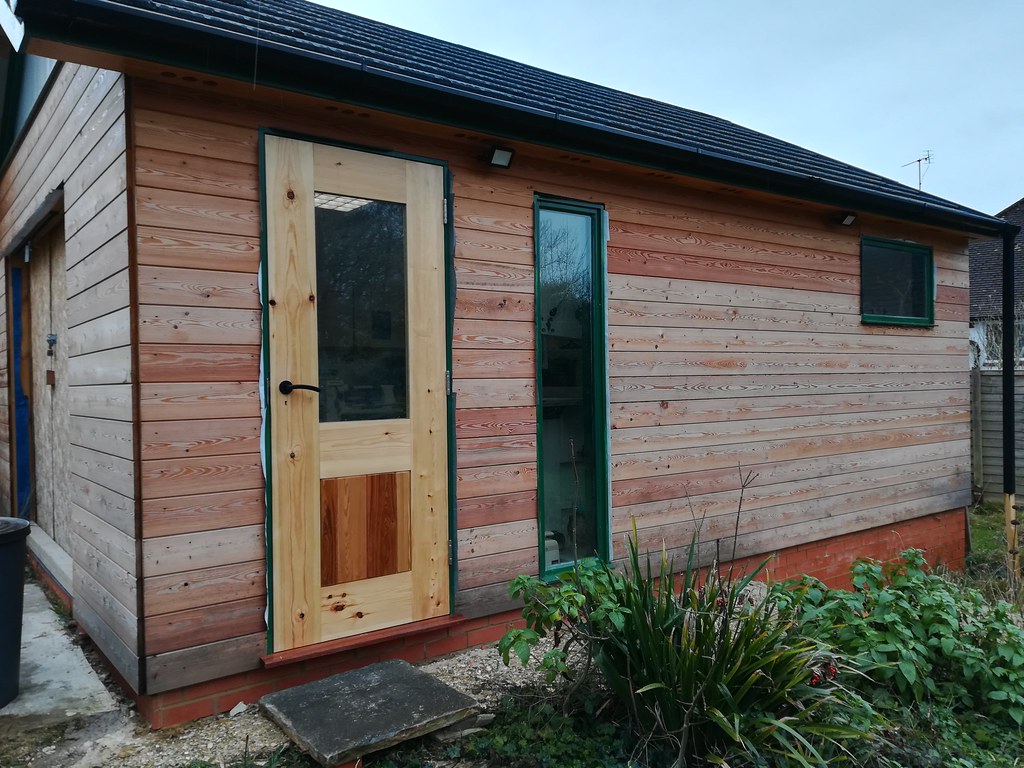
Looking great.Dandan":22r5fv7m said:You can see the plank one up from the bottom is a bit sub-par, that was probably the worst of the original pieces and coincidentally the first one I milled. Should I be able to get twist out on a small-ish planer? The twist ran the full 2 metres so it exceeded the length of my planer, therefore it was very hard to keep it pushed down in the same orientation.
")
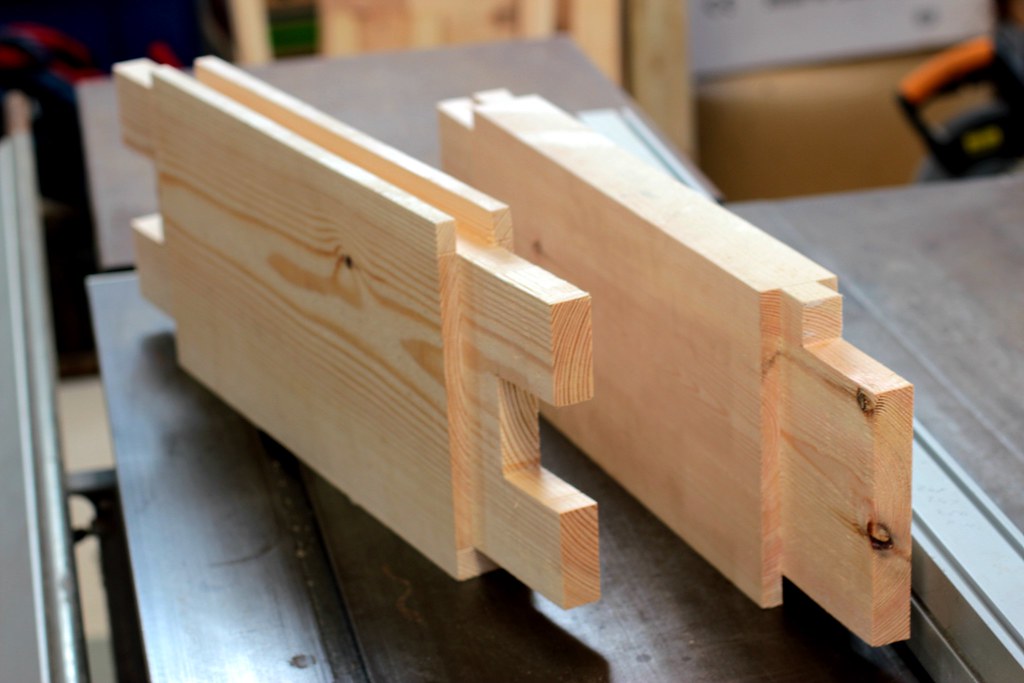
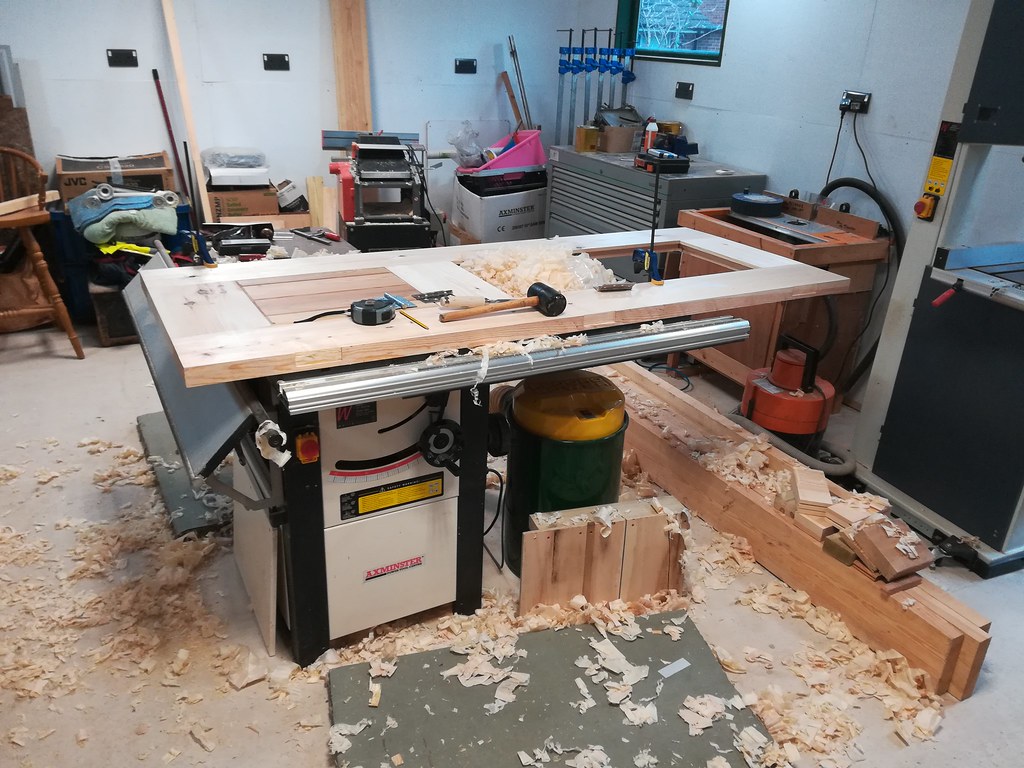
Dandan":qen9hcqw said:Little bit of progress this weekend, I went and bought myself a snazzy new car so it distracted me somewhat from the woodwork, but I did manage to tear myself away for long enough to cut the tenons on the top and middle rail.
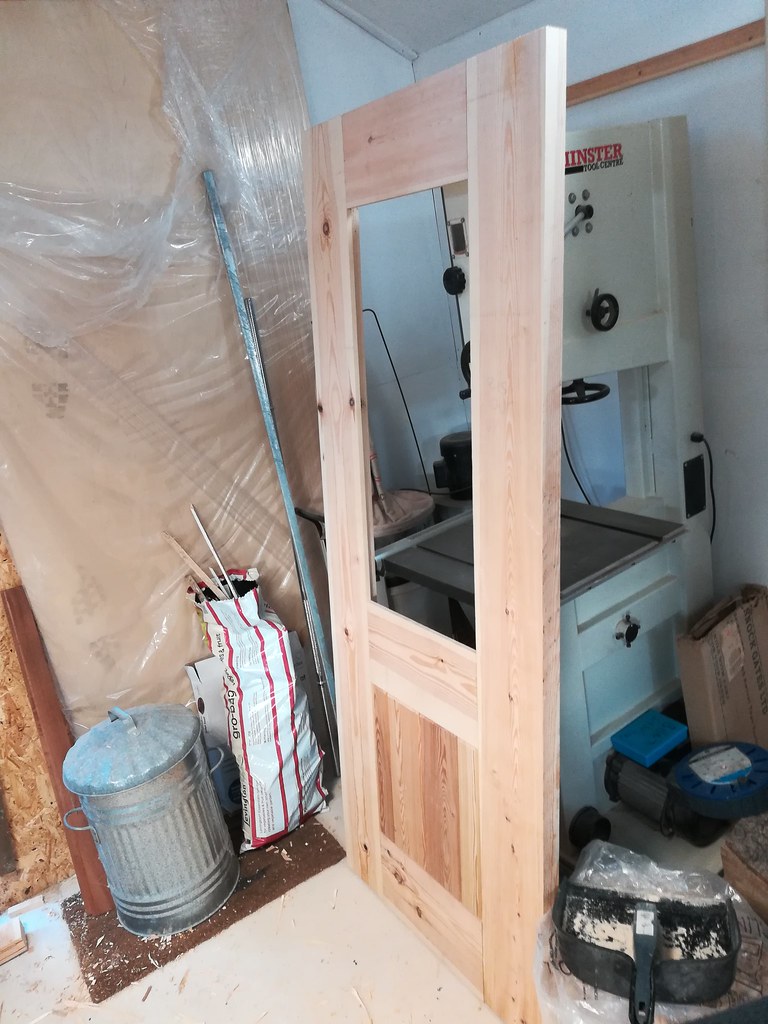
As you can see they are pretty chunky, as are the stiles, it's all down to the size of the salvaged glass that I am putting in, but I like the chunky look, it will make the doors nice and heavy.
A question though, my tenons are currently 100mm long, do I need them to be that big? I want to save as much effort as I can when making the mortices but I also want to have good solid doors, so should I leave them at !00mm or could I get away with, say, 80mm? That's a lot of waste I won't have to dig out...
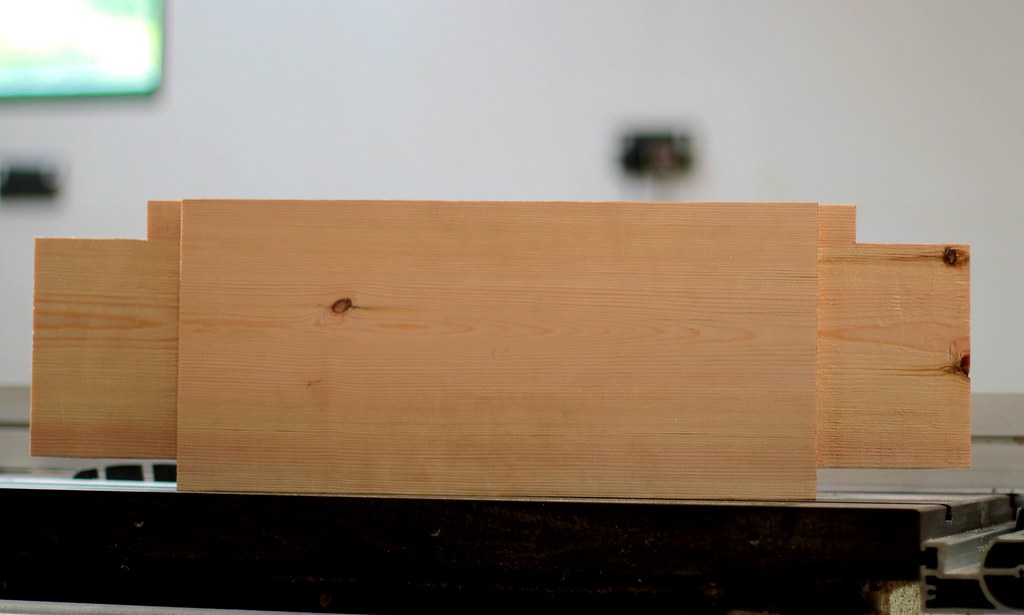
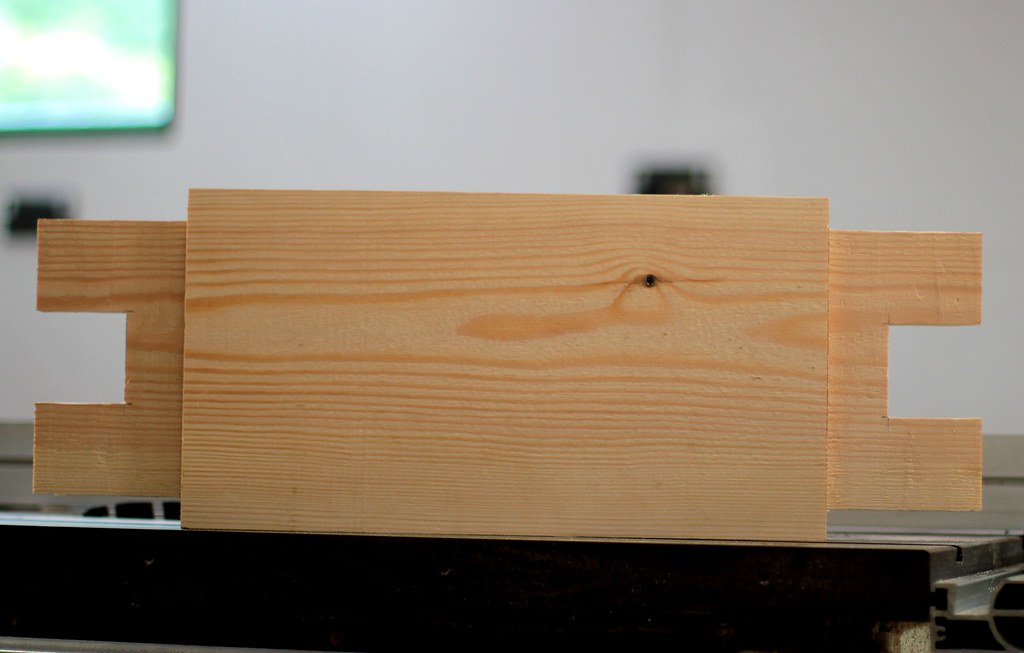
Dandan":3uzsdy0c said:I had to re-read that a couple of times but I think I see what you mean, cut a bit more of the tenon away to make the haunch taller, and therefore leave more material on the top of the stile, am I right? I can do that, no problem.
Your stock needs to be perfectly square for starters. It then depends on how you're cutting them; by machine it should be relatively easy to set everything up square, by hand... this may help: https://woodworkingmasterclasses.com/vi ... technique/Dandan":15agf7c9 said:My mortice skills clearly need further development, as I found it very difficult to keep the sides of the mortice square, how do people go about this? What I ended up with was rail faces that weren't quite parallel to the stile faces. It would look fine face-on but if you laid it down on it's back (or front) face it would not sit flat on the floor, one or other corner would sit high. It wasn't much but it did mean that I needed to use a bit of persuasion in the glue up to try to get it to sit nice and flat.
Enter your email address to join: