Carlb40 - Box - WIP - Finished

UKworkshop.co.uk

Help Support UKworkshop.co.uk:

This site may earn a commission from merchant affiliate links, including eBay, Amazon, and others.

carlb40

Established Member
Joined
17 Dec 2012
Messages
2,347
Reaction score
0
Location
birmingham
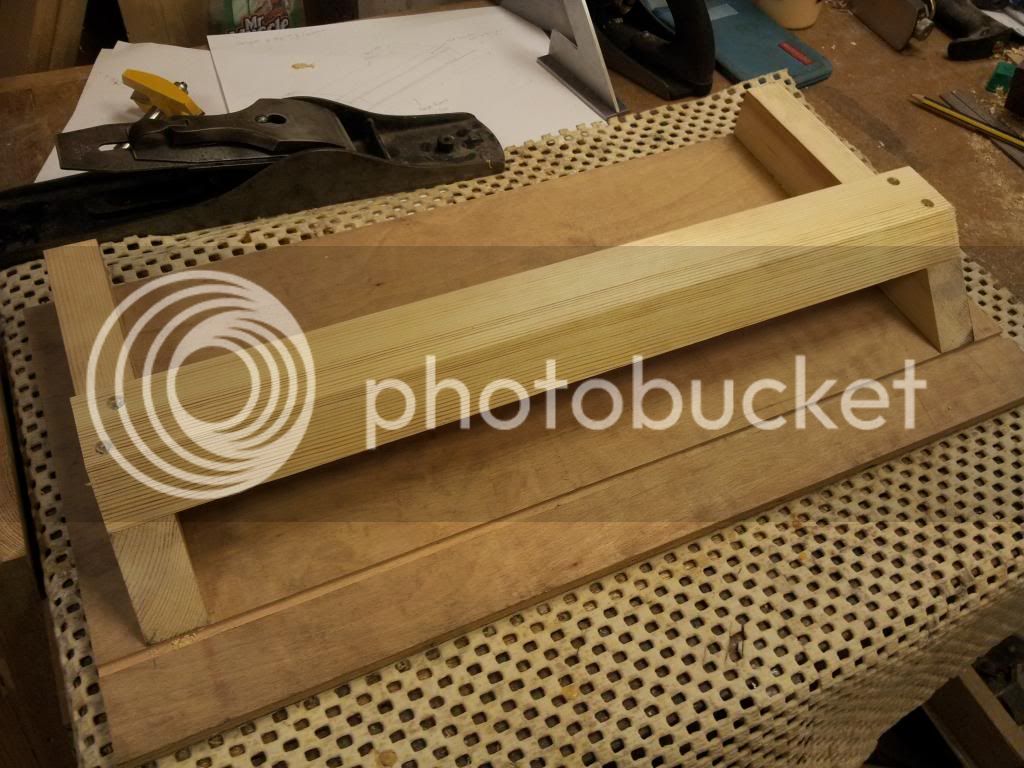
Started mine today. A little short on cash as i am between jobs at the mo. So decided to go the reclaimed timber route.
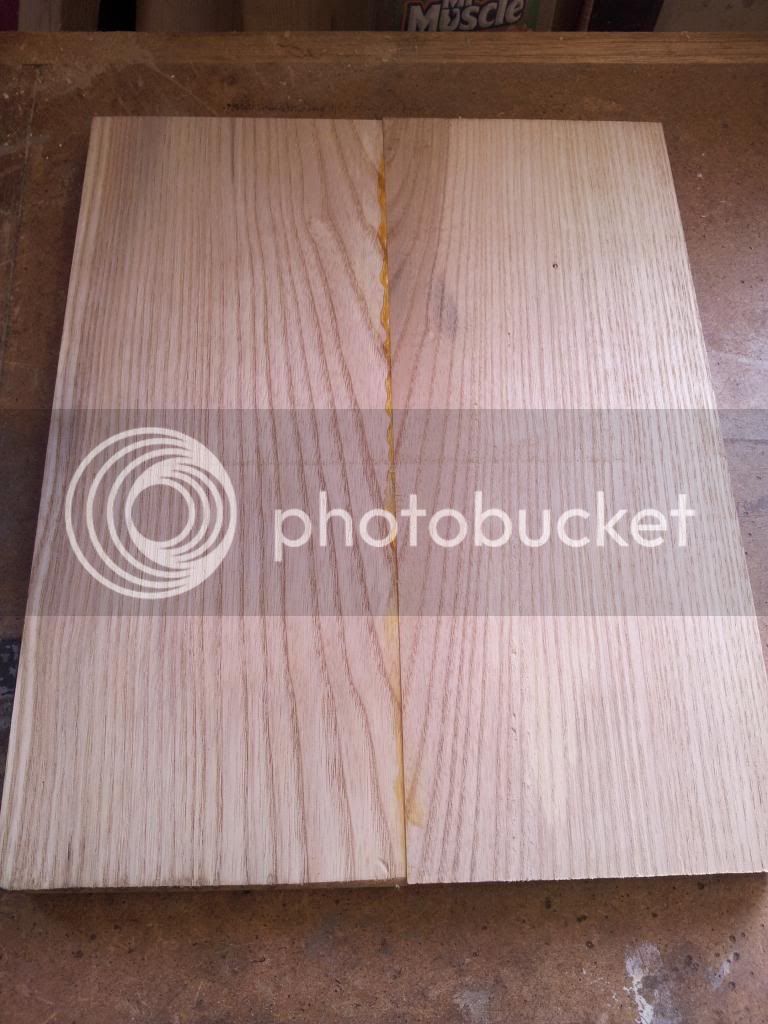
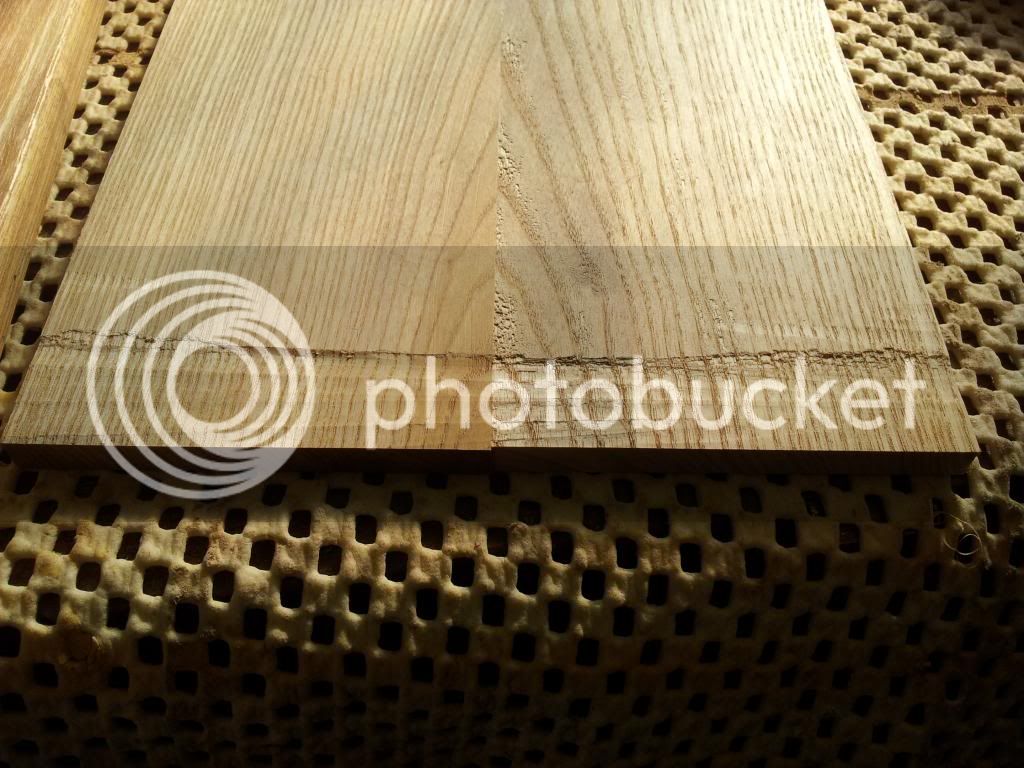
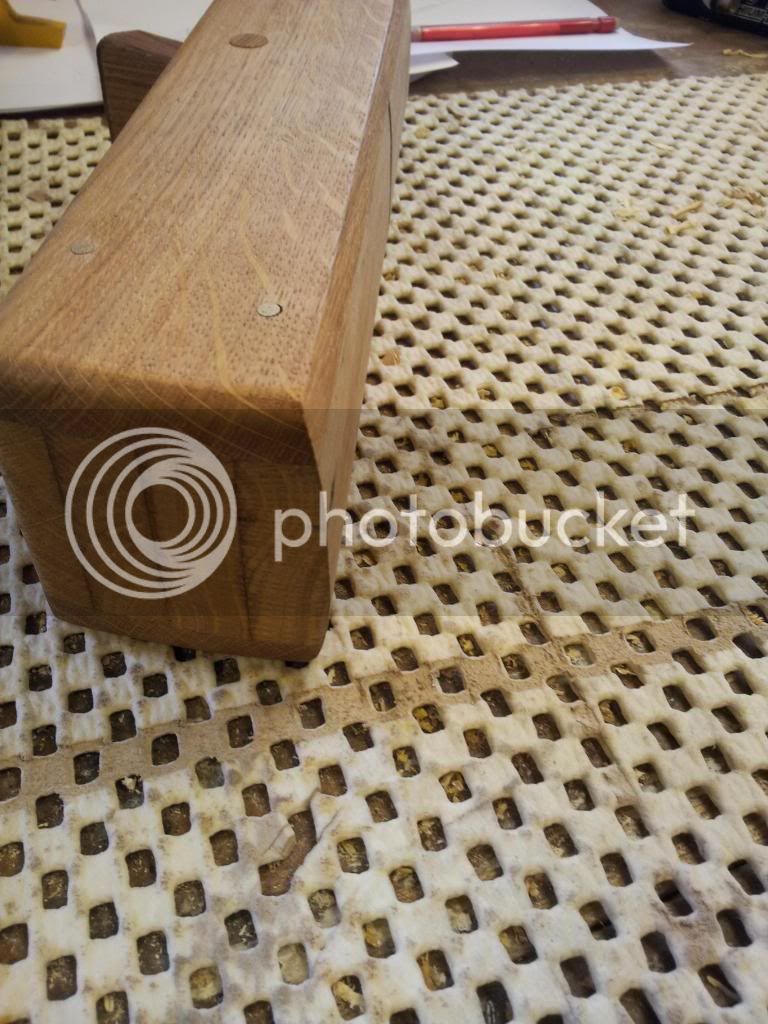
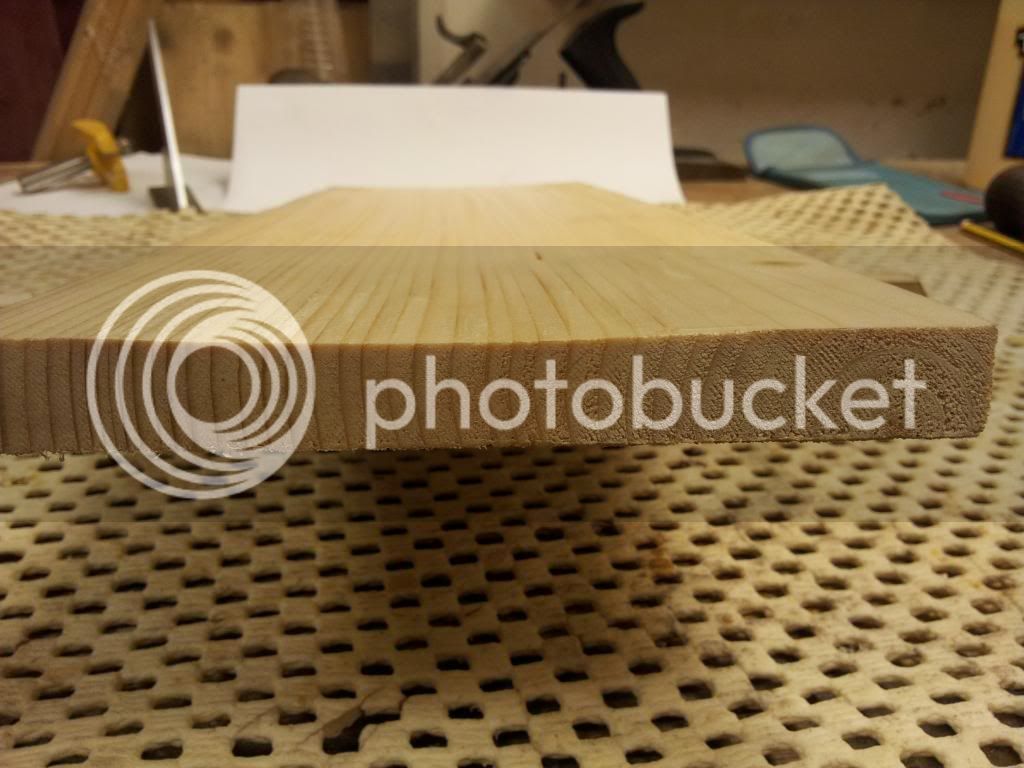
I have had these shelves 8+ yrs now just sitting around. Almost did some with them last year and started to scrape the paint off. Revealing IMO a hideous veneer on it.
It was about 1-1.5mm thick

20130216_121913.jpg


20130216_121946-1.jpg


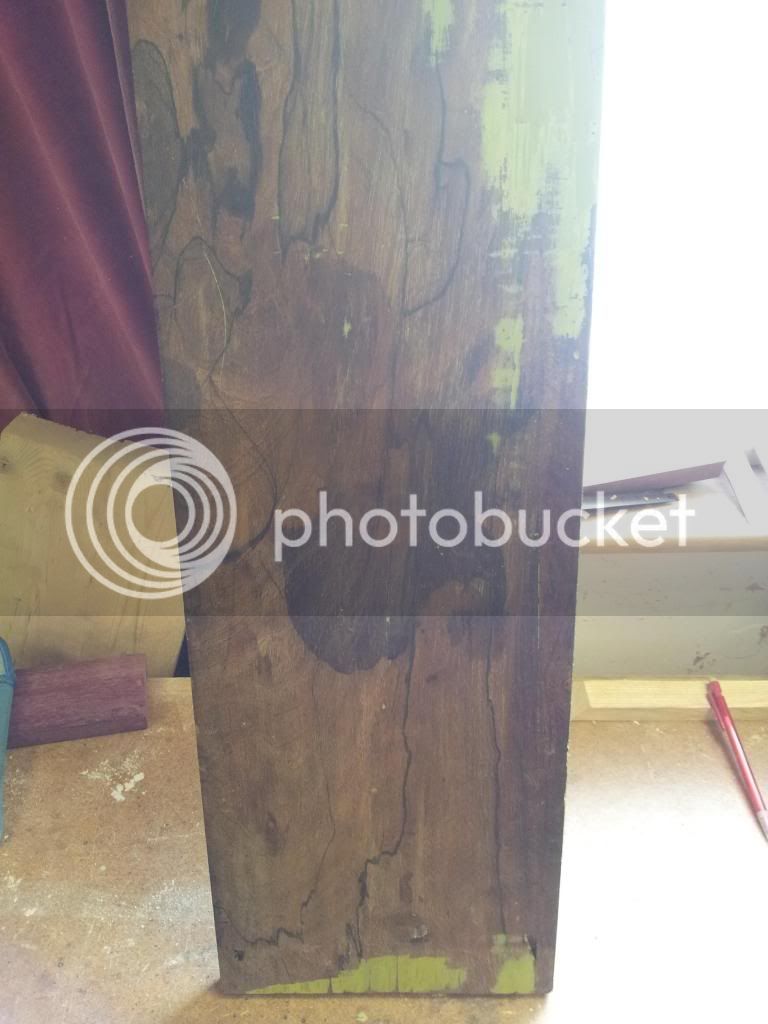
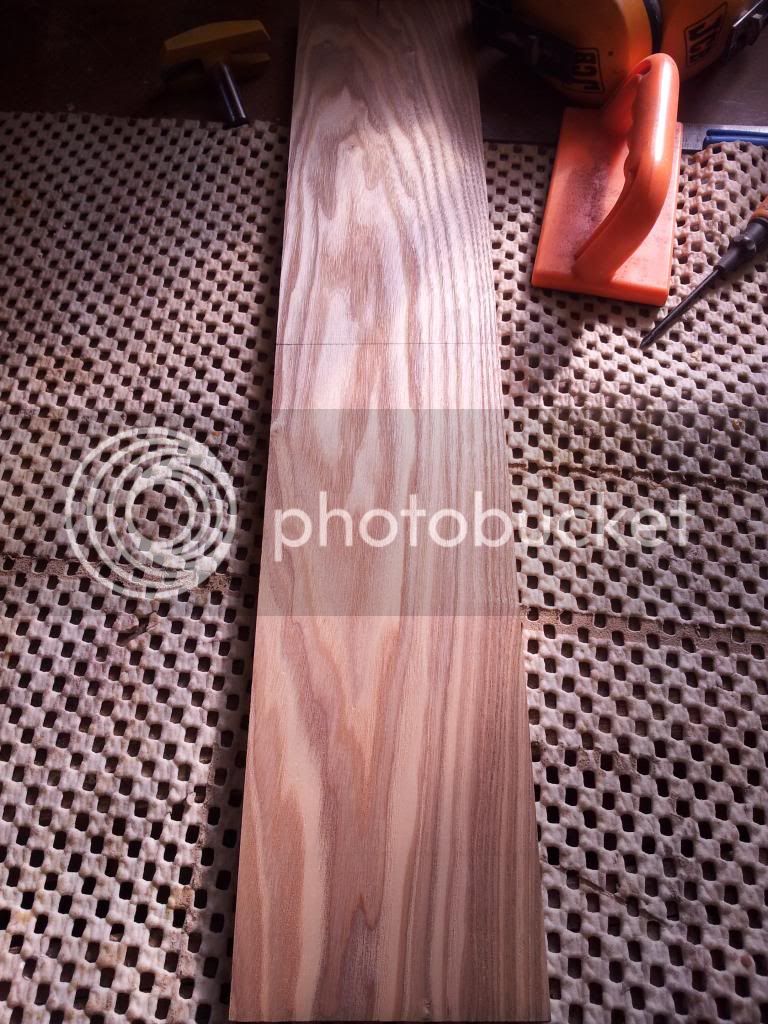
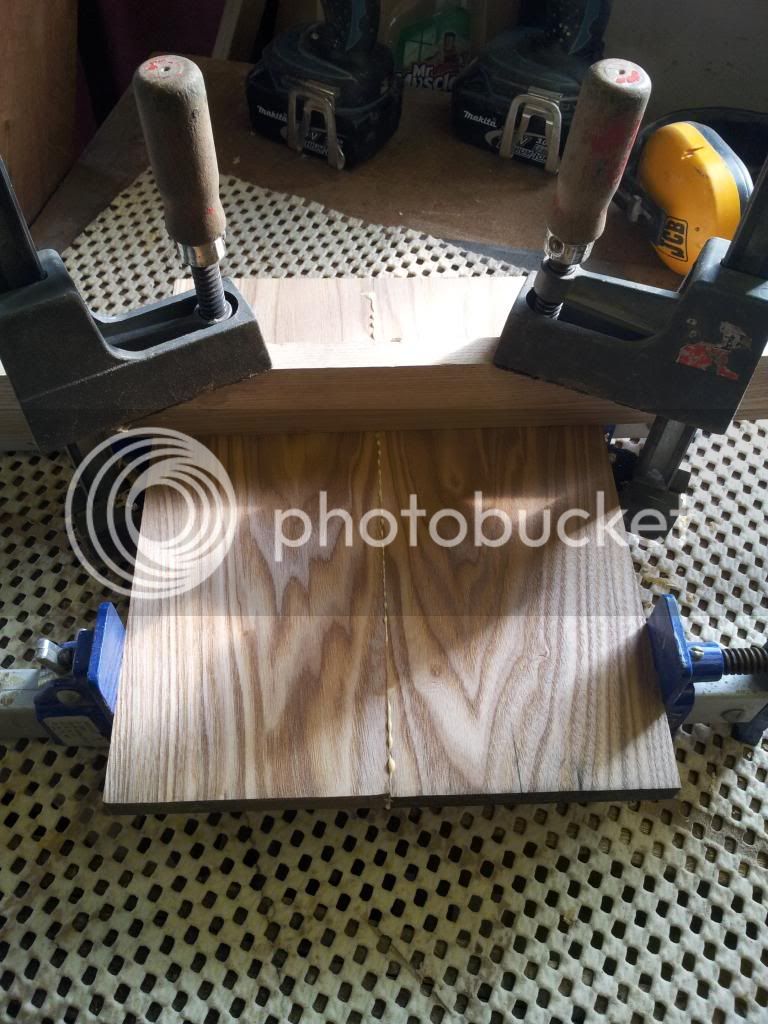
After trying boiling water etc to remove the veneer and not working. I bunged both pieces through my thicknesser, carefully taking about .2mm off at a time.

The resulting timber i think looks much nicer :)

20130216_125957.jpg


20130216_125926.jpg


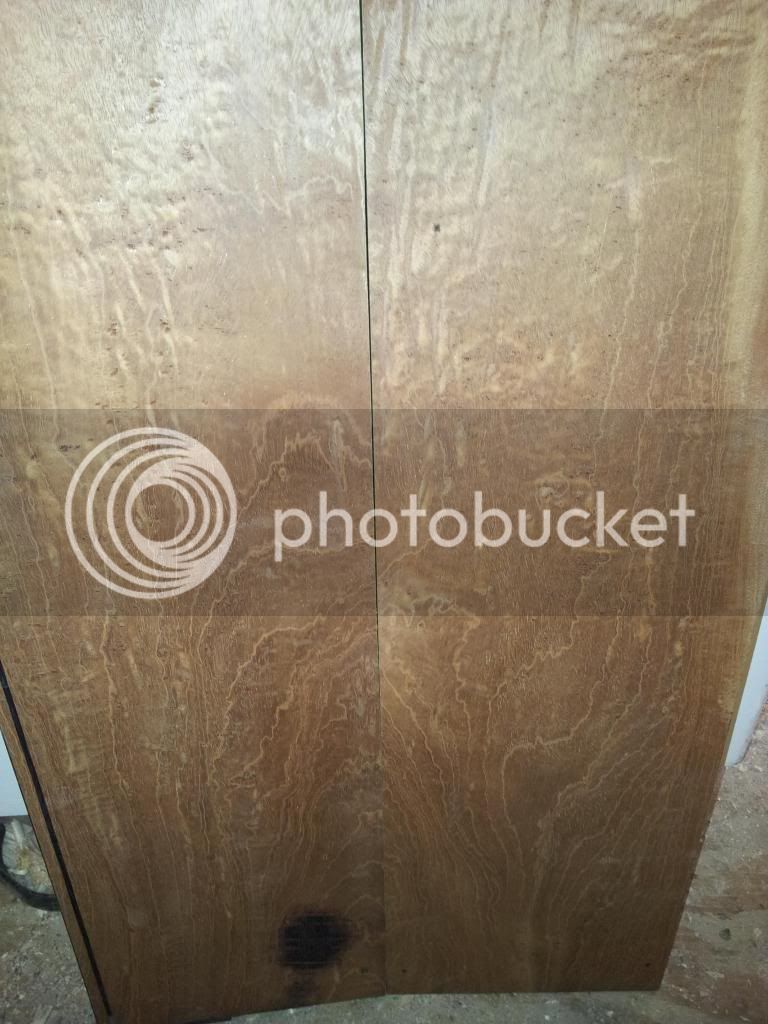
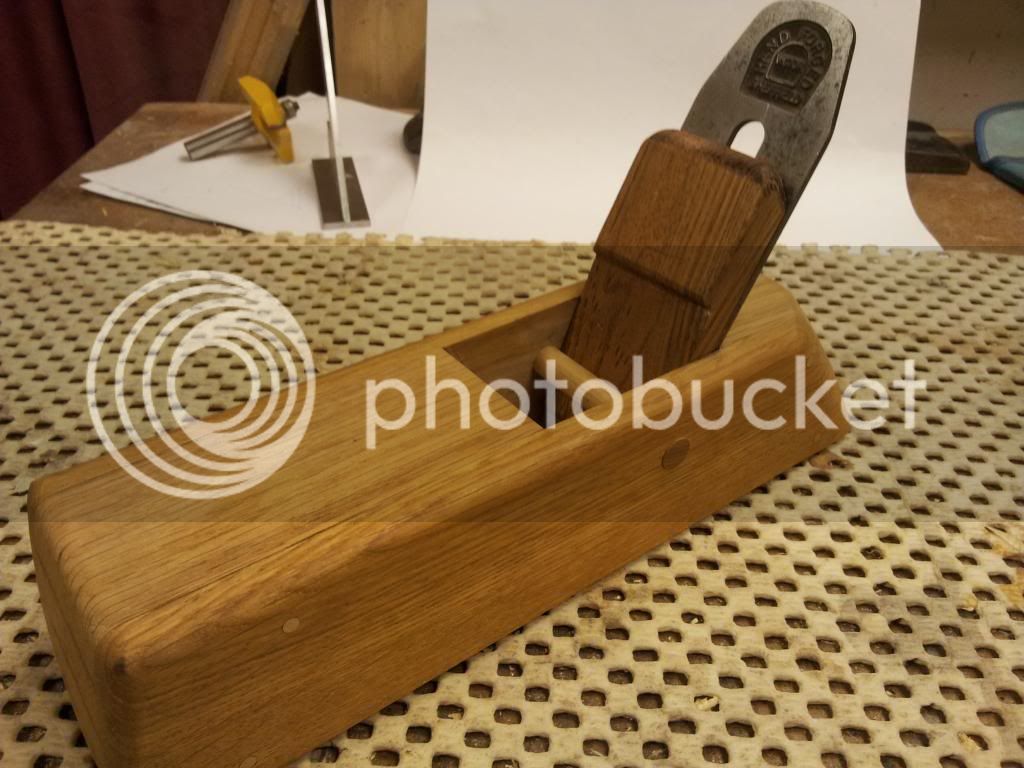
As you can see i have some stringing already done for me LOL
Not sure what type of timber it is? If anyone knows please step forward :)

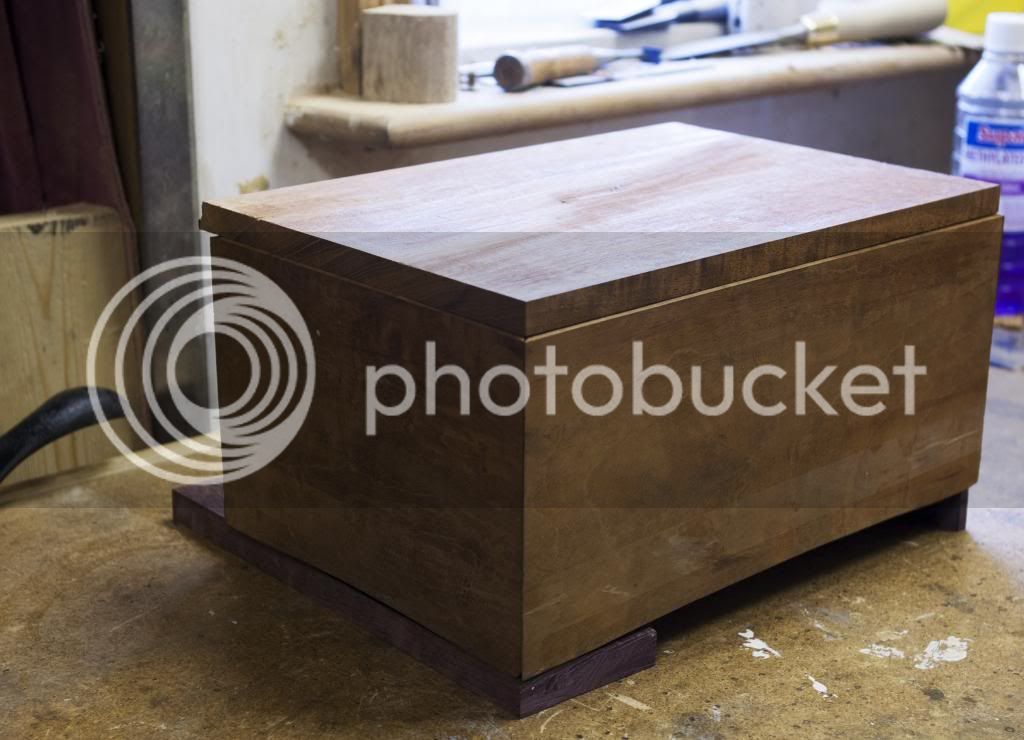
Don't normally do 'plans' . Well i do, but they normally stay in my head :lol:

Now this will be a few firsts for me, using a plan and as usual for be going overboard on a project :mrgreen:


After searching for various designs and not being taken with any - either the oriental/ japanese or mission style boxes.

I gave up and went for a bath. Then while lying there i designed this in my head

20130216_213152.jpg


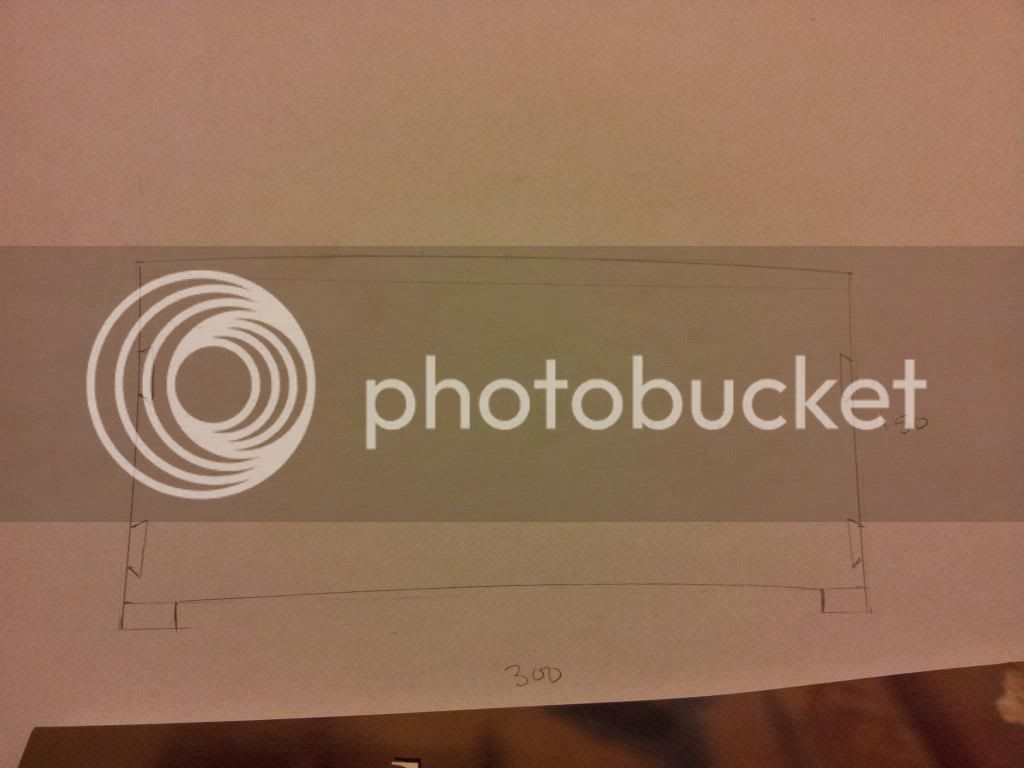
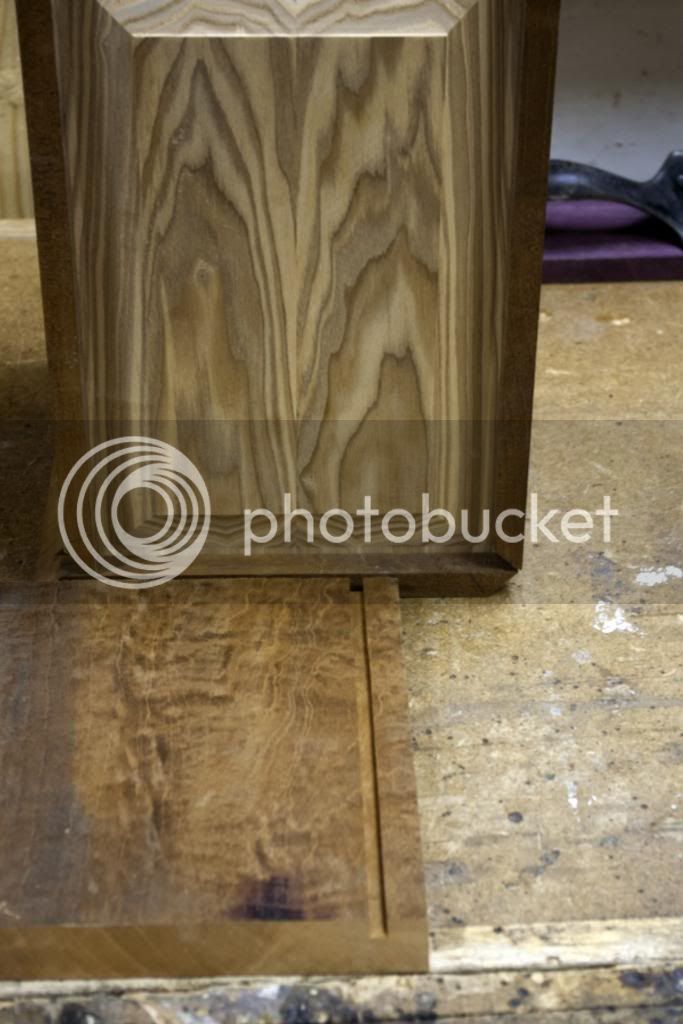
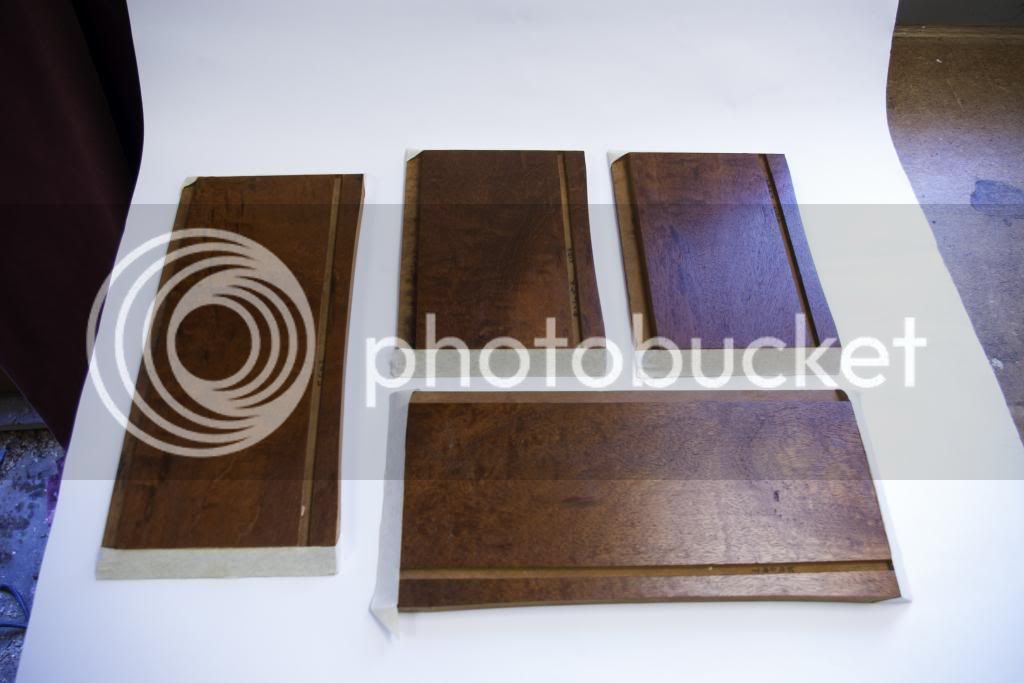
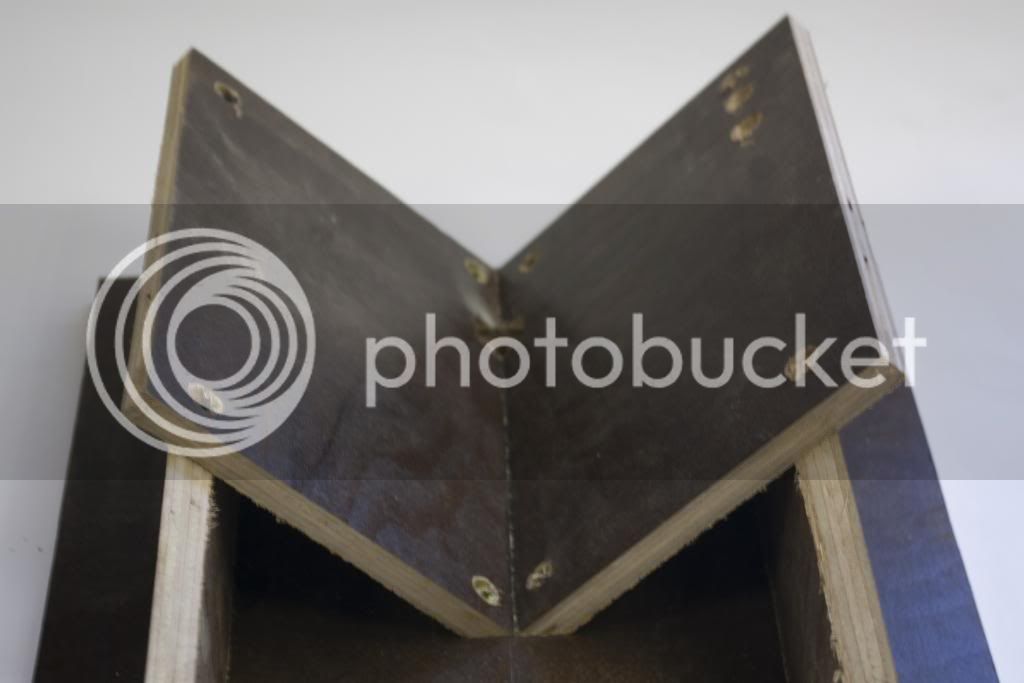
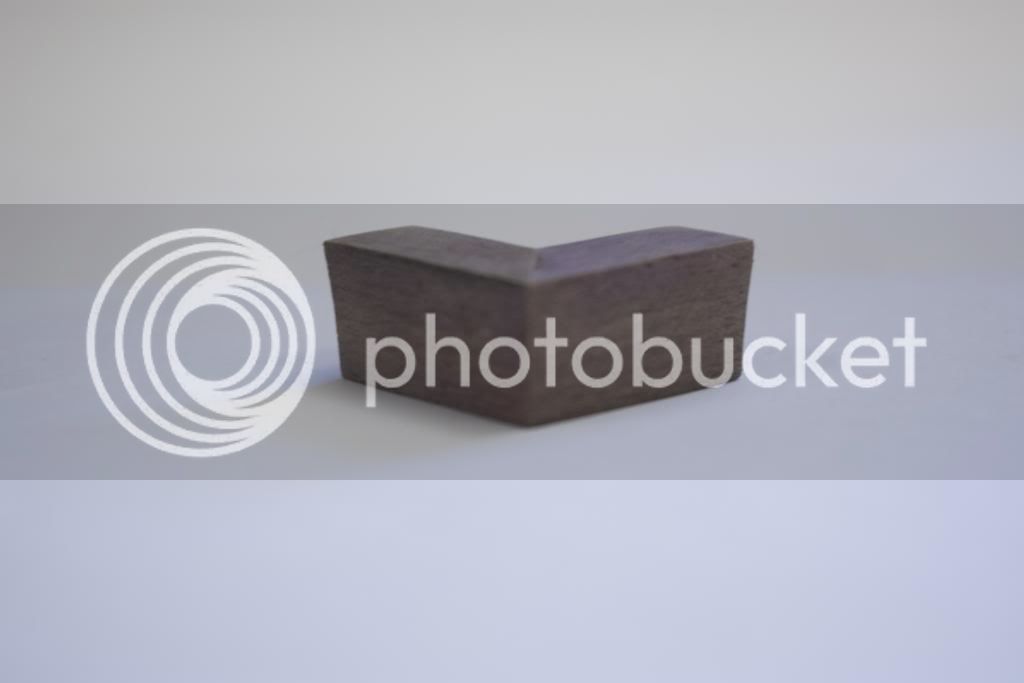
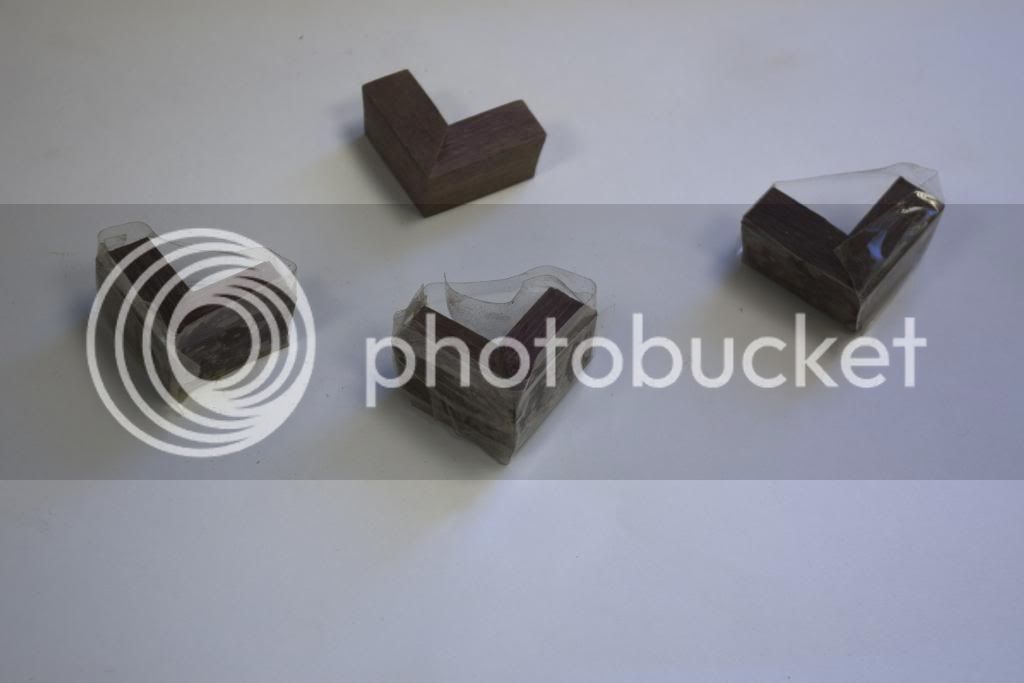
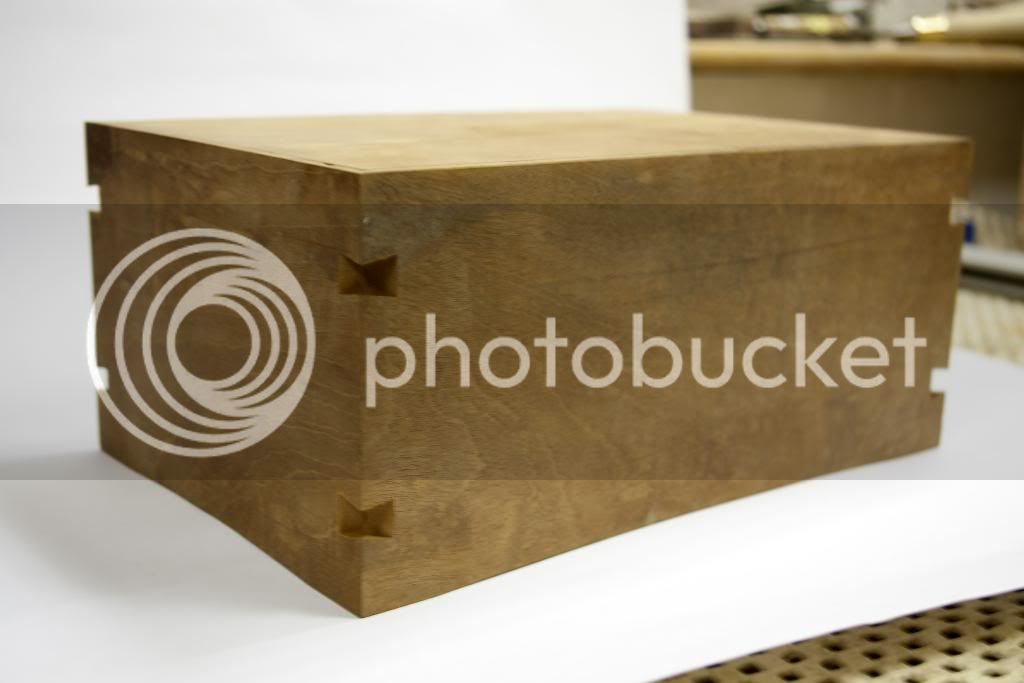
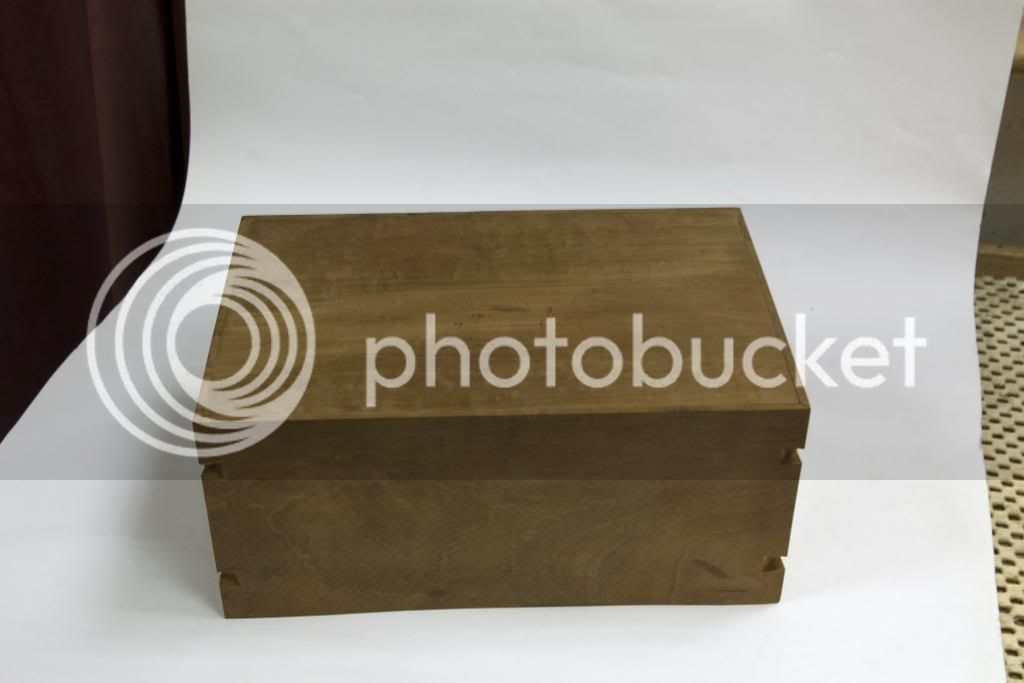
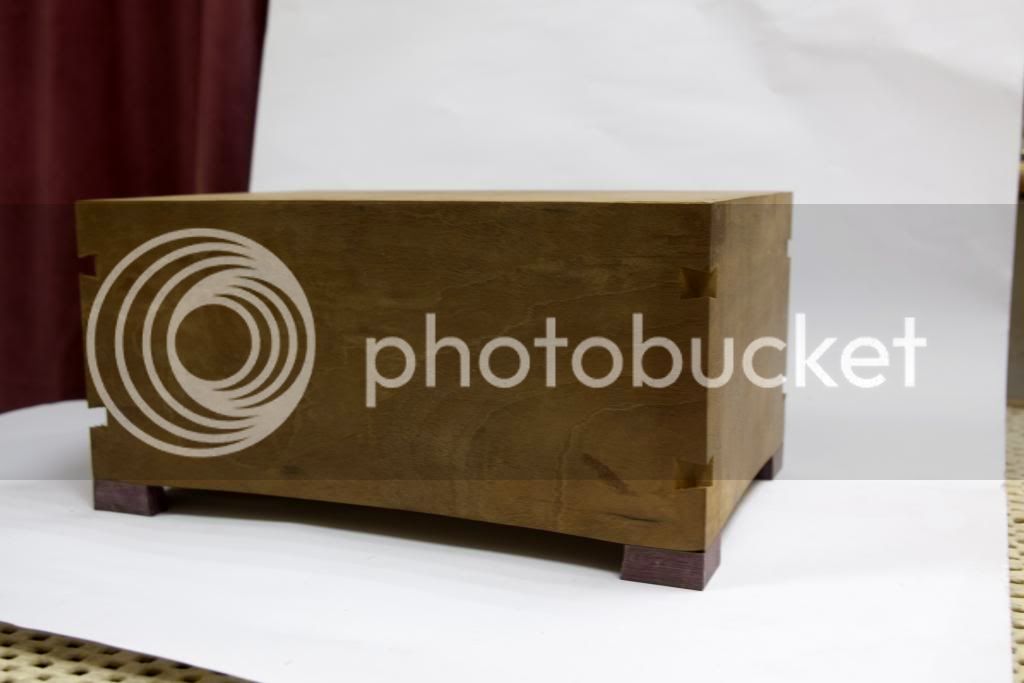
The curve on the side will be replicated on the front/ rear. The dovetails will be just reinforcements for the mitres, in a contrasting timber and possibly the same for the feet.

Probably been done before and by wayyyy better peeps than me.

So stay tuned for my epic failure #-o
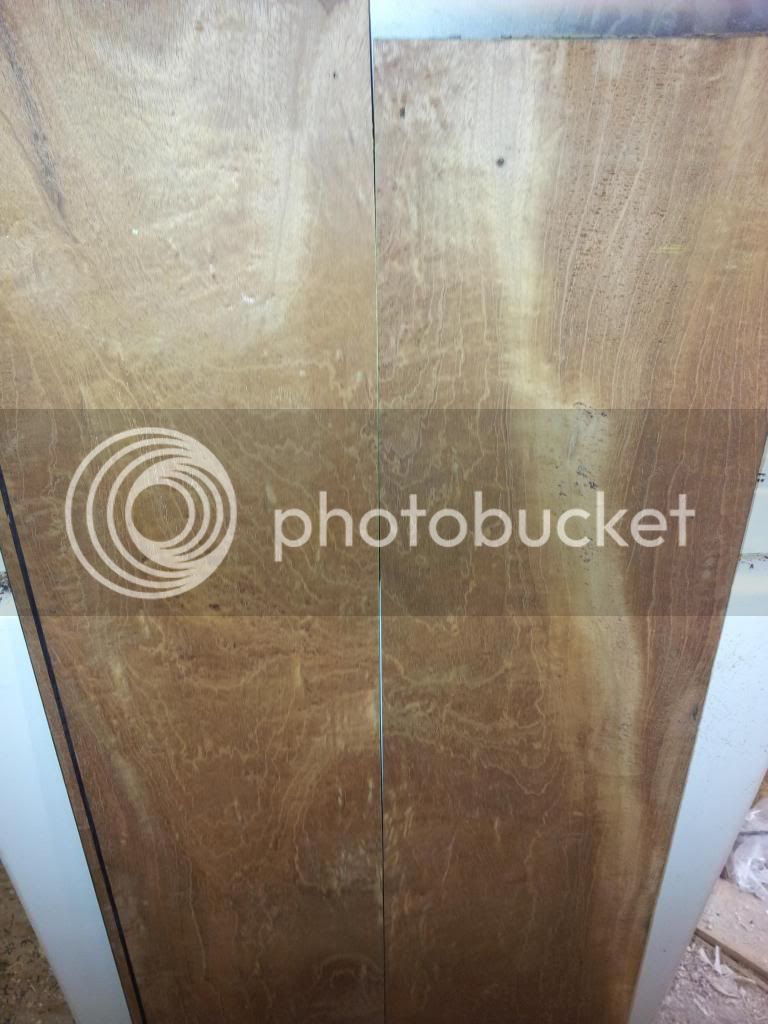
 
Might be wrong but that looked like a very old bit of sawn rosewood veneer with ebony stringing. on mahogany of some sort. hope the box goes well.
 
So thought a little update was in order. Yesterday started on the bottom panel. Decided to use a bit of ash, planed, cut and rough thicknessed the panel to be. Glued it up. Took it out the clamps this morning.

20130305_115828.jpg


After some scraping to remove the glue, back to the thicknesser but had a bit of tear out. Sooo changed the blades and for my trouble this happened :cry:

20130305_131506.jpg


Tried putting timber through the other way, and the same happened again.

20130305_131512.jpg


So now onto bottom panel mk2. This time i thicknessed it to size before joining.

20130305_133443.jpg


Glued and clamped.
20130305_134326.jpg


Tomorrow it will be cleaned up ready to be turned into a raised panel :)
 
Hi, carlb40

Looks like it was to short for your thicknesser.

Pete
 
Yeah i thought that aswell Pete, hence thicknessing the new piece to the correct size before cutting and gluing. Strange thing is though, the first piece went through without issues before i changed the blades.
 
Hi,

sorry missed your comment in Animas WIP thread, would of loved to have joined in but im not quite there yet!

good luck with you build and i look forward to the next bit :)

Dean
 
Carl,

I am usually wrong but I think that looks very much like a piece of elm.

Is that Olive ash you are using for the base?

Andy
 
DMF":hu939s8z said:
Hi,

sorry missed your comment in Animas WIP thread, would of loved to have joined in but im not quite there yet!

good luck with you build and i look forward to the next bit :)

Dean
Thank you.

You just need to practice. Don't forget although i am a chippie by trade i have never made a box before. Well one bread bin that's it. So all this is new to me :)
 
andersonec":2ebzikh9 said:
Carl,

I am usually wrong but I think that looks very much like a piece of elm.

Is that Olive ash you are using for the base?

Andy

You mean the main timber is elm? I think the lighting in my shop isn't the best for photographs. Once the pieces are smaller and box shape, i will put them into mu light tent and get some better pics :)

It is olive ash. I was on a job 2yrs this month in St albans. One aspect was fitting benches in the changing rooms. Metal frames with ash for the seating. I filled the back seat of my mondeo with the offcuts of ash, some of which is olive ash :)
 
Thought another little update was in order. Not done anything on the box itself. However what i did do was make a shooting board as i can't trust the ts200 to get a bang on 45 degree angle.

20130306_164453.jpg


Also i mentioned in another thread i made a plane specifically to do the concave curves on the sides. Well it has been finished a few weeks so thought i had best post a pic or two.

Recycled some oak i had, joints are not the best. Blade bedded at 55 degrees i think. Also it seems to have dried out a bit as you can see from the dowel.
20130306_123616.jpg


Reasonable curved sole
20130306_123544.jpg


One clifton blade
20130306_190022.jpg


And a test run

20130306_190954.jpg


20130306_190943.jpg


Seems to work ok in the spruce i tried it on.
 
That plane certainly looks a damn site better than my attempt; no blood stains for one.
 
Today i managed to get a bit more done on the box, not much really.

Cut the timber to rough size, with a mitre on the one side ready. Also machined the groove for the raised panel

IMGP4427.jpg


As you can see, i have sort of assembled it. One to see how it would look, and also to make sure the panel fits.

IMGP4424.jpg


IMGP4423.jpg


Next to do is cut the timber to the correct lengths. Trim a wee bit off the raised panel as it is a tad tight fit. Once done, i will get some shellac on the panel.

Then before the box is assembled, i need to do the concave curve on the bottoms of the main box. :)

Still unsure on how to approach the lid yet :roll:
 
Another update.

Managed a bit more this week. Here it is dry assembled. With the rough sized lid to be in rough place. I was seeing what sort of size rebate to form for the lid to drop into.

IMGP4463.jpg


As you can see the curves have been done on the base. I just marked up 2mm in the centre from the bottom, 30mm from each end and joined the dots to form the curve. Clamped front / rear, and the 2 sides separately together. Then just used a spokeshave to form the curve. A bit of light sanding and job done :)

Raised panel sanded to 240g then applied grain filler. Left overnight to dry. Then sanded again to 240g. Then 2 coats of 1/2lb orange shellac and 2 coats of 1lb orange shellac applied and left to dry. Then lightly sanded to 400g

IMGP4468.jpg


The insides of the box were sanded up to 400g, then mitres masked off and same shellac treatment as above. Plus as you can see the rebates were formed for the lid.

IMGP4467.jpg


Then yesterday along with trying to get the ts200 to cut 45 degrees again lol Yet another jig :roll:

Quickly knocked up for the dovetail splines

IMGP4473.jpg


A few test cuts

IMGP4478.jpg


and the router table is set up and ready to rock and roll.

Time for yet another jig, but not taken any pics of it. Needed a safe way to do the curve on the feet. So just used ply/mdf to guide the timber for the feet, while i used a 102mm hole saw to cut the ends of the feet.
IMGP4472.jpg


1st pair mitred and glued up. Think with all the faffing about it took 2hrs to make the one pair.

Today 3 pairs in 45 min, i guess jigs can help.

IMGP4481.jpg


Box is now in clamps while glue goes off overnight. Ohh and the feet.

Tomorrow, hopefully size the lid for the box and get it and the feet glued on.
 
As i forgot to take one yesterday, here is the box in clamps

IMGP4489.jpg


Today i sized the lid and not very well. There are a few tiny gaps. Decided to use hand planes as practice, as i have never really used them much. So even though roughly 30mm had to be taken off one side. I used my 5 1/2 to plane almost to the line, then the 4 1/2 with it's fine set to get the lid to fit within the rebates. Not sure how long it all took with lots of trial, plane more off, trial etc etc. But think it was at least 1.5hrs lol
Then it was sanded through to 400g

Anyway lid got fitted and glued.

IMGP4490.jpg


After about 5hrs in the clamps, they were removed. A fence added to the spline jig, a few more test cuts. Then the scary moment of putting the box in the jig and hoping it all went ok.

IMGP4492.jpg


IMGP4496.jpg


As you can see 2 sets of splines all the way around.

And finally for today the box with the feet mocked up in place. Still to do a bit of fitting and repair 2 corners. This mahogany is quite brittle.

IMGP4500.jpg


Next to do is the splines and fit the feet. Then it is over to doing the concave sides and convex lid.

Not sure what to do first the lid? or the sides? Any suggestions? :)
 
Back
Top