Box Mitre

UKworkshop.co.uk

Help Support UKworkshop.co.uk:

This site may earn a commission from merchant affiliate links, including eBay, Amazon, and others.
That's quick work Mr. P

The one that Karl made is a 'sort of' copy of a Norris BU rebate that Konrad S also had a go at.

But this one:

http://www.infill-planes.com/68/holland ... tre-plane/

is a true badger and so is the one made by Peter McBride. I spent a lot of time on that site of his a few years back and can't believe I didn't notice it. Maybe I was just too preoccupied with the making of a 'normal' infill. :)
 
The geometry of the skew is something in a different planet Richard!

That should be fun and I'm sure won't tax your brain but I am still holding off making a new wedge for my skew panel raiser...Philly described the complexity...PHILLY!!! And I am putting it off until my mind is in the right Universe!!

Glad to hear you are doing the soak treatment...that yew will come out stunning with the added contrast.

Loving everything about this work Richard...a masterpiece! =D>

Can't really get over it!

Jimi
 
Still struggling with Windows7 - the last pictures put up less of a fight than these...

Douglas I don't know what the final bevel angle will be. The iron I am using to test it is the one I got a couple of years ago that has a very shallow angle, north of 25 I should think. It works well but there is another thing to take into consideration with a fixed mouth mitre. The lower the bed angle and the lower the bevel angle, the wider the mouth needs to be. Also the steeper both are and the mouth needs to be narrower if you want it tight. As it is it is a little on the tight side so I think I will try a 30 degree bevel on the iron I make.

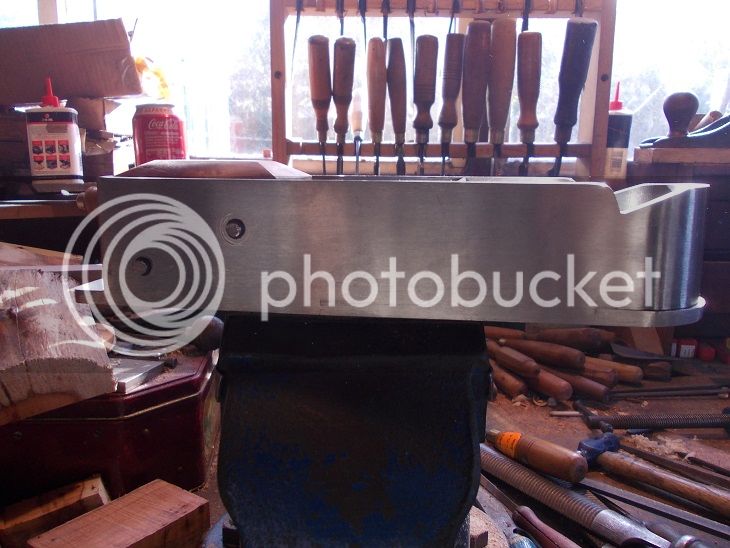
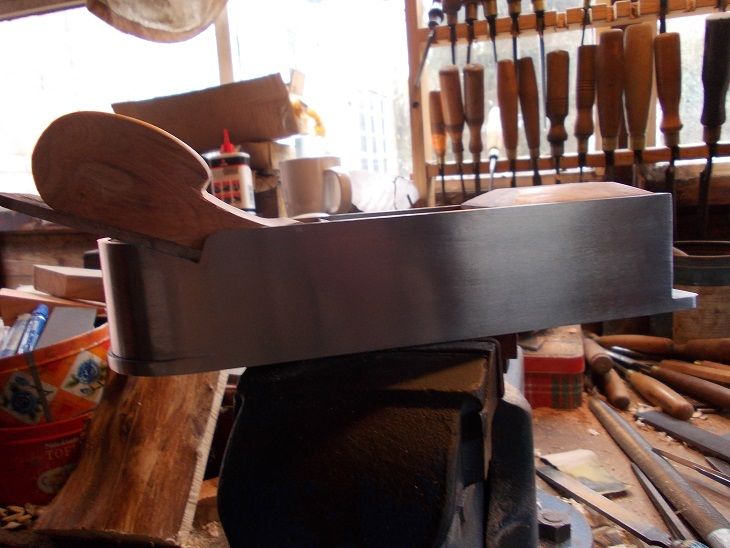
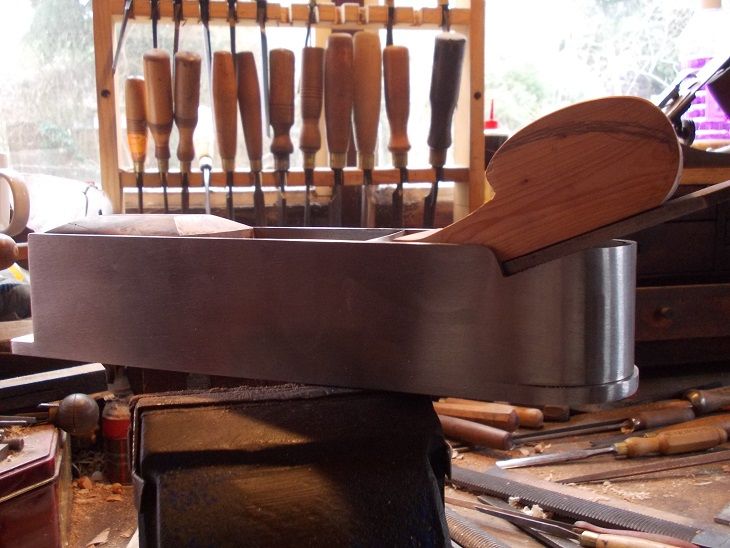
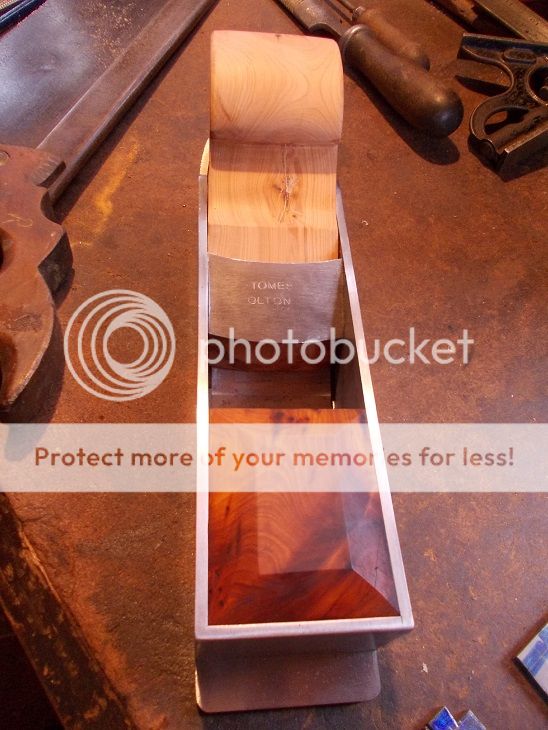
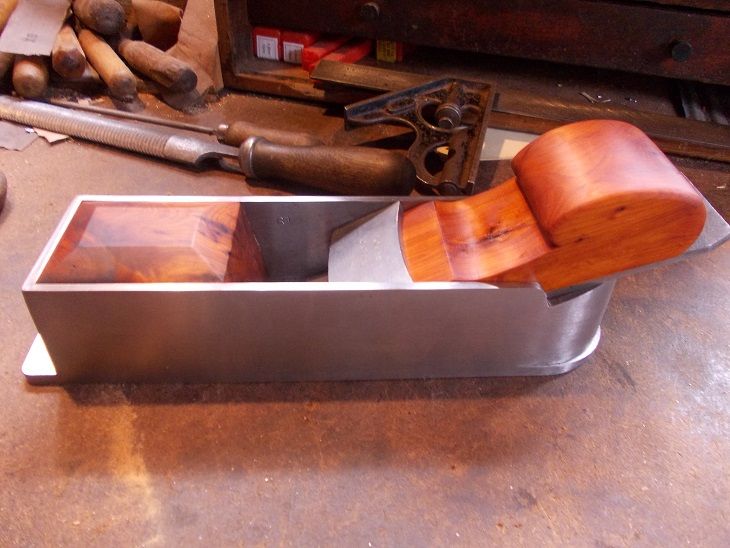
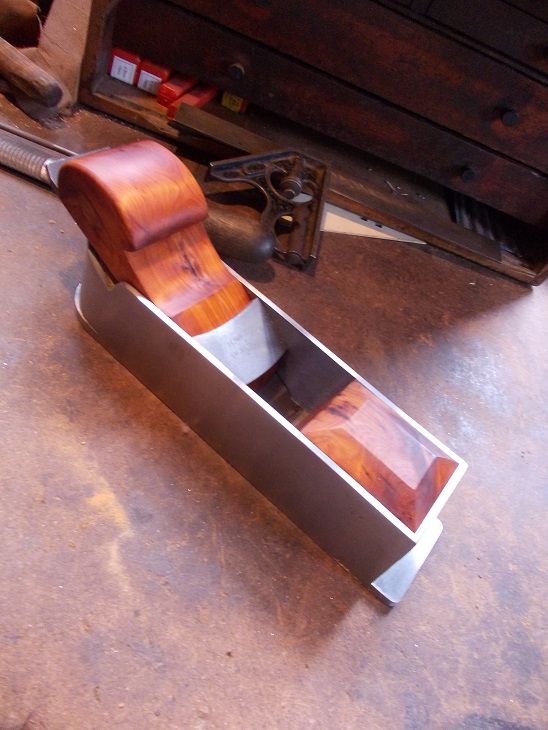
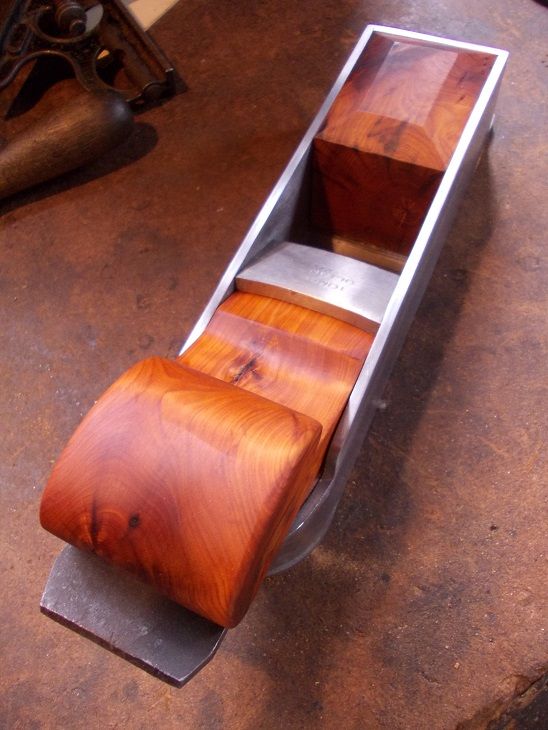
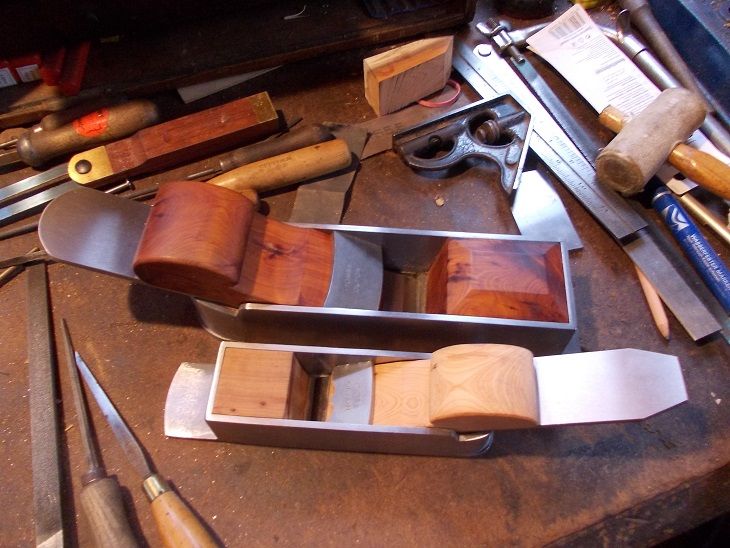
The width of the body is 2 - 1/2" and the length of the sole is 9 - 7/8".

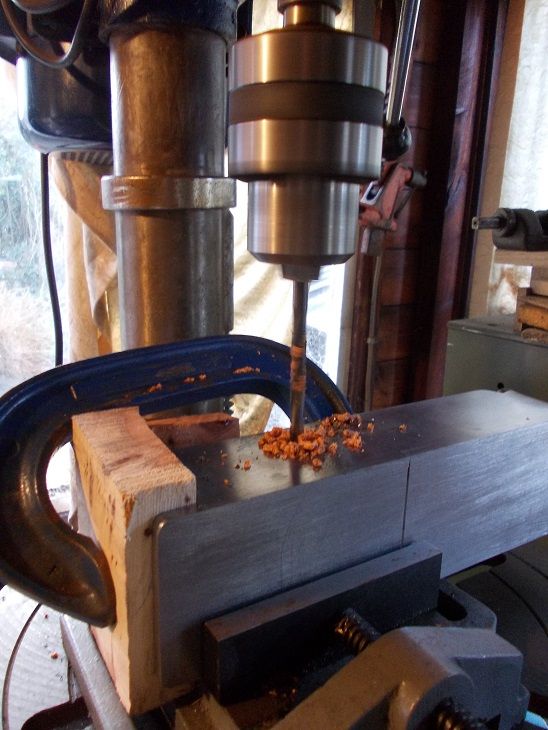
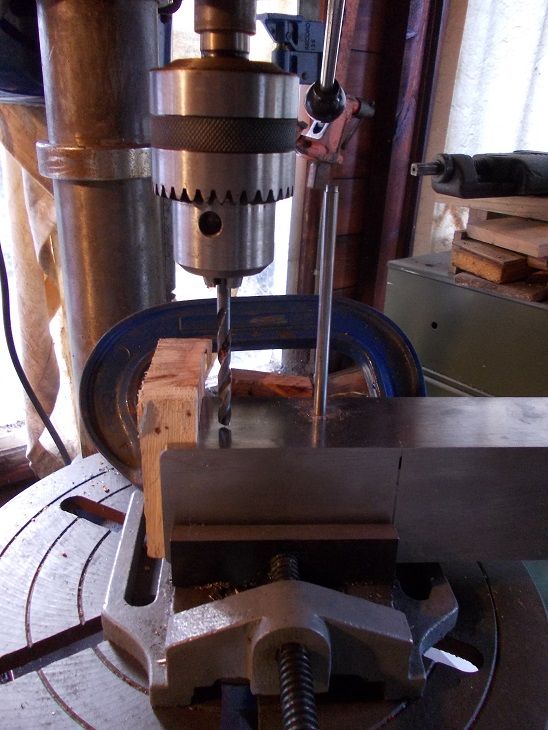
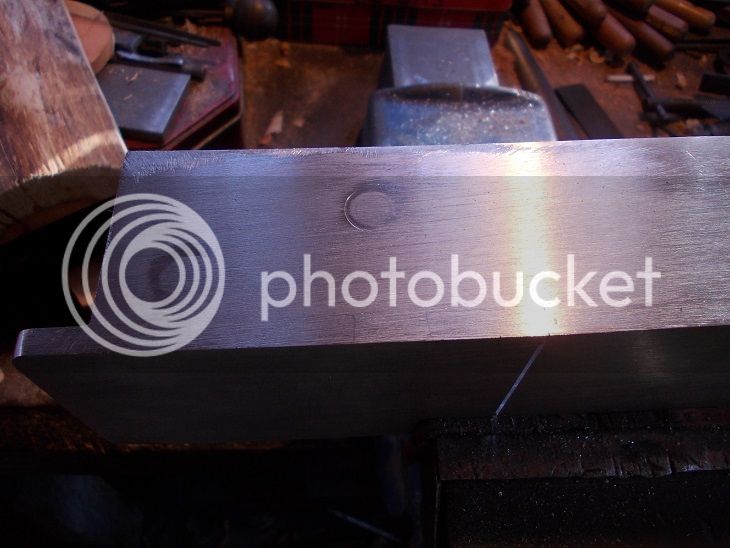
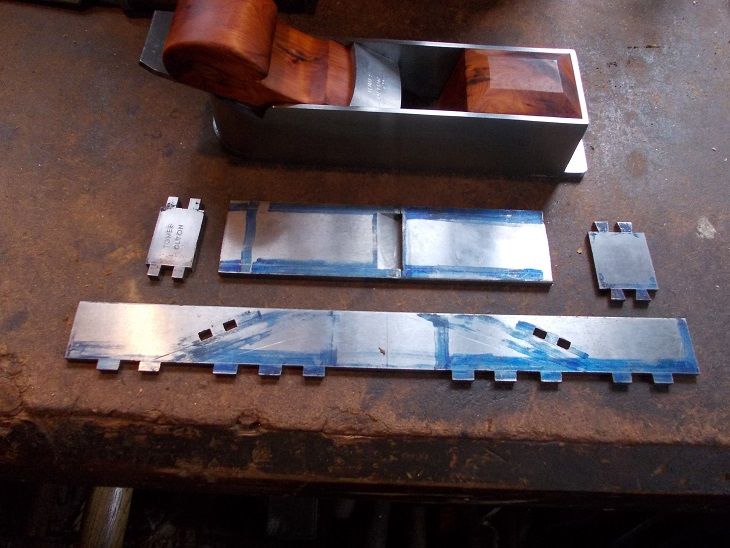
I drilled some holes in it .... for the rivets for the front infill.


held with a bit of 6mm bar to fix the position of the second hole.


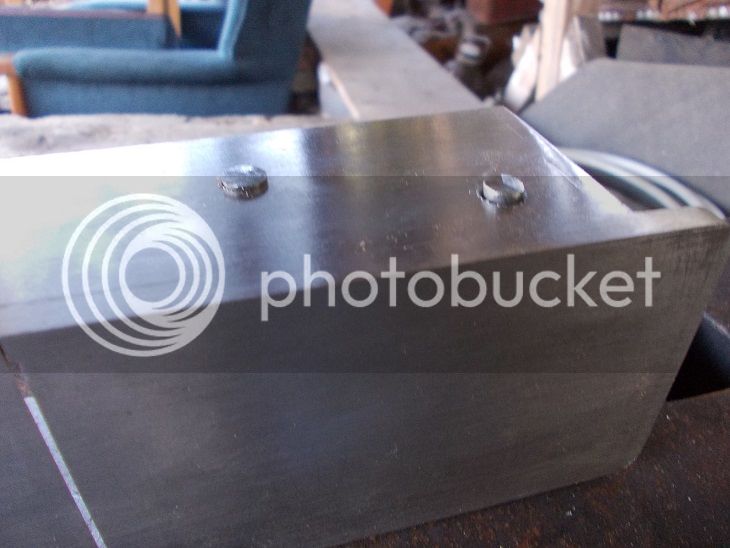
Holes countersunk and with rivets in cut to length.


Heading rivets on anvil.


and draw filing ... again.


Cleaned up well - it doesn't look any different to before I started except it's a day older and so am I.


I am toying with the idea of cutting the wedge down to a slinkier shape.


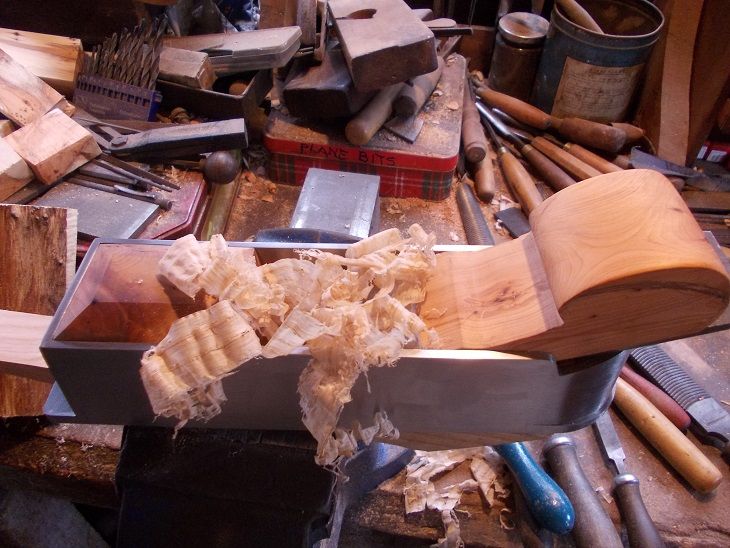
And this is how it cuts. This is about as thick a shaving possible through such a fine mouth.


And "it's not about the shavings" ect. it leaves a nice finish too ... Ash with a knot in it.


All the time I am working on this one Jim, I have skewness creeping into my thoughts ... quite distracting. :-k
 
That's it - Emma's phone; a world I don't understand.

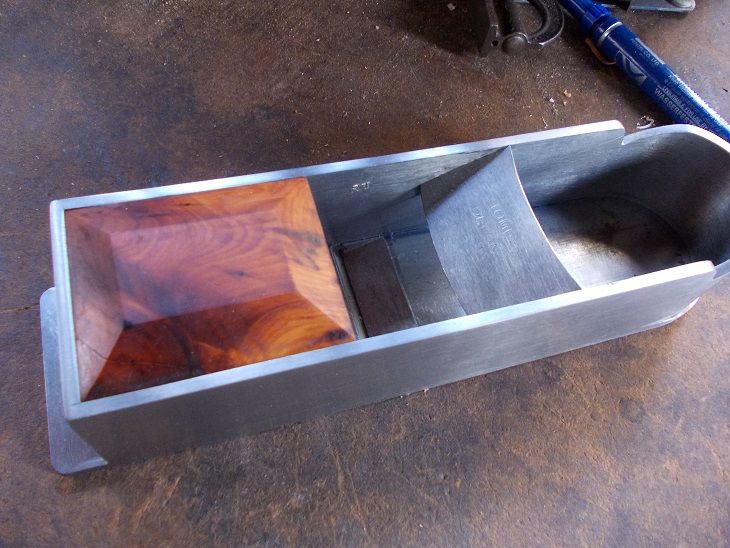
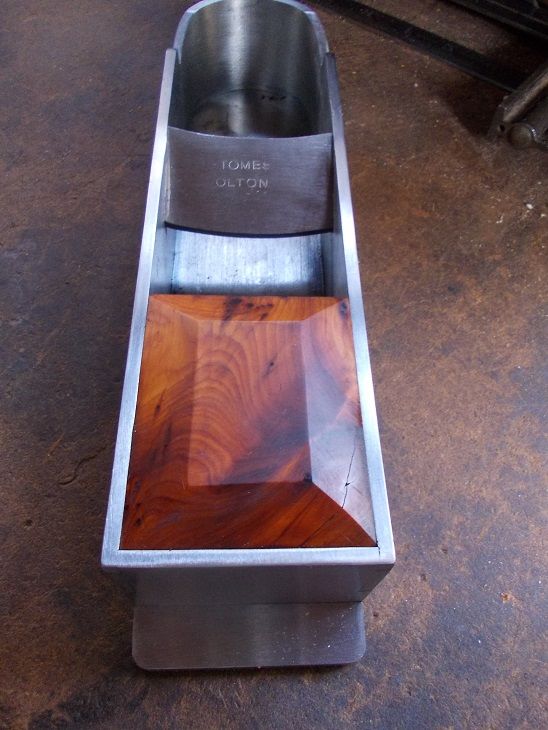
I had just enough raw Linseed to immerse the front infill in a narrow jug. It was left in for 24 hours.


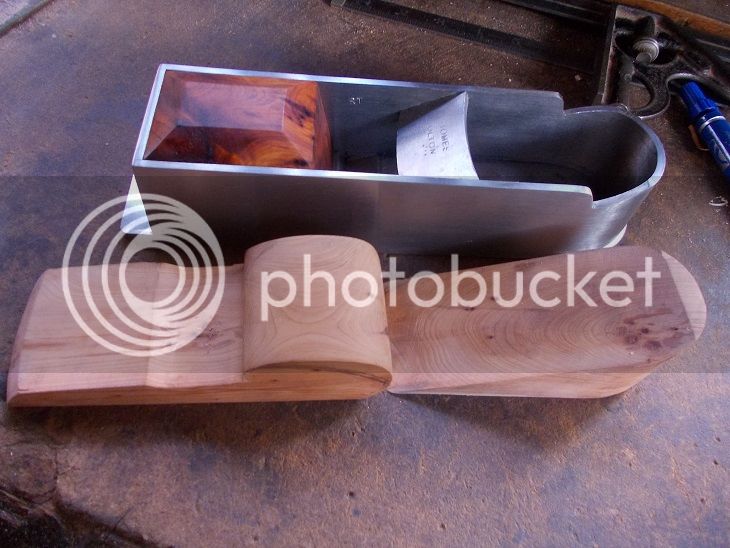
A bit of a contrast with the other two bits.

 
WOW What a difference a day makes
Twenty four little hours
In a Tupperware container

Will have to try that on an old Stanley handle.
 
There ya go Richard!!!

WOW...even better than I thought it would be..the transformation in the heightening of the figuring of that beautiful yew is amazing!

Now...when that heel and wedge are matched...that is going to be one unique and beautiful plane indeed!

I am in deep admiration.

Wonderful

=D> =D> =D> =D>

Jimi
 
Thanks Jim. I think it's worth pointing out the difference between that off cut I oiled as soon as I had planed it and the infill that had been untouched for a couple of days before oiling. I was reading what Bill C said about Yew darkening after being cut, so I thought I would give it a go and it is definitely darker ... not by much but it does make a difference. Too slow to perceive while happening but obvious in the end result. Less orange.

I suppose it must be down to air contact rather than sunlight .... air we've got; bit short on the other thing.
 
Mr_P":rpwbmko8 said:
Blimey never heard of this talented artist before

http://www.flickr.com/photos/justinbkel ... 488917306/

Superb!

During this period of buying every old tool that I could lay my hands on I learnt that in the past there had been an obscure tool for every manufacturing operation which I had previously had trouble with. I also learnt that there were fine tools which worked better.

Words to live by!

BugBear
 
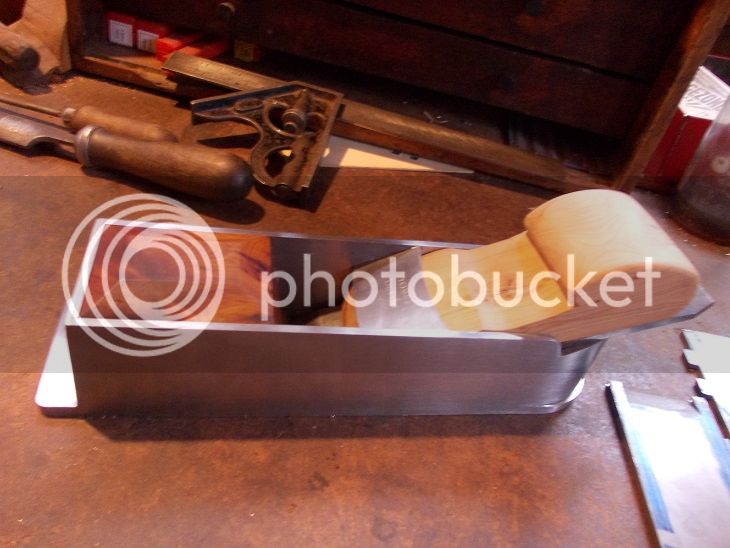
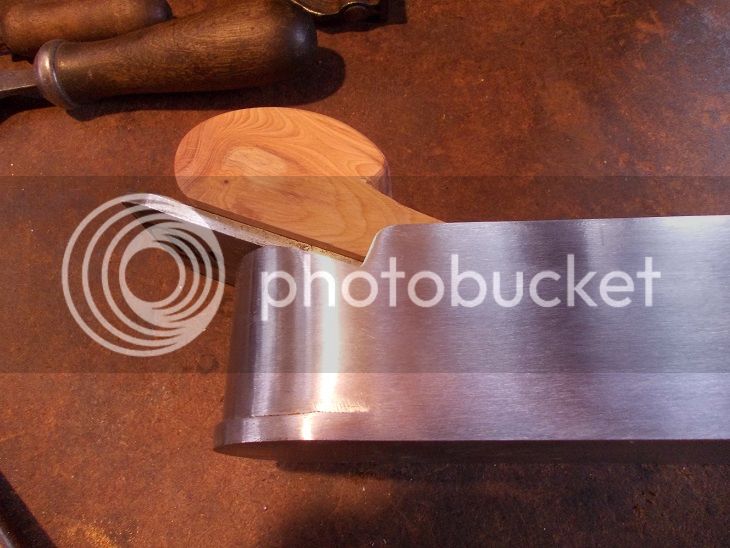
I reshaped the scroll, changed the angle and reduced the length a bit. Trimmed the sharp corners and it is now much more comfortable to use.


Then I gave it the oil soak treatment.


So it's finished apart from making a bespoke mitre iron for it and lapping.

On with the next one .... 1 _ 1/2" iron this time.

 
Wowza! Like jimi said stunning work Richard. All we need now is some brass and some black wood ;)
I hope you will be bringing this baby when you next visit the auctions.
TT
 
Thanks folks.

Will do Toby.

I am going to order some tool steel and some bronze for the next ones but I want to get the smaller one bent round to make sure it is in the right proportion first, then I will have a better idea of what to order. He (Coventry Grinders) has standard stock that is cheaper than paying for extra cutting/grinding.
 
Very nicely done and many thanks for doing the wip.

Out of the millions of things that already been produced in 2014 your plane is in the tiny percentage that will still be desired, useful and valuable in a 100 years or more.
 
Splendid work - I particularly like the shape of the front infill, the form really complements the shape of body. Very nice indeed and it also reminds me how good yew looks.
 
" it also reminds me how good yew looks."

Thanks Douglas. Yew looks good too. :oops:


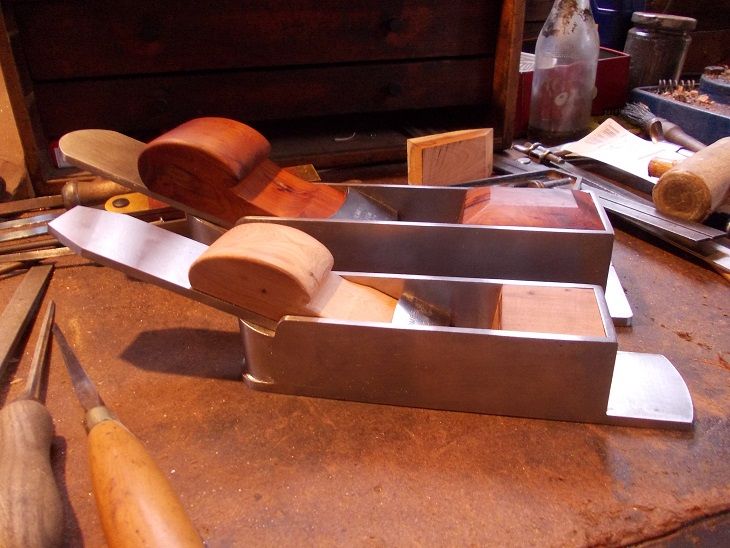
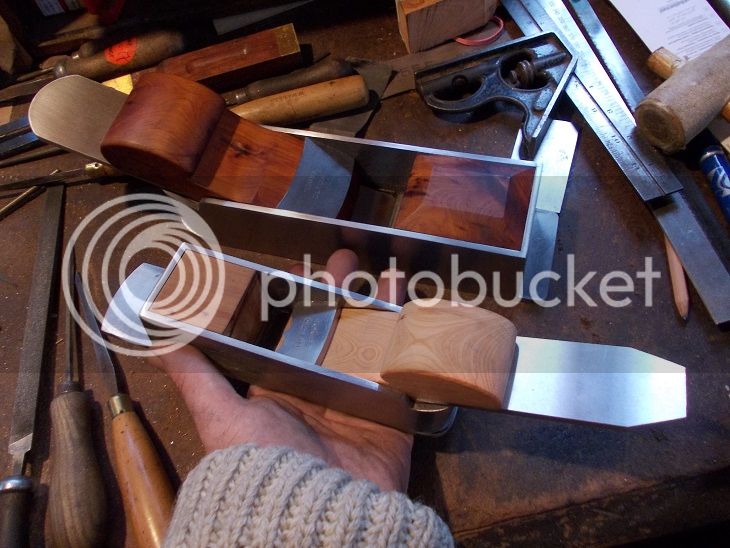
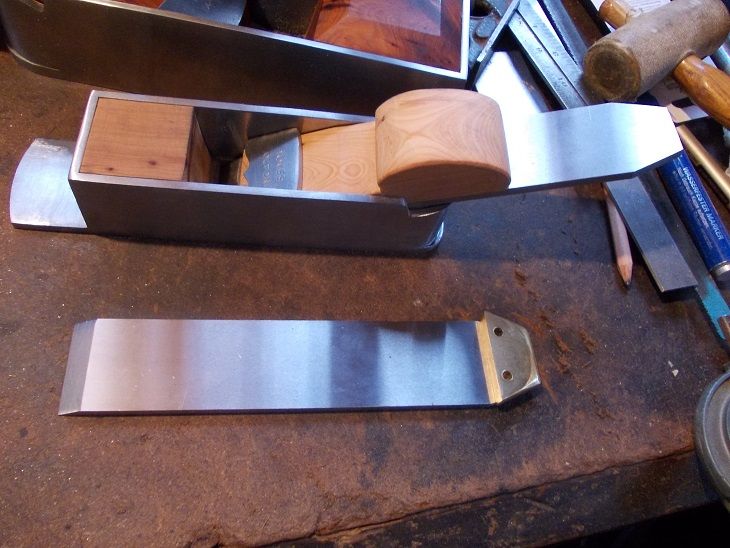
the 1 - 1/2" er is proportionally over all quite a bit smaller.


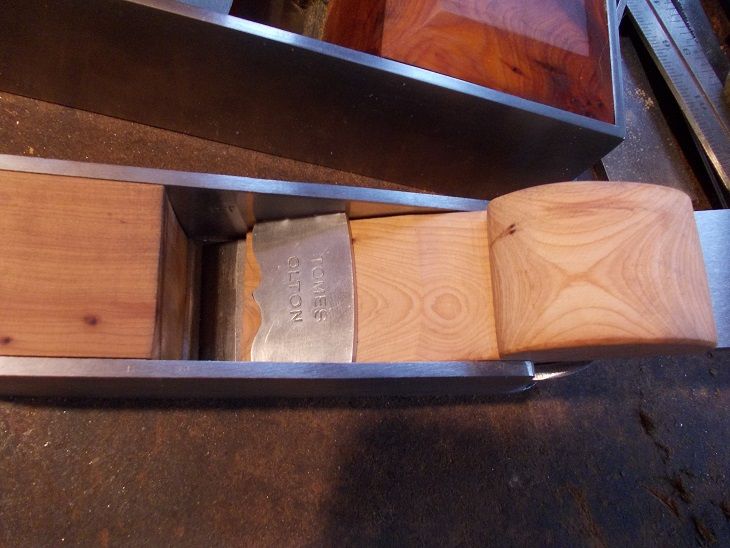
I made nice new mitre irons for both of them but I haven't hardened them yet.


I made a brass sneck for this one and ordered some brass rod for riveting but it hasn't tuned up yet so I might save it for the next one.


The next one is skewed.... I was concentrating so hard that it was only when I got to this point that I noticed I'd cut it the 'wrong' way; or at least the opposite way to that that I had intended.


Oh well ... they're rarer that way round.
I think the wedge on this one is going to come out well ... hard to get a 'big' piece of Yew to come out all gorgeous like.


Small is beautiful, although I don't fancy going saw back small ...
 
Back
Top