I thought i'd share this little project with you. This should be the last project to be built in the home workshop ")
I've called it a walk-in wardrobe, but that's a bit glorified. You'll see what I mean as we progress.
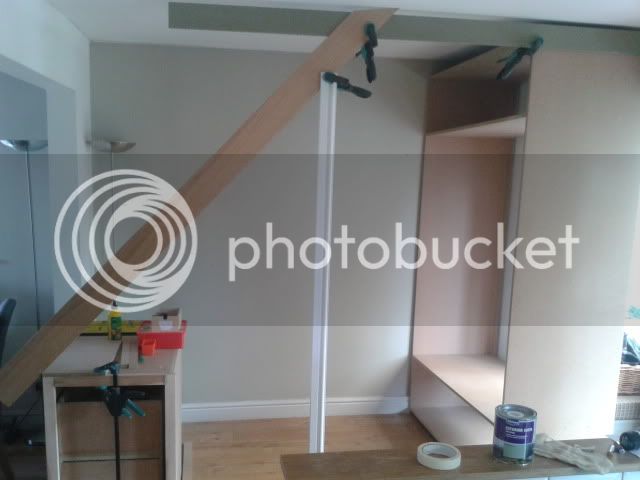
First, the space to work with:
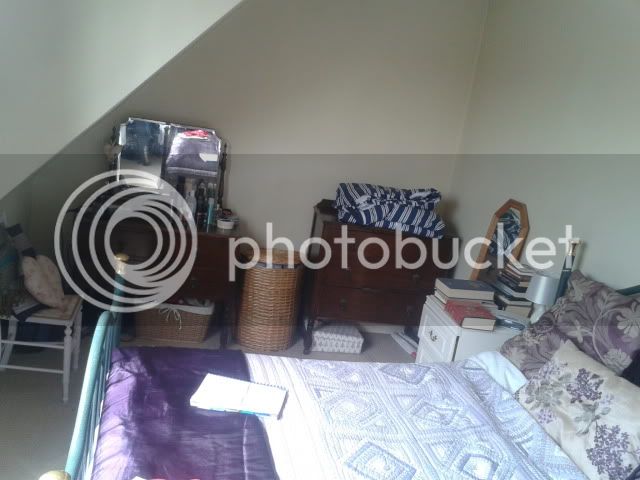
2.7mtrs wide, 1.3 mtrs deep (hence the walk-in arrangement).
The internals will be a concoction of painted MDF units with CND Maple face frames - nothing too fancy as it's to a budget. Outside will be 4 x Oak sliding doors.
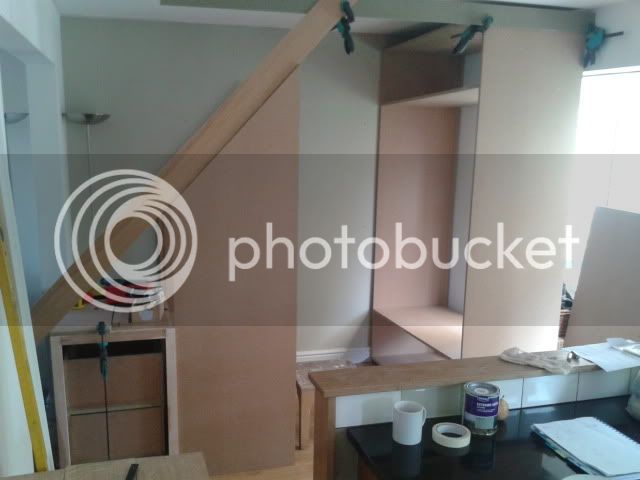
Made a start on the first unit this afternoon (after F1 practise) - this is to fit under the sloping ceiling.
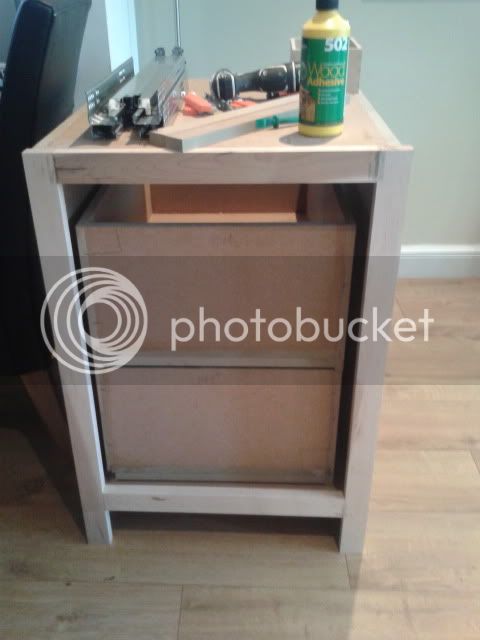
I ran the face frame to the floor as there will be a skirt detail attached once everything's fitted, and the frame will give good fixing points.
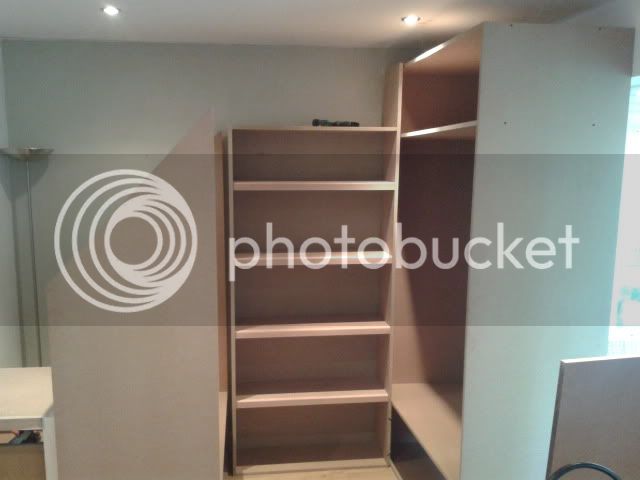
The drawers are 700 mm deep to provide maximum storage, and protrude out the back of the open unit.
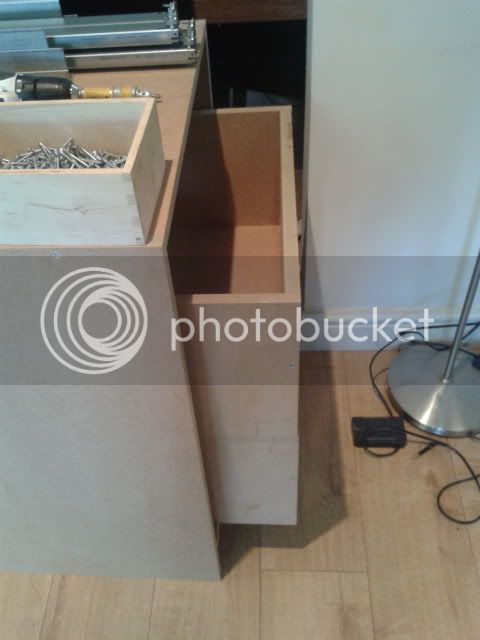
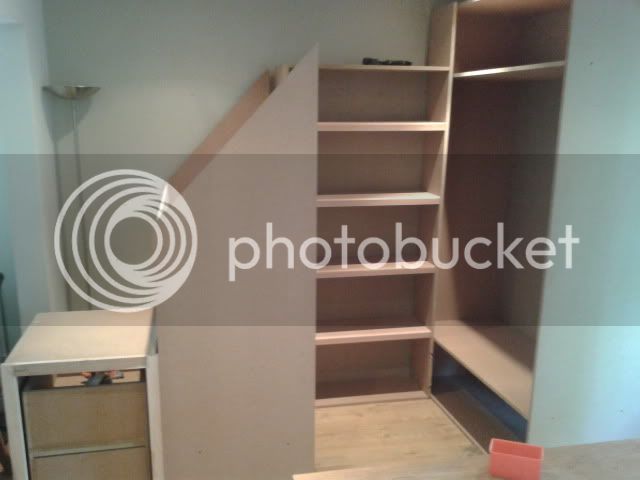
This is for a reason - when it's all fitted, these drawers can be removed to provide a secret storage compartment (the couple have 2 young kids) - great for Xmas/birthday surprises (and somewhere to store the gimp for the rest of the year :lol: )
Undermount runners are only 550mm (yes, I know the drawers won't be "full extension", but the customer was happy to have the extra depth on the drawers), so i've had to modify the way I build the drawers - adding an additional couple of pieces to allow the fittings to work. I'll show pics of this when I fit the drawers tomorrow.
That's all for now - more tomorrow.
Cheers
Karl
I've called it a walk-in wardrobe, but that's a bit glorified. You'll see what I mean as we progress.
First, the space to work with:
2.7mtrs wide, 1.3 mtrs deep (hence the walk-in arrangement).
The internals will be a concoction of painted MDF units with CND Maple face frames - nothing too fancy as it's to a budget. Outside will be 4 x Oak sliding doors.
Made a start on the first unit this afternoon (after F1 practise) - this is to fit under the sloping ceiling.
I ran the face frame to the floor as there will be a skirt detail attached once everything's fitted, and the frame will give good fixing points.
The drawers are 700 mm deep to provide maximum storage, and protrude out the back of the open unit.
This is for a reason - when it's all fitted, these drawers can be removed to provide a secret storage compartment (the couple have 2 young kids) - great for Xmas/birthday surprises (and somewhere to store the gimp for the rest of the year :lol: )
Undermount runners are only 550mm (yes, I know the drawers won't be "full extension", but the customer was happy to have the extra depth on the drawers), so i've had to modify the way I build the drawers - adding an additional couple of pieces to allow the fittings to work. I'll show pics of this when I fit the drawers tomorrow.
That's all for now - more tomorrow.
Cheers
Karl