Wadkin RM 26" UO rebuild/ restoration

UKworkshop.co.uk

Help Support UKworkshop.co.uk:

This site may earn a commission from merchant affiliate links, including eBay, Amazon, and others.

tool613

Established Member
Joined
4 Oct 2010
Messages
269
Reaction score
7
Location
Ottawa Canada
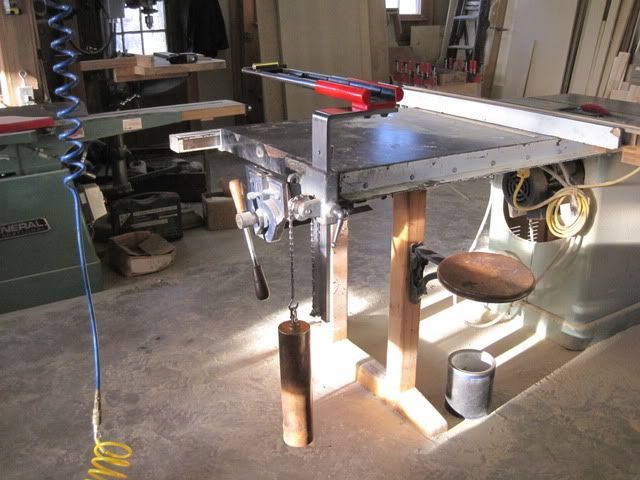
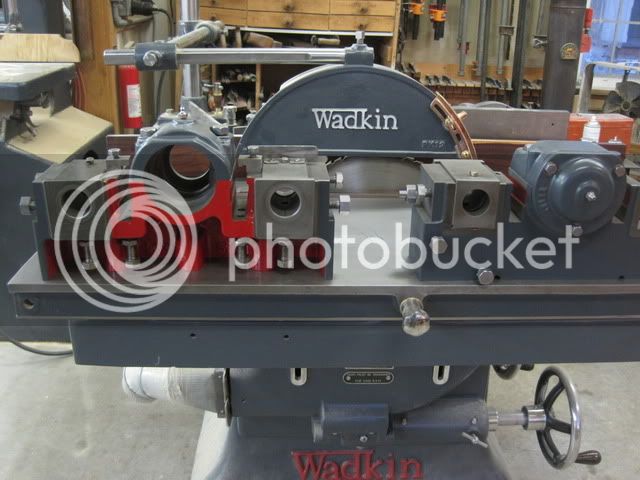
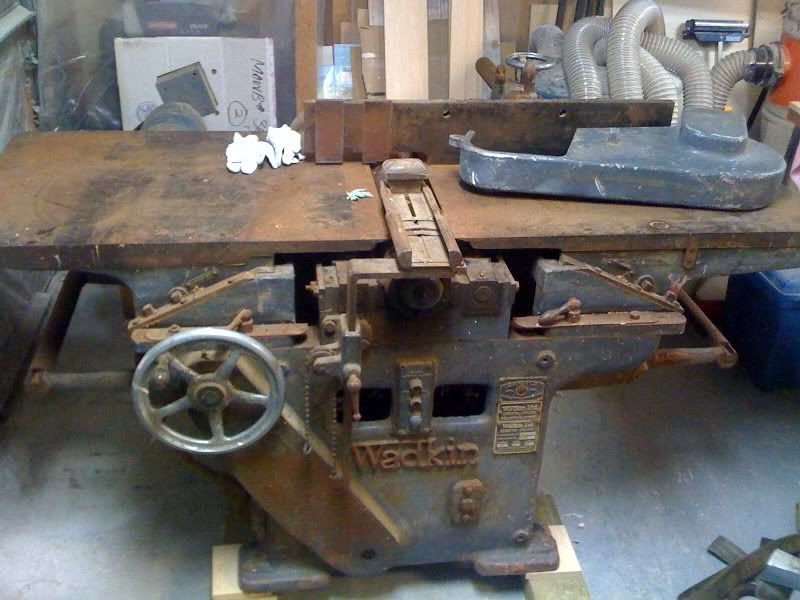
there are two guards on a modern jointer. There is the stander pork chop/bridge and what I will call the back guard that covers the head when the fence is move over the table. Most old jointer don,t have the main and very little have a back guard.The wakin RM never had the back guard and so I made one.
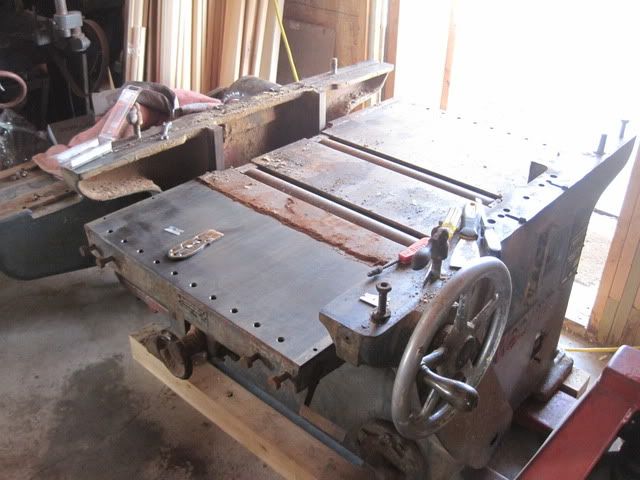
the machine as i got it.
wadkinRM1-1.jpg


A safety guard has to do 3 things to be of any use.

1 The most important is protect the operator from the cutter head.

2 be easy to adjust and not be in the way of the machines function as it was designed to preform.

3 be easy to remove for assess to the cutter head.

it can than look good if you want .

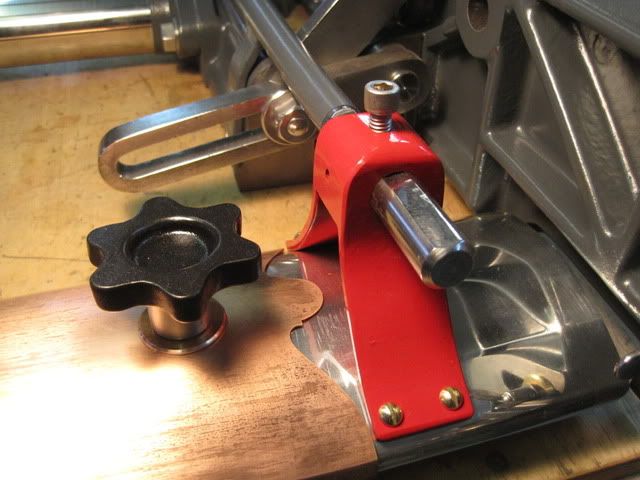
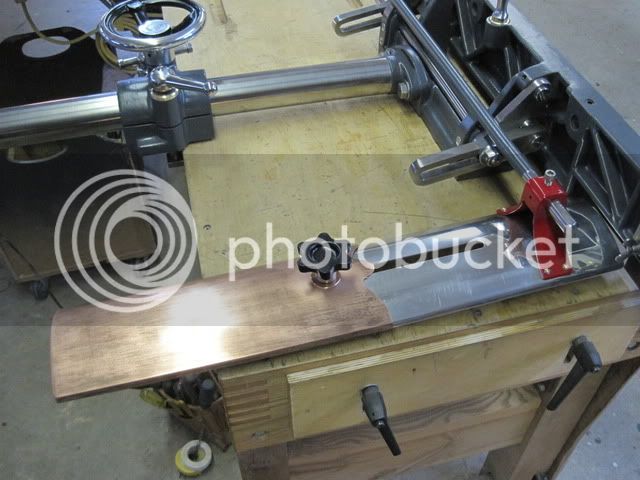
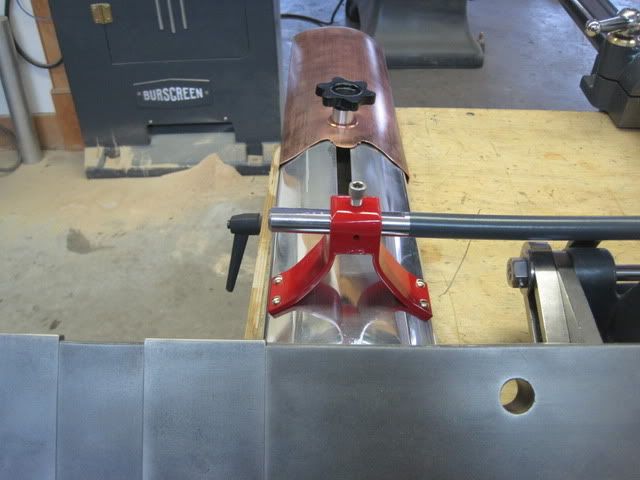
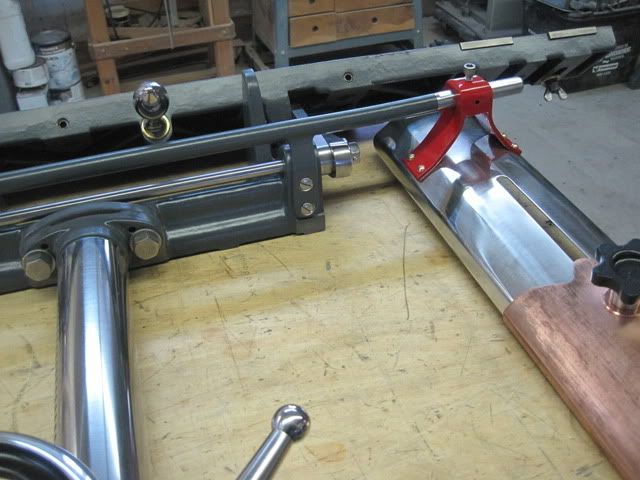
I have 26" of head to cover at any given time and I wanted to be able to adjust while the machine was running. Most back guards are attached to the fence and so I designed mine to do the same. I simply welded a simple rod and bracket that screwed in taped holes to the fence base for my guard to attach.

Because the table slide in and out to open the cutter block for moulding my guard needed this adjustment as-well.

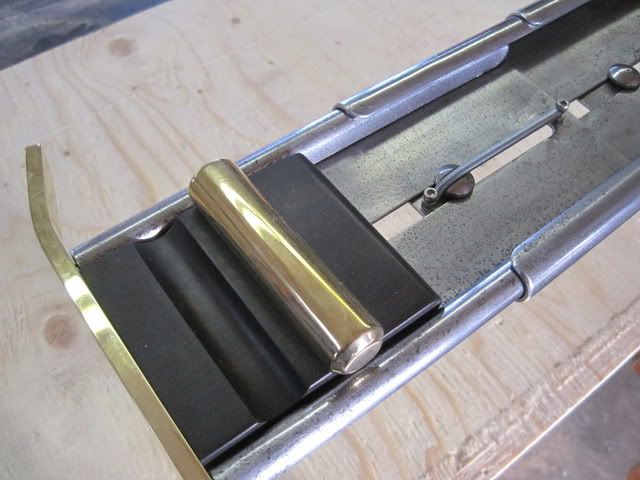
I made it from aluminum and copper to keep it light but strong.
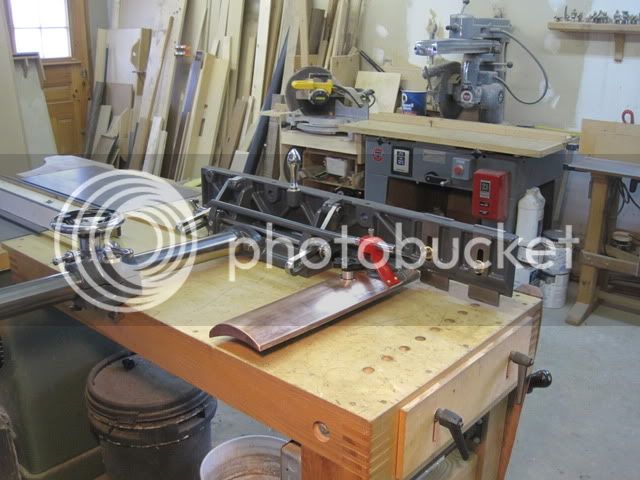
001.jpg


adjustment for sliding in and out
002.jpg


fully extended to 26"
003.jpg


004.jpg

fence tip 45 drgs
005.jpg


jack
 
Stunning jack, wouldnt expect anything less from you though. Looking forward to seeing the completed art form. Sorry i meant machine :lol:

Adidat
 
Hi Jack, I have a 16" machine in similar condition to yours. Needs similar cleaning as well. Im interested in how you get the bar soooo shiny. Do you put in a lathe with wet and dry sandpaper or buff it up or rechrome it.
 
Danny boy

I did put it in the Wadkin pattern lathe as it had centers in the bar. I did this after I wire wheeled it . It was pitted badly in some area and i did not take more than a few thous off. I did mic it as i did it .
rm005.jpg

When every I can I put things in the lathe to clean. She moves like silk now. To keep the metal from rusting I use T9 metal spray.

http://www.bikebling.com/Boeshield-T9-C ... -spray.htm

For cast machined surfaces i just use a raiser blade and red scotch brite pads. I do have a few buffer that I use that I made from old motors. One is 2HP and can put a shine on pitted metal like there no tomorrow.


Here is the bridge guard that I need to make a counter weight for. The guard was riveted together and to clean it the old rivets had to come out. I made new ones with carage head bolts turned down.


rm001.jpg


new handle with spring load end
rm002.jpg


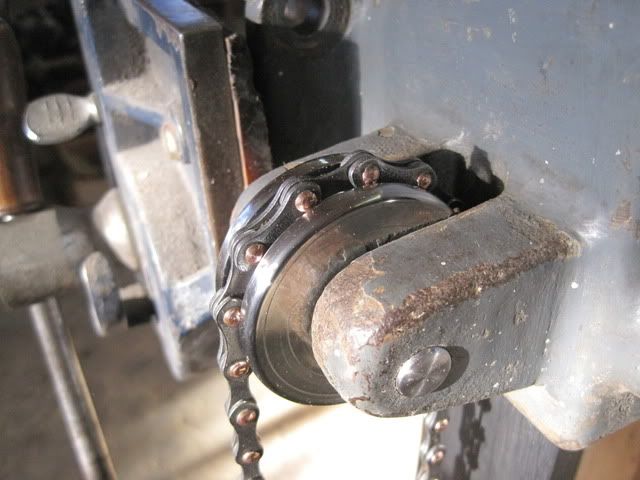
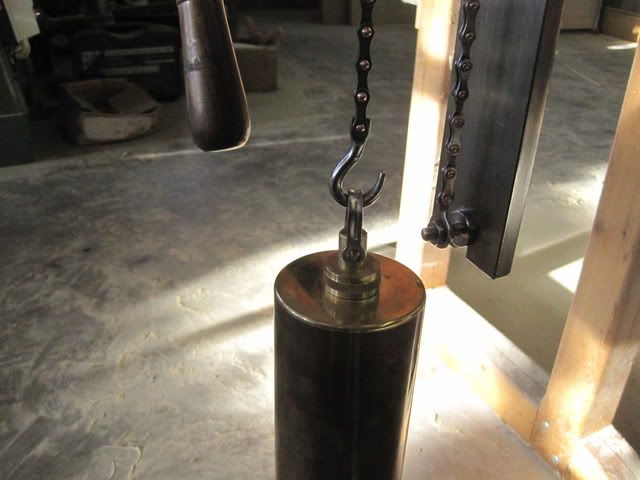
bronze /tin chain for counter weight
rm003.jpg


the home made counter i made for my Bursgreen BZB that I would like to fill with shot and make smaller.
rm004.jpg


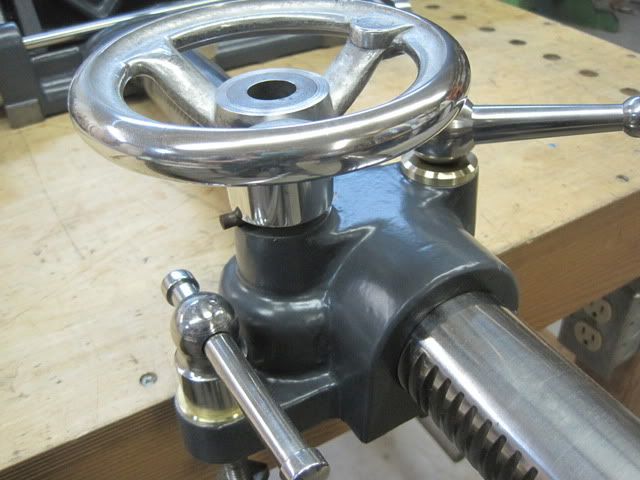
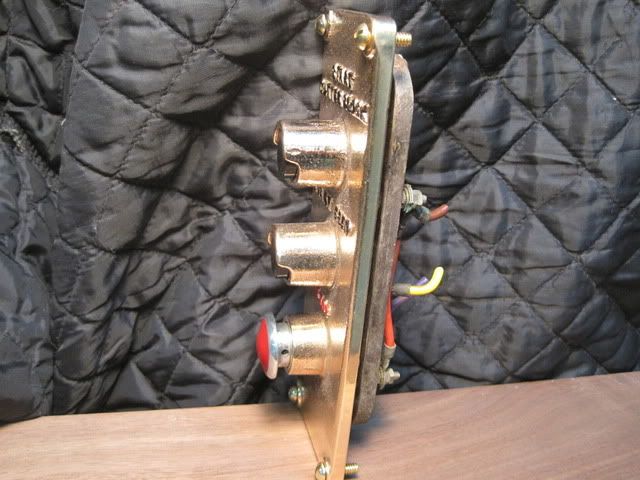
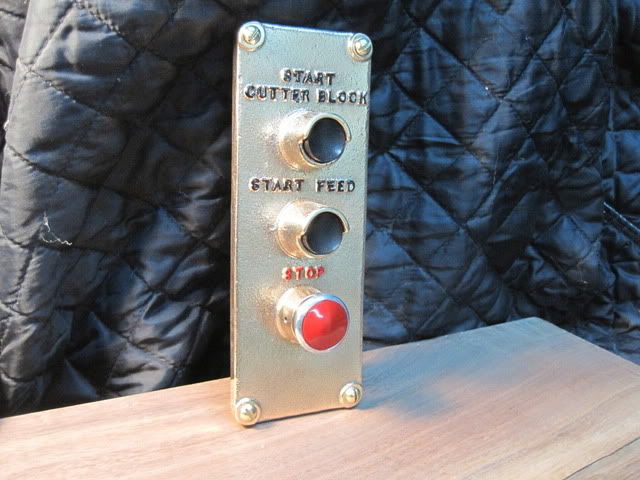
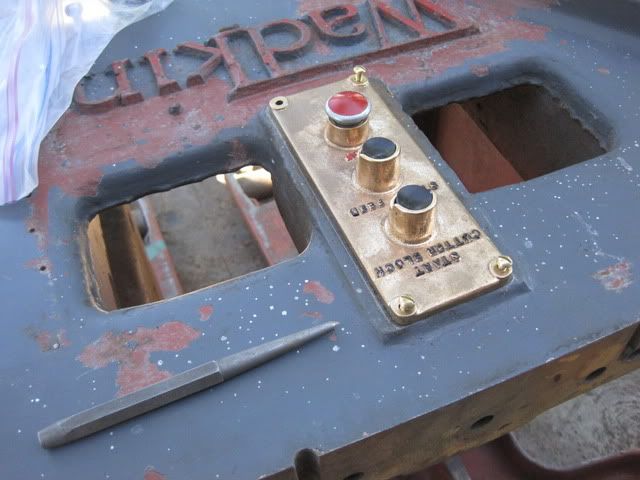
When I was working the motor control station it was made of bronzes cast. Wadkin painted it gray and I just could not do it. looks like a traffic light don't ya think?

dwiech002.jpg

out of practice on my lettering.LOL
dwiech001.jpg


good luck with yours.
BTW what kind of cutter block do you have?


jack
 
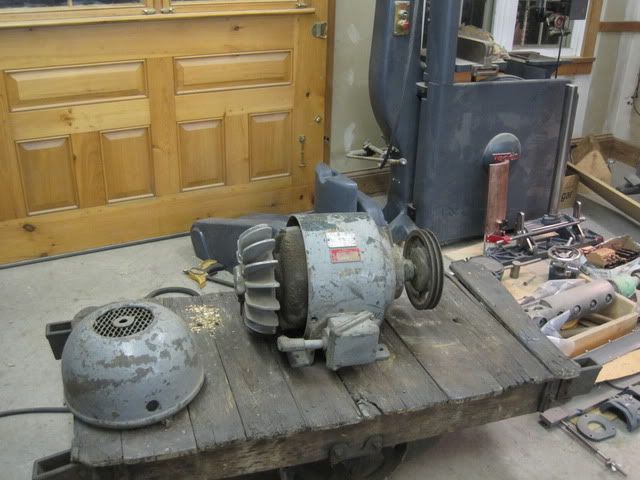
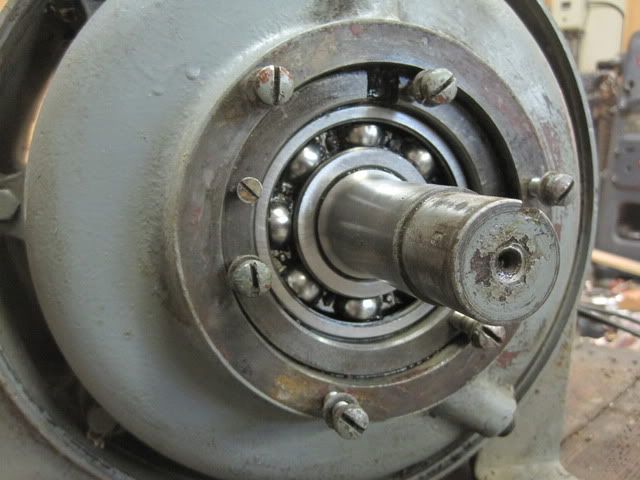
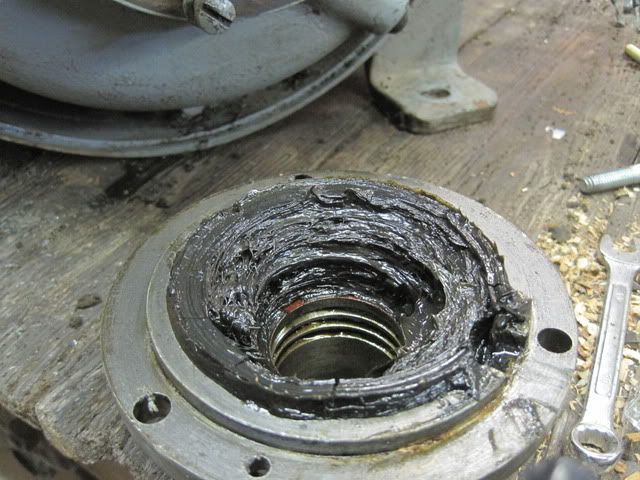
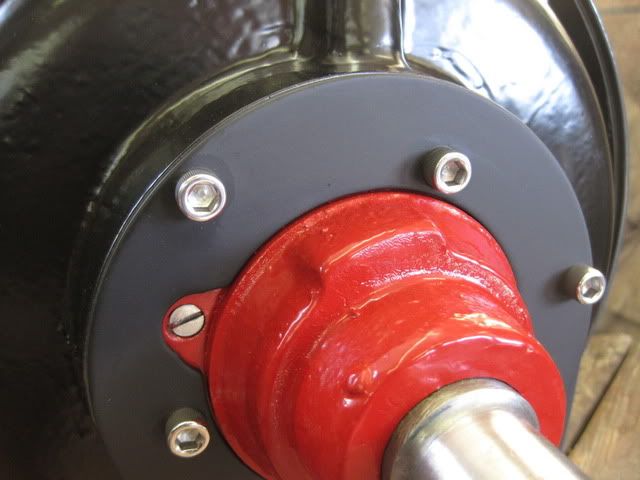
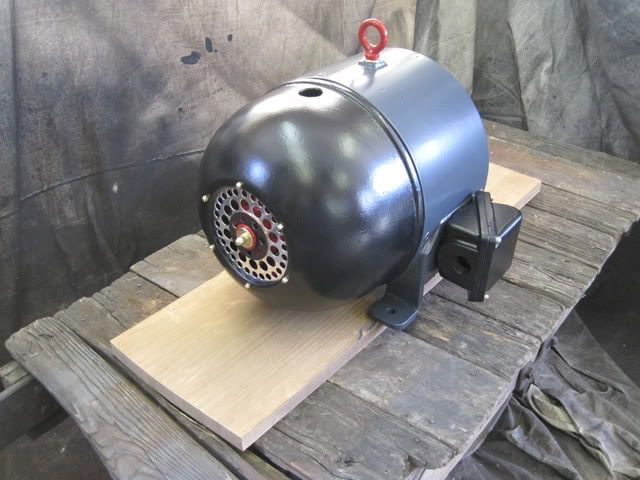
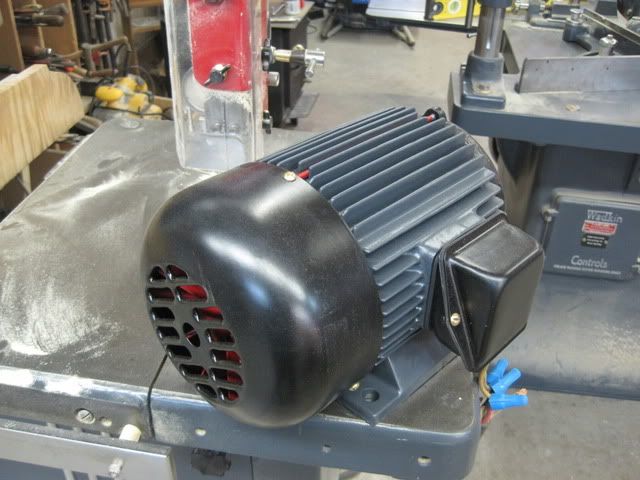
The motor I got for the Wadkin RM is Not a Wadkin Motor. I needed a footed motor to drive the head and This 3 phase 5 HP baby should do a fine job of it. It is most likely off an old band saw based on the bearings . It's got open deep grooved ball bearing set in the bells. One great features to these type motors is the grease bled at the bottom so you can't over grease and the old grease stays out of the motor winding. This motor should last forever for what I am using it for. They say it is wise to change the bearing when you got things apart ,but I have had good luck determining if bearing are good or not by running and looking in side. So far I have only been off once. I must have saved $2000 so far in the rebuild once I started checking the bearing in stead of just changing them because they were old. Most if not all the bearing I am talking about were open . I have never found good old sealed bearing.

the motor after a test run on power.
rmmotor006.jpg


theses bearing looked a sound great and pressure on the shaft had no play. I cleaned the old grease out that was in general good looking . It was not hard or soapafied.
rmmotor007.jpg

rmmotor008.jpg


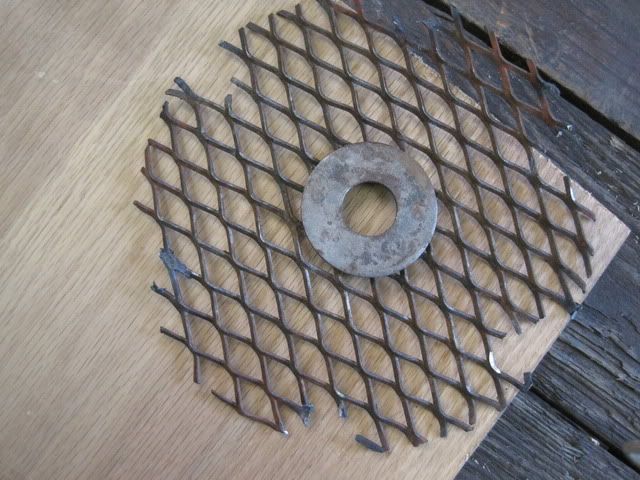
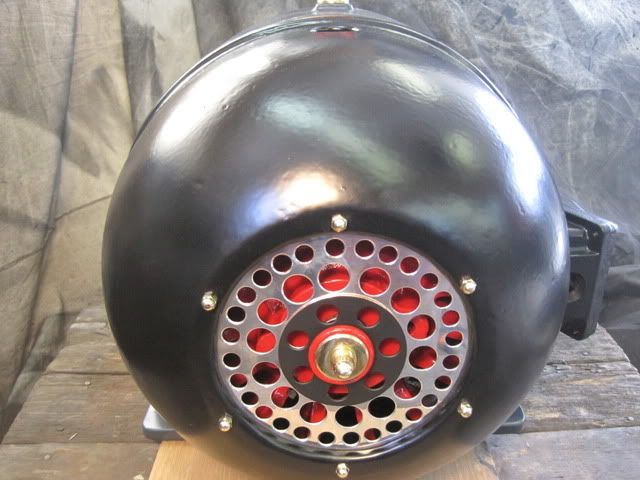
The fan end bell of the motor had a neat mesh grill to keep shaving out of the motor. It was neat but not up to what I wanted and thought it looked not all that great. It got filed away under G. I made my own at the drill press with some scrap sheet stock.more on that later.
rmmotor018.jpg


So really all and all the rebuilding of this Motor was just maintenance and was ready to go to work.

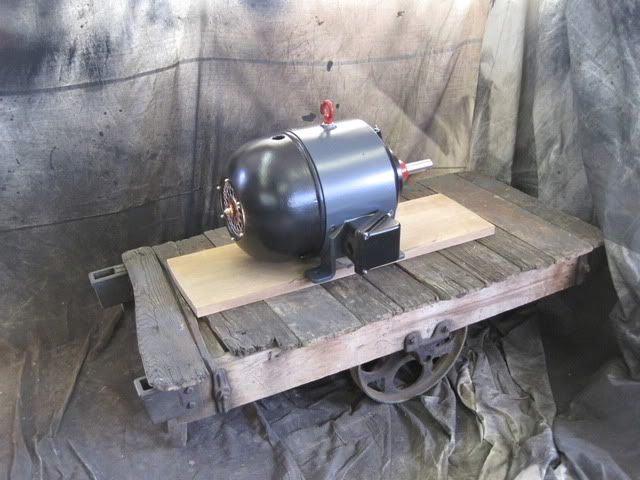
For purely atheistic reasons I paint things at this point and like to add what i call an artistic licence. My restoration are what I think they should be and so I indulge myself. I find Machinery in it original state boring and drab and like to hot rod some things.If you like original look away:)


The motor finished


rmmotor019.jpg


rmmotor013.jpg


rmmotor014.jpg


rmmotor017.jpg


jack
 
Not much to report on the rebuild,but i did find a Brooks feed motor for $30.


5398cj_20.jpg


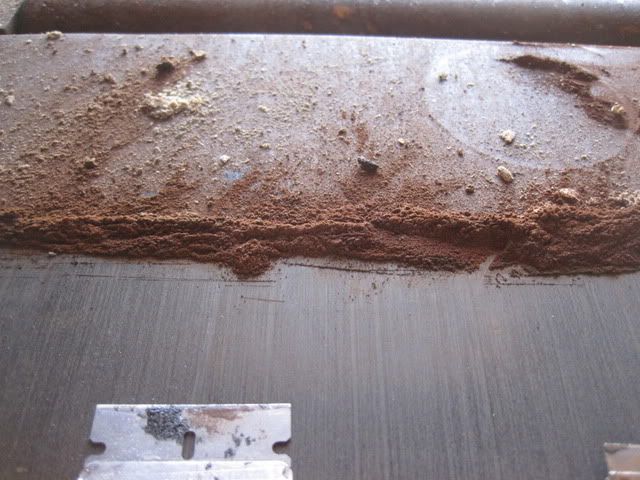
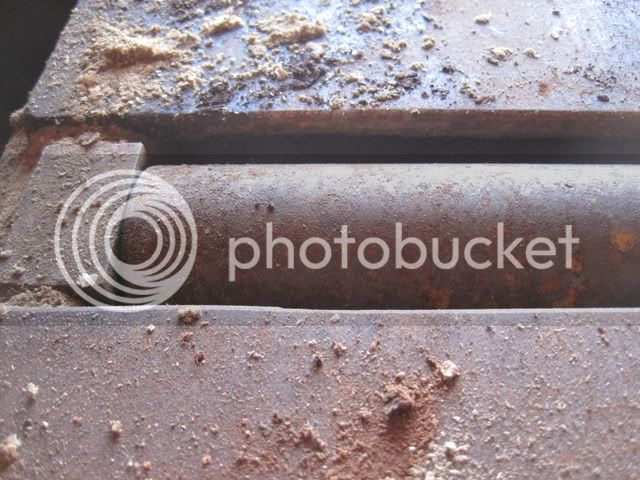
i started working the bed and what to most people looks bad just needs a shave. For old rusted tables I like to give them a shave.I buy my straight raisers in boxes of 100. took about an hour.

motor010.jpg

motor011.jpg


i pulled the bed rollers and checked the bearing. they were gone and because they are not to easily serviced I replaced them with rubber sealed SKF. $100.
motor012.jpg


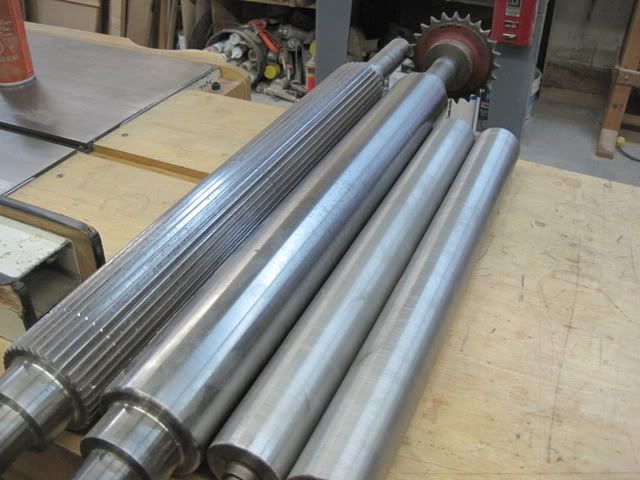
the serrated infeed and smooth outfeed and bed rollers went to a metal lathe to bring them back in spec. I know the guy so $30 but a proshop should only charge an hours labor.
motor015.jpg


the blocks that hold the cutter head and rollers/ pressure bars are all cleaned up and the plain bearings for the rollers were in great shape. Steel in cast "ARN" with oil channels cut in the bearing like in Babbitt. there is a hole left from the hold downs spring rod that leaves a hole for the bearings oil and the ways are cut from there. should i and a piece of felt?

motor014.jpg


bearing were gone on the motor and new sealed SKF $30 bearing were instaled. it look like a rewind had be done. If you have never experienced how smooth a 3 phase motors run watch the video.BTW this is a 600 volts motor running off 240 household:)
motor016.jpg


you tube
http://www.youtube.com/watch?v=UwIqo8GI ... ature=plcp

jack
EM
 
Looks to be about par for you 'Tools'. An absorbing thread. Just the kind of project I should have undertaken 40 years ago!
But then these days I get to make stuff more! I saw the Wadkin you featured on OWWM! Wow!
Nice work. Thanks for the tip on 'rust shaving'. Filed away for reference. :D
 
Very nice Jack, I don't know why but their is something very satisfying from cleaning rust from old iron.
Mark
 
this Wadkin RM came with the special order pattern makers in feed table. What a Pattern makers table?

when making wood pattern for the foundry sand cast forms, the patterns had to have draft. Whats draft?

Draft is a small taper in the pattern forms so that is would release from the sand. So for a joiner to be a Pattern makers the front table has to tip side to side. the table will no longer be coplaner and the wood will be removed more on one side than the other.

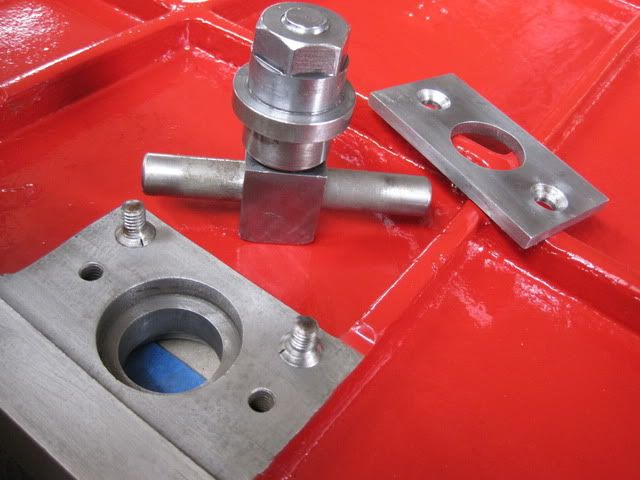
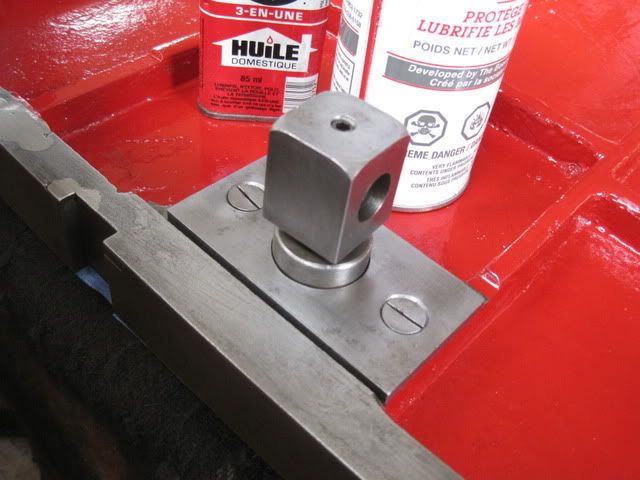
the under side of the table has a large pivot and a thread crank. the edge on the table is milled so that when it is lowered it goes back to co planer.
patterntable001.jpg


this thread crank set in the table
patterntable002.jpg

the first time i have ever seen this in a Wadkin Piece. there is nickel weld in some of the cast to fill in a void. A war (1941)machine and to wasteful to replace the casting.
patterntable003.jpg


next is the rise and fall ways. you can see the planed surfaces that mate the table.
patterntable004.jpg

pined to the table
patterntable009.jpg

when theses two surfaces meet the table is co-planer.
patterntable007.jpg

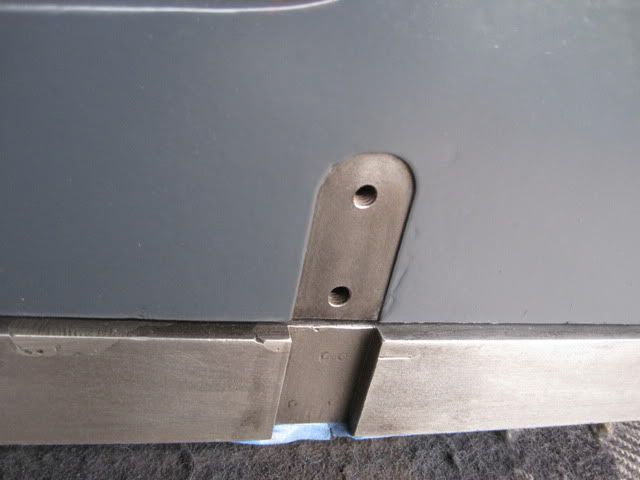
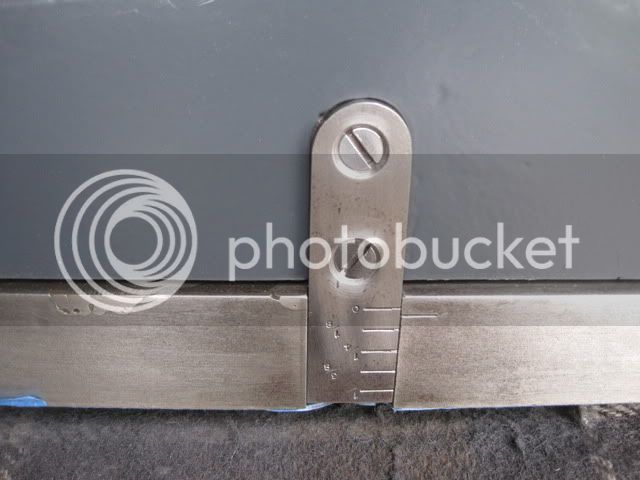
a gauge to read draft. So fine is the machining in this table that even the gauge is flush with the front edge so as not to upset rabbiting.
patterntable008.jpg


Don't let the short table foul you this is a finely tuned machine. All the way have been scraped in.
patterntable010.jpg


The other half of the rise and fall and the plate for moving the table in and away from the head for molding.
there are no gib plates to adjust for ware and fit on the side walls. just a hand scrape in fit. By the looks of the ways this 70 year old machine appears not to need them.could just be the size on the ways.
patterntable012.jpg

patterntable013.jpg


the out feed table should be a breeze.


jack
 
Not much to report but I did get the rise and fall works out of the RM and I did not brake anything.:) the bed roller adjustments where rusted solid and were a lot of work to get apart and clean then shine.
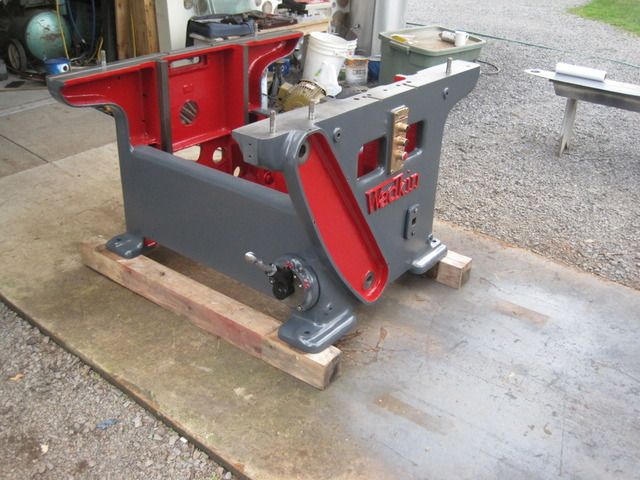
the out feed table is ready/done. One thing with the large machine is you have to let the paint cure before you handle the parts(2 weeks). I will be working on the main frame next.

007-15.jpg

008-13.jpg


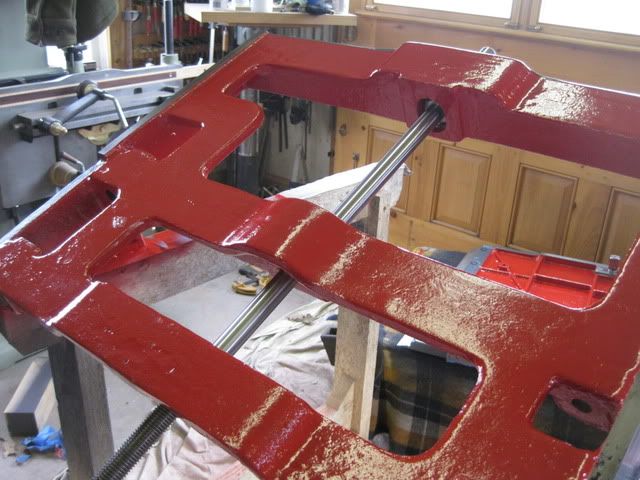
For body work I start with cast grinding after a pressure wash. I like to clean the shapes up a little and get the line to flow better. some may not agree with this so look away.


001-1.jpg


002-11.jpg

003.jpg

004.jpg

005.jpg


if any of you have never used a needle scaler for restoration look at this video. its a must tool in the owwm kit.

http://www.youtube.com/watch?v=v2ftL6pn8bA&feature=plcp


jack
English machines
 
Mark i still need a few bits to be complete.

Needs are

wadkin EQ spindle moulder
Wadkin drawer sander GF
I would take one of them drills you have to.

the rebuilds is what takes the time
rebuilt English machines are
Wadkin RS
Wadkin PK
Wadkin DR
Wadkin JY
Bursgreen MZF
Stenner BL
Sagar FS
Sagar BRS
Wadkin bursgreen BRA
in the Q
Brookman dovetailer
I have a few merican machine too

jack
English machines
 
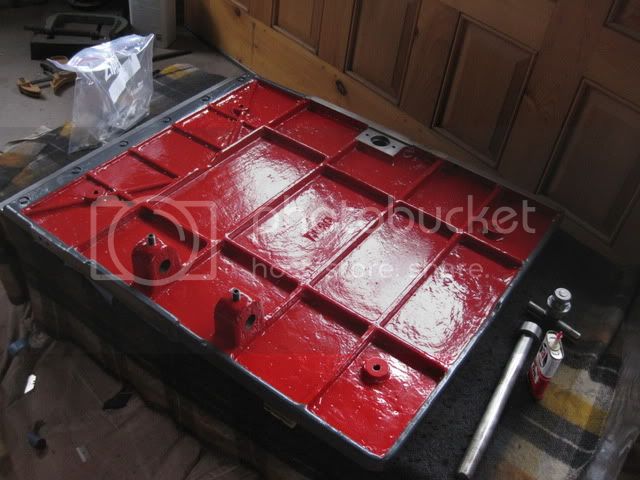
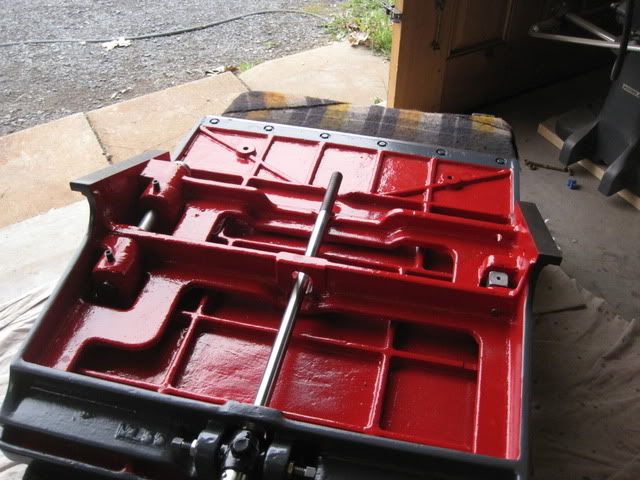
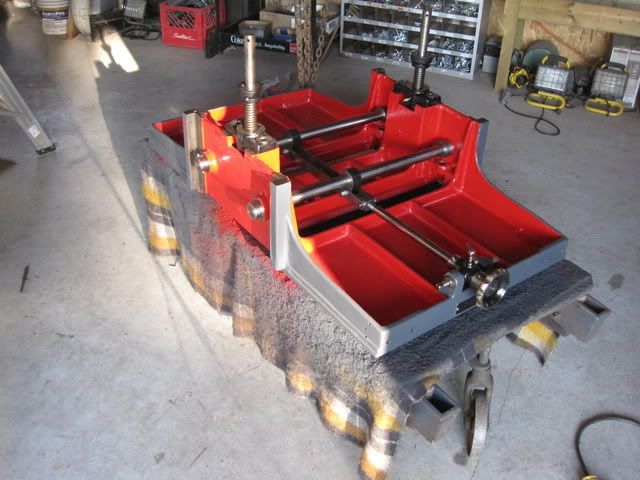
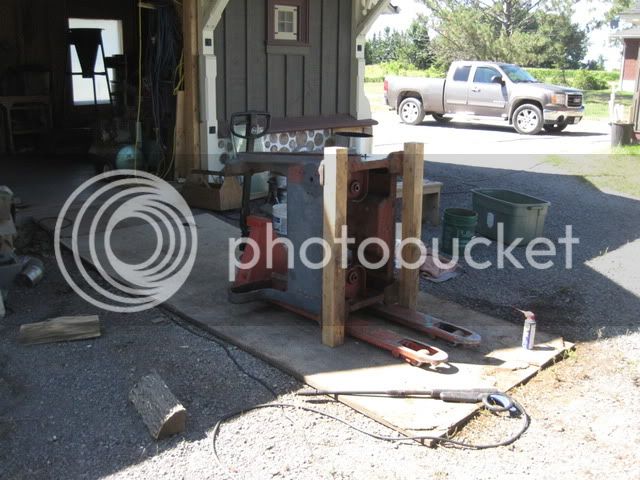
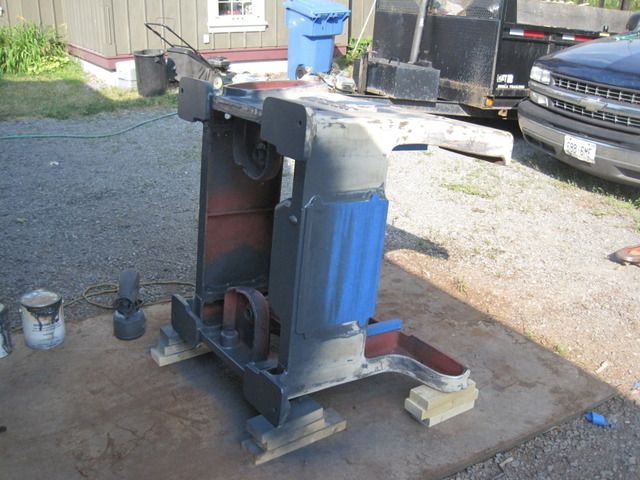
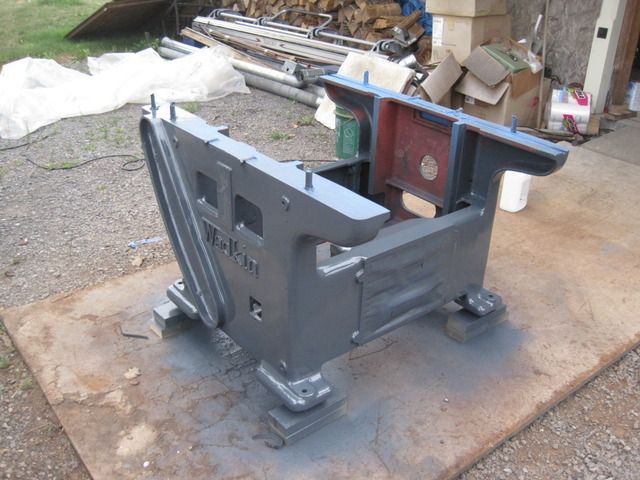
The base for the RM at a guess striped down comes in at 800 lbs. This is about as light as it will get and so time to flip it over to paint the bottom. What I found is that large machine rust from the bottom up because that's where the moisture is and the bottom has not been protected with paint. This machine will have wood pads added to the bottom so a pallet truck can move it around so the paint will stay and not be scraped off the feet and start the rust going again.

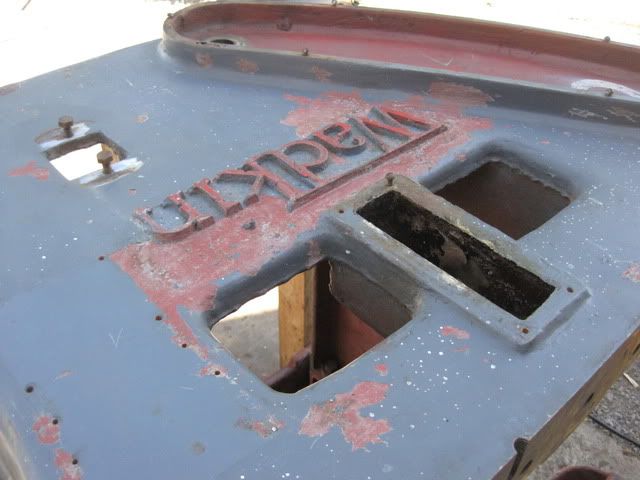
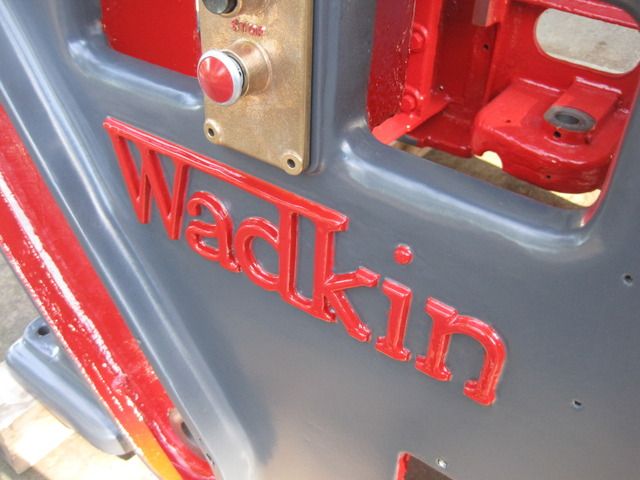
After I pressure washed and degreasing the machine I found that much of the original wadkin filler was blasting off. I did not what to take any chances that the new paint would not have a good base. It turns out the rust had gotten under the filler in spots and have undermined its adhesion. Wadkin OEM finish is a smooth look and all sand casting marks were gone over with lead filler. It is always best to preserve this as bondo is just not the same. I endded up using bondo(the gold stuff) to make up the missing spots about 80% of the base. so with a combination of angle grinder and filler the base was prepped. the Wadkin cast name in front was in very bad shape with missing parts to the letters so with a few hours and a dremel I reworked the to be red wadkin name. Parts that were missing have/had be built up with epoxy JB filler.A lot of work.

002-12.jpg

001-3.jpg

004-18.jpg


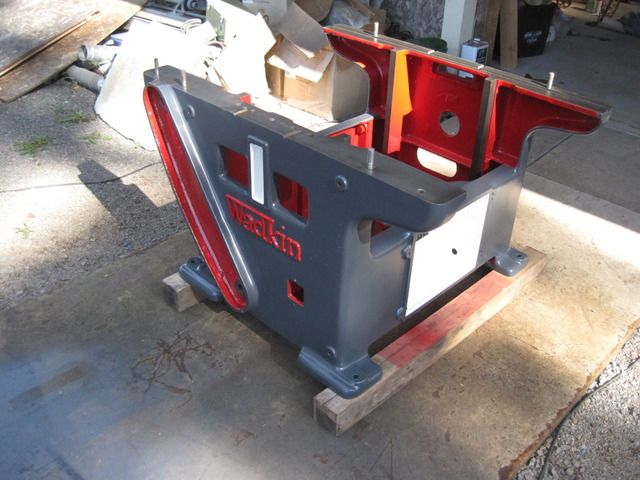
3 more coats and on to the red paint inside this time with a brush.


jack
English machines
 
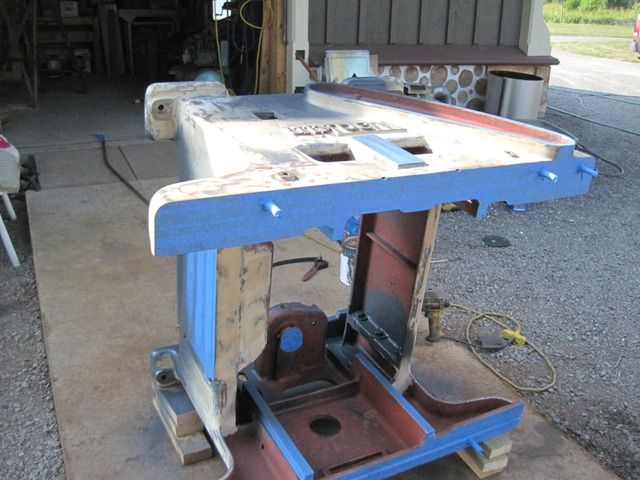
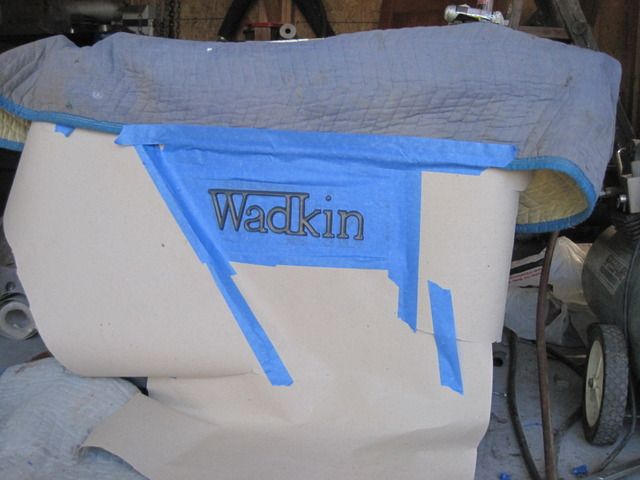
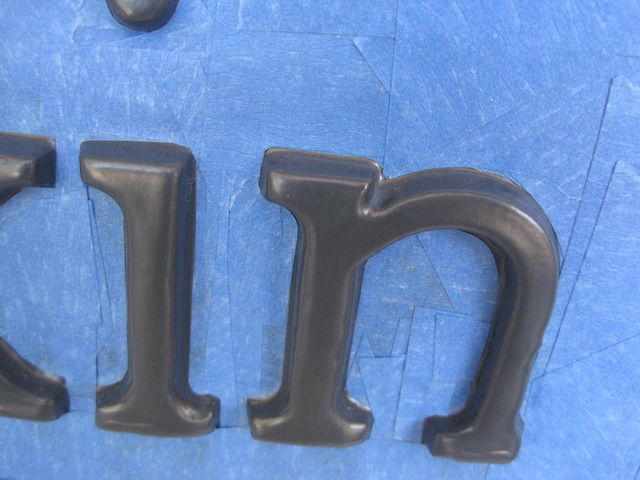
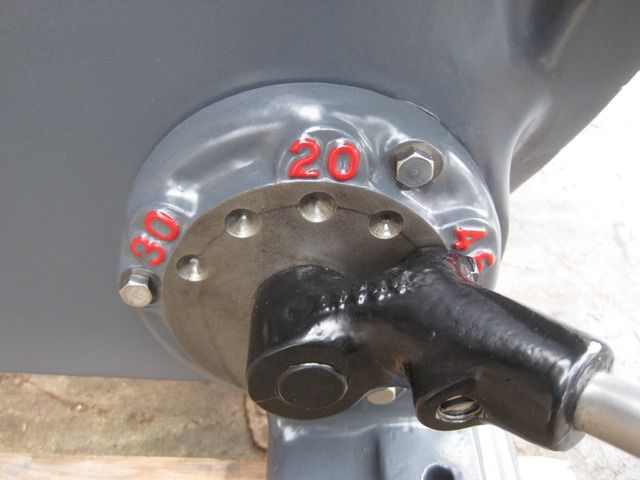
The Wadkin letters that are not painted with the cast laying down are hard. All my wadkin's have sprayed high gloss red letters . I could just hand painted the red ,but it just no the same finish. so I cheated again with taping them off. The trick is to use lots of little pieces of tape to get the lines. I will not use anything but blue tape. you can learn the hard way to if you wish.

The DTM(direct to metal )paint that i use for the Wadkin gray has to cure for over a week before you can do this.

007-19.jpg

006.jpg


OK the main is ready to put the Rise and fall back in. The next time you are going to see how this thing is built. you are going to brown your trousers.:D

008-17.jpg

just a few hits with an artist brush and Wadkin would be proud.
009-14.jpg


jack
English machines
 
Well Jack, if you can't put red on the outside I guess the inside will have to do. Are you buying blue tape by the case?:)

It looks like the bed rollers aren't powered. Is that correct? I'm surprised that the setup is hard to lubricate, necessitating the sealed bearings. My Oliver's bed rollers are oiled and are easily reached with the table down a few inches, having covered oil cups. But maybe this machine used grease, and was designed before Zerk fittings became common.

BTW, it's good that you're taking time with this. It implies that even you have to make a living, and not just do restorations.:)

Kirk
 
kirkpoore1":by4yzvd2 said:
Well Jack, if you can't put red on the outside I guess the inside will have to do.

Kirk i am calling it a Kirk planer in Wadkin clothing.

kirkpoore1":by4yzvd2 said:
It looks like the bed rollers aren't powered. Is that correct? I'm surprised that the setup is hard to lubricate, necessitating the sealed bearings. My Oliver's bed rollers are oiled and are easily reached with the table down a few inches, having covered oil cups. But maybe this machine used grease, and was designed before Zerk fittings became common.

The Bed roller are not under power Kirk as you noticed. The RM is not a production Planer/thicknesser its a pattern shop machine and is really for very large wood milling in small volumes. it does not even has chip pick up . The machine was designed in the 20s and so you can understand there may be some draw backs in the design as compared to today. But if you got a piece of 26" wide stock to dress she will eat it up. Or if you need to mill 8/4 crown 12" wide she will do that too. the RM is about capacity in a small foot print.

The roller are greased ball bearings(open) in milled aluminium boxes that you lift out of the table by letting off jam nuts. all the other bearings in the machine are Grease cups and easy to get at. the drive train is all oil bath 8 liters and is automatic. the only ball bearing are the cutter Head ,thrust post for thinkness table and bed rollers, the rest are plain and lubed in grease or oil. So all in all not a large Bearing list to buy.


jack
English machines
 
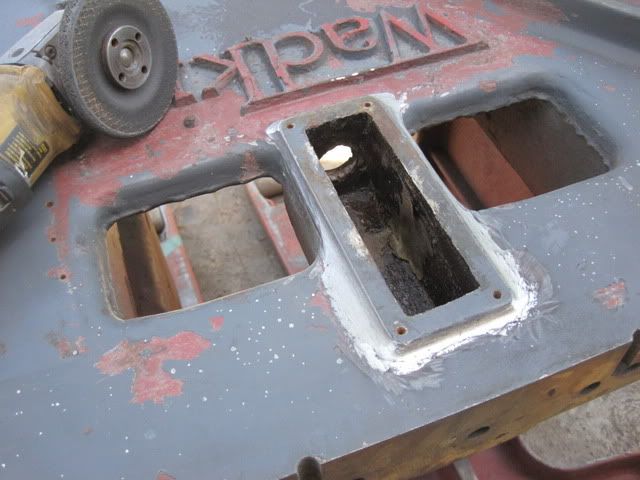
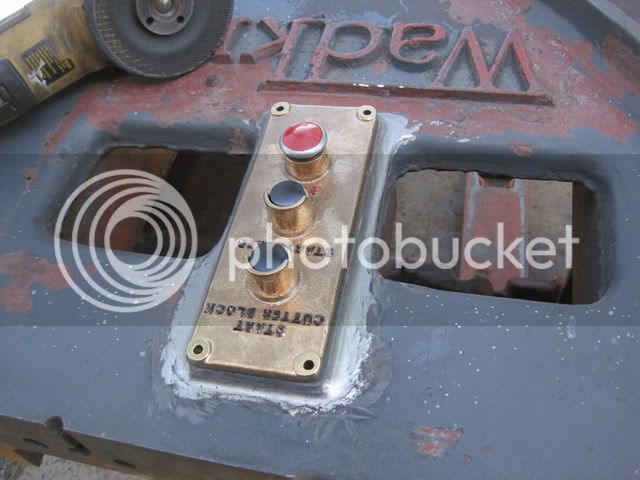
started to rain here so i had to pack things up . I did get the feed control set into the machine.

017-5.jpg


I do like the the hand painted cut in number better than the taped off ones. you can't have been drinking the night before though.:wink:
019-5.jpg


jack
English machines
 
Back
Top