I may have taken the long way round on these two, but they are great tools now and when you restore them down to the last nut and bolt you get to know how they work and how to set them up.
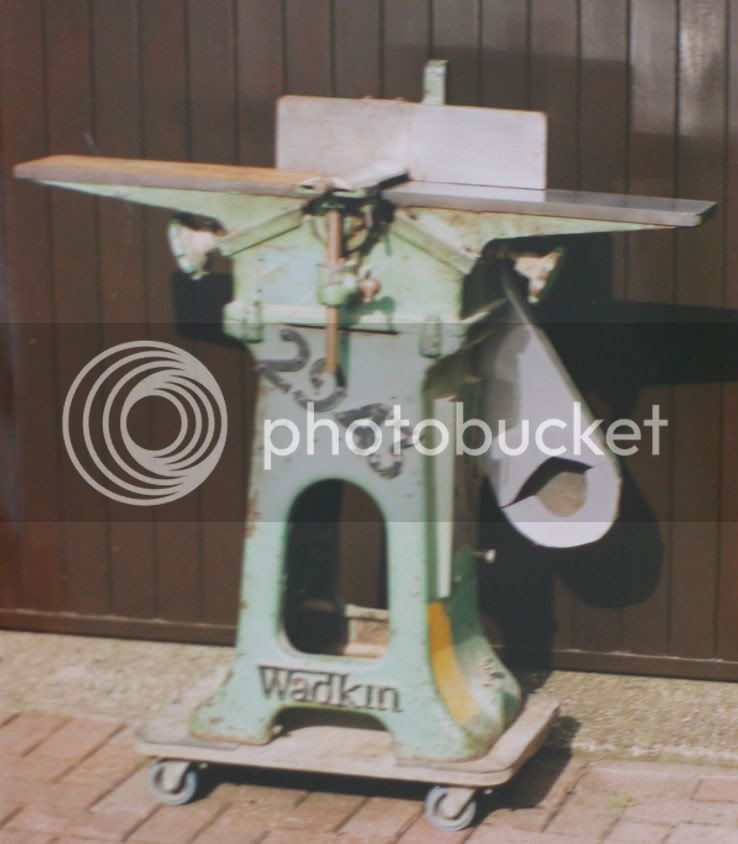
My first escapade was a Wadkin planer cost me £25!....turned out to be a Wadkin RAA 6" Planer circa 1920's, it had been well used and was eaking out a living planing reclaimed floorboards when its owner passed on. It had sat around for a while and was in a sorry state. I restored it over several months.
As I picked it up!!

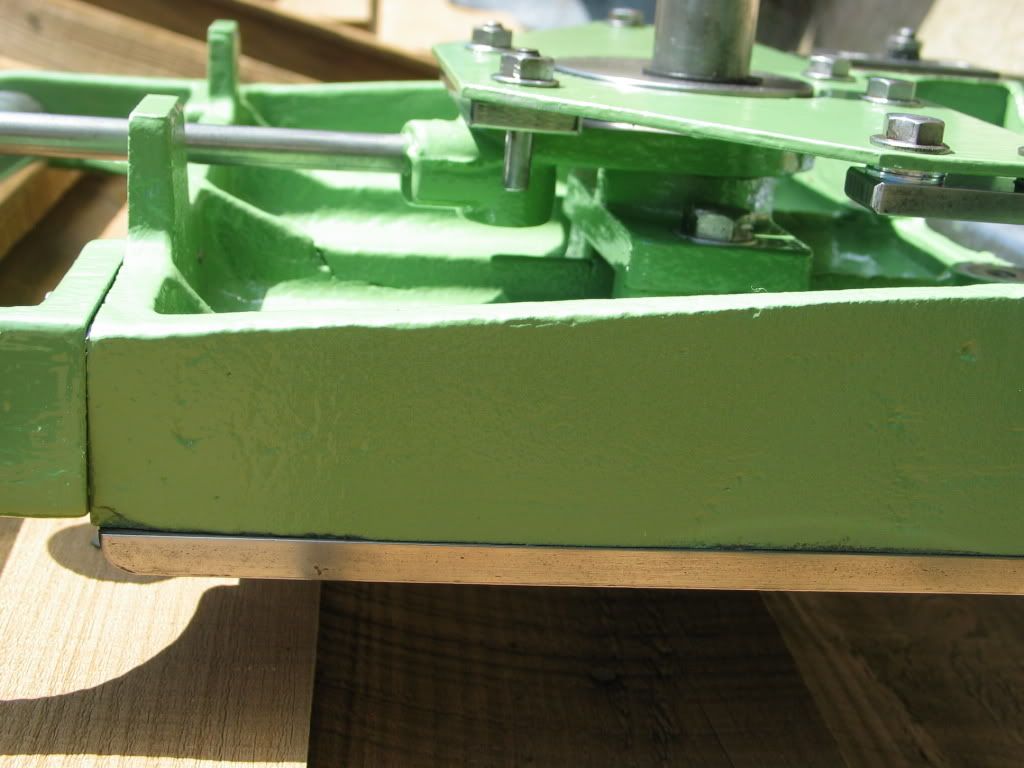
As finished, I still had to add the motor, which was a bit of a game but it now works beautifully and came with TCT blades which only needed sharpening.

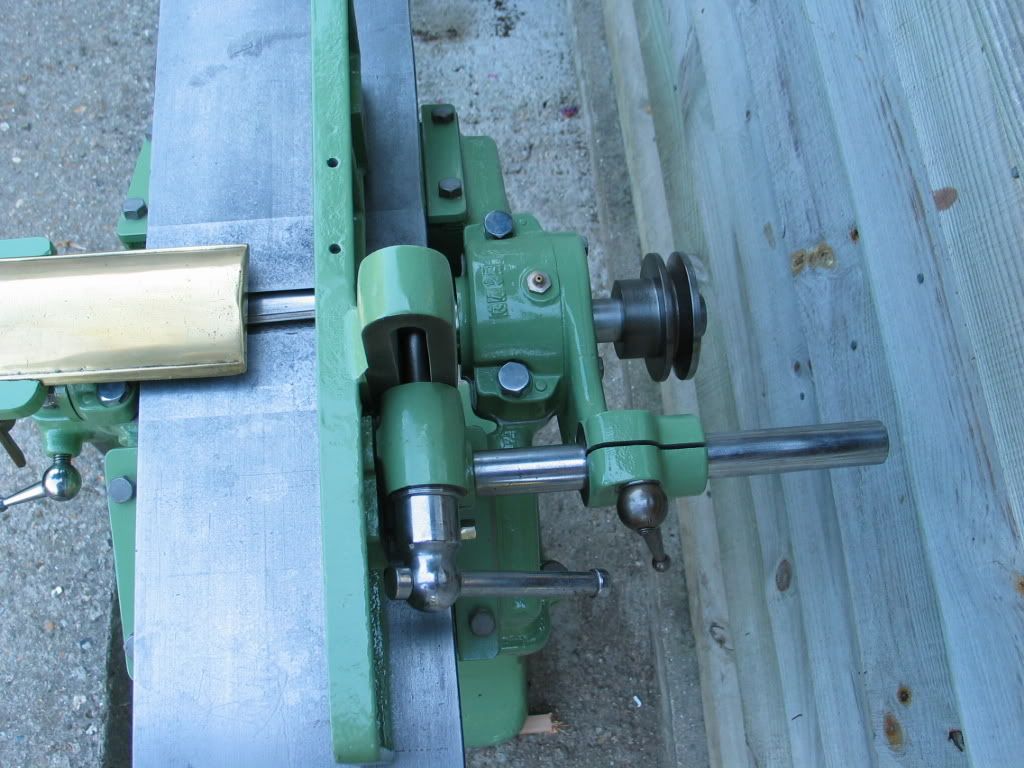
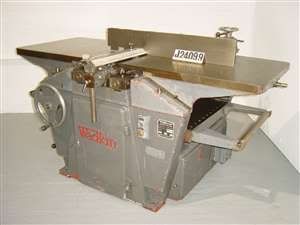
You would have though I would have learned, but no, I set my mind on a planer thicknesser and why not a Wadkin BAOS....no matter that it weighed the thick end of 750lbs and needed 3 phase (that I didn't have!!).
I wasn't ready to part with £1000 plus so I bought another fixer upper from a company in Leigh, Lancs for £400. I split the planer/thicknesser on site and collected it in two parts (still heavy). The first journey south was the day of the big snowstorm a few years back and the usual 3 1/2 hrs took me 11 hrs, boy was I glad of the extra weight in the back of the car, the A34 was like a snowy wasteland.
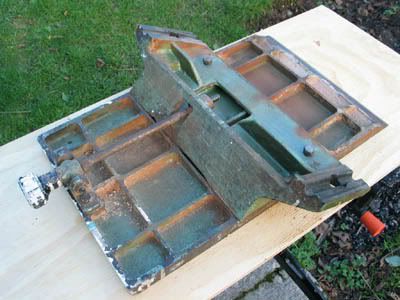
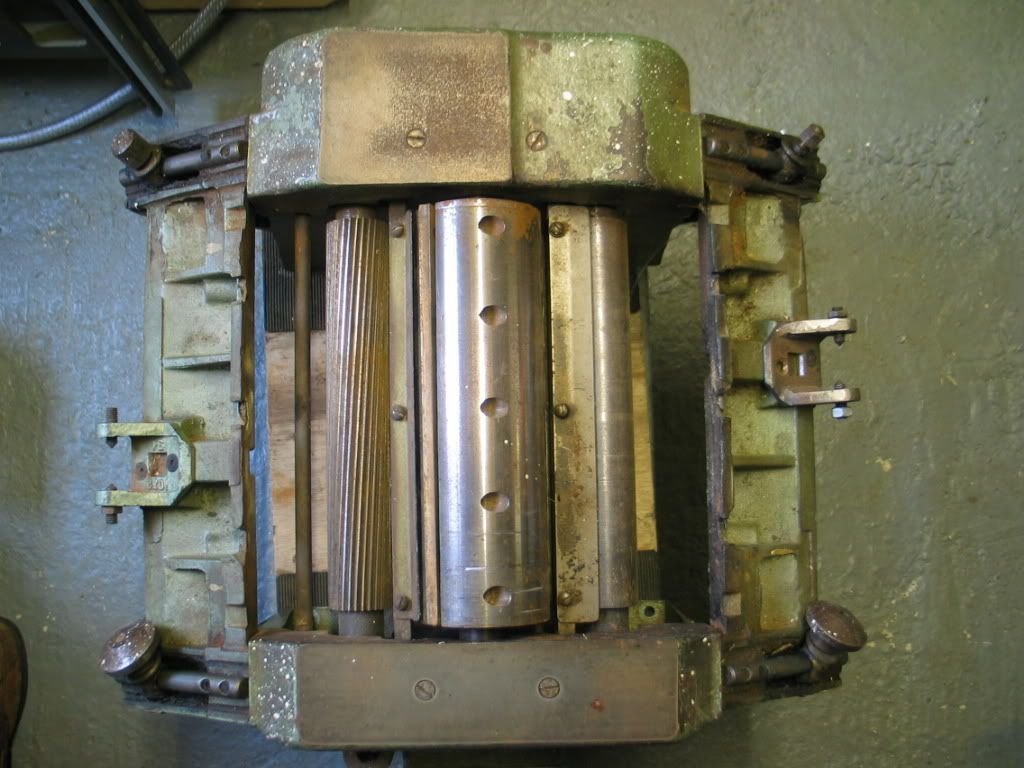
Same story really, it started here
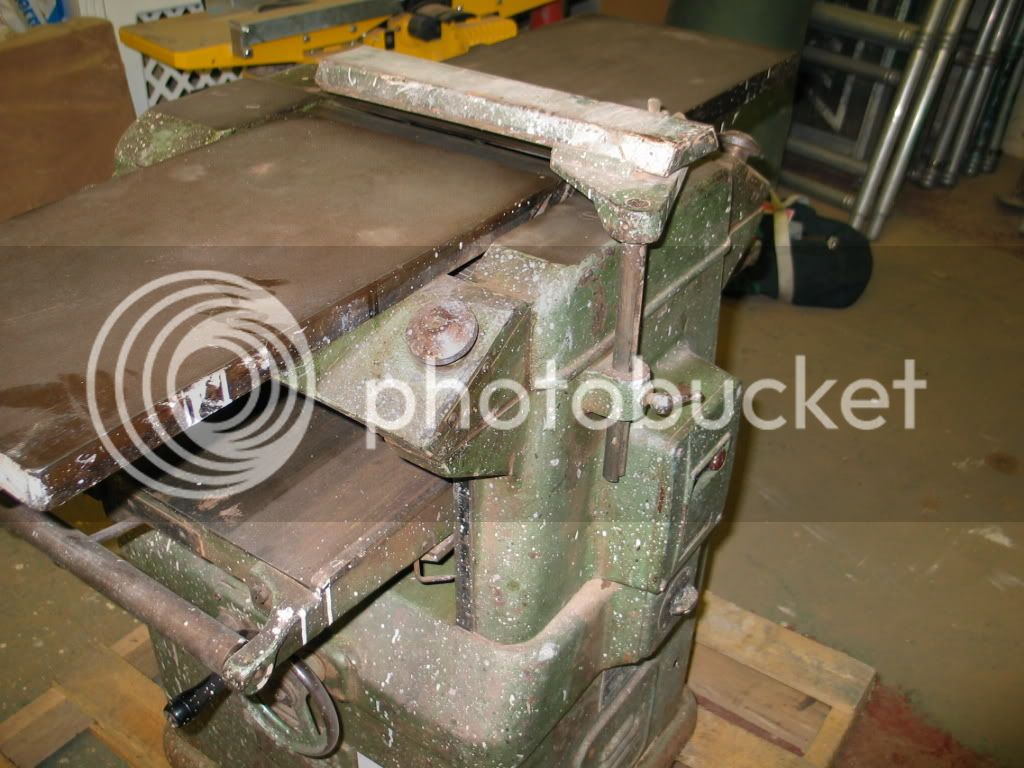
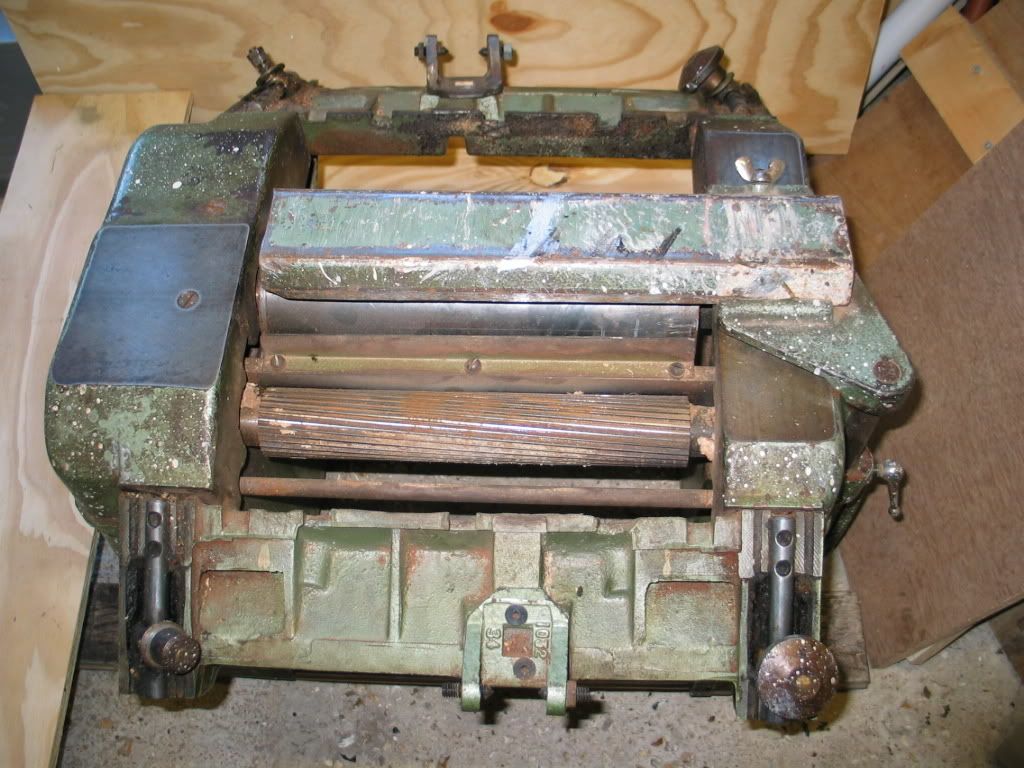
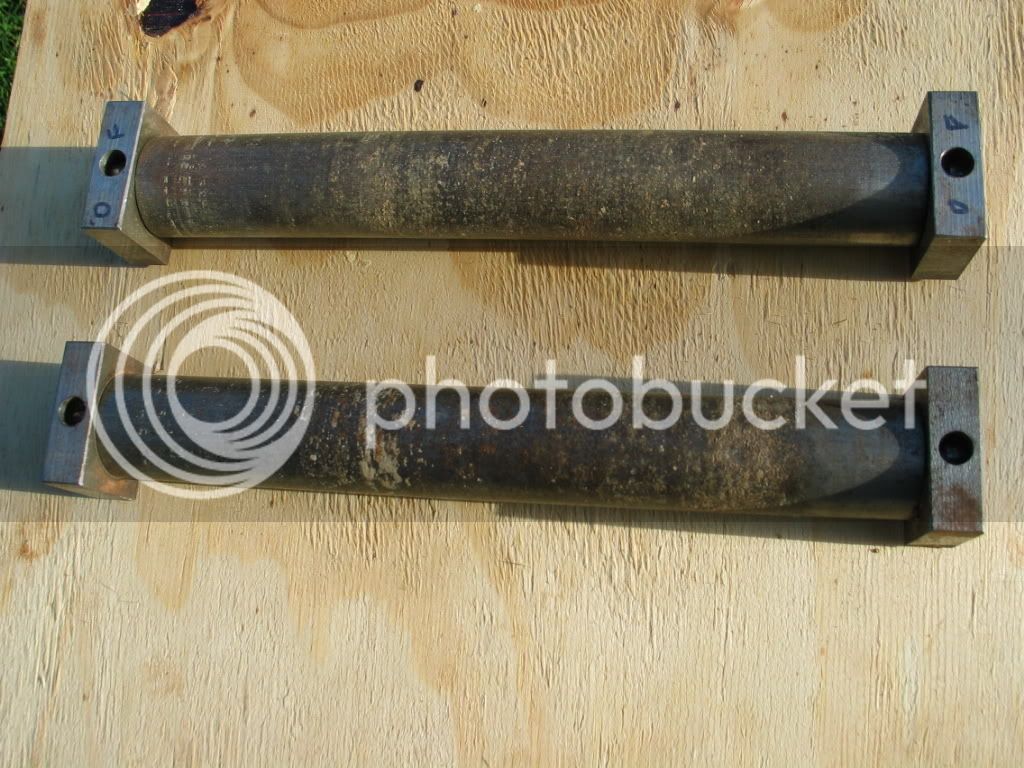
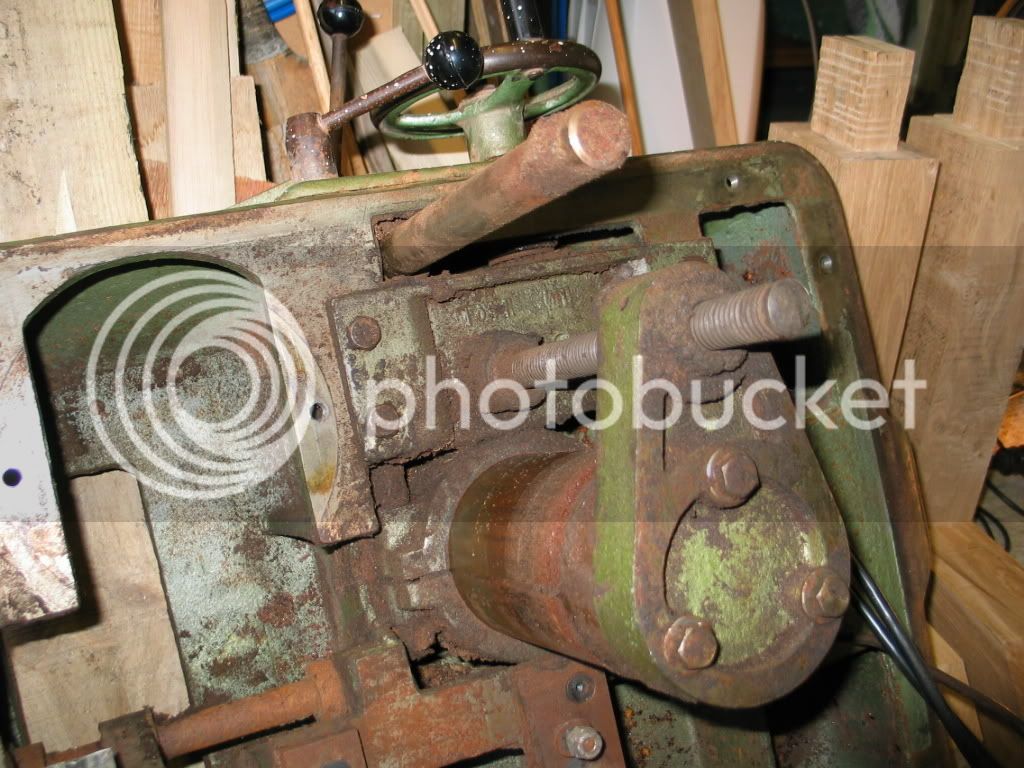
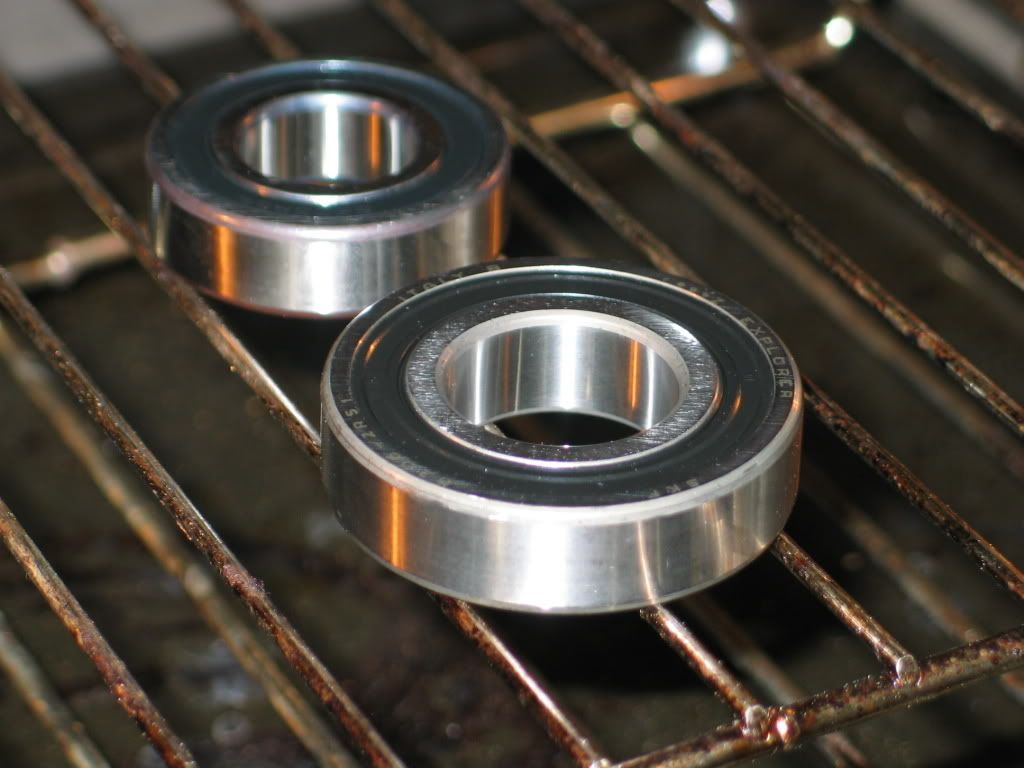
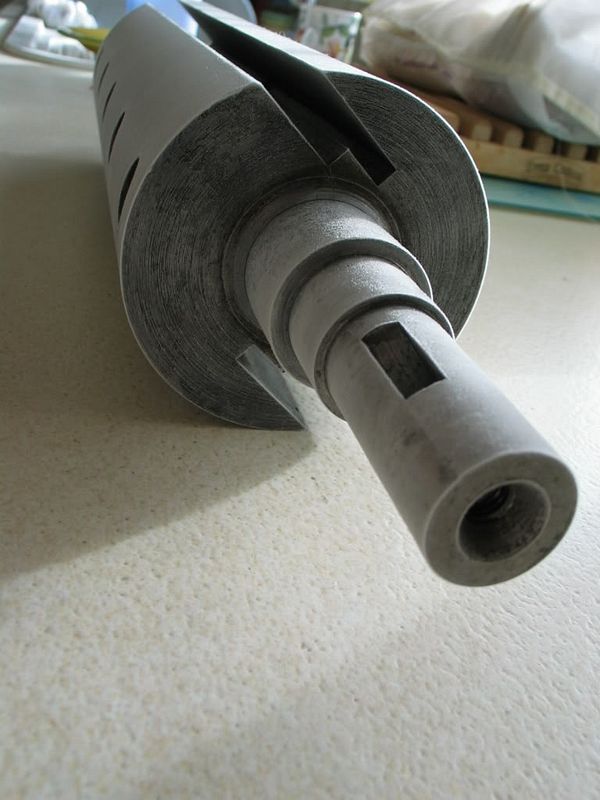
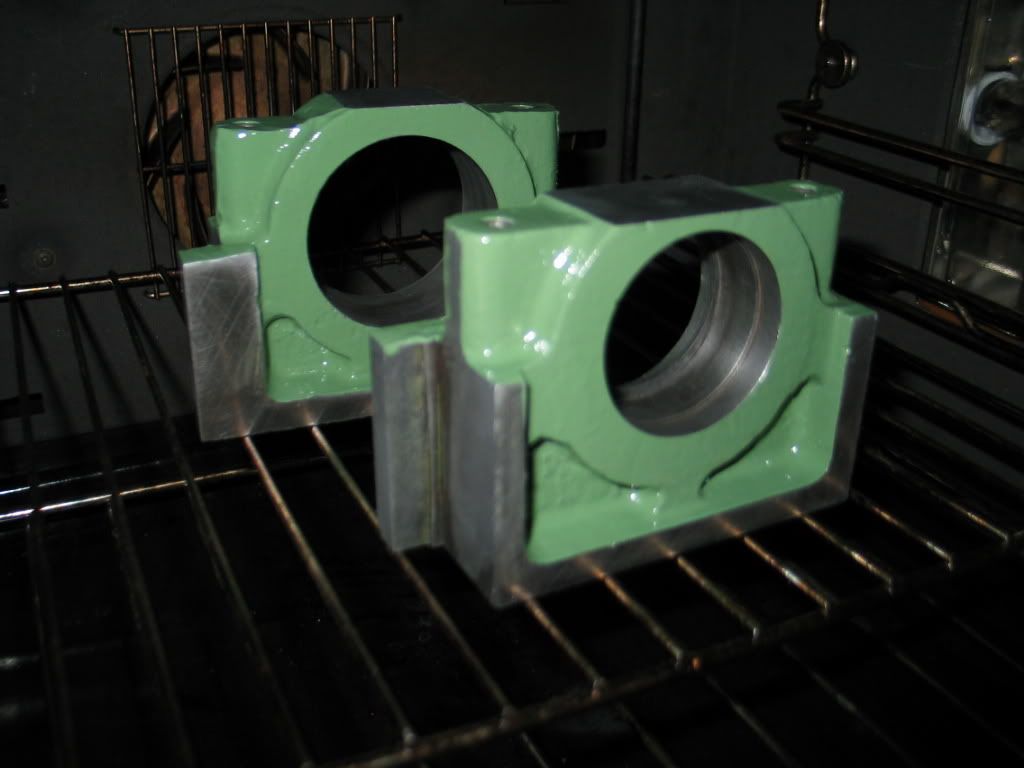
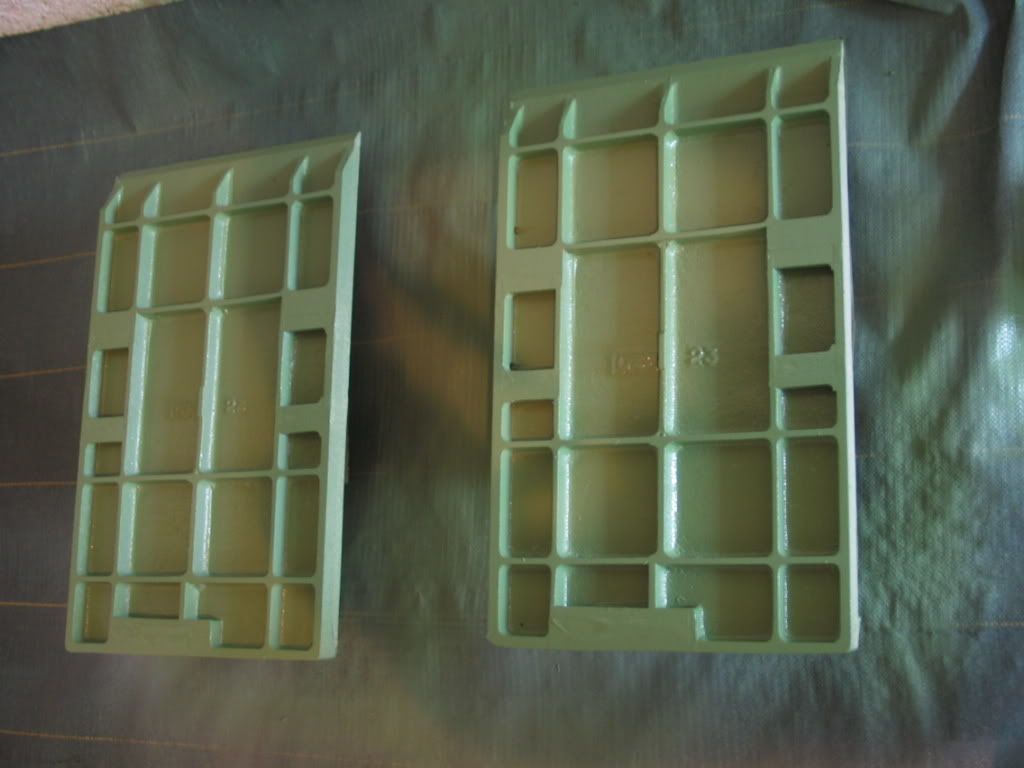
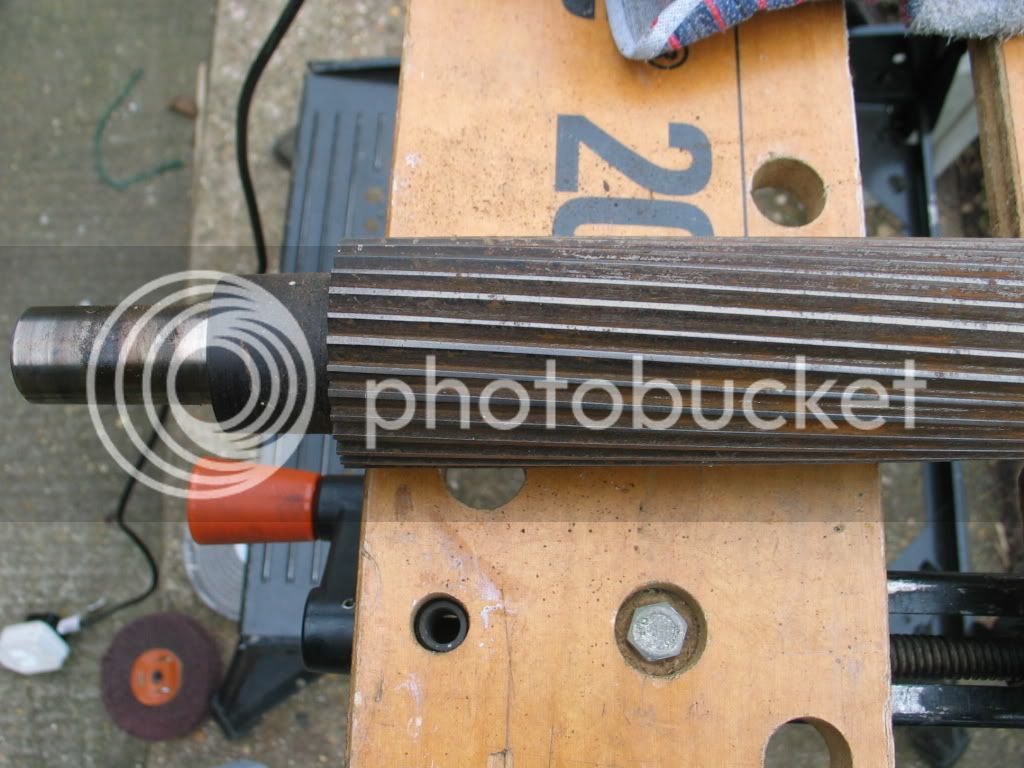
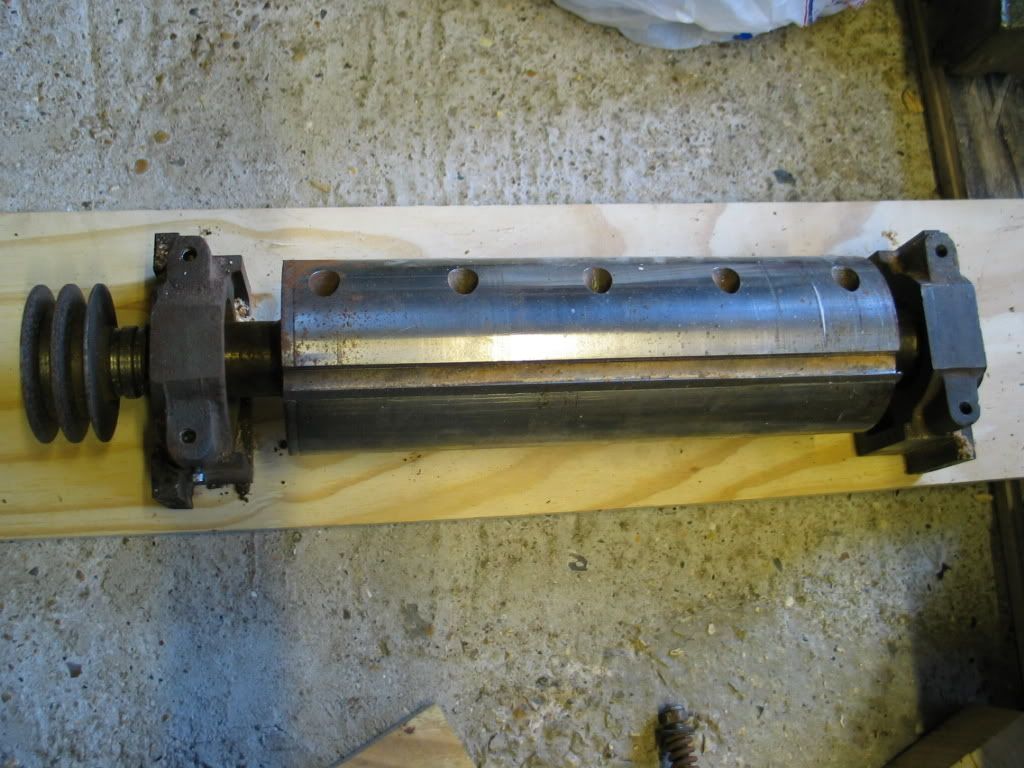
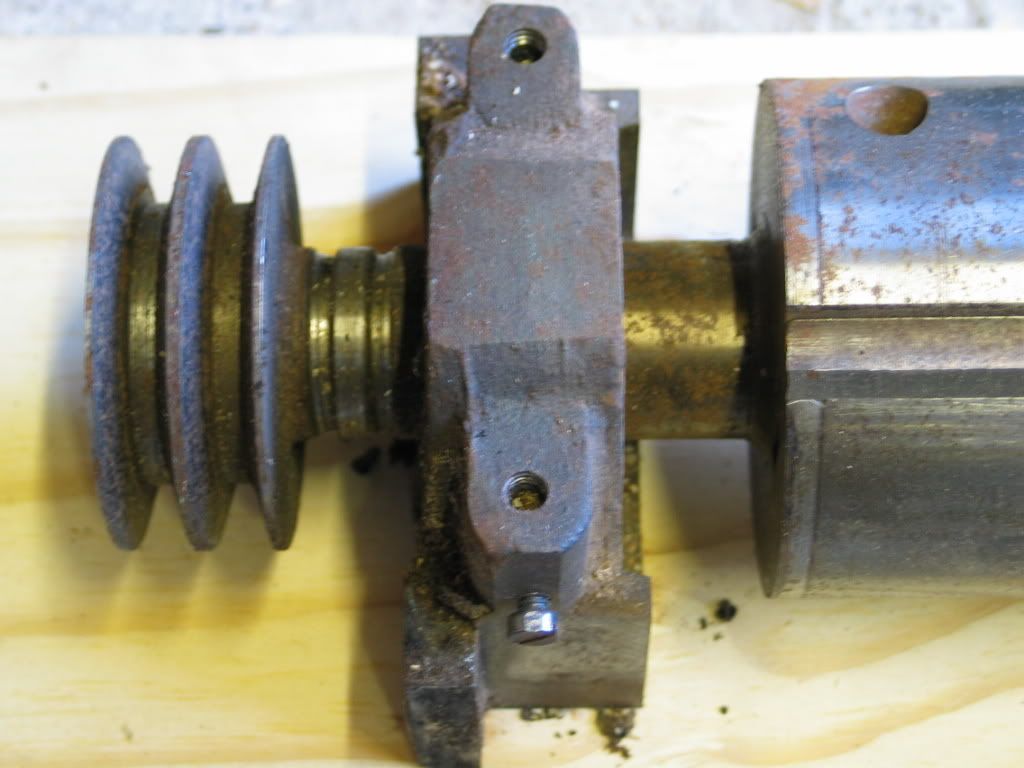
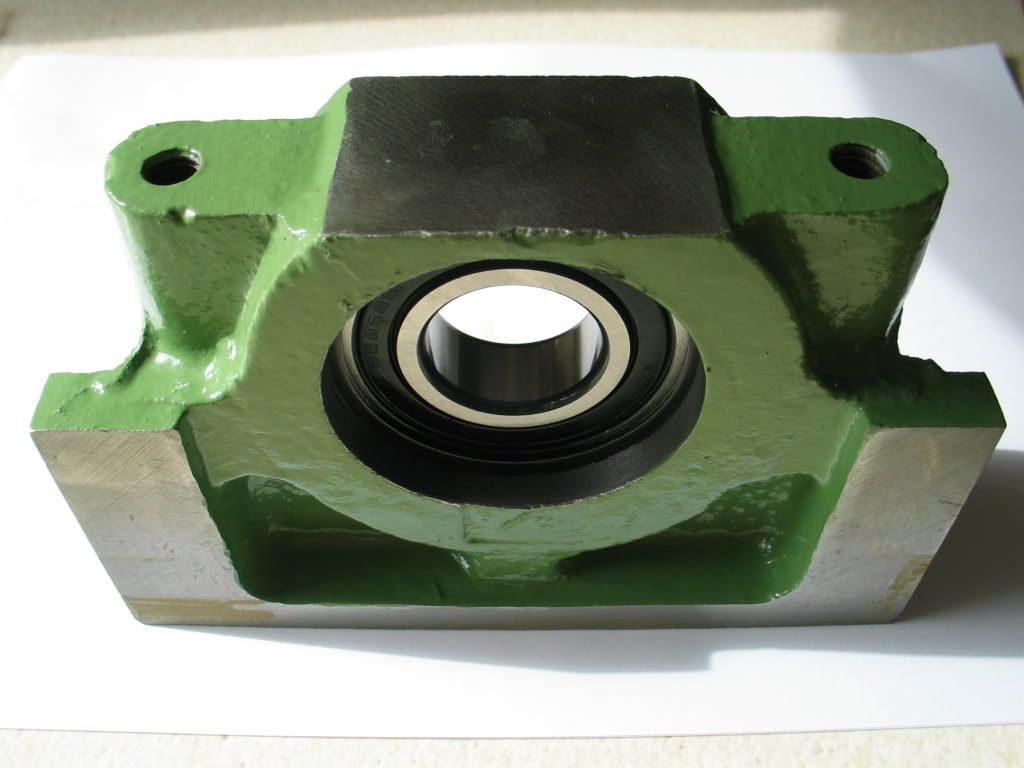
Went through this....down to every last nut and bolt
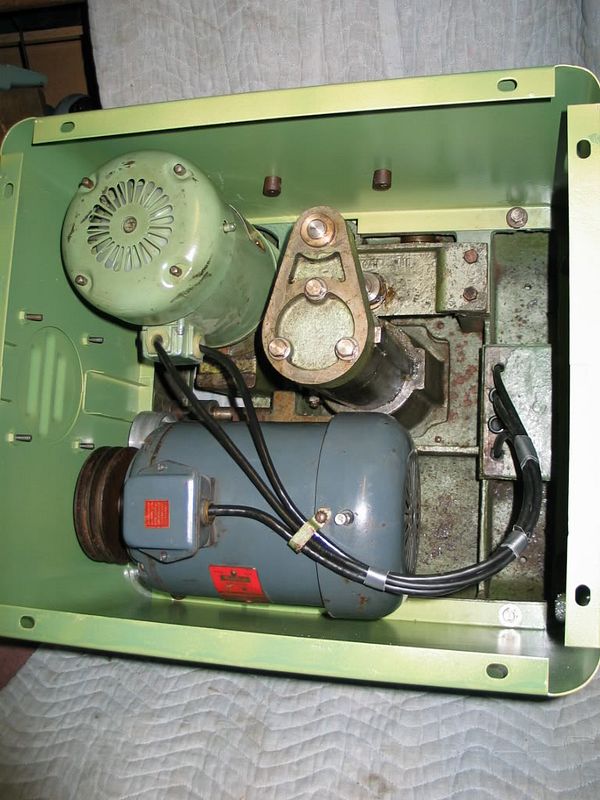
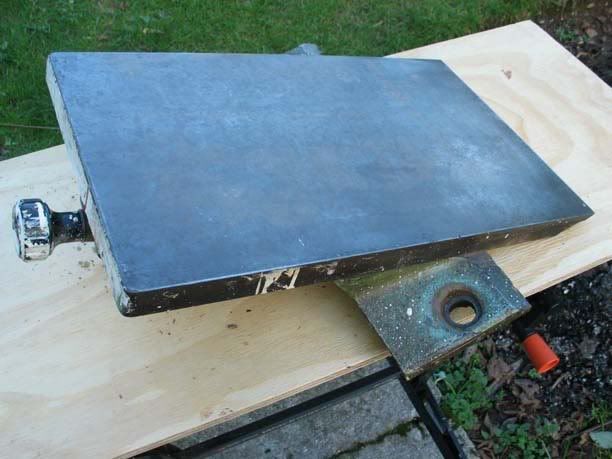
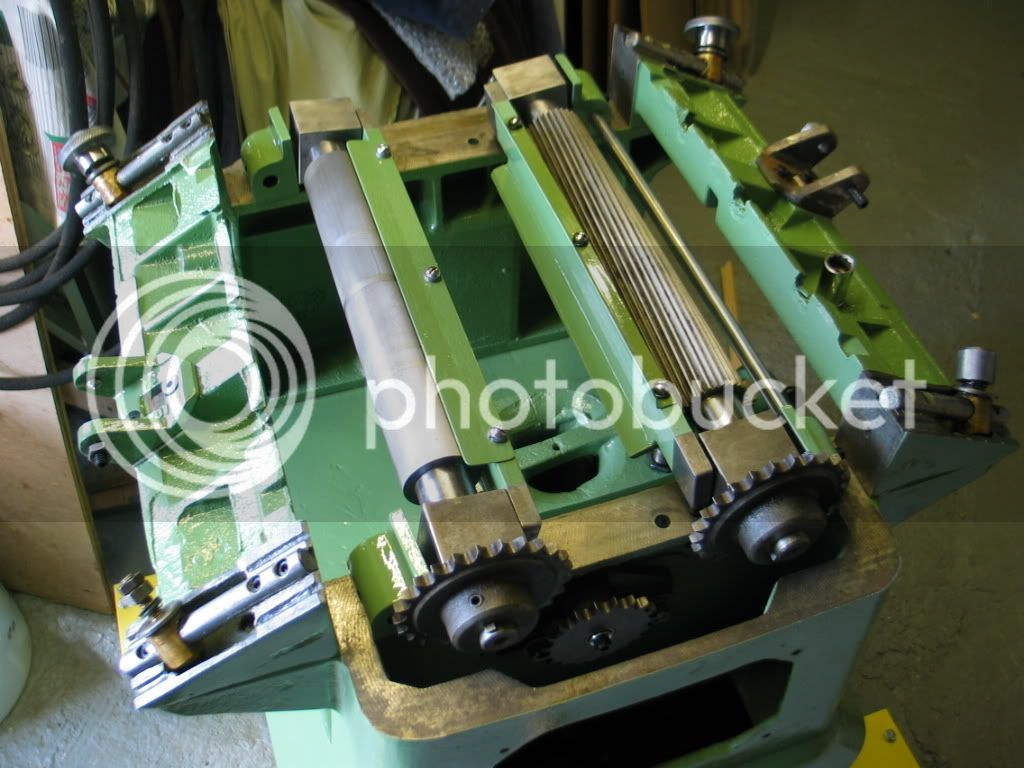
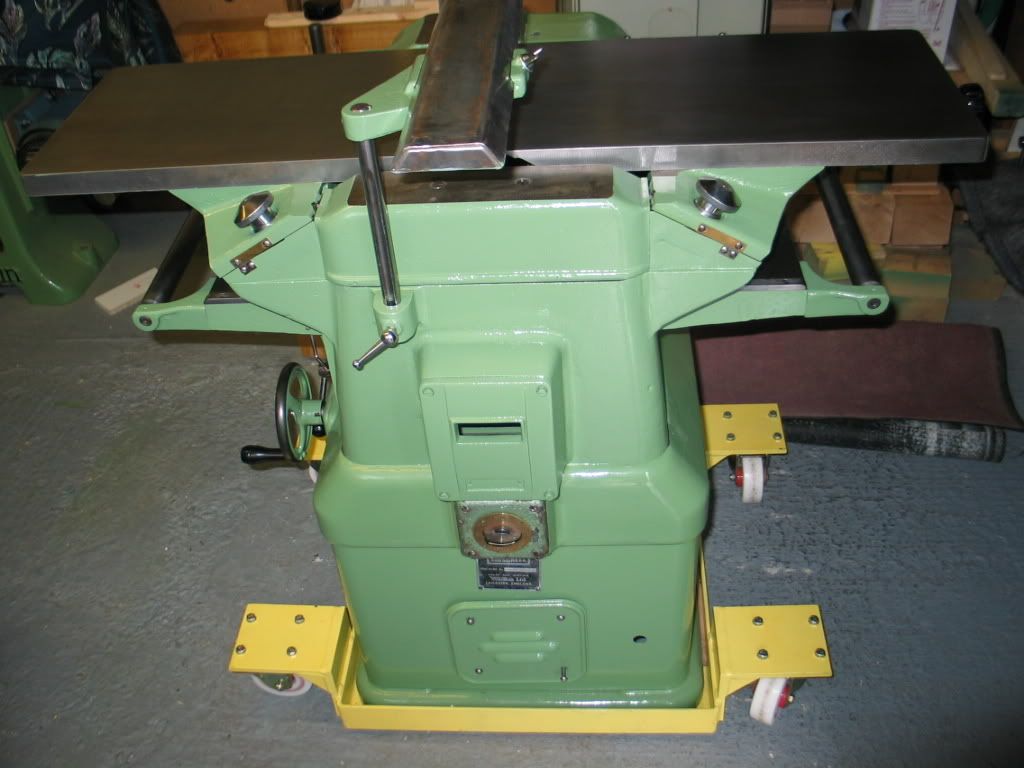
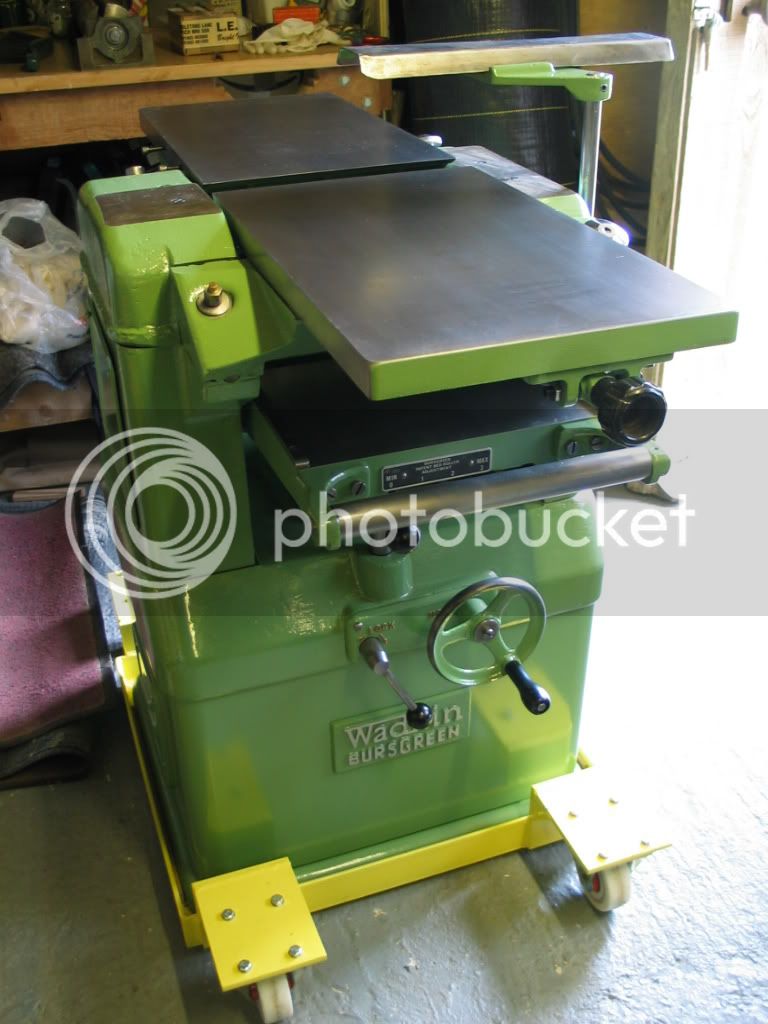
and ended up looking like this, the fence still has to be restored as I wanted to start using it after seeing it in bits for a year or so. Oh and I built a fully balanced rotary phase converter along the way...thank goodness for the internet!!
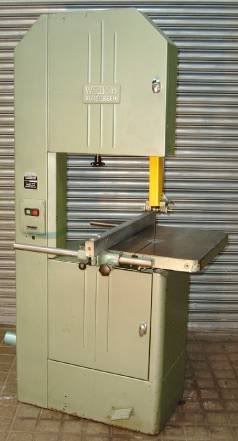
It makes short work of oak and is busy planing and thicknessing lots of hard maple for a new workbench. Boy these things create lots of wood shavings!!
Hope this is useful and inspires others to look at Wadkin machines, they are usually very reasonable to acquire through eBay and with a little mechanical inclination, they are easy to look after. Wadkin themselves have been very helpful whenever I have aksed them for anything.
My first escapade was a Wadkin planer cost me £25!....turned out to be a Wadkin RAA 6" Planer circa 1920's, it had been well used and was eaking out a living planing reclaimed floorboards when its owner passed on. It had sat around for a while and was in a sorry state. I restored it over several months.
As I picked it up!!
As finished, I still had to add the motor, which was a bit of a game but it now works beautifully and came with TCT blades which only needed sharpening.
You would have though I would have learned, but no, I set my mind on a planer thicknesser and why not a Wadkin BAOS....no matter that it weighed the thick end of 750lbs and needed 3 phase (that I didn't have!!).
I wasn't ready to part with £1000 plus so I bought another fixer upper from a company in Leigh, Lancs for £400. I split the planer/thicknesser on site and collected it in two parts (still heavy). The first journey south was the day of the big snowstorm a few years back and the usual 3 1/2 hrs took me 11 hrs, boy was I glad of the extra weight in the back of the car, the A34 was like a snowy wasteland.
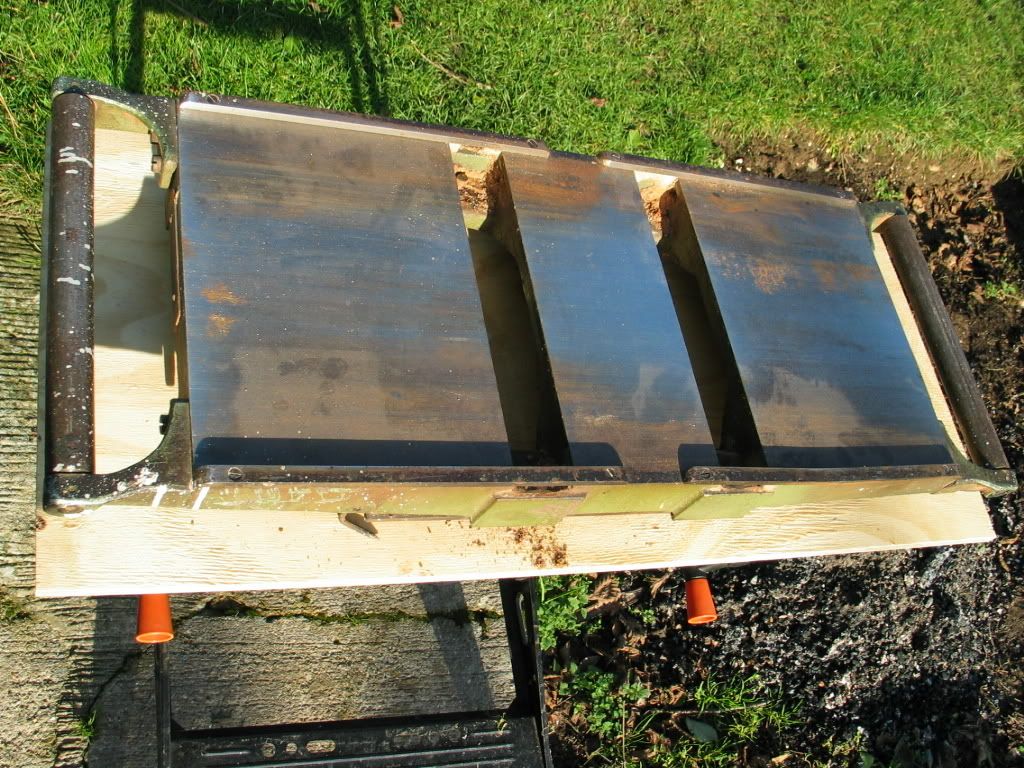
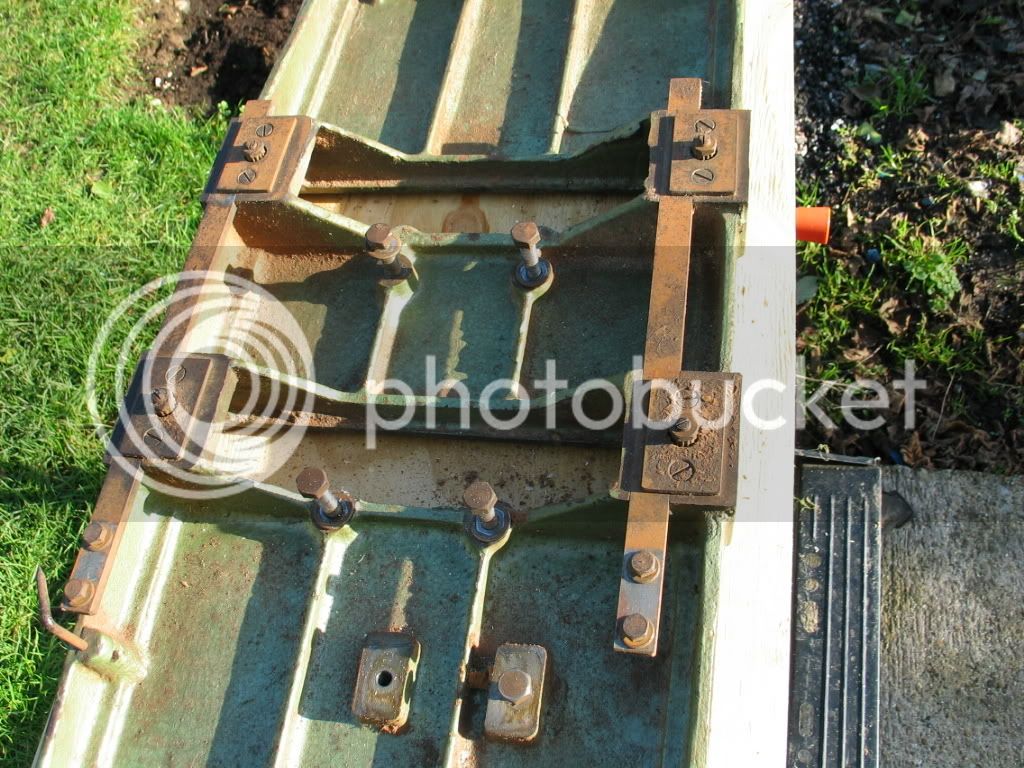
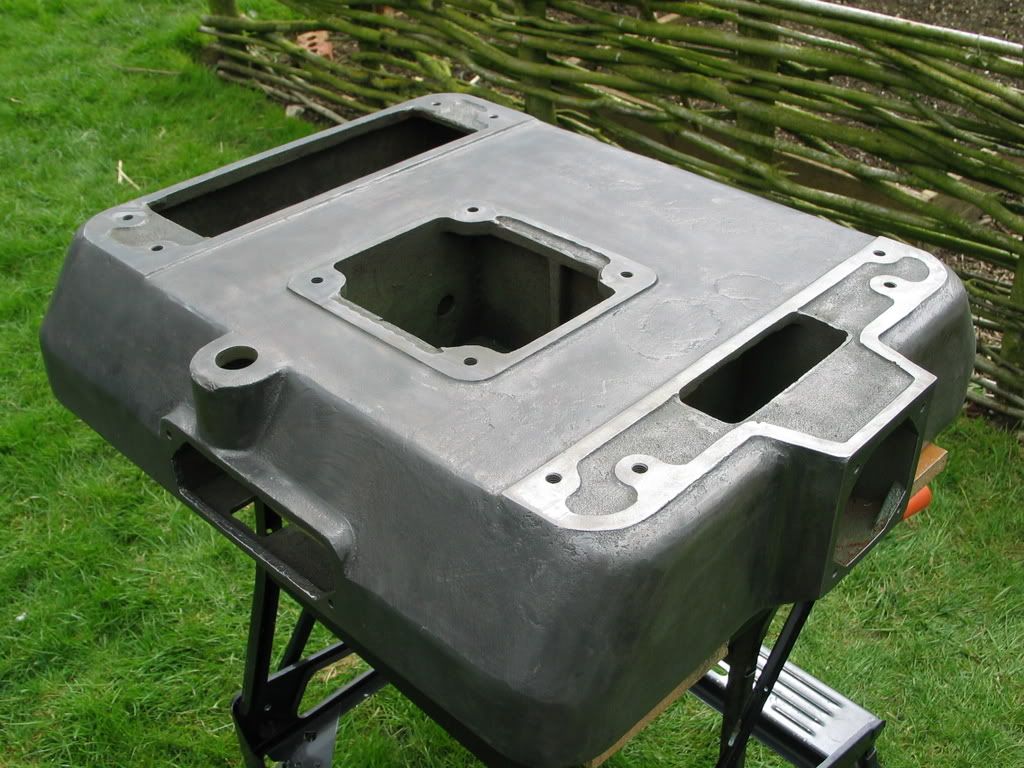
Same story really, it started here
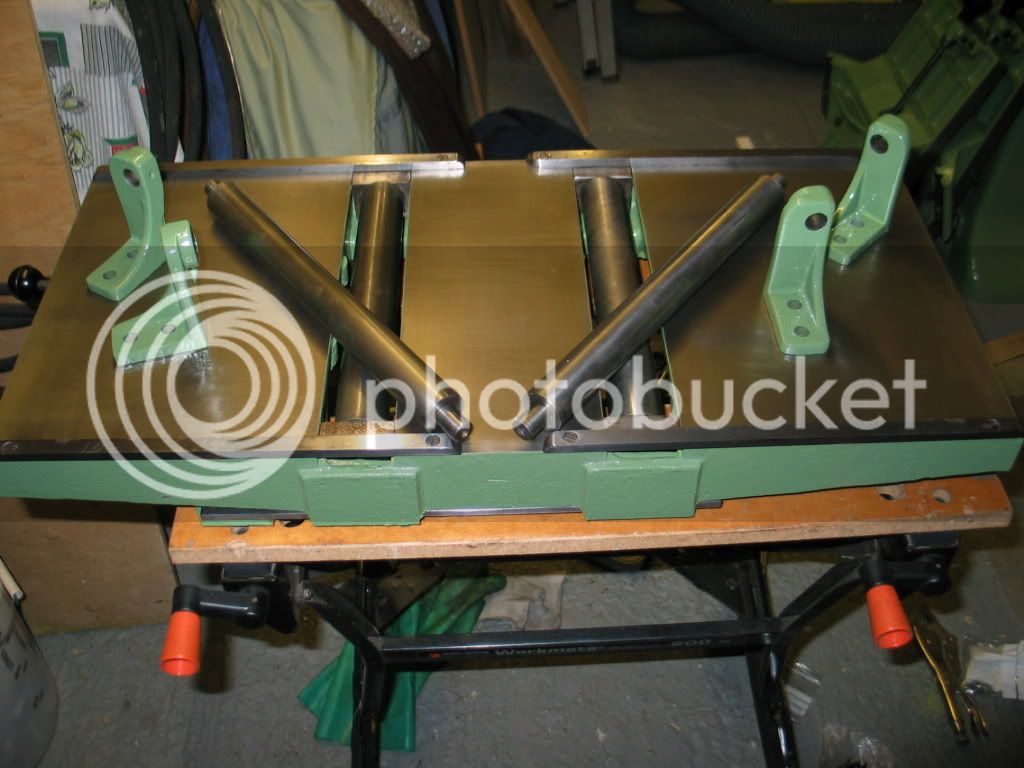
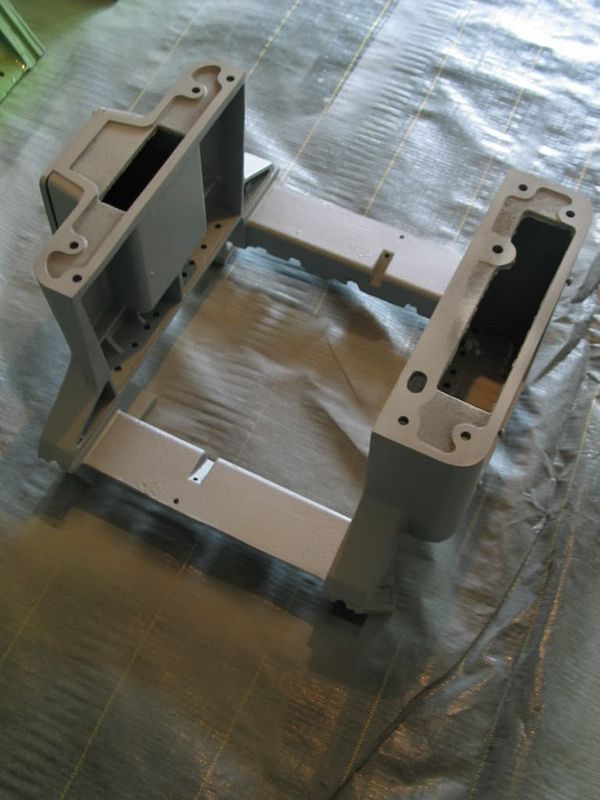
Went through this....down to every last nut and bolt
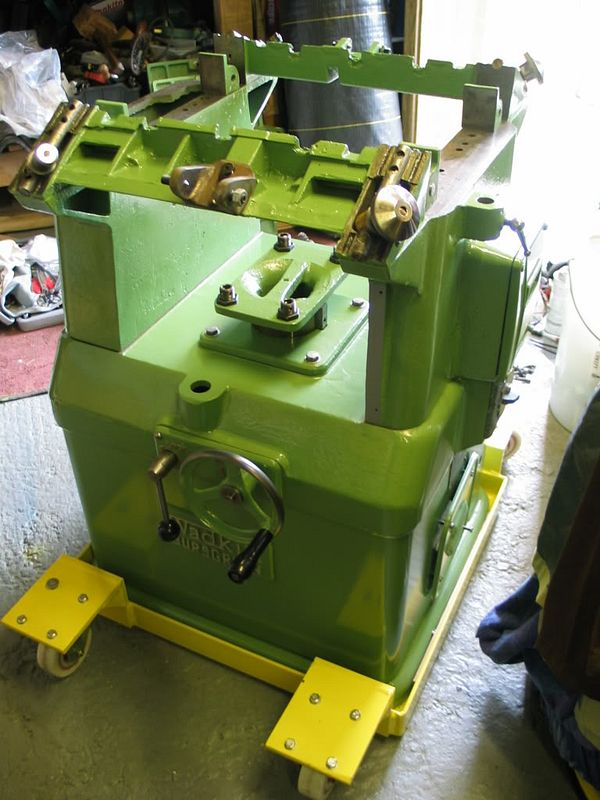
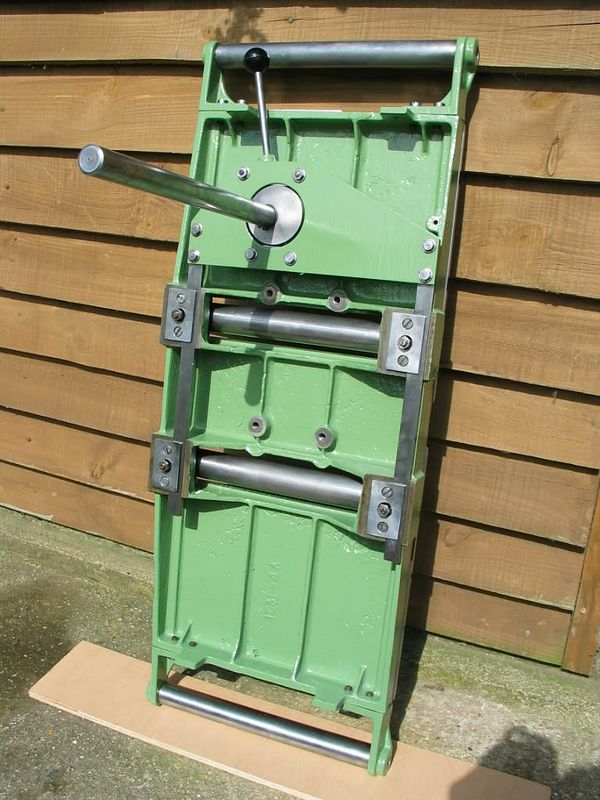
and ended up looking like this, the fence still has to be restored as I wanted to start using it after seeing it in bits for a year or so. Oh and I built a fully balanced rotary phase converter along the way...thank goodness for the internet!!
It makes short work of oak and is busy planing and thicknessing lots of hard maple for a new workbench. Boy these things create lots of wood shavings!!
Hope this is useful and inspires others to look at Wadkin machines, they are usually very reasonable to acquire through eBay and with a little mechanical inclination, they are easy to look after. Wadkin themselves have been very helpful whenever I have aksed them for anything.