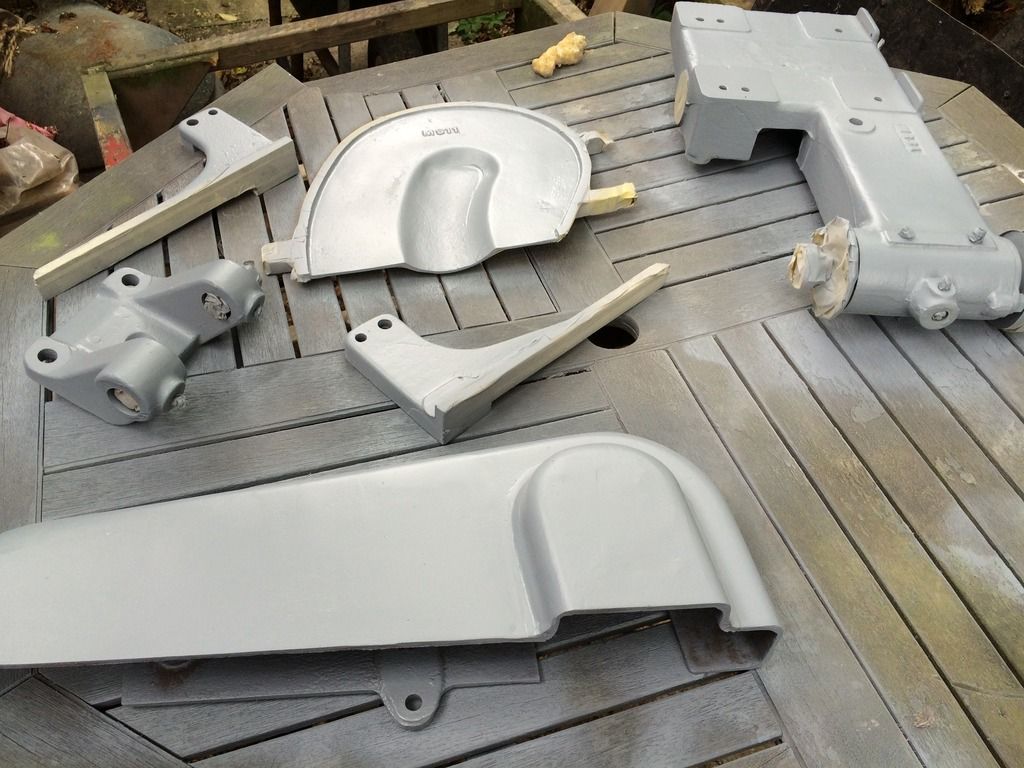
Wadkin mitre saw restoration

UKworkshop.co.uk

Help Support UKworkshop.co.uk:

This site may earn a commission from merchant affiliate links, including eBay, Amazon, and others.
Shiny indeed! I've never polished an expanse of aluminium like that, any idea of how long that took you?
 
Ed it didn't take that long to do the actual polishing, 45mins maybe. The long part was all the prep work, fettling the casting and going through the grits. All that took about 2 hrs. That's just for this side of the guard. I find doing this kind of stuff quite relaxing.
 
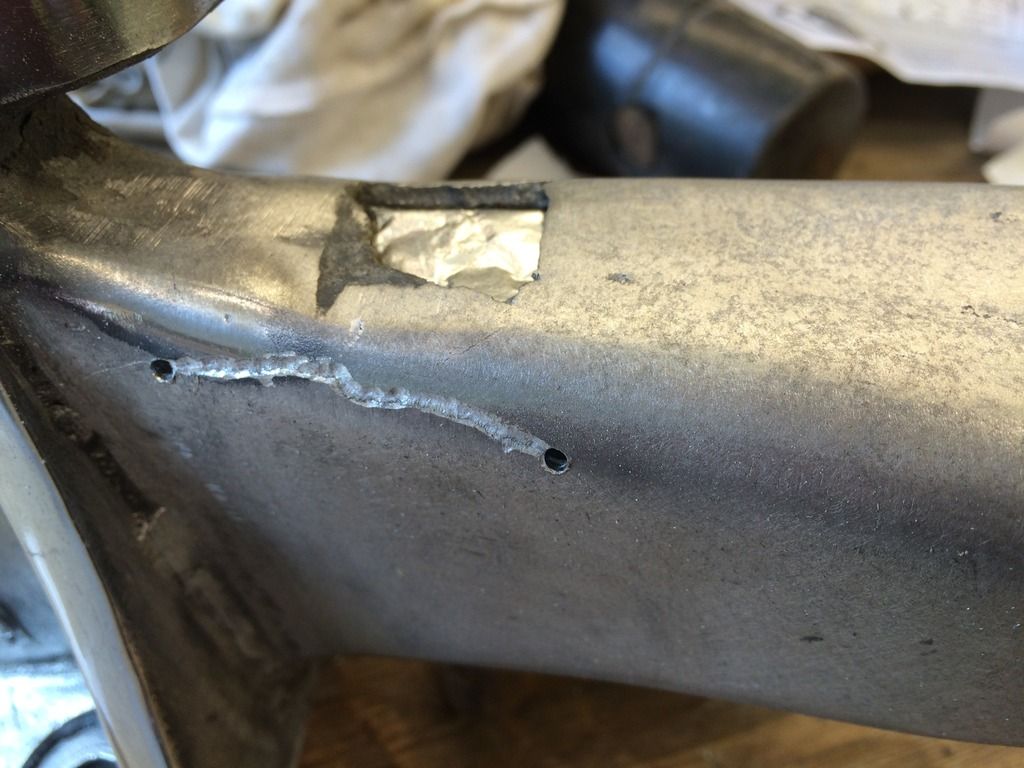
I got round to fixing the hole and crack. drilled holes at either end and V'd out a bit for the filler to get hold. To keep the filler in place I stuck some foil tab on the inside.


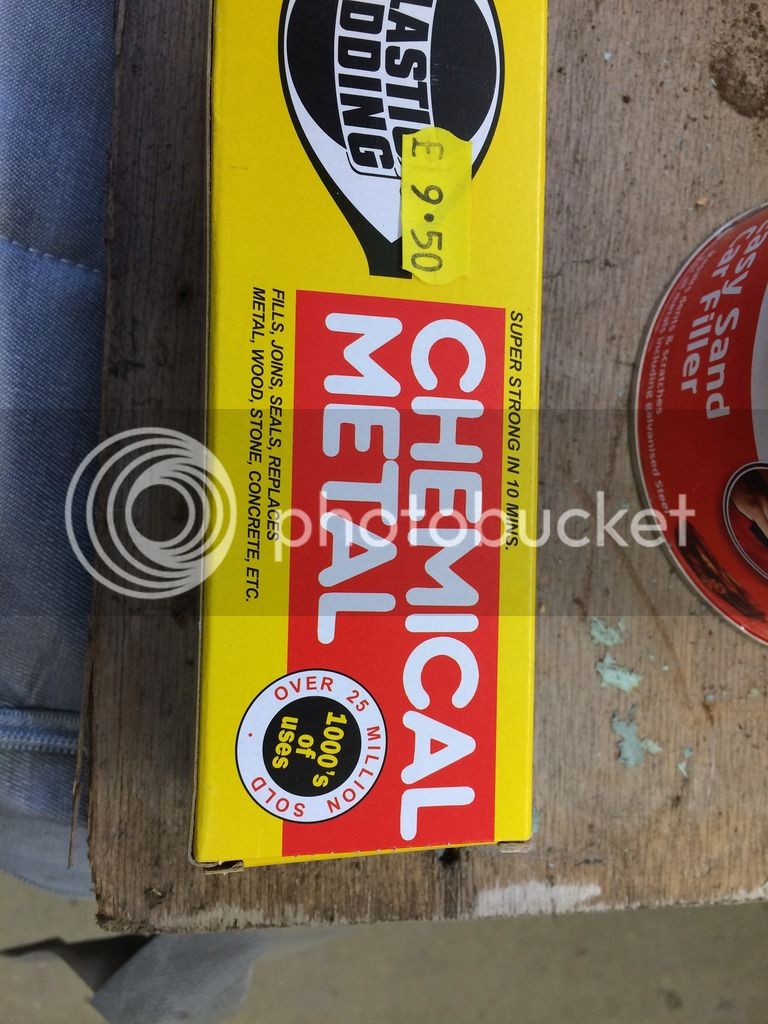
This is the stuff I got, I was going to use epoxy with ali powder in it but found this in a motor factors.


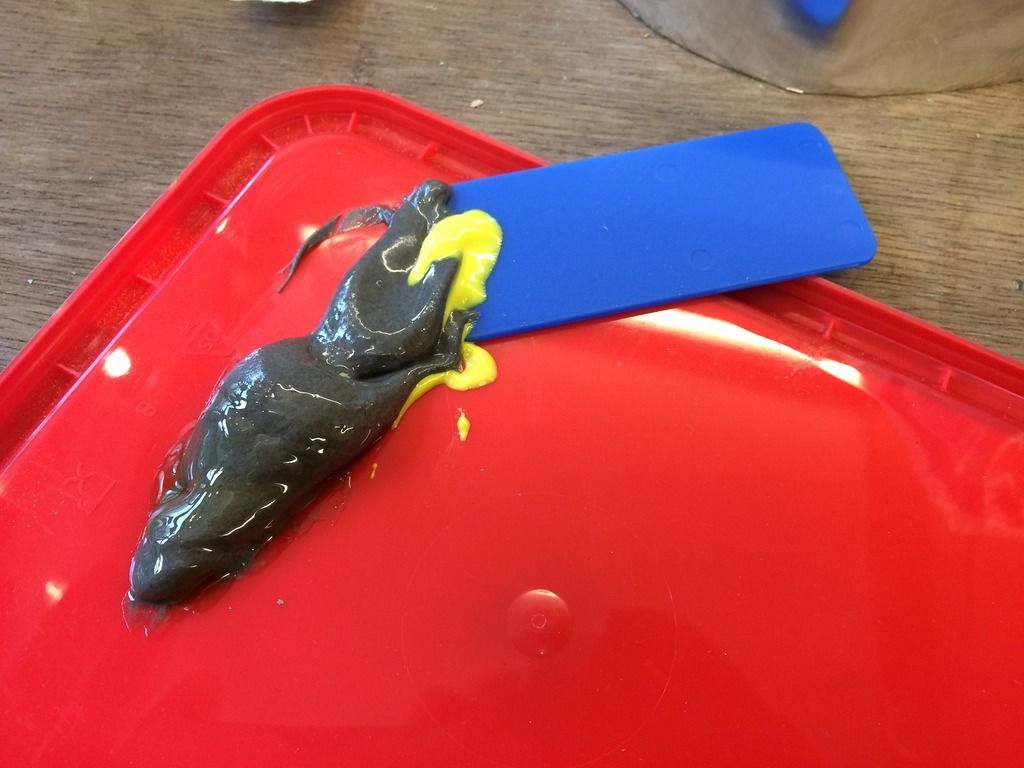
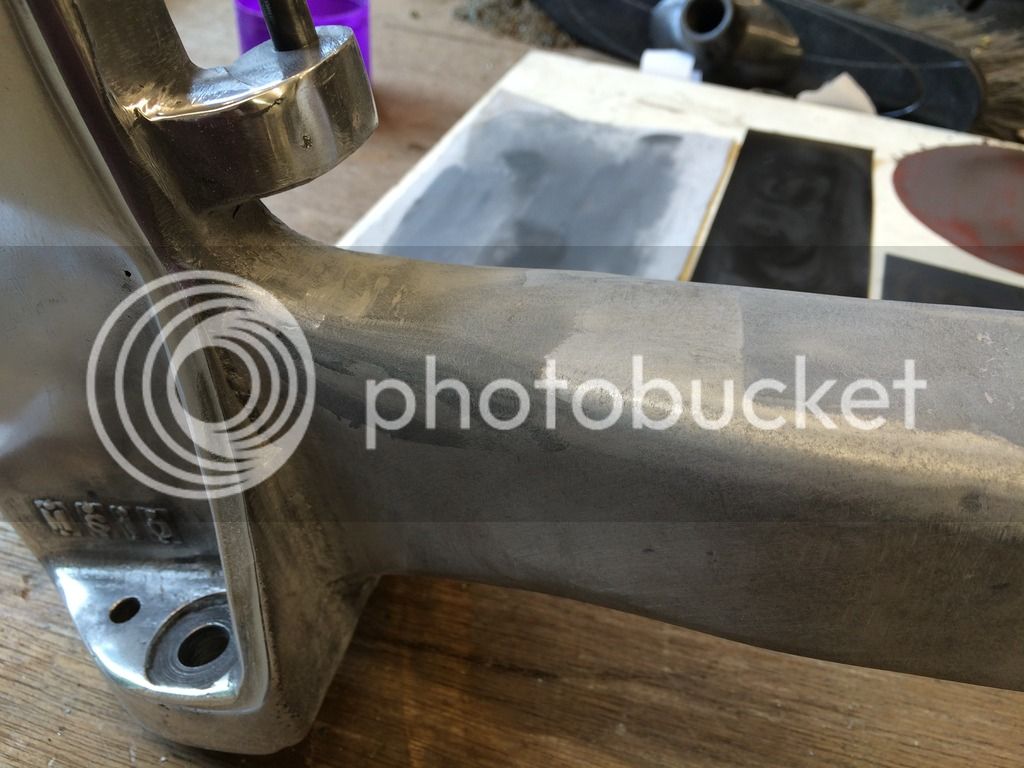
It goes off in 10 mins and sands really well.


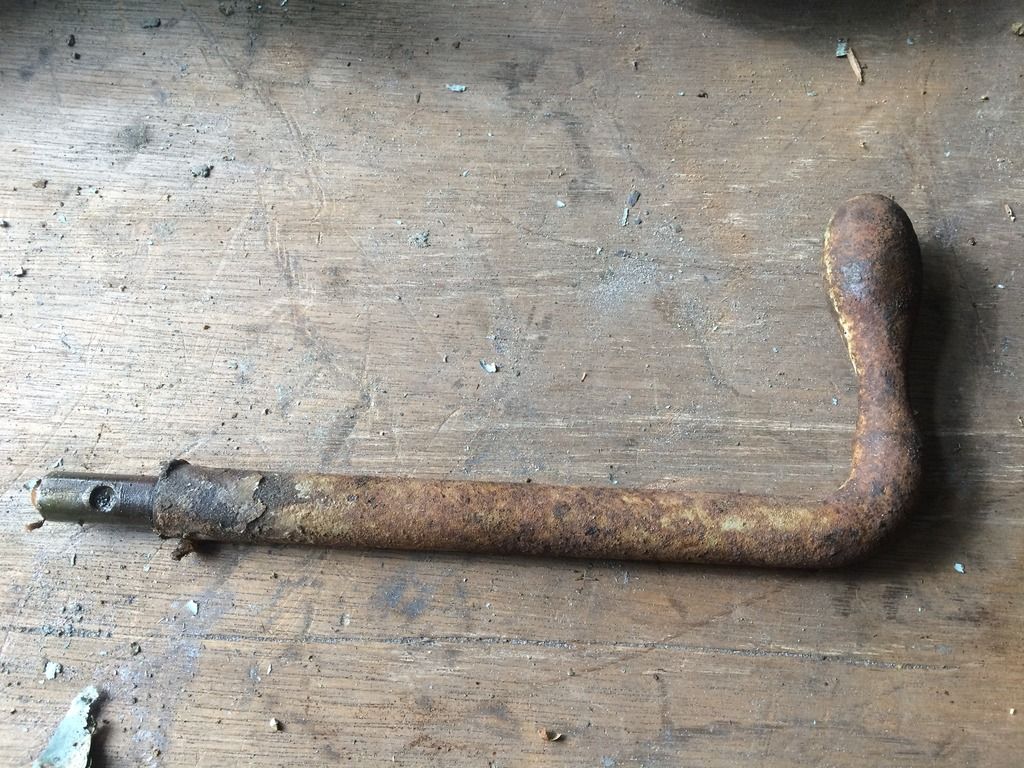
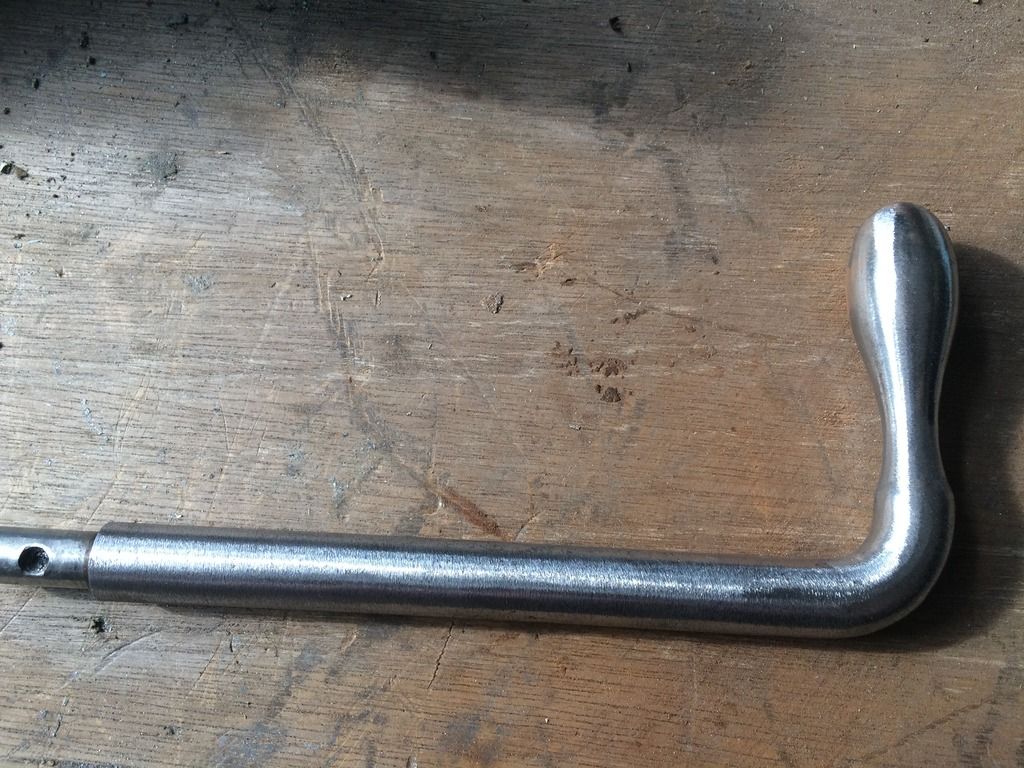
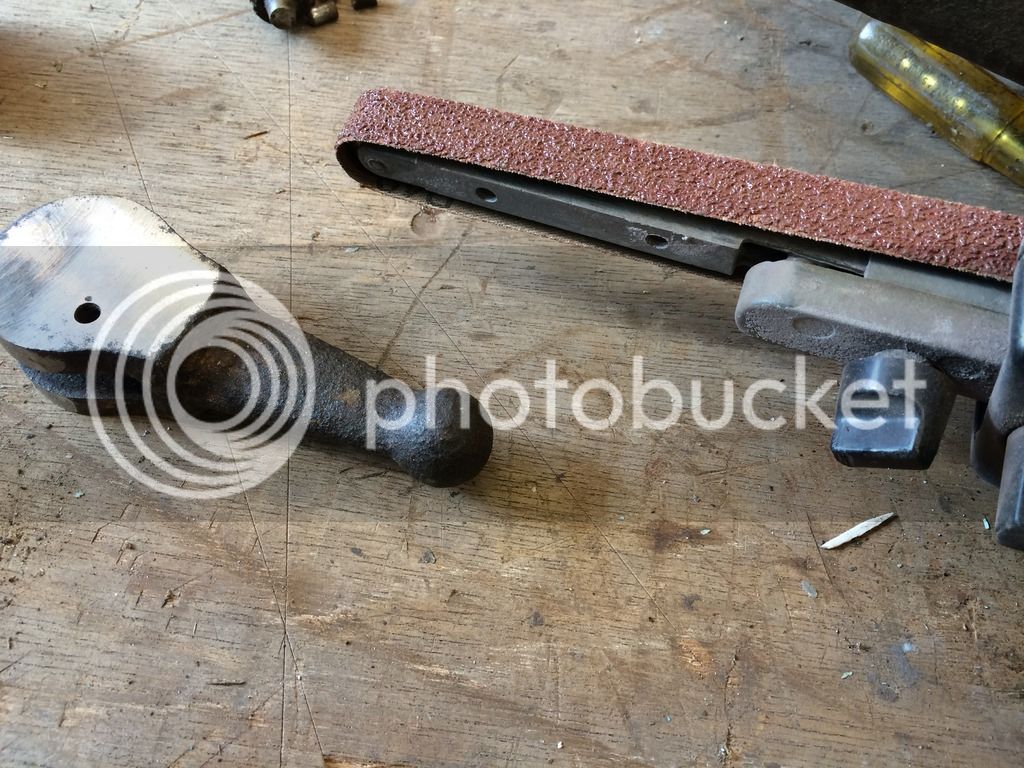
Time for some crust removal. Most things on this are pretty pitted so instead of a wire wheel I went straight for the power file and a 40 grit belt. Then went through the grits before buffing with compound.


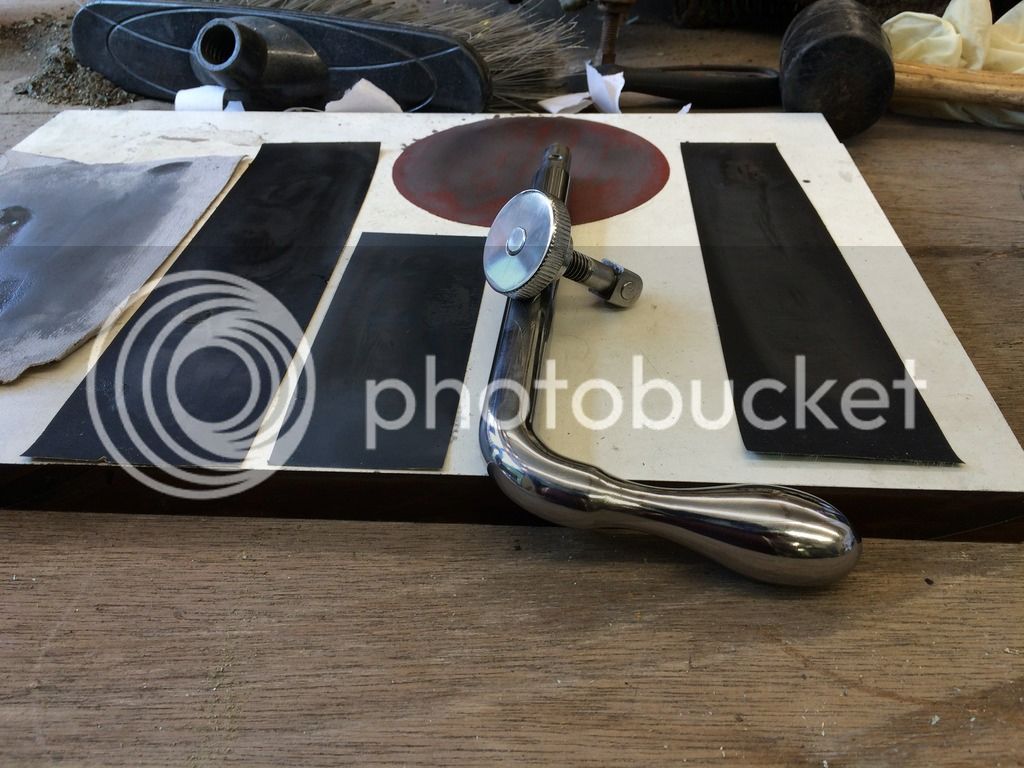
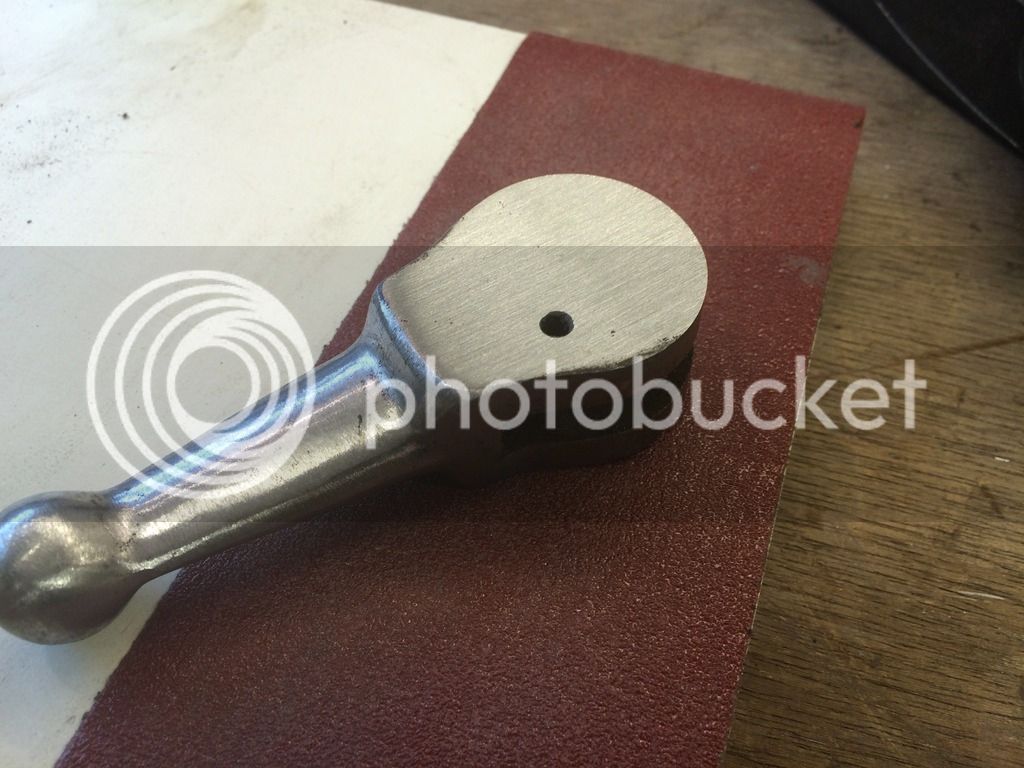
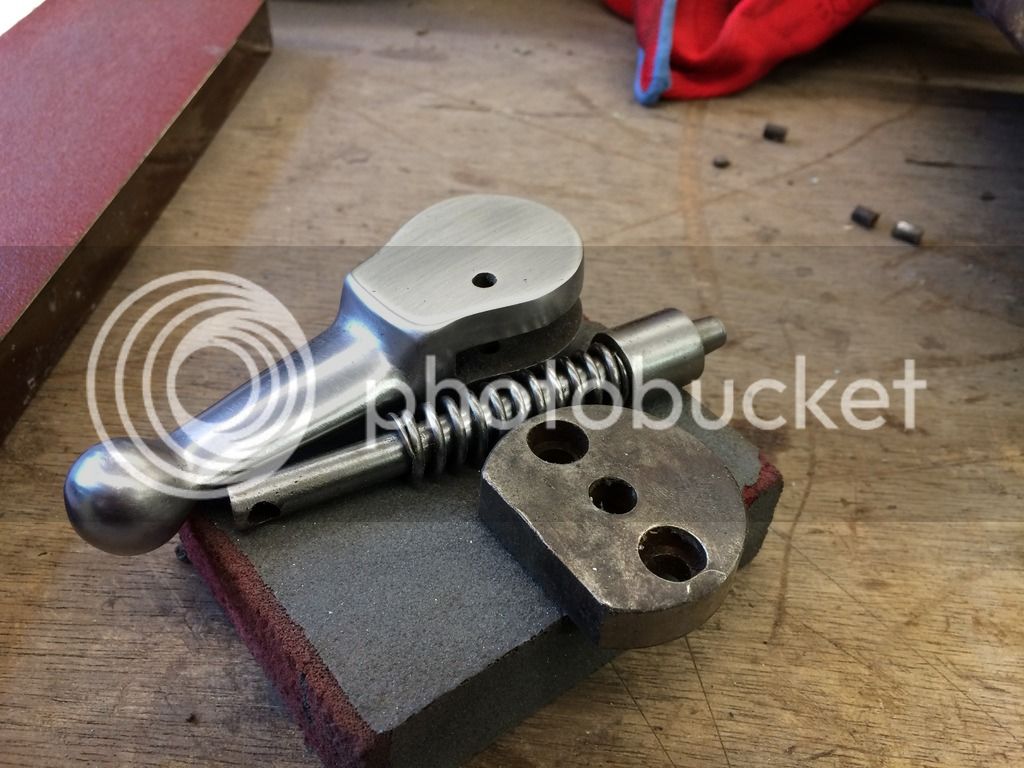
For doing a flat object I stick various grits to some formica and sit and rub


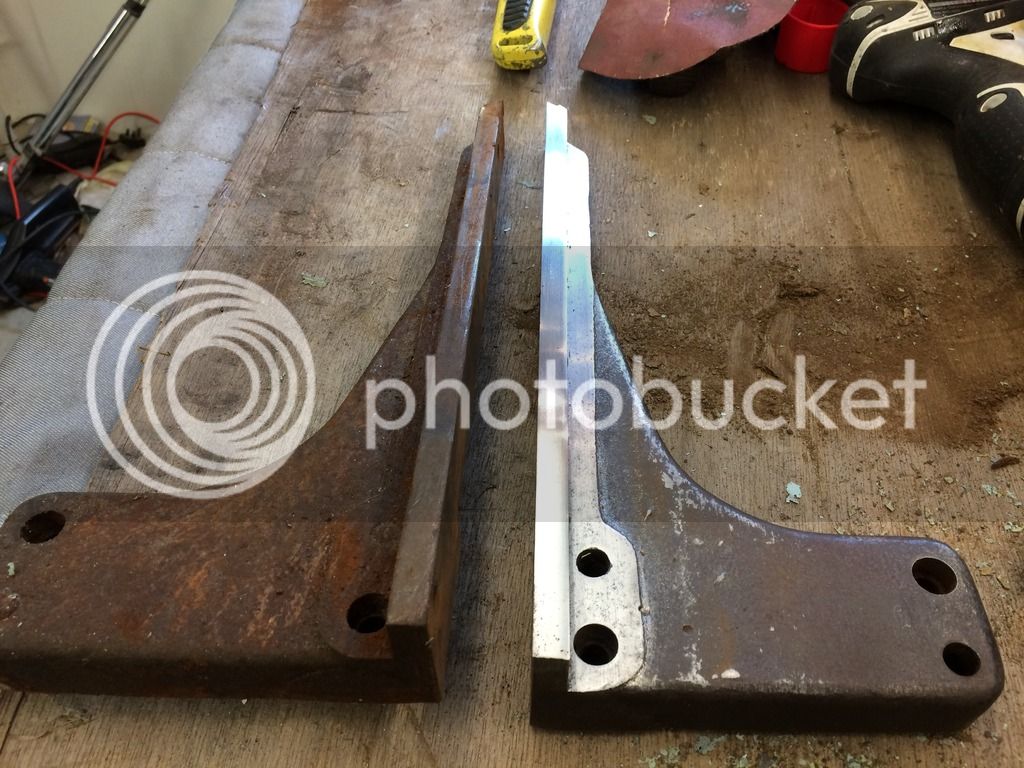
I started working on the fences which are quite rough

 
I think it will take a couple of weeks time permitting.
It goes to show what the humidity is like at the moment, I cleaned this up yesterday and forgot to wax it. Today its has some pretty decent rust on it.


Everyone likes a bearing money shot so here it is double row SKF

 
Looks great mate, watching with interest.

I have a some rust on one of my scroll saws so fancy cleaning up the table. What was do you use to protect it after getting it all cleaned up?

Also could you explain more about the polishing you do on the shiny bits. IE what grits you use and compound to polish it up?

thanks

Colin
 
After getting the surface cleaned to how you want I have tried loads of things. Boeshield is good but at the moment I quite like renaissance wax. I have been using it on a few machines for a couple of years now and it works.
For the polishing I will start at the best grit to clean, be it 60 grit then just treat the piece like you would a piece of wood. For good results you have to be really anal when going up a grit. I would normally start at 120, 240, 400, 600, 800 and 1000 before going onto a polishing mop. I like a 8" close stitched mop. I use a high speed on the lathe. For polishing compound I wouldn't bother with those kits of different colours. I have tried loads and the one I like the best is silverline red compound. I accidently got the brown one and its not as good. If I'm feeling really obsessive I will go up to 4000 grit before polishing.
I forgot to mention if your polishing non ferrous metals its a lot easier and its not necessary to go to the silly grits to get a good result, you could go to 240 and then polish brass and get really good results
 
Not much progress today.


And then after 3 hrs


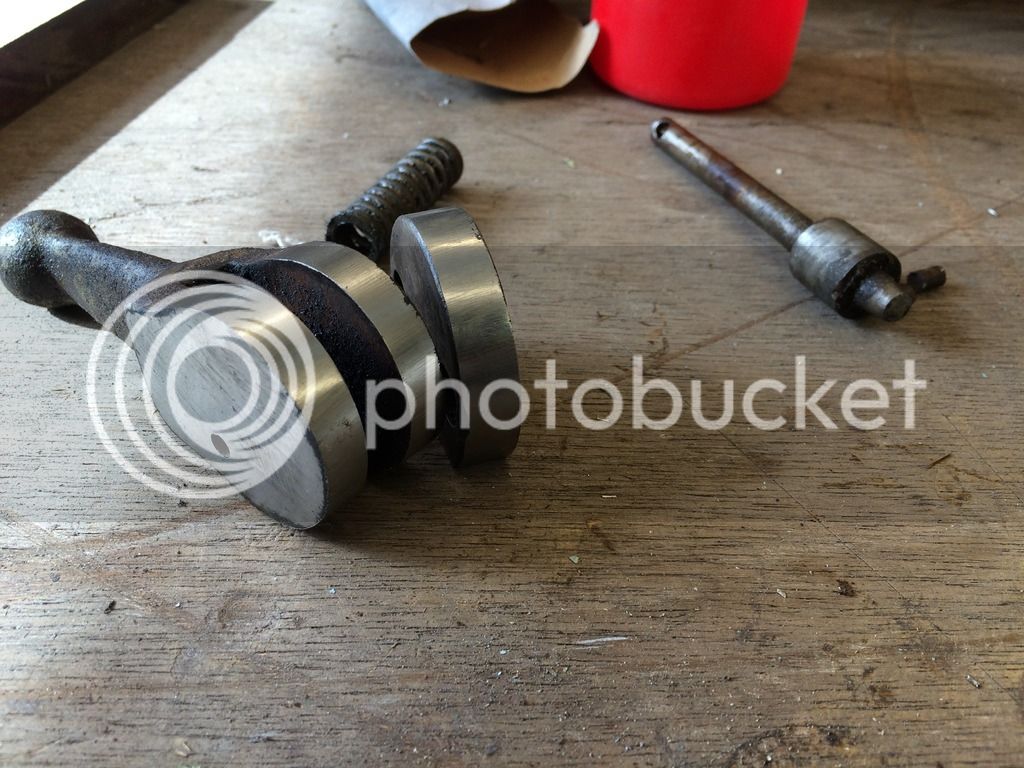
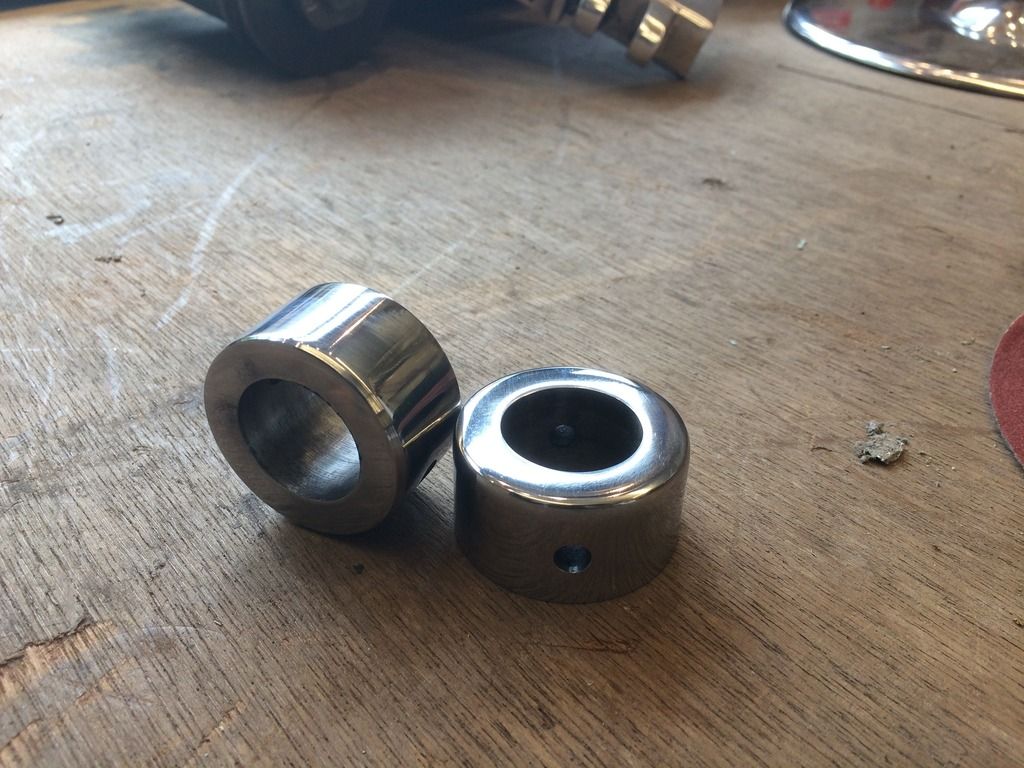
There are a couple of pinned collars that are really pitted so instead of sanding I thought I'd try giving them a skim on the lathe.

 
Looking good! Thanks for the tip on the polishing wheels and buffing compound - I was thinking about getting one of those packs to have an experiment with!
 
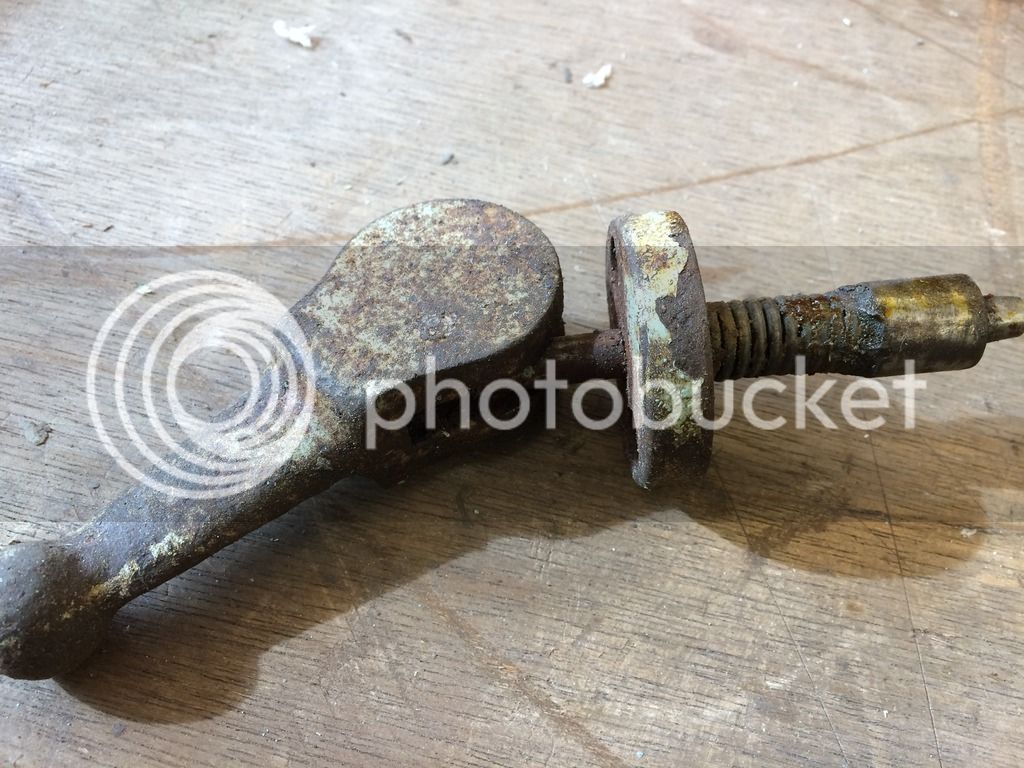
This bit is well and truly crusty.


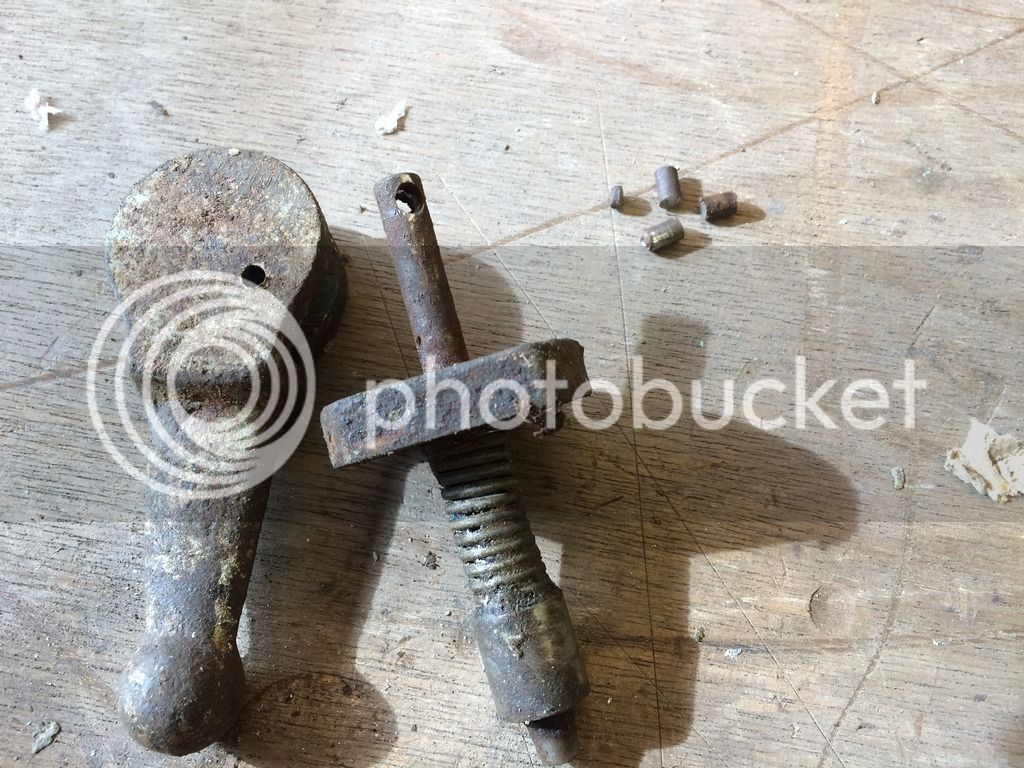
The pin didn't come out when I tried with a punch so I had to hacksaw it off.


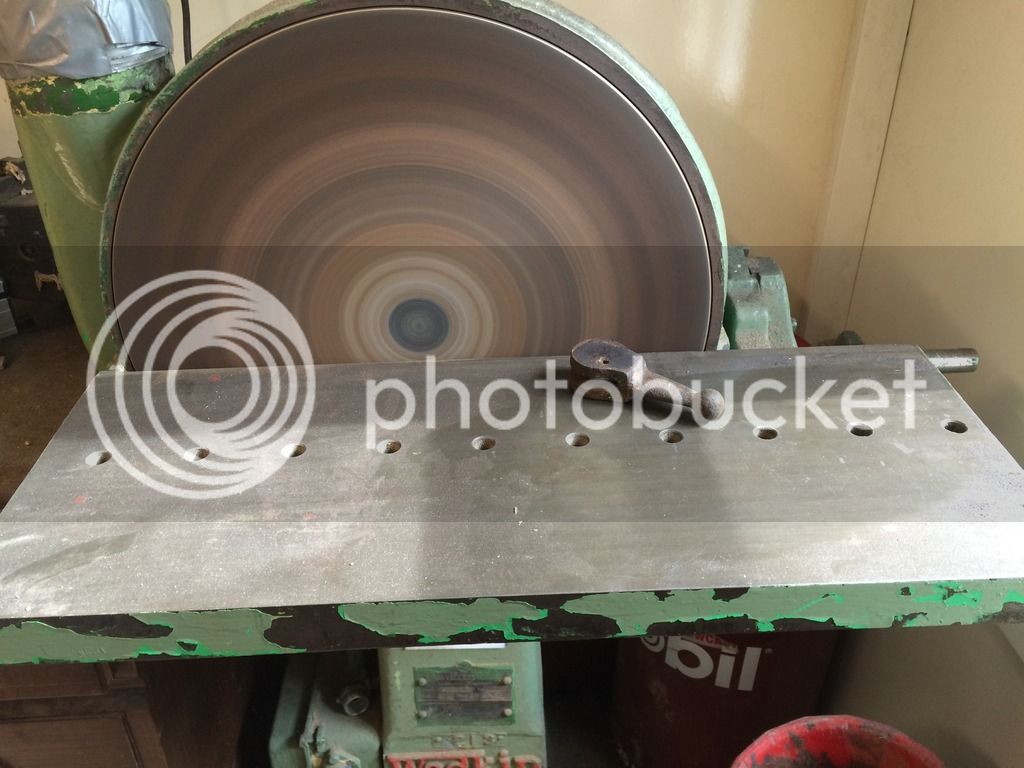
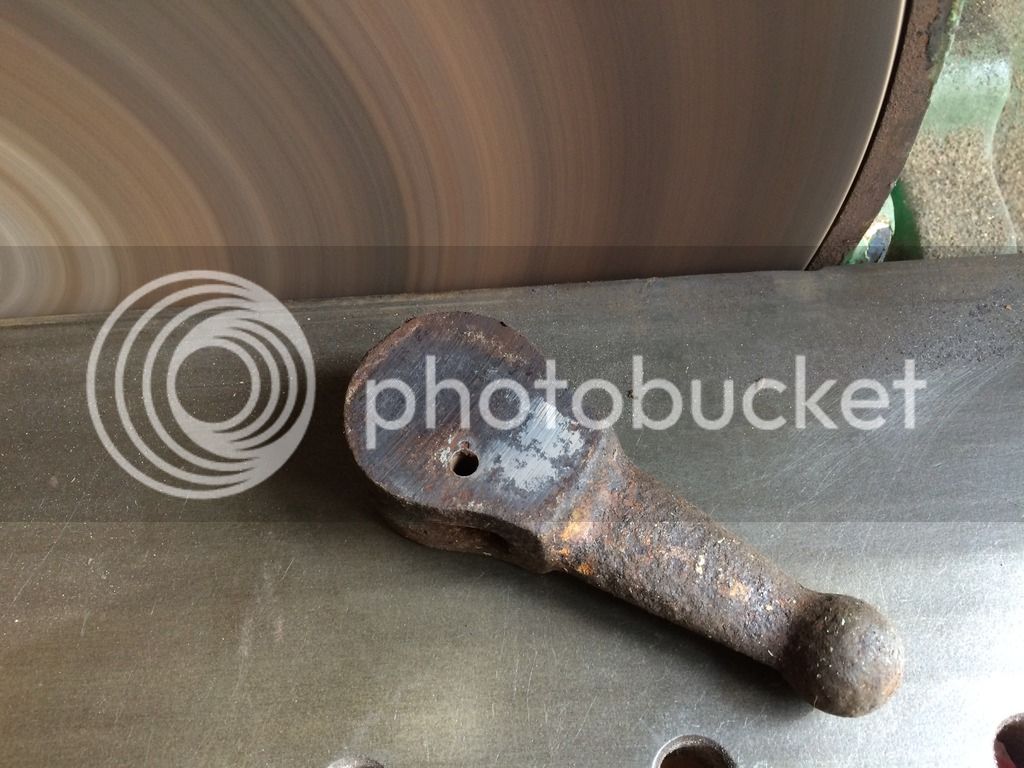
It had some major pits so I used my lovely 14" disc


This is how thy came off the sander


Next 40 grit on the power file


Then 120 grit


Then 120 grit glued onto formica to do the flat bits


Had to stop to make grub for the family so its done to 180 grit. Time taken for this was 2hrs

 
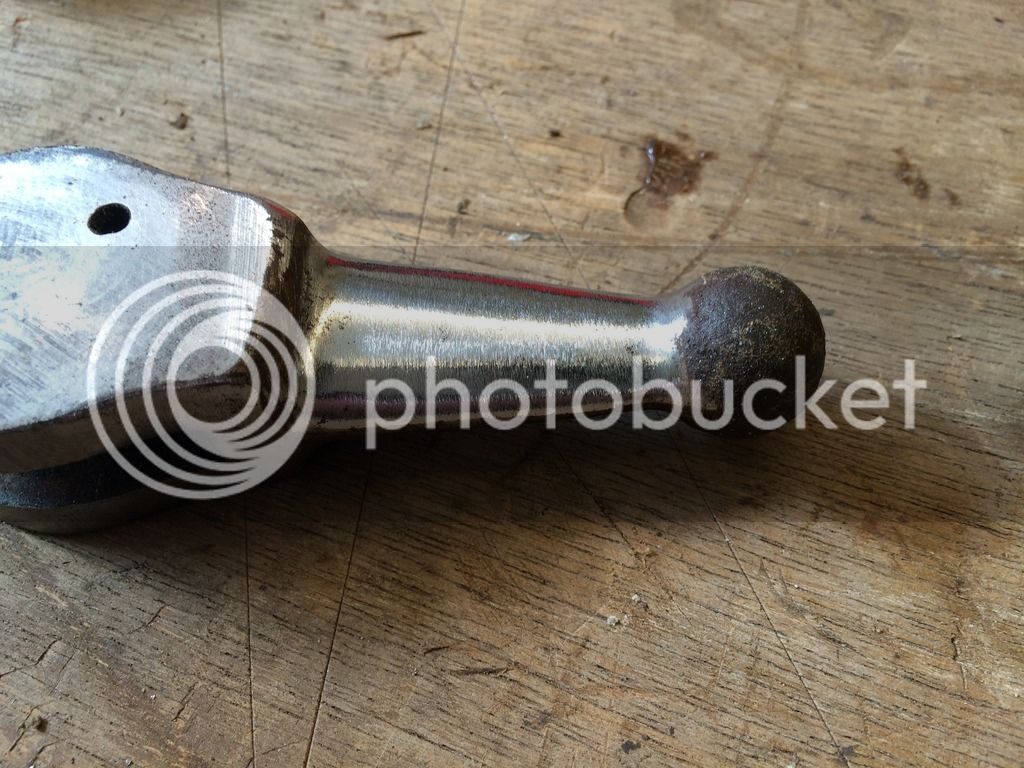
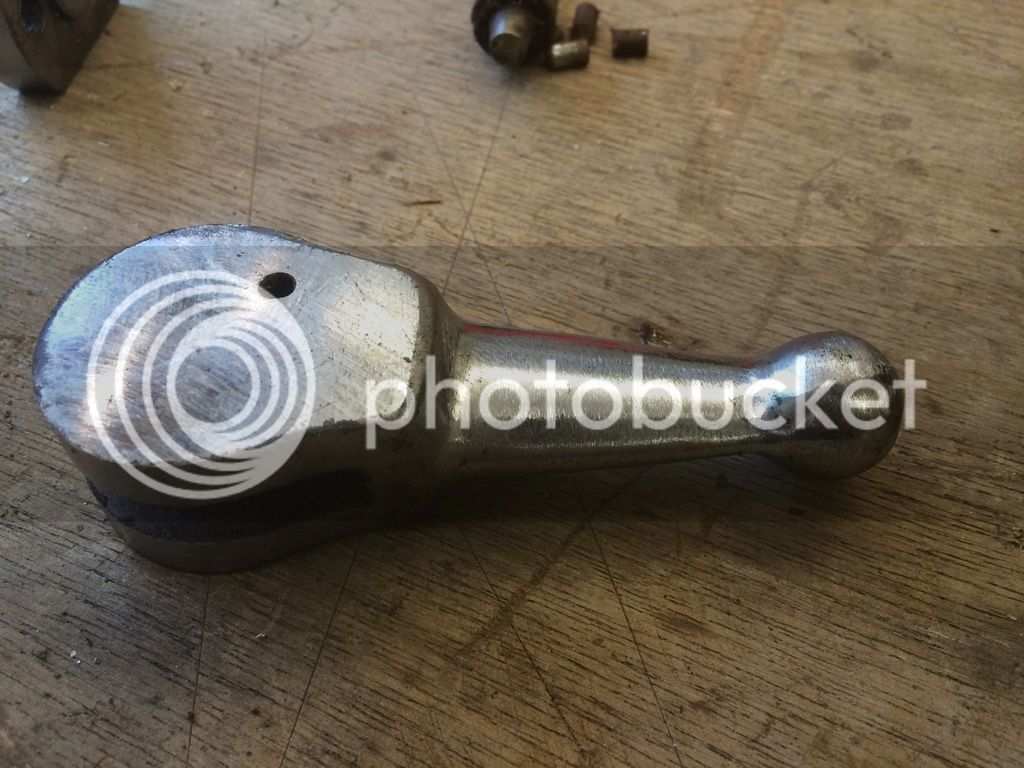
The final part of this piece, everything sanded down to 1200 grit


And then polished


I needed a pin so stuck a brass bolt in the drill and sanded with the power file.


Shaped the head gave it a polish and voila

 
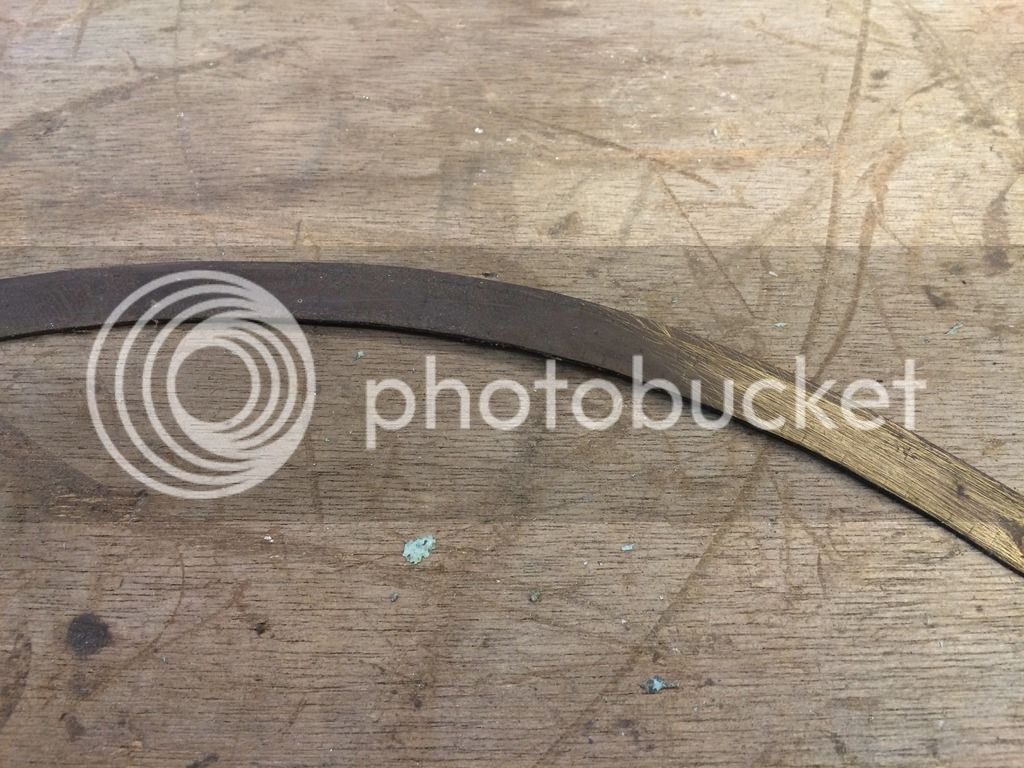
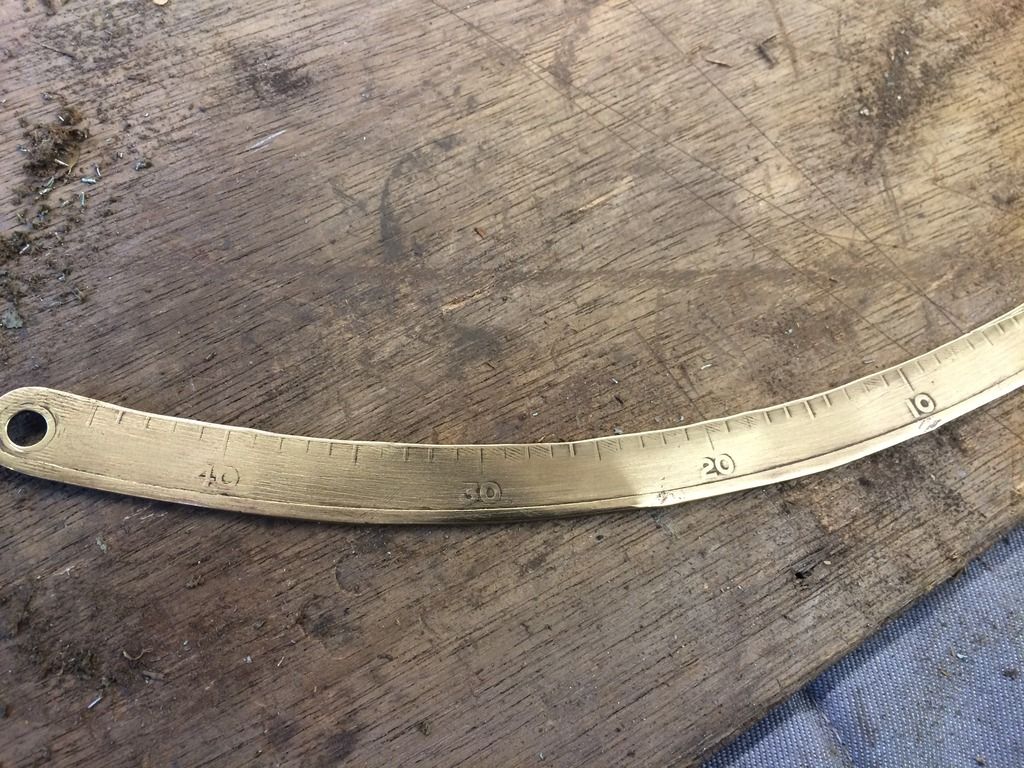
The angle strip is quite worn.


More shiny stuff


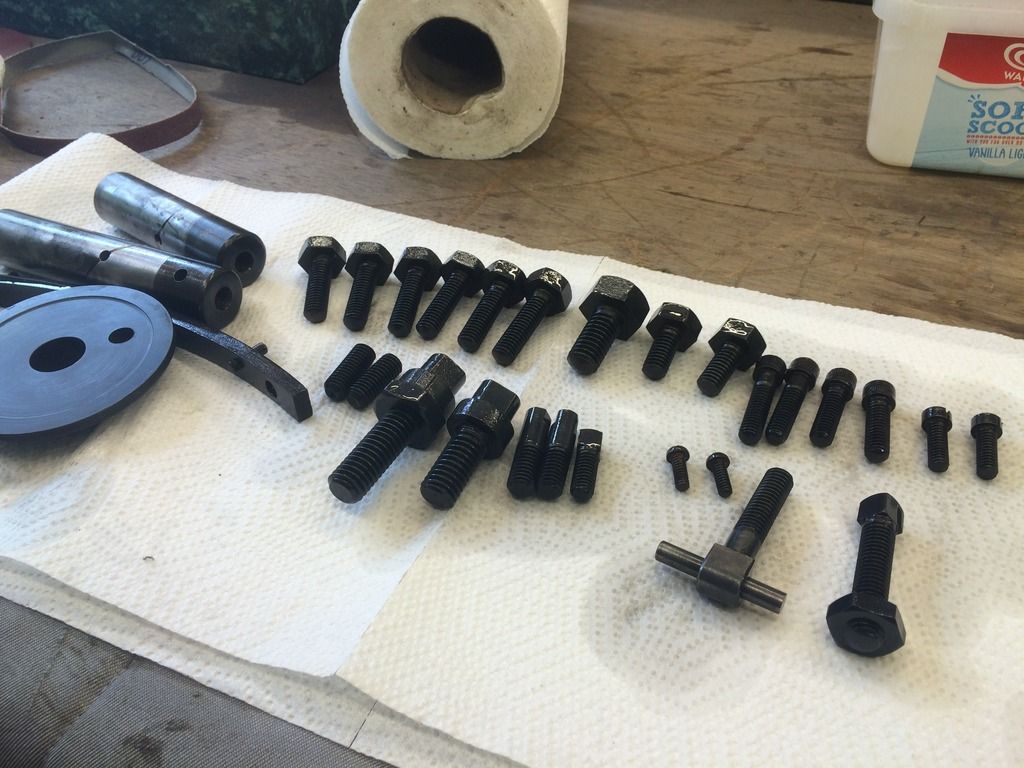
I have decided not to shine every bolt so I have blackened a few bits. This is the stuff you mix with water and it leaves an oxidised layer, you then spray with WD40 and wax.
I used this on the RS I did but since I sold it I don't know how good this stuff resists rust.

 
Well if the parts are anything to go by the whole thing is going to look a-mazing =D> =D>
 
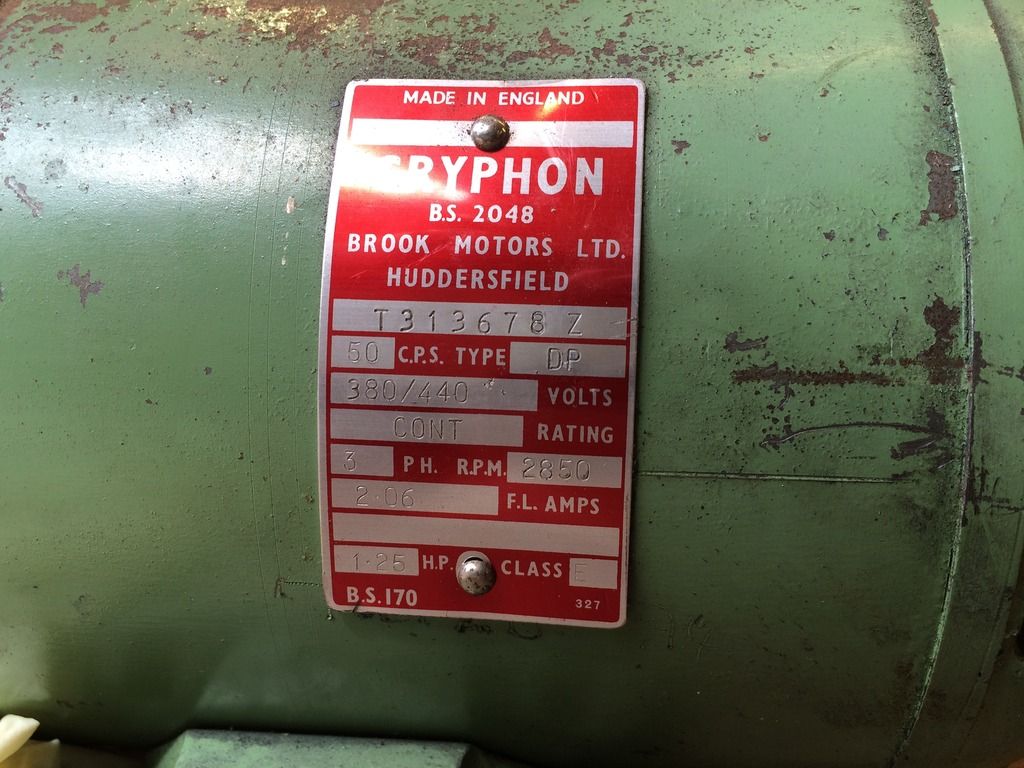
I have been on the look out for a motor, I went to see my local motor winders to see if he had anything suitable. I had a scout round his stash and found this little gryphon motor which is 1.25 hp. Its worth a punt for £15


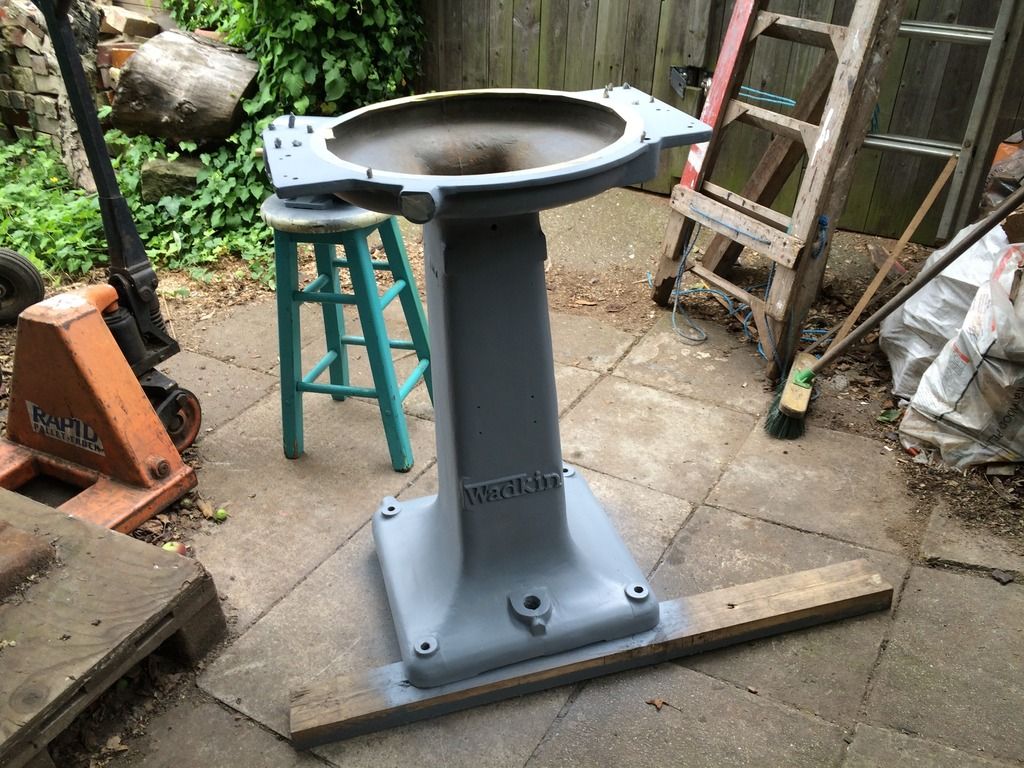
I had a little strange encounter when I went to get my paint mixed. The guy has mixed my paint a few times and wondered why its always the same colour. I said I was restoring an old wadkin machine. Low and behold he used make wadkins. He worked at evenwood engineering at bishop Auckland. He worked on a big grinder that did the machine tops.
I got a few coats of zinc primer on everything


A little more done


I need some advice with regard to what size pulley to have on the motor. The pulley on the spindle is 83mm, the motor spins at 2850rpm. What size pulley should I have on the motor. I think the saw will take a 8-9" blade.

 
Try a site called blocklayer.com, there is a pulley calculator on there (amongest many others).
 

Latest posts

Back
Top