


swagman
Established Member
Its been a while since I have had to use this plane, but when the job requires it, its a handy tool to have at your disposal.
As you can see from the following 2 photo's mine requires a bit of a clean-up and resharpen, to bring it back to a serviceable condition.
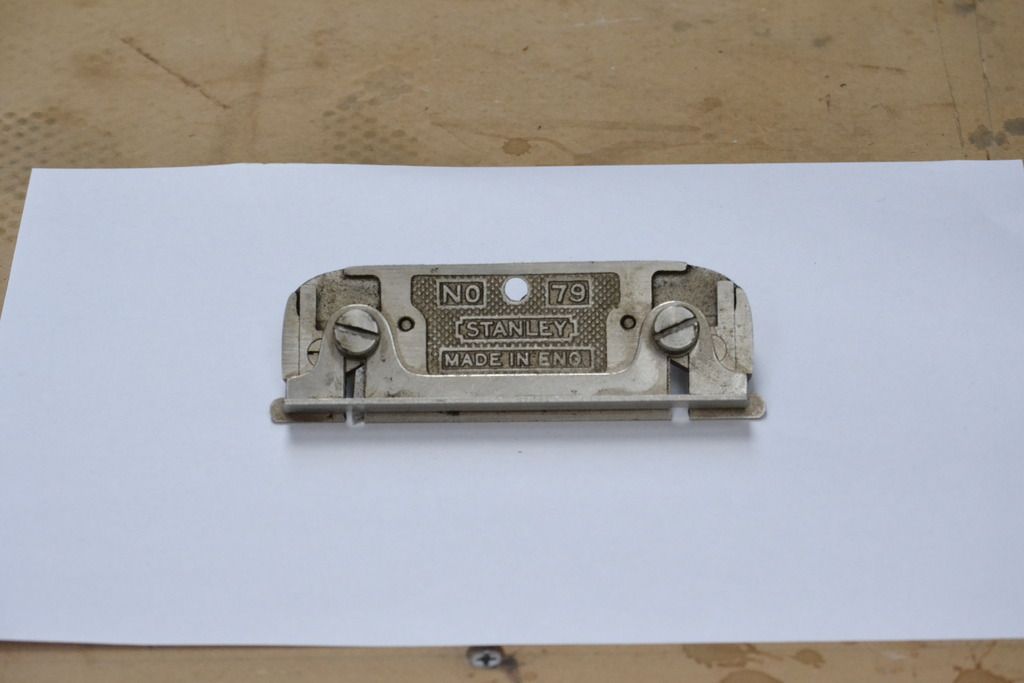
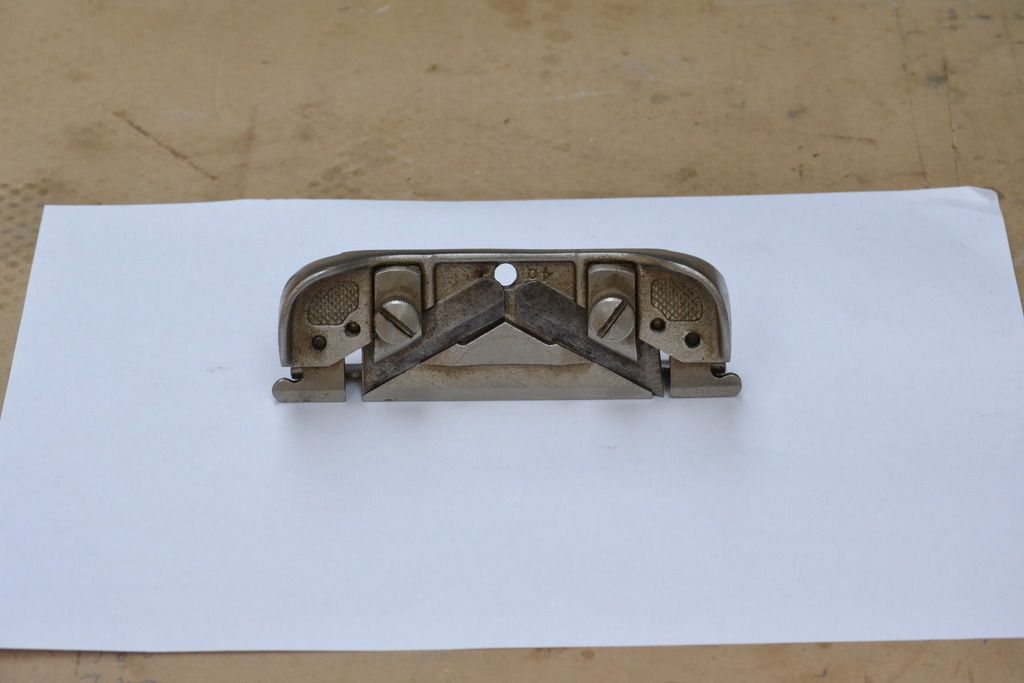
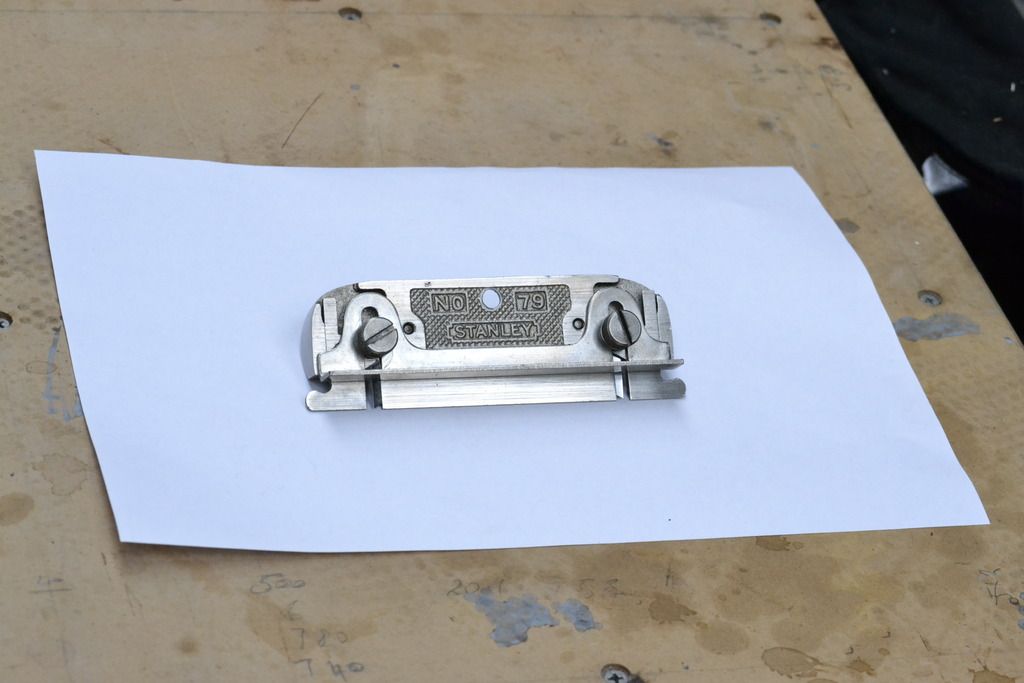
After being soaked in a bath of Evapo-Rust for 24hrs. All parts were then cleaned down with WD-40 to neutralize any further reaction from the R-S, before being re-assembled. The leading skew angle on both the blades were slightly out of spec, so they received a light grinding, before the cutting edges were honed to a very sharp edge.
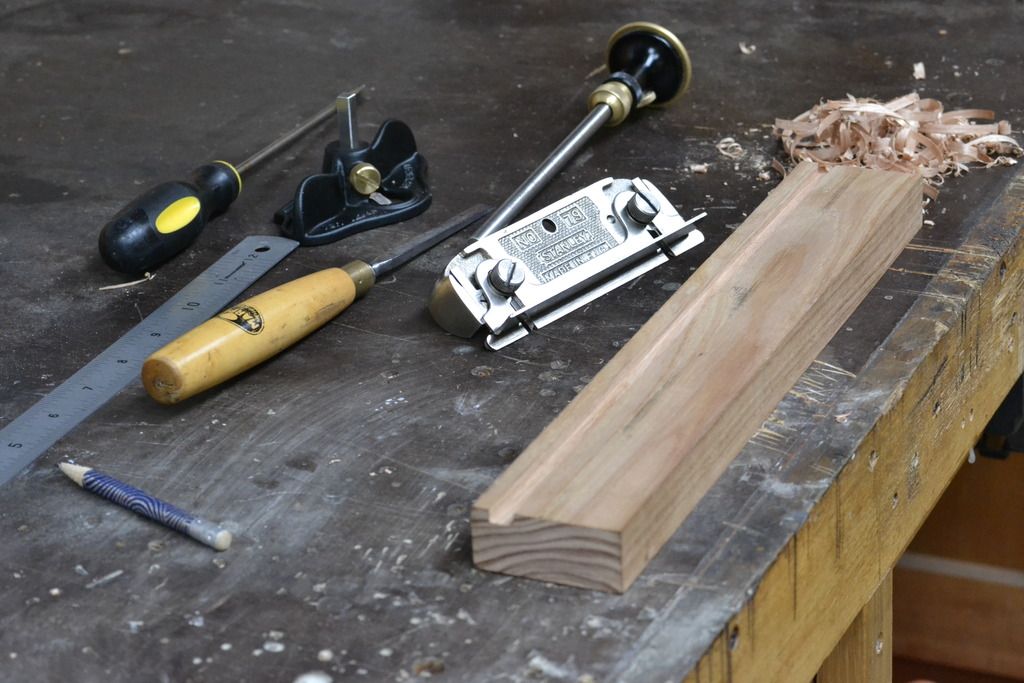
For demonstration purposes on how to use a Stanley #79, I chose a short length of hardwood that I had previously worked a 1/4" groove on using my Record 043 Plough Plane.
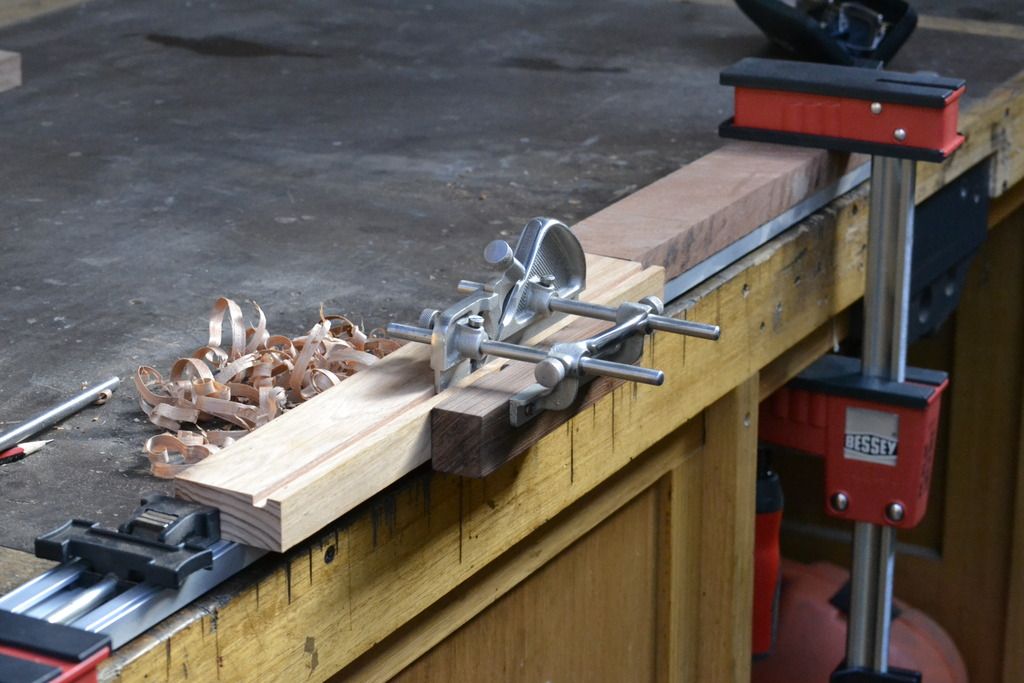
Putting aside any controversy on how to use a Stanley #79, I will just forward the way I was taught to use it. If that doesn't seek favour, then use what ever method chooses your fancy.
To increase the width of the groove from 1/4" to 3/8", 1st I scribe a line to the required distance. The direction of the long grain is then accessed, and the appropriate blade is then adjusted to the required depth of cut and tightened into position. Check to insure the spare cutter is fully retracted, then adjust the depth fence to the correct height and tighten in position. To commence the cut is no different to using the Record #043, you start from the far end of the groove, and work your way back, repeating the same process until you have reached your targeted scribe mark, along the full length of groove. My personally preference is to adjust the cutter for the final pass, taking a full length light shaving. After widening the groove (or rebate, or rabbet, whatever takes your fancy) the bottom floor may need a light clean out with a hand router.
Hopefully someone found this information of relevant value.
regards Stewie;
As you can see from the following 2 photo's mine requires a bit of a clean-up and resharpen, to bring it back to a serviceable condition.


After being soaked in a bath of Evapo-Rust for 24hrs. All parts were then cleaned down with WD-40 to neutralize any further reaction from the R-S, before being re-assembled. The leading skew angle on both the blades were slightly out of spec, so they received a light grinding, before the cutting edges were honed to a very sharp edge.

For demonstration purposes on how to use a Stanley #79, I chose a short length of hardwood that I had previously worked a 1/4" groove on using my Record 043 Plough Plane.

Putting aside any controversy on how to use a Stanley #79, I will just forward the way I was taught to use it. If that doesn't seek favour, then use what ever method chooses your fancy.
To increase the width of the groove from 1/4" to 3/8", 1st I scribe a line to the required distance. The direction of the long grain is then accessed, and the appropriate blade is then adjusted to the required depth of cut and tightened into position. Check to insure the spare cutter is fully retracted, then adjust the depth fence to the correct height and tighten in position. To commence the cut is no different to using the Record #043, you start from the far end of the groove, and work your way back, repeating the same process until you have reached your targeted scribe mark, along the full length of groove. My personally preference is to adjust the cutter for the final pass, taking a full length light shaving. After widening the groove (or rebate, or rabbet, whatever takes your fancy) the bottom floor may need a light clean out with a hand router.

Hopefully someone found this information of relevant value.
regards Stewie;

