Router Table WIP

UKworkshop.co.uk

Help Support UKworkshop.co.uk:

This site may earn a commission from merchant affiliate links, including eBay, Amazon, and others.

DavidE

Established Member
Joined
23 Jan 2007
Messages
251
Reaction score
0
Location
Lancashire
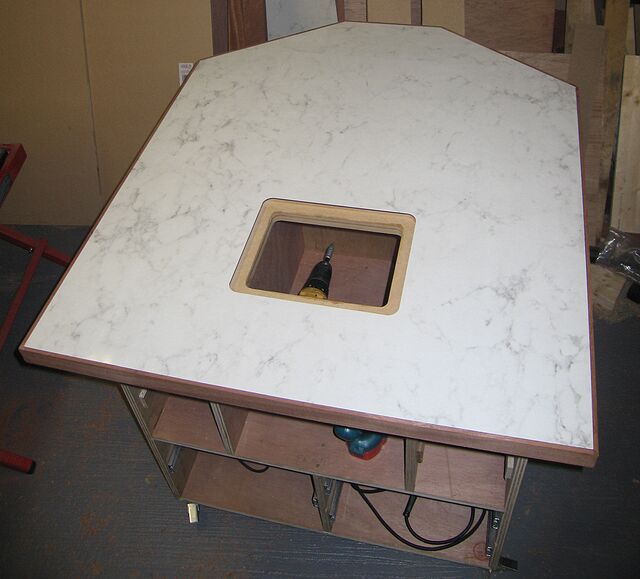
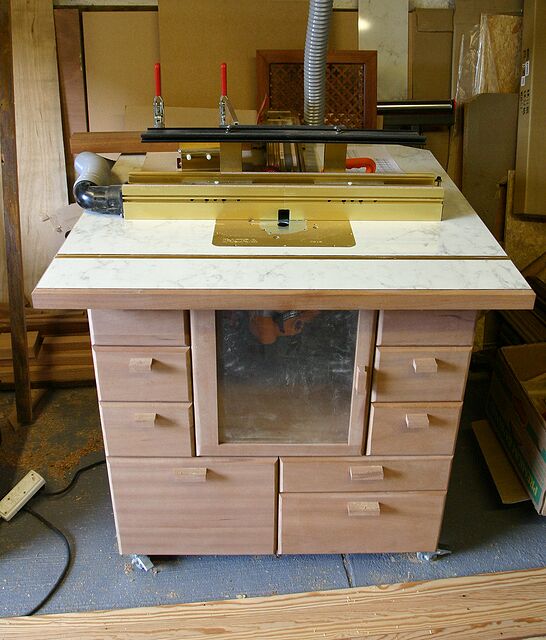
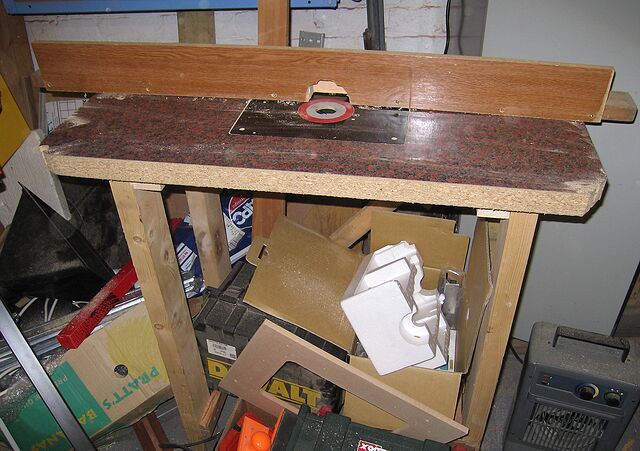
I started making a Router Table last weekend. It is designed in the Style of Norms, and collects all the nice features I have seen from the threads on here (especially our resident Lord, and MotownMartin). It is having a 17" LS positioner on it (I blame Martin for that :D ). It started off life in Sketchup...

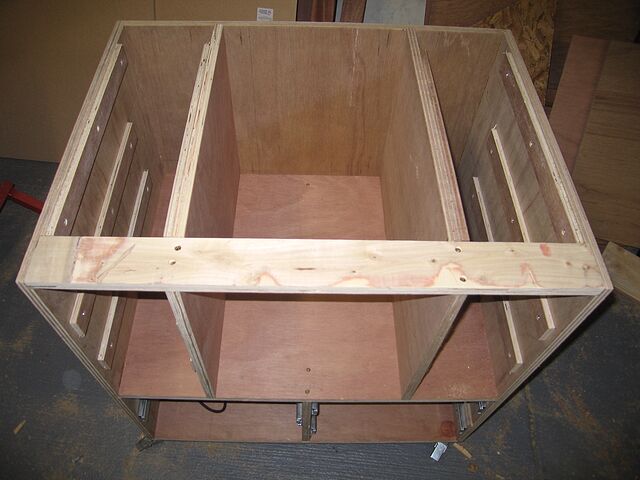
I made the cabinet last weekend and didn't take any WIP shots, an oversight I know.
crw_20032_std.jpg


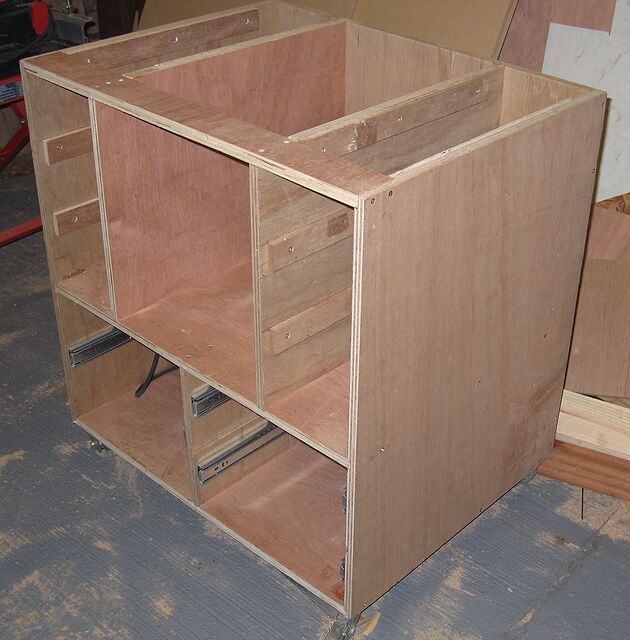
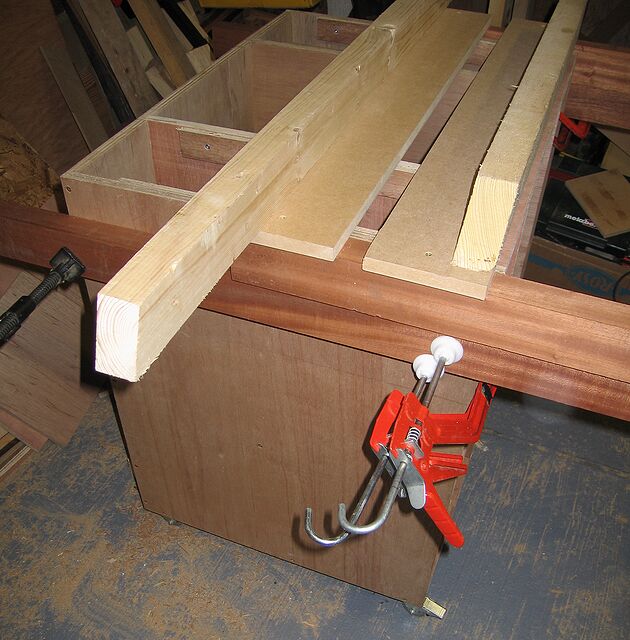
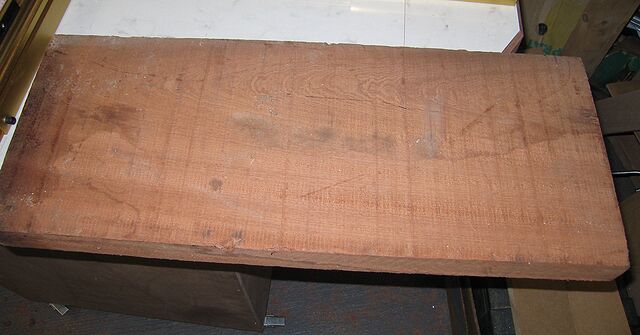
Anyway I thought it might be useful to take some today showing how I put the insert in. Yesterday two pieces of 18mm MDF and some fireback were glued together.

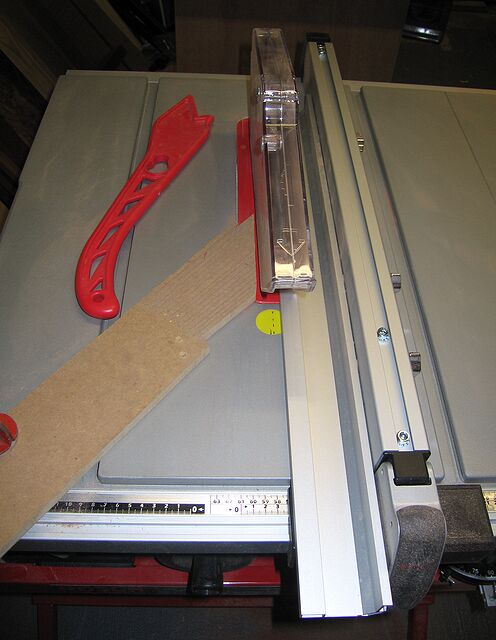
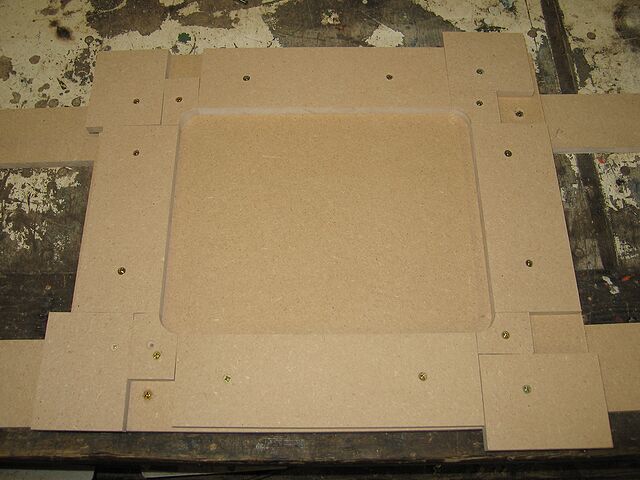
This is prior to trimming the edges down.
crw_20017_std.jpg


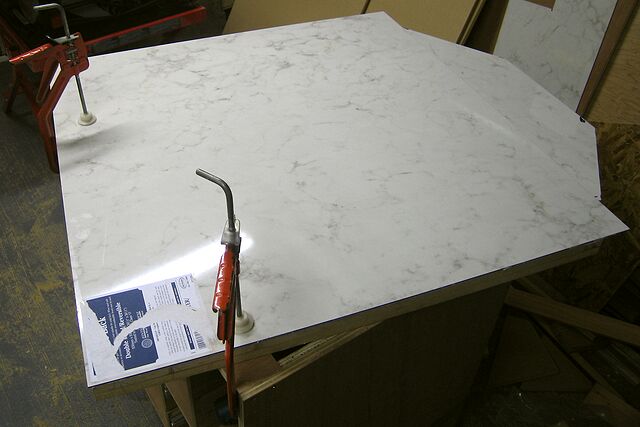
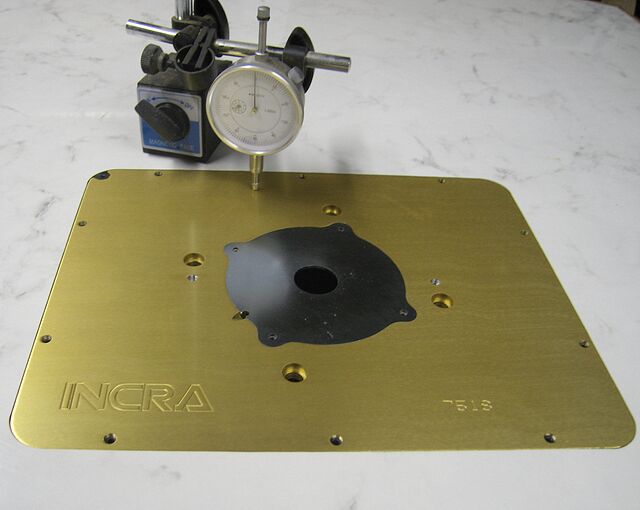
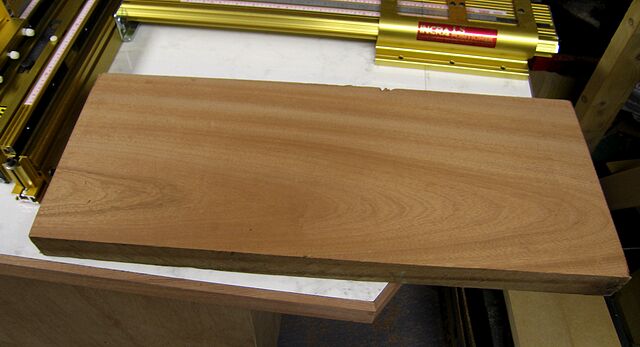
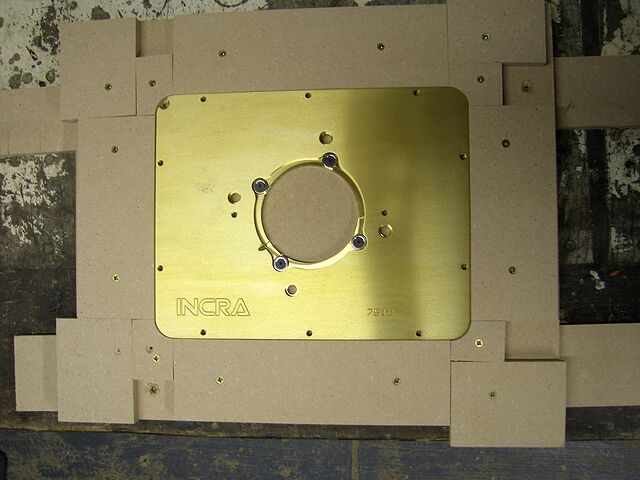
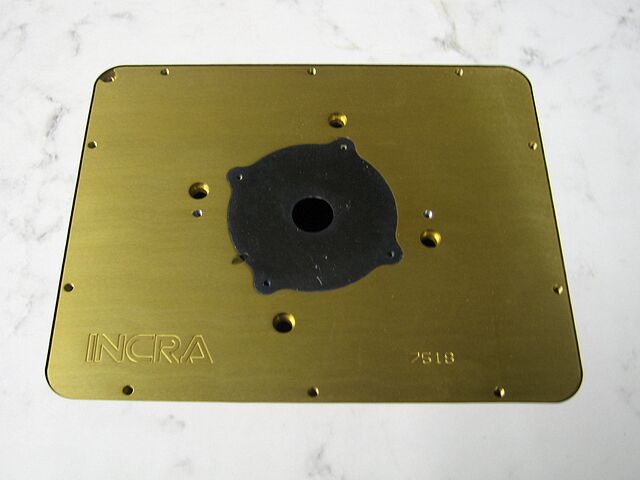
After the edges have been trimmed with the Incra Magnalock insert on top.
crw_20018_std.jpg


I got inspiration for making the template from here: http://lumberjocks.com/jocks/Blake/blog/2654 (Scroll down)

Though I changed it round a bit - still used a 1.5" Forstner Bit:
I avoided glueing by screwing the pieces to a piece of MDF underneath.
crw_20009_std.jpg


With the insert sat in:
crw_20013_std.jpg


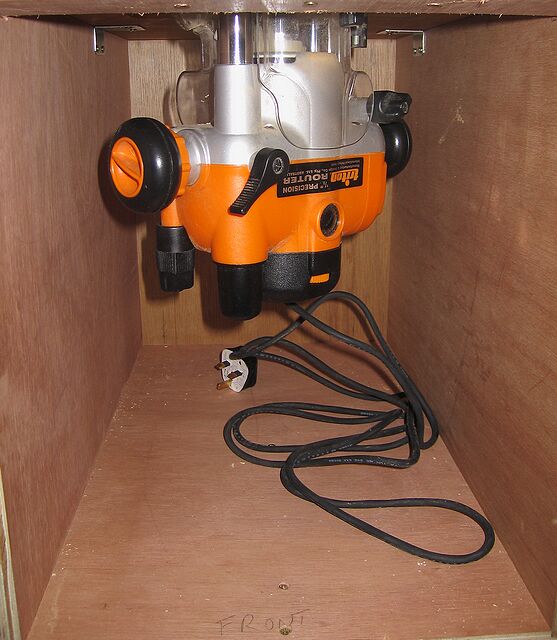
Some MDF added to the middle to support the router:
crw_20014_std.jpg


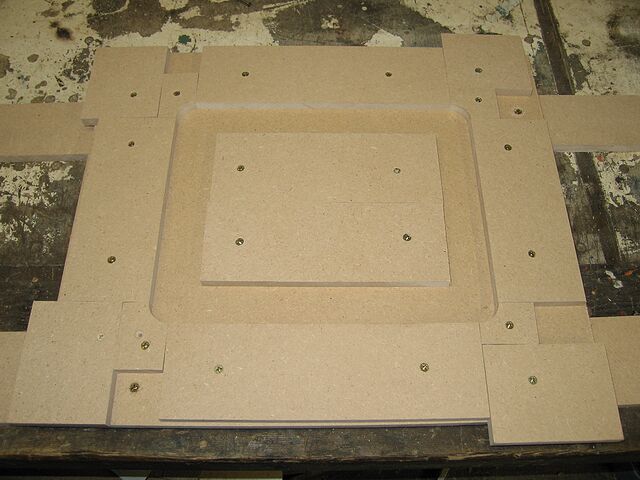
After routing with the initial template removed the final template is underneath:
crw_20015_std.jpg


The insert was then double sided taped to the table and a piece made for the inner hole - I forgot to take photos round this time.

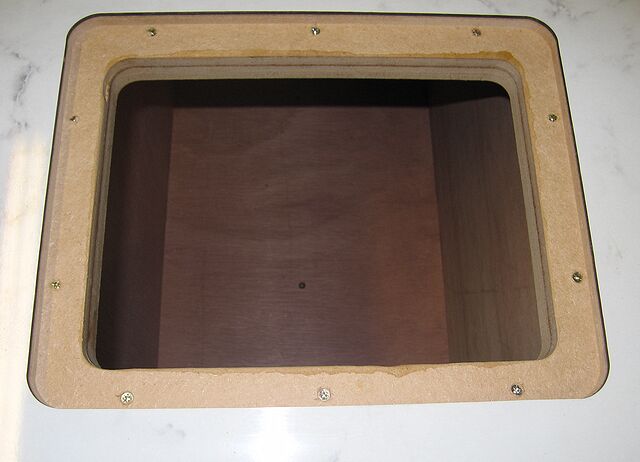
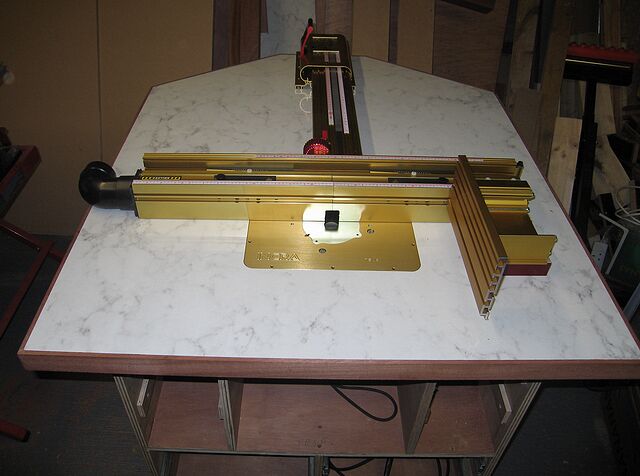
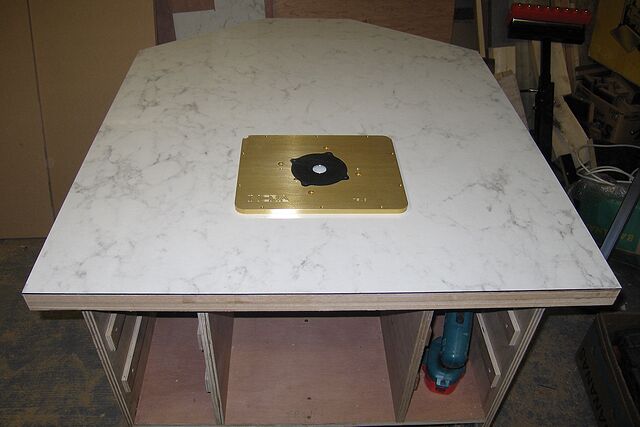
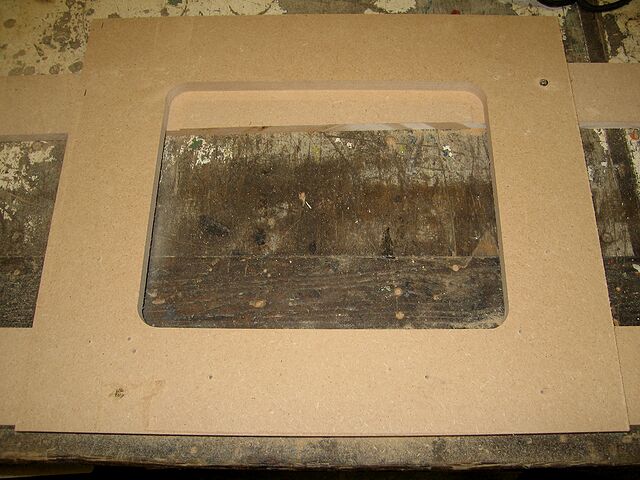
Anyhow with great relief routing is finished and the insert is a nice snug fit in the recess:
crw_20024_std.jpg


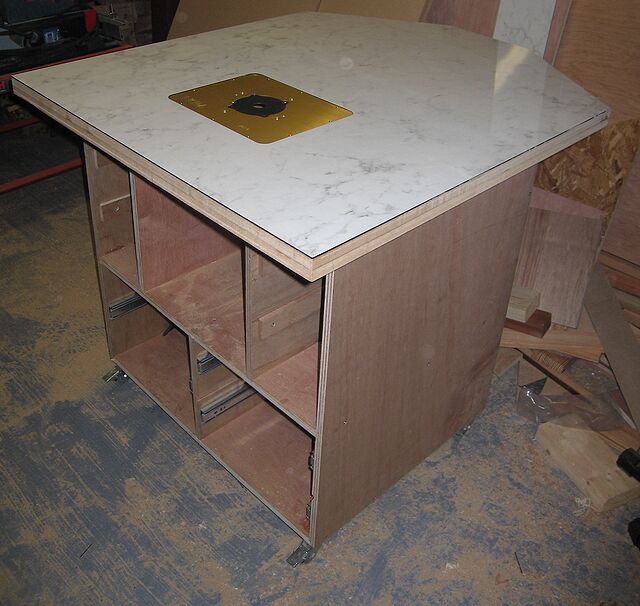
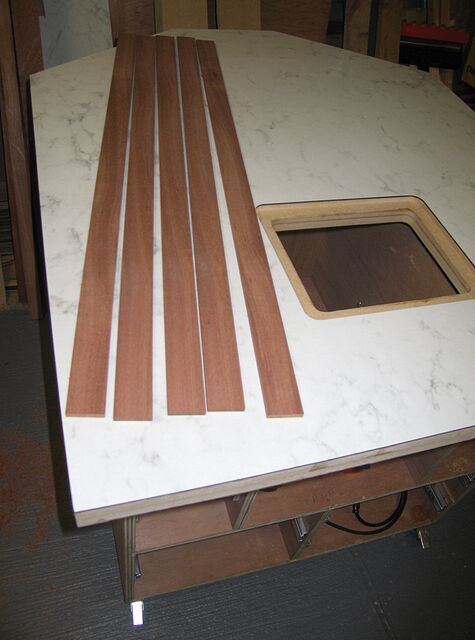
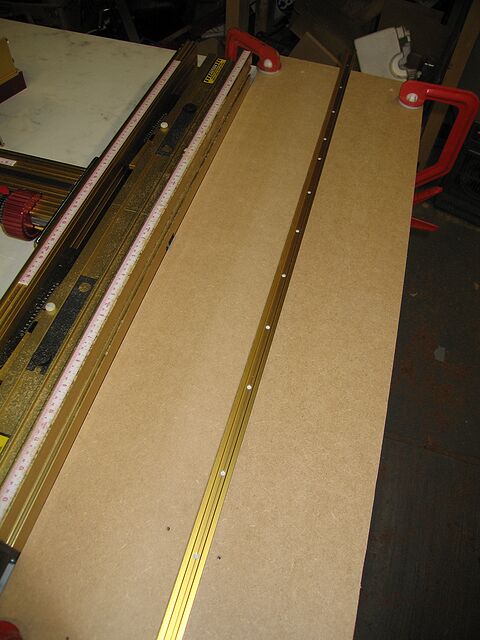
Shelf was cut around 2mm deeper than the plate to allow the levelling screws to do their stuff:

crw_20027_std.jpg


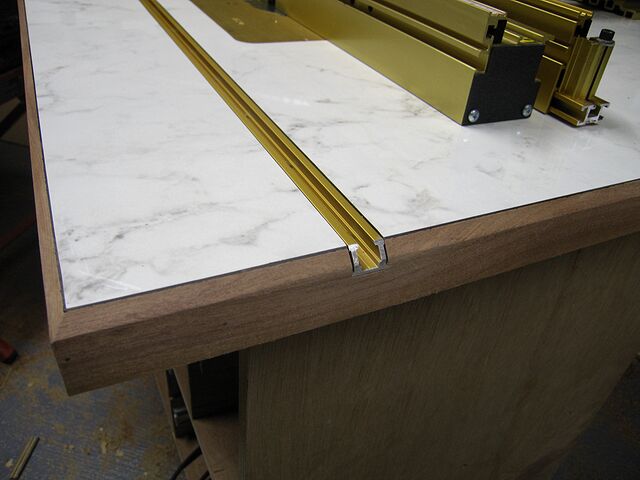
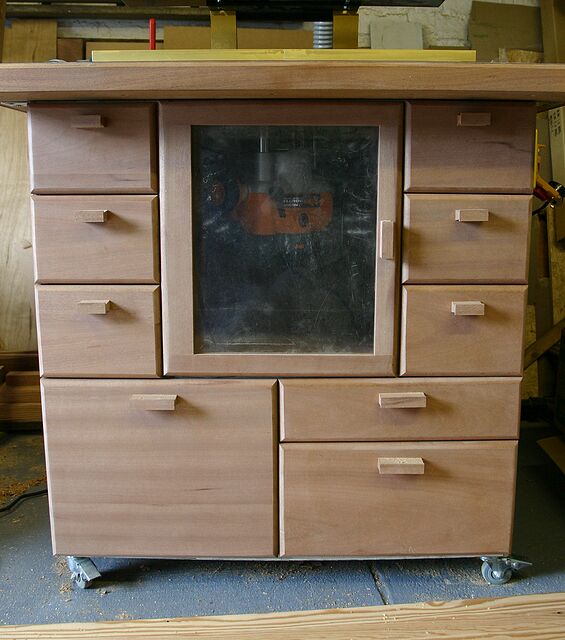
The backside of the table has just been varnished to ward off moisture and after the top of the cabinet is levelled will be fastened on tomorrow all being well. Then there is the hardwood lipping the T slot and the Incra to fit. Then it will be called into use to make its own drawers! :D

David
 
Looking very nice David, it inspires me and I will save this WIP for future reference, however, at the risk of sounding dim, what is "fireback" it looks like formica to me.
Regards, Rich.
 
Looking good, I'll be following this carefully as I'm about to undertake the same task for myself, I think I'll be onto mark 5.
 
David, nice WIP pics. I thought that it was advisable to glue a second piece of laminate to the underside to stop the possibility of warping. If its not too nosey how much was the incra plate and where did you get it from?
 
To answer a few questions...

Rich,

No you're not dim - I was vague. I was inspired by Lord Nibbo's post on this thread.

Lord Nibbo":1va0kv7o said:
Martin I covered my top with a piece of this It's about three times thicker than formica type laminates, infact perfect for router table tops. It comes in many colours two sided, the colours of mine was white/cream one side and black marble on the other side. Because it is so thick it's flat to start with, just evo stick it to a piece of mdf and your done, no bumps and to cut it just use a router, dead easy.


It is from B&Q and is a plastic laminate. It is about 3mm thick though and much easier to glue on.
Sorry for the confusion.

Rich":1va0kv7o said:
Looking very nice David, it inspires me and I will save this WIP for future reference, however, at the risk of sounding dim, what is "fireback" it looks like formica to me.
Regards, Rich.

Oryxdesign - okay cool This is Mk 4 for me (if you count Mk 1 which was very very crude) It is leaps and bounds ahead of Mk3 which was a worktop sink cut out on an open frame.

Shultzy
Err yes I have read than too - I am trying to take the cheap option by applying varnish and hoping that will act as a moisture barrier - time will tell! :? The Incra plate was £72 from http://www.woodworkersworkshop.co.uk/

Cheers
David
 
Thanks David, now I know, as I said in a thread just before xmas, this forum is an education far better than I could have received at school, once again many thanks for the reply.
Regards, Rich.
 
yes, ok, I guess... But I still think my Quicky Router table is better :whistle: :wink:
 
DavidE":orcf8g3v said:
.It is having a 17" LS positioner on it (I blame Martin for that :D ).

David
:lol: I'm sure you won't regret it David.
How does the Incra plate look to you, I like the idea of the camlock in the corner, does it work well :?:

Looking good so far David, it should be finished by tonight :D
 
I really like the jig you've made to cut the recess for the actual plate. Out of all the Router Table Build topics I've seen on this forum, this has got to be the first time I've seen a jig like this. And I'm sure many members will benefit from seeing it also. Thank you.

I don't see any kind of track for a mitre fence or cross-cutting sled?

I am interested to see what your fence looks like also.

:)
 
Thanks for all the comments.
WiZeR - with your photos down at the moment I can't remind myself what yours looks like...


Okay today's progress - I had to cut short at 4pm as I needed to be elsewhere. Hoping to get out again tomorrow night.

The first job of the day was flattening the table top. Although the plywood lined up well there were some high spots. I knocked up the quick jig shown in the photo below. I saw this in Scott Landis's book on workbenches as a means of flattening tops. I took about 0.5-1mm off the whole area - then sanded with the ROS at 120grit.
crw_20034_std.jpg


The finished carcass top
crw_20038_std.jpg


After this was done I got the top and put it on. The previous activity made a massive difference and it was hard to move due to the amount of frictional contact. Yesterday although it wasn't rocking you could feel it sliding on the higher spots.

I then fastened the top down using those metal right angle brackets that have slots to allow movement. I managed to put a couple of screws in the centre near the plate. Hopefully, this should let it "breath" if it wants to. I also put a couple of sturdy right angle metal brackets round the back to support the overhang of the table.

Next I attacked a piece of Sapele with the table saw and thicknesser
crw_20041_std.jpg


and made some strips for the edges.
crw_20042_std.jpg


These were mitered and glued on with a few panel pins to hold them in place while the glue goes off.
crw_20043_std.jpg


When this is dry tomorrow I want to go round the edge with a chamfer bit like his Lordship did as it guarantees you get a flush edge and will also take any edge off the plastic.

Now Incra reckon that grub screws for plate levelling dig in and you constantly have to adjust. Their solution is to have screw tapped into the MDF which seems a bit wacky. My solution was to put some 3.5 x 16mm screws in where the grub screws are touching to provide a contact plate.
crw_20045_std.jpg


Next I set the height of the plate using a straight edge and DTI. As their are ten levelling screws the DTI was good to ensure all of them were in contact with the shelf.
crw_20047_std.jpg


Then I locked it with the CamLock - Martin to answer your question it works a treat and eliminated movement in all directions.

Then as if by magic one of these found its way into the plate. The only bargain I have ever got from B&Q. :D

I took the spring out of the Router. This saves fighting. However, do others find you need to support the weight when jacking up as otherwise it is very notchy? (okay going with gravity – or is it me?).
crw_20049_std.jpg


I then got the positioner fastened down and the fence partially assembled.
crw_20050_std.jpg


Then that was it for the day. Jobs left to do:


  • Chamfer the edge
    Adjust the positioner slightly as it is about 1.5mm out of square to the plate (I only need to open the holes slightly at the back which were not a clearance fit and wiggle!)
    Rout the groove for the T Track.
    Then it is onto the drawers and fronts which I keep changing my mind about.
    Also NVR switch and all the dust-ex to sort.

OPJ -Thanks - I can't take credit for it as I was inspired by that other build. The advantage of using the external chunks was I removed the need to glue and speeded the process up. You'll see the slot is on my list. I have left it to near the end as I am going to use a piece of wood between the Incra Fence clamped down as the guide. My reasoning was this way I hopefully get the fence and slot as parallel as possible.

David
 
DavidE":21f88n78 said:
.
I took the spring out of the Router. This saves fighting. However, do others find you need to support the weight when jacking up as otherwise it is very notchy? (okay going with gravity – or is it me?).

David
I don't see the need to support it, I would imagine the pressure to be even greater with the spring in when turned the other way up, if that makes any sense.
 
Yep I agree Martin it is much harder fighting the spring. I was just a bit disappointed it felt notchy and adding a bit of support with my other hand improved it greatly.

Okay a quick update.

The edges have been chamfered now that went well and has finished it off nicely. I then squared the fence up to the insert which was straightforward. I used this as the guide for two pieces of MDF which sandwiched the T-track.

crw_20057_std.jpg


Then I used the 1/2" bearing guided cutter from the insert to rout the groove. This went okay, however, I was mildly vexed that at one end the bearing dug into the MDF a bit and made the groove about 1mm wider than it should be. It is only cosmestic and you don't notice unless your looking. The learning point I think is to not used MDF - I should have ripped plywood and/or if using MDF make sure the edge isn't fluffy!

This is the nice end :)
crw_20059_std.jpg


Overall view (sorry it is blurred and for the mixed lighting when it is finished I will get some non-grabbed shots). I was pleased it is perfectly parallel to the fence and insert :)
crw_20061_std.jpg


Finally, last night I identified some offcuts I came by last year as possible drawer front material. I wasn't sure what it was. A bit of work with the thicknesser revealed some Sapele (I think sorry for colours again)

Before
crw_20063_std.jpg


After
crw_20066_std.jpg


I have three of these boards so I should be able to get enough wood once they have had an appointment with the bandsaw and thicknesser.

No workshop time now till Wednesday :(
David
 
It's a little clunky, but it is only the rough height adjuster.

Very nice table and jewellery - maybe just a touch cramped in the router compartment.
 
It's coming along very nicely.

And that does look like sapele; or, at least, some form of Mahogany...

If you flip the board from end-to-end, does the grain go from light-to-dark, and vise-versa? :wink:
 
Time for an update - the table got put on the back burner with a few other projects ongoing. However, I have got the drawers done now. All that is remaining is a little rubbing down round the edges and applying some finish.

crw_20285_std.jpg


crw_20283_std.jpg


I have used it a lot over the last few weeks too. The Incra fence is brilliant, the accuracy and repeatability is tip top and the dust extraction is a big improvement too. It is so nice to not get covered is dust and have to wear a respirator.

David
 
It's no good that makes my old Trend Mk1 table look like the toy it really is. :(

Well done David, :D I must find the time to build something similar. :roll:
 
Thanks for all the nice comments.

I've never had one of those small Aluminium tables, however this is what it has replaced...

crw_20056_std.jpg


Which strangely enough, has been dismantled now :D

I really appreciate the good firm base to work on now. Even without the castors locked it is pretty firm. It moves okay but there is quite a bit of inertia - the top and contents certainly weigh it all down and damp any vibration!

Cheers
David
 
Back
Top