Round table WIP

UKworkshop.co.uk

Help Support UKworkshop.co.uk:

This site may earn a commission from merchant affiliate links, including eBay, Amazon, and others.

jorgoz

Established Member
Joined
6 Nov 2007
Messages
269
Reaction score
0
Location
Les Fagnes, Belgium
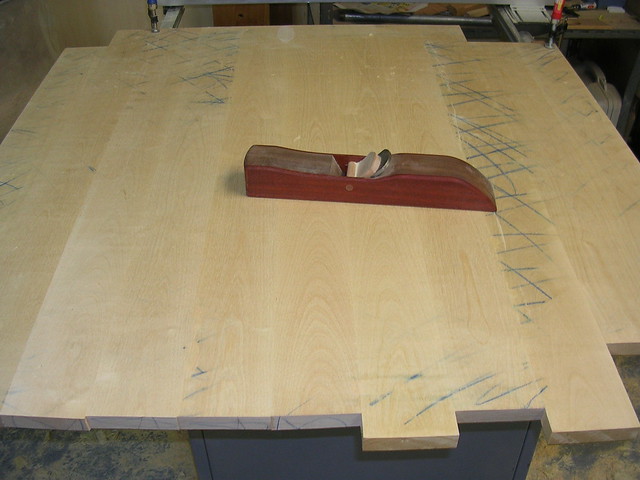
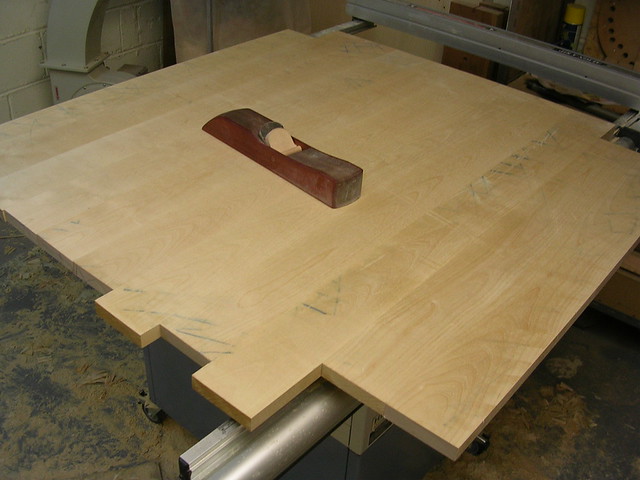
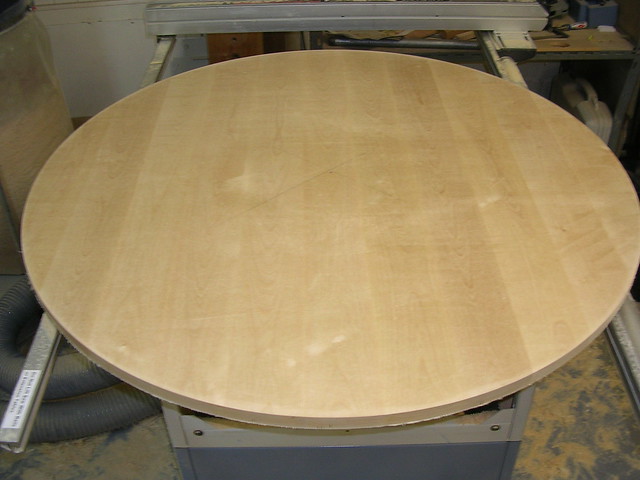
I started on the first piece of furniture for myself.

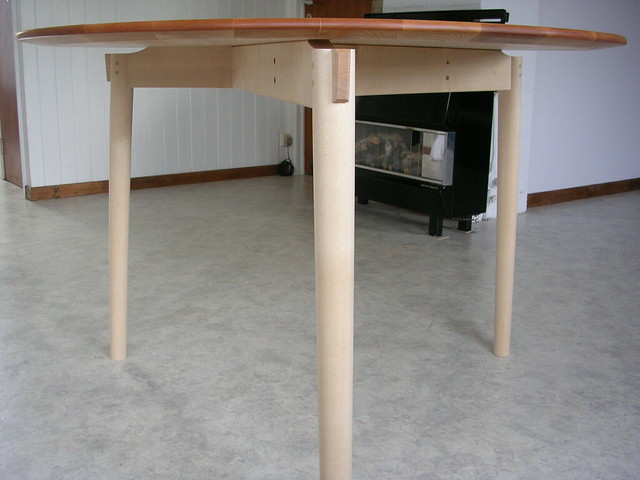
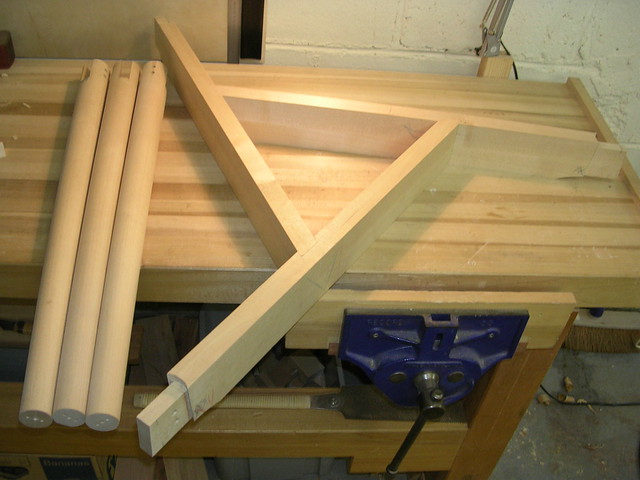
It's going to be a round table with a 3-legged base. Originaly it was going to be a 4 legged base, but seeing something went awry on one of the legs i ended up changing the design and all the better for it too i think.

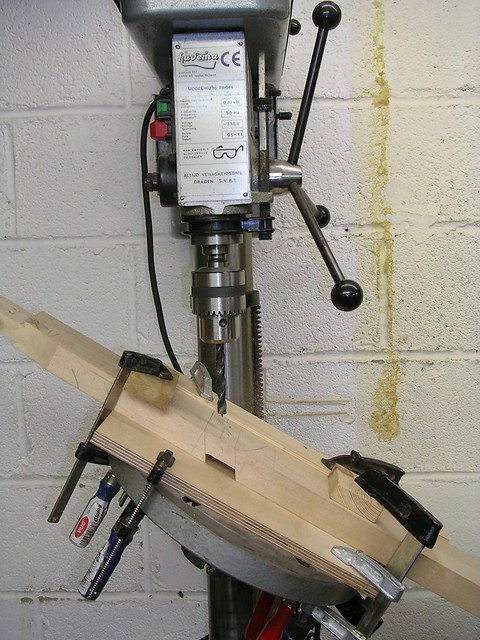
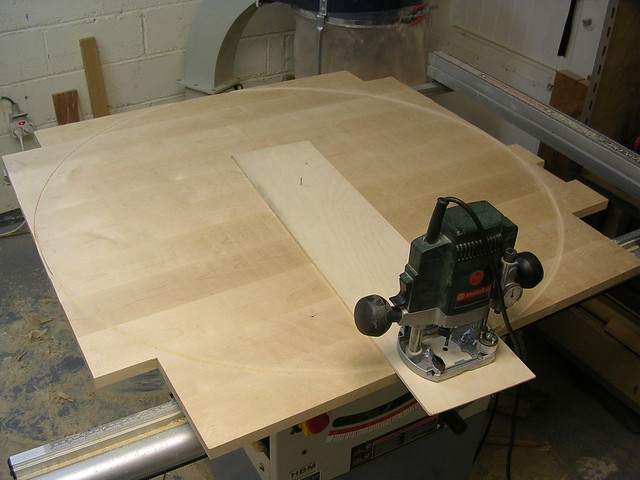
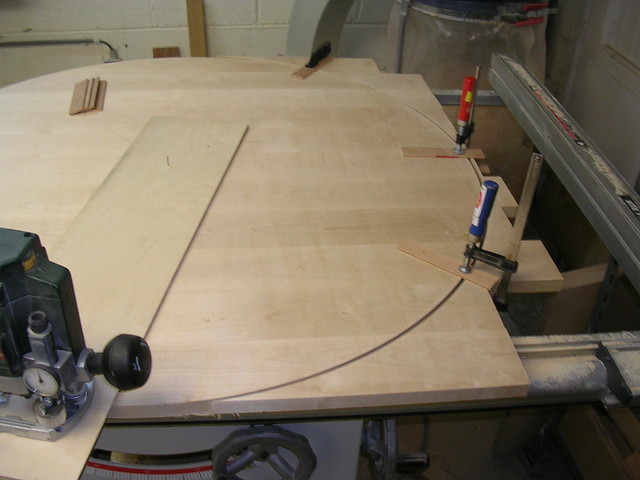
First i did the legs. cut the shoulders for the tenons and drilled the holes for the pegs. Then i rounded the legs, they're also tapered towards the bottom, not very clear in the pictures though. Rounded them with a router setup. Big table and small disks stuck to the ends of the blanks.

5333831120_ecd8b3ce0b_z.jpg


5333833866_8be6115816_z.jpg


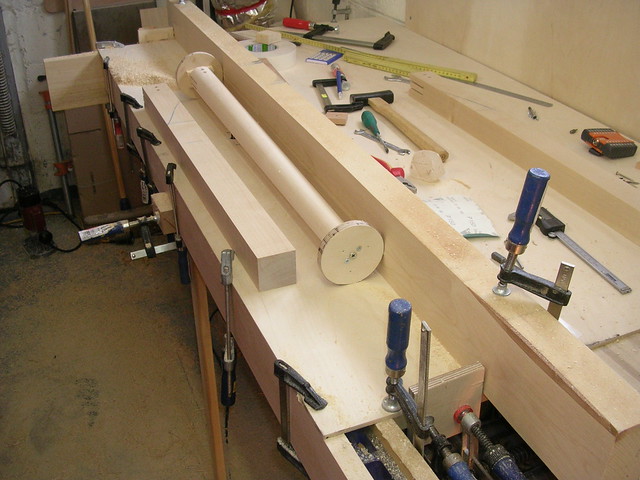
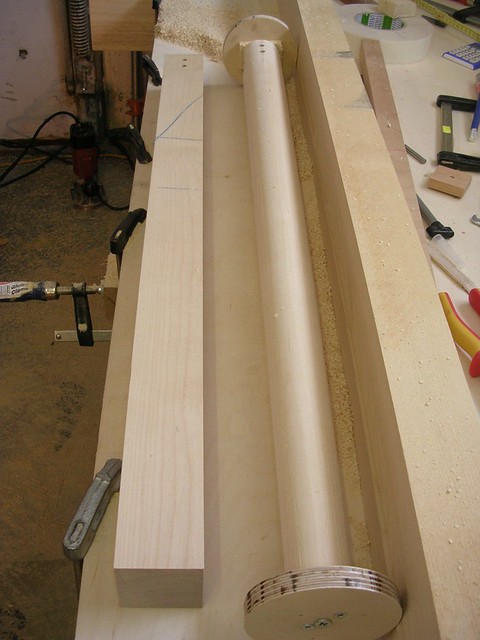
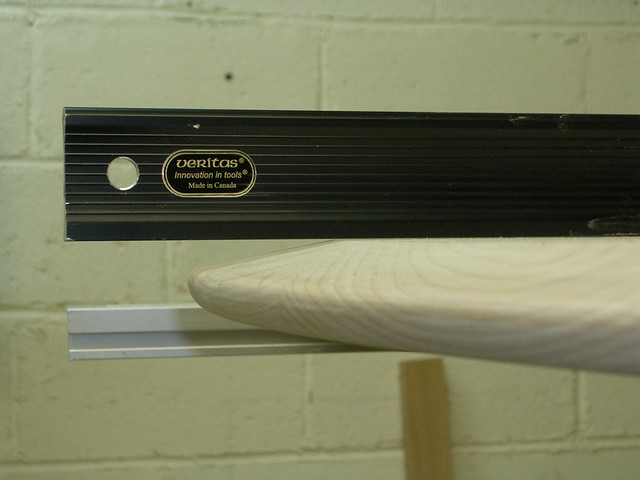
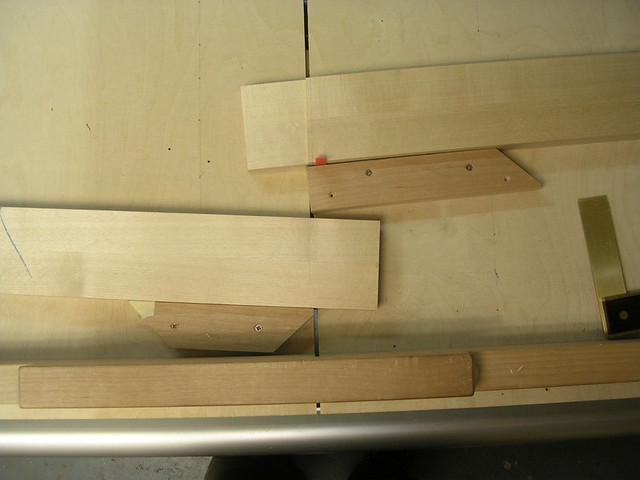
Next up were the stretchers. Because of the taper on the legs, the shoulders are at an angle. Did this on the tablesaw.

5333215461_d4cc2691c3_z.jpg


5333216009_55f25c1aa4_z.jpg


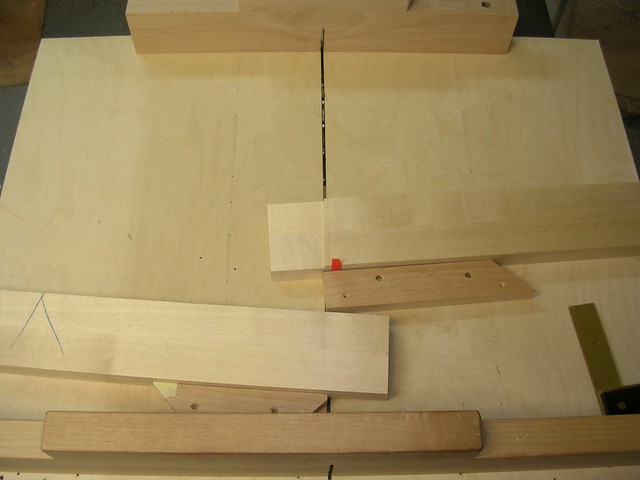
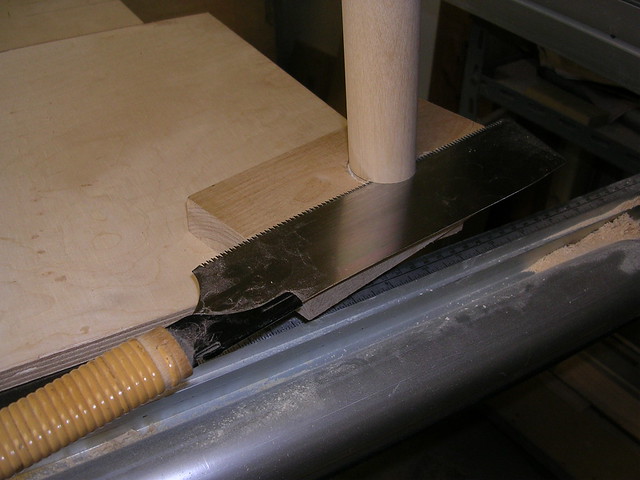
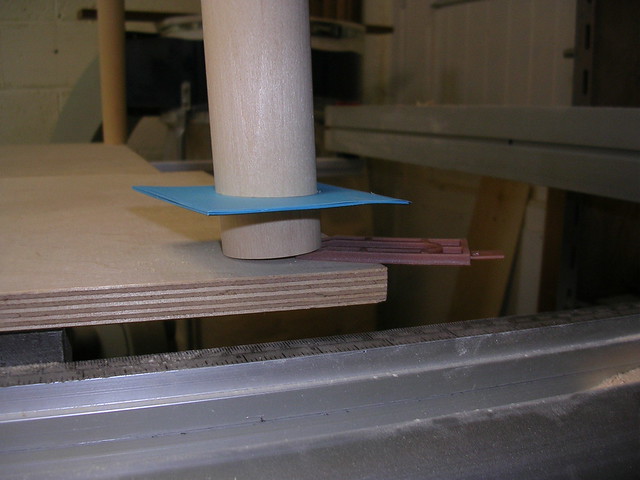
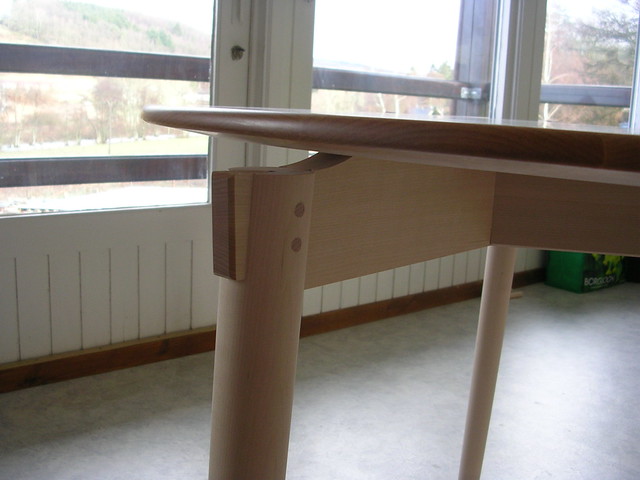
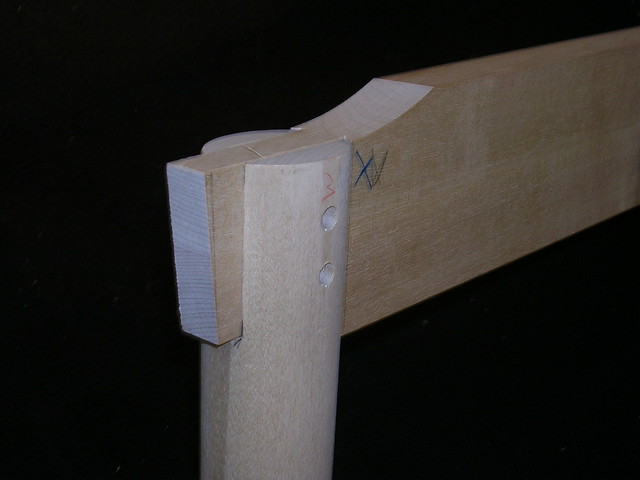
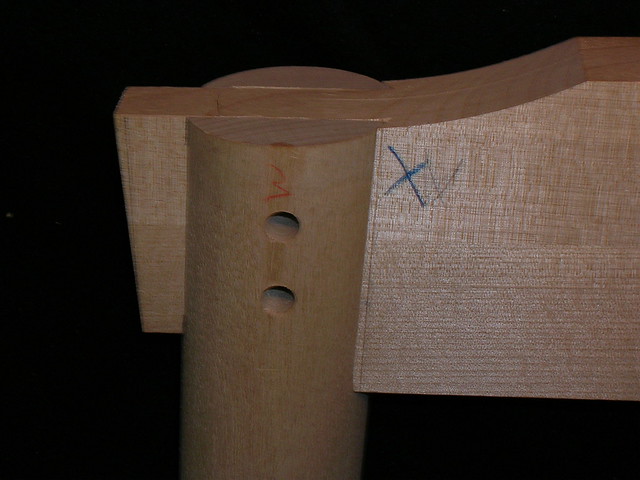
Then after some more work on the stretchers here are some detailed pictures of the leg-strecther joint.

5333274429_36e662b920_z.jpg


5333890914_ffb08615c1_z.jpg


5333891394_923dc00e1e_z.jpg


The stretchers will go together like so :

5333216579_8502d4b17f_z.jpg


5333833322_74623d9245_z.jpg


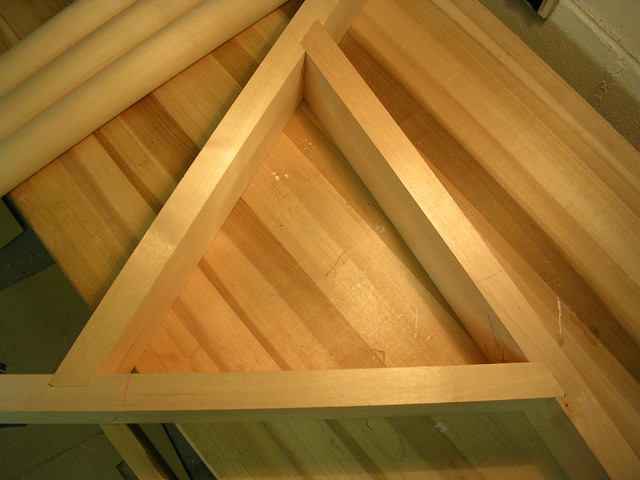
I'll use pegs to finish the stretcher joints.
 
Nice work would be a shame to hide that triangular stretcher detail-would look amazing under a glass top ?
someone posed a question today on how/where to get 'round timber'-amazing coincidence :D
 
Today did some more work on the base.

Holes for the stretcher connections. To be filled with plugs.
5335716181_8f3b1a7f41_z.jpg


Assembled base - ready to be cleaned up.
5336330960_9a87a318df_z.jpg


Thanks for the suggestions for a glass table top, but i want to go with wood. I wanted to make a sunburst table top, but seeing it is not a good idea to do this in solid wood i need to think of another idea for the top.
 
First 2 pictures show how i rounded the legs. It's just 2 discs stuck to the end of the blanks, then rotate against a long fence on a big router table until round.
 
jorgoz":j9zb2lxd said:
First 2 pictures show how i rounded the legs. It's just 2 discs stuck to the end of the blanks, then rotate against a long fence on a big router table until round.

Interesting idea! Though I'm glad I have a lathe...

aidan
 
I wanted to make a sunburst table top for this table but seeing as i'm not for using ply or mdf (absolutely hate the stuff) and i have only small boards i was wondering what would be the best way to make a nice looking round table top from 4" x 2" flat saw (rift sawn) boards.

I've glued 2 matchbooked boards together with the grain pattern arching inwards but i'm not sure i quite like it. I've looked at grain pattern going outward, but this also seems awkward because of the small width in the boards.

Thought about sawing 2"x1" quartersawn slats and glueing them together to get a completely quartersawn top. Very subte grain pattern and probably very uniform but might be a bit on the bland side.

Maybe quartersawn with a very subtle inlay ?

And another question. What would be a good way to attach the table top ? Screws throught oversized holes in the strechters ?
 
jorgoz":1yhuqv1o said:
What would be a good way to attach the table top ? Screws through oversized holes in the stretchers ?

Yes, you could do that, although my pref would be for buttons. You could rout a slot in your stretchers (it's easier to do that before glue-up, of course) and make a button to fit. 2 on each should be enough.

Cheers
Steve
 
I could go for buttons inside the triangle but not on the outside, too visible and wouldn't look very nice i think. Figure 8's would be less conspicuous though.
 
After gluing up small panels, i was ready to glue up the top.
5356374561_dc8a7d2966.jpg

5356374569_59affefe9a.jpg


After a night in the clamps i was ready to flatten the top with my latest wooden plane.
5356374573_9c729b7d22.jpg

5356374577_593c862829_z.jpg

5357005118_7472808bf1_z.jpg


After planing i, time to get things round.
5357001601_fcc1bc6b94_z.jpg


Clamped to prevent falling of or tearig out some wood.
5357007639_da7749fca0_z.jpg


5357012669_c88c962bd6_z.jpg


Putting on a camber on the bottom side of the top, with a high tech marking gauge.
5357636930_a69c035ff9_z.jpg


In the latest issue of FW there an article on putting cambers on round tops with the tablesaw, but i thought that was a waste of time. Got out the old electric planer and a blockplane.
5357643082_4d79d630b3_z.jpg

5357646790_350d4f3220_z.jpg


After a bit more work, putting a roundover with the router and sanding this is the final result.
5357652956_daf2fc3510_z.jpg
 
really like the mix of 'tools for the job' - a good reminder that it's about what works for you.

I have to admit to agreeing with earlier observation that your wonderful stretcher work deserves to be more visible, but then again the shape you have produced on the top looks stunning.

Waiting on the next developments!
 
jorgoz":1rc3ub0t said:
5357646790_350d4f3220_z.jpg


After a bit more work, putting a roundover with the router and sanding this is the final result.
5357652956_daf2fc3510_z.jpg
A nice clean result J and I like the treatment of the frame, 'specially the exposed and plugged jointing, but I'm a bit confuzzled :-? over the wide, shallow bevel on the top (if it is the top) as I would be more comfortable with this sort of detailing on the underside...sort of shakerish - Rob
 
The bevel is on the underside of the top. 't Was just easier to see with the top turned over.

Though Frans Klausz did a table with a bevel on the topside (featured in Anthony Guidice's book Tables).
 
Back
Top