Having moved into an unfurnished house for the first time, I've had to battle the conflicting desire to actually have useful furniture immediately, and to make exactly what I want accepting the delay. Having accepted that things like wardrobes and a tv-stand (though not actually a TV, it's home to my wireless) would need to be purchased, after arguing unsuccessfully that curtain rails and packing boxes would do a fine job in the interim; I've set about making the more extraneous furniture.
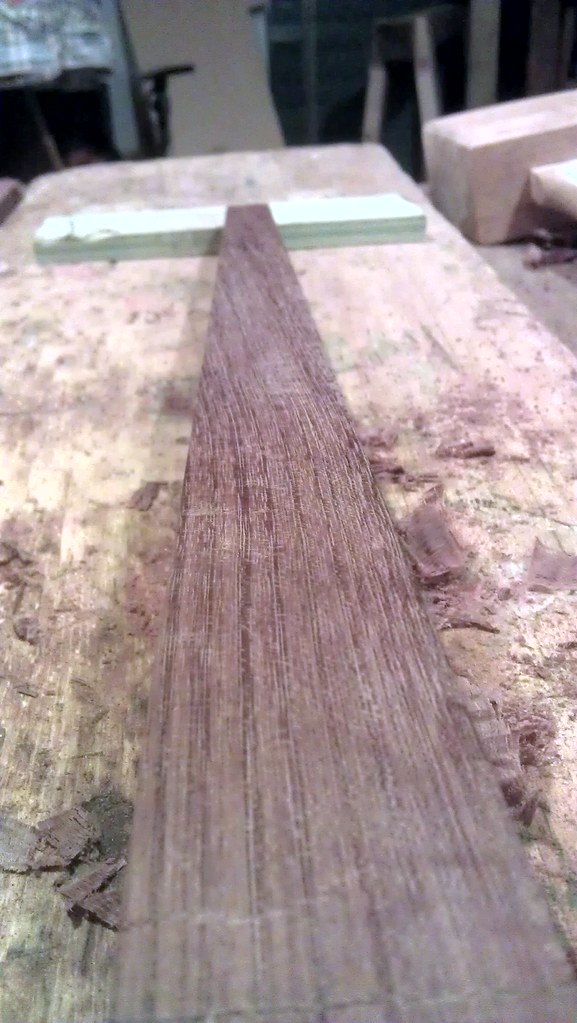
The raw material I had available for this table was an "offcut" of purpleheart about 1⅞"*10⅜"*4'2" Ideal, because I've had an ongoing affinity for purpleheart since I first came across a sample when I was a child.
I started by chopping off a section a little over 10" to make the top, and a 30" section to make the legs, then ripping the 30" section to get 4 1⅞" square lengths; then deeping the table top section by hand to produce a 30mm (1 13/32" ish?) thickness (I decided that it would be a pleasing thickness pretty much by eye).
I have photo's to let me explain how I did this, but frankly I'd reccomend against it, my arms are still aching.
I next planed it down to 10" square and all four edges straight and smooth, (with my trusty marples Jack plane†, only one edge needed touching up with my smoother, thankfully) then marked the bottom of each edge, and each edge along the bottom with a scribed line ⅜" in, and set to with the jack again chamfering the edges. Whilst I had to hone the edge quite a few times, to consistently get nice results on the endgrain, it took very clean cuts
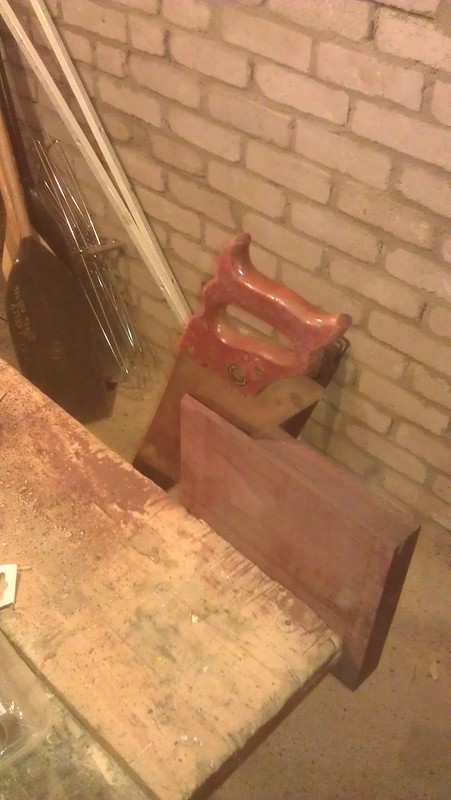
Having done this, I decided to rip the material for the sides and drawer and discovered that my RAS had a short circuit, which put paid to that idea...
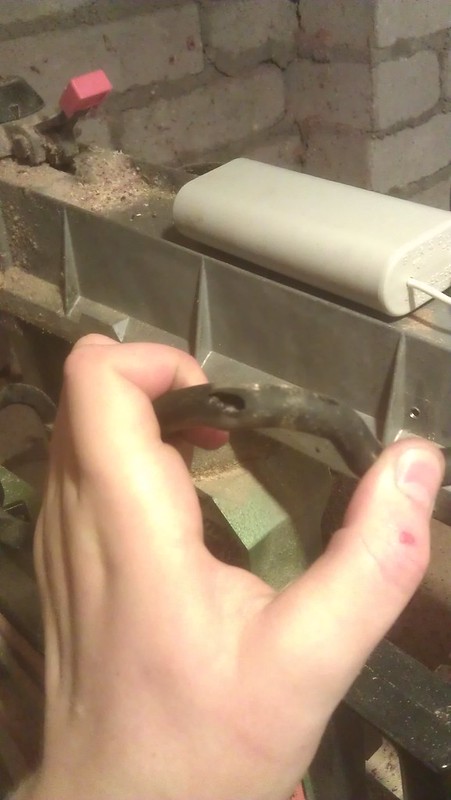
Zap!
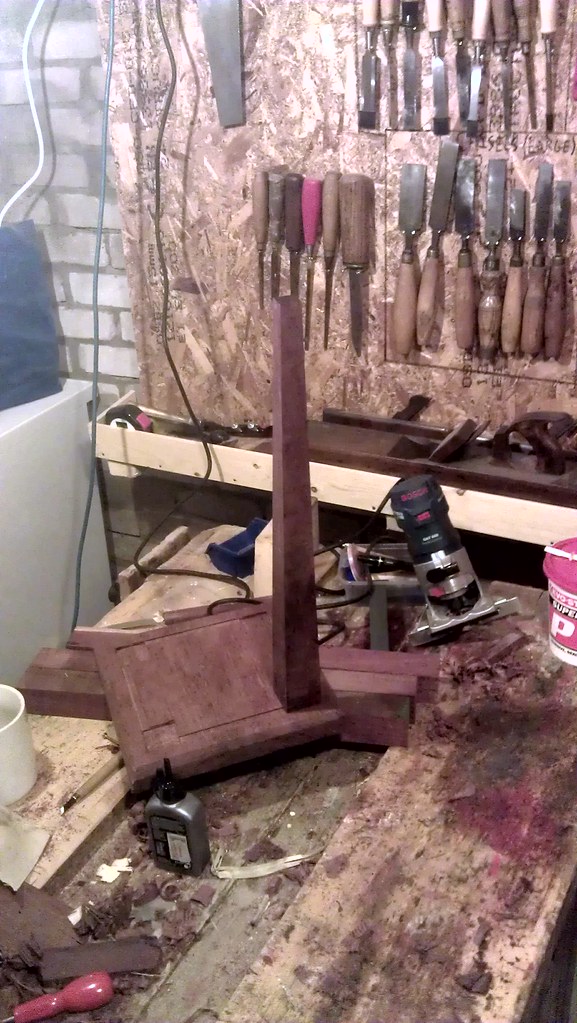
So I went back and cut out the joints in the base for the sides and legs to fit into... ⅛" housing joints for the sides and ¼" blind mortices for the legs, which should be more than sufficient. the mortices were chopped with a firmer chisel and cleaned up with a router plane, but lacking a sufficiently small iron for the router plane, I relented and used my laminate trimmer and a small router bit to cut the housing joints, which made at least as much mess as all the ripping did, and stopped me from hearing radio 4, most inconvenient.
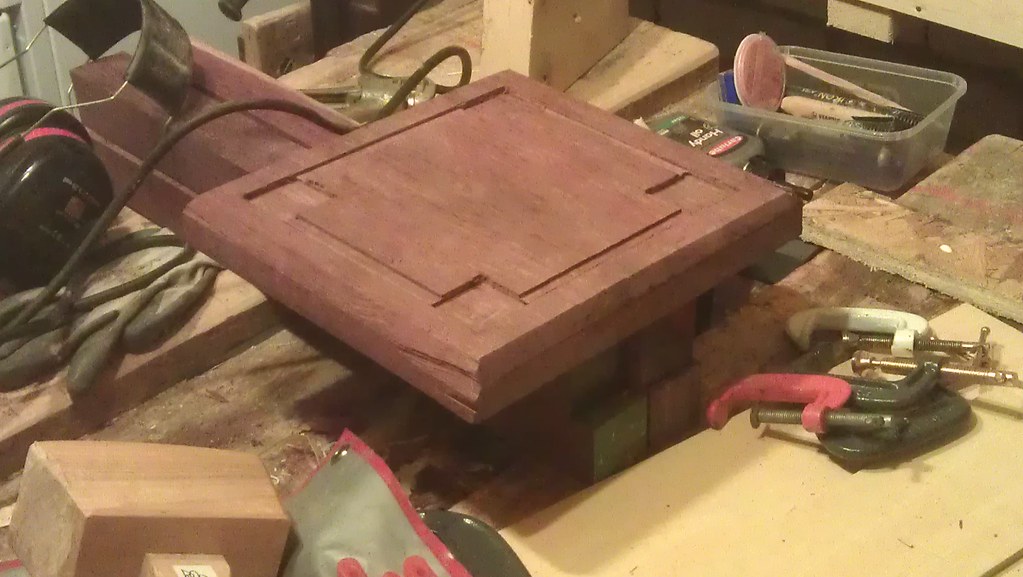
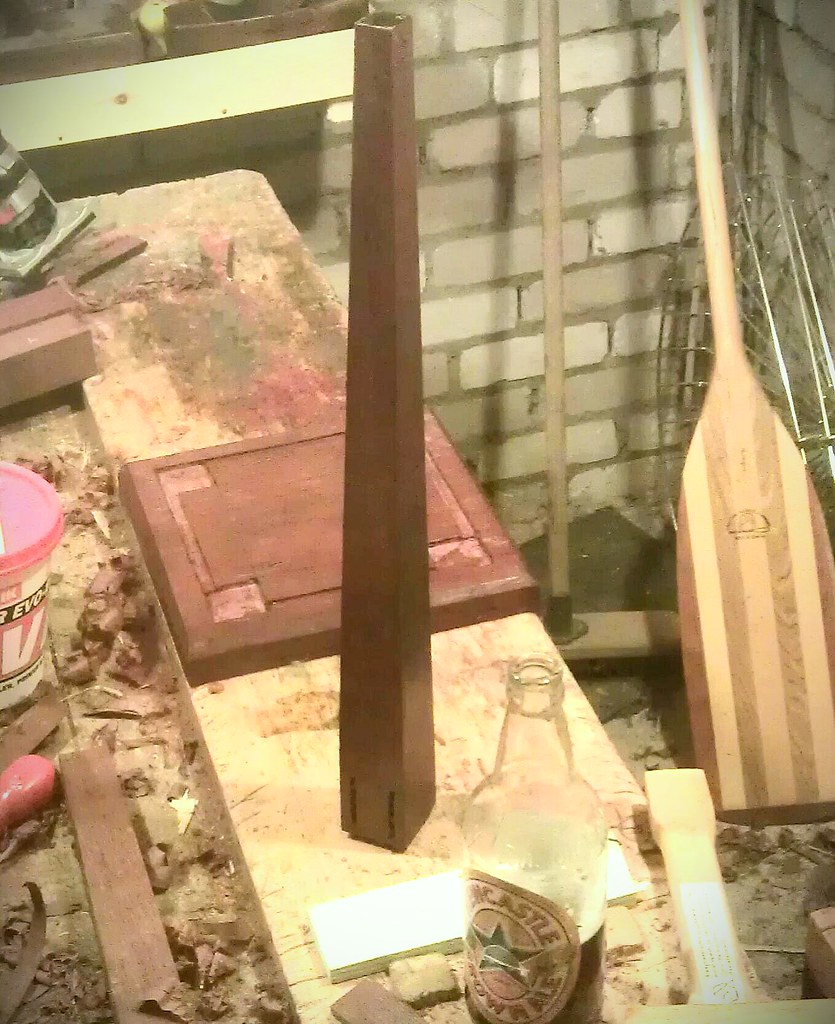
With the saw still out of action and the memory of just how bloody hard it was deeping the timber by hand still fresh, the sides remained uncut, and I moved on to the top... after smoothing with the coffin smoother, I marked out a ⅜" wide line ¾" in from each edge and cut a rebate to accept some sycamore inlay (at least I think it's sycamore, I found it in the place I put the sycamore, but also found a lot of other stuff there, it is in any case light coloured and attractive); In doing so I cocked up one of the corners and so added a 1/2 square overlapping each external corner.
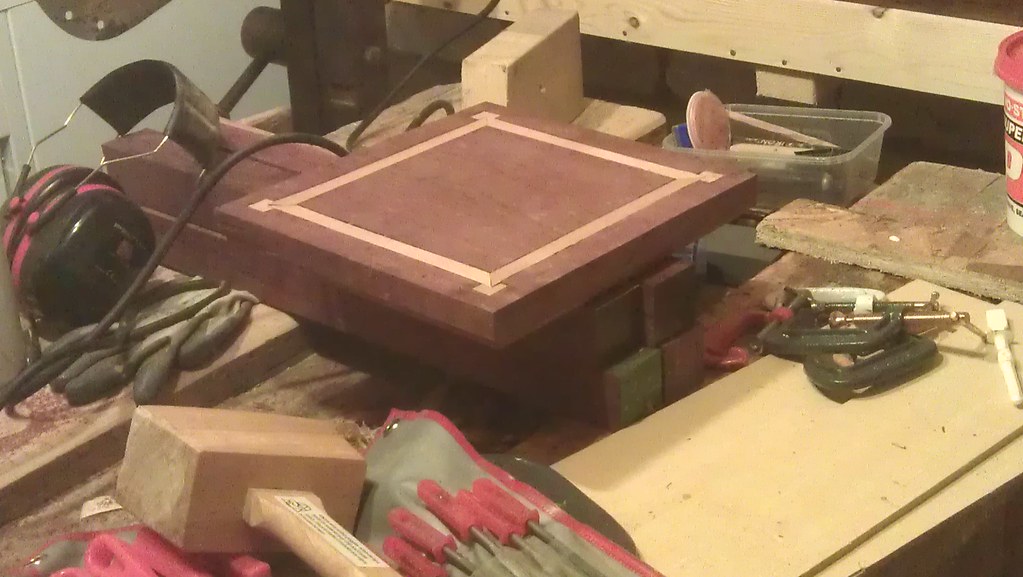
Having done that I cut my inlay material to rough size with a knife, and made nice tidy edges by sandwiching each piece between two offcuts of ply and running the laminate trimmer down the edge... a little final fitting with the knife saw the straight portions in and left the squares to cut...

Looks pretty enough, right?
At which point I went canoeing as a change of pace.
† Flying in the face of popular logic, all‡ my plane irons are honed flat across with the edges eased; as my jack plane serves also as a small try plane, and my huge 30" Griffiths try plane is sometimes pressed into service for jobs more usually done with a Jack plane, where it's momentum is an advantage, precluding taking the bevel square to the edge of the iron
‡Even my scrub plane, which will eventually become properly cambered, when it's been through enough cycles of being honed on the coarse stone, which first requires it to get blunt a sufficient number of times too.
The raw material I had available for this table was an "offcut" of purpleheart about 1⅞"*10⅜"*4'2" Ideal, because I've had an ongoing affinity for purpleheart since I first came across a sample when I was a child.
I started by chopping off a section a little over 10" to make the top, and a 30" section to make the legs, then ripping the 30" section to get 4 1⅞" square lengths; then deeping the table top section by hand to produce a 30mm (1 13/32" ish?) thickness (I decided that it would be a pleasing thickness pretty much by eye).
I have photo's to let me explain how I did this, but frankly I'd reccomend against it, my arms are still aching.
I next planed it down to 10" square and all four edges straight and smooth, (with my trusty marples Jack plane†, only one edge needed touching up with my smoother, thankfully) then marked the bottom of each edge, and each edge along the bottom with a scribed line ⅜" in, and set to with the jack again chamfering the edges. Whilst I had to hone the edge quite a few times, to consistently get nice results on the endgrain, it took very clean cuts
Having done this, I decided to rip the material for the sides and drawer and discovered that my RAS had a short circuit, which put paid to that idea...
Zap!
So I went back and cut out the joints in the base for the sides and legs to fit into... ⅛" housing joints for the sides and ¼" blind mortices for the legs, which should be more than sufficient. the mortices were chopped with a firmer chisel and cleaned up with a router plane, but lacking a sufficiently small iron for the router plane, I relented and used my laminate trimmer and a small router bit to cut the housing joints, which made at least as much mess as all the ripping did, and stopped me from hearing radio 4, most inconvenient.
With the saw still out of action and the memory of just how bloody hard it was deeping the timber by hand still fresh, the sides remained uncut, and I moved on to the top... after smoothing with the coffin smoother, I marked out a ⅜" wide line ¾" in from each edge and cut a rebate to accept some sycamore inlay (at least I think it's sycamore, I found it in the place I put the sycamore, but also found a lot of other stuff there, it is in any case light coloured and attractive); In doing so I cocked up one of the corners and so added a 1/2 square overlapping each external corner.
Having done that I cut my inlay material to rough size with a knife, and made nice tidy edges by sandwiching each piece between two offcuts of ply and running the laminate trimmer down the edge... a little final fitting with the knife saw the straight portions in and left the squares to cut...
Looks pretty enough, right?
At which point I went canoeing as a change of pace.
† Flying in the face of popular logic, all‡ my plane irons are honed flat across with the edges eased; as my jack plane serves also as a small try plane, and my huge 30" Griffiths try plane is sometimes pressed into service for jobs more usually done with a Jack plane, where it's momentum is an advantage, precluding taking the bevel square to the edge of the iron
‡Even my scrub plane, which will eventually become properly cambered, when it's been through enough cycles of being honed on the coarse stone, which first requires it to get blunt a sufficient number of times too.