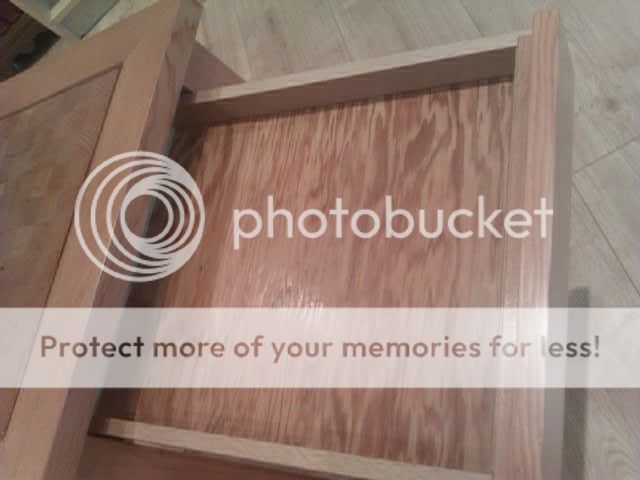
Well I decided to do a little WIP on my next project.
I've nearly finished this glass door cabinet, it's waiting for some finish and some glass.
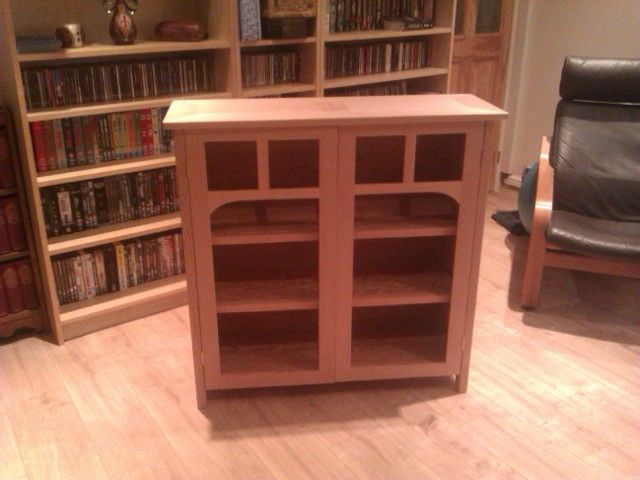
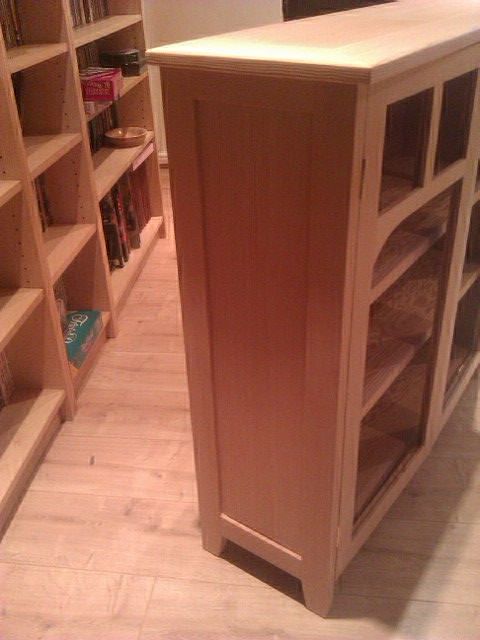
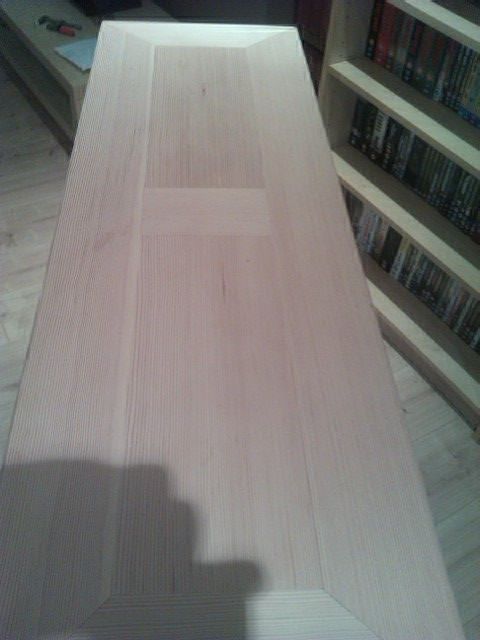
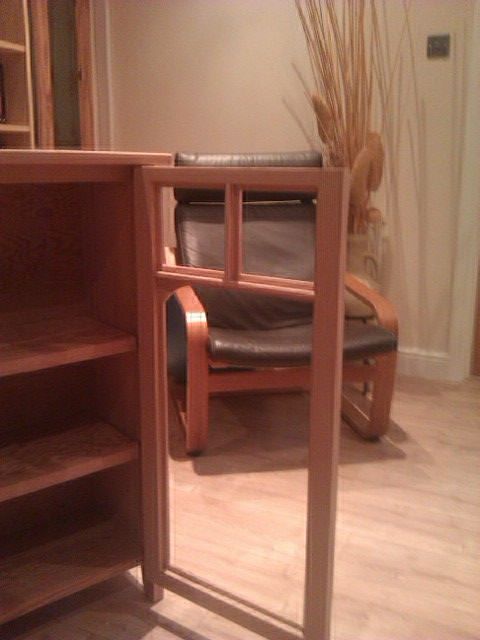
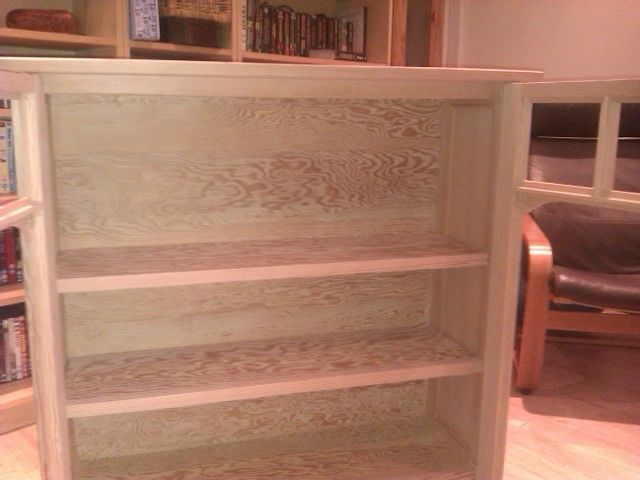
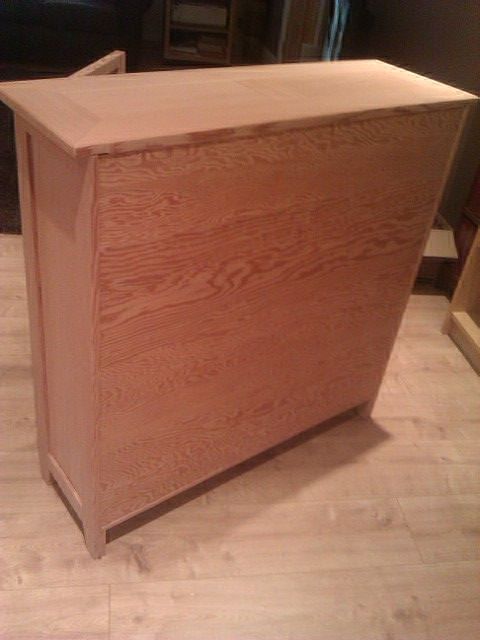
It's been made from some old doors from my parents house, here's a pic of the type.

Mum and dad wanted some new doors so I kept the old ones, 6 doors in total, this was done last year.
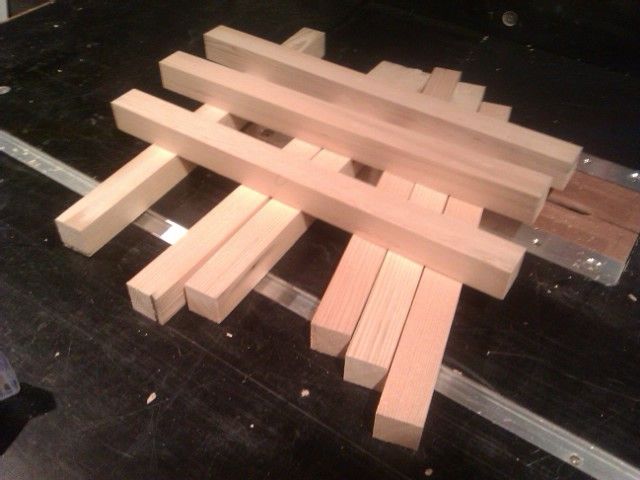
The old doors were broken up and passed through my thicknesser and stacked waiting for use.
I decided I would try to use only what timber I had from the doors and make some stuff without buying more material.
So far I've made a hallway table, Mum fancied that so it went to them (quite fitting really). They enjoy showing visitors their new doors then directing them to their "old door" in the hall.
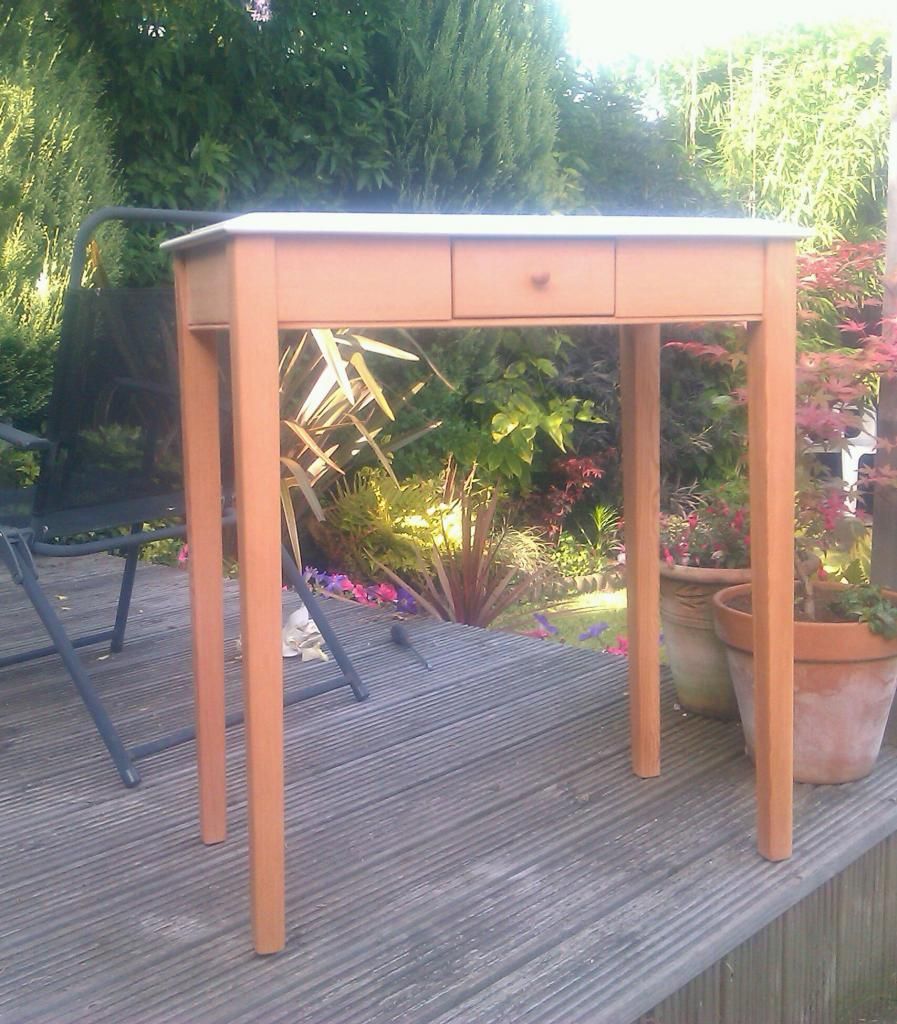
The cabinet was (for me) difficult to complete without buying in some more wood and the only thing I did buy was some 18mm ply for the shelves. Try as I might with many failing ideas I couldn't do the shelves, certainly not being able to make them substantial enough to hold anything of any weight.
So I bit the bullet and bought the ply, clad it both sides with some of the 1/4" ply that was once the panels of the old doors and edged the front with some of the solid timber. A happy compromise.
So yesterday I did a "stock take" of what and how much I have left. Not a great deal.
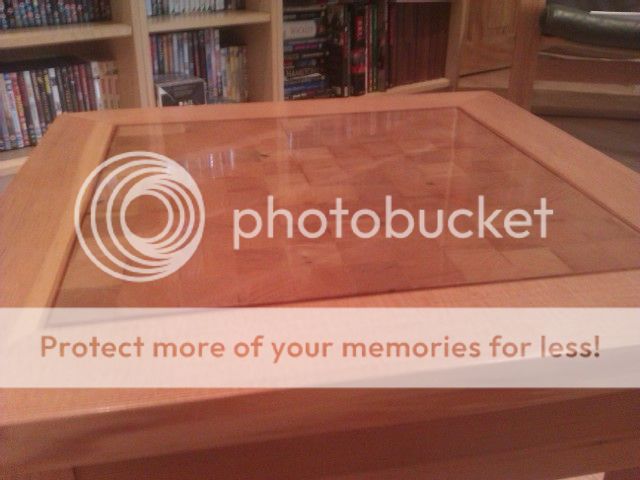
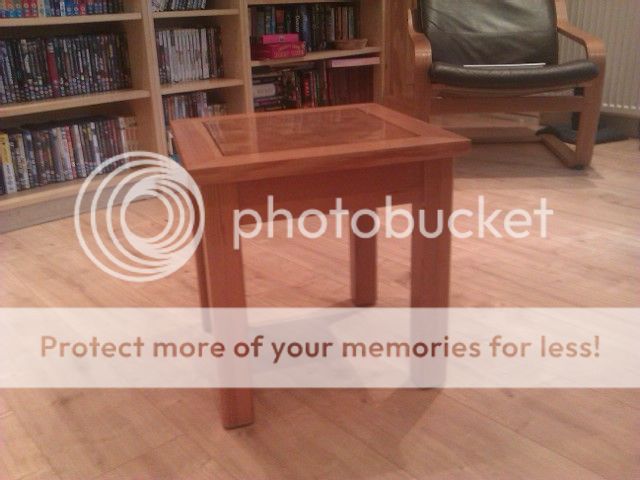
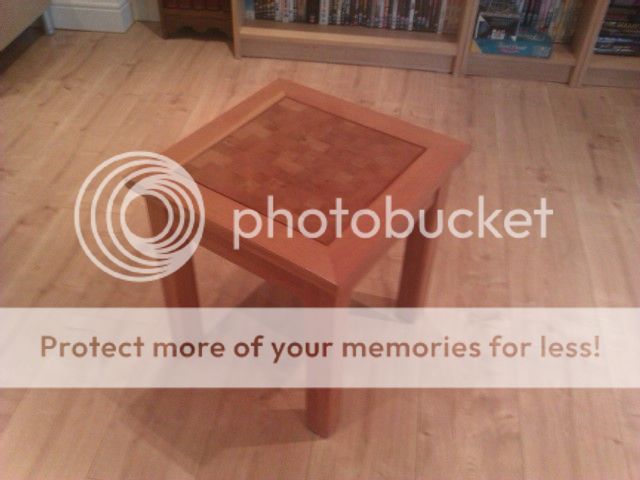
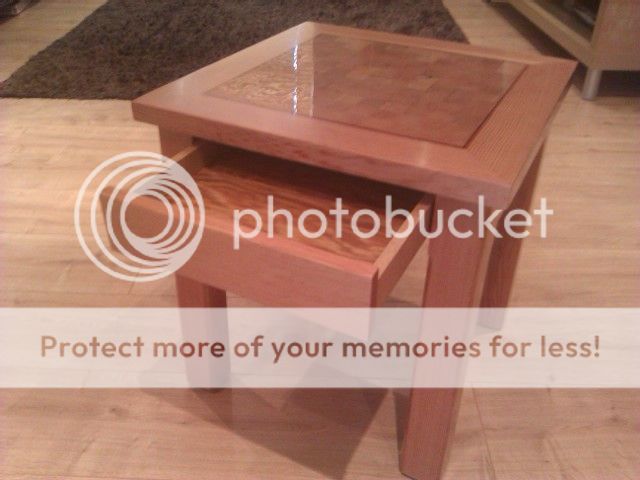
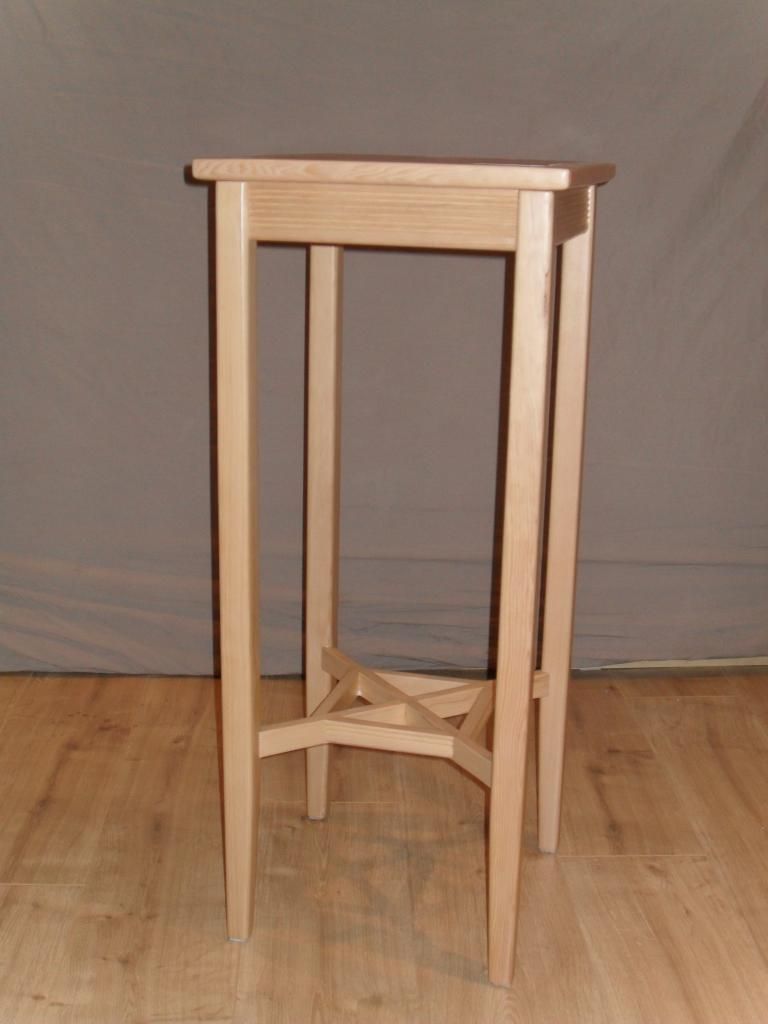
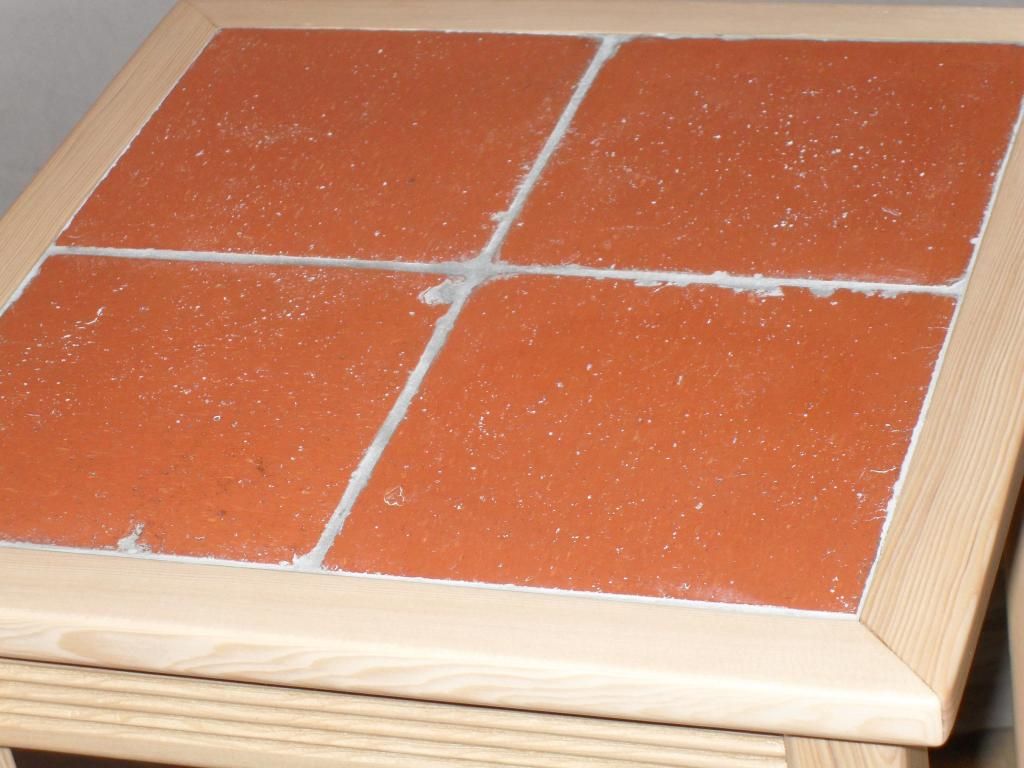
There's some of the old pine ( m&d's old doors ) and some hemlock, again from some old doors from the mother in-laws. This was from last years new rear porch project at her home. I made a plant stand/table for her from the bulk of those doors and used some of the old quarry tiles we took up as a top. Pics below.
So what are we left with ?
Well I decided I'm going to build a small coffee table. It's going to be a mixture of species, but again with the brief of not buying in anything unless absolutely necessary.
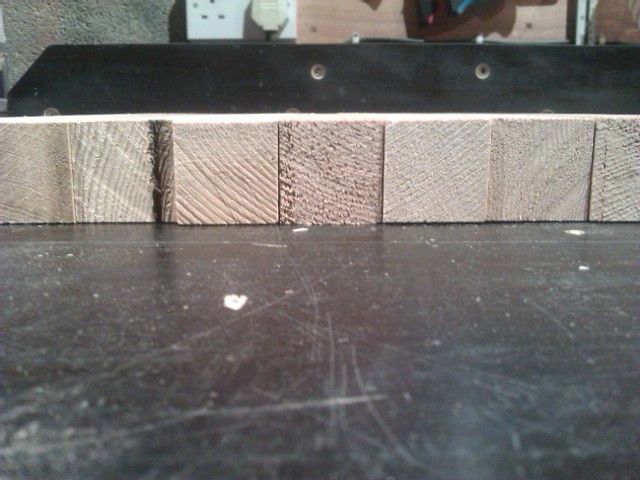
So to the planer first to get some nice flat faces for some glue ups.
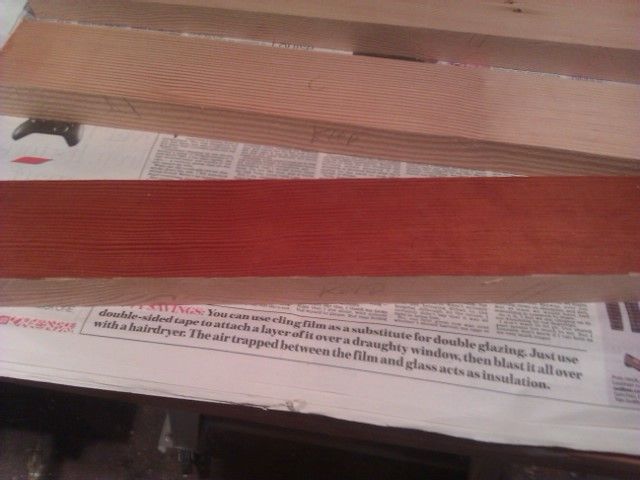
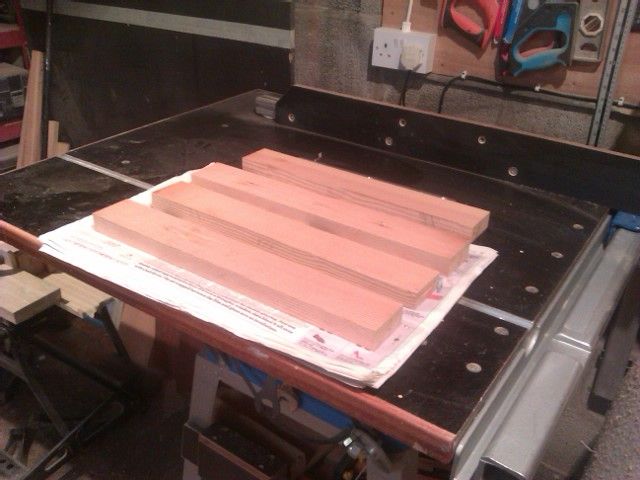
I jointed a face on each piece, 8 in total, to join the pieces together to get some nice square legs. I was aiming for a finished size of 65mm but I've had to settle for legs that are now 55mm square.
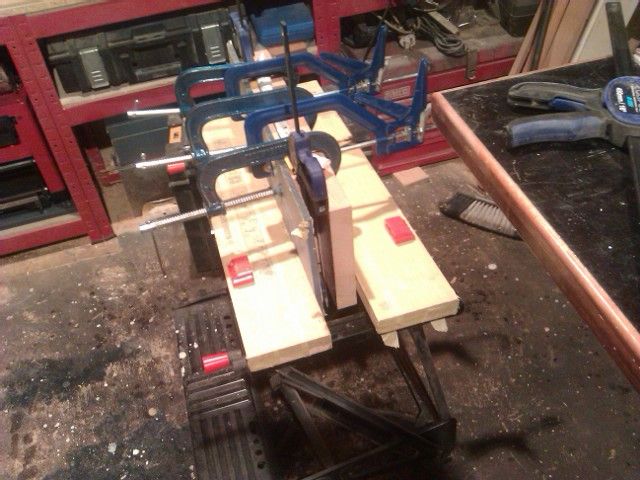
Once the first stage was complete I used polyurethane glue for the joints.
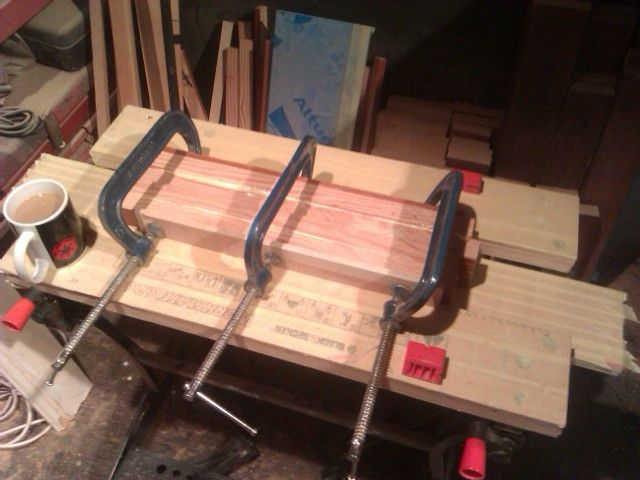
The pieces were then clamped for an hour, the bottle says 30 mins but I use a bit of caution considering I still need to machine these pieces and don't want anything coming apart on me.
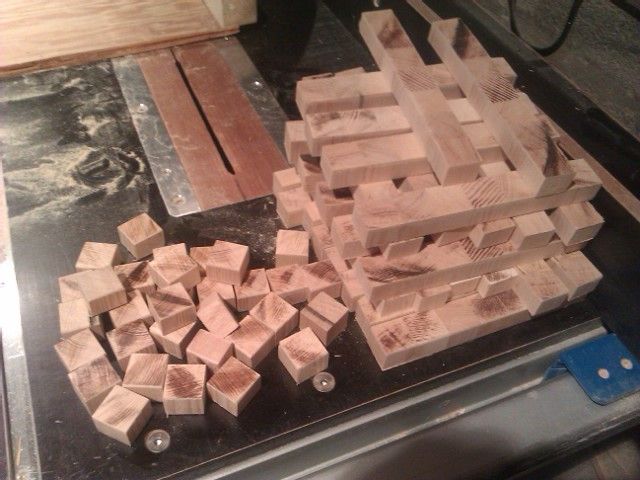
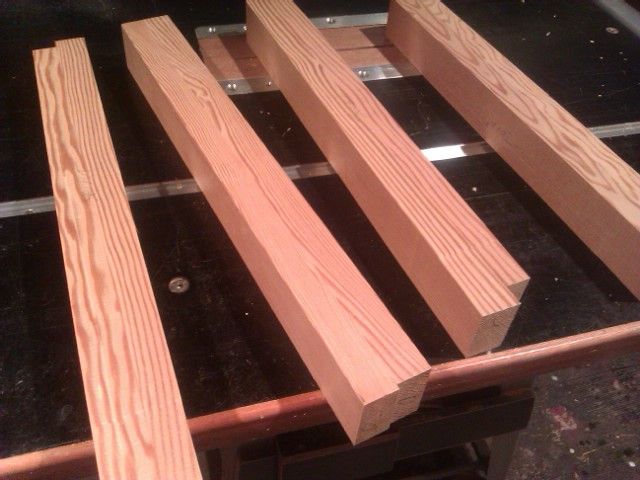
Anyhow a start has been made and I have 4 blanks flat and square ready for the next stage.
This won't be a fast project, they never are with me, but hopefully it should be fun.
I've nearly finished this glass door cabinet, it's waiting for some finish and some glass.


It's been made from some old doors from my parents house, here's a pic of the type.

Mum and dad wanted some new doors so I kept the old ones, 6 doors in total, this was done last year.
The old doors were broken up and passed through my thicknesser and stacked waiting for use.
I decided I would try to use only what timber I had from the doors and make some stuff without buying more material.
So far I've made a hallway table, Mum fancied that so it went to them (quite fitting really). They enjoy showing visitors their new doors then directing them to their "old door" in the hall.

The cabinet was (for me) difficult to complete without buying in some more wood and the only thing I did buy was some 18mm ply for the shelves. Try as I might with many failing ideas I couldn't do the shelves, certainly not being able to make them substantial enough to hold anything of any weight.
So I bit the bullet and bought the ply, clad it both sides with some of the 1/4" ply that was once the panels of the old doors and edged the front with some of the solid timber. A happy compromise.
So yesterday I did a "stock take" of what and how much I have left. Not a great deal.
There's some of the old pine ( m&d's old doors ) and some hemlock, again from some old doors from the mother in-laws. This was from last years new rear porch project at her home. I made a plant stand/table for her from the bulk of those doors and used some of the old quarry tiles we took up as a top. Pics below.


So what are we left with ?
Well I decided I'm going to build a small coffee table. It's going to be a mixture of species, but again with the brief of not buying in anything unless absolutely necessary.
So to the planer first to get some nice flat faces for some glue ups.


I jointed a face on each piece, 8 in total, to join the pieces together to get some nice square legs. I was aiming for a finished size of 65mm but I've had to settle for legs that are now 55mm square.
Once the first stage was complete I used polyurethane glue for the joints.
The pieces were then clamped for an hour, the bottle says 30 mins but I use a bit of caution considering I still need to machine these pieces and don't want anything coming apart on me.

Anyhow a start has been made and I have 4 blanks flat and square ready for the next stage.

This won't be a fast project, they never are with me, but hopefully it should be fun.


