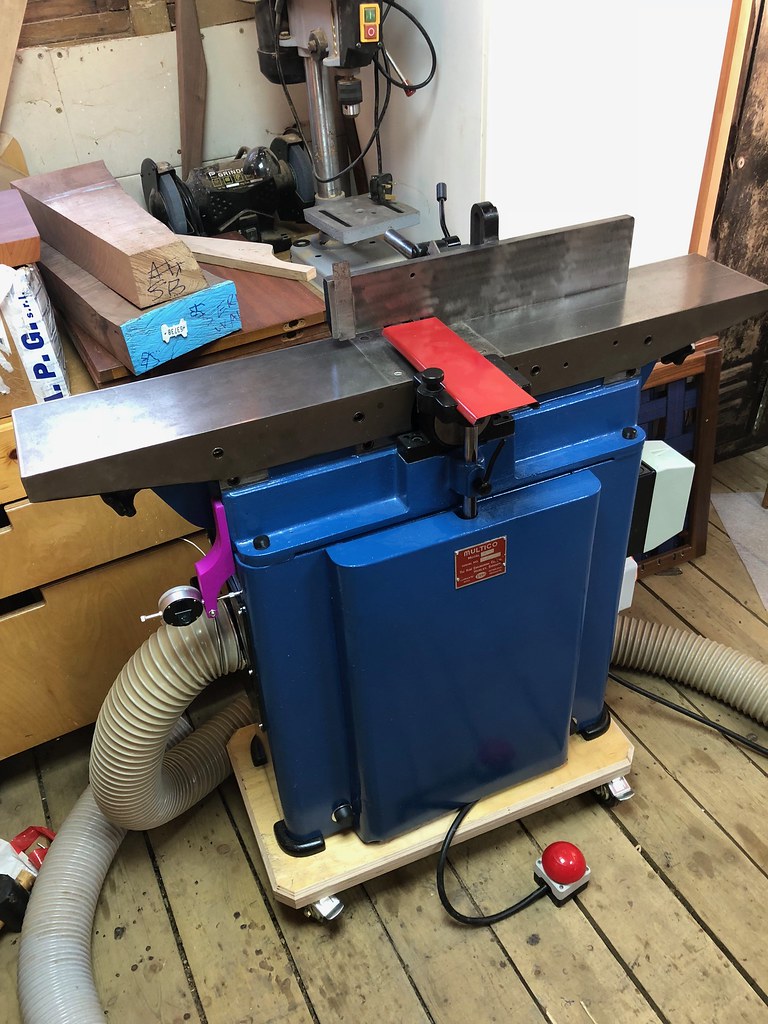
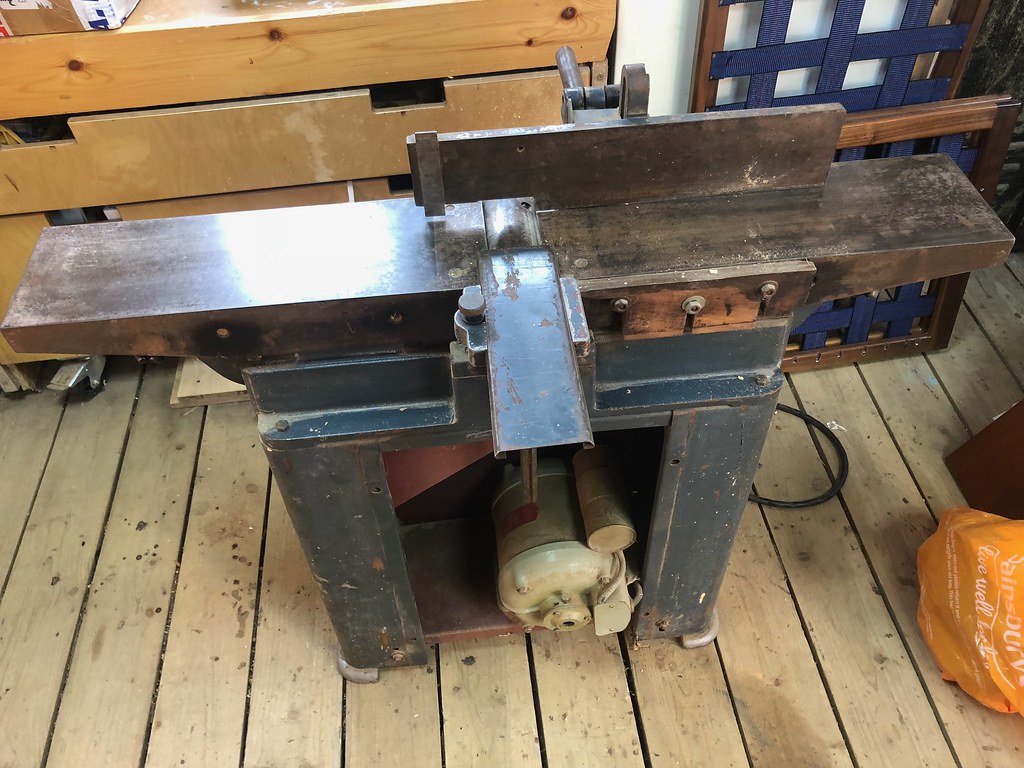
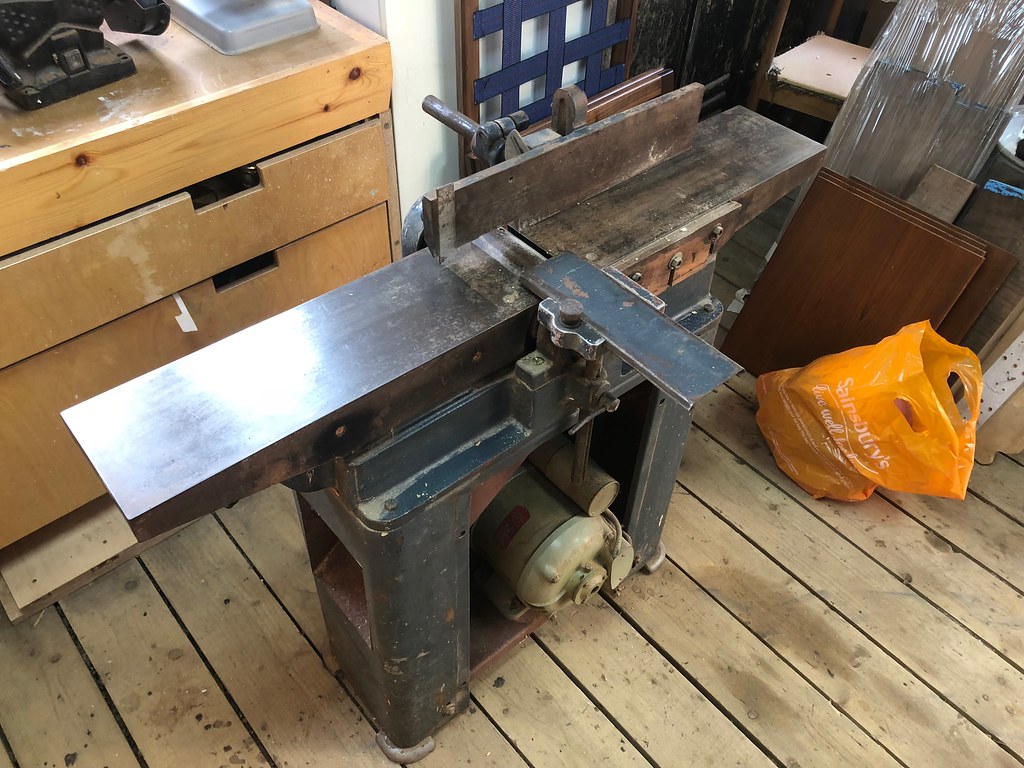
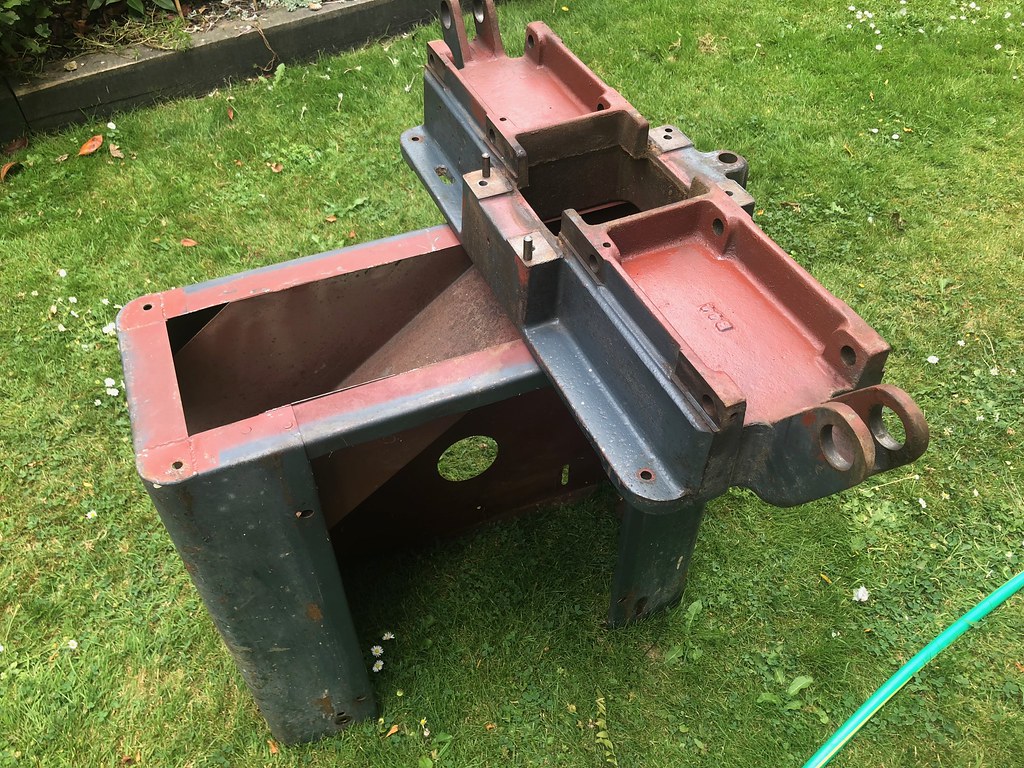
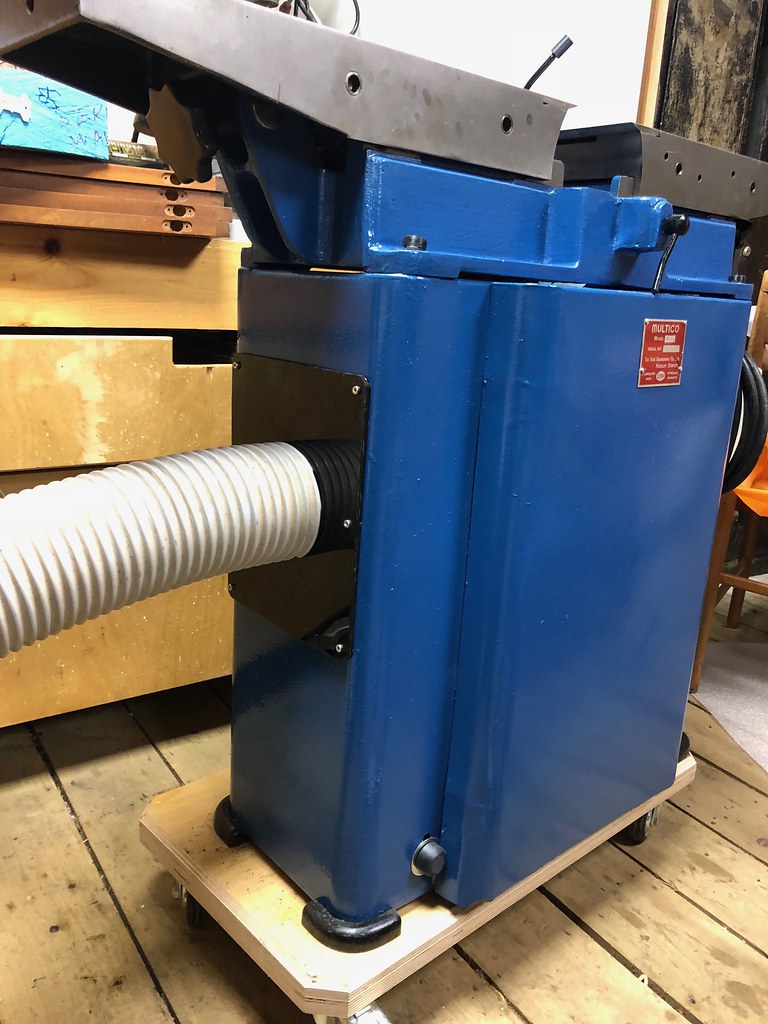
Picked up this Multico B2 Planer on Ebay.
Thought I would document the progress as with my
Multico TH1
Its a 6" Planer, 3/4 hp, Reasonably good condition. Mostly just needs a clean up.
List of jobs:
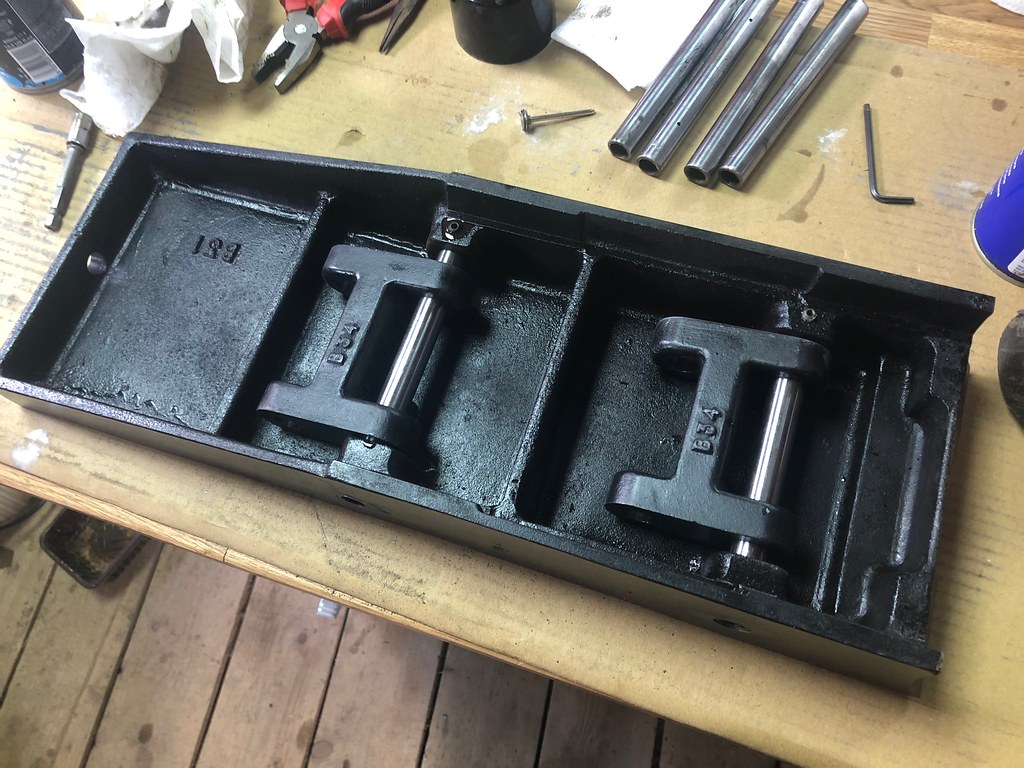
Complete strip down
De-grease
Paint strip
Paint
Polish tables and fence.
Add dust extraction
Reassembly
Blade setting
Tuning
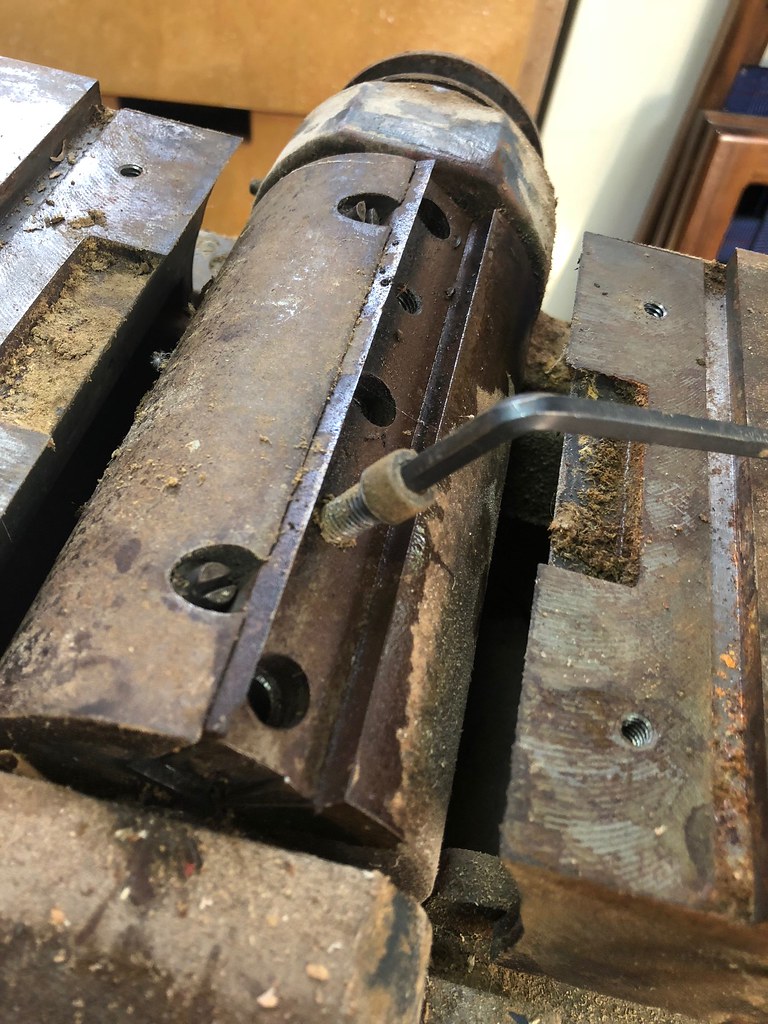
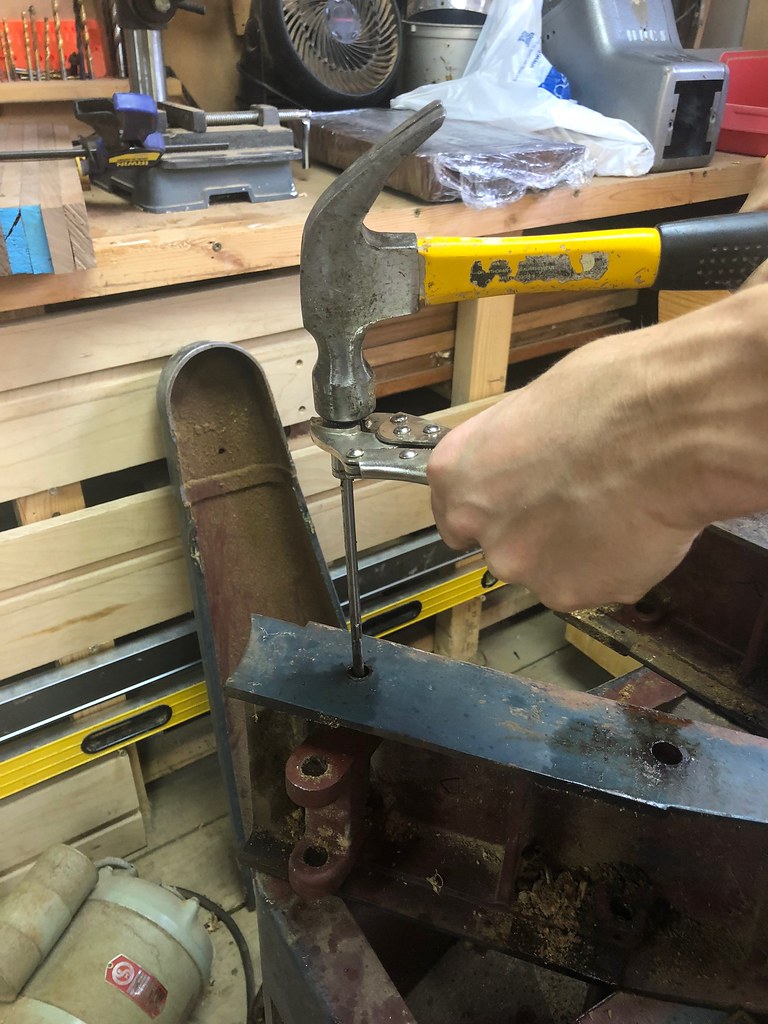
To get the chip breaker out there are to threaded holes in which insert a screw which forces the chip breaker out. Handy as it was firmly stuck.
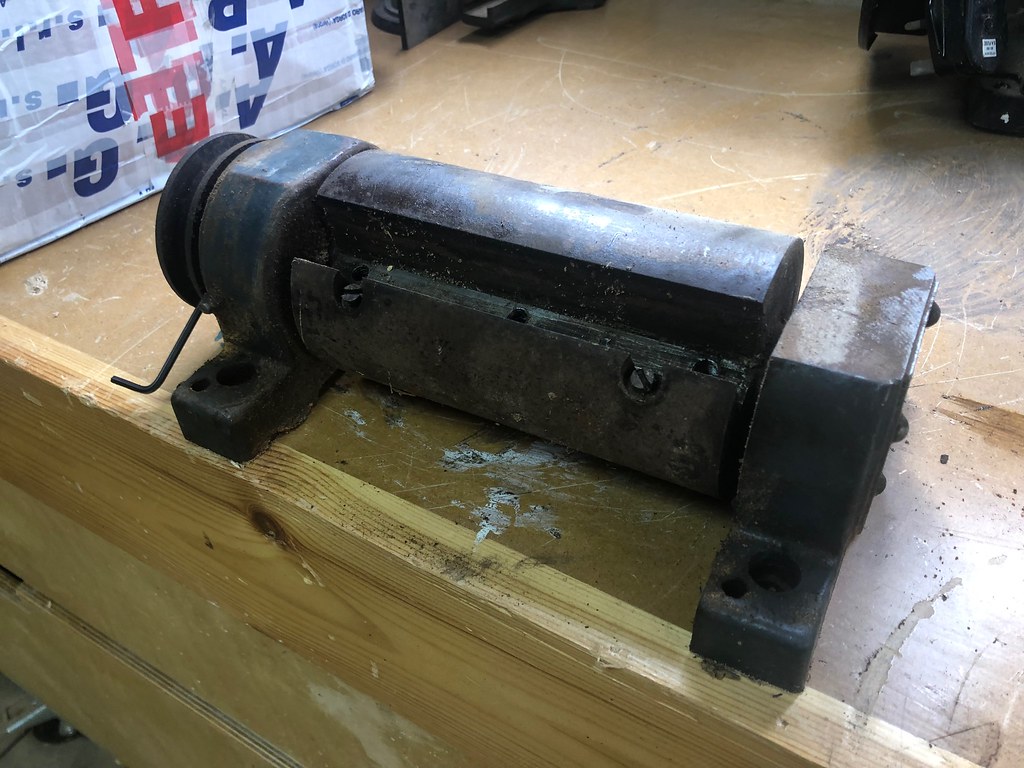
Cutter block removed.
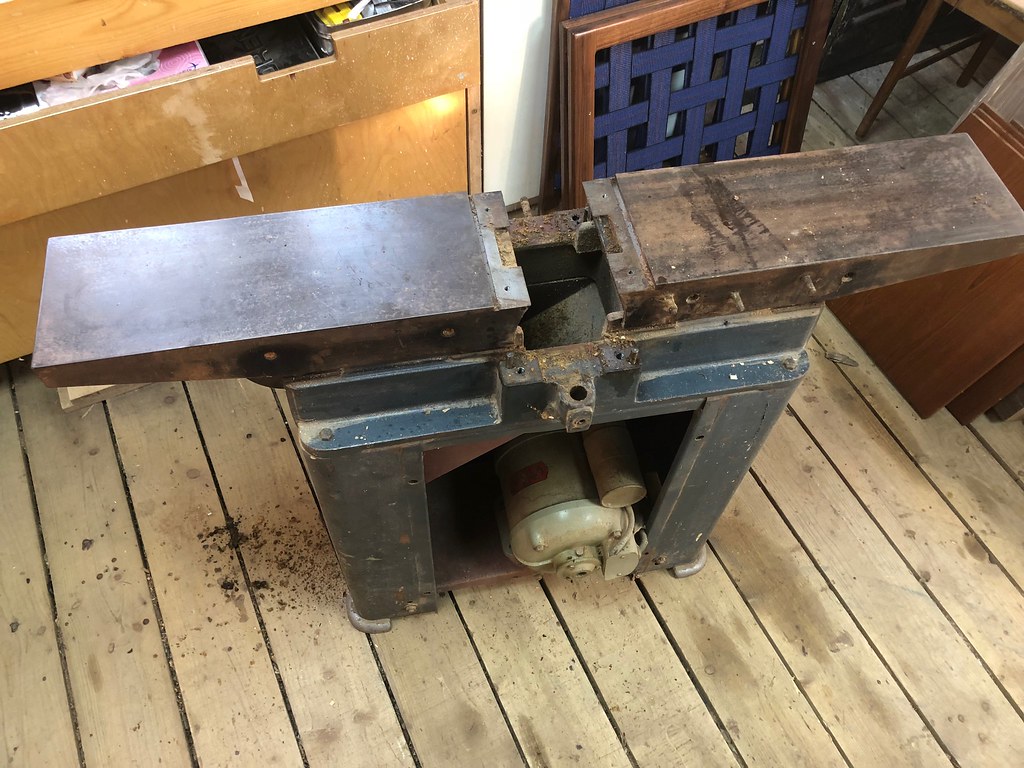
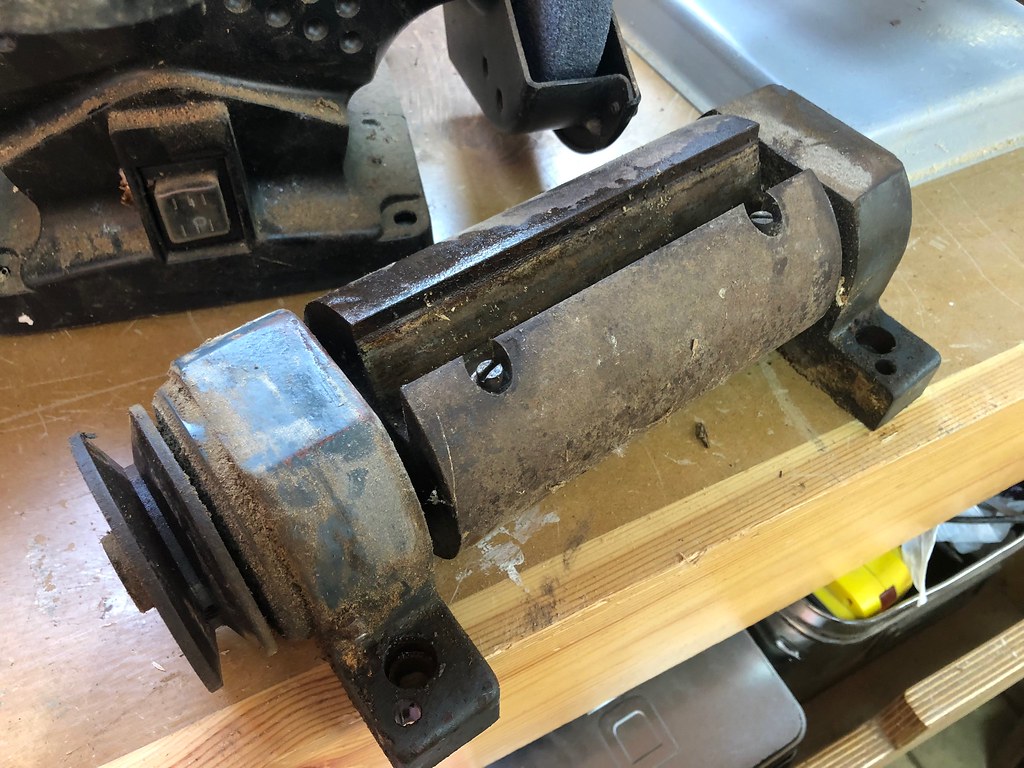
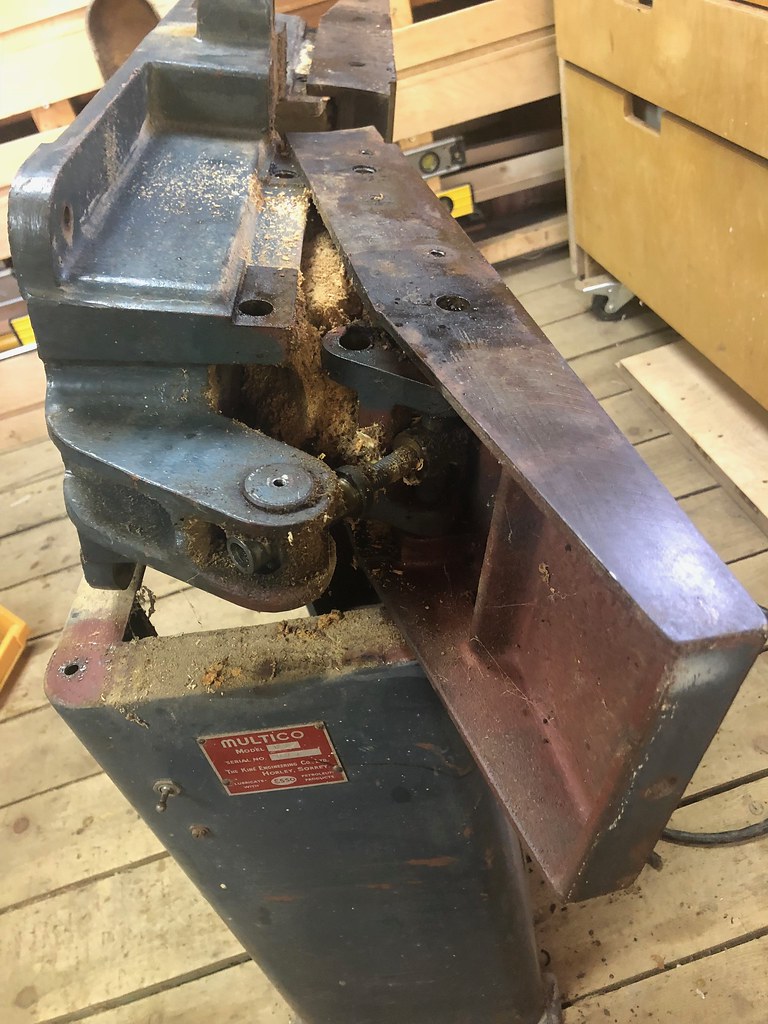
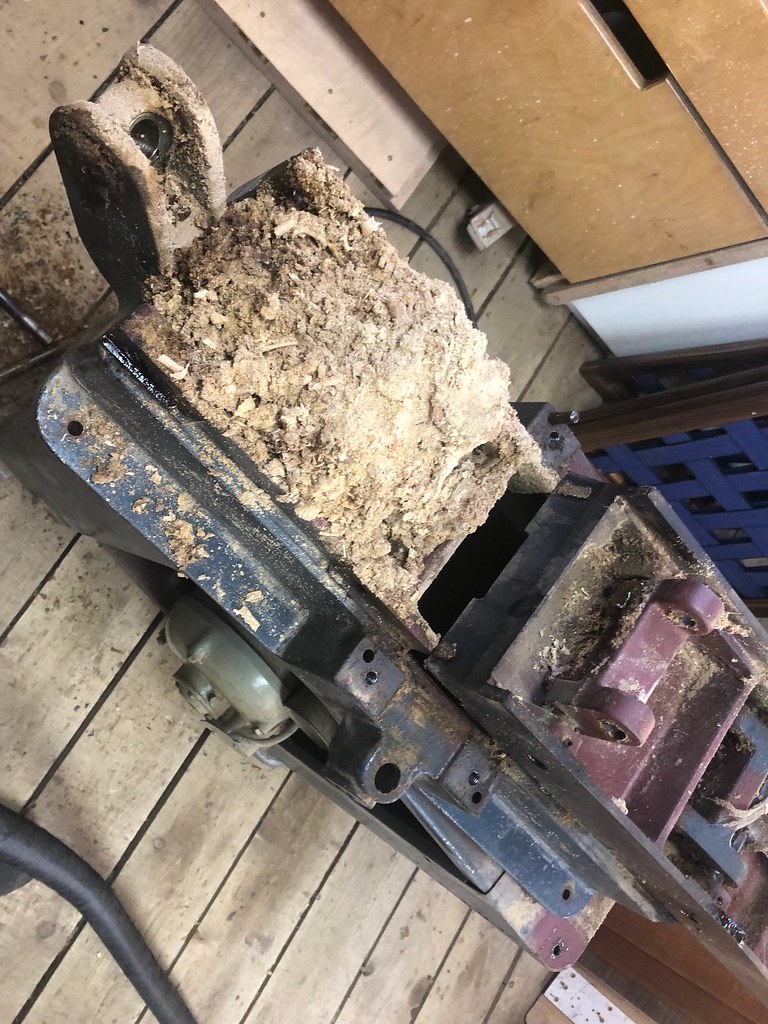
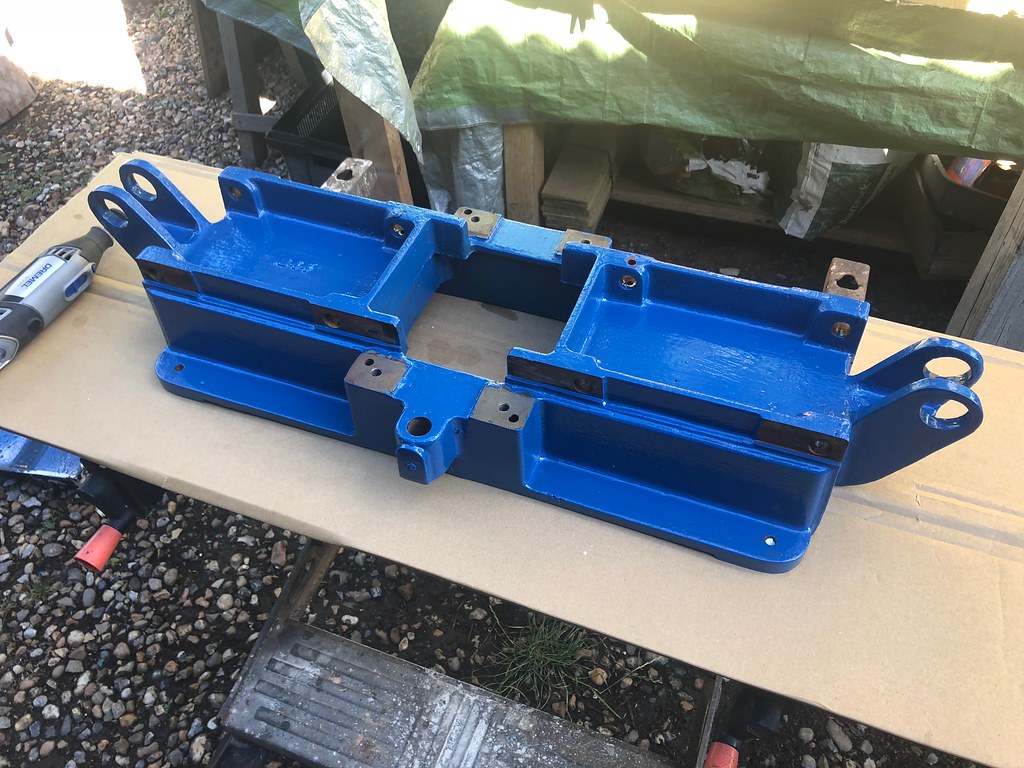
Table removal time! Look at all the chip build up. No wonder the table adjustment was stiff.
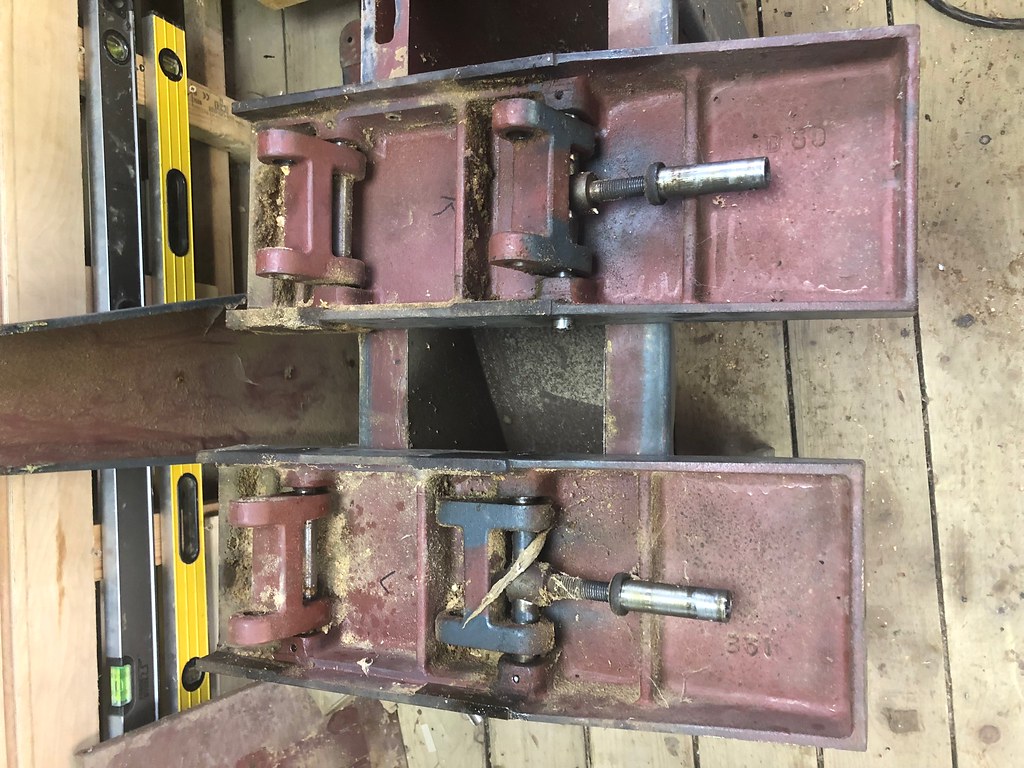
The pins that attach to the parallelogram were stuck solid. Soaked in wd40 penetrant over night and with some heavy hitting manage to free them.
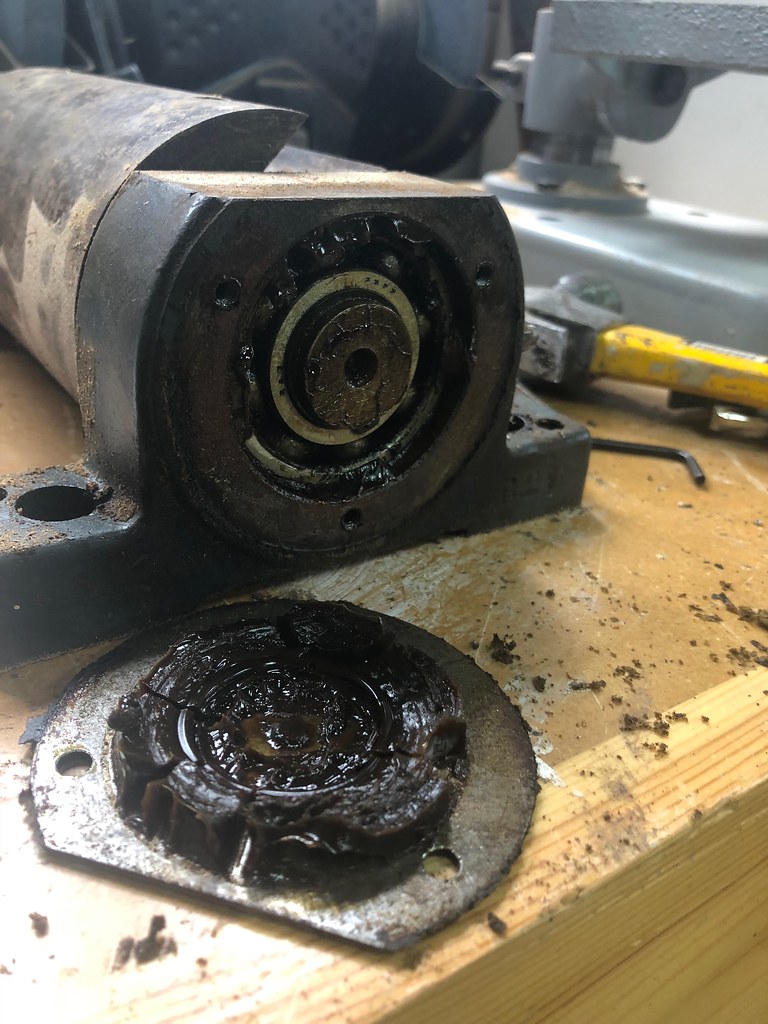
Back to the cutter block. I tried to pull off the bearings. Wouldn't budge. Rather than damage anything I cleaned out the old grease and cleaned everything ready for painting.
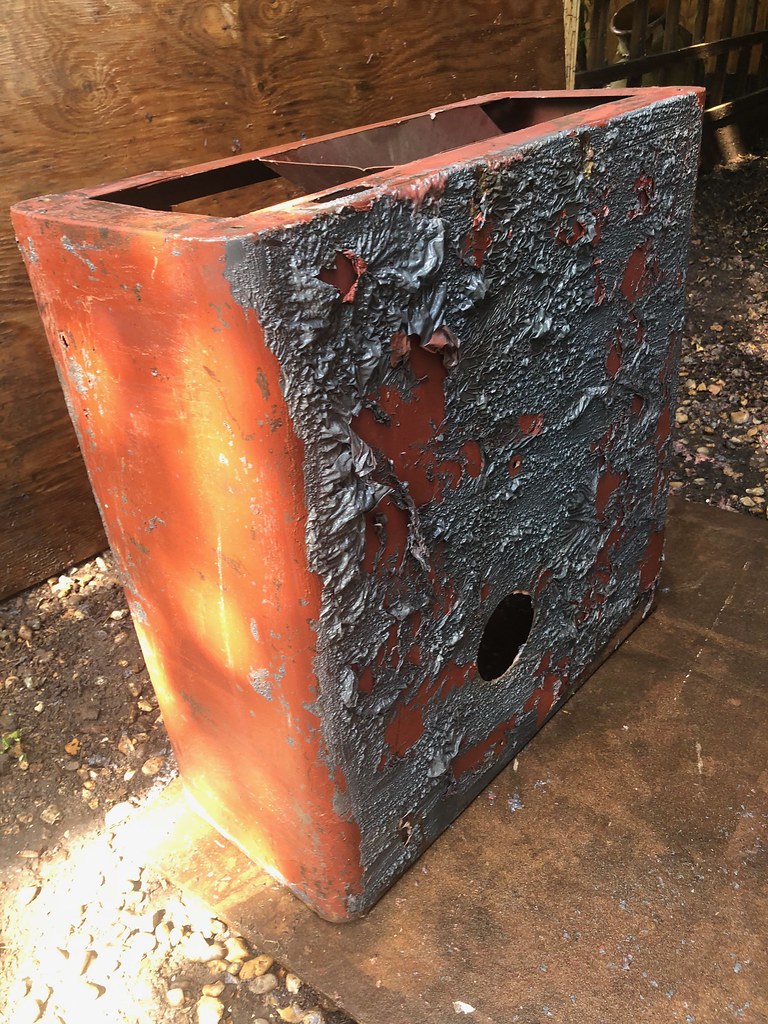
Paint stripping time. Used sinstrip and then used a pressure washer to clean off the loose paint.
Dirt and grime removed ready for stripping.
Paint removal.
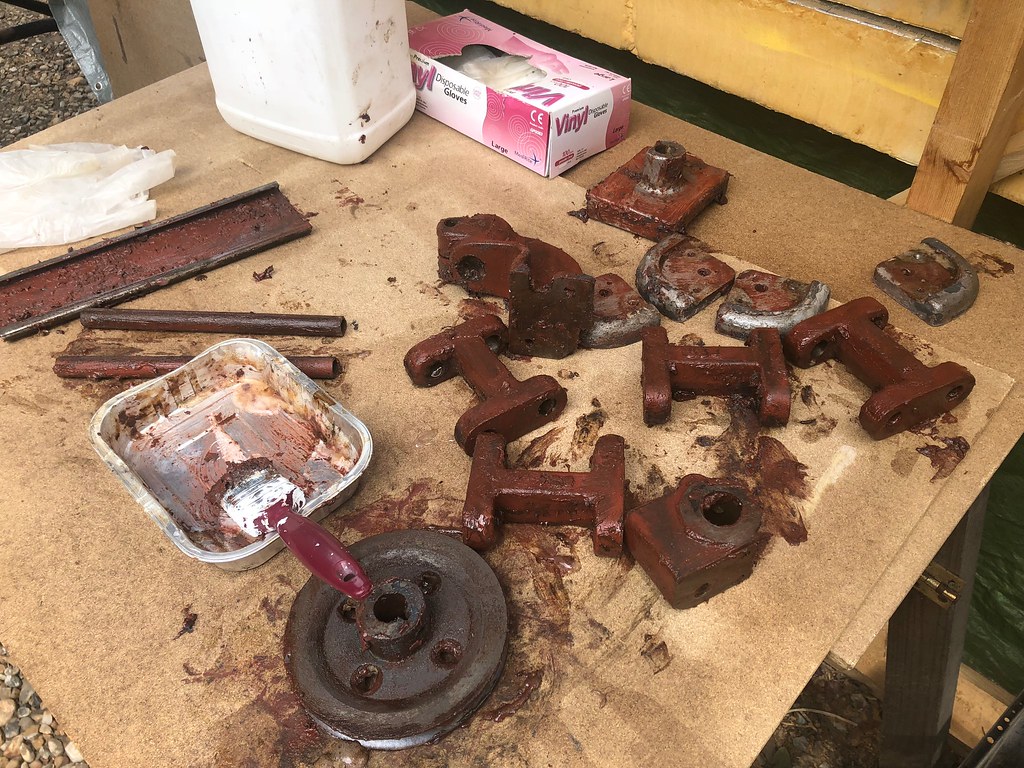
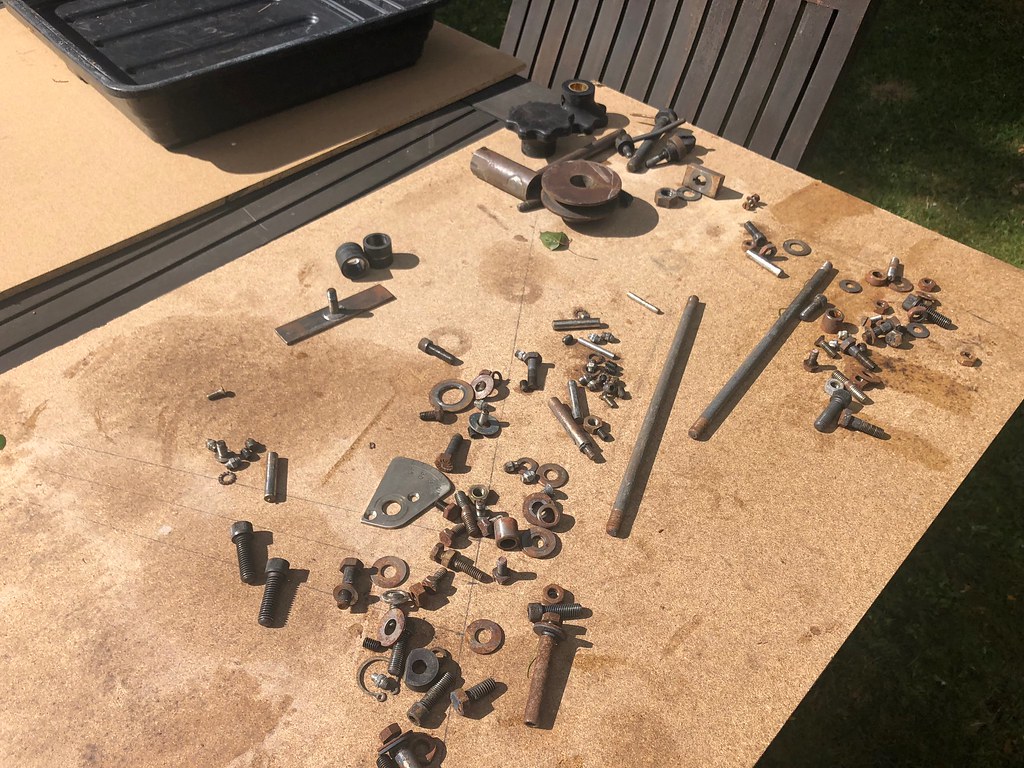
Small parts ready to be painted. Im using grey primer the black gloss spray paint.
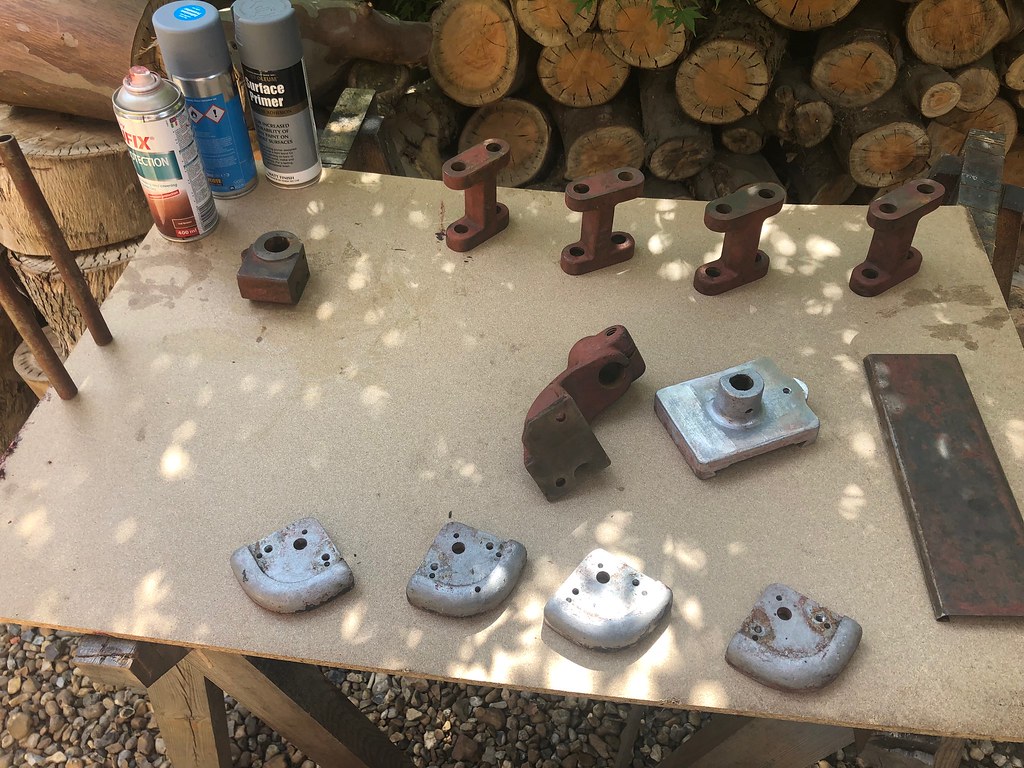
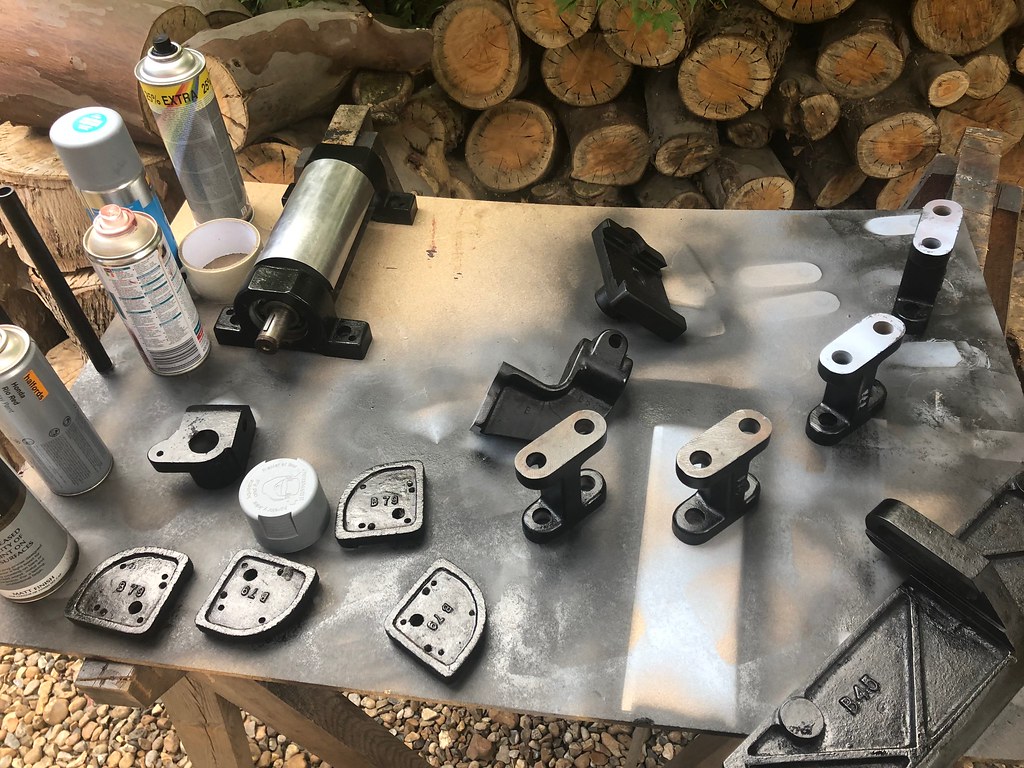
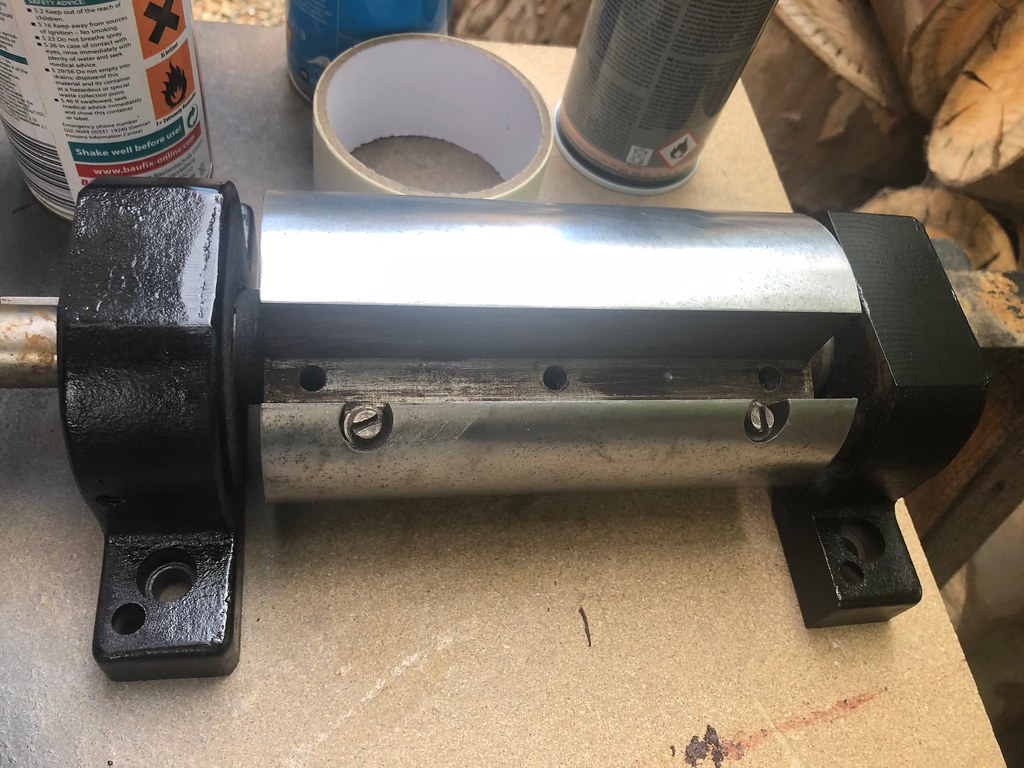
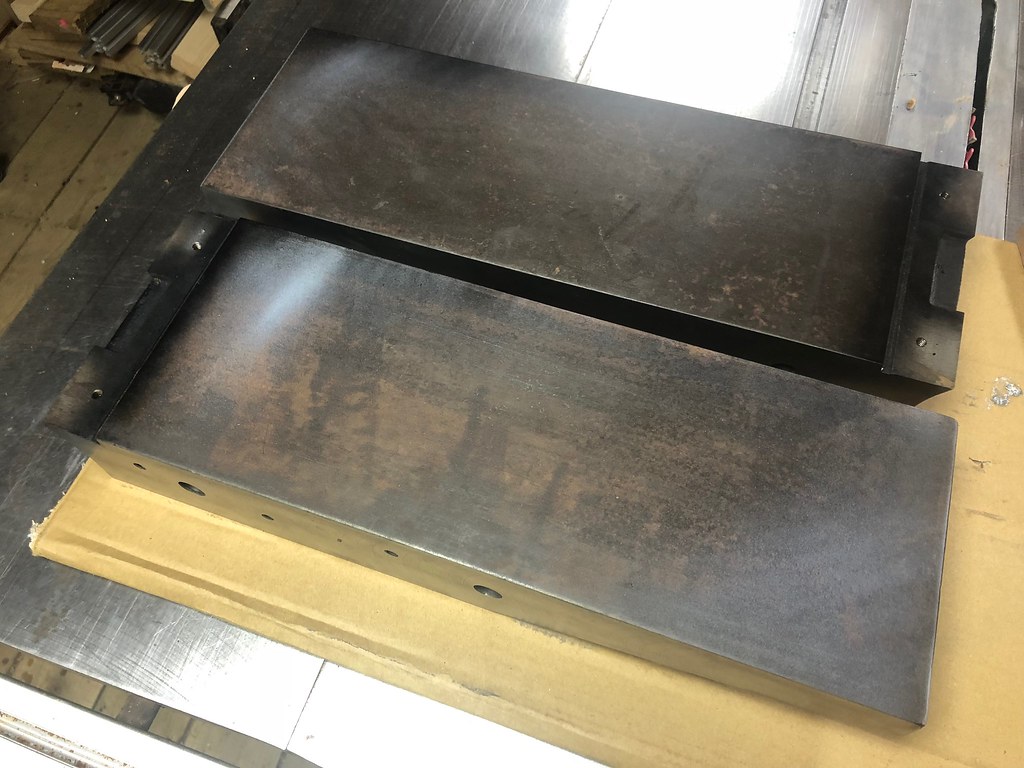
Table polishing time. I started with 120 grit paper and went down to 320 using my GEX 150 Currently unwaxed as it may get scratched or marked when reassembling. Will do this later.
Before
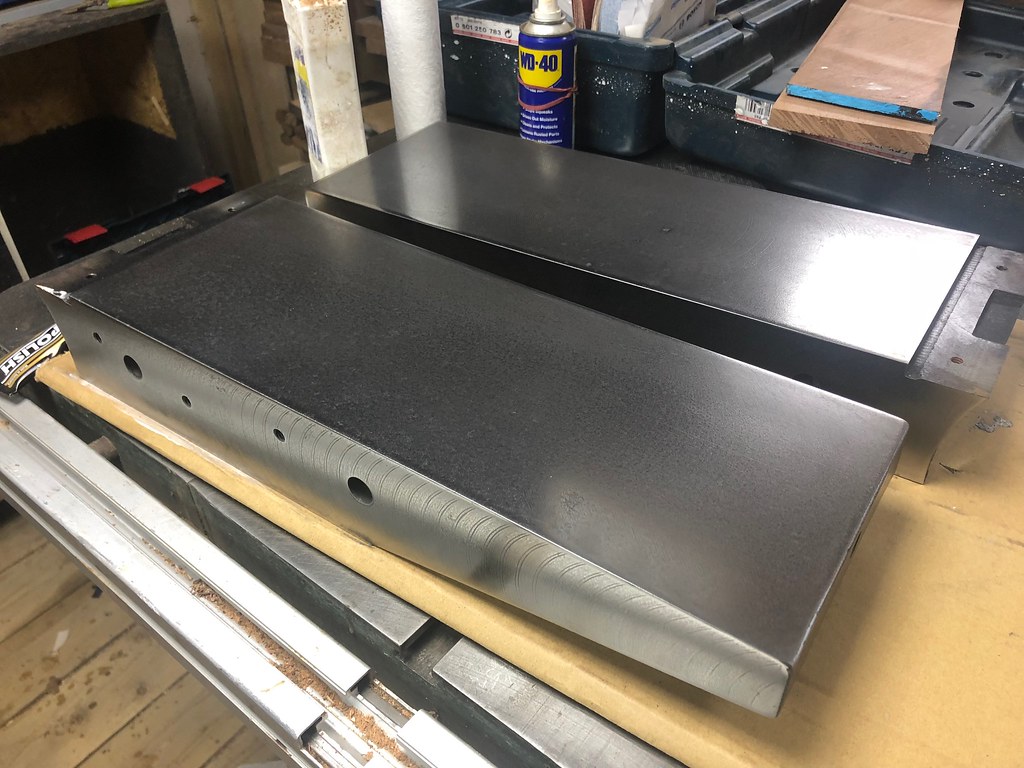
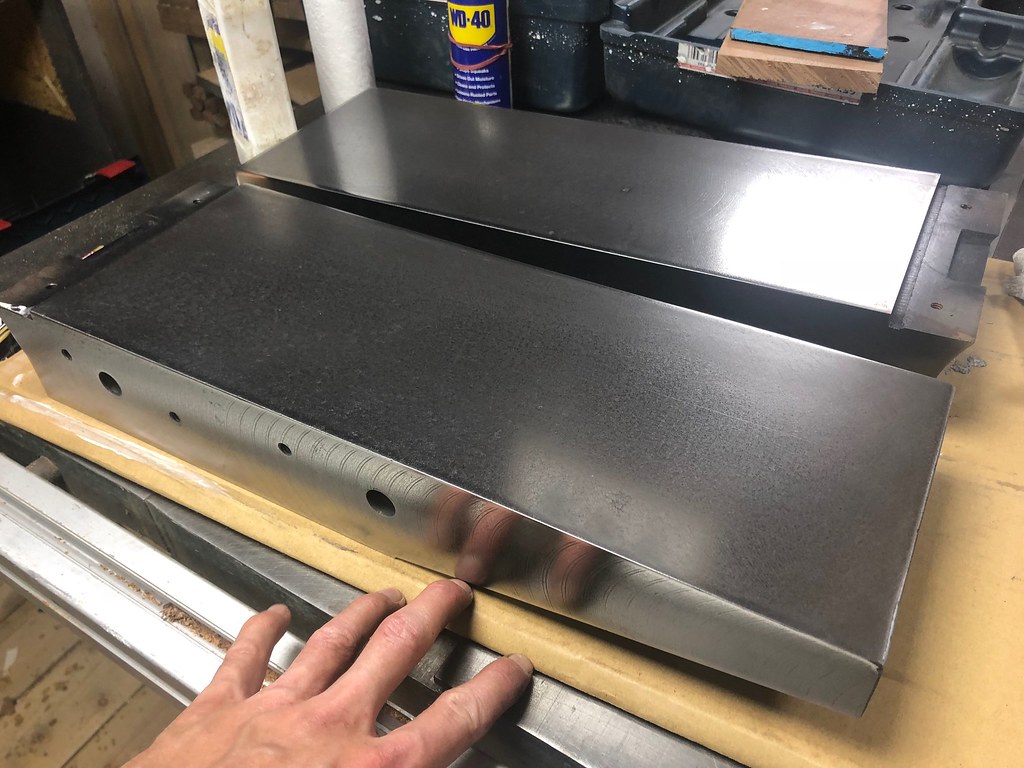
After
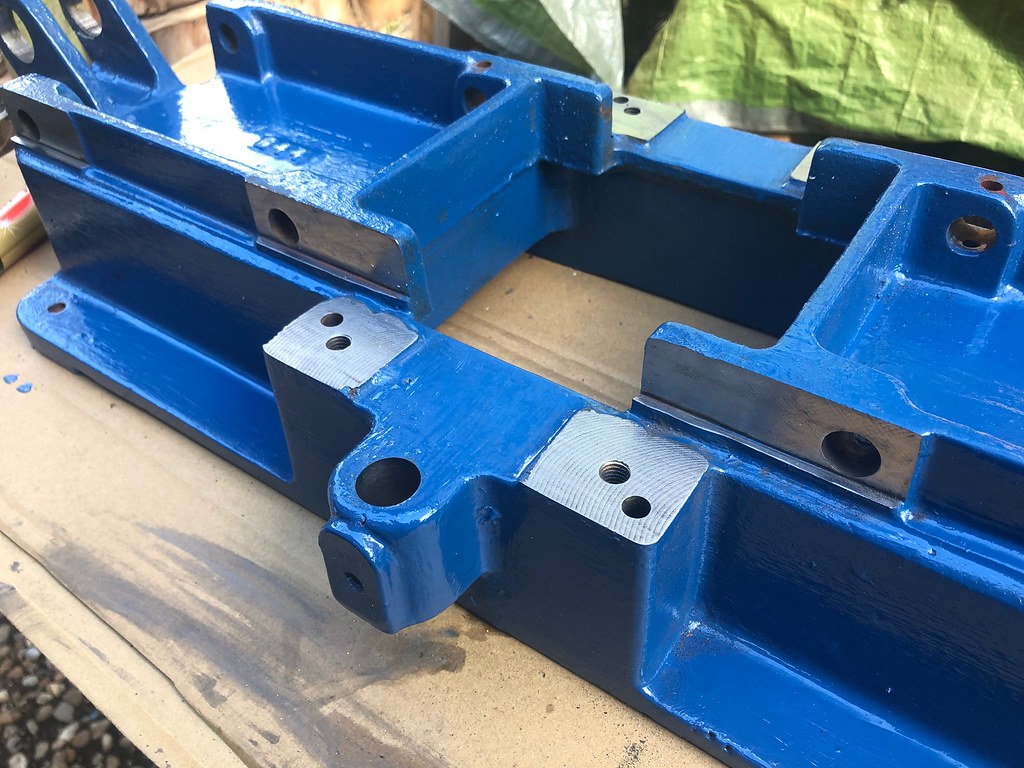
Polishing metal to metal contact with paint remover pad on angle grinder. Then spraying with clear coat to prevent future rusting.
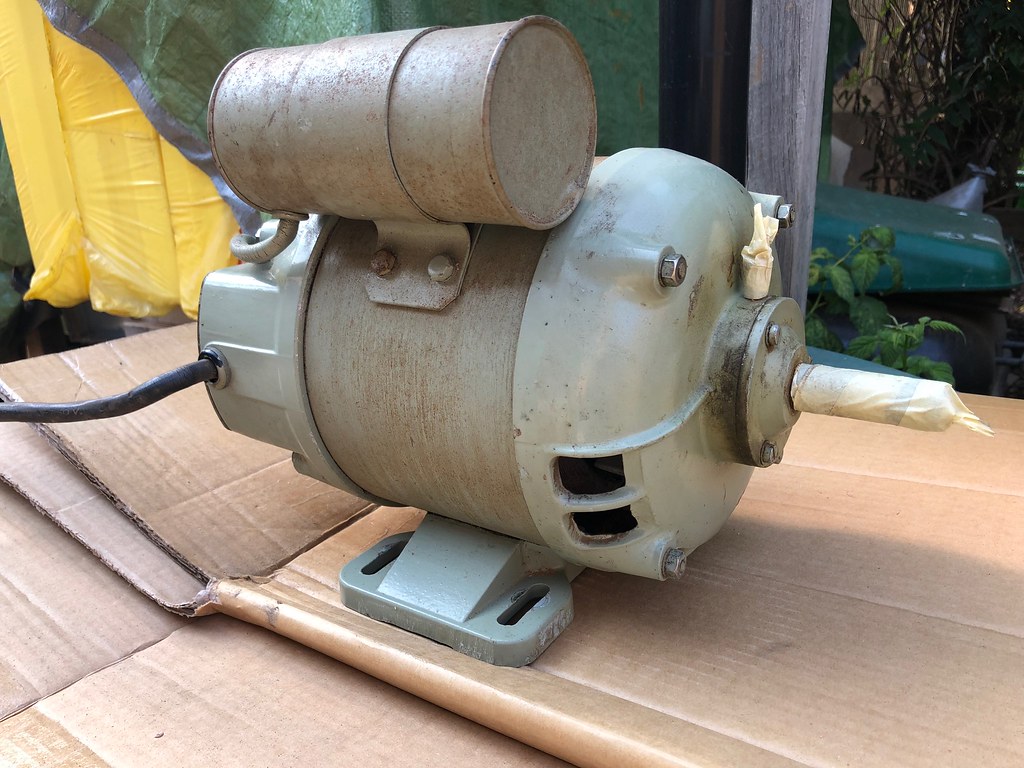
Motor ready to paint.
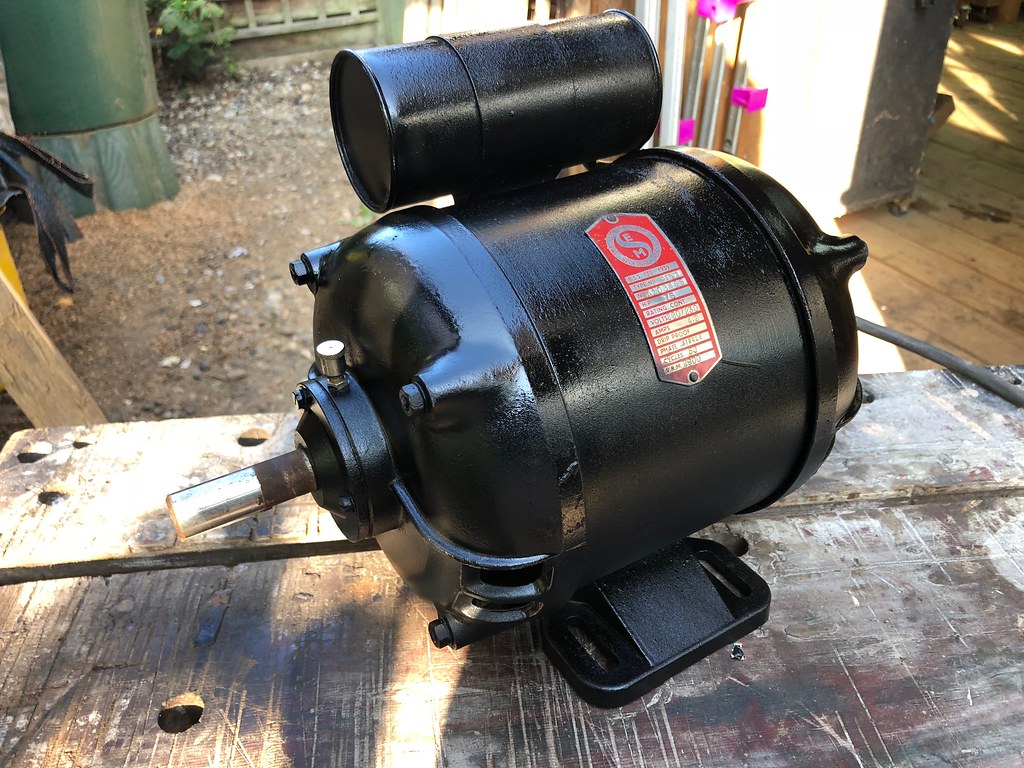
Painted.
Masked and ready to paint.
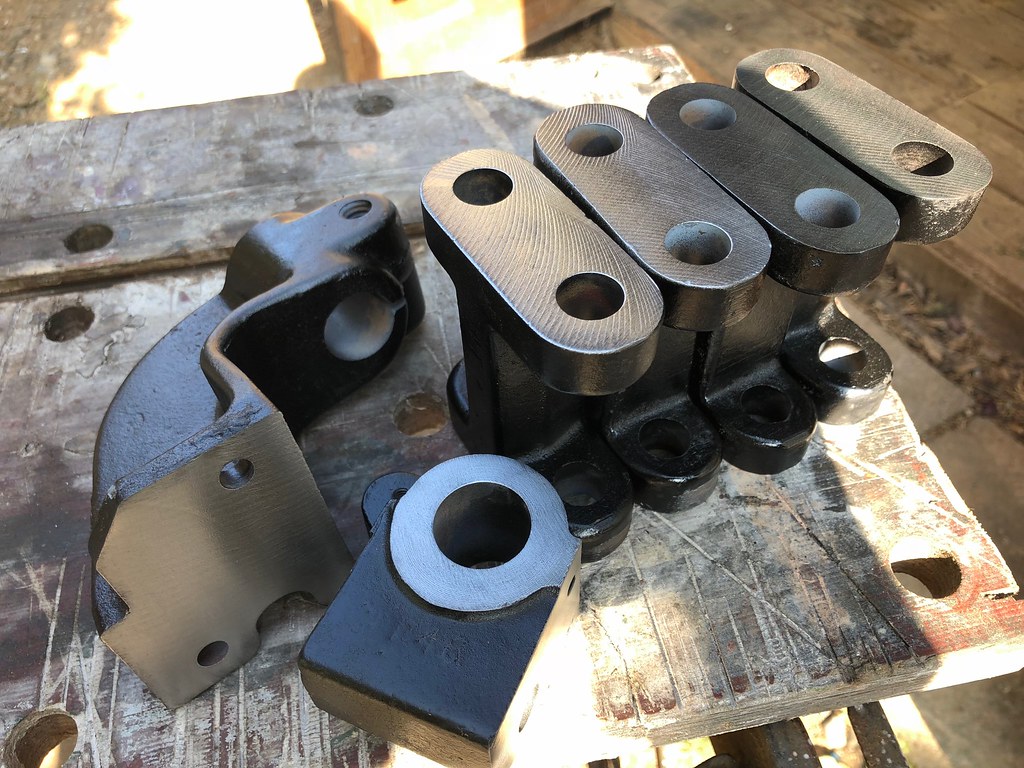
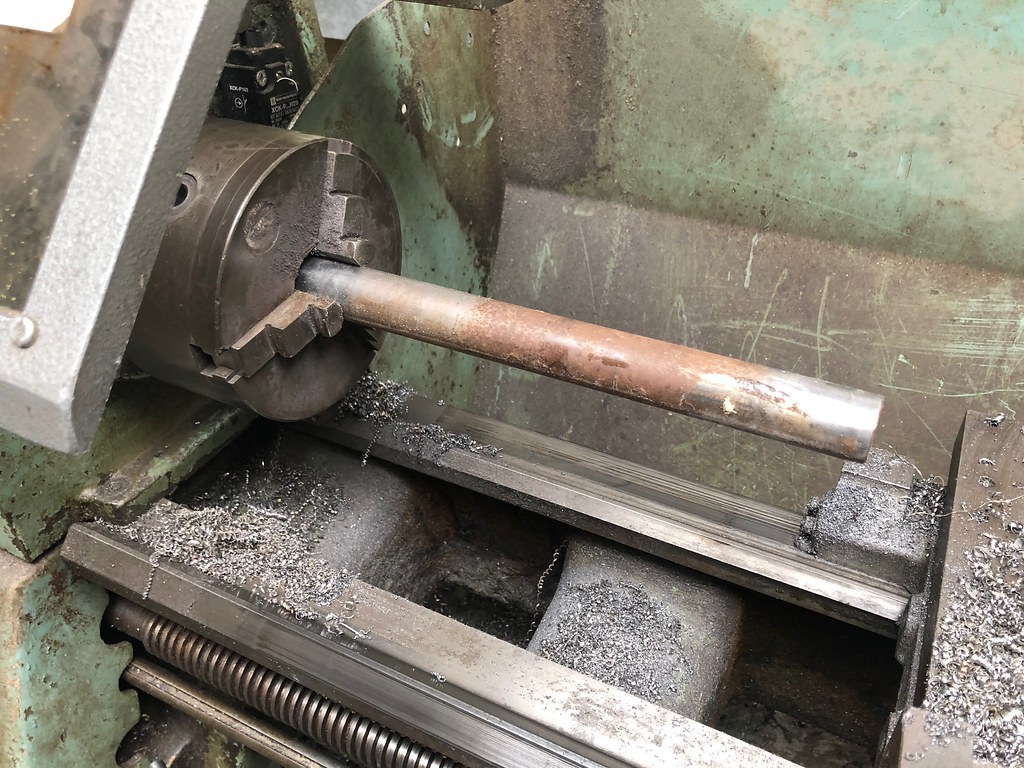
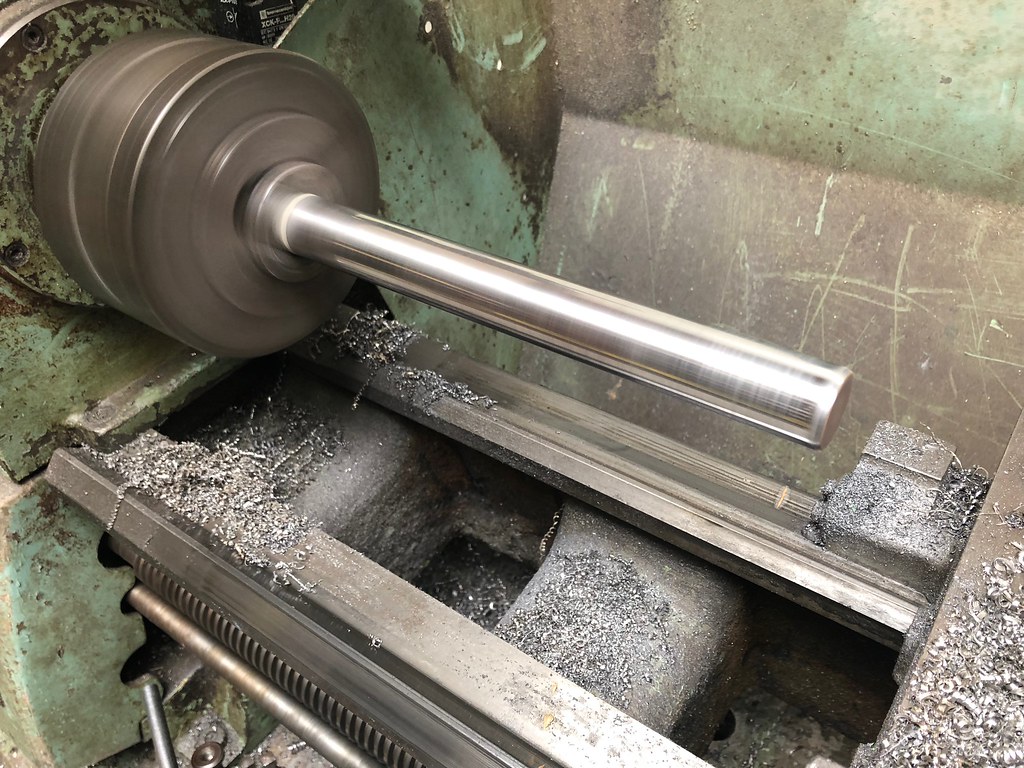
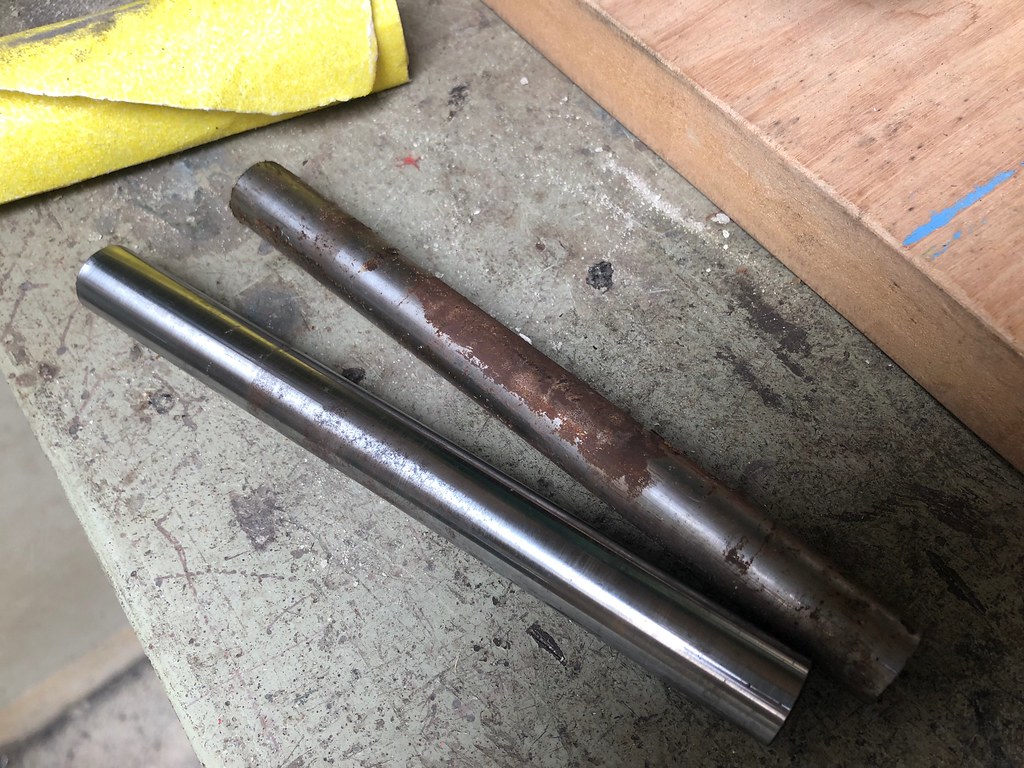
Polishing steel pins using a lathe. Wet and dry paper from 320 to 1200. Some marks/stains were to deep to clean up so will have to live with them.
After
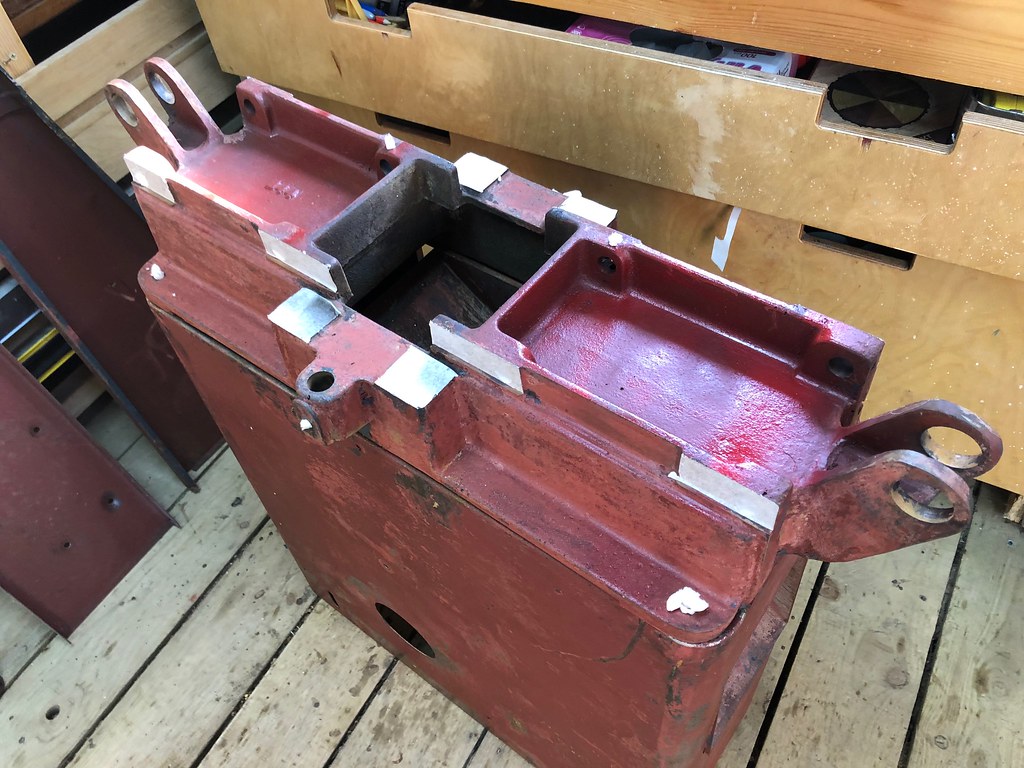
Paint time! Hammerite Blue Smooth. Was wanting to go down the epoxy route but for sake of cost and time just went with hammerite. Little learning curve in using it but got there in the end. I found a very light initial coat followed by another a couple of hours later worked the best. Trying to get coverage on one coat just left me with runs. Roller applied for the large flat area.

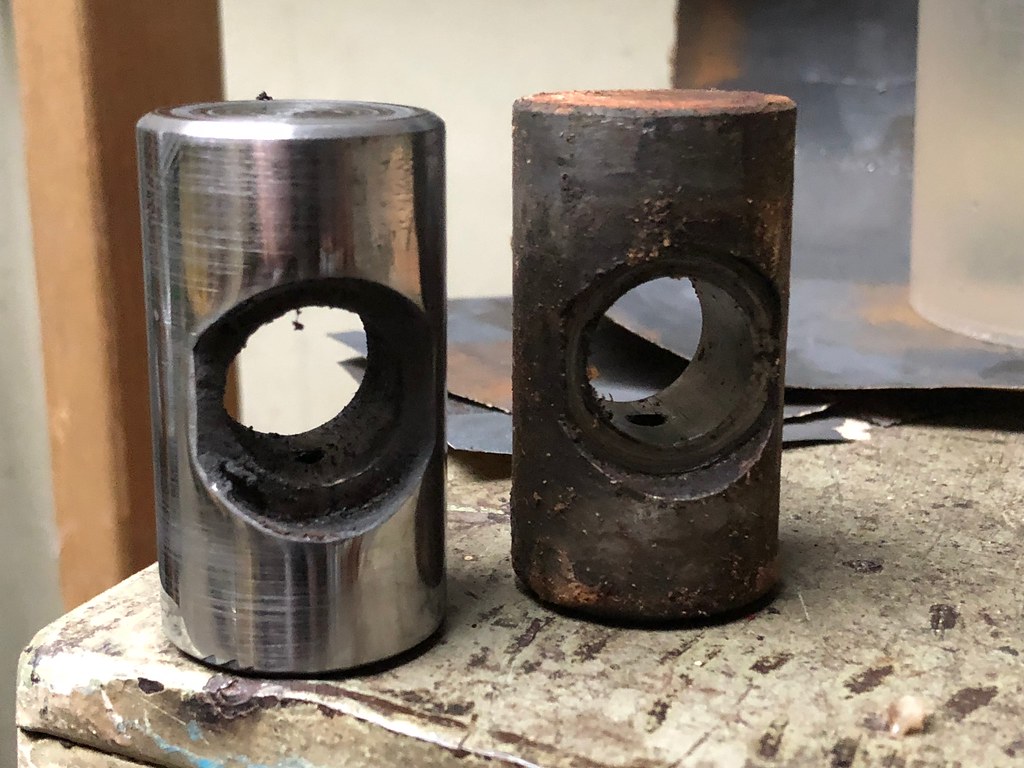
Polishing the bare metal parts.
Sat all the Imperial screws and fixing in de-greaser and cleaned up.
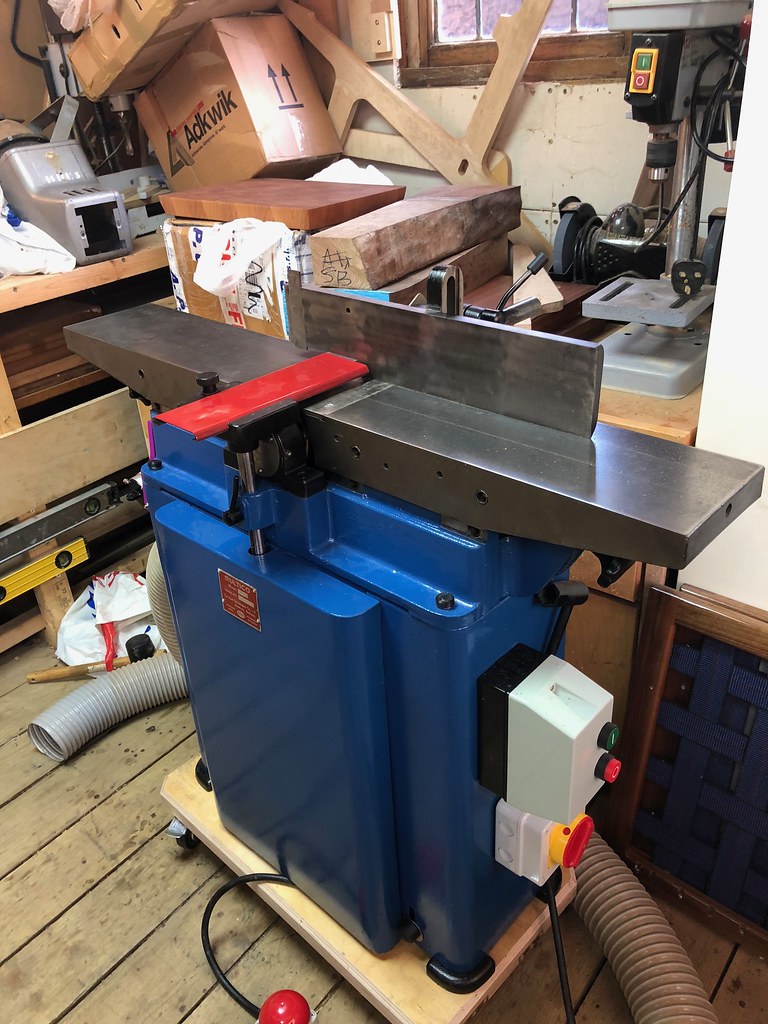
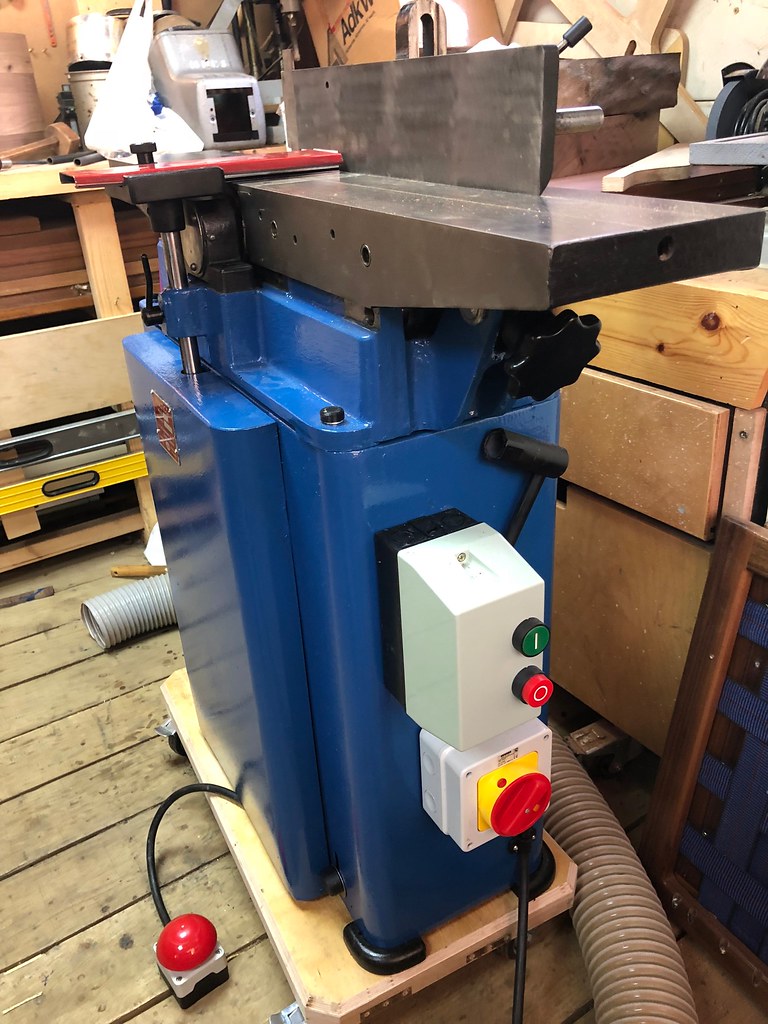
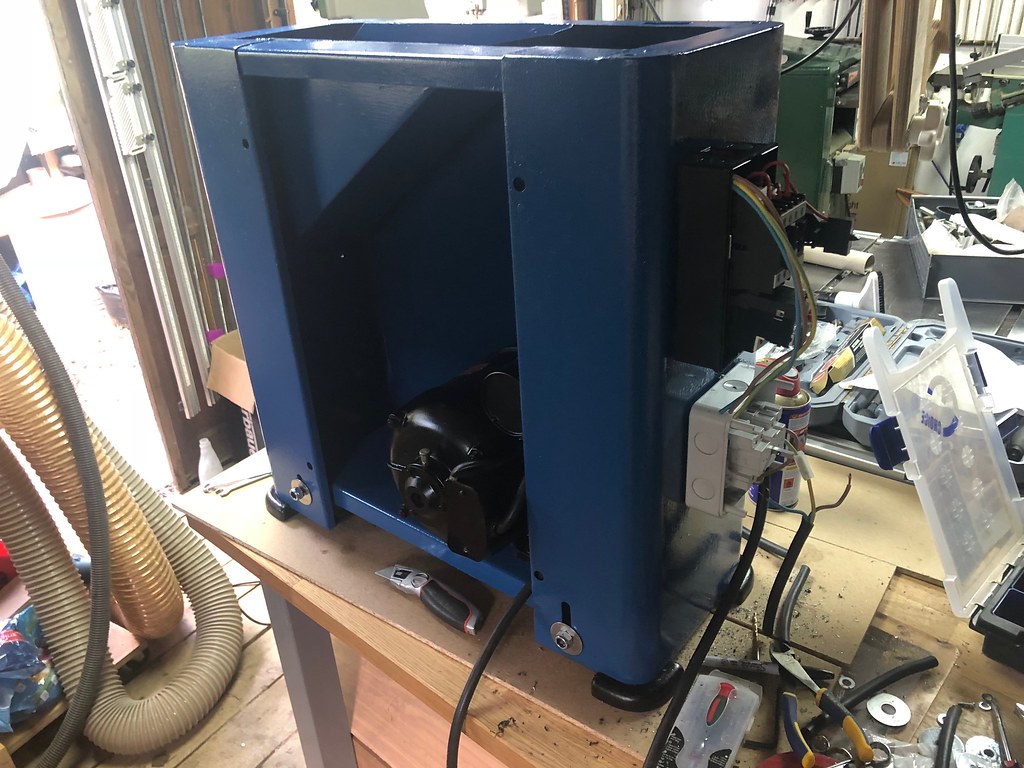
Reassemble time. Got the motor in and started wiring the switches. I have gone with a rotary switch for isolation of the machine. A DOL starter switch and a mushroom emergency foot switch.

Reassembly of the parallelogram mechanism
 IMG_1841
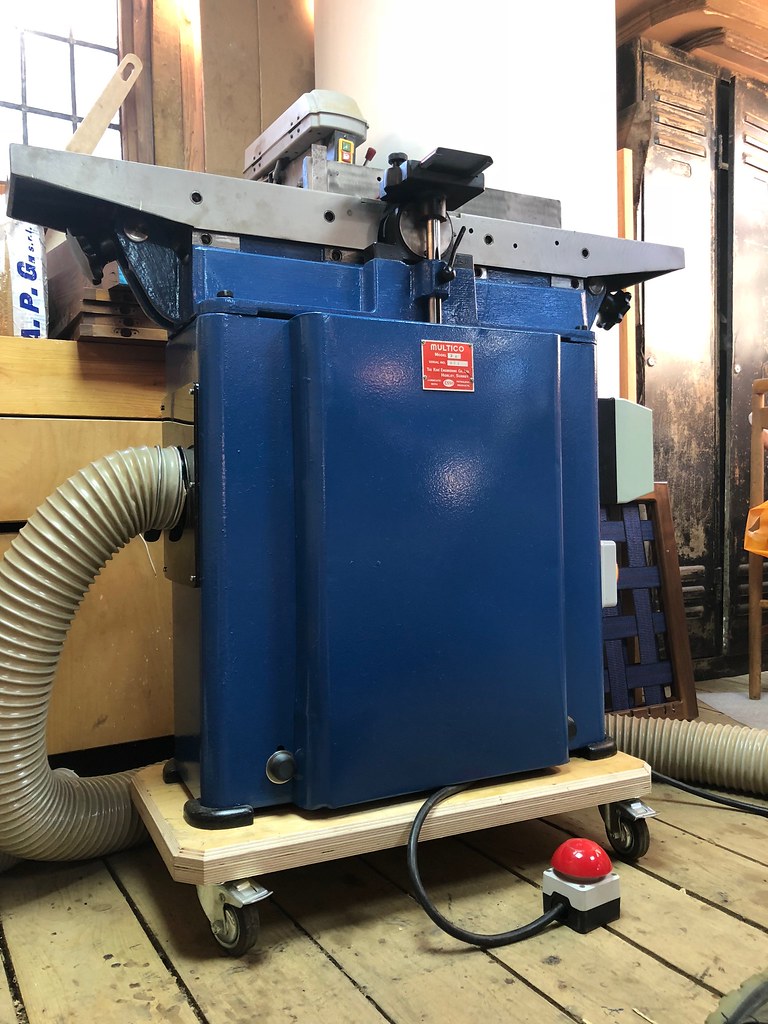
Now to sort out the dust extraction. Currently there is a chute in which the chip fall out from. I want to modernise it a little.
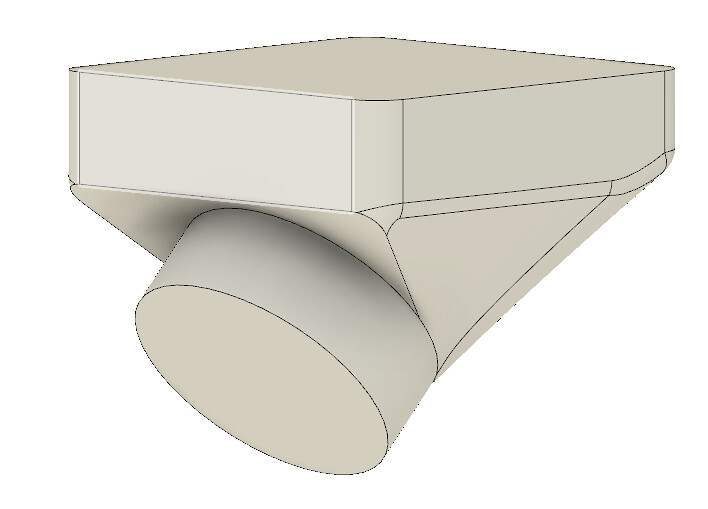
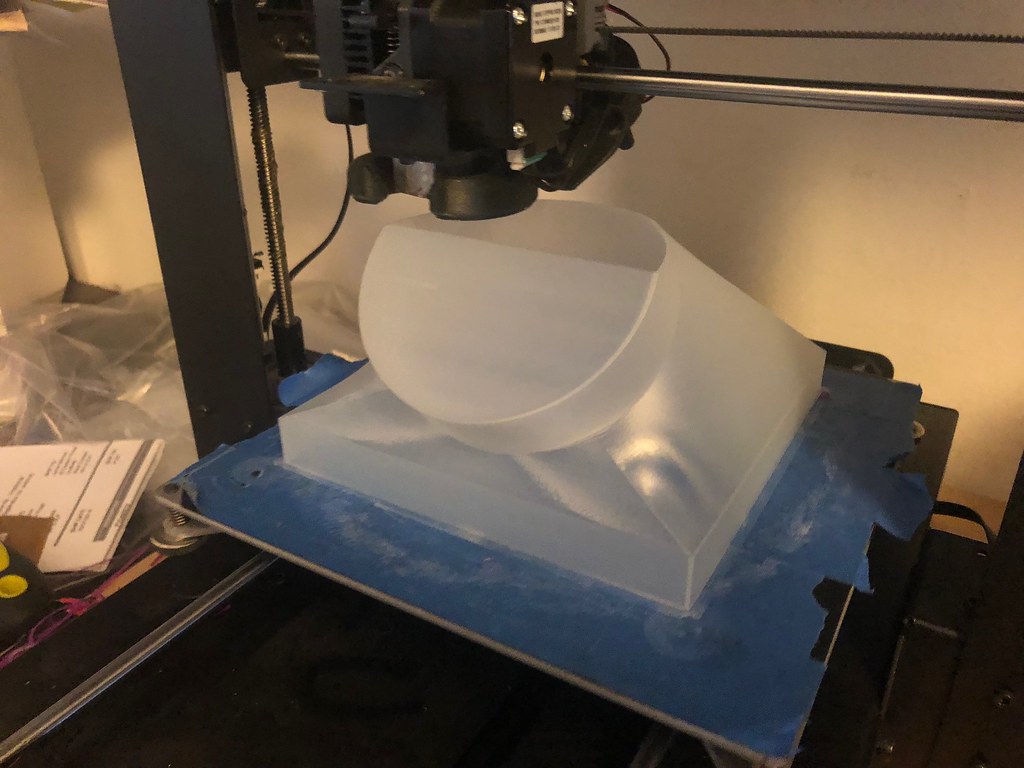
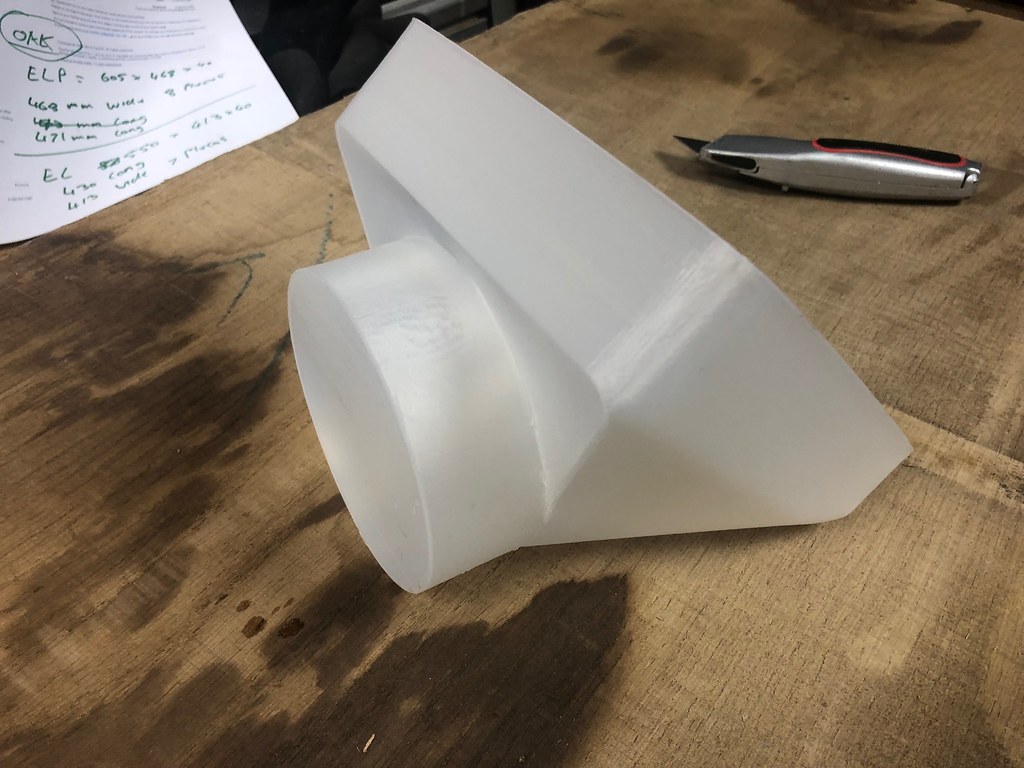
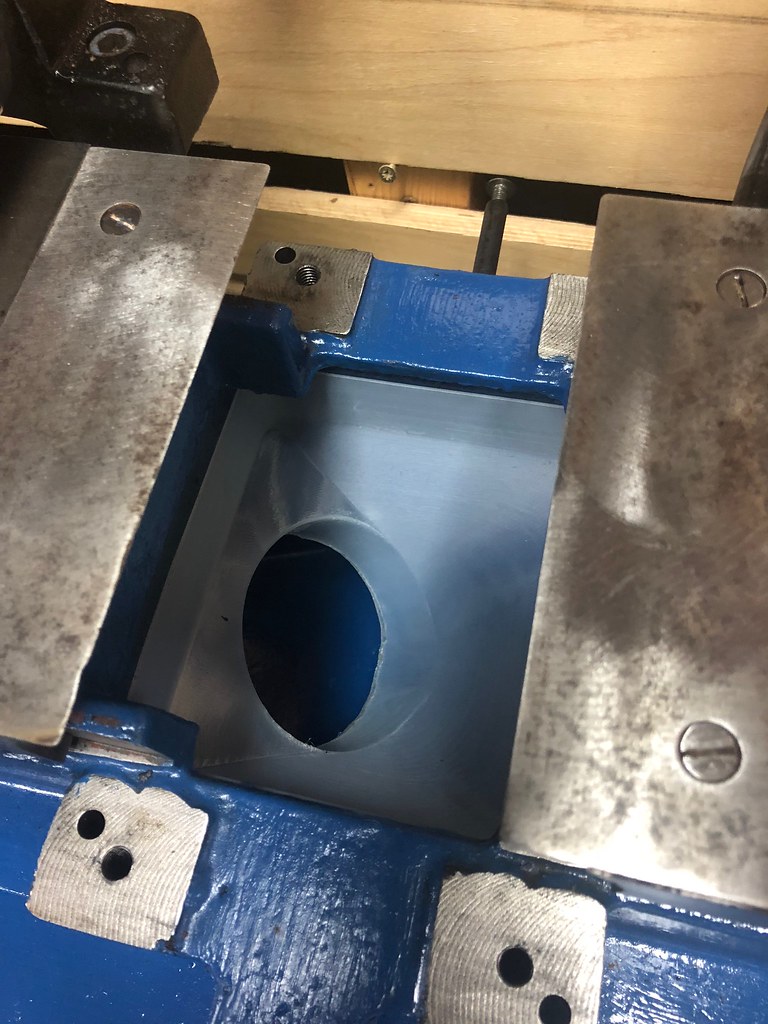
I have 3d printed a funnel in which fits inside the machine and connects to a 100mm tube.
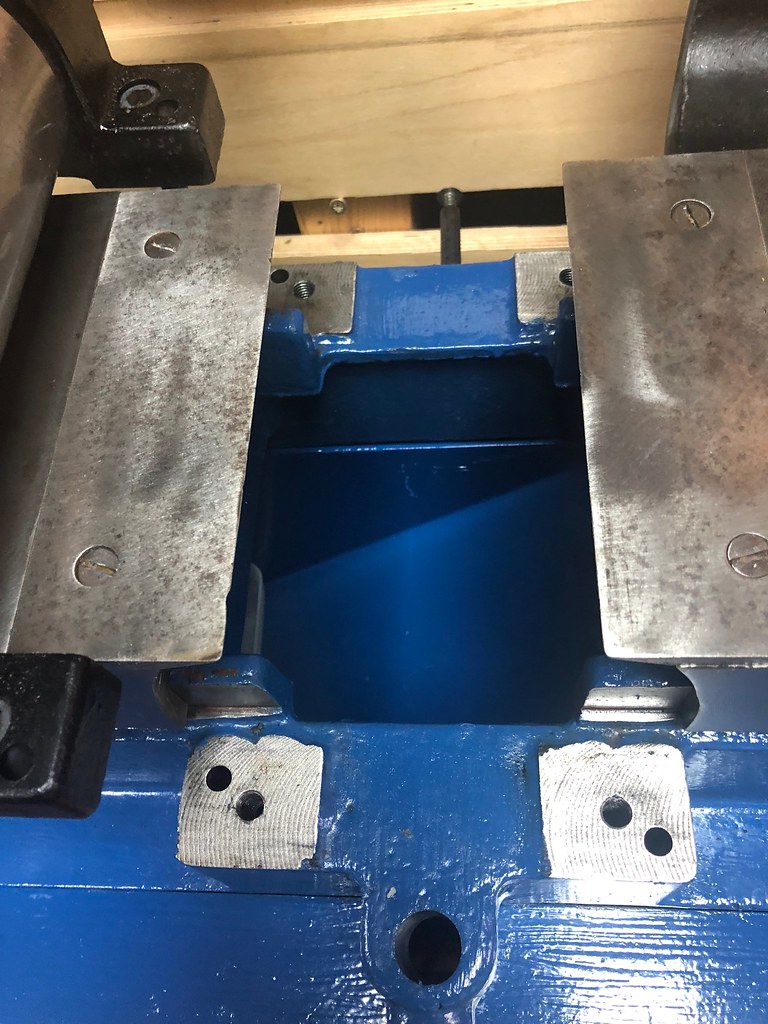
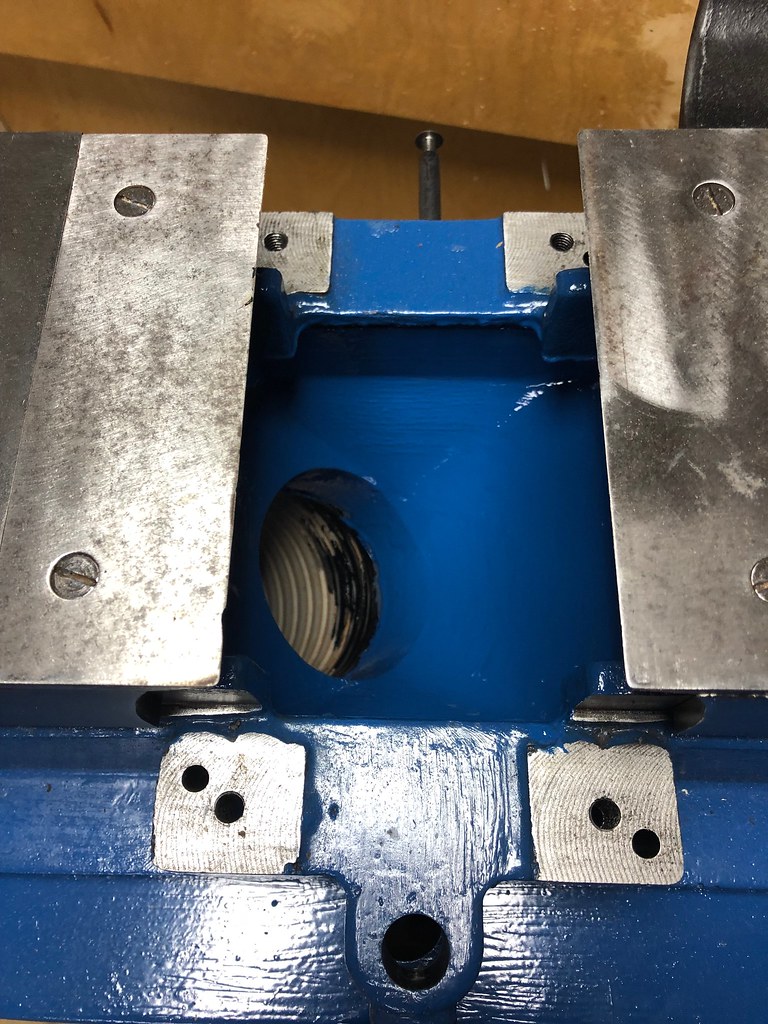
Installed using sealant as the surrounding walls are cast iron and no other easy fixing available.
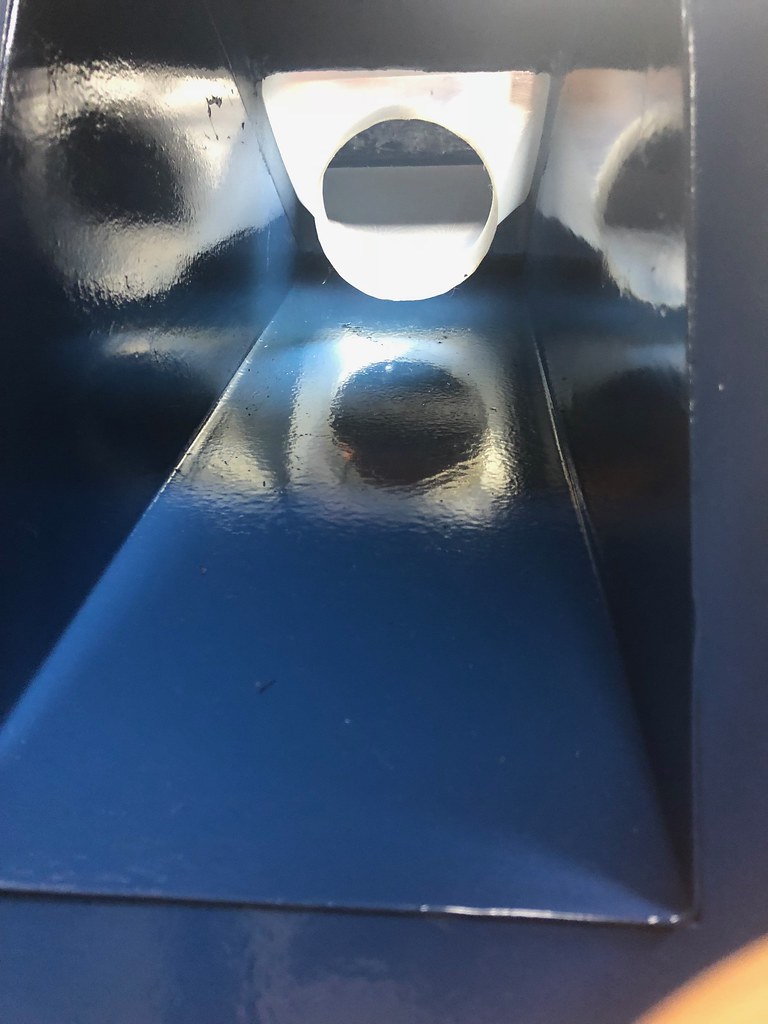
Painted blue.
Now I need to look at the other end. The chute exit is 150x200mm so it needs to be quite big.
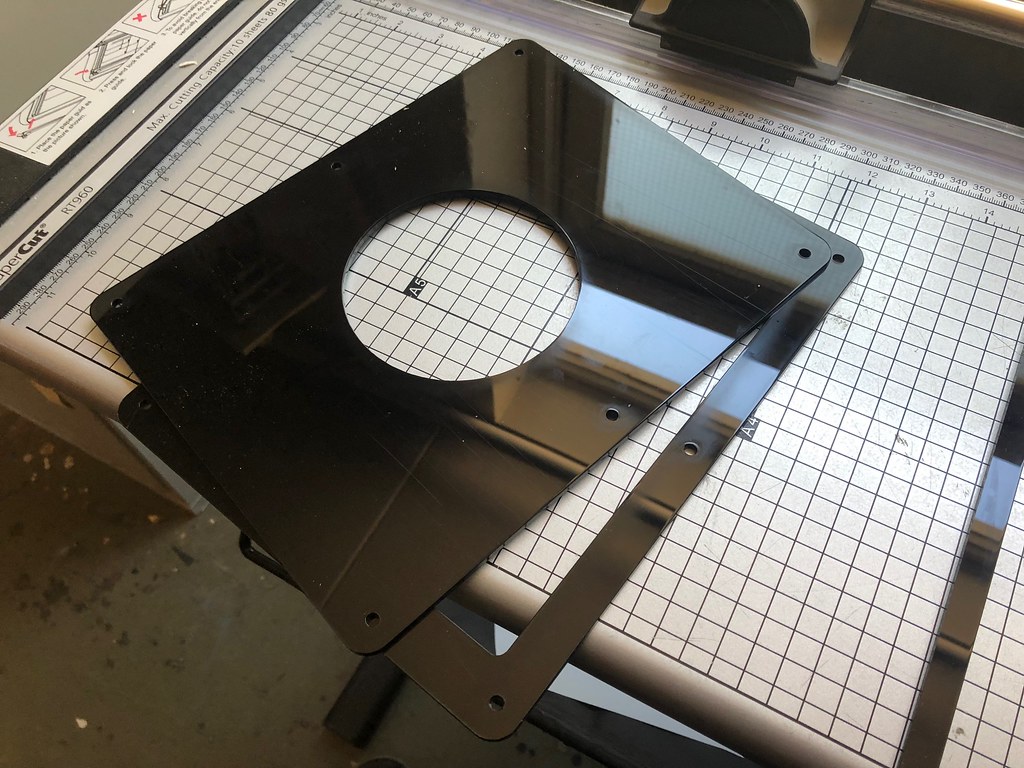
Im going to laser cut some plastic in which a 3d printed 45 degree 100mm can attach to.
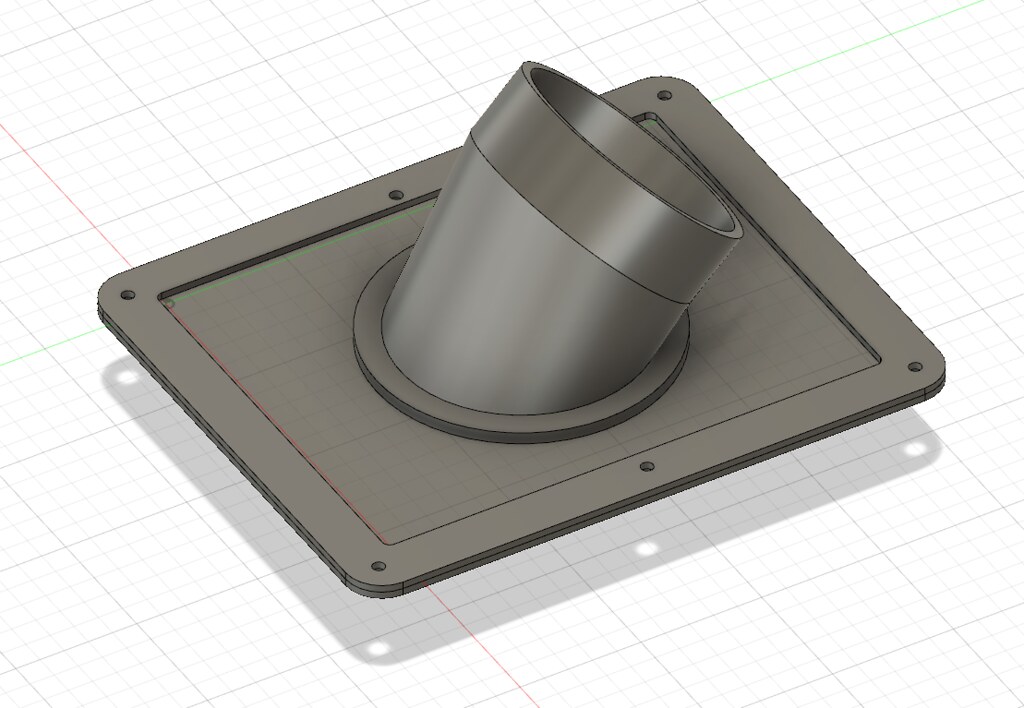
Pieces cut.
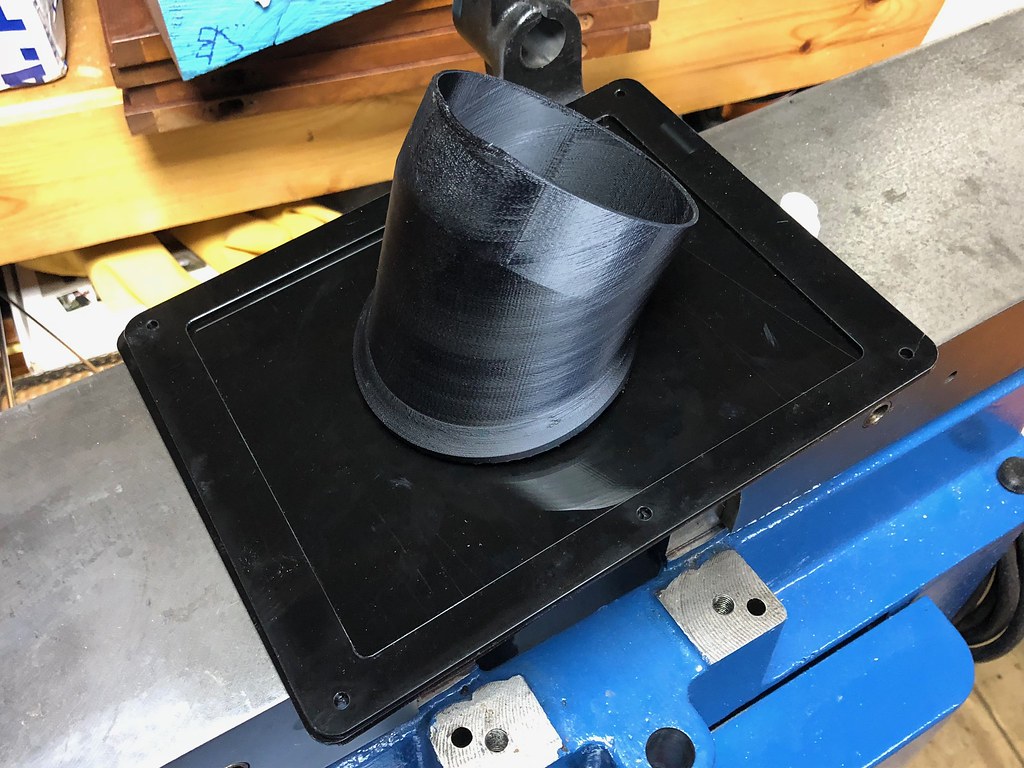
45 adapter in place.
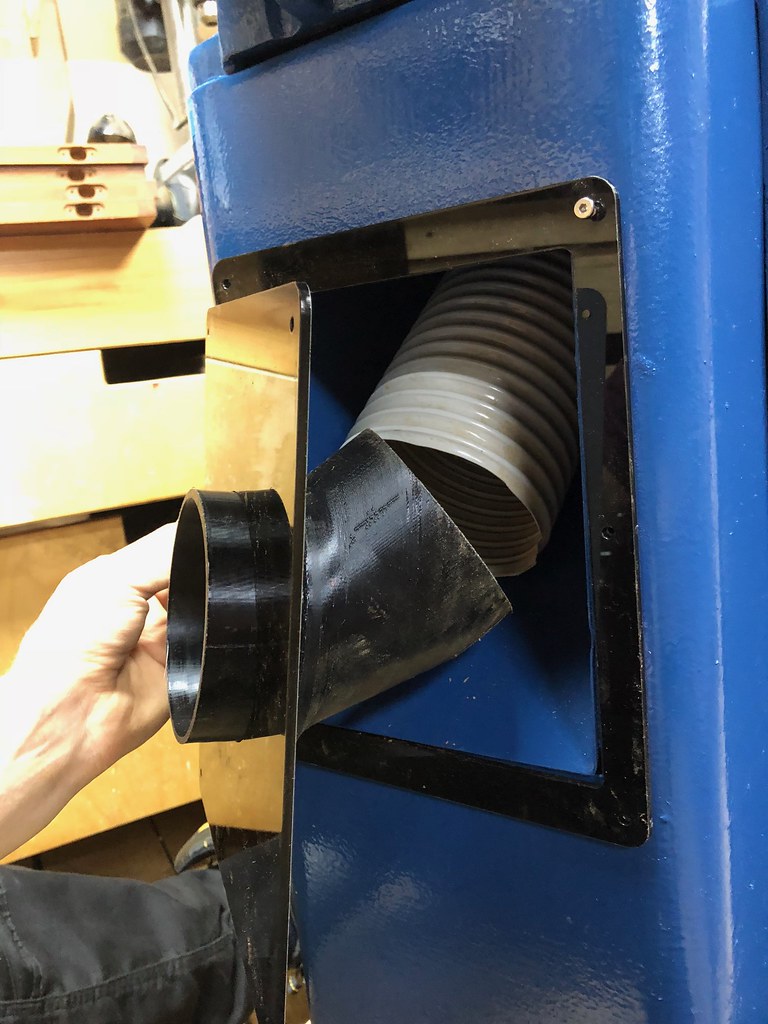
Fits like so. Now I was going to sealant the tube in but if I wanted to remove the base for transport it would restrict that. So its just slid over the adapter which works well.
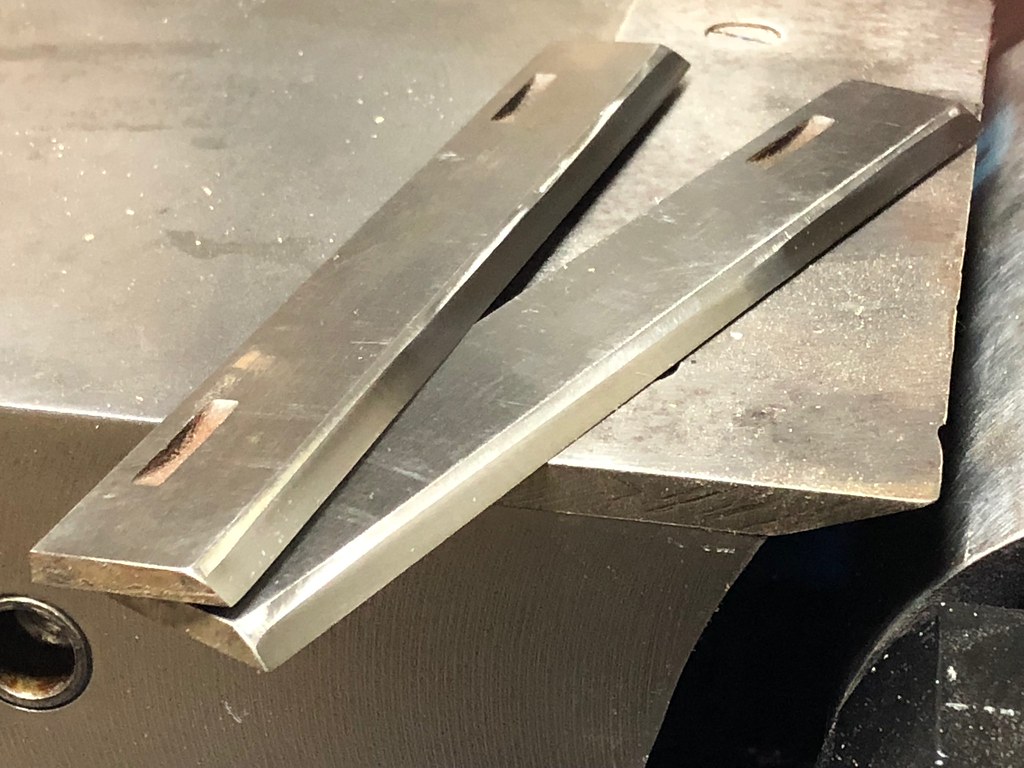
Blades freshly sharpened using my
3d printed blade sharpener.
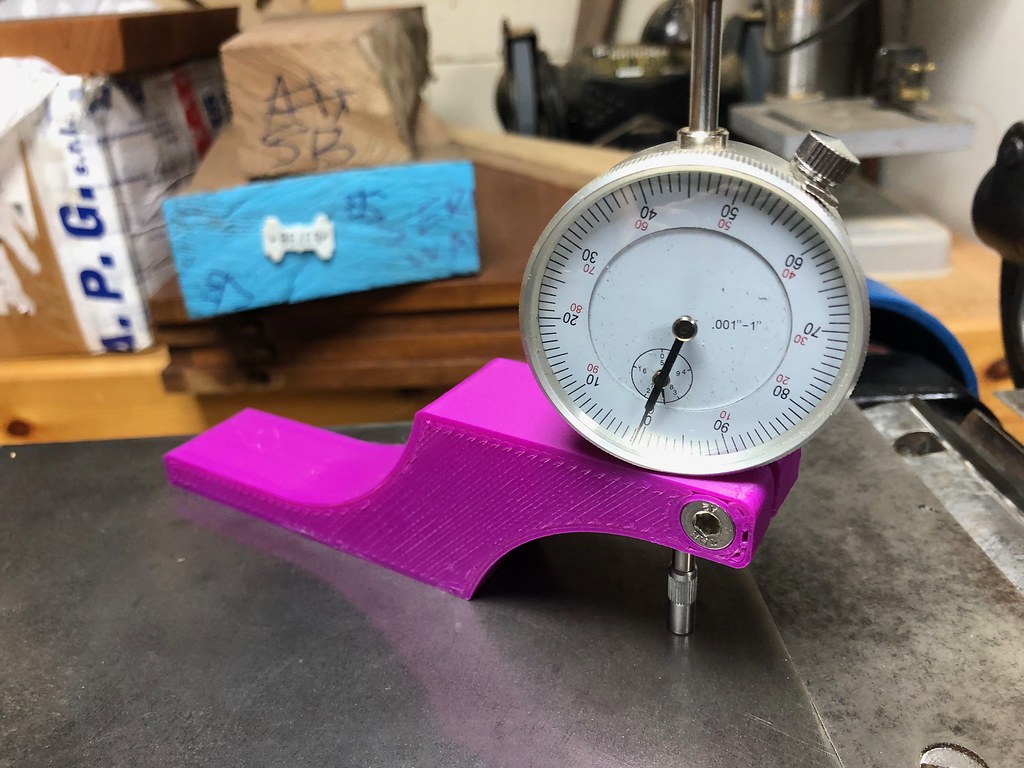
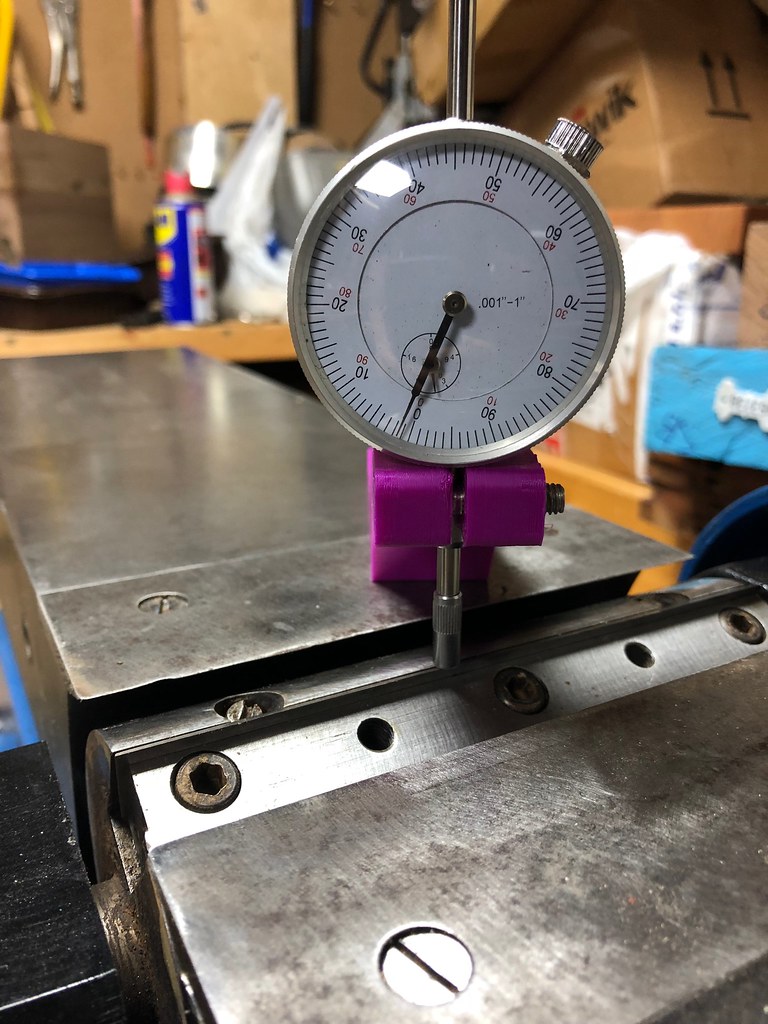
Needed a planer blade setting jig so 3d printer and dial indicator the the rescue.
Fence set to 90.
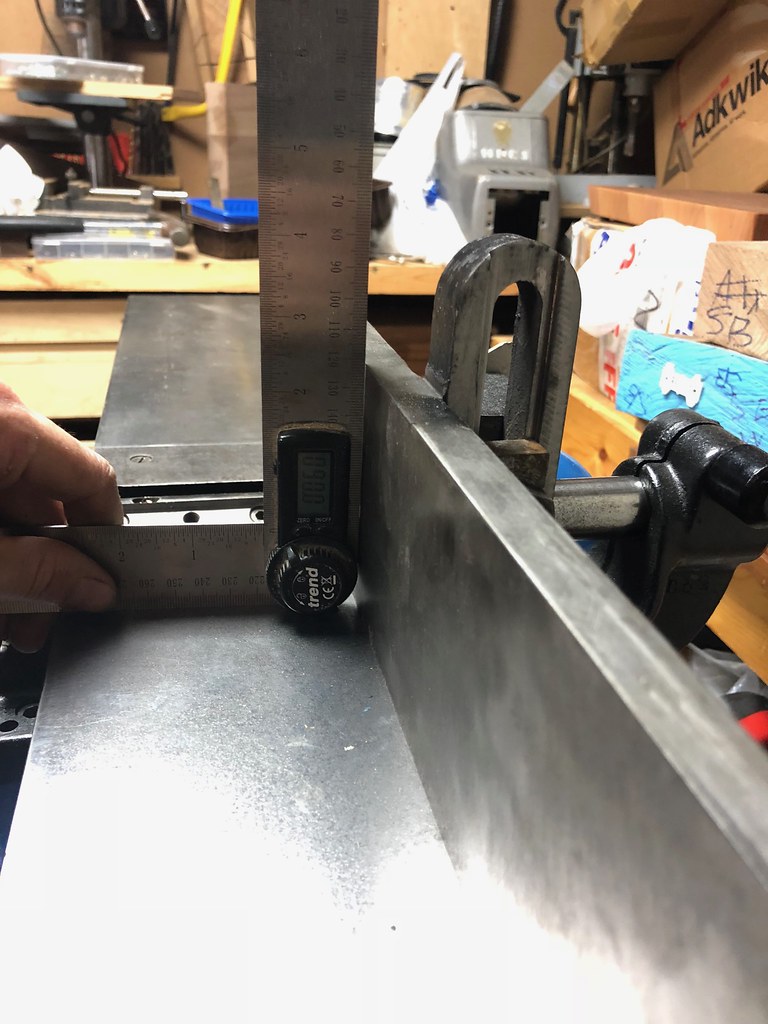
And there she is! Pretty much all done. Im getting a slight curve in the jointed face over 1m. aprox 0.7mm over that distance so need to adjust the outfeed table. Need to clean up the tables again as they are covered in grime again.
Before:
[/url
After:
[url=https://flic.kr/p/28noktp]