tekno.mage
Established Member
I have at last got round to taking some pics of the little boxes I've been making lately! I'm trying to make boxes from a variety of different woods in order to try the different types of wood and get lots of practise in making boxes! Your comments, critiques, etc will be welcome.
All have over fitting lids - some over fitting better than others! I've had some problems with some woods moving quite a lot in service - some boxes have gone slightly oval, and others can almost be used as hydrometers - when it's dry the lid's too loose, when it rains it fits as intended :-(
The internal shapes mirror the external shapes.
They are all finished with a couple of light coats of thinned melamine laquer, then burnished. Sizes shown are approx.
Here they are:
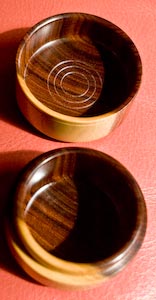
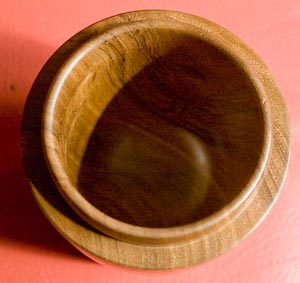
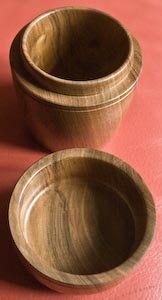
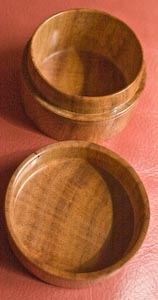
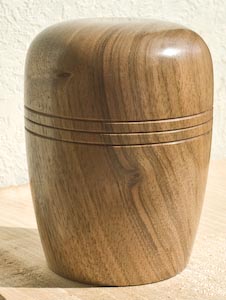
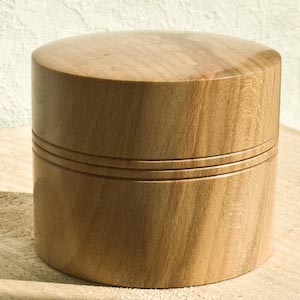
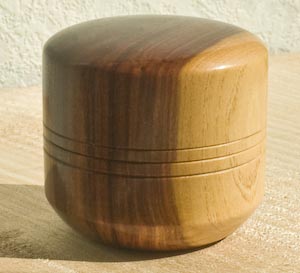
Walnut, 75mm x 100mm. Lid fits great, no movement in service. My current favourite.
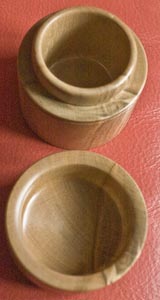
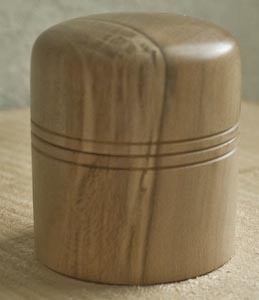
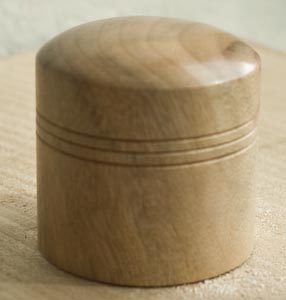
Hawthorne, 65mm x 85mm. Gone a little oval.
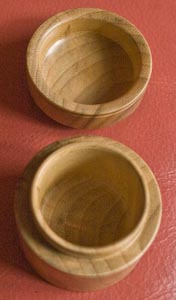
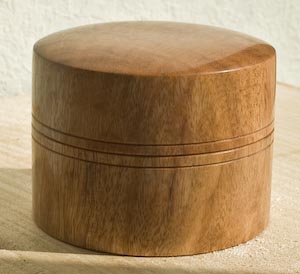
Cherry 75mm x 100mm. Lid made too loose - my fault. Don't like the shape of the lid much either.
Elm. 60mm x 80mm. Gone a bit oval.
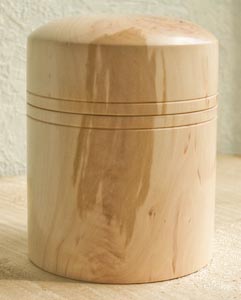
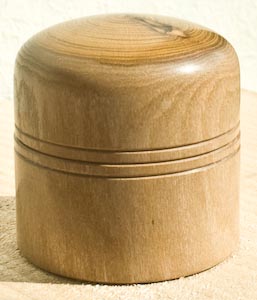
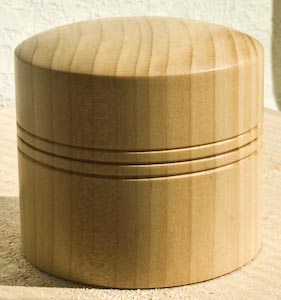
Beech. 70mm x 60mm. Lid fits well.
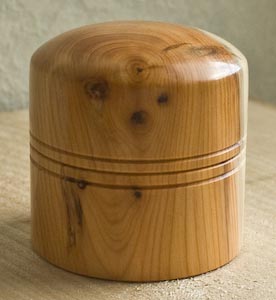
Yew. 60mm x 65mm. Lid fits well on damp days, a bit loose on dry days!
Holly. 55mm x 60mm. Gone quite oval.
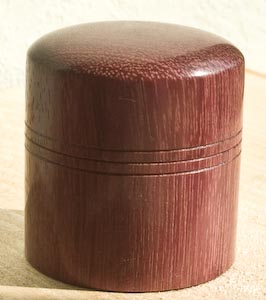
Urundel. 70mm x 55mm. Lid fits well.
Camphor. 50mm x 60mm. Lid fits tightly as intended. Smells lovely!
Laburnum 55mm x 60mm. Gone slightly oval. Second attempt, the first one's lid split open tqo days after I made it :-(
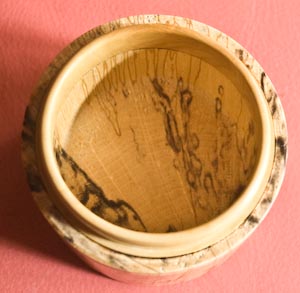
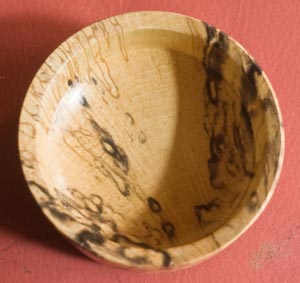
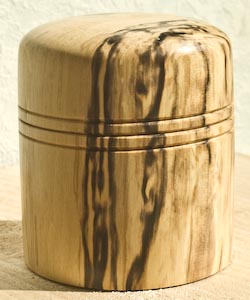
Spalted Firewood (or Spalted b****er-wood!) 65mm x 85mm. Too rotten really, almost impossible to get a clean cut. Fitted a boxwood flange internally as I thought the wood too soft otherwise. Lid too loose as well (my fault).
Mulga. 50mm x 60mm. Lid fits well, don't like the shap eof the base - which had to be reworked after I dropped it and a bit chip came off the bottom corner :-(
Purpleheart 55mm x 60mm. Lid fits well.
And finally, Cedar of Lebanon. 70mm x 55mm . Lid fits okay, but oil is bleeding through the finish on the end grain :-(
tekno.mage
All have over fitting lids - some over fitting better than others! I've had some problems with some woods moving quite a lot in service - some boxes have gone slightly oval, and others can almost be used as hydrometers - when it's dry the lid's too loose, when it rains it fits as intended :-(
The internal shapes mirror the external shapes.
They are all finished with a couple of light coats of thinned melamine laquer, then burnished. Sizes shown are approx.
Here they are:
Walnut, 75mm x 100mm. Lid fits great, no movement in service. My current favourite.
Hawthorne, 65mm x 85mm. Gone a little oval.
Cherry 75mm x 100mm. Lid made too loose - my fault. Don't like the shape of the lid much either.
Elm. 60mm x 80mm. Gone a bit oval.
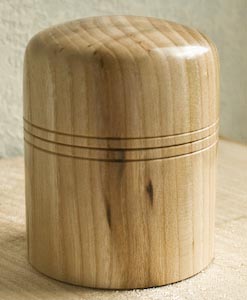
Beech. 70mm x 60mm. Lid fits well.
Yew. 60mm x 65mm. Lid fits well on damp days, a bit loose on dry days!
Holly. 55mm x 60mm. Gone quite oval.
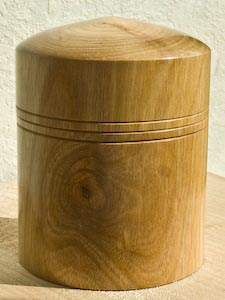
Urundel. 70mm x 55mm. Lid fits well.
Camphor. 50mm x 60mm. Lid fits tightly as intended. Smells lovely!
Laburnum 55mm x 60mm. Gone slightly oval. Second attempt, the first one's lid split open tqo days after I made it :-(
Spalted Firewood (or Spalted b****er-wood!) 65mm x 85mm. Too rotten really, almost impossible to get a clean cut. Fitted a boxwood flange internally as I thought the wood too soft otherwise. Lid too loose as well (my fault).
Mulga. 50mm x 60mm. Lid fits well, don't like the shap eof the base - which had to be reworked after I dropped it and a bit chip came off the bottom corner :-(
Purpleheart 55mm x 60mm. Lid fits well.
And finally, Cedar of Lebanon. 70mm x 55mm . Lid fits okay, but oil is bleeding through the finish on the end grain :-(
tekno.mage