Keepsake boxes (curly maple / burred elm)

UKworkshop.co.uk

Help Support UKworkshop.co.uk:

This site may earn a commission from merchant affiliate links, including eBay, Amazon, and others.

TomO

Established Member
Joined
28 Feb 2010
Messages
38
Reaction score
2
Location
Hexham
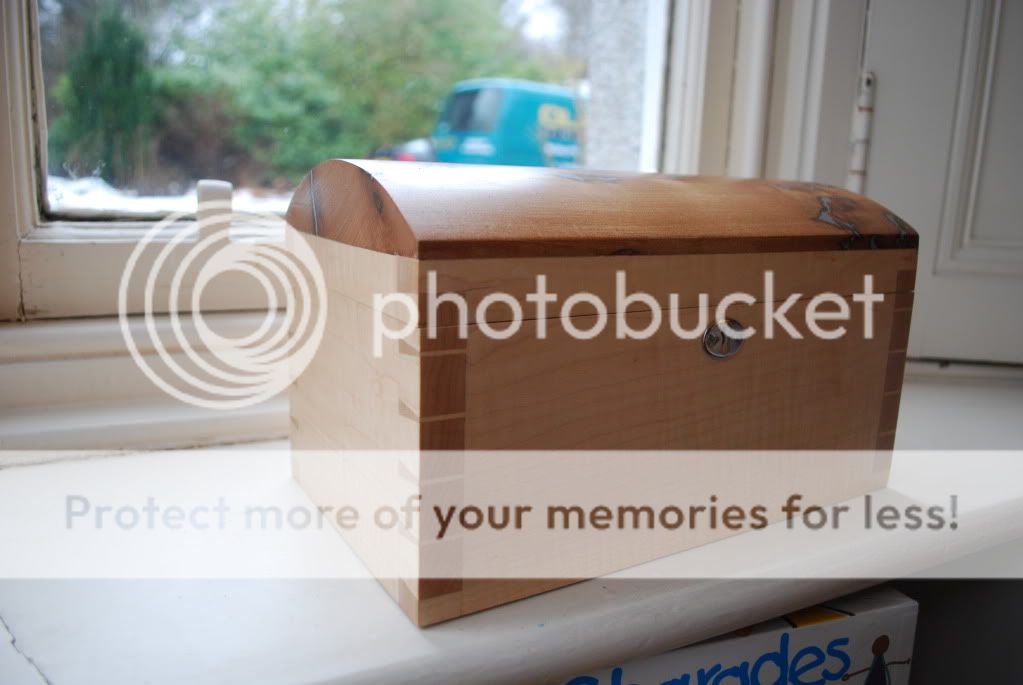
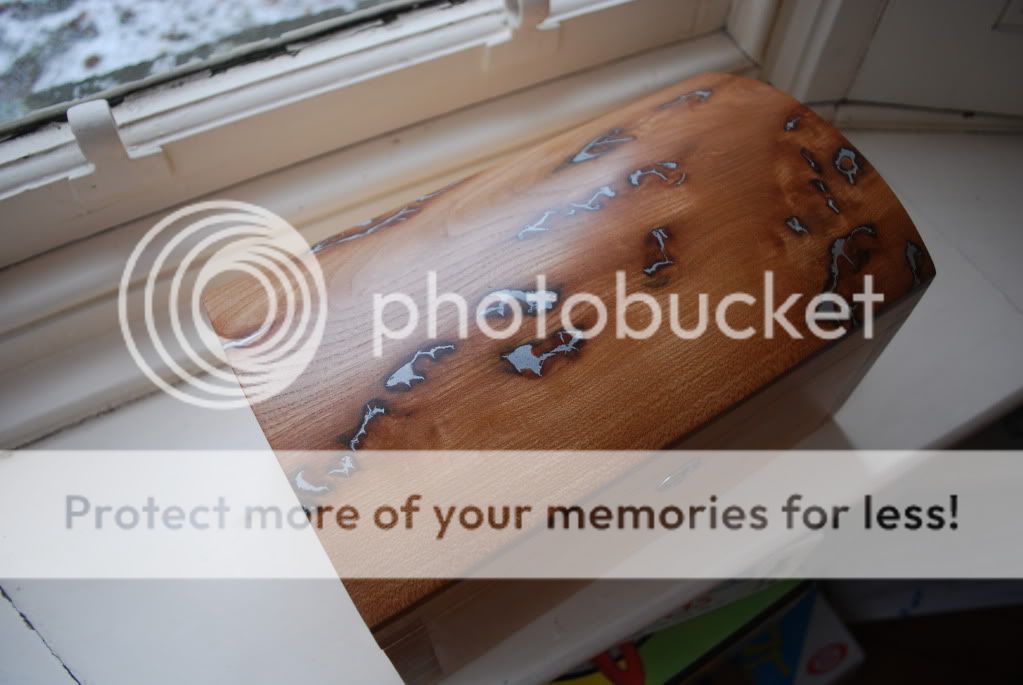
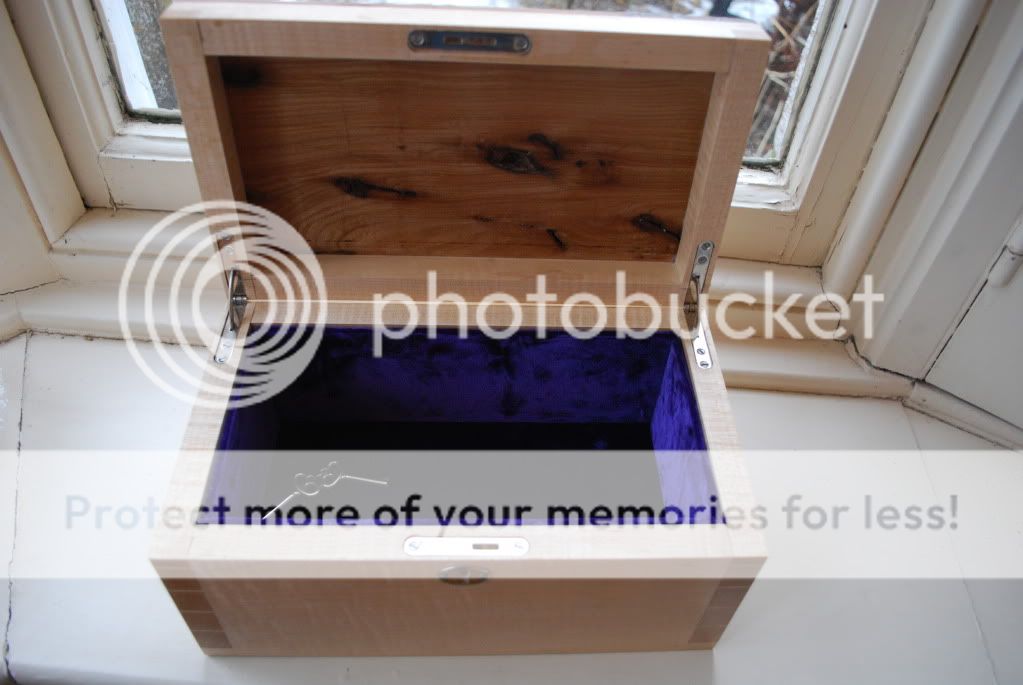
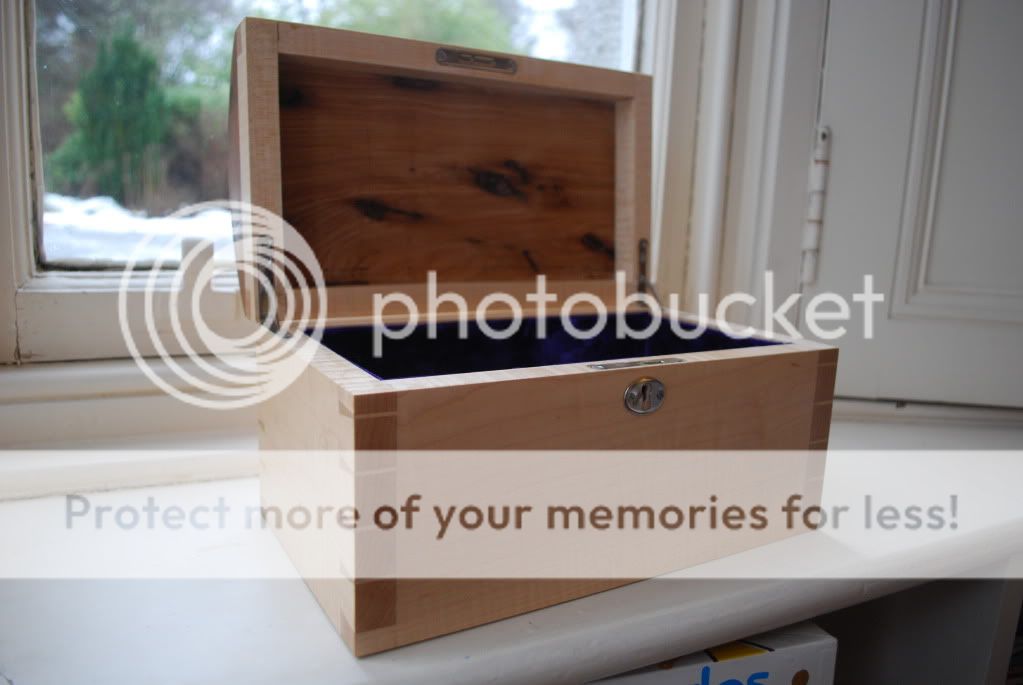
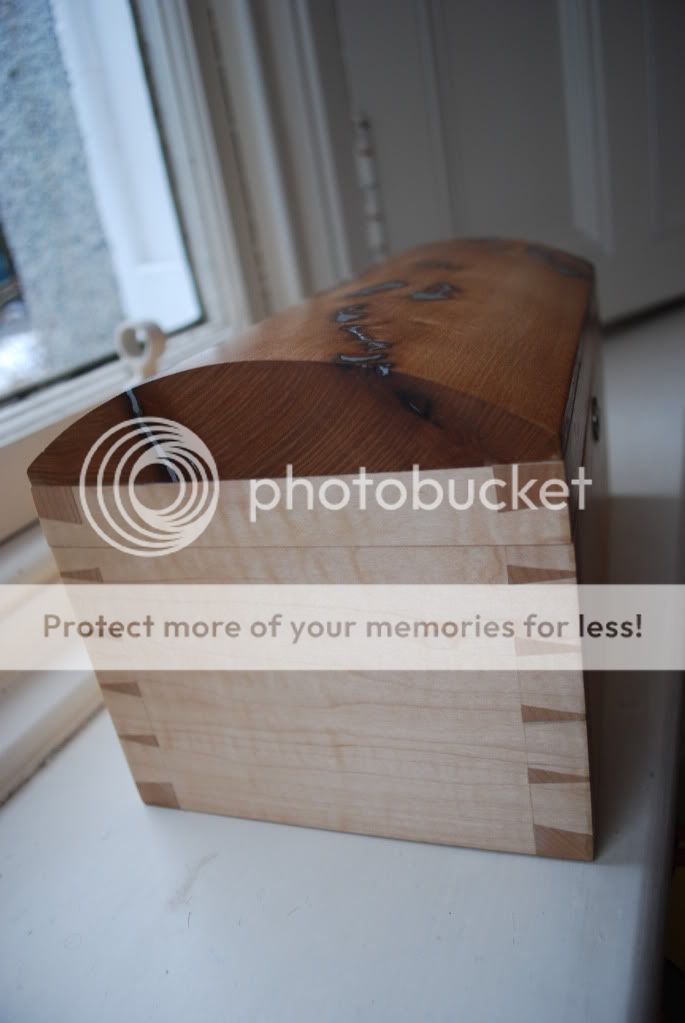
I asked for some suggestions for these boxes in the finishing section a few weeks back. So I thought I should show the end result. These two boxes were for my twin cousins 18th birthday. We ended up giving them at christmas as they were over from the states for a week. As ever there are some things I would do differently if I started again, and some areas i'm not very pleased with. But overall I am fairly happy with them.

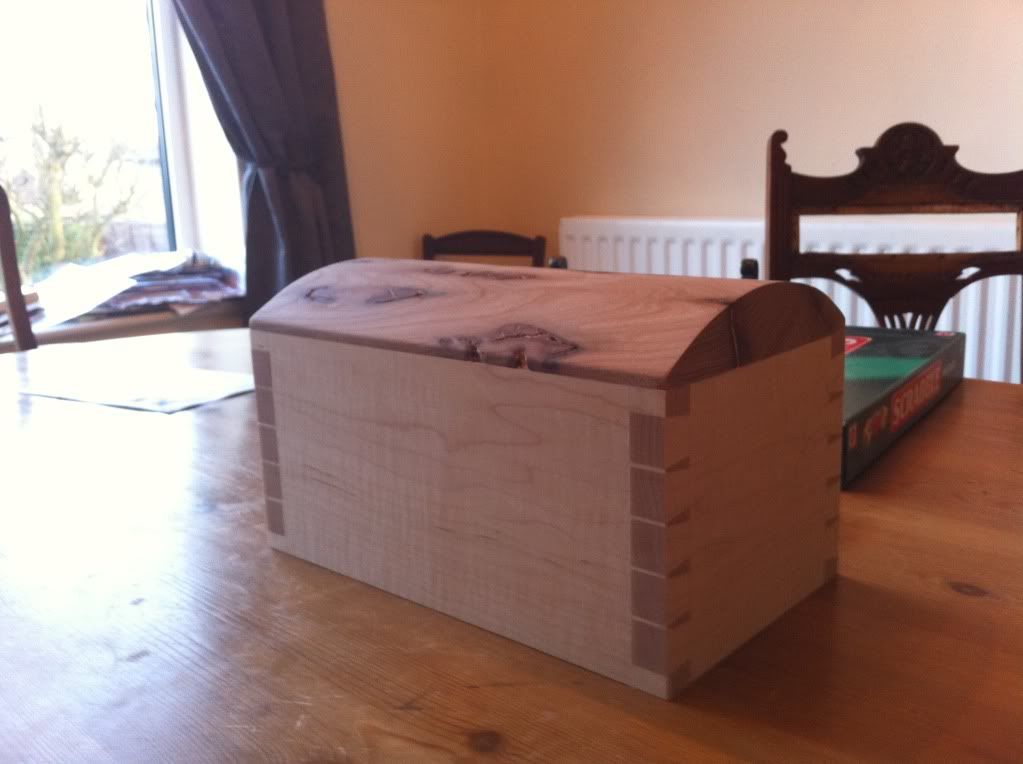
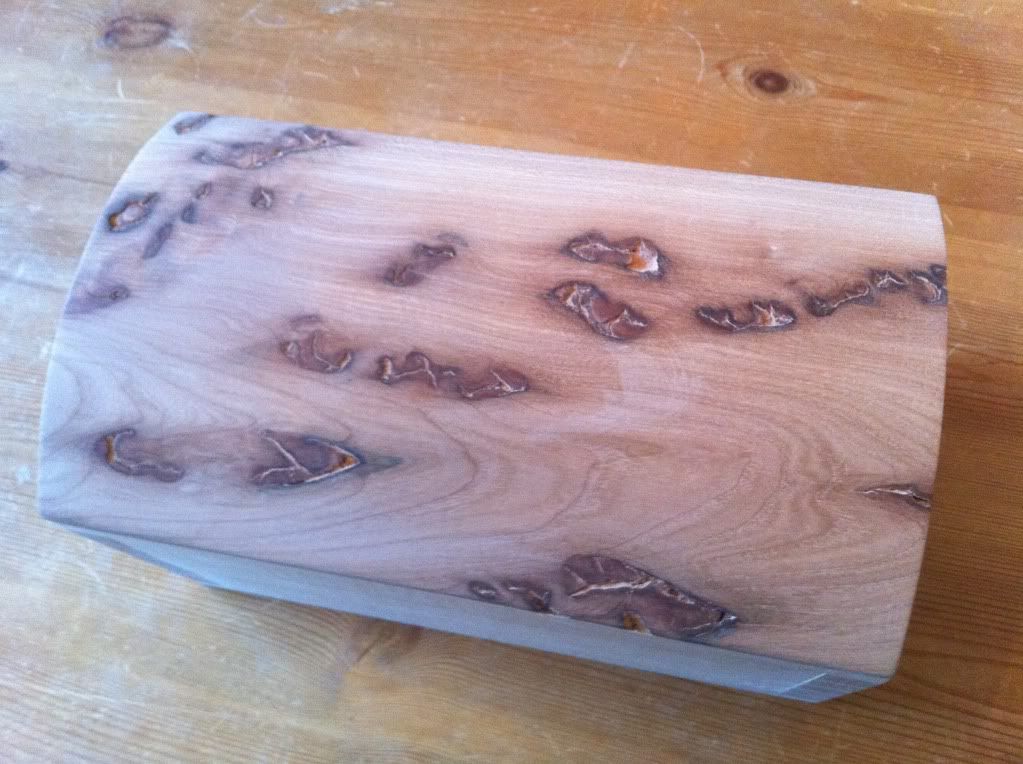
The first two pictures are the boxes before they were cut and finished
IMG_0651.jpg


IMG_0649.jpg


Christmas2010348.jpg


Christmas2010349.jpg


Christmas2010350.jpg


Christmas2010351.jpg


Christmas2010352.jpg
 
Firstly, I think the job you've done on the dovetails is excellent.
Secondly, the contrast from the filler you've used in the Burr Elm (epoxy of some description?) looks great, I would have expected you to try and match it with the colour of the Burr it was filling. It looks especially good from the top. But when you can see the rest of the piece I'm not sure if the whole scheme works completely- just my opinion.
You're obviously a very talented box maker, keep up the good work. Cheers_ Dan. :D
 
Hey TomO

That looks cracking!! Really like it. What did you use to fill it in the end?

I think the whole piece has come together really well.

Can I ask where you got the quadrant hinges?

Well done.
 
High mickthetree, as soon as I read your lead suggestion I wanted to try it. I followed shrubby`s link to the alec tiranti website.
The filler is a mix of powdered aluminium and resin. The hinges, lock and all the hardware on the boxes are from
www.hawthornecrafts.com who is a forum member. They were a very reasonable price and arrived really quickly.

thanks for your comments, Tom
 
I like the dovetails and the hardware. As it been already said, the filler being a different colour to the burr is unusual, I think I would have tried to match the burr colour.

How did you create the curved top?
 
The accepted technique for a box like this is to make an extra wide pin (say 15mm) and saw through it, thus you'll have a complete pin in the lid instead of just a half-pin. Sorry to be the bearer of bad tidings, but you also appear to have glued the elm top directly to the box carcass...when the elm moves (which it will do in a warm CH house) be prepared to see some splits, possibly big ones in the top and if my eyes don't deceive me, there's a 'step' between the lid and box which makes me go 'eeeeeeeeek' :shock: - Rob
 
joiner sim. I never liked the idea of trying to match the filler to the colour of the burr, that looks as if the maker
has tried to hide the most interesting parts of the wood. I wanted to show off or highlight these areas.
I am happy with the way the filler turned out. I curved the top on the bandsaw, passing through a few times
on different angles. I then used a hand plane to take down the ridges, sanded to finish.

woodbloke. er yea cheers.
 
Nice box, the design is great but as other folk have mentioned I am not struck on the colour of the filler, it would have been good to see the same colour as the Maple, that is just my personal preference.

Lovely chest shape, I made one similar so I know how much work has gone into it, kep up the good work.
 
TomO":1orp6tsf said:
woodbloke. er yea cheers.

Sorry TomO, if you publish stuff on a public forum, expect to take the flack as well as the plaudits...I do and would hope my work is the better for it. It's a nicely made piece, 'specially the dovetails and the proportioning thereof, but there are basic constructional errors in the piece which someone of your considerable skills ought not to have made.

The 'step' is the easiest to remedy with those quadrant hinges, just take off the lock escutcheon and re-plane all four sides with a really sharp smoother, then re-polish. You'll just have to keep fingers crossed that no splits develop in the elm (but don't be surprised if they do] and there's nothing that can be done about the half dovetail in the lid. If another box with a solid lid is attempted, then it should be 'floating' in a groove on the inside of the lid so that it can move if need be. Hope of some help - Rob
 
Woodbloke are u saying he needs to take some material off the sides of the bottom of the lid so that the front sits better? (just trying to learn)

What glue do u use when mixing with wood filler/- maybe filling with just super glue/epoxy (or other clear substance) may be better to show off the burrs

The dovetails look hand cut so good job there
 
LuptonM":14d7wj5q said:
Woodbloke are u saying he needs to take some material off the sides of the bottom of the lid so that the front sits better? (just trying to learn)
Having had a second look at the hinges, they can't be removed to true up all four faces of the box in one 'hit'. With the hinges in place then, the way to do it is to flush the front and two sides with a sharp smoother until flat...there won't be an awful lot to take off, but all three sides will then be level. The next step is to remove the hinges and then firmly cramp the box back together, ensuring that the three sides just planed line up exactly...it's just a question then of truing the last surface (the one at the back where the hinges are) sanding and re-polishing. If it's been done with care, all four sides ought to be exactly in line...simples - Rob
 
Back
Top