Inca bandsaw

UKworkshop.co.uk

Help Support UKworkshop.co.uk:

This site may earn a commission from merchant affiliate links, including eBay, Amazon, and others.
Wout

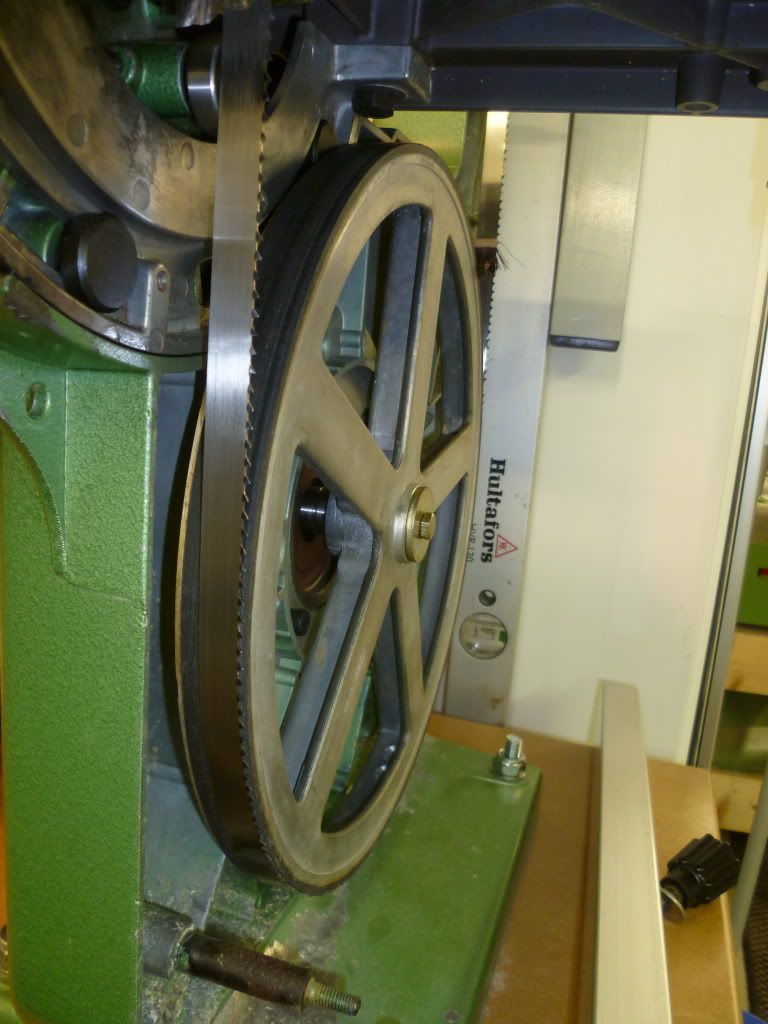
A bit difficult to see from your pictures (good though they are) but the plate that clamps the sliding post appears on your machine to be smaller than on mine and Jerome's. This may be the reason for your rocking problem. If you look at one of the pictures I posted earlier you'll see my plate is held on with 3 screws, although the centre one is missing in the picture.

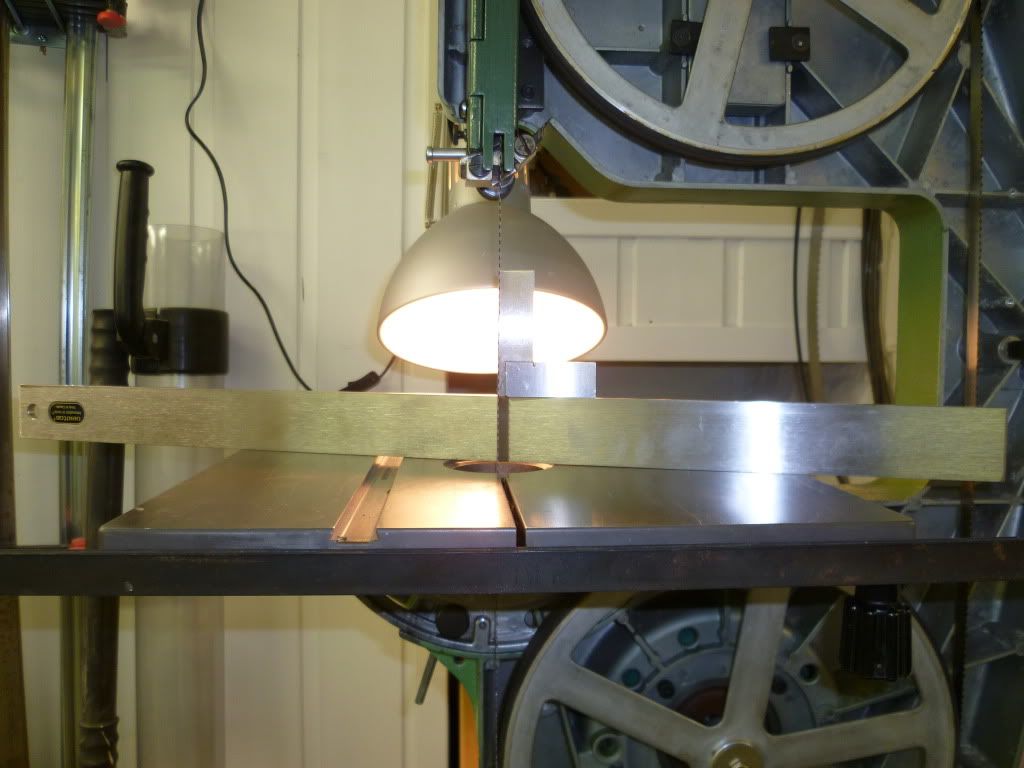
I'll have to check whether I have a similar problem with the upper guide block assembley and post back later today.

Mark
 
I looked again at your pictures and found that third hole in the plate. But is there a tapped hole in the chassis in that spot? I think I will place a wedge between the chassis and the plate to keep it from rocking.

To cure the movement in the guides I added some 0.2 mm aluminium in the hole of the adjuster and in the hole for the pin. Now it feels much more solid.

Wout
 
moerman":34fu47ns said:
I looked again at your pictures and found that third hole in the plate. But is there a tapped hole in the chassis in that spot? I think I will place a wedge between the chassis and the plate to keep it from rocking.

To cure the movement in the guides I added some 0.2 mm aluminium in the hole of the adjuster and in the hole for the pin. Now it feels much more solid.

Wout

Yes there is a tapped third hole in the chassis. I can only assume someone lost the third bolt sometime coz it wasn't there when I got the saw.

Mark
 
moerman":3hlpx6sc said:
I looked again at your pictures and found that third hole in the plate. But is there a tapped hole in the chassis in that spot? I think I will place a wedge between the chassis and the plate to keep it from rocking.

To cure the movement in the guides I added some 0.2 mm aluminium in the hole of the adjuster and in the hole for the pin. Now it feels much more solid.

Wout
If you look at my photos you will see that there are indeed 3 socket cap screws. I'm not sure if I have ever removed them
 
andpartington":14pgf5so said:
i have a inca fantastic band saw

to change the bearing remove the shaft with the bearing on it (small gubscrew)

get a 2x2 and drill a hole in it slightly smaller than the outer race of the bearing but big enough so the shoulder on the offset shaft fits through
or use the jaws on a metalworking vice opened so the bearing sit on top of them not clamped up

get a bolt or a drift and tap the shaft through it wont take much to get it moving

on the bearing there will be a coad this gives you the size of the bearings they are on ebay sold as bearings for roller scates (if you cant find the coad pm me and i will look at mine) I THINK ITS A 608ZZ but dont quote me on that

to refit put the new bearing on a chunk of scrap timber and tap the shaft in wont take a lot of force just keep it lined up after the first tap it will go in dead easy and line itself up

its an easy job will take 5-10 mins max

any probs or if u wont to know anything more let us know

andy

Used Andy's method to get the thrust bearings off their shafts. Dead easy job. Took 15 seconds.
Have tried to find a code on them and on one there appears to be 608 stamped, but it's pretty unclear so I measured the bearings.
Inside diameter = 8mm
Outside diameter = 22m
Thickness = 7mm

Can anyone point me in the direction of a supplier ?

20120108_134300.jpg
 
9fingers":ttjg4co4 said:
I'd suggest a 608-2RS (or rr) this will have two rubber seals (Z= metal seal) and offer greater dust resistance.

You can get them all over ebay or from any bearing factors

I tend to use Arc Euro trading http://www.arceurotrade.co.uk/Catalogue ... -10mm-Bore.

HTH

Bob

Brilliant. 2-off 608-2RS ordered. Thanks a lot Bob. :D

BTW. You don't have any idea where I can get hold of the eye bolts I've mentioned in this thread ?
https://www.ukworkshop.co.uk/forums/morten-moretens-pt-t57207.html

Thanks a lot

Mark
 
Eye bolts with 6mm threads are usually folded not solid and the eye is more like 10mm for a 6mm thread.
I read that you are looking to make them bigger. You will get solid M10 eye bolts ok but again with a bigger eye
a BS 4278 table 1 eye bolt in M10 will have a nominal 15mm eye and 18mm long thread. The hole may be rough cast but you could machine out to 16-17mm and bush it to suit your rods.

Look for collared eye bolts lifting eyes or dynamo eyes and BS 4278

Someone will doubtless prove me wrong but I doubt that you will find stock eyes that are the same size as the thread, especially in the smaller sizes.

Drilling and tapping cast iron is dead easy. What is less easy is picking up the exact cenbtre of a ready tapped hole and opening it out concentrically to a larger size. Make some steel jigs with holes in the right places and use those as guides. drilling into virgin metal is a lot easier.

I had a pal once who asked if I could drill some large holes in a steel plate for him. He turned up with the job and said, I've started all the holes for you until I did not have any bigger drills!!!! The job was a nightmare as I had no datum centres to work from.

hth

Bob
 
9fingers":qzl3il21 said:
Eye bolts with 6mm threads are usually folded not solid and the eye is more like 10mm for a 6mm thread.
I read that you are looking to make them bigger. You will get solid M10 eye bolts ok but again with a bigger eye
a BS 4278 table 1 eye bolt in M10 will have a nominal 15mm eye and 18mm long thread. The hole may be rough cast but you could machine out to 16-17mm and bush it to suit your rods.

Look for collared eye bolts lifting eyes or dynamo eyes and BS 4278

Someone will doubtless prove me wrong but I doubt that you will find stock eyes that are the same size as the thread, especially in the smaller sizes.

Drilling and tapping cast iron is dead easy. What is less easy is picking up the exact cenbtre of a ready tapped hole and opening it out concentrically to a larger size. Make some steel jigs with holes in the right places and use those as guides. drilling into virgin metal is a lot easier.

I had a pal once who asked if I could drill some large holes in a steel plate for him. He turned up with the job and said, I've started all the holes for you until I did not have any bigger drills!!!! The job was a nightmare as I had no datum centres to work from.

hth

Bob

Thanks for all your info Bob. I will look further into the options. In the meantime I've e-mailed Moretens in Sweden to see what they say. Perhaps there's a later mod to the machine that was better than the mechanism on mine.
I've also found these on Ebay and am considering their use instead. http://www.ebay.co.uk/sch/i.html?_n...ngs&_osacat=12576&_trksid=p3286.c0.m270.l1313
Good to hear that drilling and tapping cast iron isn't a problem. Perhaps the solution is to only drill new holes and not bother trying to open up the two old ones. I've checked and I can get the table on edge under my pillardrill so don't expect much problem with drilling new holes.

Mark
 
Those rod end bearings or sometimes called Rose Bearings, will possibly be better and get you nearer to a bore similar to the stud size.
They are also self aligning and so tolerant of some misalignment.

Bob
 
9fingers":odhgdei6 said:
Those rod end bearings or sometimes called Rose Bearings, will possibly be better and get you nearer to a bore similar to the stud size.
They are also self aligning and so tolerant of some misalignment.

Bob

I like the idea of them. Seems like a better solution than the original eyebolts. I'll look into it in a bit more depth and take some exact measurements from the machine before I decide what to go for.
I'll post any further reports on progress in the Moretens thread morten-moretens-pt-t57207.html

Mark
 
Hi,

Seems the bearing problem has been solved via eBay. I've been away since before Christmas, but I dropped into Clas Ohlsen on Saturday and, sadly, they have ceased stocking some of the more useful things(from my perspective) in favour of more popular stuff(and who can blame them). The bearings would seem to be one of the lines they have dropped.
 
John Brown":1qng4nmq said:
Hi,

Seems the bearing problem has been solved via eBay. I've been away since before Christmas, but I dropped into Clas Ohlsen on Saturday and, sadly, they have ceased stocking some of the more useful things(from my perspective) in favour of more popular stuff(and who can blame them). The bearings would seem to be one of the lines they have dropped.

Yes, both new thrust bearings from Ebay and lignum guide blocks from Jim are on their way and I've already received 3 new blades from Tuff Ian. Will soon have the saw up and running in, hopefully, better than new condition :D

As I mentioned earlier Clas Ohlson are all over Norway and were previously the number one source for all kind of goodies for "people like us". However, during the last couple of years they've gone really down hill and got rid of nearly all such things. The shop's now full of mostly computer and kitchen equipment :shock: Havn't bought anything there for a long time.

Mark
 
Succes! The modifications do exactly what I wished. The saw tracks well, the cut is much smoother and it requires less force to get the wood through. I have taken pictures of the mods which I will post sppn.

Wout
 
1/4" - SuperTuff Carbon 1778mm - 2094mm•Blade Length - 73” / 1854mm
•Bandsaw Model No. (optional) - Inca 340
•TPI - 14

1/2" - SuperTuff Premium 1778mm - 2094mm•Blade Length - 73” / 1854mm
•Bandsaw Model No. (optional) - Inca 340
•TPI - 6

5/8" - SuperTuff Fastcut 1854mm - 2297mm•Blade Length - 73” / 1854mm
•Bandsaw Model No. (optional) - Inca 340
•TPI - Fastcut

Havn't tried any of them yet. Still waiting for the bearings (+ working on the Morten PT :wink: )

Mark
 
The new thrust bearings finally arrived today. Here they are with the original guide blocks (which I filed flat) and a set of 4 new lignum blocks which Jim (kimi43) has kindly made for me to try. For the moment I'll run the saw with the original steel blocks so I can compare with the lignum ones.

P1010272.jpg


Pressed the thrusts on their spindles in the vise with a large washer as spacer. Took seconds.
P1010274.jpg


After installing the bearings, original guides and a Tuffsaw 1/2" blade I set about adjusting everything according to Steve Maskery's WE4 however I ran into a snag with the tracking adjustment that maybe someone can help me with. Only the upper wheel can be adjusted and the following 2 pictures show the best I managed. I feel the blade is far too far in on the upper wheel and too far out on the bottom. But what can I do about it, if anything ? I'm tempted to just move the lower wheel further out on the spindle, lock it off with the grub screw and put a packing washer behind the spindle bolt. Is that a feasible solution or just plain daft ?

P1010278.jpg


P1010279.jpg


I also checked the table was square with the blade and discovered it has a dip in the middle. Anyone else have the same problem ?

P1010281.jpg


Ended the evening with a trial run. Everything worked fine, despite the tracking issue, and the Tuff blade zapped through this piece of oak like a hot knife. =D>

P1010282.jpg


If I can sort out the tracking I'll change to the lignum blocks and post back a comparison review as soon as poss.

Mark
 
Mark
How is the bottom wheel attached? Have you checked for co-planarity? It must be held in somehow and I'm surprised it's not adjustable at all.
S
 
Krysstel":hbic5mke said:
After installing the bearings, original guides and a Tuffsaw 1/2" blade I set about adjusting everything according to Steve Maskery's WE4 however I ran into a snag with the tracking adjustment that maybe someone can help me with. Only the upper wheel can be adjusted and the following 2 pictures show the best I managed. I feel the blade is far too far in on the upper wheel and too far out on the bottom. But what can I do about it, if anything ? I'm tempted to just move the lower wheel further out on the spindle, lock it off with the grub screw and put a packing washer behind the spindle bolt. Is that a feasible solution or just plain daft ?

Mark
The wheels need to be co- planer and it looks as if yours aren't. So moving the bottom wheel out is the answer.

The blade should track in the same place on both wheels.

The saw will happily work as it is but you can do better. BTW a better test would be to try to resaw that oak. Any saw should cut like that.
 
Back
Top