Dining table build: Project #1 - Many photos

UKworkshop.co.uk

Help Support UKworkshop.co.uk:

This site may earn a commission from merchant affiliate links, including eBay, Amazon, and others.

DBT85

Established Member
Joined
19 Dec 2015
Messages
1,853
Reaction score
654
Location
Pershore, Worcester
Hi folks, first post so be kind :D

We are growing tired of our glass dining table and it showing dirt and fingerprints so easily. So, since I'm working a full time job, expecting our first kid in 9 weeks and generally quite busy, I'm building one #-o .

My first real woodwork project, though I'm not new to the dark arts of DIY or my tools (kitchen fitting, bathroom fitting, etc etc.)

Anyway, my PSE Redwood Pine is arriving tomorrow morning and the new tools I needed have already arrived. These included 4x 120mm sash clamps, 4 f clamps (2 sizes) and 4 quick grip clamps. Also took the opportunity to get a new set of chisels as my set have gone walkabout in my house moves, and a decent metric speed square to compliment my 2x 6" engi squares.

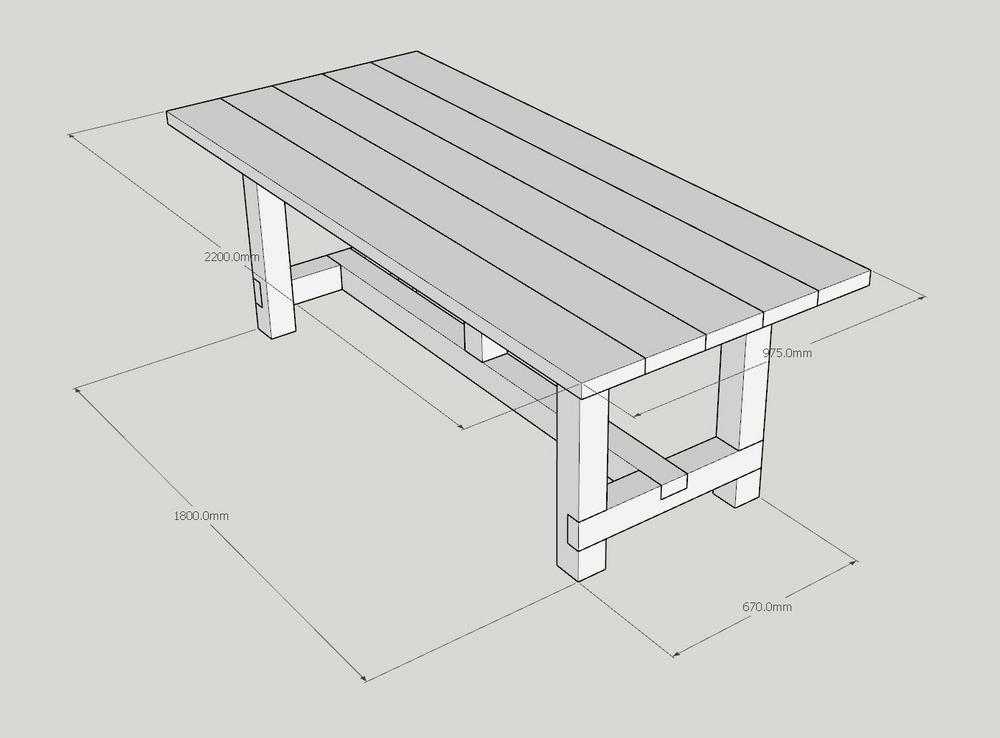
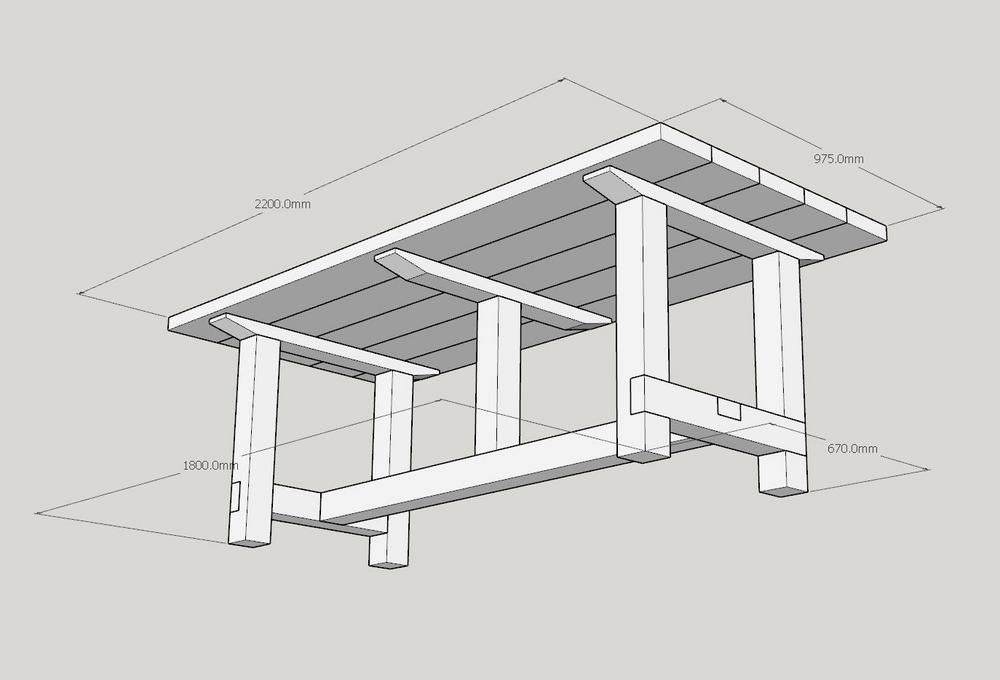
Top is to be made from 5x 50x200mm (nominal) boards, legs and stretchers from 100x100mm and 3 braces for under the table from 50x100mm.

Original design doesn't have an apron but that could change easily enough later. I'm aware about wood movement across the grain so right now I'm not 100% on how I'll connect the top to the bracing.

Also it needs to be disassembled, so the legs at either end will detatch from the central stretcher and from the top.

So yeah, looking forward to getting cracking.

I'm confident in my ability and also quite prepared for it to all go wrong as well!

These are the plans I've drawn up. Nothing ornate. More chunky and solid. We live in a farm house so I think it'll go nicely.
rX1E82E.jpg

1VfTHoF.jpg
 
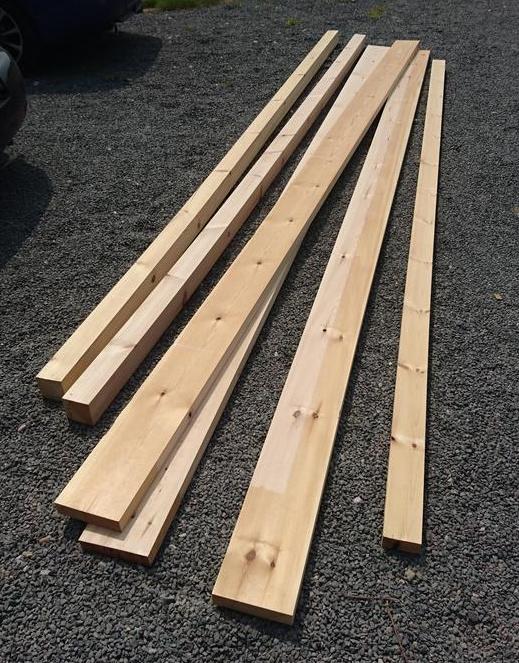
Well the yard delivered more wood than I was expecting. The 50x200mm boards were 4.8m instead of the 4.2m they quoted me. Upon consultation with the good lady I adjusted the plans accordingly since we have the space.

All the main cuts are done and so now it's just a case of sorting out the lap joint cuts in the 4 legs and 3 stretchers.

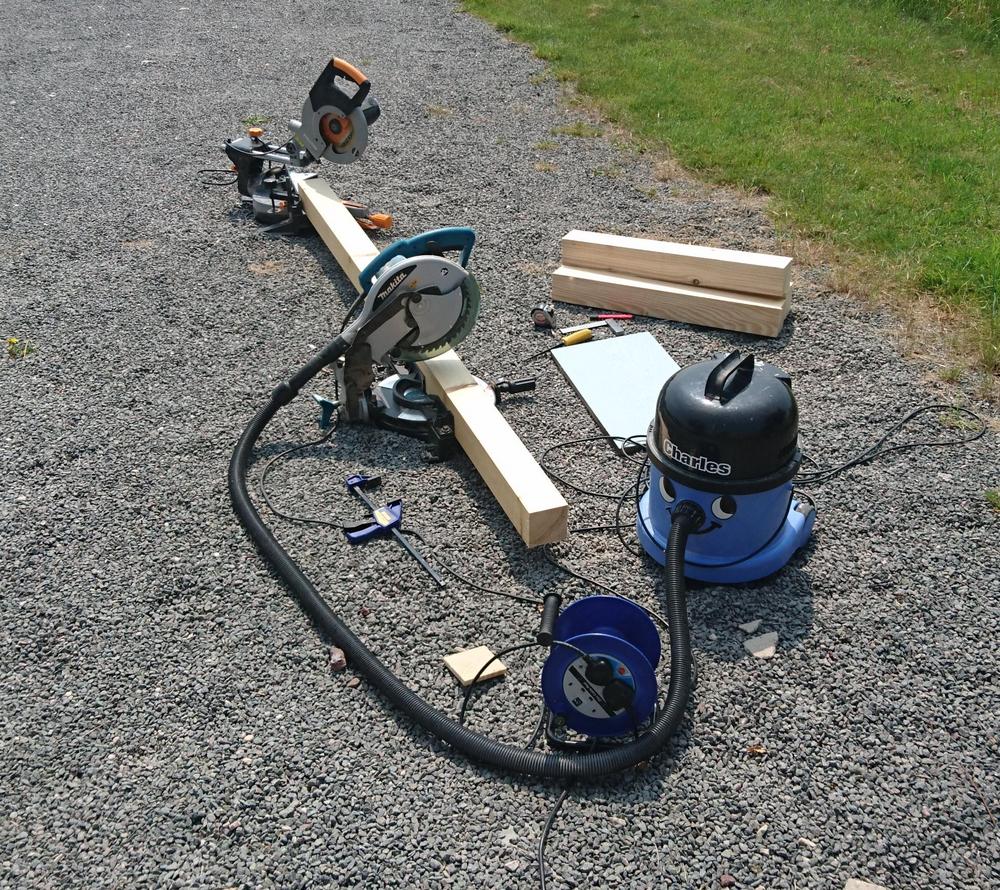
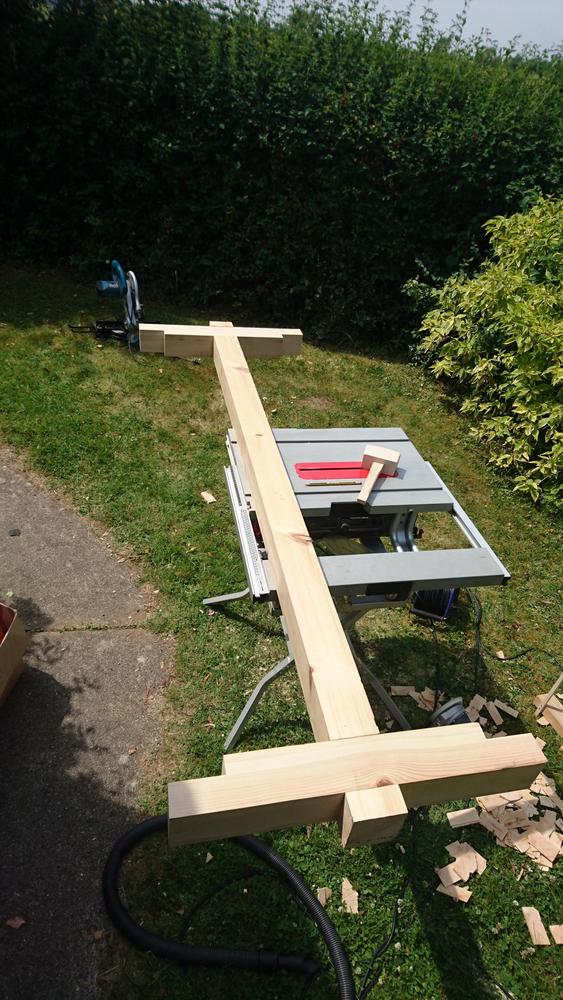
Since I had to do all the work outside I took out both mitre saws and used one to support the board while the other cut it.

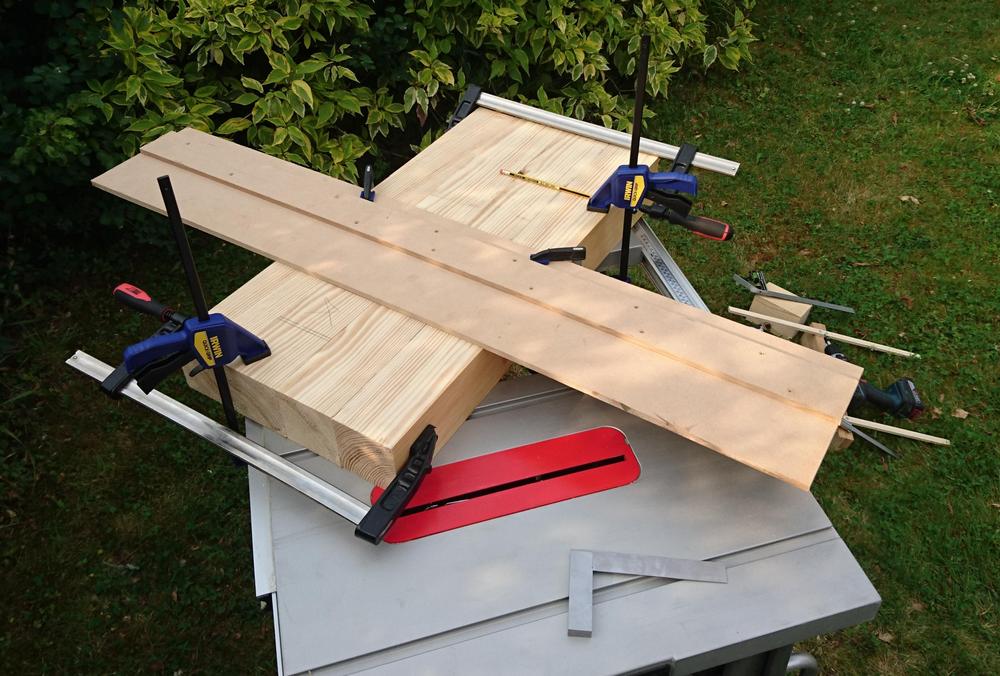
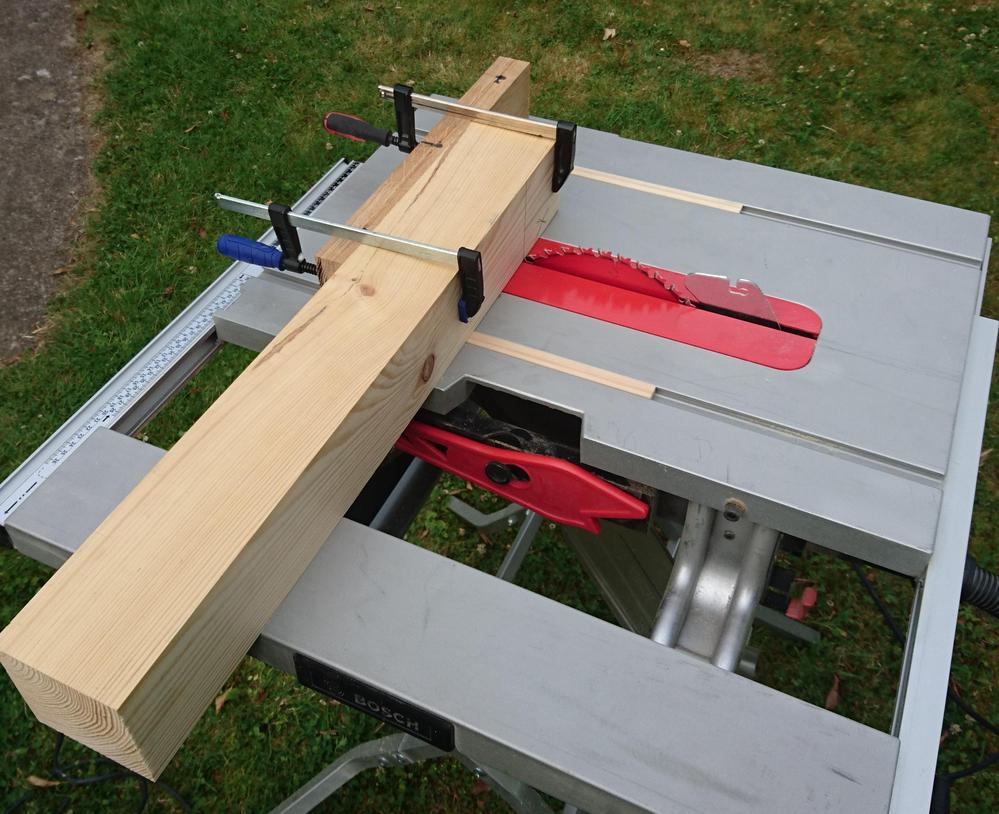
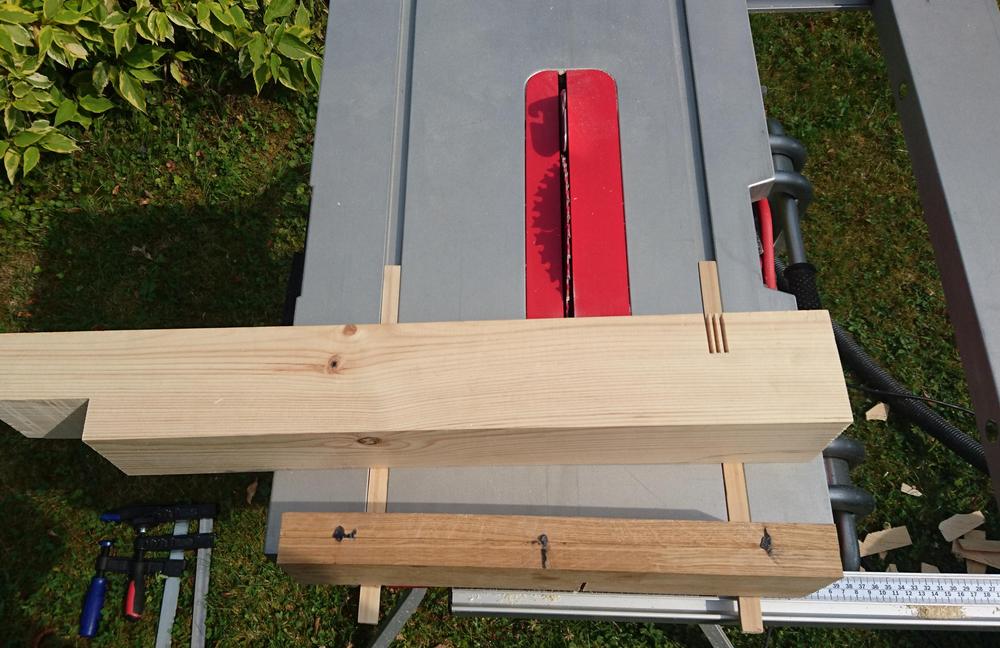
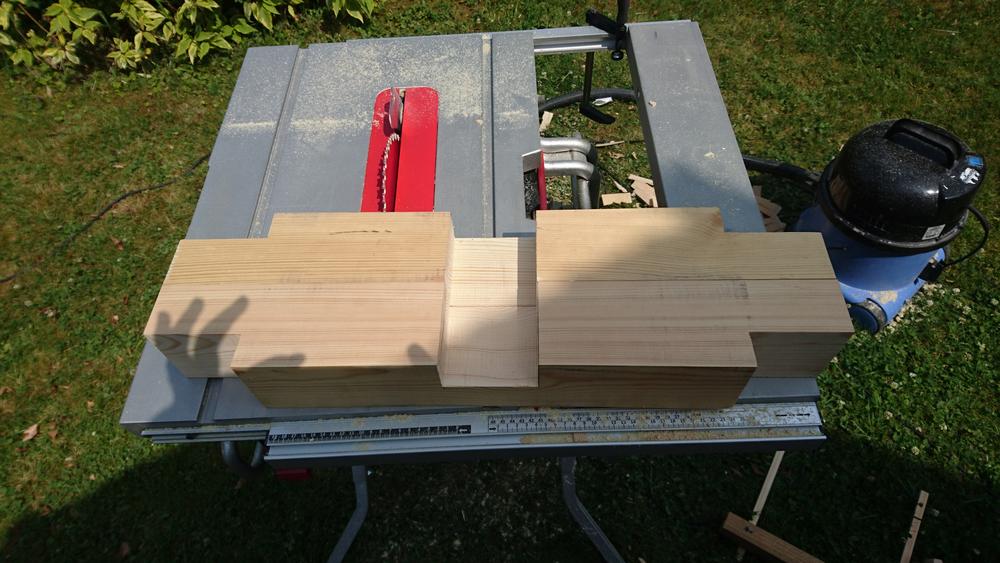
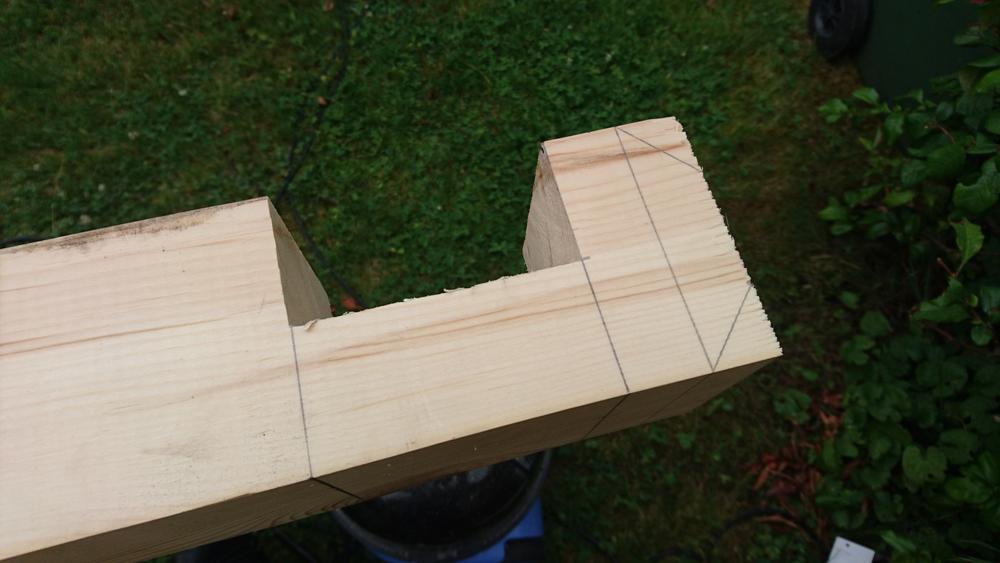
My plan for cutting the lap joints in the legs (since are all identical) is to clamp them all together and use the circular saw and a straight edge, then remove the detritus and finish with chisels.

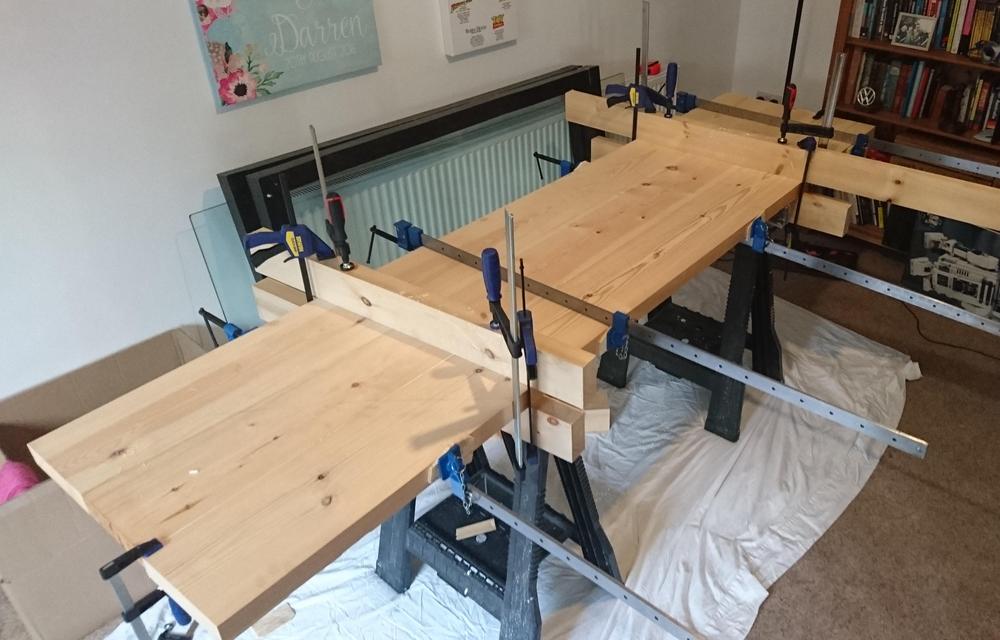
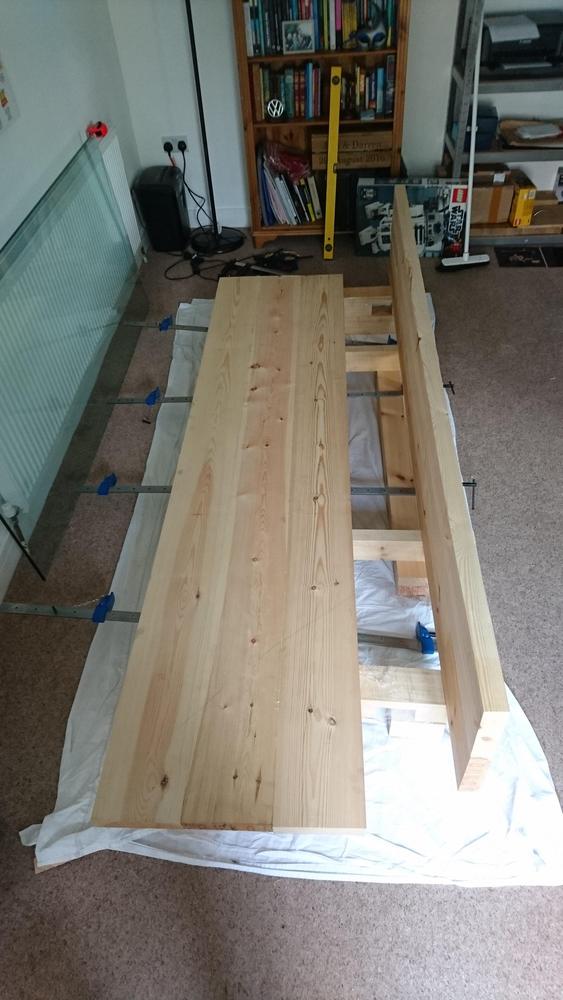
Right now the first 2 boards are being edge glued. I used some 50x100mm for cauls but they are straight so not perfect for the job. Learned plenty ready for the next board!

Since I was waiting around for the wood this morning I made myself up a very small cross cut sled (similar to the one John Heisz uses) from some scraps. Its hardly perfect but it'll be useful.

Of course today was a little warmer than I'd have liked!

Wood has arrived. More than expected.
OqoEGN0.jpg


My Pro mitre saw station
EaL0RTF.jpg


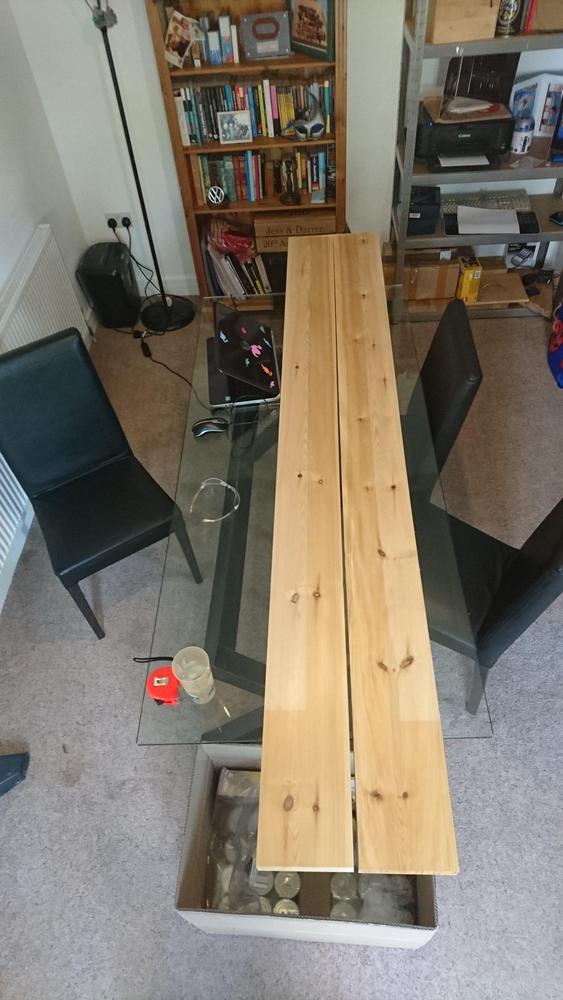
A comparison on what we had before
DjzKERK.jpg


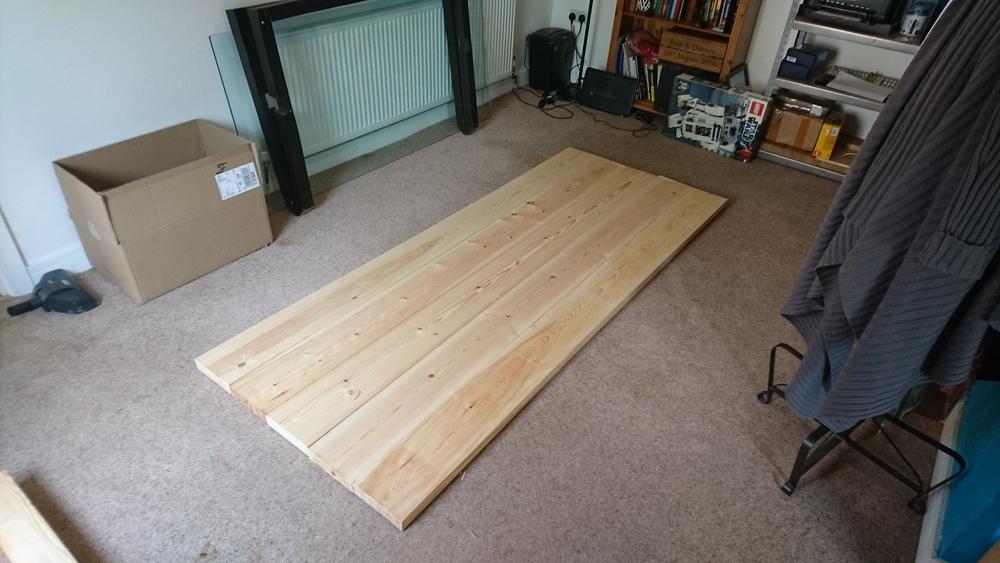
Boards oriented to look nice and avoid annoying packing marks on the corners
g8YB3HL.jpg


Clamping up the 3rd board to the first pair. All all the clamps shown, only 2 were older than a week.
GeLwzIq.jpg
 
Sounds like you are busy!
Congratulations on your forthcoming new addition to the family.
With that in mind you might want to incorporate a subtle radius to the corners of the table top.
As you will soon be aware that as your child grows and begins to walk they always seem to be bumping into previously inconspicuous items of furniture around the home!
 
Thanks Roughcut!

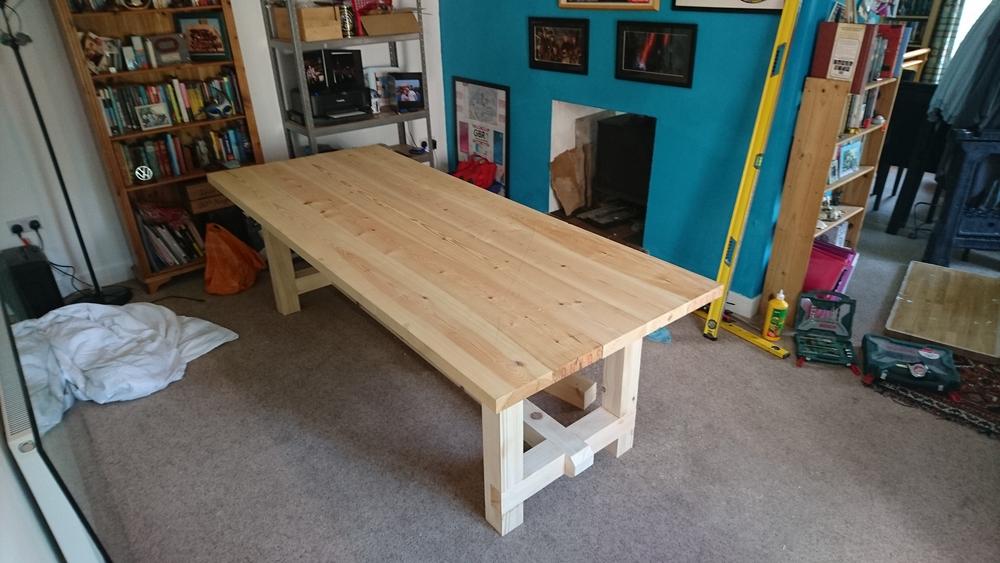
Well its a few days of insane weather later, but the table is complete. For a certain value of "complete". It's up and standing and not falling over. The top however needs planing and everything needs rounding over. I've not decided on a finish yet. I did see a post on here about a "scrubbed top" but I know nothing aside from the contents of that post. I think its just a case of leaving the top bare and giving it a good scrub once a month.

I spent all day Wednesday and much of Thursday getting as much done as I could knowing that I won't have much chance in the next 10 days or so. I even managed to clear up after myself and put the house back in order!

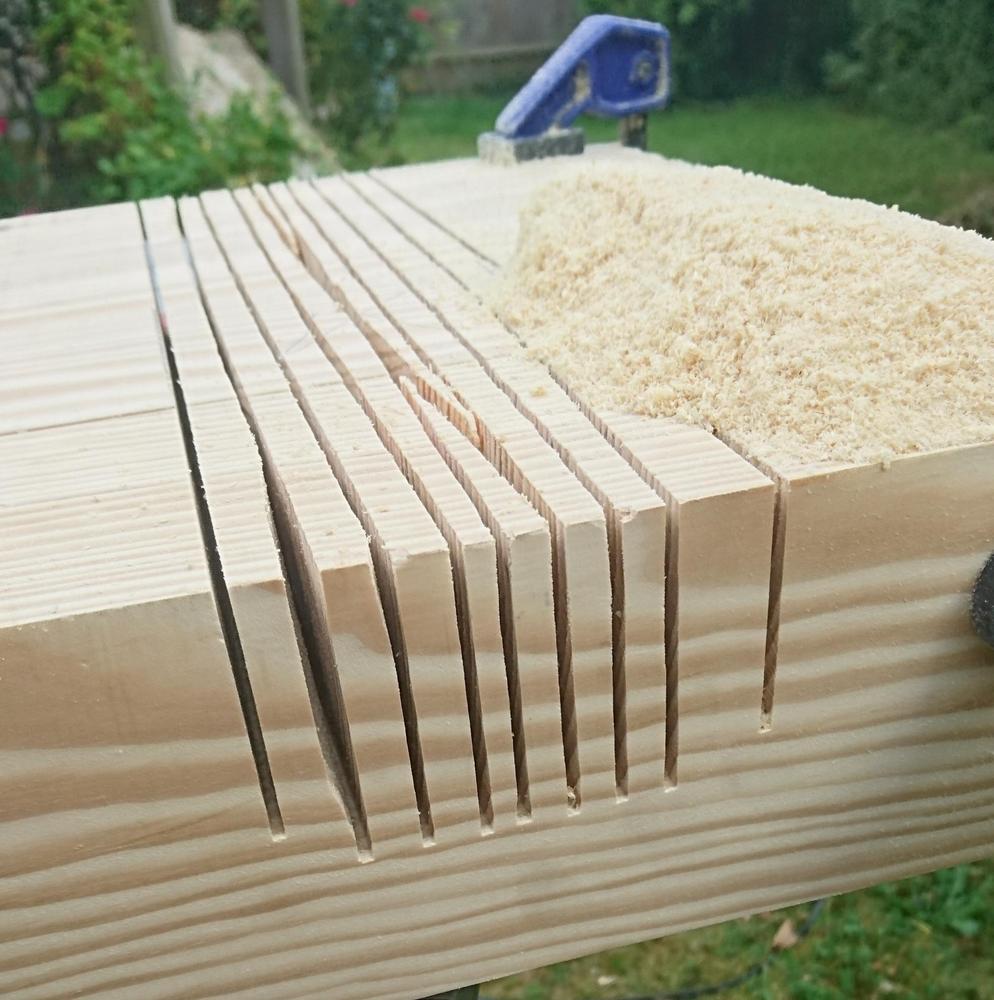
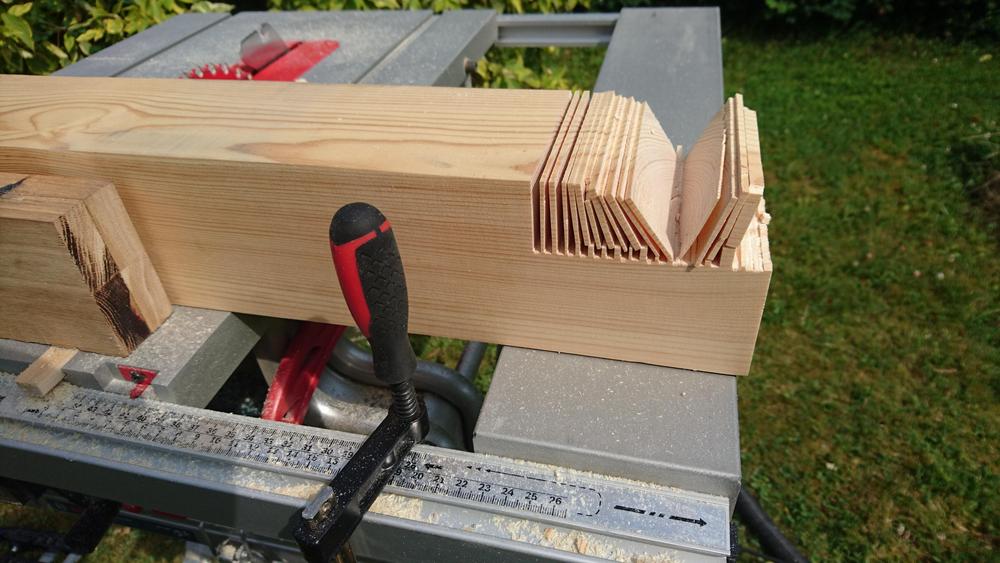
By the end of Wednesday I'd done cut most of my joints, only stopping to swear at the sky twice because I'd been a prat on both occasions. The first involved the use of a cutting guide I made up for my circular saw. I cut the inner and outer slots for my lap joint using it, then removed the guide and continued hogging out the middle. Only to finish, look at the edge of the board and ask "why are those two cuts not as deep as those oh my god you silly person you forgot to adjust the depth" or words to that effect.

Fortunately since those were the first half of the joint, I just cut the other half shallower. Took me 15 minutes to calm down enough to work that one out though.

The other instance while cutting the short stretcher between two legs, I cut one lap perfectly and was very pleased with myself and so proceeded onwards with the other end. 3 cuts in I noticed I had the wood setup wrong and so was now cutting the wrong side of the correct end. I could have used it still but it would have bugged me, so new bit cut and sorted.

I learned a fair bit in making this and while its by no means perfect, I'm pleased with the outcome so far. The intention was for it to be a table that gets used and abused and It'll be with us for as long as its still a functioning table (which if my top warps might not be as long as I'd like!). Fine furniture it wasn't intended to be.

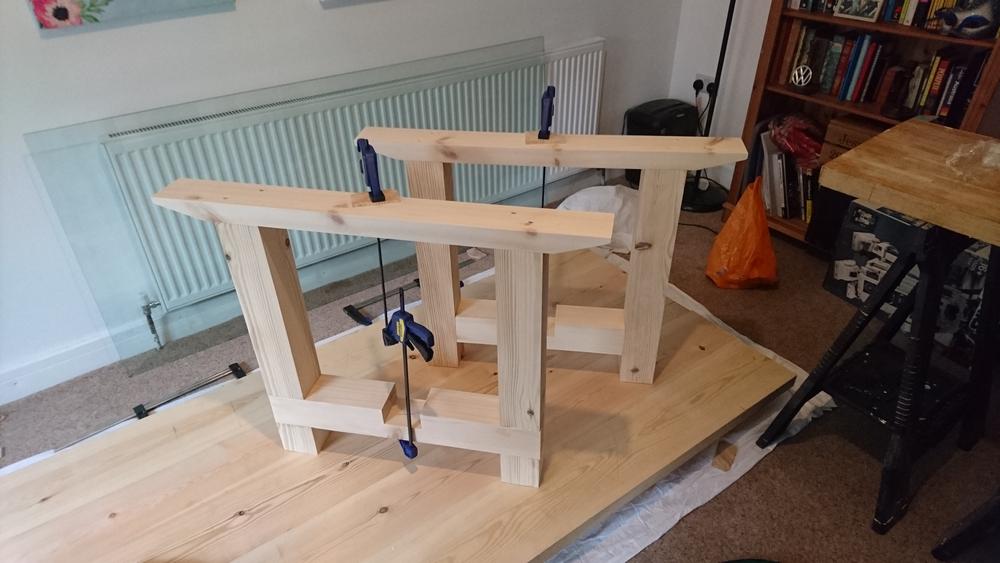
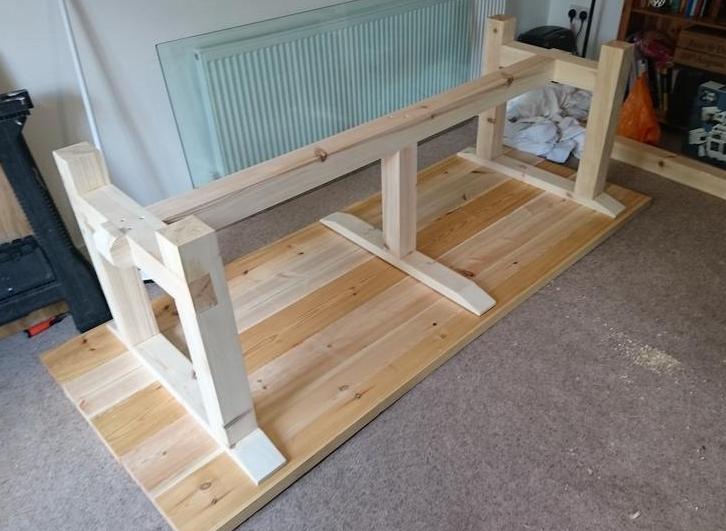
My joints got better as I went on and got better with my accuracy. A proper cross cut sled would have made a few things easier but I made do with my little one for now. The H frame at each end is held together with glue, with the braces along the top being glued and screwed since it's the end grain. The long stretcher is just screwed into the H frame so that it can be dismantled should I ever need to, and the central support is also screwed to the long stretcher and its brace above.

Considering that I've never done anything quite like this, I was quite pleased with the final top, made from 5x 45x195mm x 2.4m boards being aligned as well as it is, with the biggest ridge between boards of 1mm and even that's only in a couple of high spots. Not helped by me only using 2 sets of straight 2x4s as cauls and the boards not being exactly the same thickness.

At the moment the top isn't secured down, though it shows no signs of moving. Ned to make sure I pick something that allows the top to expand across the width.

Setting up for the joints in all 4 legs.
LaKJMxr.jpg


My first dumb mistake
ecBGA3P.jpg


Once completed
HhR4rcH.jpg


Setup for the small stretcher cuts (these came out much better than those done with the circular saw earlier)
mUKNvgN.jpg


One great cut, another dumb mistake
5tWysIS.jpg


Removing the bits
ZmD4AIH.jpg


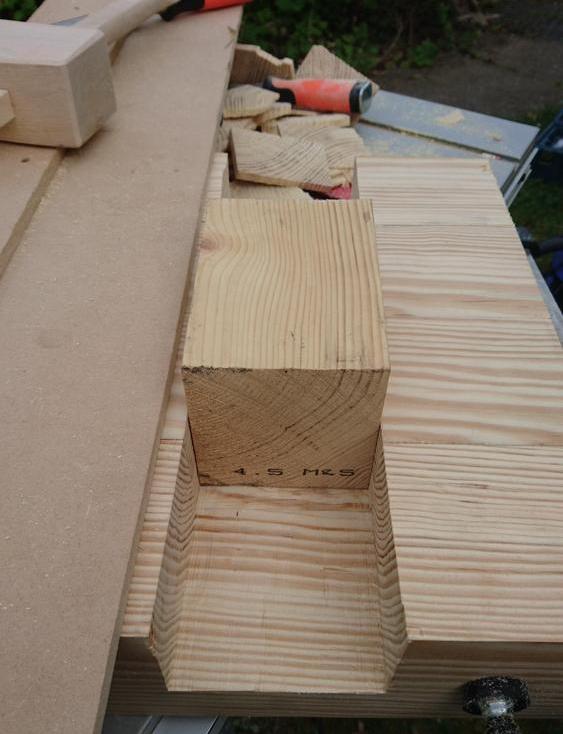
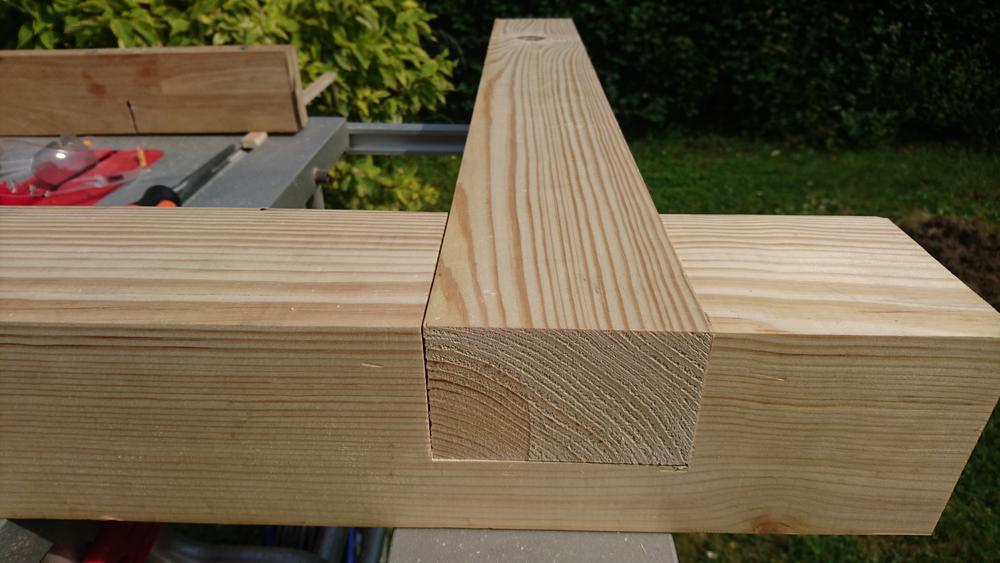
Hurrah, a joint that fits and everything. My first ever.
cu6wurZ.jpg


both short stretchers cut
8S9ghCo.jpg


Long stretcher cut too
6zmXRib.jpg


Changing up my procedure for the final glue up as my horses would have probably collapsed.
2D3Tu6X.jpg


End legs clued and screwed with top brace
s5Bp0Nq.jpg


A little detail
QM8BW9f.jpg


Something's not right
YDAWCx0.jpg


Fin
L3kXE6G.jpg
 
Looks excellent, if you consider using a dye put a coat of shellac ( French polish or shellac sanding sealer) on first to stop blotching.

The missus should be very happy with it!
 
Nice work. Don't tell the missus but you've made a pretty good workbench :). Fast work and nice joints.

Personally I would put some finish such as Fiddes or Oslo hardware oil. It's OK being used, but looks less good just getting dirty and shabby, which it will!

For fastening the top, you can use lag bolts with washers, and an oversize hole to take care of the contraction. Easier than slots.

Keith
 
Thanks chaps. Everyone that's seen it at hoem loves it which is good. MY whole family are coming up this weekend so my ego shall be boosted further!
MusicMan":1hqgjvds said:
For fastening the top, you can use lag bolts with washers, and an oversize hole to take care of the contraction. Easier than slots.

Ahh a good solution. I'll probably go down that route.

And its a table to be abused so it'll be a workbench, a play table, a Lego bench (me, not the kids lol), all sorts.

I have a few vintage planes arriving and some stones to sharpen with so hopefully I can get some more done next week with my days off.
 
phil.p":vo46tqwv said:
I think I'd have worked it so the halvings were on the insides and underside - but nice, nevertheless.
Forgive me, new to the terminology. Do you mean the lap joints on the small stretchers between the legs at either end?

If so I deliberately made those on the outside so that with the central stretcher joining the two, the legs can't splay out at the bottom. Possibly not required but I dunno! lol

I also like to see my hard work hehe.
 
I take your point, but I think I'd sooner see the legs continuous on the outside and the cross members continuous on the top. Only an opinion, there's nothing wrong with what you've done.
 
You've made something useful, to the dimensions you need and it sounds like you had fun doing it. What a great start to woodworking - well done!
 
My new (old) planes have arrived and I've already managed to eliminate the join marks between the 5 top boards. Still a ways to go for it to be finished and I can't fiddle any more today.
 
Back
Top